Hello friends. For this card, I decided to try using one of the dies included in the Baking Spirits Bright Card Kit Box (from Catherine Pooler Designs) in a different way — as a background for my images. Let’s see how easy it was to make…

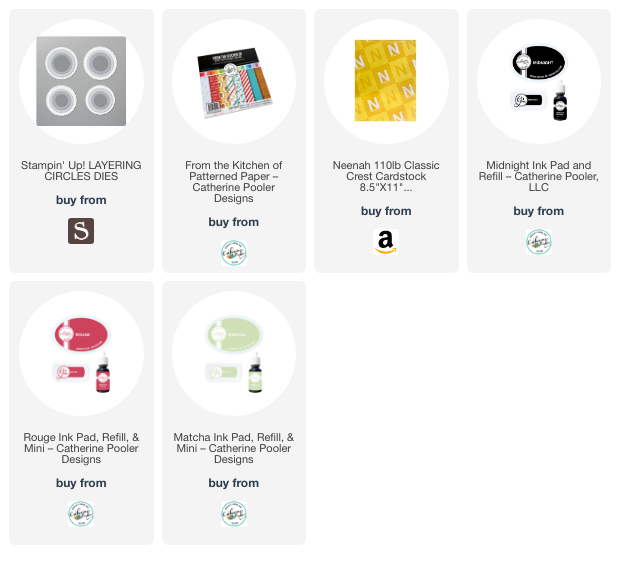
For this card, I cut a piece of Neenah 100lb Classic Crest Cardstock 8.5 X 11″ to 5-1/2 x 8-1/2″ and scored at 4-1/4″. I also cut a piece of CP From the Kitchen 6 x 6 Paper (included in the Baking Spirits Bright Card Kit) to 4-1/4 x 5-1/2″, and another piece to 4 x 5-1/4″.
I die cut three baking racks from the CP Cookie Sheet Dies (included in the Baking Spirits Bright Card Kit) from Neenah 100lb Classic Crest Cardstock 8.5 X 11″. Then cut 3 circles, measuring 2-3/8″ and 1-7/8″, using Stampin’ Up! Layering Circles Dies (may be retired). I also cut scalloped circles from using the same die set that were slightly larger. I colored those circles with CP Rouge, Matcha and Sea Glass Inks using the direct-to-paper technique.
I die cut the backgrounds for the cookies from the CP Baking Spirits Bright Stampset from Neenah 100lb Classic Crest Cardstock 8.5 X 11″ and colored them with an ink blender and Gingerbread Ink. Then stamped the frosting and piping with Matcha and Sea Glass Ink for the candy cane and Rouge for the frosting of the ornament. I stamped the details with Versamark Ink and embossed with WOW Bright White Embossing Powder.

I stamped the sentiment from the CP Baking Spirits Bright Stampset onto Neenah 100lb Classic Crest Cardstock 8.5 X 11″ with Midnight Ink and fussycut it out to add to the top circle. All the circles were popped up with some 3M Foam Tape.
I stamped the sentiment from the CP Sweet Holiday Sentiments (included in the Baking Spirits Bright Card Kit) onto a piece of Neenah 100lb Classic Crest Cardstock 8.5 X 11″ with CP Midnight Ink then cut it to 1 x 4-1/4″ and also cut a piece of CP From the Kitchen 6 x 6 Paper 1-1/4 x 4-1/4″. I popped it up by adding some Foam Tape.
I finished the card by adding some Nuvo Crystal Drops in White Gloss.

On the inside of the card I cut a piece of pattern paper to 1 x 5-1/2″ and another to 1-1/4 x 5-1/2″. I stamped a sentiment from the CP Sweet Holiday Sentiments Stampset with CP Rouge Ink and added a cookie.
Dimensions
- Card Base = 5-1/2 x 8-1/2″ and scored at 4-1/4″ Neenah 100lb Classic Crest Cardstock 8.5 X 11″
- Top Panel = 4-1/4 x 5-1/2″ and 4 x 5-1/4″ CP From the Kitchen 6 x 6 Paper (included in the Baking Spirits Bright Card Kit)
- Inside Strip = 1 x 4-1/4″ and 1-1/4 x4-1/4″ CP From the Kitchen 6 x 6 Paper
Supplies
 https://linkdeli.com/widget.js?id=f5e8378456858c916708
Thanks for reading this post. I hope I’ve inspired you to give this cute and sweet holiday card a try for yourself. Leave comments or questions below or feel free to email.