Hello friends. Here’s another quick and easy birthday card using the Lovely Layers: Cupcakes & More die set from Honeybee Stamps. For this one I created a shaker card using the ice cream dies.
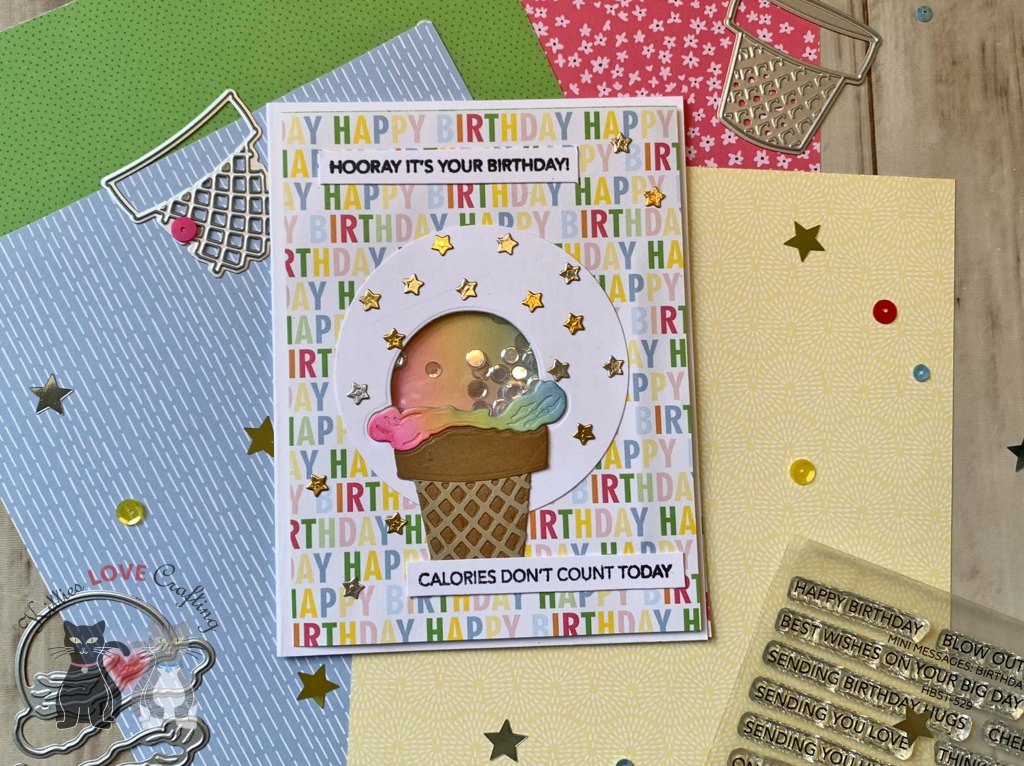
For this card, I cut a piece of Neenah 100lb Classic Crest Cardstock 8.5 X 11″ to 5-1/2 x 8-1/2″ and scored at 4-1/4″ to create the card base and another piece of Honey Bee Stamps Let’s Party 6 x 8.5″ Paper to 4 x 5-1/4″.
For the shaker window, I die-cut a [x”] circle from Neenah 100lb Classic Crest Cardstock 8.5 X 11″ using the Sizzix Framelits Circles Die Set. I cut out the window from the circle using the ice cream from Honey Bee Stamps Lovely Layers: Cupcakes & More die-set. For the background of the shaker window, I inked up a piece of Neenah 100lb Classic Crest Cardstock 8.5 X 11″ with Catherine Pooler Party Dress, Whipped Honey, and Stone Blue inks.
I die-cut the rest of the ice cream from Neenah 100lb Classic Crest Cardstock 8.5 X 11″ and colored it with the same inks. I used Stampin’ Up! Crumb Cake 8-1/2″ X 11″ Cardstock and Lawn Fawn Paper Bag Letter Cardstock.
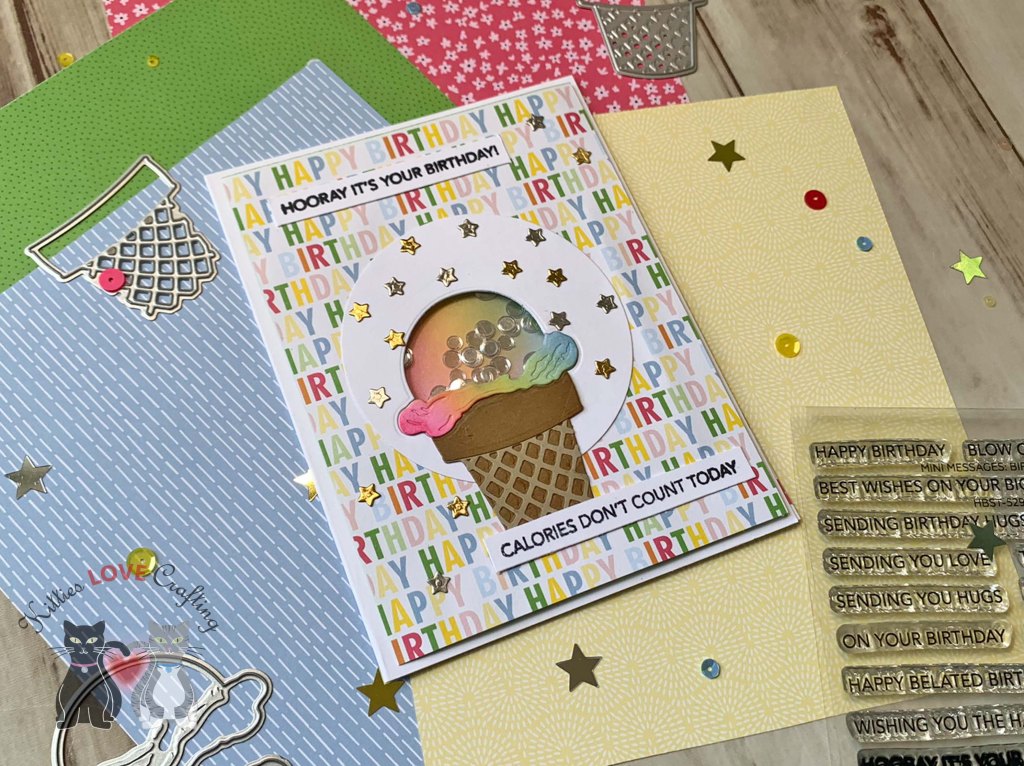
I stamped the sentiment from Honey Bee Stamps Mini Messages: Birthday 4×5 Stamp Set
onto Neenah 100lb Classic Crest Cardstock 8.5 X 11″ with Memento Tuxedo Black Ink.
I finished off the card by adding some starts die-cut from Tim Holtz Idea-ology 8 x 8 Metallic Kraft Stock Paper.

On the inside of the card, I cut a piece of pattern paper from Honey Bee Stamps Let’s Party 6 x 8.5″ Paper to 1-1/4 x 4-1/4″ and 1 x 4-1/4″ and added some more stars.
Dimensions
- Card Base = 5-1/2 x 8-1/2″ and scored at 4-1/4″ Neenah 100lb Classic Crest Cardstock 8.5 X 11″
- Top Panel = 4 x 5-1/4″ Honey Bee Stamps Let’s Party 6 x 8.5″ Paper
- Inside Panel = 1-1/4 x 4-1/4″ and 1 x 4-1/4″ Honey Bee Stamps Let’s Party 6 x 8.5″ Paper
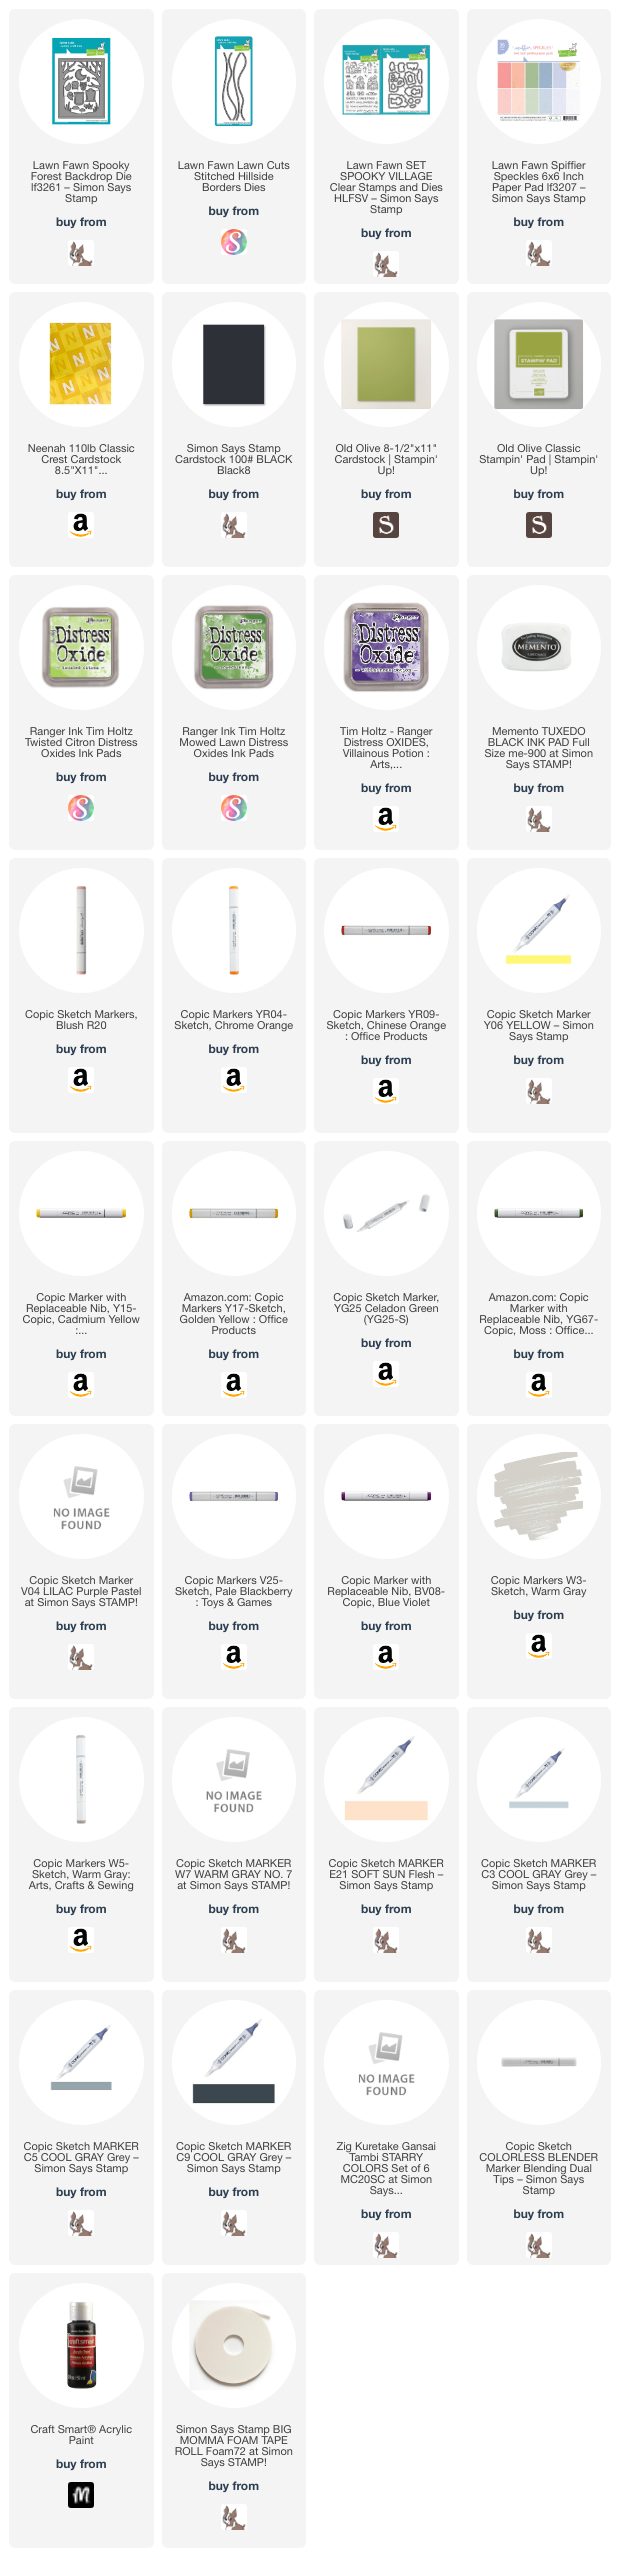
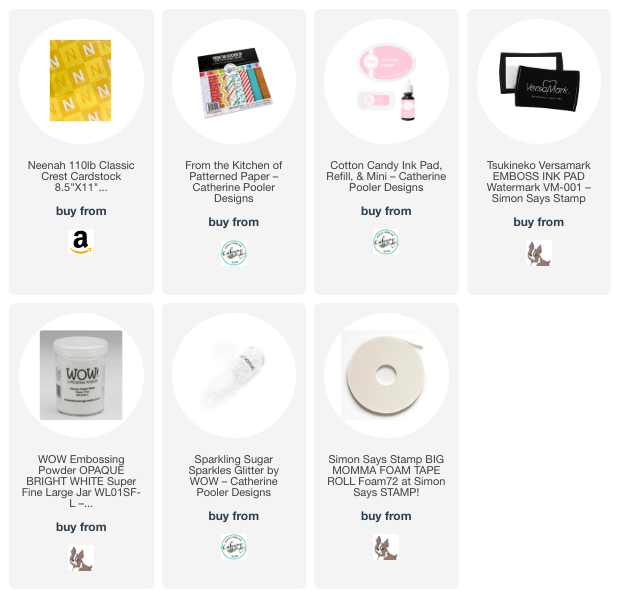
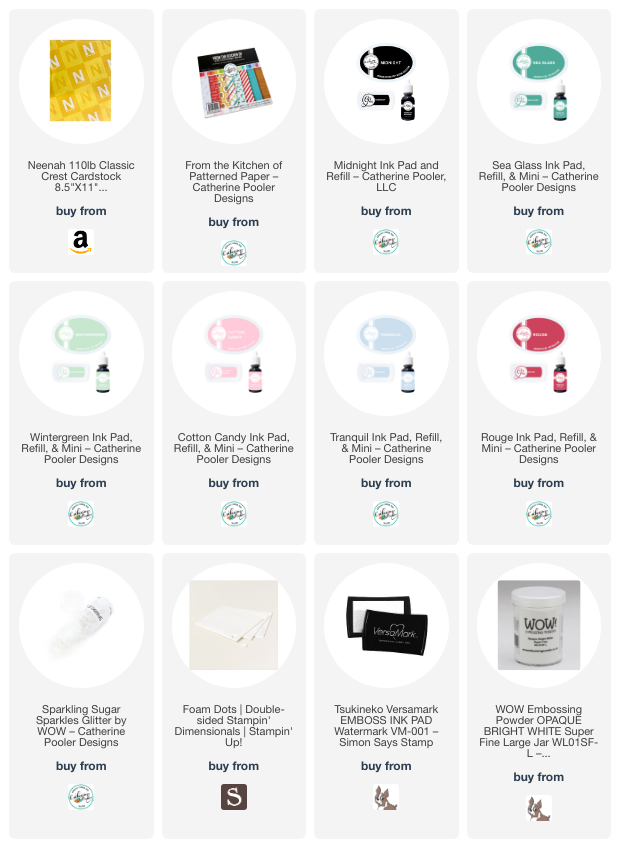
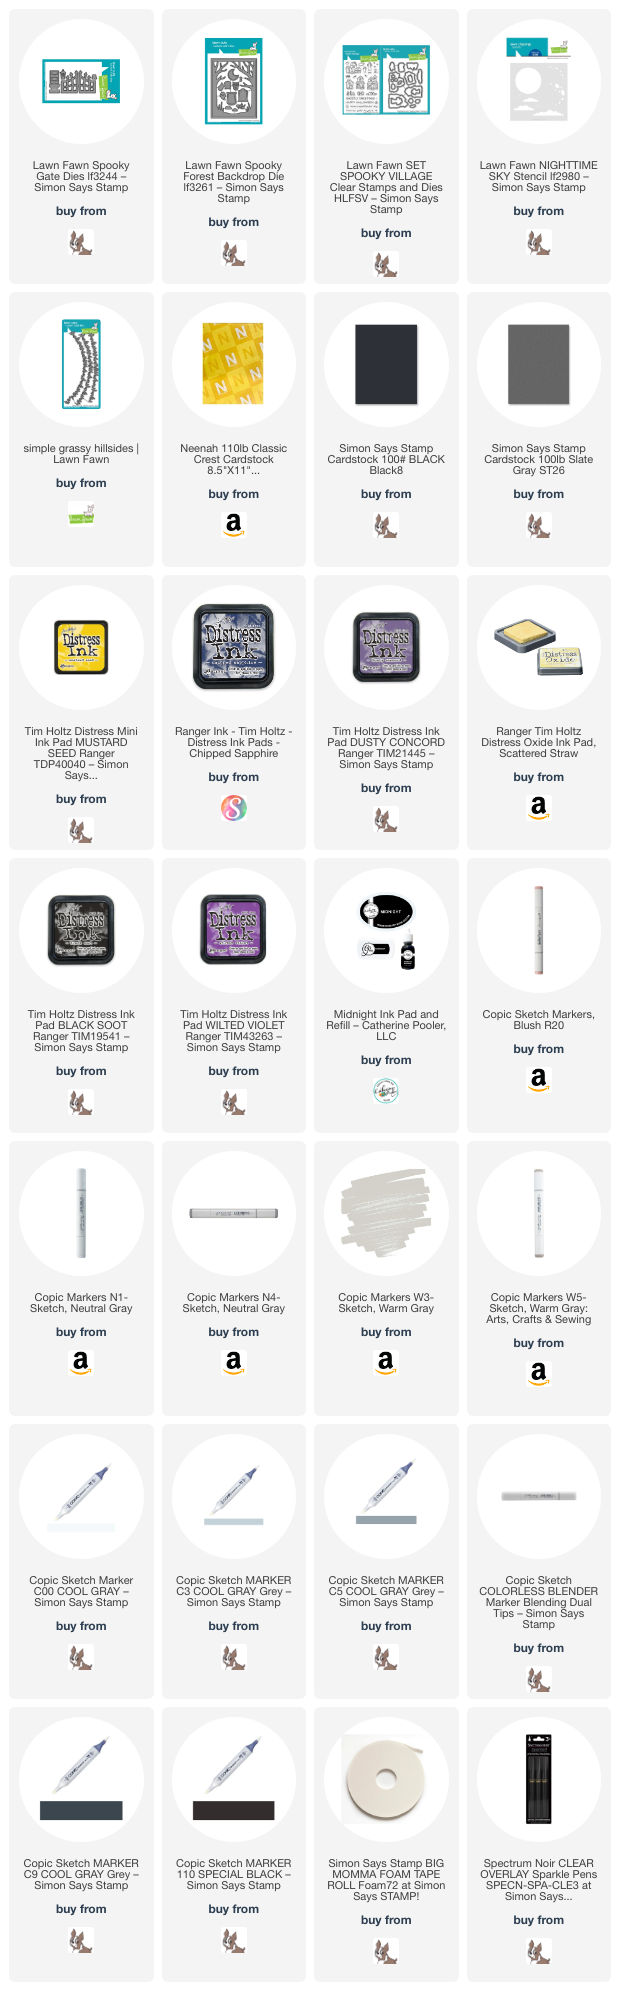
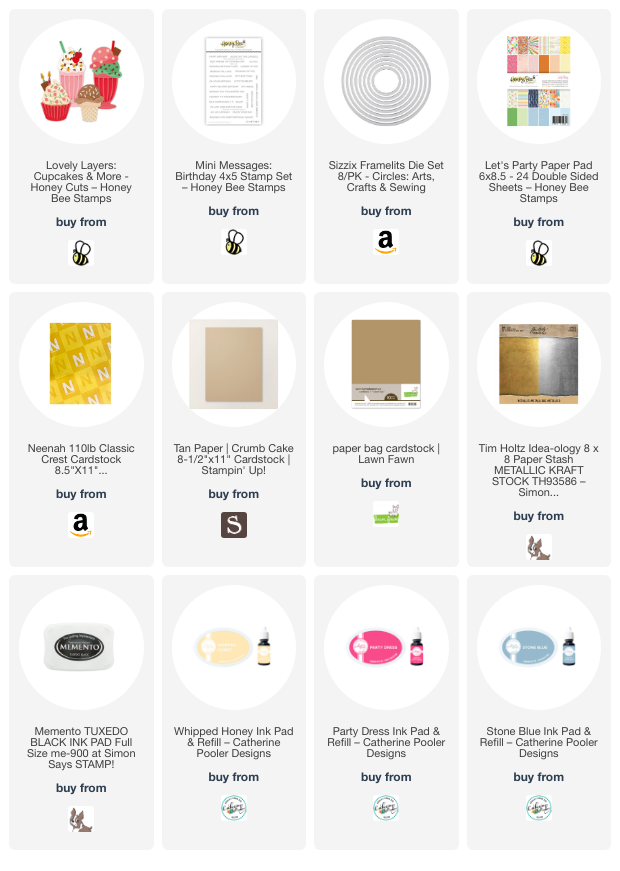
Supplies
 https://linkdeli.com/widget.js?id=f5e8378456858c916708
Thanks for reading this post. I hope I’ve inspired you to give this cute shaker birthday card a try and use some of your older supplies. Leave comments or questions below or feel free to email.