Christmas, DIY Projects, Holidays 2019, Wreaths

DIY: Super Easy Christmas Wreaths

Hello friends. This weekend I made some very cute mini Christmas wreaths for some new decorations. I love to decorate with wreaths and I especially enjoy adding mini ones to doors Inside my home. They enhance your decor without being too in your face. They are also easy to store when you have limited space.

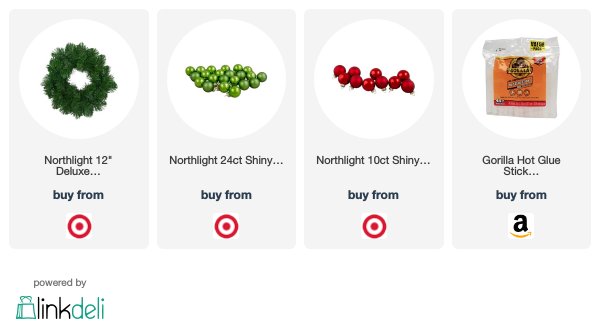
These were super easy to make and inexpensive. The supplies I used are mini wreaths, 25-30mm Ornaments, 5/8” Red Satin Ribbon, Hot Glue Gun and Gorilla Glue Hot Glue Sticks. These little wreaths would make great gifts as well or can be used around a candle for a festive centerpiece.

Supplies

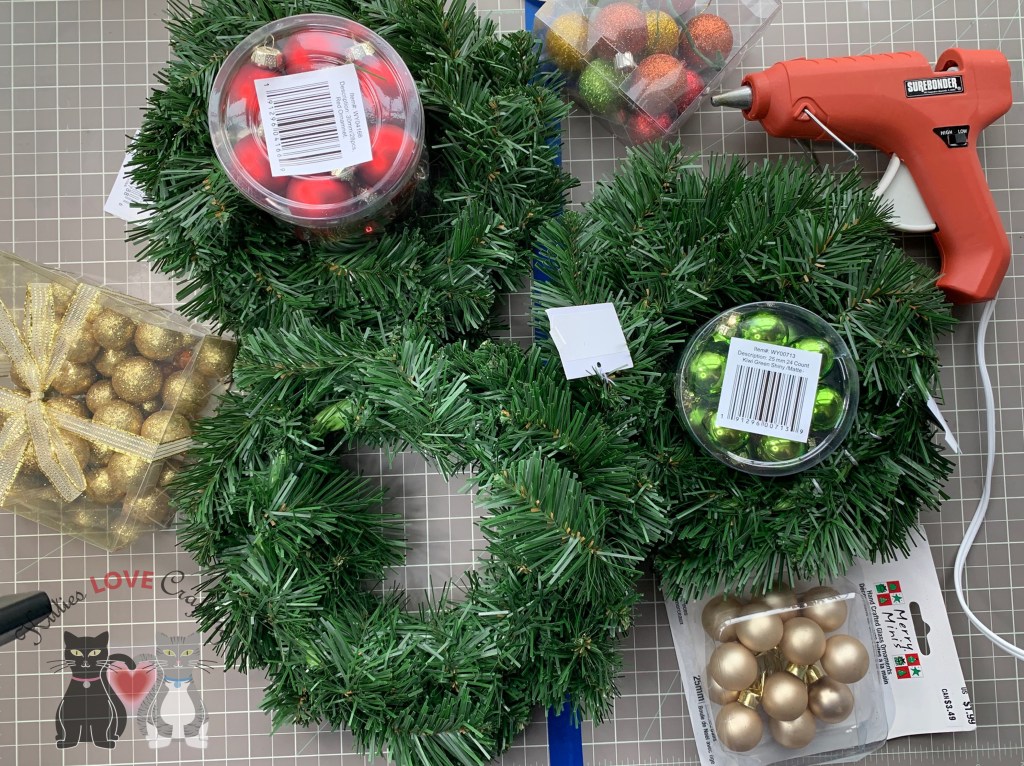
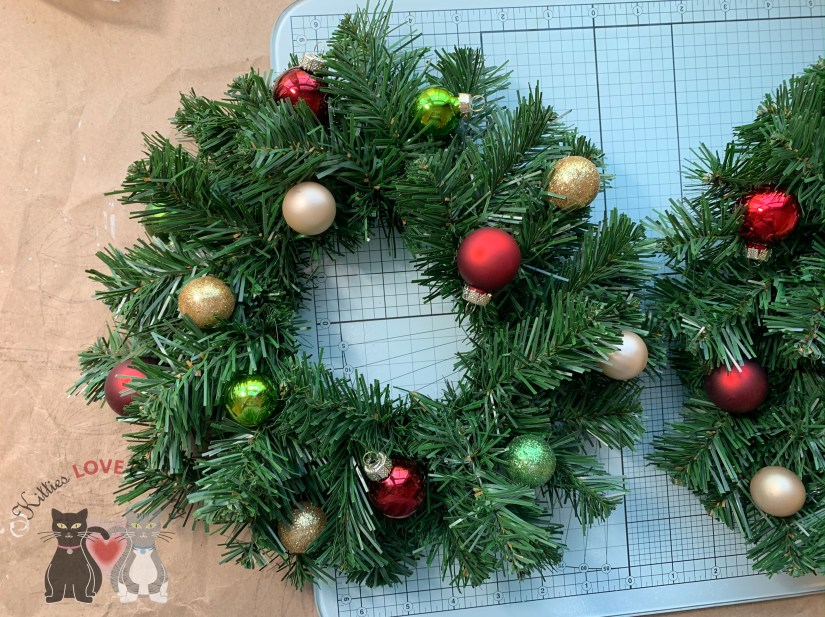
I bought three mini wreaths from Target and hot glued red, green, and gold ornaments to it, scattering them around the wreath. The pale gold, glitter gold, and red and green glitter ornaments are ones I used from my stash.

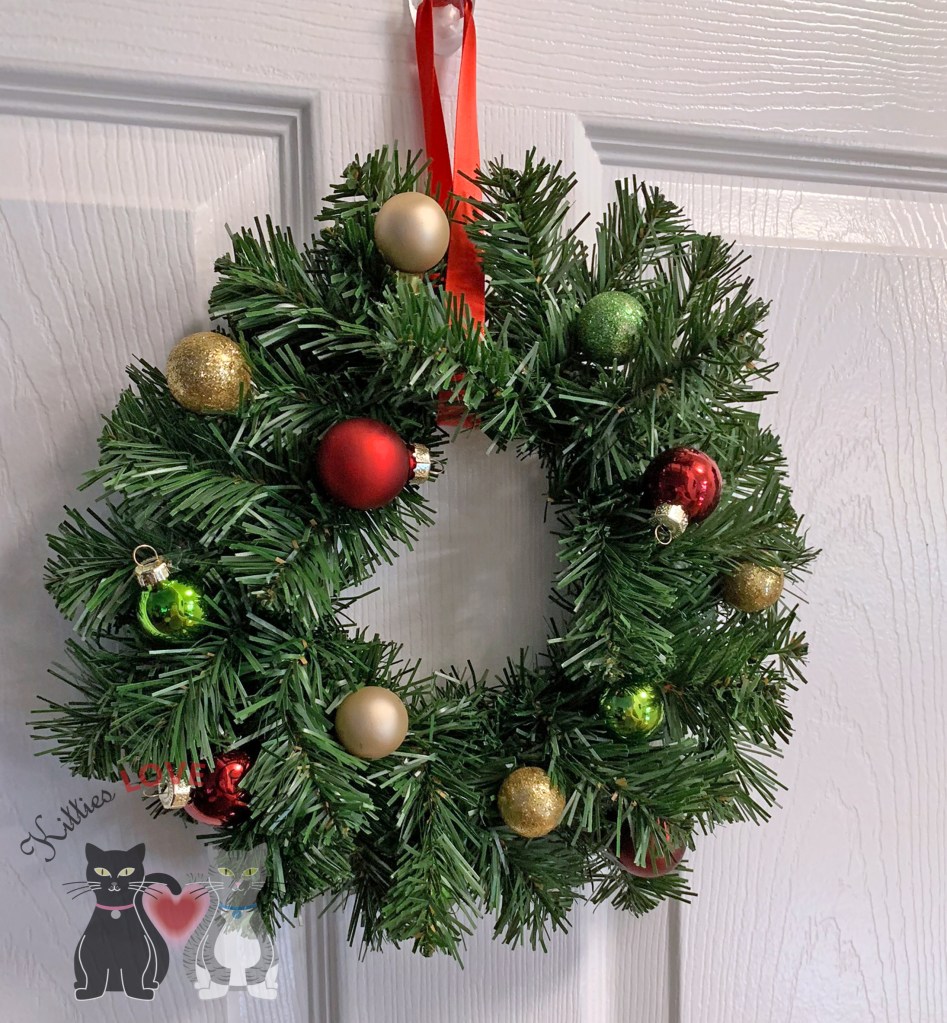
I added a 5/8” Red Satin Ribbon to each wreath to hang them. That’s all! I told you it was super easy. You can add more items, like ribbon or candies, etc to your if you like.

https://linkdeli.com/widget.js?1559654439292

Thanks for reading this post and I hope I’ve inspired you to make some wreaths for your home or for a gift. Leave comments or questions below or feel free to email

DIY Projects, Easter, Wreaths

Quick and Easy Easter Wreath

Easter is around the corner and I finally got around to making my Easter Wreath. Yay! I made this wreath using mostly Dollar Tree supplies. My store didn’t have much so I ordered from their online store and had it shipped to my house. They offer a ship-to-store option too.

A word of caution…if you order flowers online they can arrive crushed as mine did. I ordered 6 stems and only got 5 usable flower heads out of it and those were not that great as you will see in the photos. Keep that in mind.

Anyways,  it was super easy and quick to make. I started off with a 10-inch straw wreath form. I got mine from Hobby Lobby, but they are readily available at other craft stores and online. Check Amazon, Michaels, Joann Fabrics, Walmart and Dollar Tree. My local store did not carry it but I’m guessing others might. I carefully removed the clear plastic wrap around it as it tends to shed. Nor,ally I would normally leave the plastic wrap on it but since I wanted this to look natural and .organic, I removed it.

After cleaning the straw debris from my desk, i wrapped some 5/8 inch wide lavender satin ribbon around the wreath, creating a stripe pattern. I get most of my ribbon from the Ribbon Retreat. This color is called purple haze. A tiny dab of hot glue on each of the ribbon ends secure it to the wreath.

I added the moss next. I used Green Spanish Moss I hot glued it onto the bottom half of the wreath. Once I had enough of the area covered, I wrapped Green Floral Wire, 22 Gauge around the moss to secure it further. Ok the hard part is done. Time to decorate.

I added 5 Green Gerbera Daisies. 6 Speckled Easter Eggs, and 3 3 inch Salisbury Butterflies.To finish it off , i added 3 Pearl Corsage Pins to each ribbon stripe. That’s it. Add a ribbon to hang it and your wreath is complete. Easy peasy. Quickest wreath I’ve ever made.IMG_0526_watermarked

Supplies:

Thanks for stopping by and I hope I’ve inspired you to make your own wreath. Leave comments or questions below or feel free to email me.

DIY Projects, Holidays 2019, St. Patrick's Day, Wreaths

St. Patrick’s Day Wreath

Happy Friday everyone. I don’t know about you but we are starting to get ready for spring in my house. And with Spring comes green…and lots of it. So let’s start it off by celebrating St. Patrick’s Day! My husband is Irish and so I like to put up decorations for the holiday. Since I don’t have one yet, I made a wreath for the front door. My neighbors must think I’m crazy about holidays or just plain crazy because I’ve had a different wreath and welcome mat for every holiday since we moved in last September. LOL

St. Patrick’s Day Wreath
St. Patrick’s Day Wreath_Hat Detail
St. Patrick’s Day Wreath_closeup
St. Patrick’s Day Wreath_ closeup 2
St. Patrick’s Day Wreath_closeup 3
St. Patrick’s Day Wreath_closeup 4

Supplies:

Thanks for stopping by to check out my post. Please feel free to leave questions or comments about any of the products listed above or feel free to email me if you prefer.

DIY Projects, Holidays 2019, Valentines Day, Wreaths

Valentine’s Day Mesh Wreath

Hello everyone. I’ve always loved been making wreaths. I started making them when I lived in my small NY apartment and could not keep alot of decorations. A wreath has the ability to capture a holiday, a season, a theme or occasion in a small space. I had to put my passion on hold for awhile due to lack of space (apartment living, arrgh). Now that I have space to store and make them, it’s reignited my love of wreath-making. Look for more wreaths to come in the future!

I have never made one before so, of course, I turned to Youtube. Where else do you learn how to do everything in life, right? You can learn to change a tire, put on makeup and make a wreath all in one day. LOL. I came across this very funny Youtuber, This Southern Girl Can who makes them. She’s pretty much got it down to a science at this point. She uses dollar store supplies to make budget friendly wreaths. Check her out her Youtube channel.

Check her out her Youtube channel.

Step 1. Gather supplies.

Step 2. A) Cut mesh pieces that are approximately 6 inches in length. This will give you 6 x 6 squares. Alternatively, just roll each piece of mesh over itself so it makes one full loop. Cut ribbon 9 inches long (this is 1.5 times the length of the mesh pieces). B) Also cut your chenille stems (pipe cleaners) in half and then fold those pieces in half again.

Step 3. Take 3 pieces of mesh and 1 piece of ribbon. Roll mesh into coils (rolls). Hold each between your Index and 3rd fingers while you roll the other 2 pieces and pinch all together. Add ribbon with pattern side out away from your finger, then tie with a chenille stem piece. Twist once or twice to secure.

Step 4. A) Now add this bundle to your wreath form by feeding the chenille stem ends through the middle two wires on the wreath form. (see picture Step 4A). B) Continue adding bundles until you fill the whole form. I used 10 bundles per section. A section consists of the space between the 2 vertical wire pieces There are 6 sections so you will use 60 bundles when complete (you can see the sections in picture 4A).

Valentine’s Day Mesh Wreath_Final
Valentine’s Day Mesh Wreath_Closeup

Supplies:

Hope you’ve enjoyed this post. Thanks for stopping by and once again please leave questions in the comments or feel free to email me if you prefer.