New Christmas items will be available in my shop on November 1st. I will be (hopefully) adding more Christmas stock during November. Check back often for new items.
Any questions about any product feel free to email me directly or message me through Etsy.
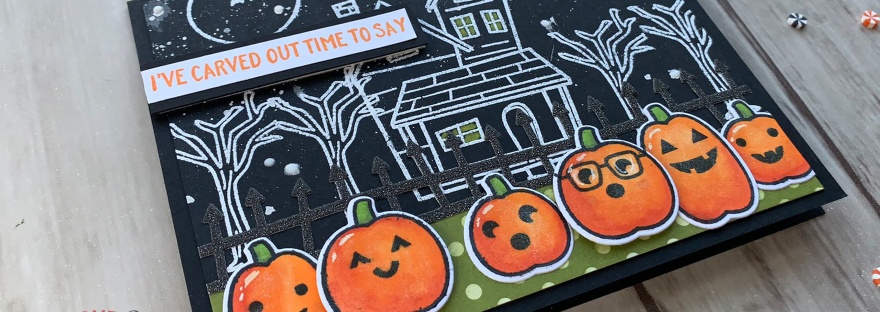
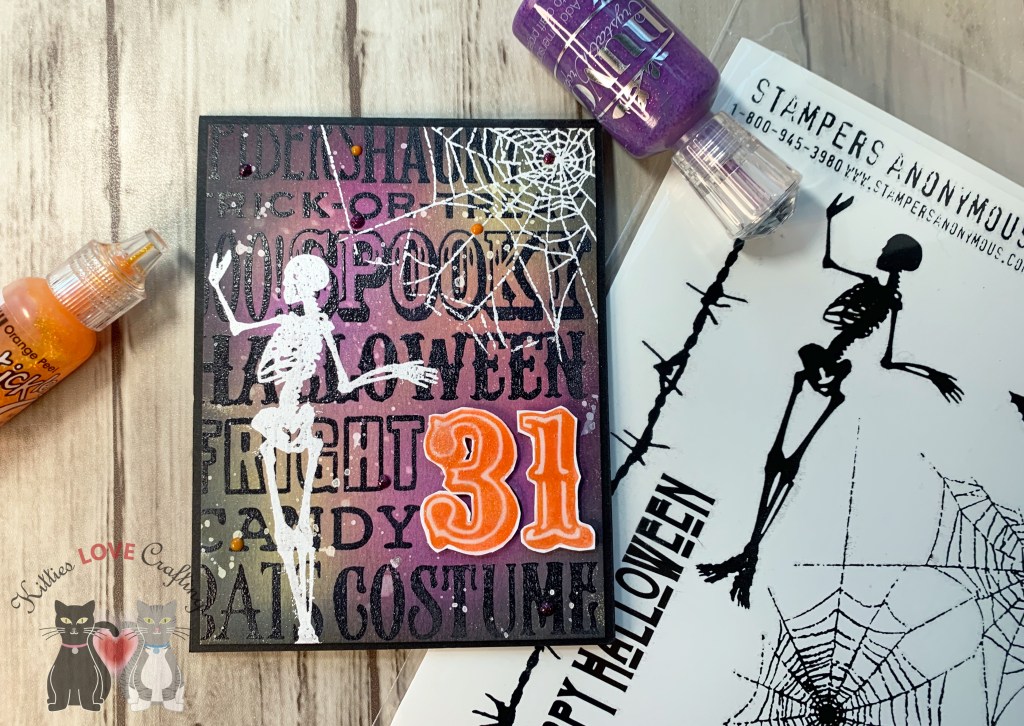
Happy almost Halloween everyone!! Halloween is just around the corner so here is one last card to wrap up this series. Hope you’ve enjoyed and got some inspiration. So I’m rounding off this series with some more Lawn Fawny goodness. I’m sure by now you’ve figured out that I love Lawn Fawn stamps.😀😀
I used some white acrylic paint to add some splatters to the black panel to give the sky some dimension. I diecut the Spooky Fence Border from Lawn Fawn from some black DCWV Glitzy Glitter Cardstock and the “grassy” area I used Stampin’ Up! Brights Designer Series Paper 12 x 12 (discontinued) and cut it down to 1-1/2 x5-1/4”.
Thanks for reading stopping by and I hope I’ve inspired you to go make some Halloween cards of your own. Leave comments or questions below or feel free to email me.
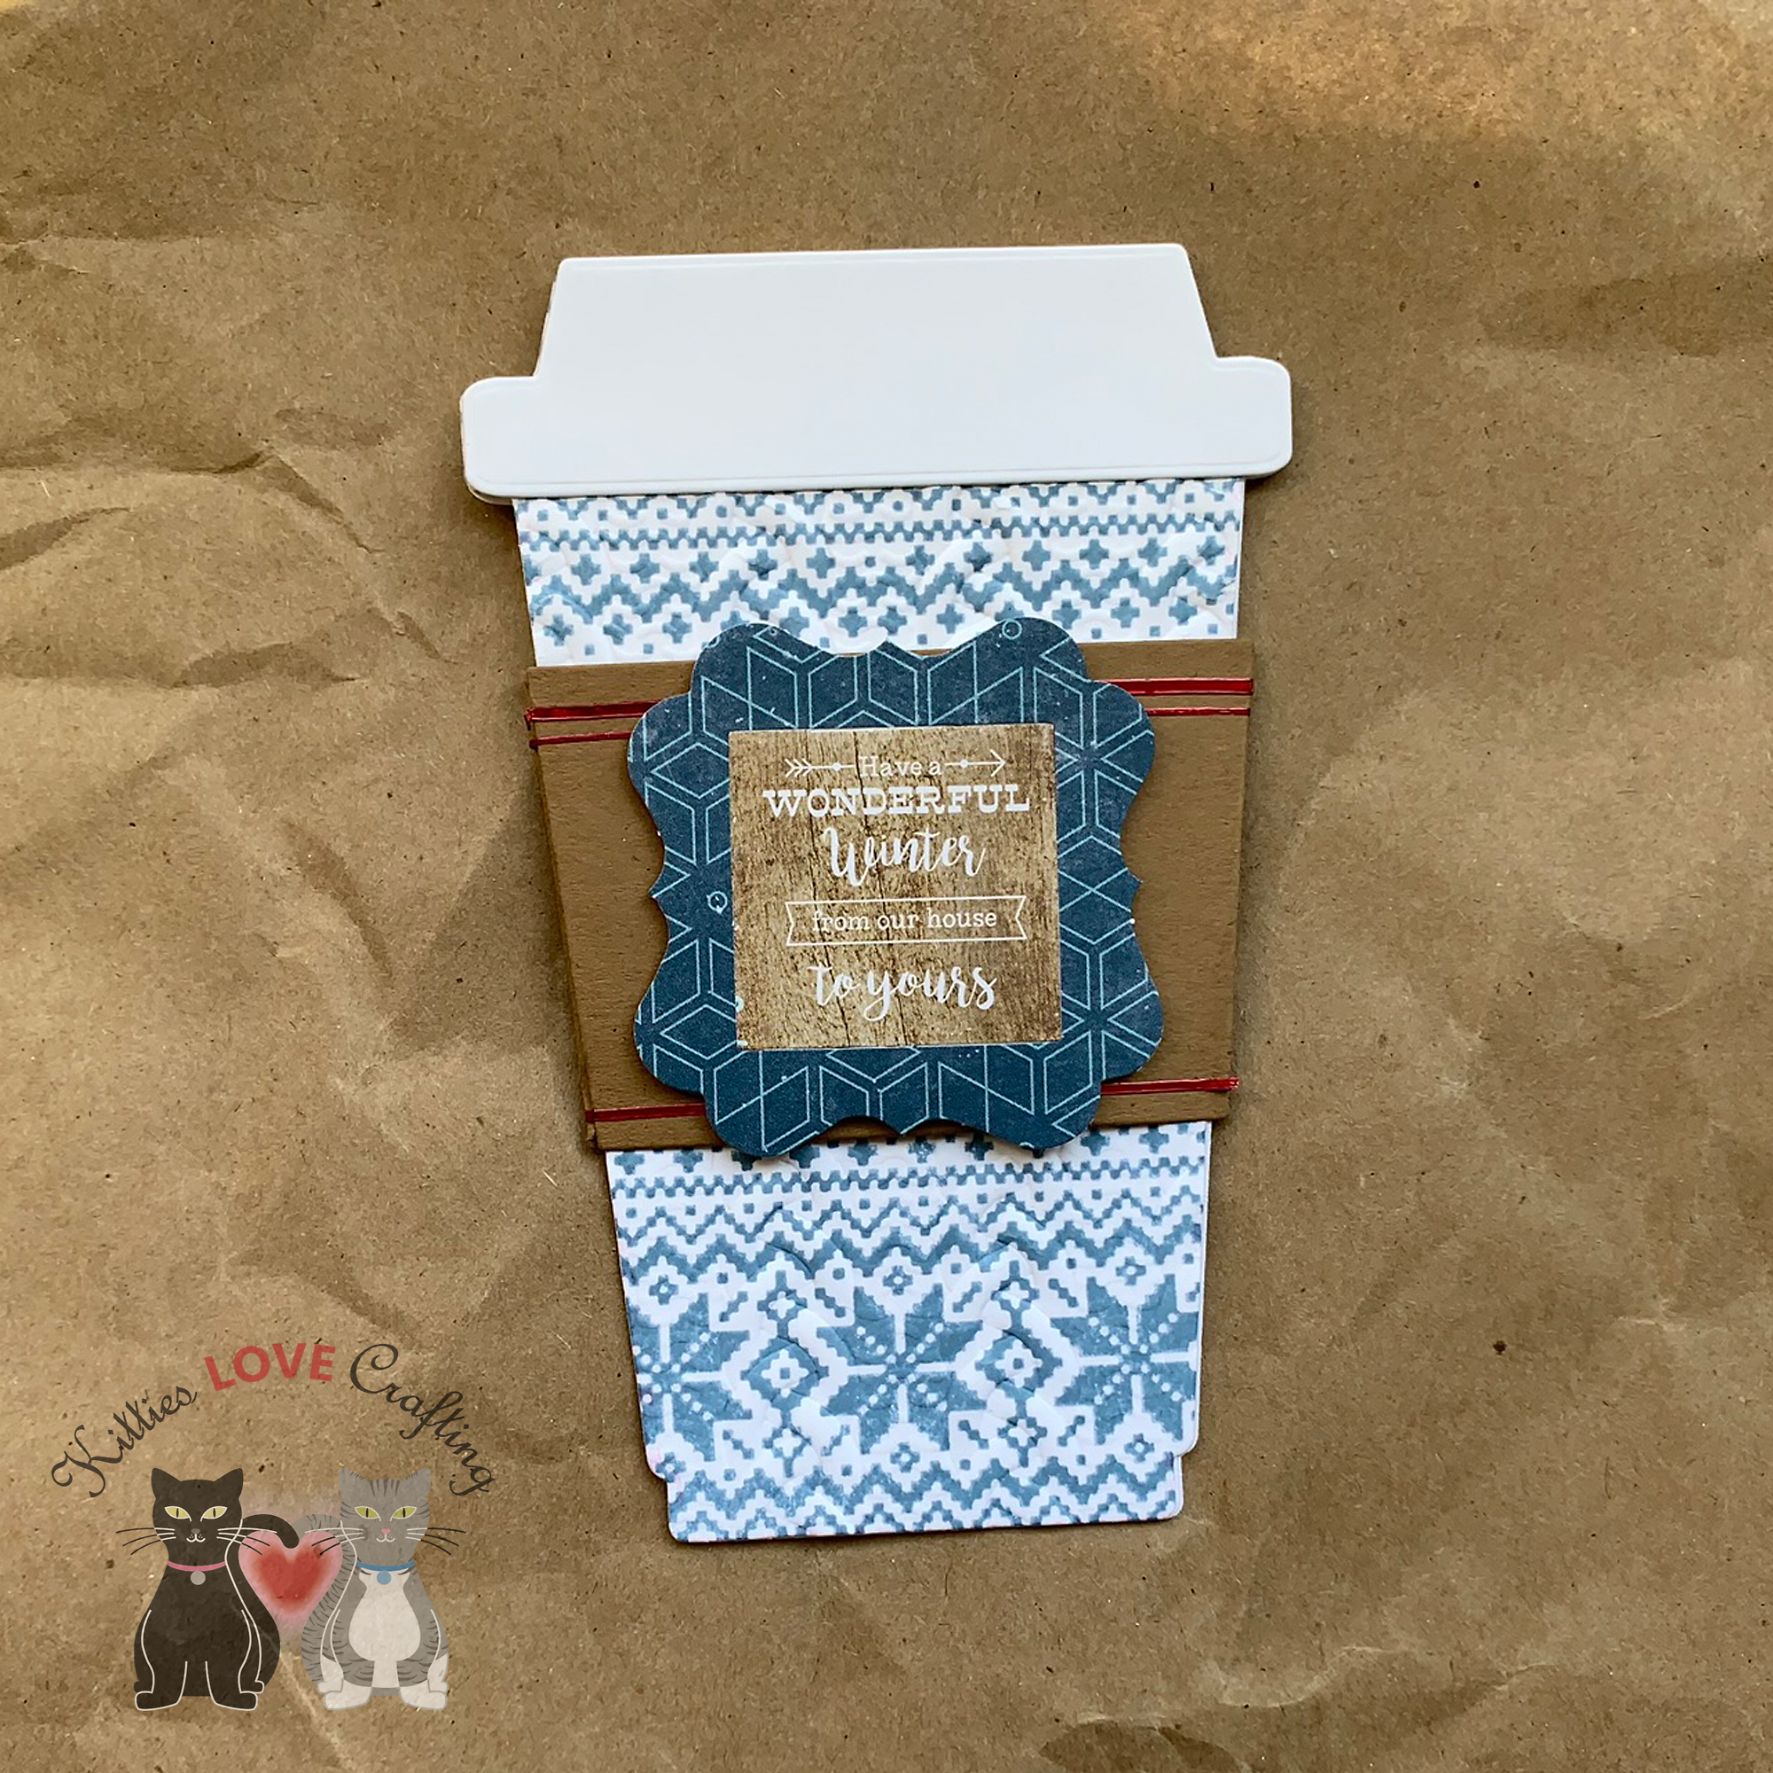
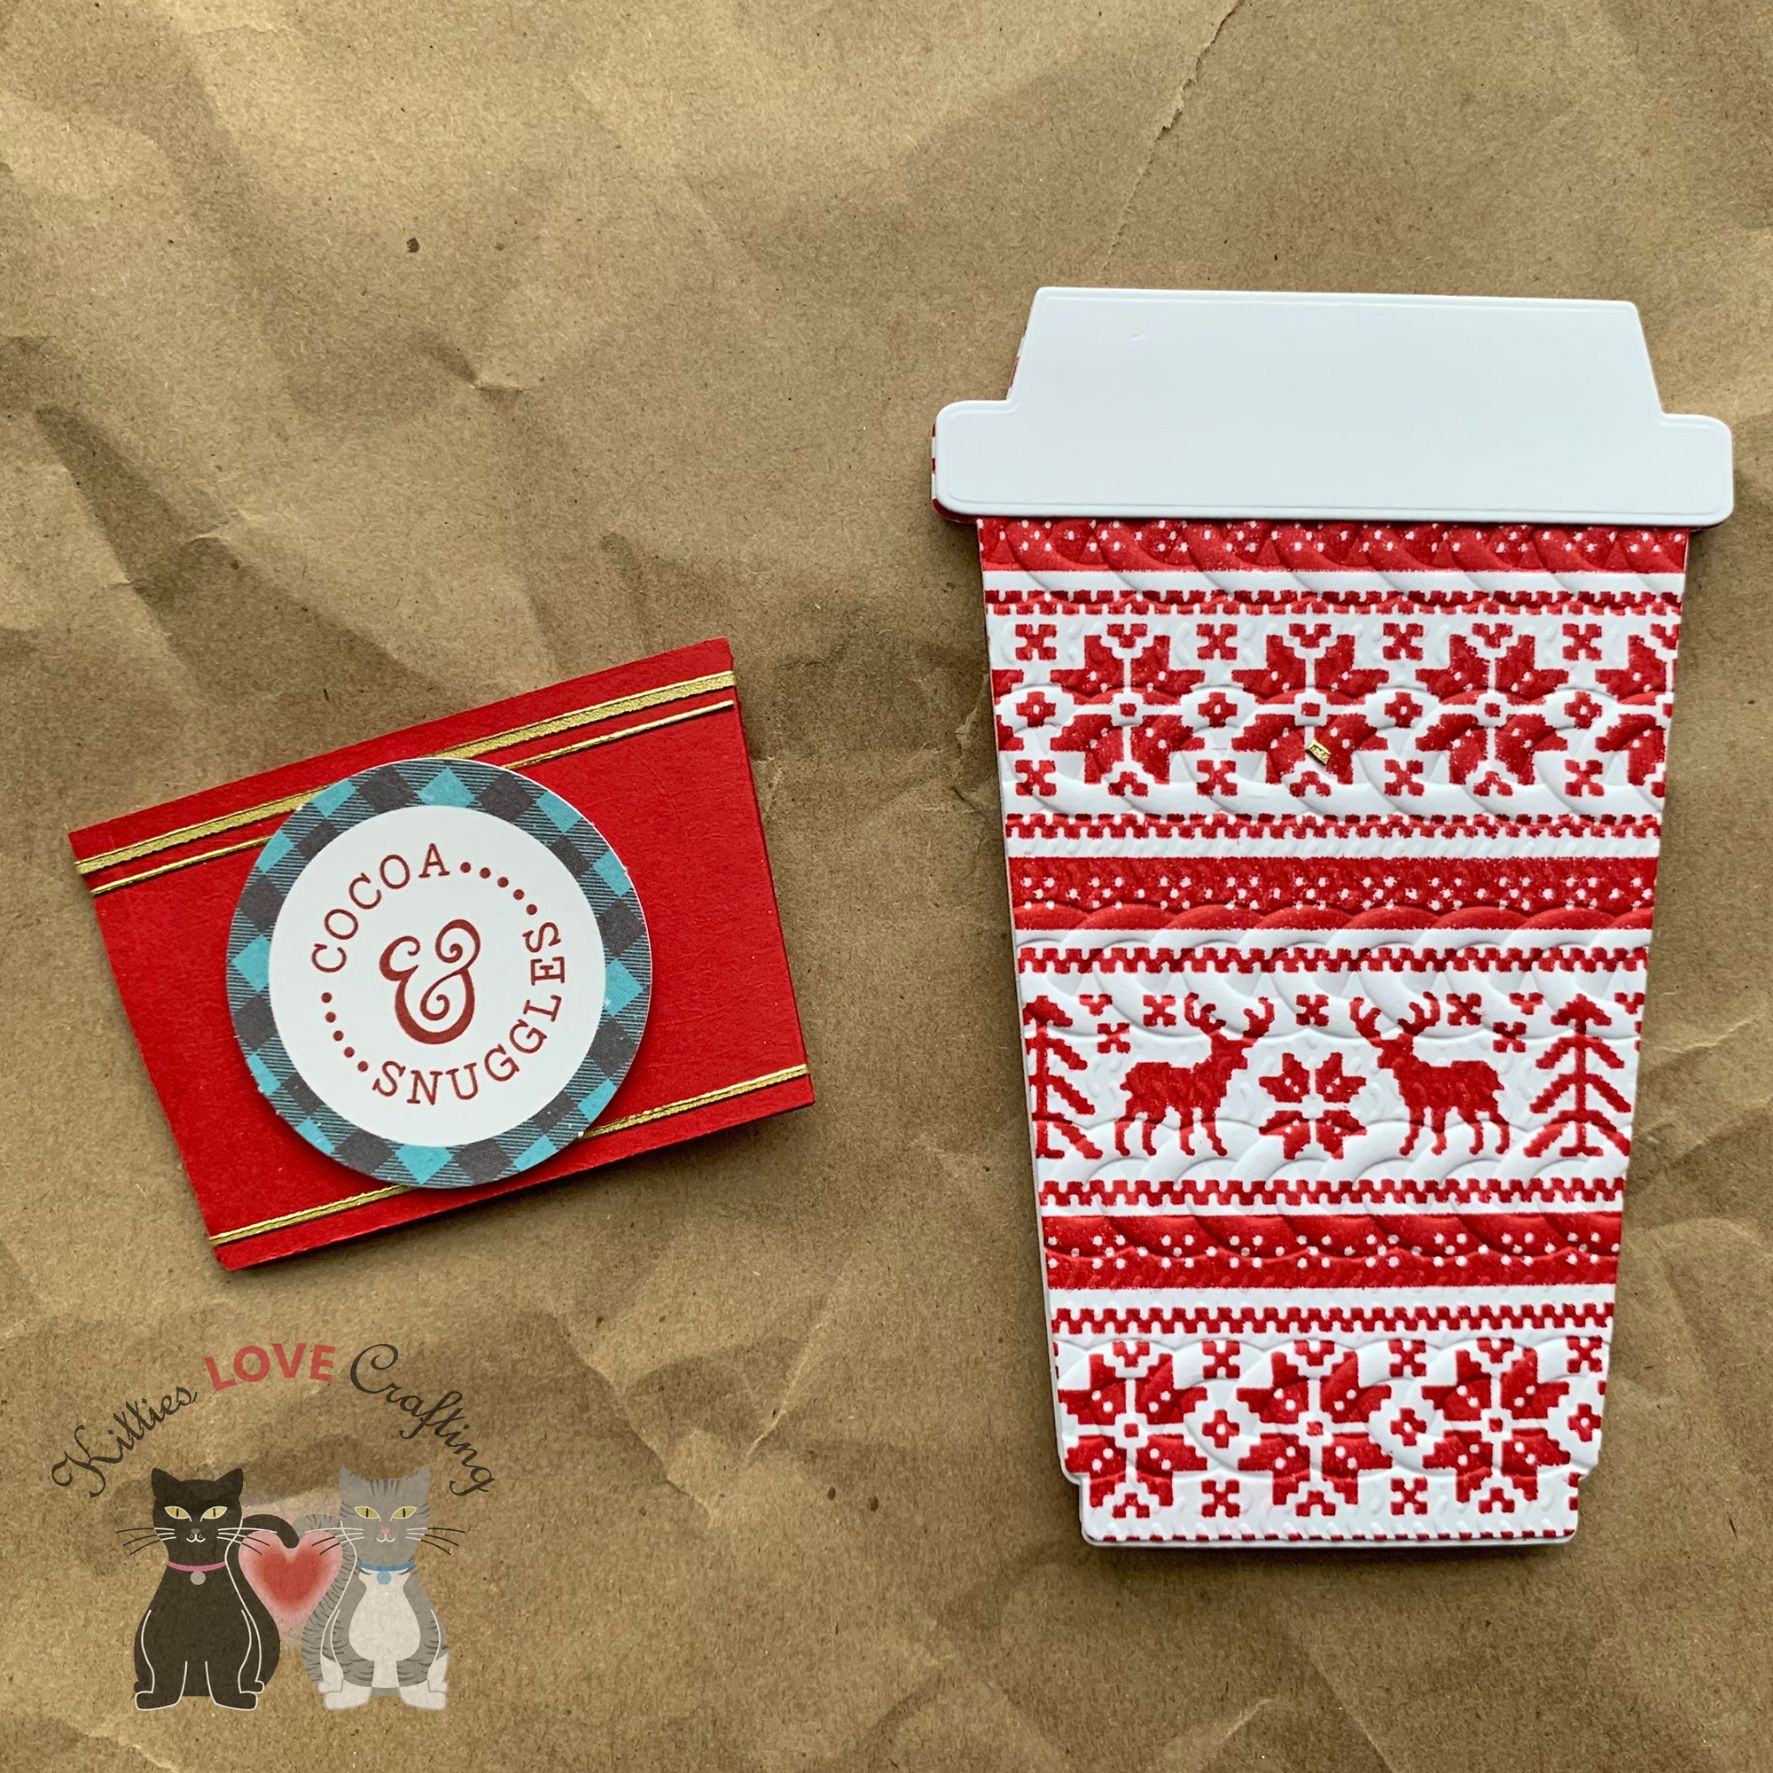
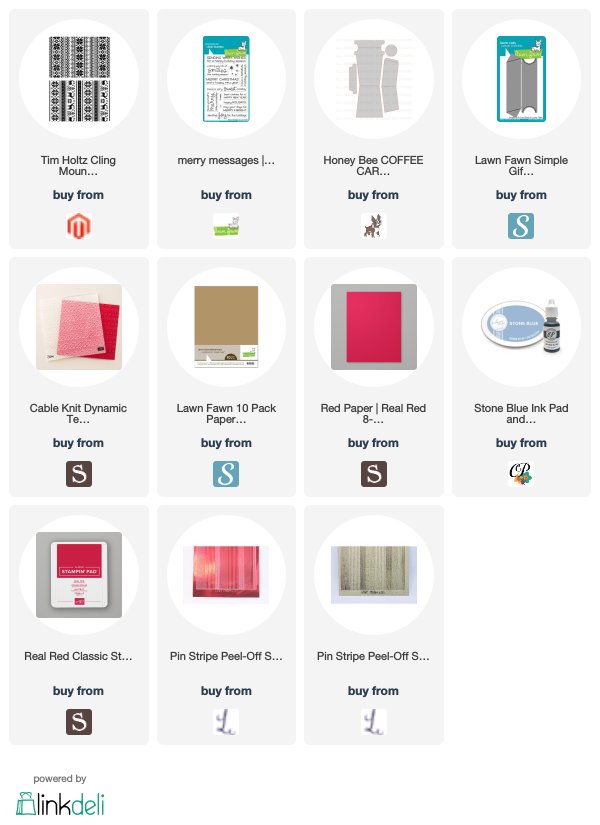
The holidays are all about spending time with family and friends but sometimes we want to give them a gift to show our appreciation of them. Or maybe as a thank you for a teacher or coworker?? These adorable Coffee Take-out Cup-shaped cards are a fun way to do just that. They have a gift card slot in the inside and fit into an A2 size envelope. Don’t have a gift card? Not to worry. Tuck some money in the slot or a cute message. If you prefer to purchase these, they will be available in my shop November 1.
I adhered the front panel to the card bases with Tombow Mono Multi Liquid Glue. Make sure not to glue the openings. And also use a strong (preferably liquid) adhesive when adhering embossed pr textured paper to another surface. A tape runner will not hold onto the textured paper. I adhered the lid onto the card base as well.
I added some Love From Lizi Pin Stripe Peel-offs in Red Mirror on the Paper Bag sleeve and Love From Lizi Gold Mirror Moondust for the red sleeves. I added some tags from the Echo Park I Love Winter and My Favorite Winter ephemera packs (discontinued) to the outside of the sleeve. Then I stamped a “Happy Holidays” sentiment inside the card to complete this card.
Thanks for reading this post and I hope I’ve inspired you to give these cards a try on your own. Leave comments or questions below or feel free to email me.
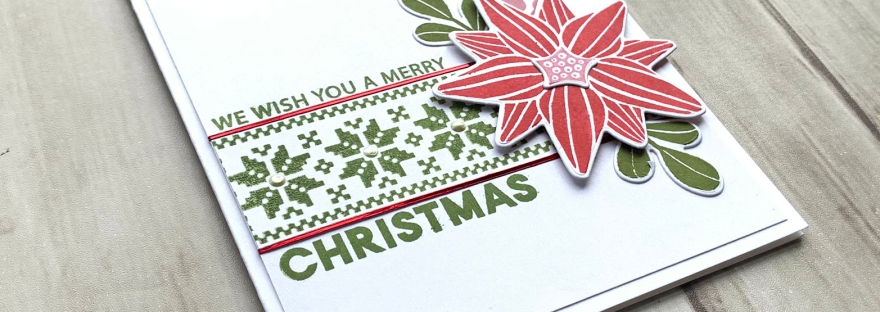
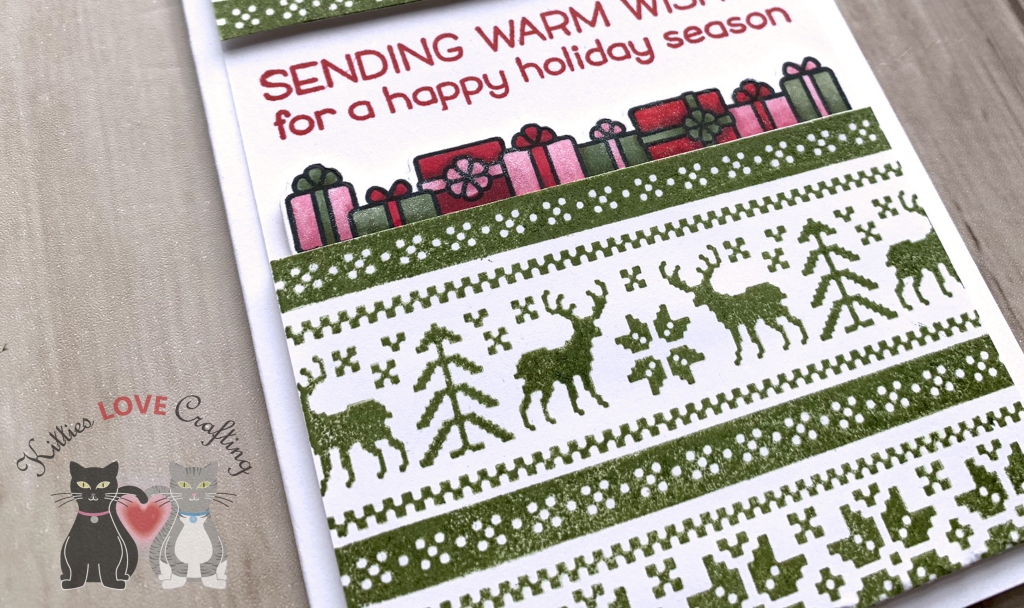
Hello friends. Today I will teach you how to use one stamped background to make two cards. These cards can be easily massed produced. Using a variety of different colored inks as well as embossing powder helps turn these cards into something that looks like it took you hours to make but it didn’t. Shh! I won’t tell. 😀 These will also available in my shop November 1.
I figured out which section of the pattern I wanted to use for my first card and cut that out of each panel, varying the pattern selection for all 3. I reserved the rest of the pieces to make a second card for each. I will end up with 6 cards. Cutting up your background patterns once stamped is a great way to make multiple cards at once.
I cut 2 card bases from Stampin’ Up!Midnight Muse (discontinued) and 4 from Neenah 110lb Classic Crest Cardstock 8.5″X11″ to 5-1/2 x 8-1/2″and scored at 4 1/4″. From the same Neenah cardstock I also cut 6 panels measuring 4 x 5-1/4”.
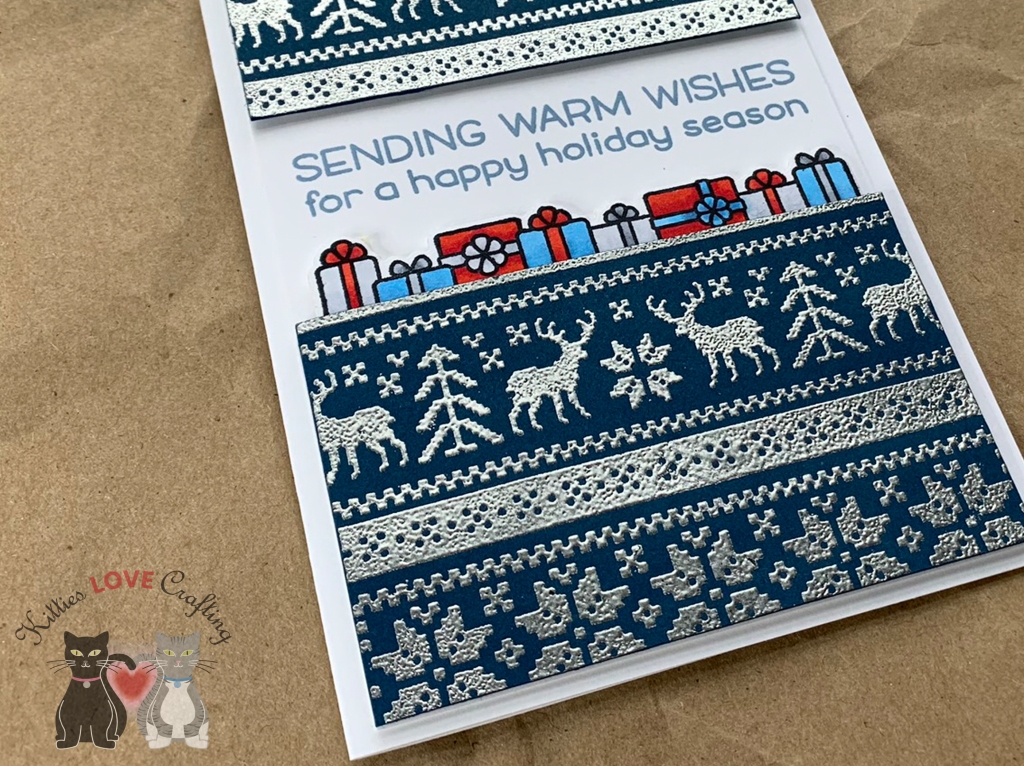
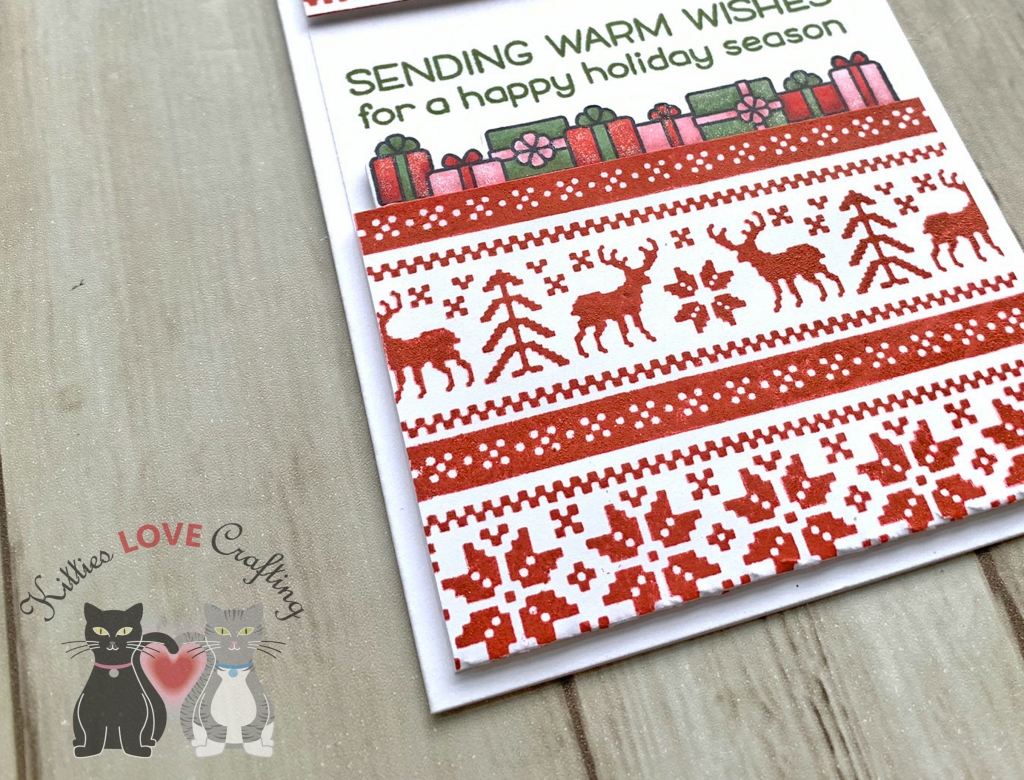
I adhered each of the Holiday Knits pattern strips (about 1-1/8″ x 5-1/4″) to the bottom 1/3 of the white card panel. Then stamped the sentiments from the Lawn Fawn Offset Sayings Christmas stampset in the same color ink as the Holiday Knits pattern above and below the pattern strip. I added some Love From Lizi peel-offs in Red Mirror and Clear Iridescent Pink Glitter to the green and red cards only. I adhered the leaves and berries to the card panelS and popped up the poinsettias with Stampin’ Dimensionals. I added the Snowflakes to the blue card as well with Stampin’ Dimensionals.
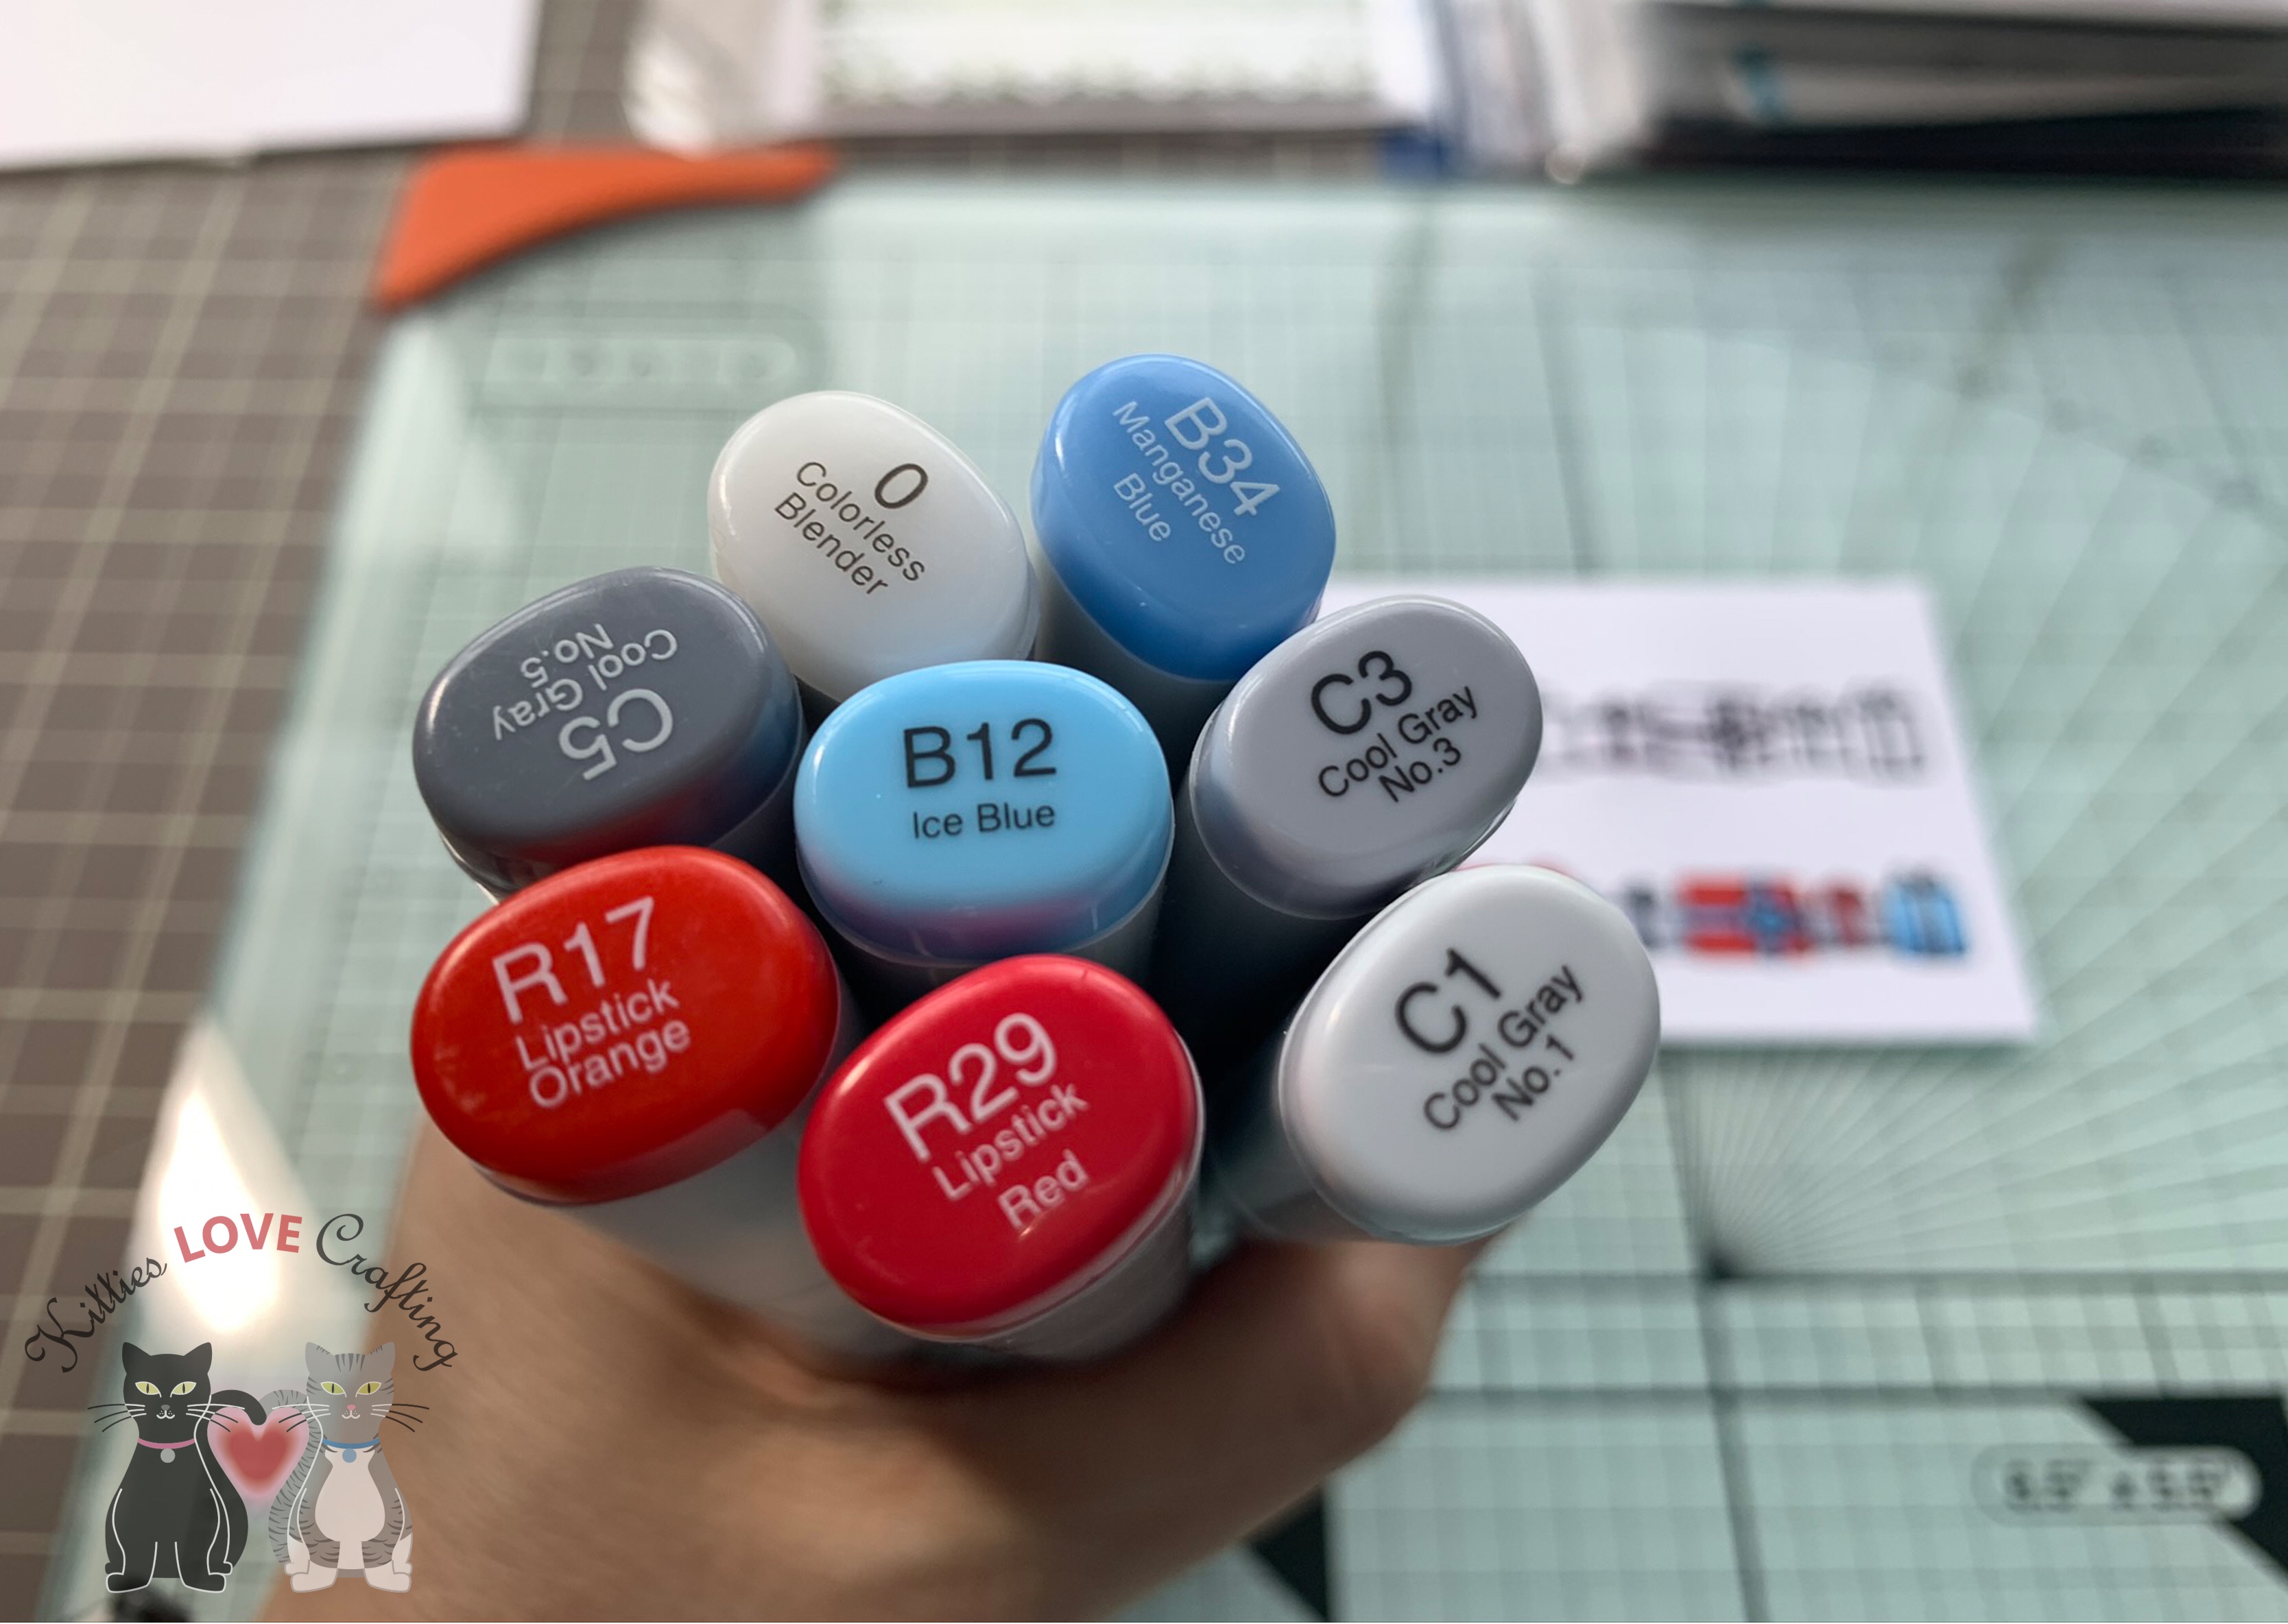
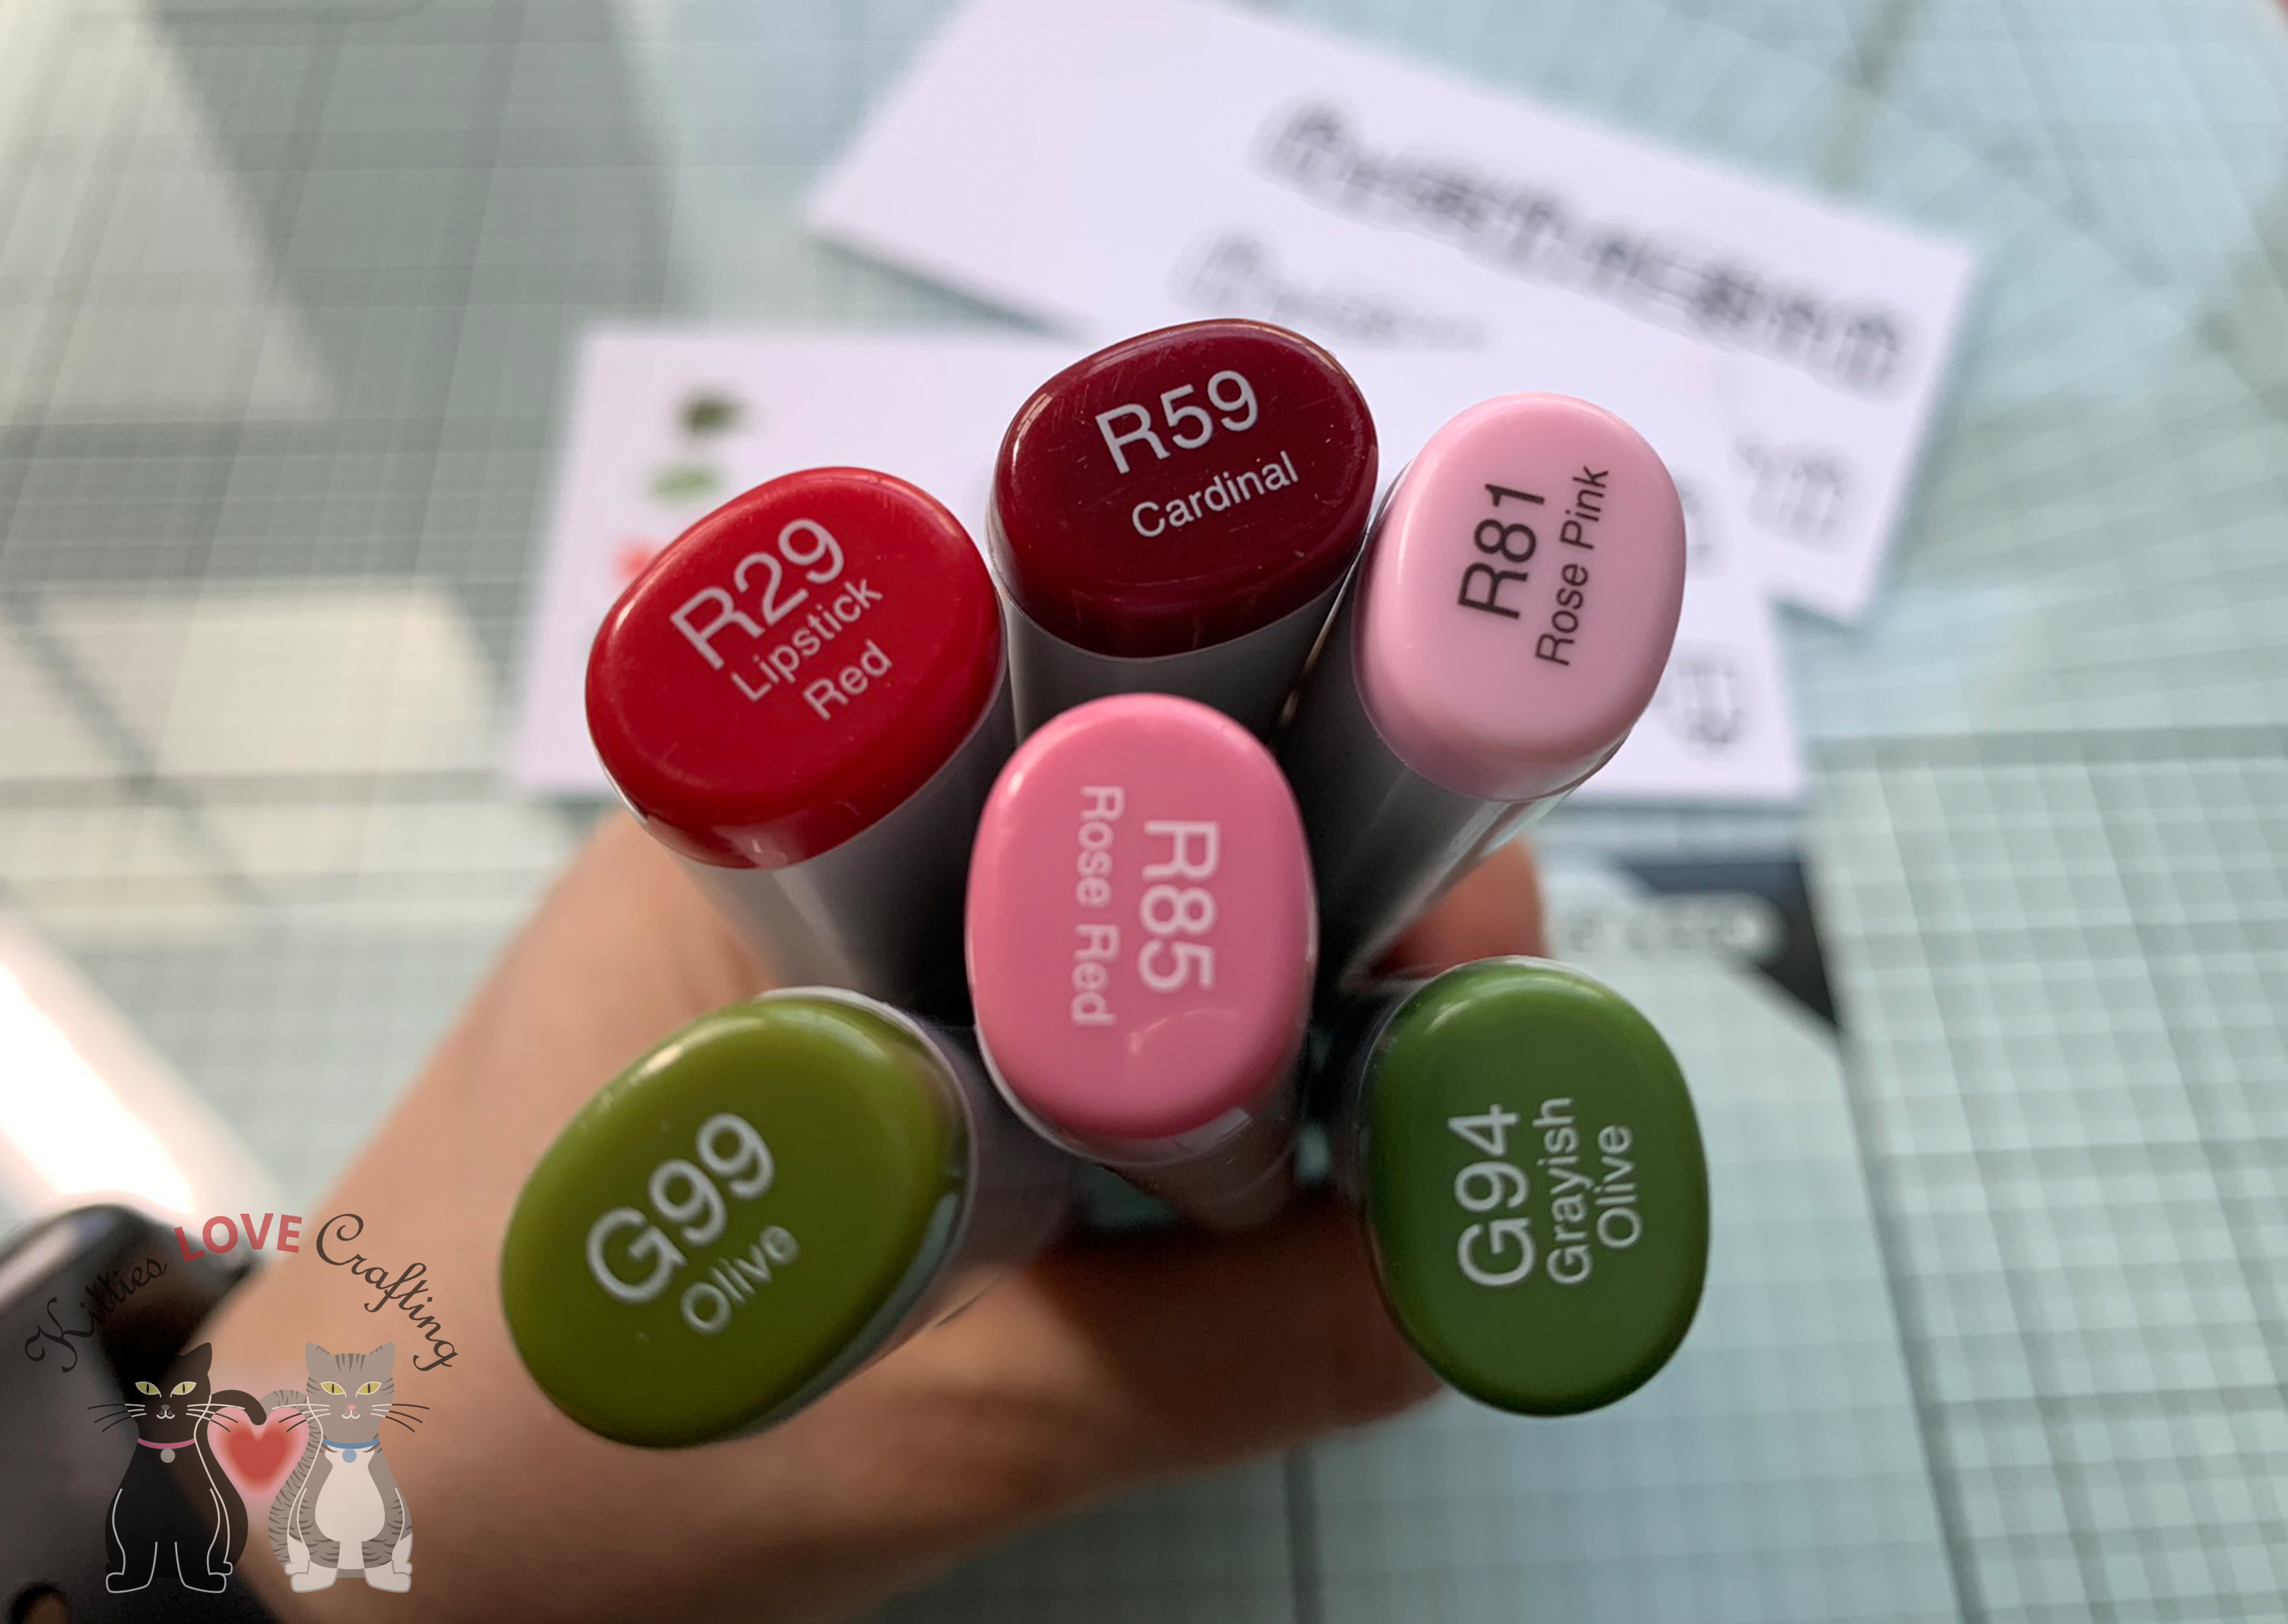
I colored the little presents for the blue card with Copics R17, R29, B12, B34, C1, C3 and C5 and the ones for the red and green ones in R81, R85, R29, R59, G94, and G99.
I diecut them with their coordinating dies and adhered them partially behind the longer piece of the pattern paper. Then I added 3M Foam Tape to the back of the two pieces of patterned paper and adhered it to the white panel I previously cut and adhered that whole piece to the card base. I repeated this for all three cards. And that completes these 6 simple and quick cards.
Thanks for reading this post and I hope I’ve inspired you to give these cards a try on your own. Leave comments or questions below or feel free to email me.
Thanks for reading this post and I hope I’ve inspired you to make this fun spooky Halloween card. Leave comments or questions below or feel free to email me.
Happy Friday everyone! Halloween is just about 4 weeks away! Have you picked out your costumes yet?!? What will you be for Halloween???
This card cute Halloween card uses old and knew Halloween supplies from various companies. The adorable black cat and his hat come from an older Stampin’ Up! Designer Series Halloween Paper Collection. I punched him out using a coordinating punch.
Thanks for reading this post and I hope I’ve inspired you to go make some Halloween cards of your own. Leave comments or questions below or feel free to email me.