Hello friends. This mini stamp and die set, Feelin Bleu, from Trinity Stamps is just too cute! Had to make a card with it. This turned out to be a really quick card to make. Love that!

For this card, I cut a piece of Neenah 100lb Classic Crest Cardstock 8.5 X 11″ to 5-1/2 x 8-1/2″ and scored at 4-1/4″ to create a card base, and another piece of Stampin’ Up! Crushed Curry 80lb 8-1/2 x 11 Cardstock (retired) to 4 x 5-1/4″. I embossLove Fed this panel using the Cheesy Background 6×6 Stencil. To accomplish this, I used the same sandwich in my Sizzix Big Shot as I do for embossing folders which includes adding an impression plate and silicone plate (check your die cutting machine for the proper sandwich).
Then I added some more dimension by coloring the raised areas with Ranger Tim Holtz Wild Honey Distress Oxides Ink. Next, I cut a strip of pattern paper from Honey Bee Stamps The Bees Knees 6 x 6 Paper Pad (unavailable) to 1 x 5-1/4″. And added some Love From Lizi Black Glitter Peel-offs.
I die cut a scalloped circle, measuring 2-3/4″, from Simon Says Stamp 100lb Black Cardstock and another circle from Neenah 100lb Classic Crest Cardstock 8.5 X 11″, measuring 2-3/8″, using the Stampin’ Up! Layering Circles Dies (retired).
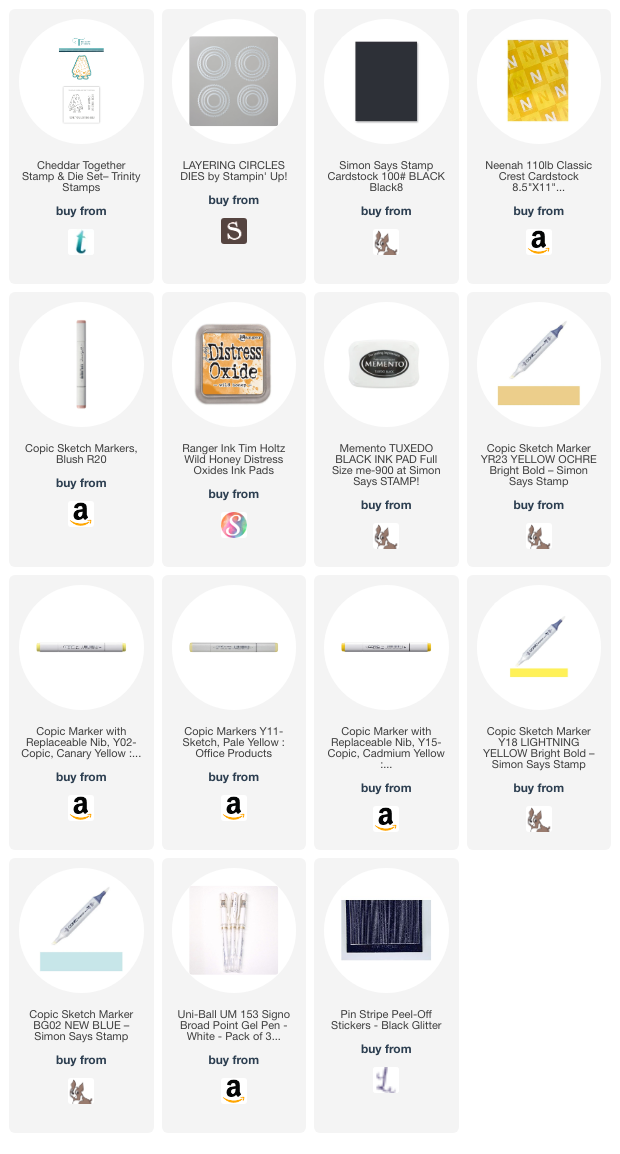
I stamped the cheddar image from the Trinity Stamps Feelin Bleu Stamp & Die Set onto Neenah 100lb Classic Crest Cardstock 8.5 X 11″ with Memento Tuxedo Ink. I colored the image with Copic Markers. I used R20, Y02, Y11, Y15, Y18, YR23, and BG02 (tears).
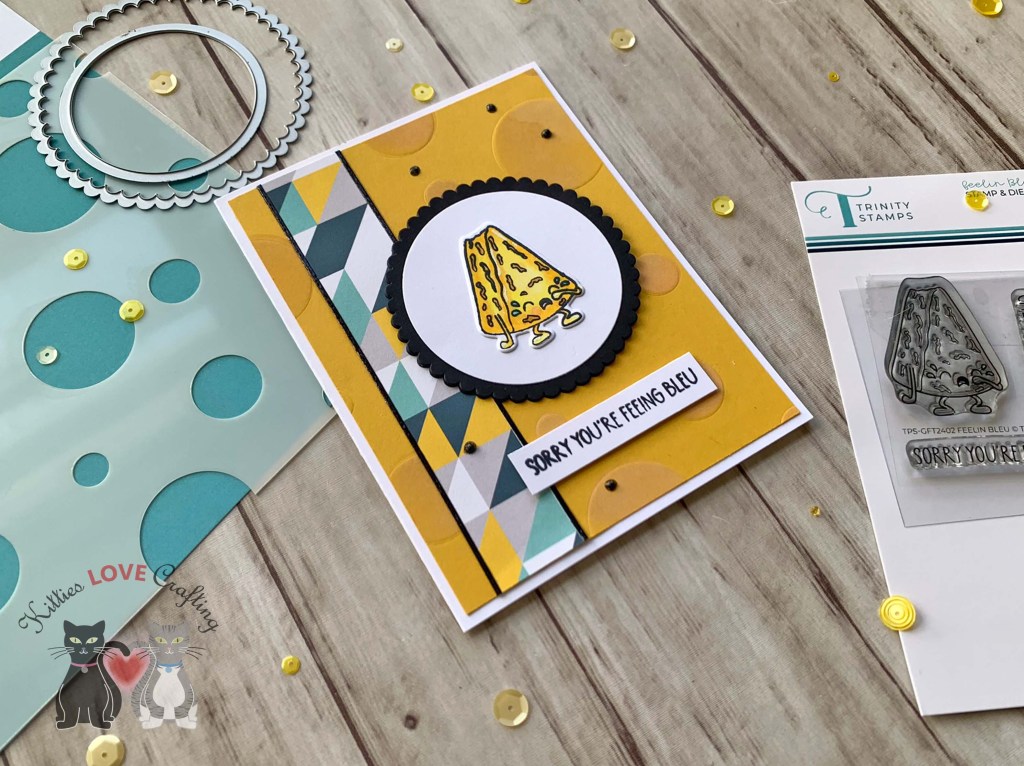
I stamped the sentiment from the stampset onto Neenah 100lb Classic Crest Cardstock 8.5 X 11″ with Memento Tuxedo Ink and cut the strip to 1/2 x 2-1/4″. I finished off the card by adding som Nuvo Midnight Sky Glitter Drops (not sure if this is still available).
On the inside of the card, I added a strip of pattern paper from Honey Bee Stamps The Bees Knees 6 x 6 Paper Pad (unavailable) to 1 x 5-1/2″ and stamped a sentiment from the same stampset with Memento Tuxedo Ink.

Dimensions
- Card Base = 5-1/2 x 8-1/2″ and scored at 4-1/4″ Neenah 100lb Classic Crest Cardstock 8.5 X 11″
- Background Panel = 4 x 5-1/4″ Stampin’ Up! Crushed Curry 80lb 8-1/2 x 11 Cardstock (retired); 1 x 5-1/4″ Honey Bee Stamps The Bees Knees 6 x 6 Paper Pad (unavailable)
- Inside Strip = 1 x 5-1/2″ Honey Bee Stamps The Bees Knees 6 x 6 Paper Pad (unavailable)
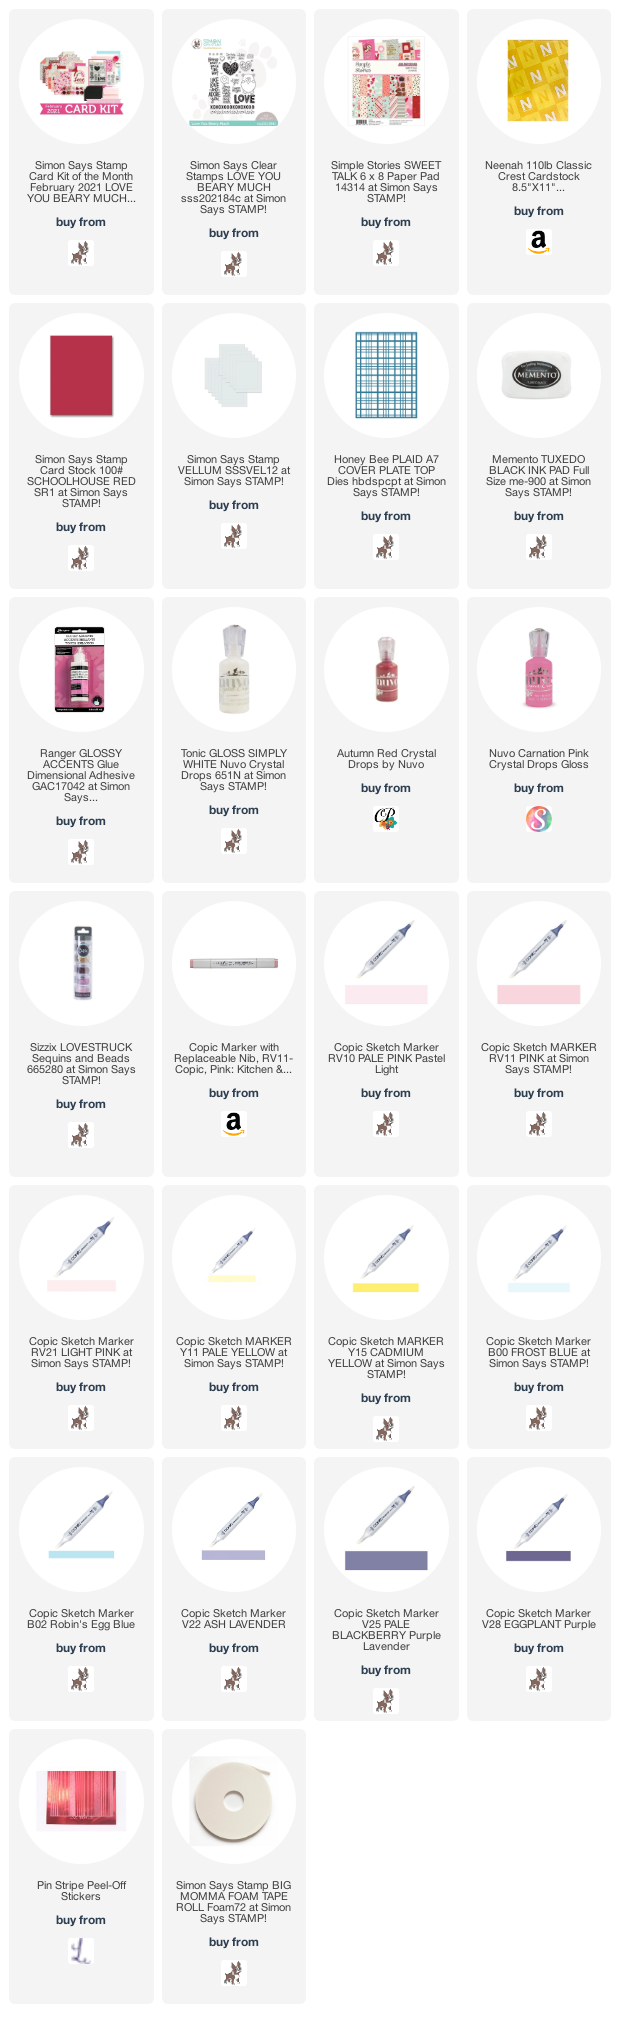
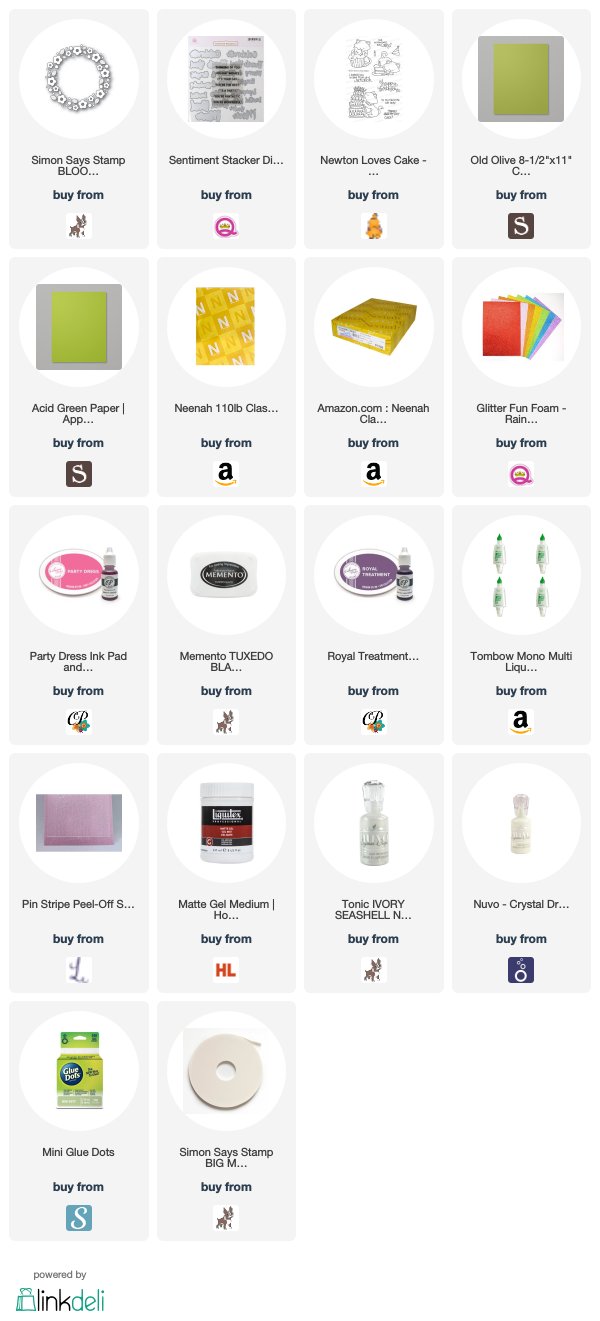
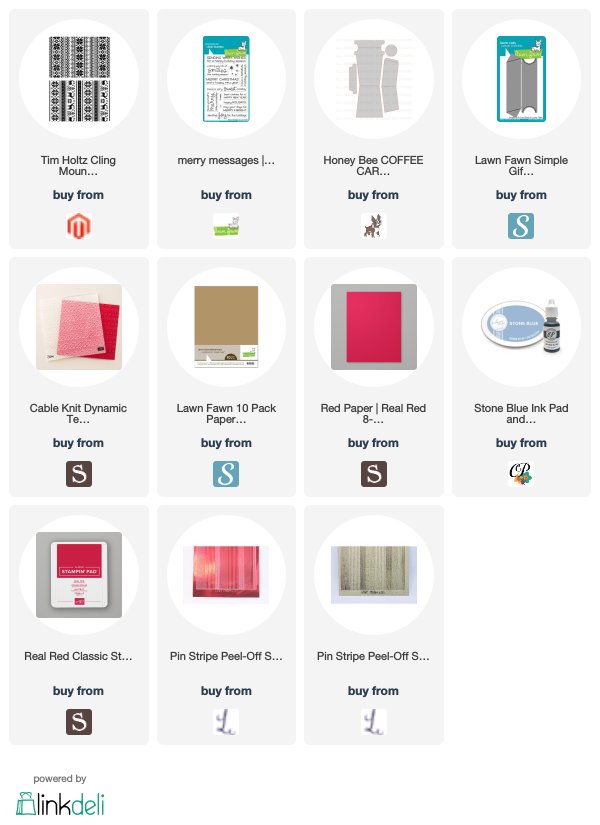
Supplies
 https://linkdeli.com/widget.js?id=f5e8378456858c916708
Thanks for reading this post. I hope I’ve inspired you to give this cute get well card a try for yourself. Leave comments or questions below or feel free to email.