Hello friends. Here are some easy watercolor cards anyone can make! While I am an artist I am not super comfortable doing freehand watercolor paintings. But these 3 cards were very easy to make. If you cannot draw either use a stencil, die or printable to trace a simple drawing. I used this technique for one of my cards. More on this later…


For the first card, I cut a piece of Neenah 100lb Classic Crest Cardstock 8.5 X 11″ to 5-1/2 x 8-1/2″ and scored at 4-1/4″ to create a card base and a piece to Watercolor Paper to 3-3/4 x 5″. I also cut a piece of Doodlebug Dot Stripe Rainbow Petite Prints 6×6 Paper to 4-1/4 x 5-1/2″.
I did a quick sketch for the egg (I actually used an egg shaped framelit die to trace the outside). I used my Kuretake GANSAI TAMBI Watercolor Paint Set (I love this set!) to color the egg. I kept the coloring simple – one color and white. You can be as elaborate with your painting as you like though. Once the egg and grass were colored and dry, I added some splatters with some Zig Kuretake Gansai Tambi STARRY COLORS. Then I added some sketchy lines around the egg with a 0.5 Sakura Pigma Micron Fineliner Pen.

I used the Simon Says Stamp Foil Transfer Cards Fancy Happy Easter Splendor with Therm O Web Gina K Designs GLIMMERING GOLD Fancy Foil Deco Foil for the sentiment and fussycut it out. And then also used a sentiment from the Simon Says Stamp REVERSE EASTER WISHES Sentiment Strips.

On the inside of the card, I cut a strip of pattern a paper from Doodlebug Dot Stripe Rainbow Petite Prints 6×6 Paper to 1 x 4-1/4″. And added another sentiment from the Simon Says Stamp REVERSE EASTER WISHES Sentiment Strips.

Dimensions
- Card Base = 5-1/2 x 8-1/2″ and scored at 4-1/4″ Neenah 100lb Classic Crest Cardstock 8.5 X 11″
- Top Panel = 3-3/4 x 5″ Watercolor Paper
- Background Panel = 4-1/4 x 5-1/2″ Doodlebug Dot Stripe Rainbow Petite Prints 6×6 Paper
- Inside Strip = 1 x 4-1/4″ Doodlebug Dot Stripe Rainbow Petite Prints 6×6 Paper
For the second card, I cut a piece of Neenah 100lb Classic Crest Cardstock 8.5 X 11″ to 5-1/2 x 8-1/2″ and scored at 4-1/4″ to create a card base and a piece of Watercolor Paper to 4 x 5-1/4″.
While I do not have a picture of the sketch to show you, I just drew very basic shapes for the balloons. They don’t have to be perfect. If you feel like you cannot draw them, get an image from the internet etc and trace it or use stencils or dies. Again very simple painting here. This time I used one color plus a White Gold watercolor from the Zig Kuretake Gansai Tambi STARRY COLORS.
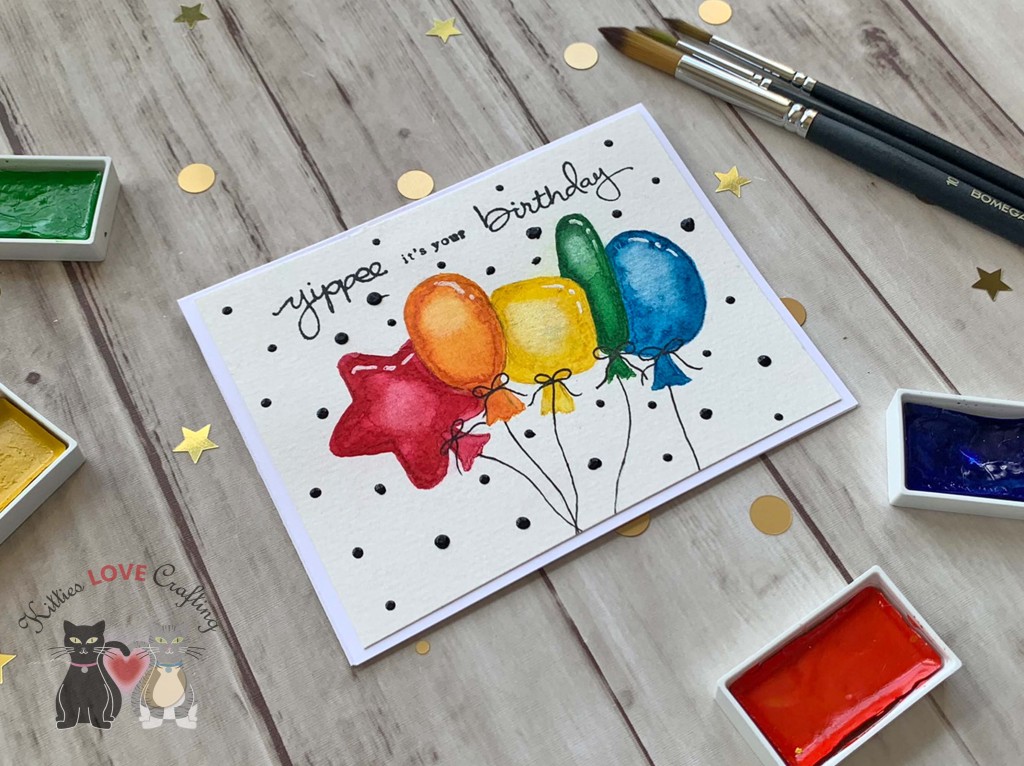
I added the balloon strings using my 0.5 Sakura Pigma Micron Fineliner Pen.
I stamped a sentiment from the Stampin’ Up! Endless Birthday Wishes Stampset (retired) and Catherine Pooler Designs Midnight Ink. I finished off the card by adding some highlights to the balloons with a Uni-ball Signo White Broad Point Gel Pen and some Tonic Ebony Black Nuvo Drops.
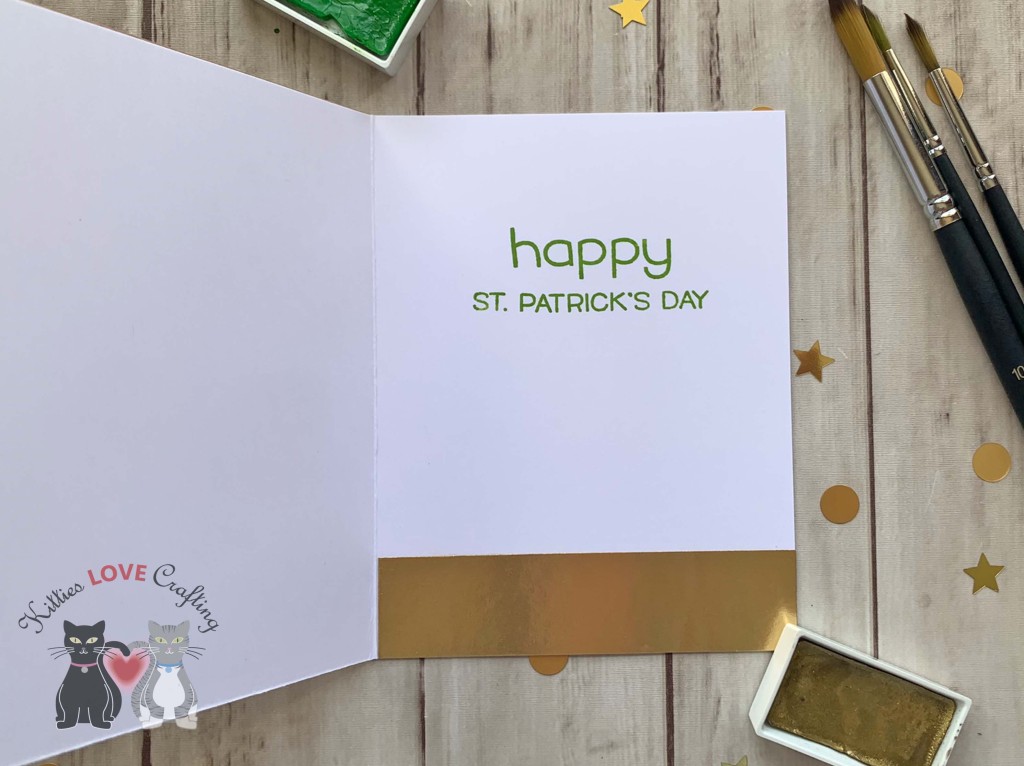
On the inside of the card, I stamped a sentiment from Stampin’ Up! Biggest Wish (retired) with Catherine Pooler Designs Midnight Ink.

Dimensions
- Card Base = 5-1/2 x 8-1/2″ and scored at 4-1/4″ Neenah 100lb Classic Crest Cardstock 8.5 X 11″
- Top Panel = 4 x 5-1/4″ Watercolor Paper
For the third card, I cut a piece of Neenah 100lb Classic Crest Cardstock 8.5 X 11″ to 5-1/2 x 8-1/2″ and scored at 4-1/4″ to create a card base, a piece to Watercolor Paper to 4 x 5-1/4″ and a piece of Tim Holtz Idea-ology 8 X 8 Paper Stash Metallic Kraft Stock. to 4-1/4 x 5-1/2″.

The sketch for this card was super simple. I drew 3 hearts and a stem. I used my Kuretake GANSAI TAMBI Watercolor Paint Set again. And finished the background by adding some splatters with White and Gold Acrylic paint.
I die cut the sentiment word from Tim Holtz Idea-ology 8 X 8 Paper Stash Metallic Kraft Stock using the Simon Says Stamp Fancy Lucky Wafer Dies. And added a sentiment strip from the Simon Says Stamp Reverse Lucky Sentiment Strips.
On the inside of the card, I added a strip of metallic paper cut to 1 x 4-1/4″ and stamped a sentiment from Happy Happy Happy Add-on with Catherine Pooler Designs Lime Rickey Ink.
Dimensions
- Card Base = 5-1/2 x 8-1/2″ and scored at 4-1/4″ Neenah 100lb Classic Crest Cardstock 8.5 X 11″
- Top Panel = 4 x 5-1/4″ Watercolor Paper
- Background Panel = 4-1/4 x 5-1/2″ Tim Holtz Idea-ology 8 X 8 Paper Stash Metallic Kraft Stock
- Inside Strip = 1 x 4-1/4″ Tim Holtz Idea-ology 8 X 8 Paper Stash Metallic Kraft Stock
Supplies
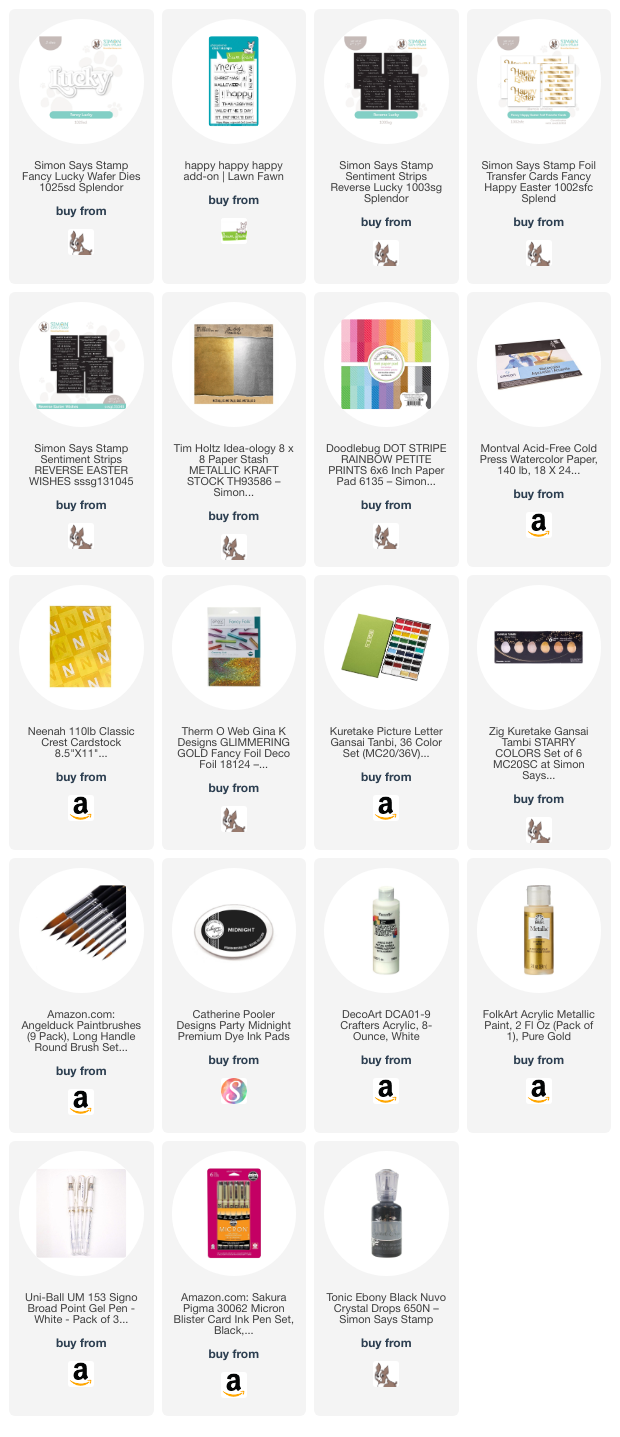 https://linkdeli.com/widget.js?id=f5e8378456858c916708
Thanks for reading this post. I hope I’ve inspired you to give these easy watercolor cards a try for yourself. Leave comments or questions below or feel free to email.