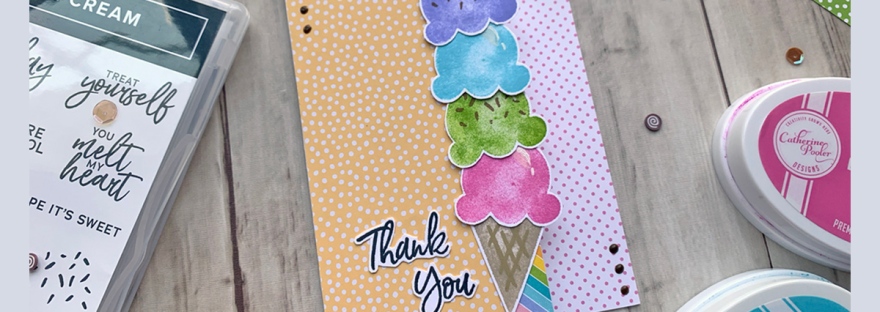
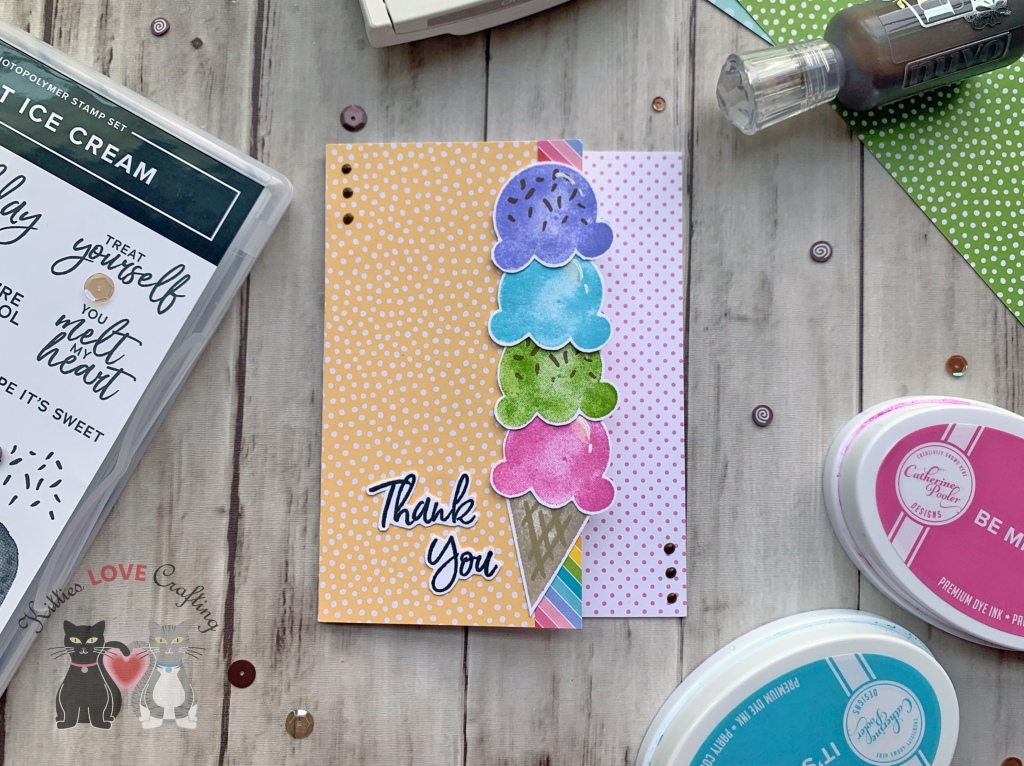
Hello friends. I could not help but make some more baby cards with the Lawn Fawn Giant Outlined Hello Baby Die. It’s such a fun die to play with. I combined this one with images from an older stampset I have, the Lawn Fawn Hello Baby Stampset (which ironically has the same name as the die but is now discontinued).

For this card, I cut a piece of Neenah 100lb Classic Crest Cardstock 8.5 X 11″ to 5-1/2 x 8-1/2″ and scored at 4-1/4″ to create a card base. And another piece from the Doodlebug 6 x 6 Kraft in color – color paper to 4-1/4 x 5-1/2. I die cut a scalloped panel from Stampin’ Up! Balmy Blue 12 x 12 Glimmer Cardstock (retired) using the Catherine Pooler Tags, Etc Die set.
I die cut the sentiment panel from Neenah 100lb Classic Crest Cardstock 8.5 X 11″ and Echo Park – Bundle of Joy (Dots & Stripes) 6 x 6 Paper Pack (discontinued) using Lawn Fawn Giant Outlined Hello Baby Die.

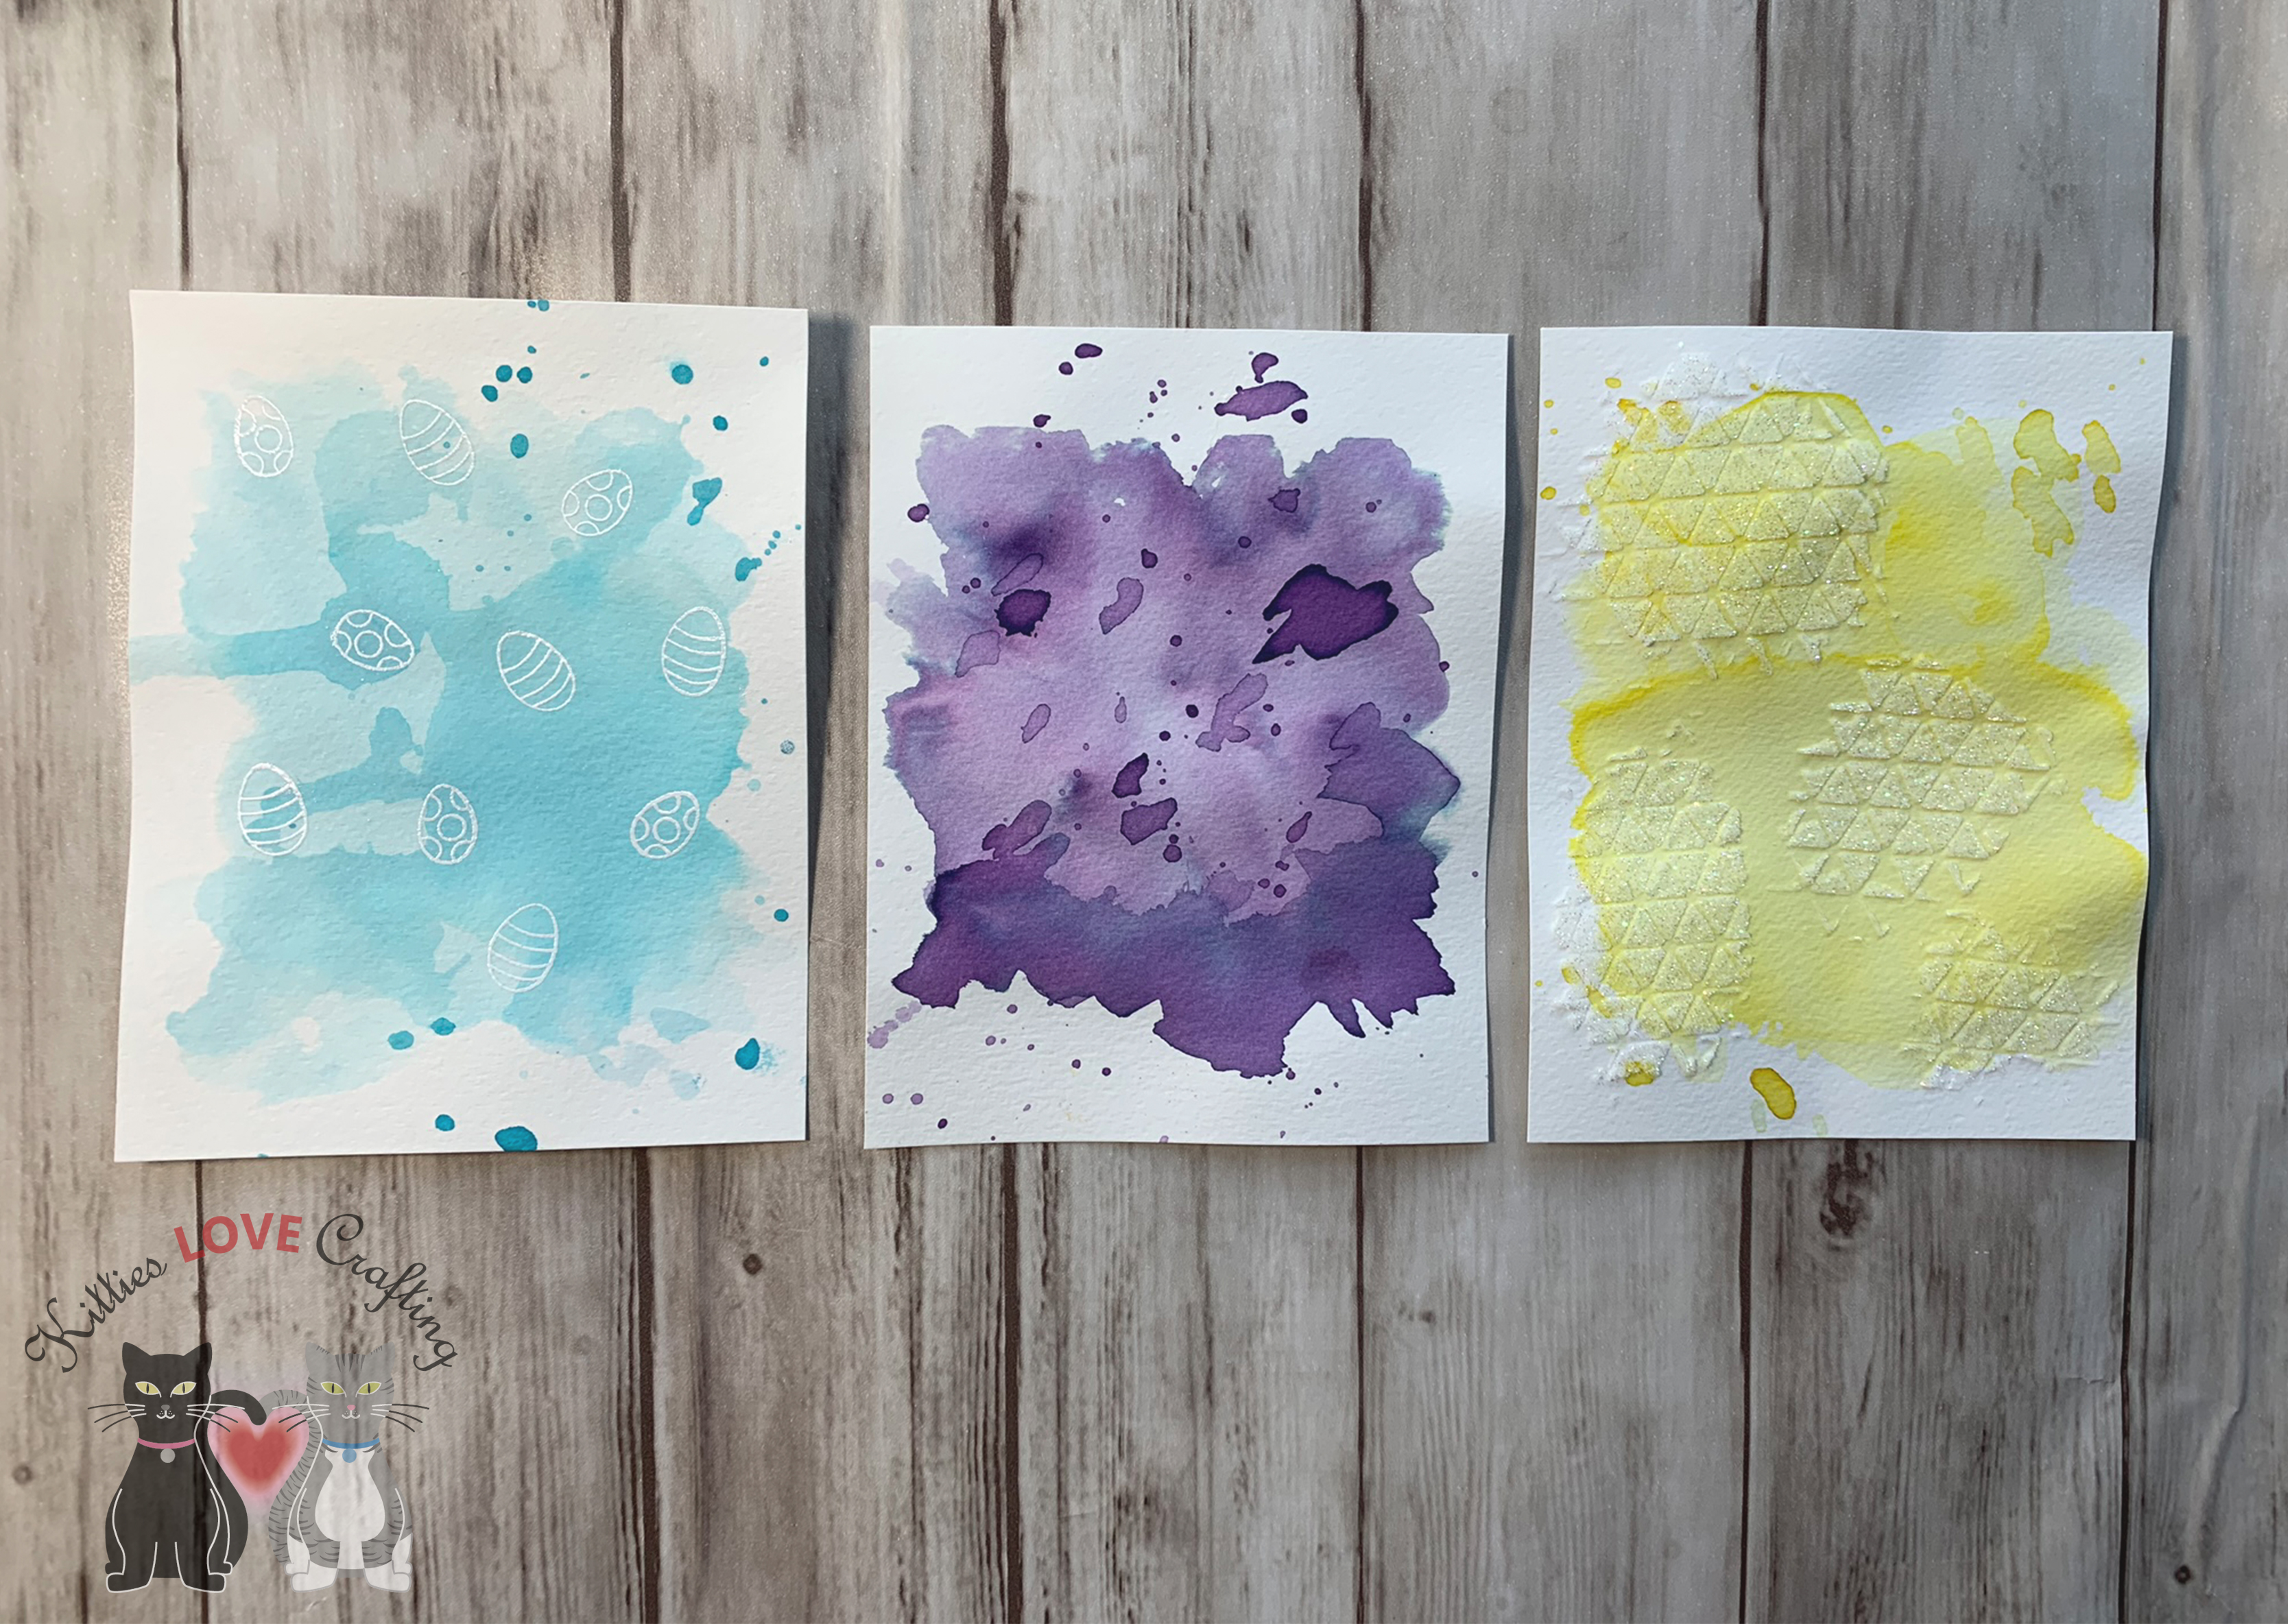
For the background, I cut a piece of Watercolor Paper to 3-3/4 x 5″. Then used Tim Holtz Squeezed Lemonade, Mustard Seed, and Wild Honey Distress Inks.
I stamped images from the Lawn Fawn Hello Baby Stampset (discontinued) onto some Neenah 100lb Classic Crest Cardstock 8.5 X 11″ with Memento TUXEDO BLACK Ink and colored them with Copic Markers. I used YG25, YG17 & YG01 and Y02, Y13, & Y15 for the frog; C1, C3 & C5, R20 for the bunny; BG000 & 0 for the cloud; Y02, Y13, & Y15, R20, YR09 & YR16 for the ducks; YG25 & YG17 for the rattles; and B14, B16 & B12 for the umbrella.
I stamped the rest of the sentiment from the Lawn Fawn Hello Baby Stampset (discontinued) onto some Neenah 100lb Classic Crest Cardstock 8.5 X 11″ with Memento TUXEDO BLACK Ink and trimmed it down to 1/2 x 3″ and cut banner tales on one side.
On the inside of the card I added two strips of pattern paper measuring 1 x 4-1/4″ and 3/4 x 4-1/4″ and a duck.

Dimensions
- Card Bases = 5-1/2 x 8-1/2″ and scored at 4-1/4″ Neenah 100lb Classic Crest Cardstock 8.5 X 11″
- Top Panels = 4-1/4 x 5-1/2″ Doodlebug 6 x 6 Kraft in color – color paper
- Background Panel = 3-3/4 x 5″ Watercolor Paper
- Sentiment Panels = Neenah 100lb Classic Crest Cardstock 8.5 X 11″, Echo Park – Bundle of Joy (Dots & Stripes) 6 x 6 Paper Pack (discontinued); 1/2 x 3″ Neenah 100lb Classic Crest Cardstock 8.5 X 11″
- Inside Panel = 1 x 4-1/4″ Doodlebug 6 x 6 Kraft in color – color paper and 3/4 x 4-1/4″ Echo Park – Bundle of Joy (Dots & Stripes) 6 x 6 Paper Pack (discontinued)
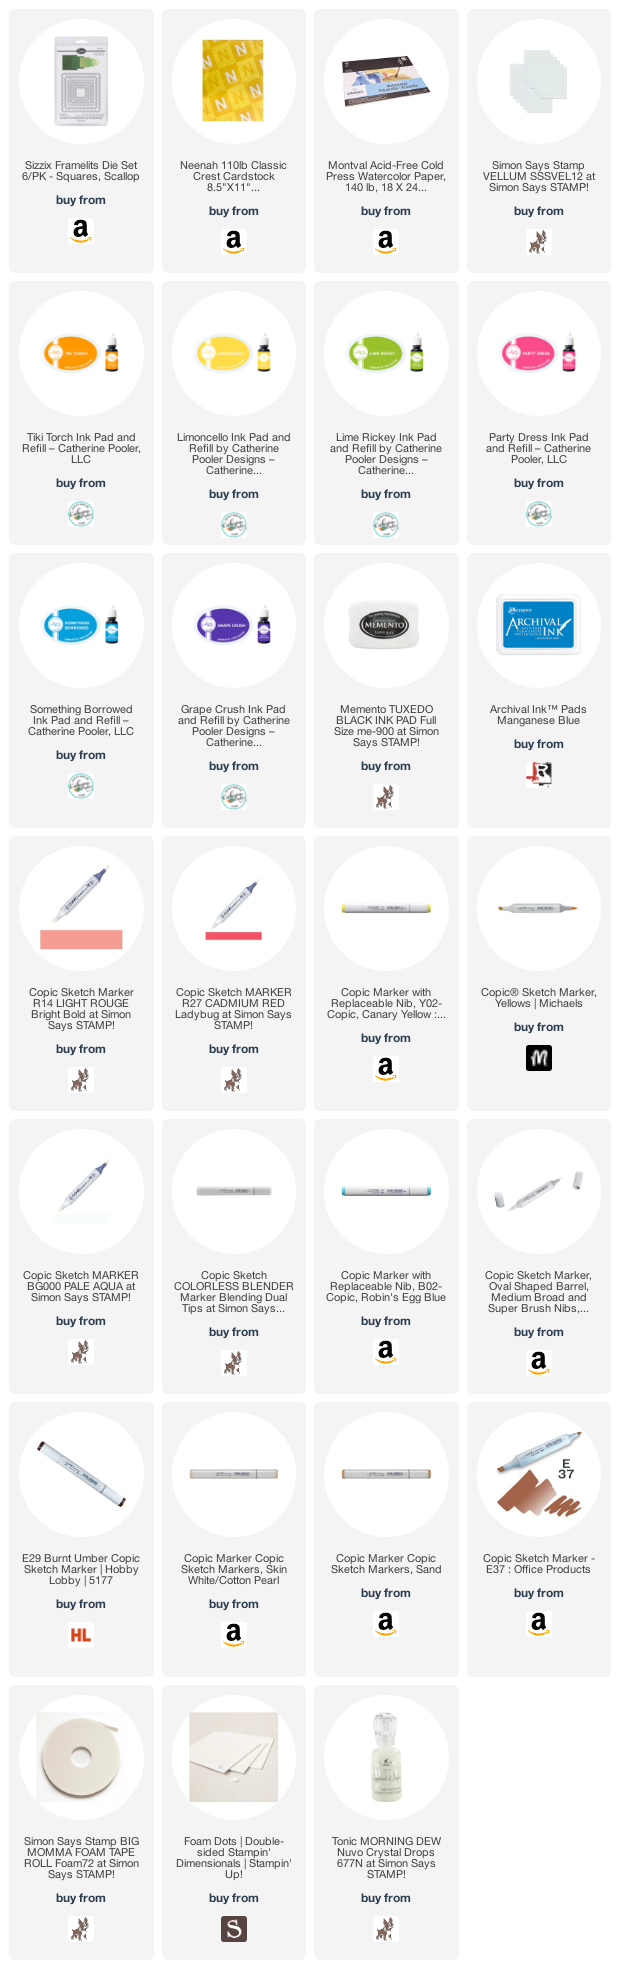
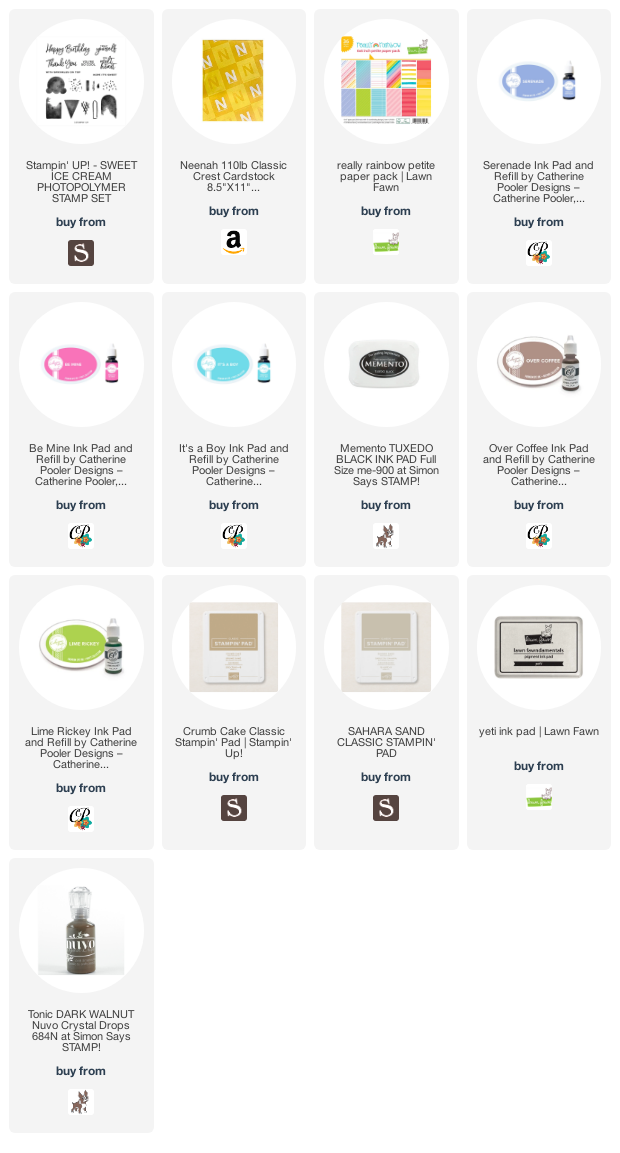
Supplies
 https://linkdeli.com/widget.js?id=f5e8378456858c916708
Thanks for reading this post. I hope I’ve inspired you to give these cute baby card a try for yourself. Leave comments or questions below or feel free to email.