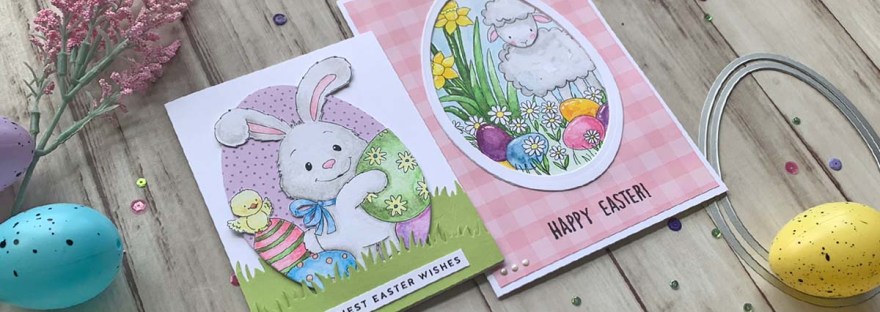
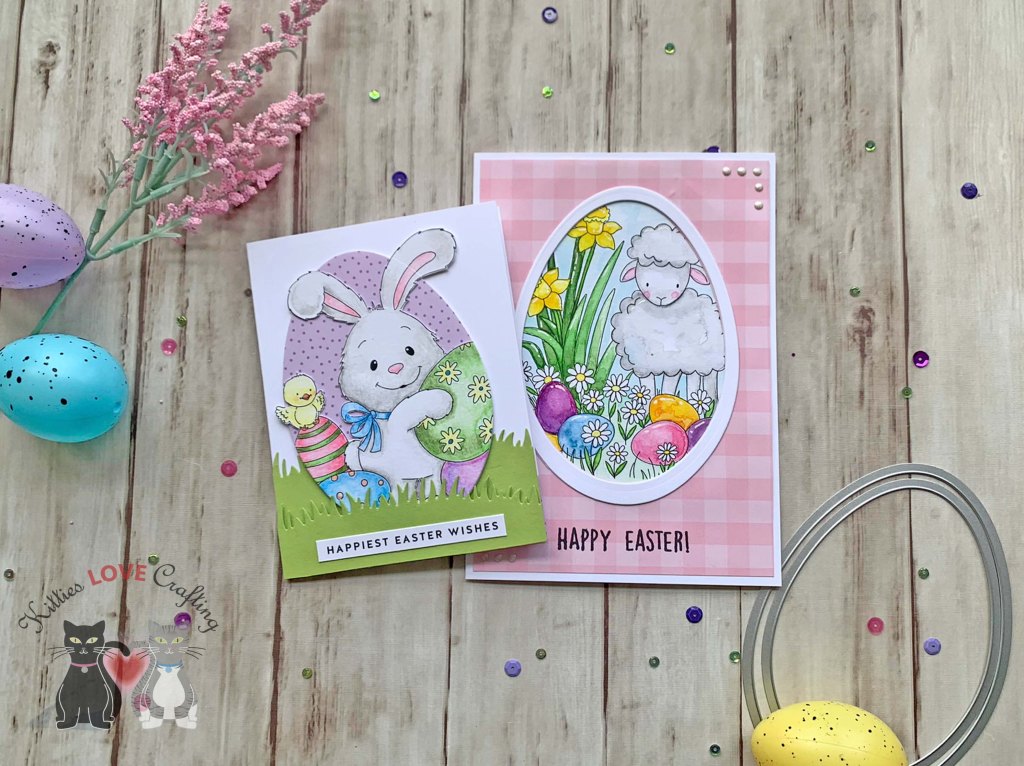
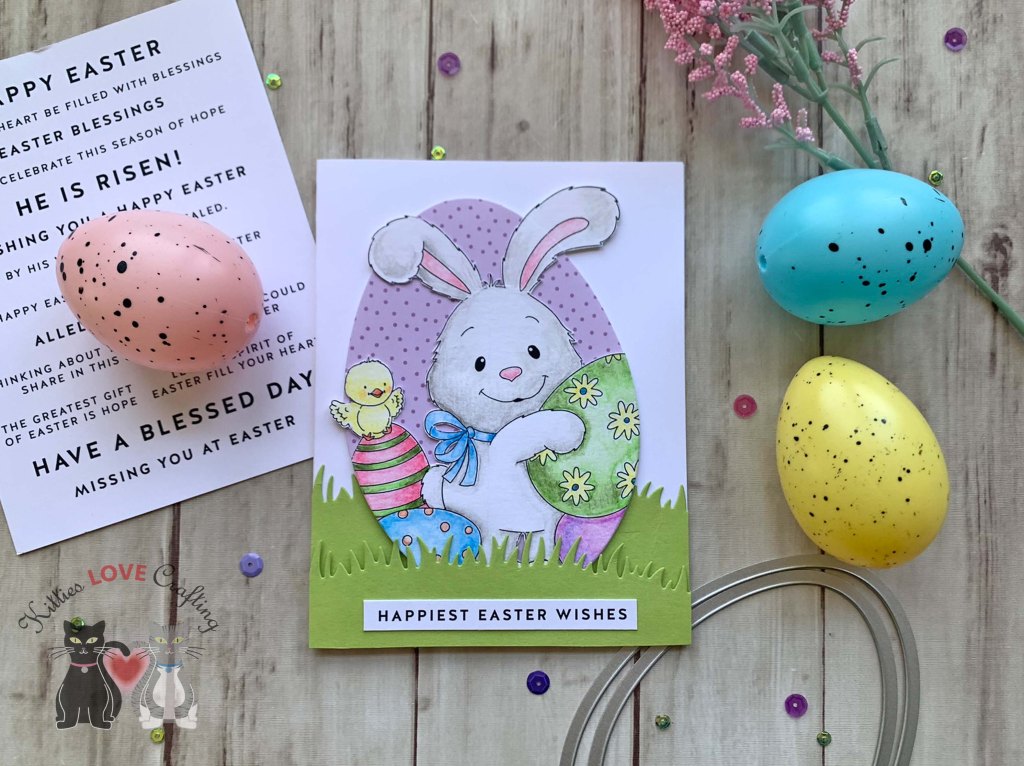
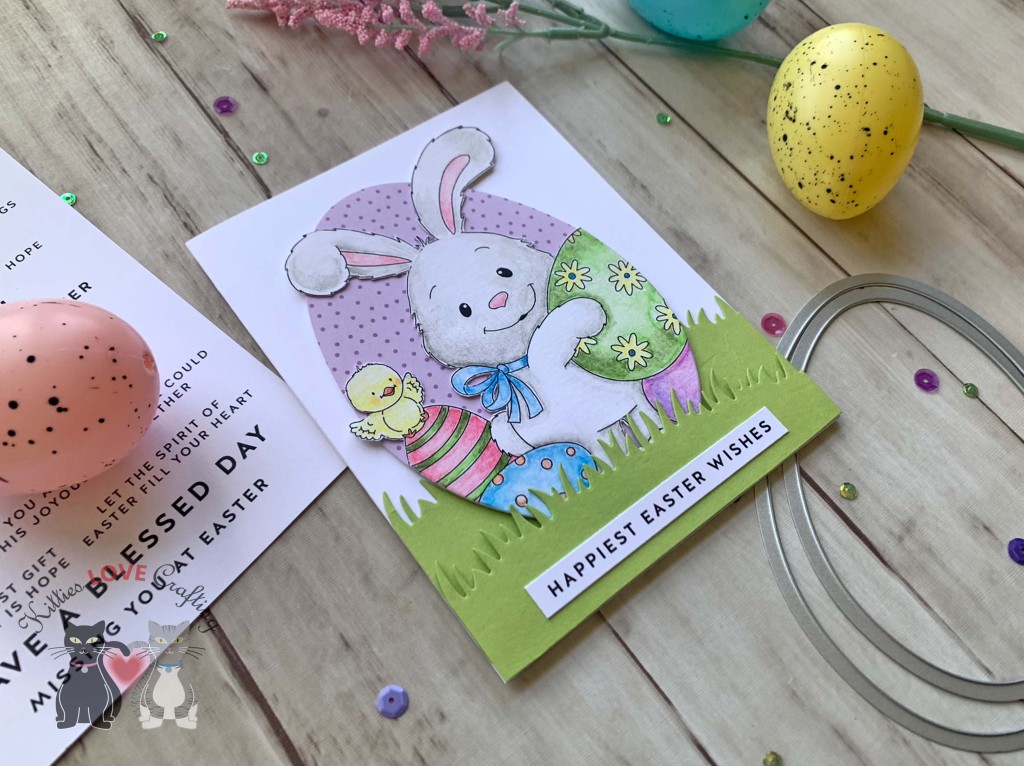
Hello friends. I made these two cute Easter cards using the Simon Says Stamp Suzy’s Watercolor Prints. The prints I used are from an older set but I will link to the newer one that was released this year. I created cute scene cards by using them in a non traditional way.I love to just sit and watercolor these prints! It’s very relaxing and fun to me. If watercolor isn’t your thing you can probably use color pencils to color the images.
I used my Kuretake GANSAI TAMBI Watercolor Paint Set (I love this set!) to color the images. Then cut all the background white areas out and used one of the Egg framelits from Sizzix Framelits Die Set 10PK – Egg (discontinued) to cut out the watercolor print, making sure to not cut his ears. I die cut a piece of Lawn Fawn Stripes ‘n Sprinkles 6×6 Paper with the same framelit for the background.
For the second card, I cut a piece of Neenah 100lb Classic Crest Cardstock 8.5 X 11″ to 5-1/2 x 8-1/2″ and scored at 4-1/4″ to create a card base and a piece of Echo Park I Love Easter 12 x 12 Pattern Paper (discontinued) to 4 x 5-1/4″. I die cut a window from the panel using the Egg framelits from Sizzix Framelits Die Set 10PK – Egg (discontinued). I also used 2 of them to cut out a frame from Neenah 100lb Classic Crest Cardstock 8.5 X 11″.
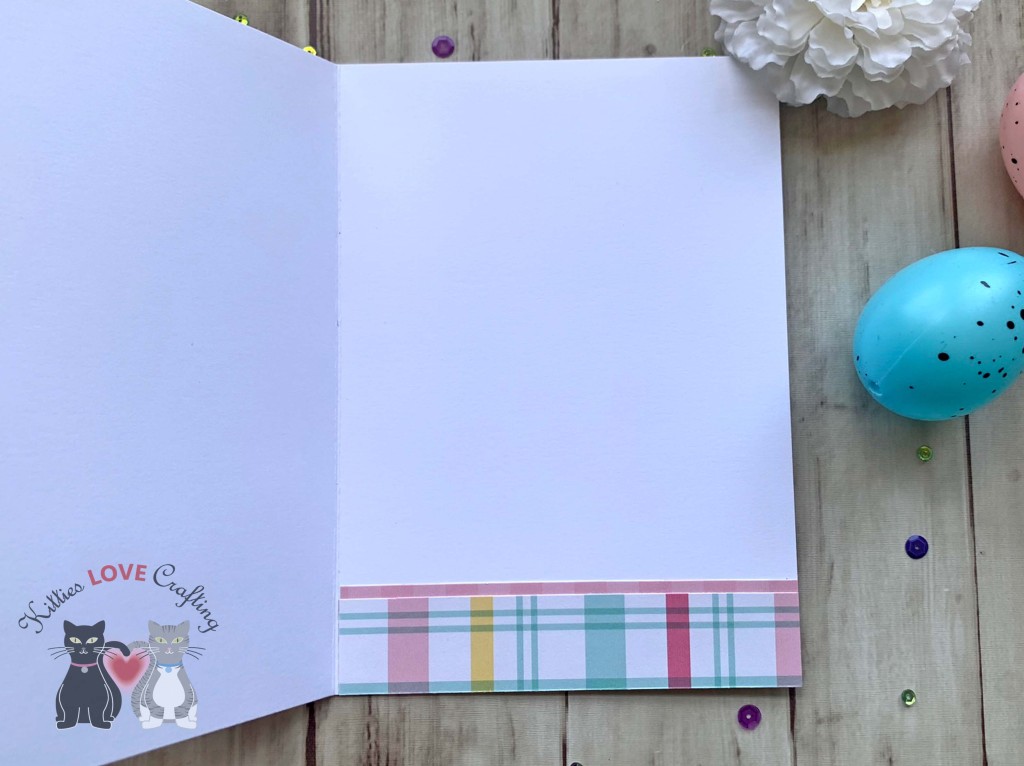
On the inside of the card, I cut two strips of the pattern paper from Echo Park I Love Easter 12 x 12 Pattern Paper (discontinued), measuring 1 x 4-1/4″ and 1-1/4 x 4-1/4″.
Thanks for reading this post. I hope I’ve inspired you to give these cute Easter cards a try for yourself. Leave comments or questions below or feel free to email.
Hello friends. I could not help but make some more baby cards with the Lawn Fawn Giant Outlined Hello Baby Die. It’s such a fun die to play with. I combined this one with images from an older stampset I have, the Lawn Fawn Hello Baby Stampset (which ironically has the same name as the die but is now discontinued).
For this card, I cut a piece of Neenah 100lb Classic Crest Cardstock 8.5 X 11″ to 5-1/2 x 8-1/2″ and scored at 4-1/4″ to create a card base. And another piece from the Doodlebug 6 x 6 Kraft in color – color paper to 4-1/4 x 5-1/2. I die cut a scalloped panel from Stampin’ Up! Balmy Blue 12 x 12 Glimmer Cardstock (retired) using the Catherine Pooler Tags, Etc Die set.
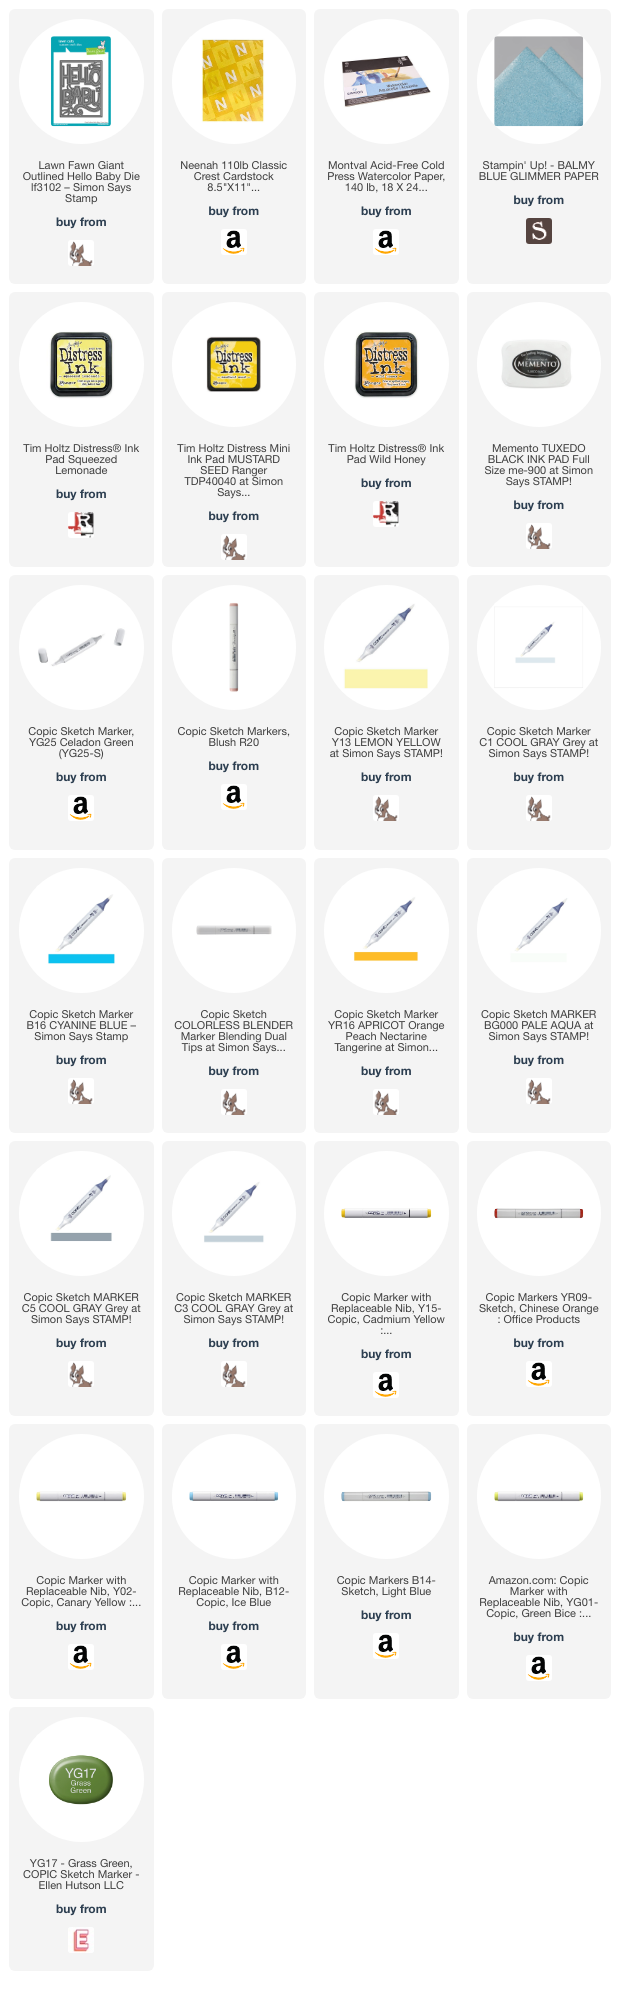
I stamped images from the Lawn Fawn Hello Baby Stampset (discontinued) onto some Neenah 100lb Classic Crest Cardstock 8.5 X 11″ with Memento TUXEDO BLACK Ink and colored them with Copic Markers. I used YG25, YG17 & YG01 and Y02, Y13, & Y15 for the frog; C1, C3 & C5, R20 for the bunny; BG000 & 0 for the cloud; Y02, Y13, & Y15, R20, YR09 & YR16 for the ducks; YG25 & YG17 for the rattles; and B14, B16 & B12 for the umbrella.
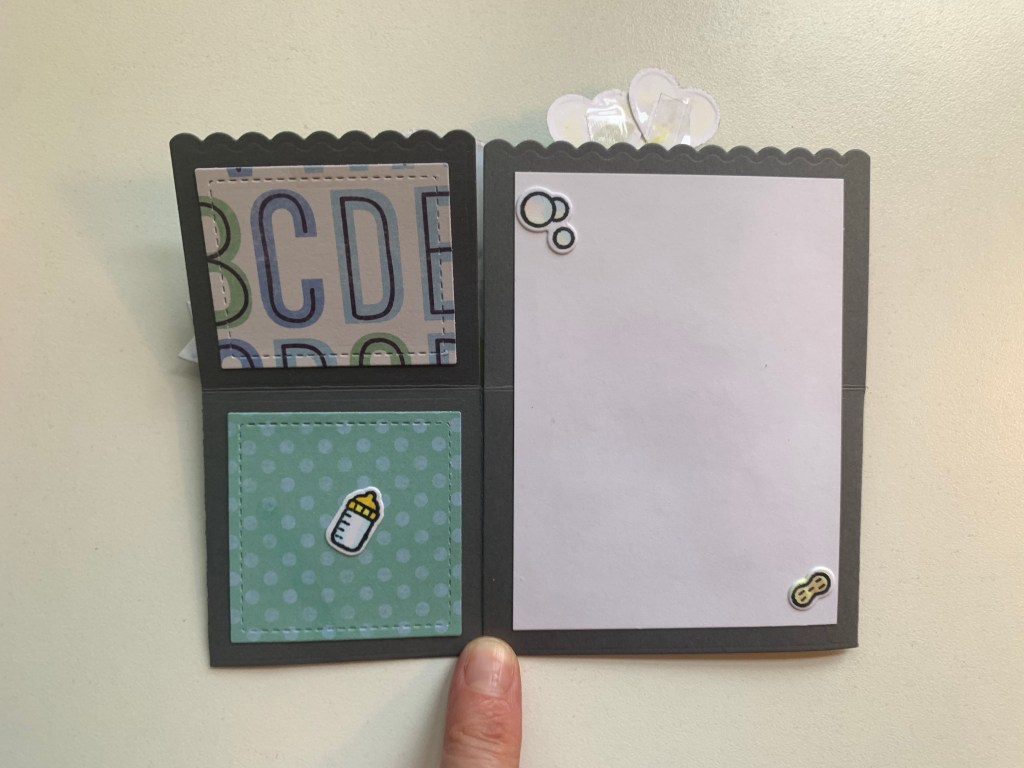
Inside Panel = 1 x 4-1/4″ Doodlebug 6 x 6 Kraft in color – color paper and 3/4 x 4-1/4″ Echo Park – Bundle of Joy (Dots & Stripes) 6 x 6 Paper Pack (discontinued)
Thanks for reading this post. I hope I’ve inspired you to give these cute baby card a try for yourself. Leave comments or questions below or feel free to email.
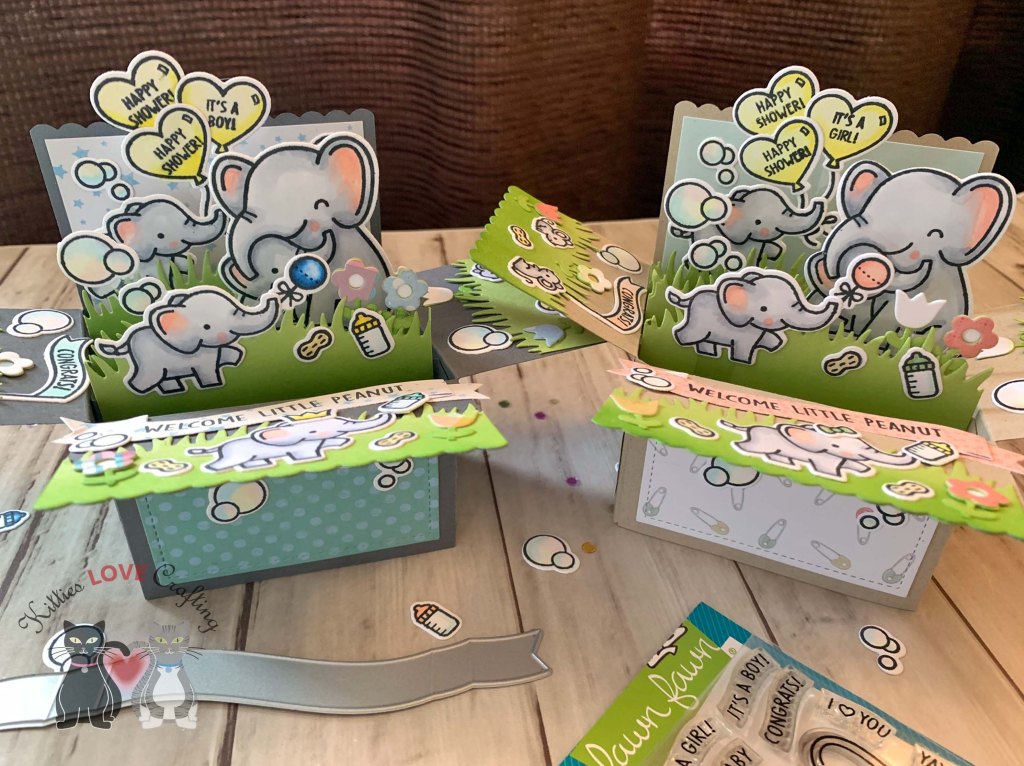
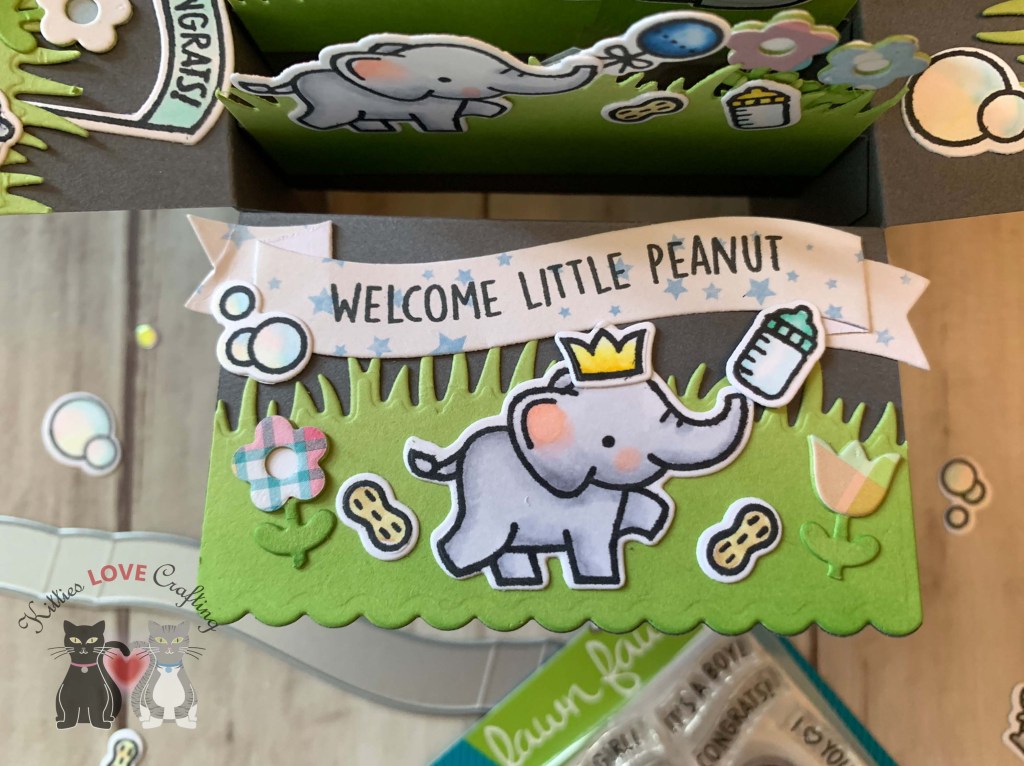
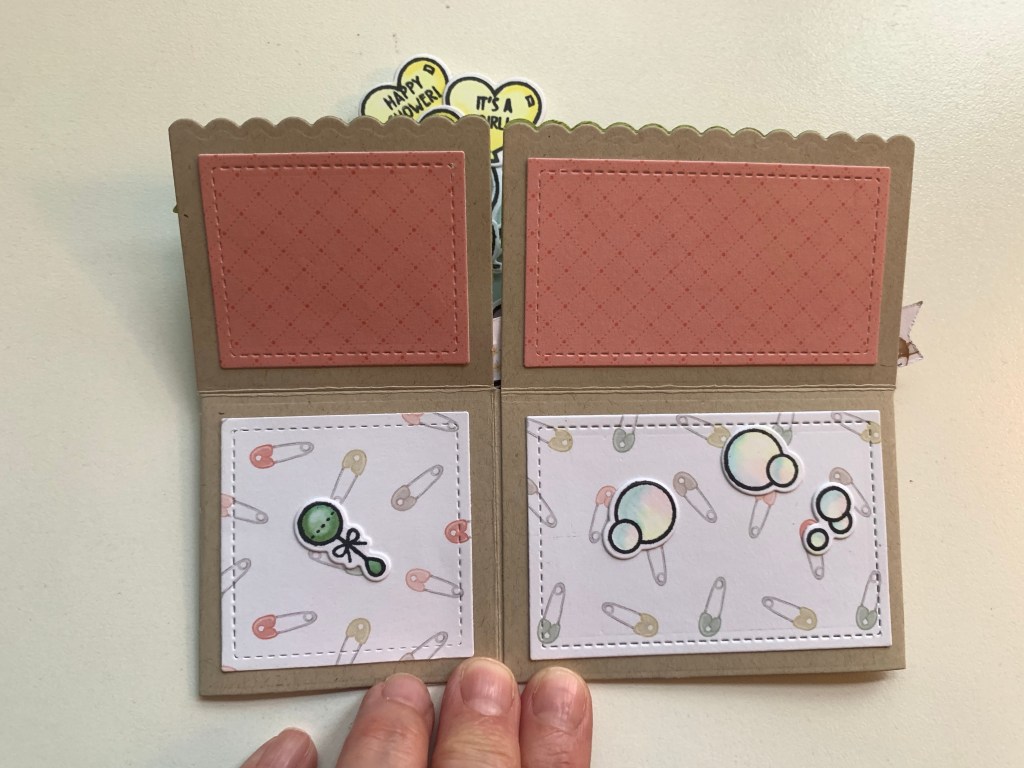
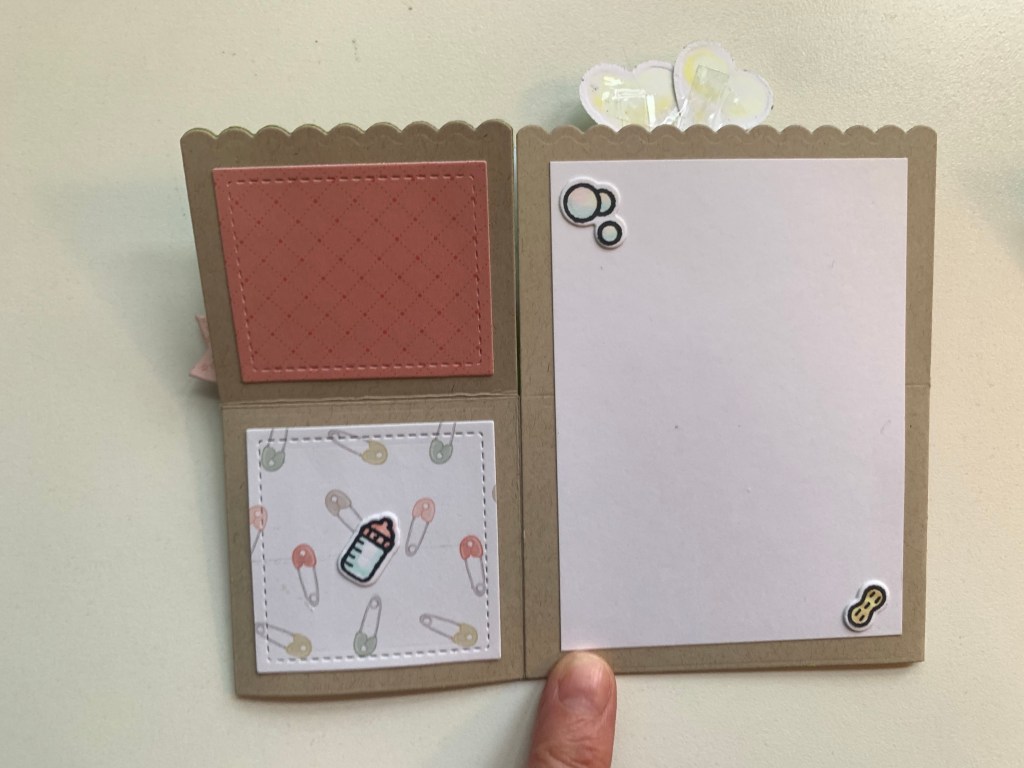
Hello friends. I couldn’t resist making a baby pop up card with the Lawn Fawn Elephant Parade stamps after seeing the one Mona from the Lawn Fawn design team made (Baby themed pop-up box card with Mona). It was so damn cute!
Granted these pop up cards take a very long time to make so I made two! LOL. Actually I originally made this card for my mom to take to a baby shower but wanted to share it with you all and I just had to make a “masculine” and “feminine” card. Obviously you can make this in the color scheme the parents choose or go with a gender neutral color if you don’t know their colors.
I used C00 & C3, R20 & R30 for the elephants; C00 & C3, R20 for the mice; and BG000, Y000, & R000 (blue card) and BG10, Y000 & R000 (pink card) for the bubbles; Y00 & E55 for the peanuts; BG000 & 0, B32 & B37, Y02 & Y15, BG11 & BG34 (blue card) and BG10 & 0, G12 & G82, Y000 & Y02, R00 & R20 (pink card) for the bottles; BG11 & BG10 (blue card) and R000 & R00 (pink card) for the banners; Y00, Y02 & Y15 for the crown; G12 & G82 for the bow; Y000, Y00, & Y02 for the balloons; and Y000, Y02 & Y15, B32 & B37 (blue card) and R00 & R20, Y000 & Y02, G12 & G82 (pink card) for the rattles.
All images were die cut using the coordinating dies.
These cards fold flat to fit into a regular A2 envelope. My balloons go outside the box top so I made a custom envelope to fit it better.
Thanks for reading this post. I hope I’ve inspired you to give this fun pop up baby card a try for yourself. Leave comments or questions below or feel free to email.
Hello friends. I needed some very quick baby shower cards recently to bring to my cousin’s baby shower and of course my brain could not come up with anything. I saw this card from the Lawn Fawn design team, Kara Pogreba, which was really cute and seemed quick to make so I had to CASE it. I love the elephants from the Lawn Fawn Elephant Parade stampsets! So cute!!! And you can make them any color you want too! I was given specific colors to use.
Thanks for reading this post. I hope I’ve inspired you to give these fun and quick baby cards a try for yourself. Leave comments or questions below or feel free to email.
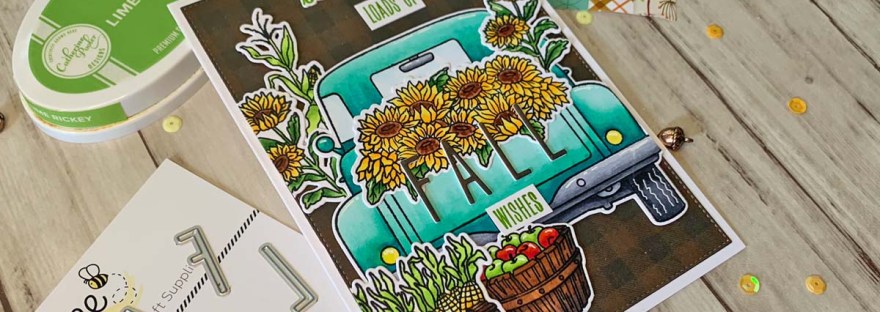
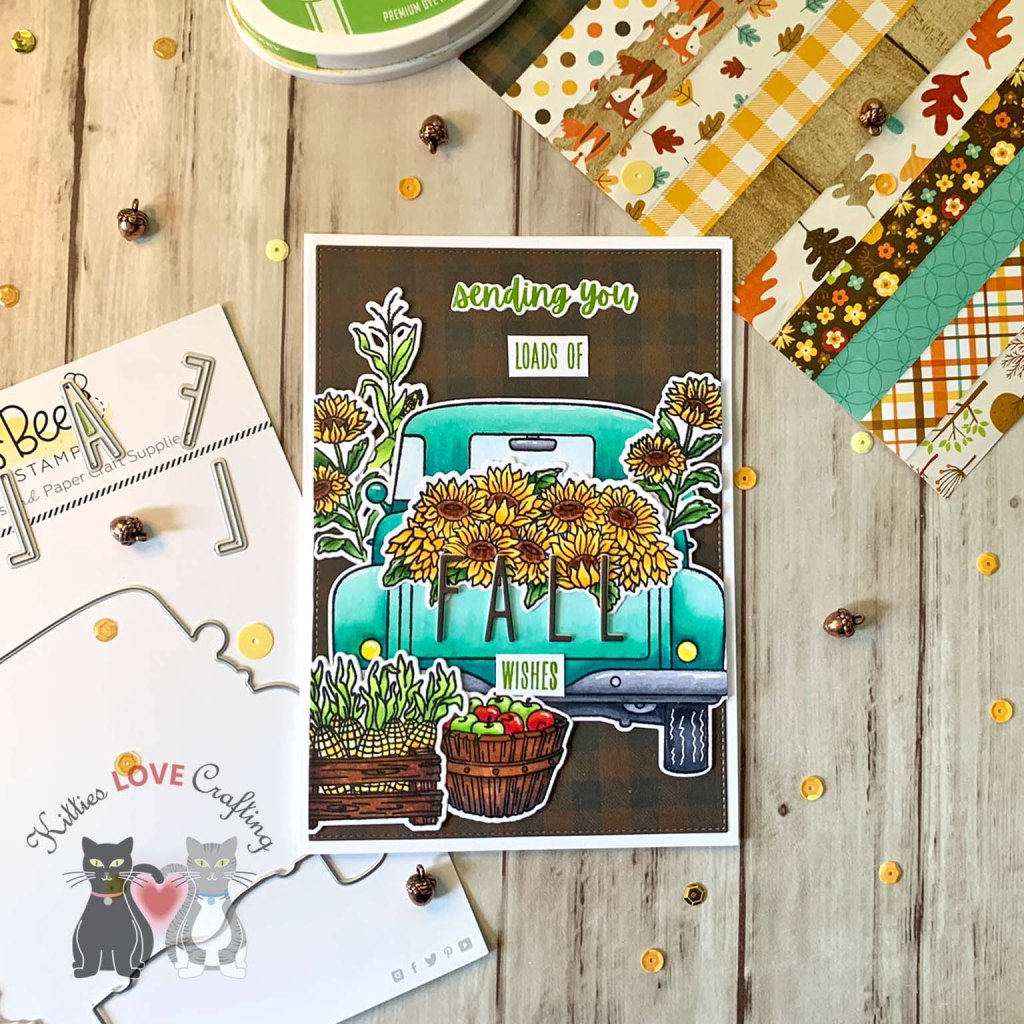
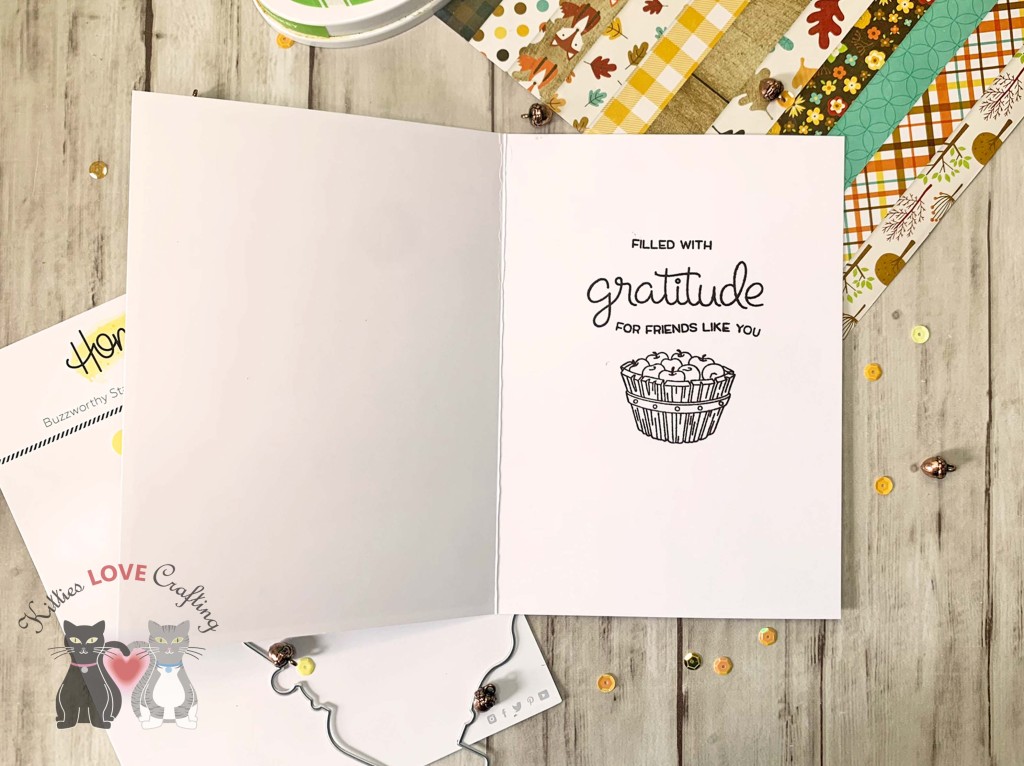
I stamped the images from the Honey Bee Stamps Big Pickup Tailgate 6×6 Stamp Set and the Honey Bee Loads of Fall Stamp Set onto Neenah 110lb Classic Crest Cardstock with Memento Tuxedo Black Ink. I colored them with Copic markers. I used Y13, Y18, E15, E37 & E29, YG13, YG17 & G07 for the sunflowers; Y00, Y13, Y18, YG01, YG25, E29, E37 & E79 for the corn; BG11, BG63, BG18 & BG49 for the truck bed; BG000 & 0 for the windows; C1, C3, C5, C7, & C9 for the metal; Y02 & Y13 for lights; R05 & R46, YG01 & YG25, E37, E79 & E25 for the apples; Y13 & Y17 for license plate. And diecut them with the coordinating dies.
Thanks for reading this post! I hope you enjoyed and I’ve inspired you to make this cute Fall card yourself! If you want to share you creations with me tag me on instagram @kittieslovecrafting. Leave comments or questions below or feel free to email me.
While I don’t often use sketches, I had these two packs of winter ephemera from Echo Park laying around for months and decided to finally make some cards with them. I also bought coordinating 6 x 6 and 12 x 12 paper pads. I used some pre-designed card sketches to take some guesswork out of the process. These cards will also be available in my shop on November 10th.
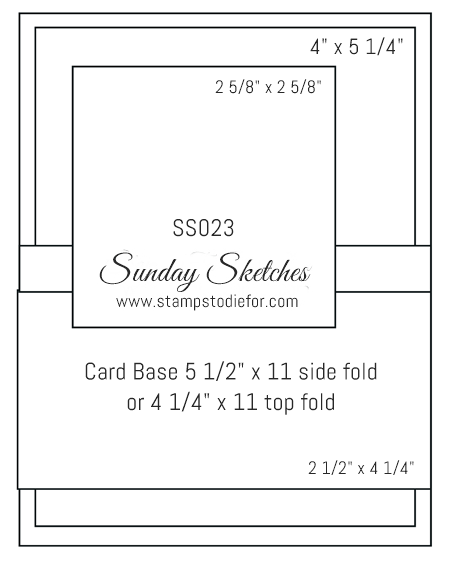
For the first card, I used Sunday Sketches SS023. For the card base, I cut a piece of Stampin’ Up! Night Of Navy 8-1/2″ X 11″ Cardstock to 5-1/2 x 8-1/2″and scored at 4 1/4″. Then cut all the pieces of pattern paper for the background from the Echo Park – Celebrate Winter Collection 6 x 6 Paper Pad as per the sketch measurements. I matted all the pattern layers with Night Of Navy 8-1/2″ X 11″ Cardstock; I made those layers 1/8-inch larger.
On the inside of the card, I added a strip of the mitten pattern paper measuring 1 x 5-1/2″ to the right side of the card. I stamped a greeting from Lawn Fawn’s Merry Messages in Stampin’ Up! Real Red Ink.
On the inside of the card, I added a strip of the striped pattern paper measuring 3/4 x 4-1/4″ to the right side of the card. I stamped a greeting from Lawn Fawn’s Merry Messages in Stampin’ Up! Real Red Ink.
On the inside of the card, I cut a strip of the beige fabric weave texture pattern paper to 1″ x 4-1/4″ and the snowman paper 3/4 x 4-1/4″ and adhered them to the bottom of the inside of the card. I stamped a greeting from Lawn Fawn’s Merry Messages in Stampin’ Up! Real Red Ink.
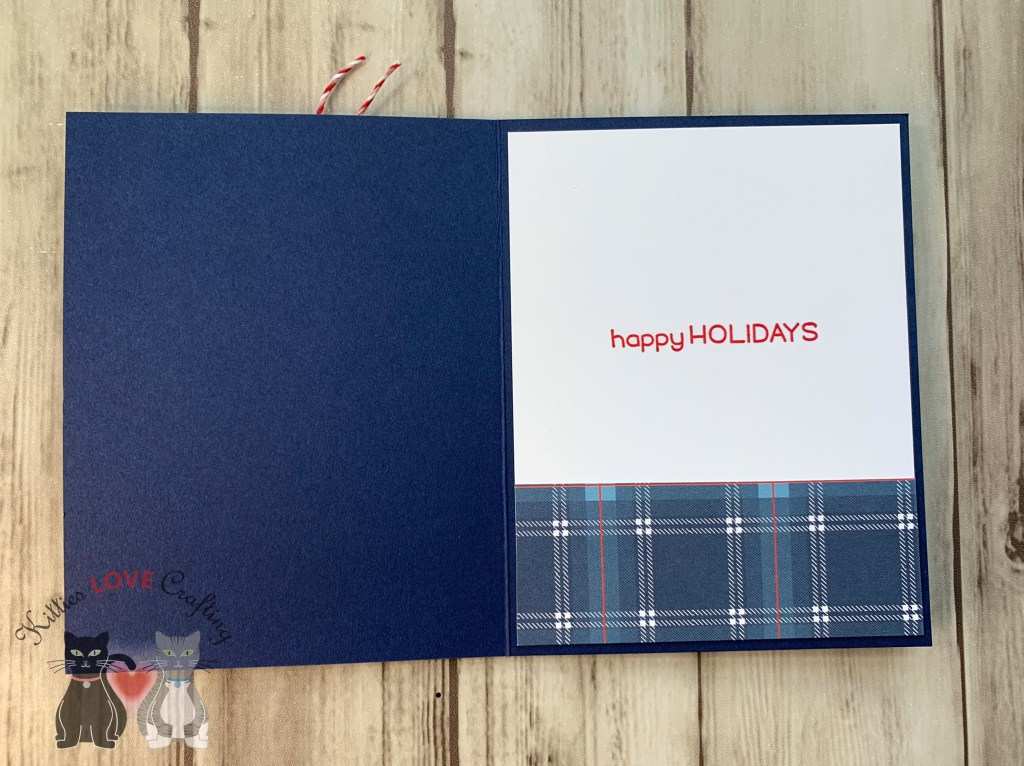
On the inside of the card, I cut a strip of the blue plaid pattern paper to 1″ x 4-1/4″ and adhered them to the bottom of the inside of the card. I stamped a greeting from Lawn Fawn’s Merry Messages in Stampin’ Up! Real Red Ink.
Thanks for reading this post and I hope I’ve inspired you to give these cards a try on your own. Leave comments or questions below or feel free to email me.


 https://linkdeli.com/widget.js?id=f5e8378456858c916708