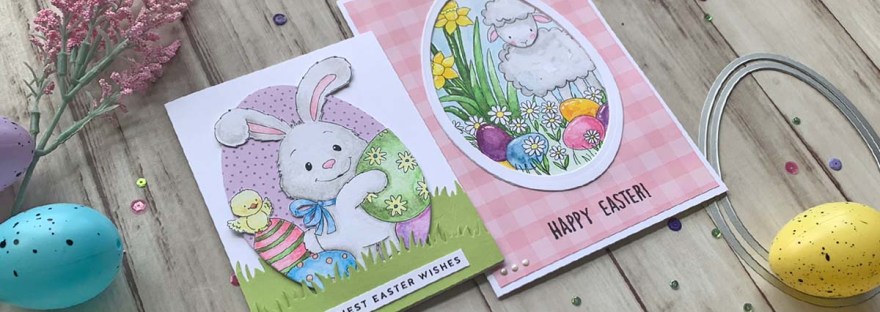
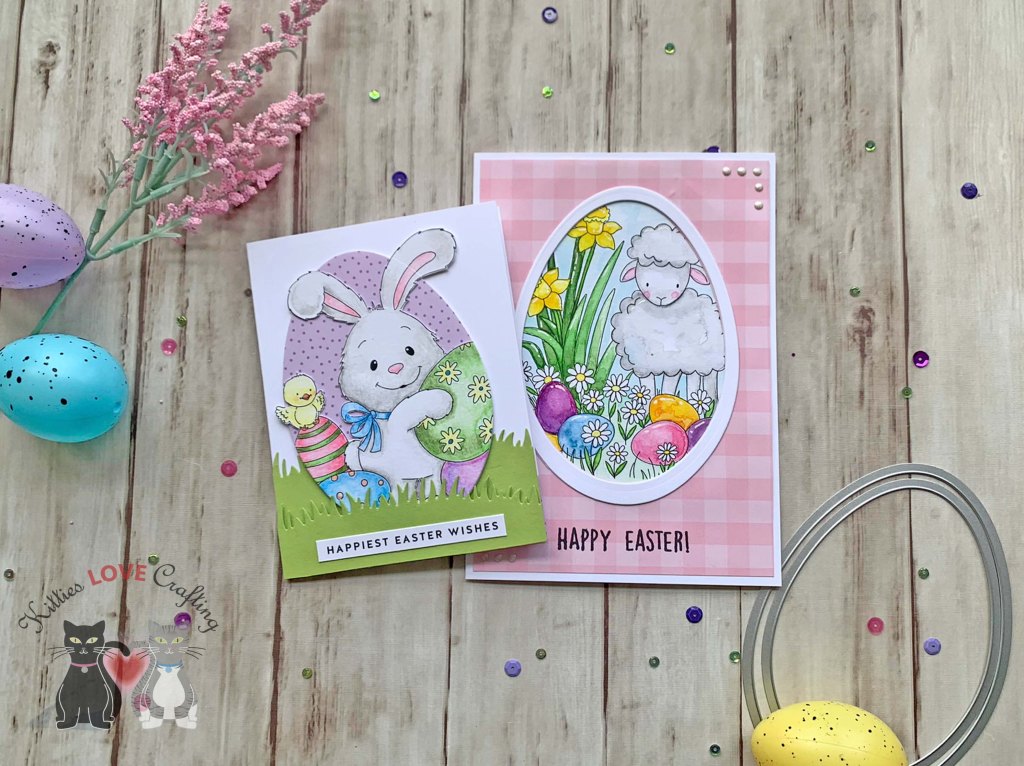
Hello friends. I made these two cute Easter cards using the Simon Says Stamp Suzy’s Watercolor Prints. The prints I used are from an older set but I will link to the newer one that was released this year. I created cute scene cards by using them in a non traditional way.I love to just sit and watercolor these prints! It’s very relaxing and fun to me. If watercolor isn’t your thing you can probably use color pencils to color the images.

For the first card, I cut a piece of Neenah 100lb Classic Crest Cardstock 8.5 X 11″ to 5-1/2 x 8-1/2″ and scored at 4-1/4″ to create a card base.
I used my Kuretake GANSAI TAMBI Watercolor Paint Set (I love this set!) to color the images. Then cut all the background white areas out and used one of the Egg framelits from Sizzix Framelits Die Set 10PK – Egg (discontinued) to cut out the watercolor print, making sure to not cut his ears. I die cut a piece of Lawn Fawn Stripes ‘n Sprinkles 6×6 Paper with the same framelit for the background.
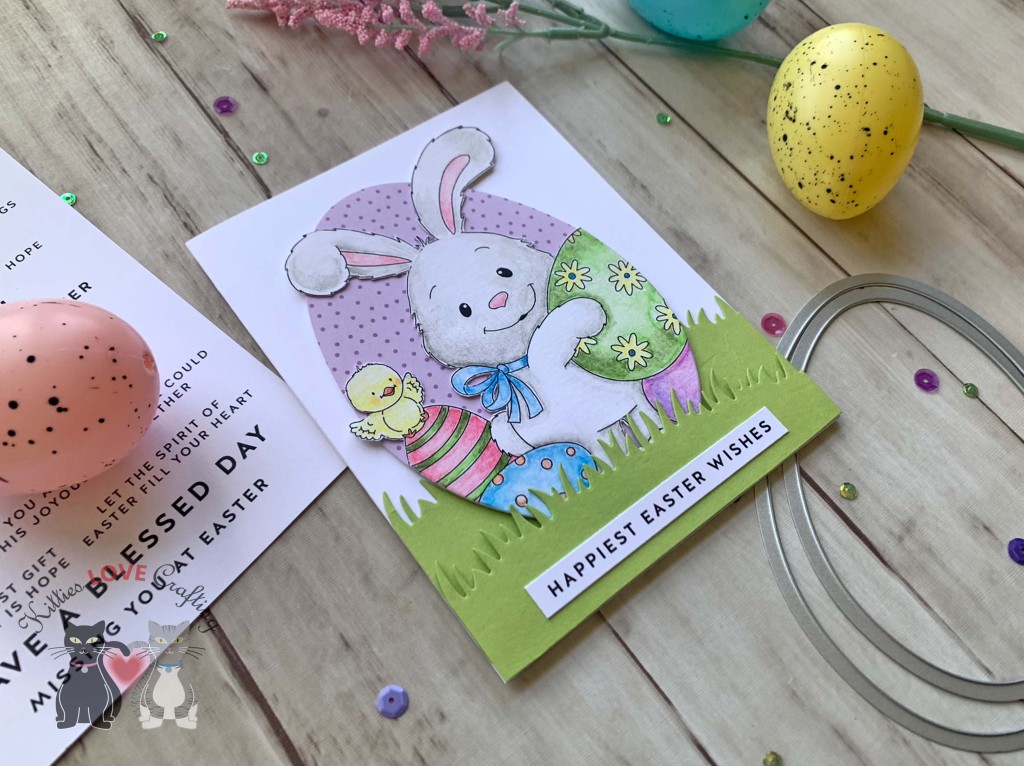
I die cut grass from Simon Says Stamp Cardstock 100lb Green Apple Cardstock using the Lawn Fawn Simple Grassy Hillsides. I die cut two pieces of varying heights but 4-1/4″ in width and popped up the front one with 3M Foam Tape.
For the sentiment I used the Simon Says Stamp EASTER WISHES Sentiment Strips.
I left the inside of the card blank.
Dimensions
- Card Base = 5-1/2 x 8-1/2″ and scored at 4-1/4″ Neenah 100lb Classic Crest Cardstock 8.5 X 11″

For the second card, I cut a piece of Neenah 100lb Classic Crest Cardstock 8.5 X 11″ to 5-1/2 x 8-1/2″ and scored at 4-1/4″ to create a card base and a piece of Echo Park I Love Easter 12 x 12 Pattern Paper (discontinued) to 4 x 5-1/4″. I die cut a window from the panel using the Egg framelits from Sizzix Framelits Die Set 10PK – Egg (discontinued). I also used 2 of them to cut out a frame from Neenah 100lb Classic Crest Cardstock 8.5 X 11″.
Once again, I used my Kuretake GANSAI TAMBI Watercolor Paint Set to color the images. I then placed the panel behind the window panel.
I stamped a sentiment from the Lawn Fawn Eggstraordinary Easter onto the panel with Catherine Pooler Midnight Ink.

I finished off the card by adding some highlights with a Uni-ball Signo White Broad Point Gel Pen and some Tonic IVORY SEASHELL Nuvo Crystal Drops.
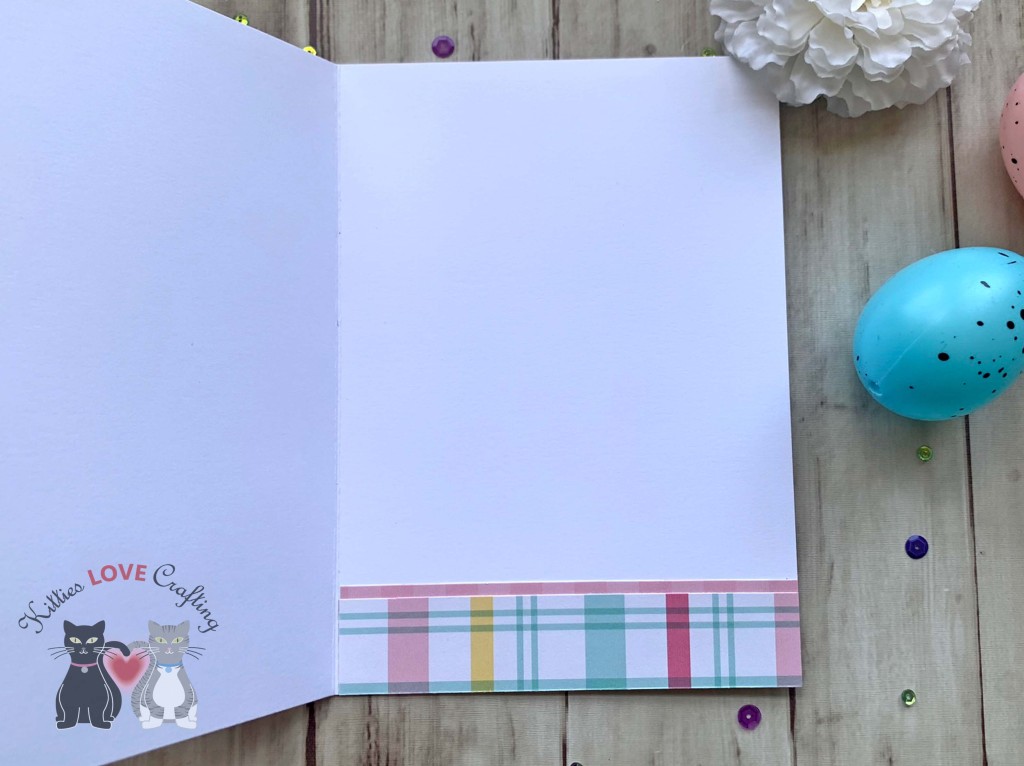
On the inside of the card, I cut two strips of the pattern paper from Echo Park I Love Easter 12 x 12 Pattern Paper (discontinued), measuring 1 x 4-1/4″ and 1-1/4 x 4-1/4″.
Dimensions
- Card Base = 5-1/2 x 8-1/2″ and scored at 4-1/4″ Neenah 100lb Classic Crest Cardstock 8.5 X 11″
- Top Panel = 4 x 5-1/4″ Echo Park I Love Easter 12 x 12 Pattern Paper (discontinued)
- Inside Strips = 1 x 4-1/4″ and 1-1/4 x 4-1/4″ Echo Park I Love Easter 12 x 12 Pattern Paper (discontinued)
Supplies
 https://linkdeli.com/widget.js?id=f5e8378456858c916708
Thanks for reading this post. I hope I’ve inspired you to give these cute Easter cards a try for yourself. Leave comments or questions below or feel free to email.