Hello friends. This cute egg shaped card features the Trinity Stamps Springtime Gnome Die Set. This little gnome is very easy to put together and the can be used for many occasions. Let’s put this card together…
For this card, I die cut a piece of Neenah 100lb Classic Crest Cardstock 8.5 X 11″, folded in half using the Sizzix Framelits Die Set 10PK – Egg (discontinued) to create the card base. to accomplish this I simply left one side of the die off the edge of the folded card base before die cutting. This card base measures 3-3/4 x 5-1/4″ I also cut a smaller egg shape for the front panel.
I die cut the gnome’s hat, hands and bunny ear insides from Echo Park 12 x 12 I Love Easter Cardstock Pack (discontinued I believe) using the Trinity Stamps Springtime Gnome Die Set. The bunny ears, nose, face and beard were die cut from Neenah 100lb Classic Crest Cardstock 8.5 X 11″ and colored with Copic Markers. I used E000 for the nose, E000, E00, R20 & 0 for the face; and C0 & 0 for the ears. His shoes, hat band and all the eggs were die cut from Doodlebug 6 x 6 Dot Grid Daisy Stripe Pack (discontinued I think).
Thanks for reading this post. I hope I’ve inspired you to give this cute gnome Easter card a try for yourself. Leave comments or questions below or feel free to email.
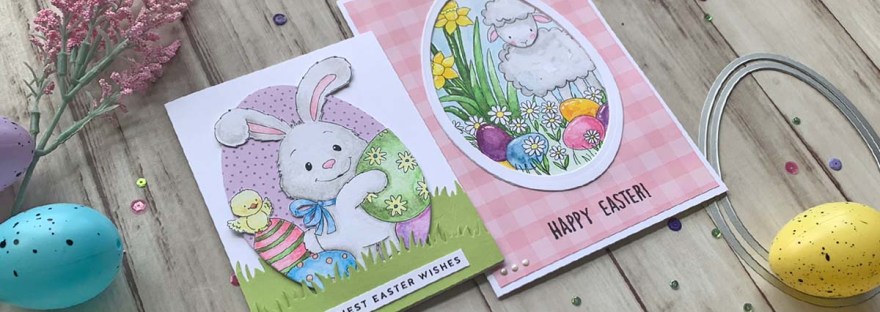
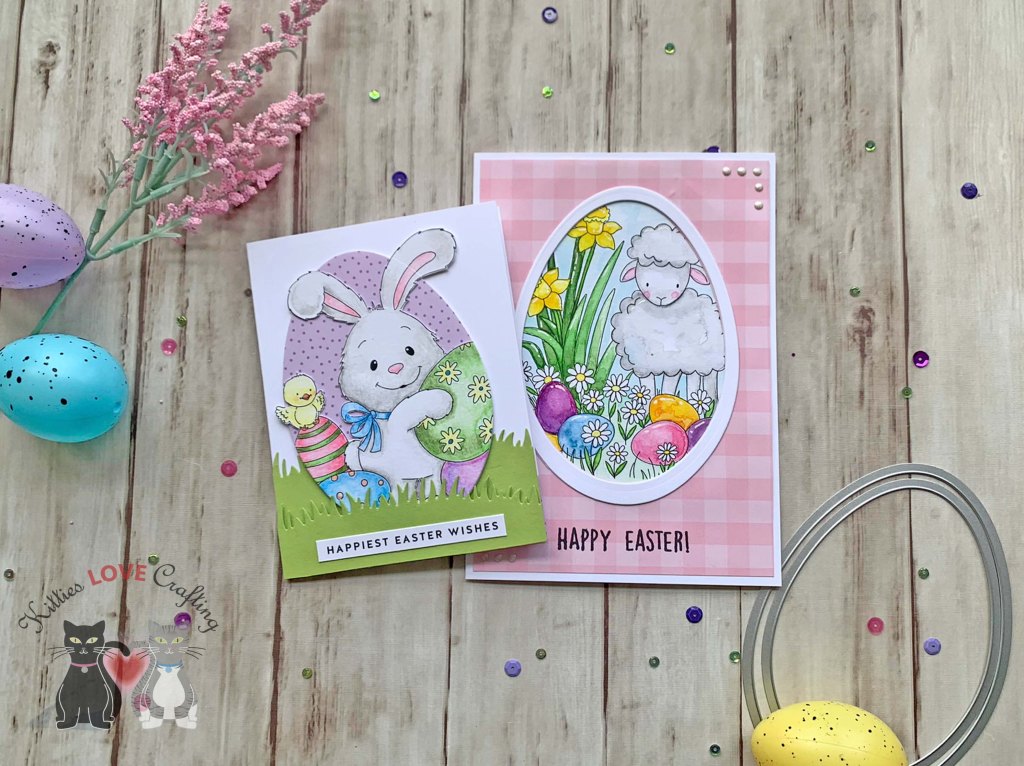
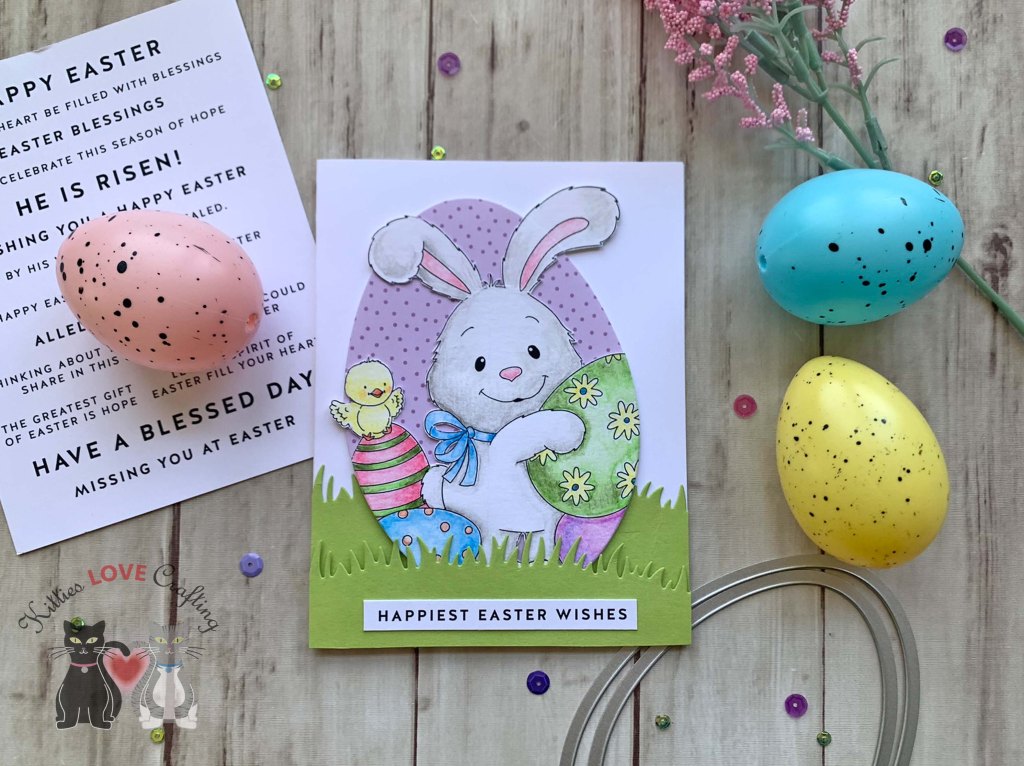
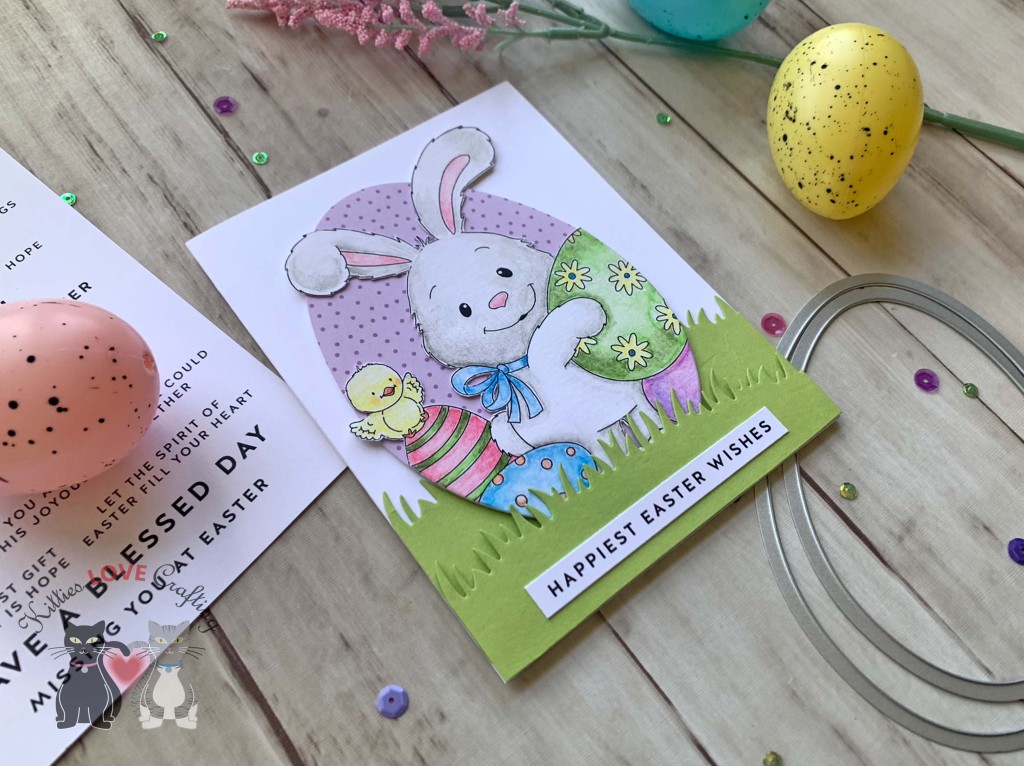
Hello friends. I made these two cute Easter cards using the Simon Says Stamp Suzy’s Watercolor Prints. The prints I used are from an older set but I will link to the newer one that was released this year. I created cute scene cards by using them in a non traditional way.I love to just sit and watercolor these prints! It’s very relaxing and fun to me. If watercolor isn’t your thing you can probably use color pencils to color the images.
I used my Kuretake GANSAI TAMBI Watercolor Paint Set (I love this set!) to color the images. Then cut all the background white areas out and used one of the Egg framelits from Sizzix Framelits Die Set 10PK – Egg (discontinued) to cut out the watercolor print, making sure to not cut his ears. I die cut a piece of Lawn Fawn Stripes ‘n Sprinkles 6×6 Paper with the same framelit for the background.
For the second card, I cut a piece of Neenah 100lb Classic Crest Cardstock 8.5 X 11″ to 5-1/2 x 8-1/2″ and scored at 4-1/4″ to create a card base and a piece of Echo Park I Love Easter 12 x 12 Pattern Paper (discontinued) to 4 x 5-1/4″. I die cut a window from the panel using the Egg framelits from Sizzix Framelits Die Set 10PK – Egg (discontinued). I also used 2 of them to cut out a frame from Neenah 100lb Classic Crest Cardstock 8.5 X 11″.
On the inside of the card, I cut two strips of the pattern paper from Echo Park I Love Easter 12 x 12 Pattern Paper (discontinued), measuring 1 x 4-1/4″ and 1-1/4 x 4-1/4″.
Thanks for reading this post. I hope I’ve inspired you to give these cute Easter cards a try for yourself. Leave comments or questions below or feel free to email.
For this card, I cut a piece of Neenah 100lb Classic Crest Cardstock 8.5 X 11″ to 5-1/2 x 8-1/2″ and scored at 4-1/4″ to create a card base, and another piece to 4-1/4 x 5-1/2″. I embossed this panel with the Darice Embossing Essentials Folder 1218-66 Basket Weave (discontinued). I colored the panel with Tim Holtz Seedless Preserves and Villainous Potion Distress Oxide Inks.
Thanks for reading this post. I hope I’ve inspired you to give this easy Easter window scene card a try for yourself. Leave comments or questions below or feel free to email.
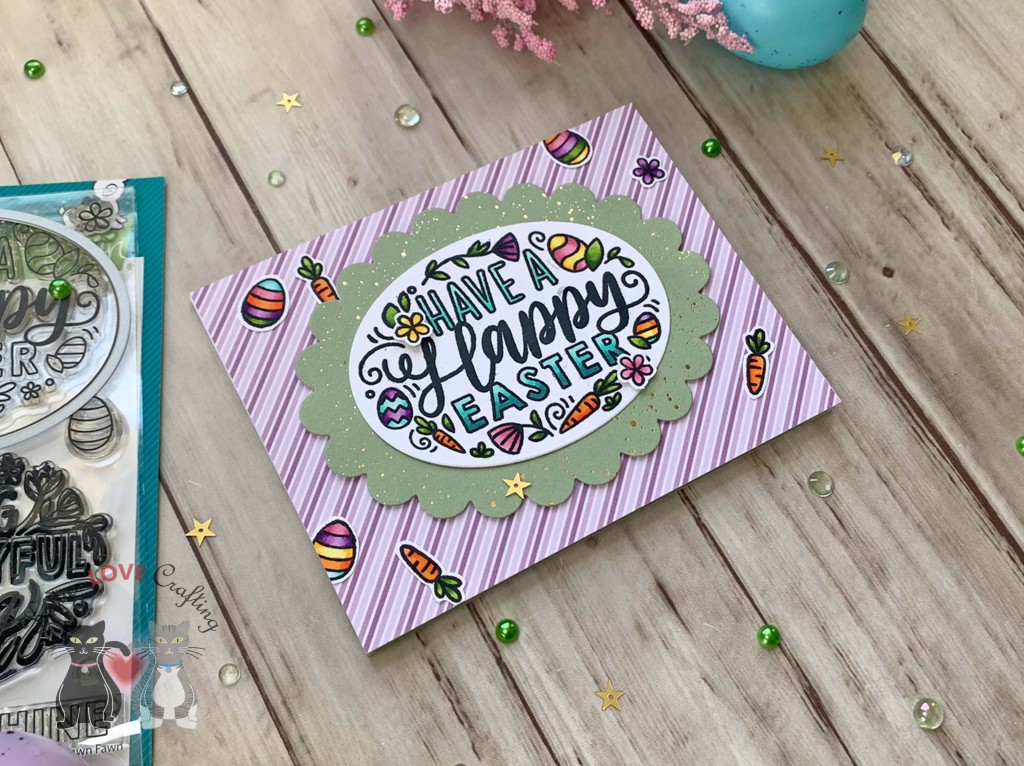
Hello friends. A simple card to start the Easter season… This card features the Lawn Fawn Giant Easter Messages which are nice large standalone sentiments!
I stamped the Easter sentiment and some of the tiny images from the Lawn Fawn Giant Easter Messages onto Neenah 100lb Classic Crest Cardstock 8.5 X 11″ with Memento Tuxedo Black Ink. I colored them with Copic Markers. I used Y13 & Y17, R81, R83 & R85, V01, V06 & V09, YG25 & YG67, BG10, BG11 & BG32, and YR09 & YR12 for the eggs; YG25 & YG67 and YR09 & YR12 for the carrots; R81, R83 & R85, V01, V06 & V09, and Y13 & Y17 for the flowers; and YG25 & YG67 for the leaves.
Thanks for reading this post. I hope I’ve inspired you to give this cute Easter card a try for yourself. Leave comments or questions below or feel free to email.
Hello friends. Here are some easy watercolor cards anyone can make! While I am an artist I am not super comfortable doing freehand watercolor paintings. But these 3 cards were very easy to make. If you cannot draw either use a stencil, die or printable to trace a simple drawing. I used this technique for one of my cards. More on this later…
I did a quick sketch for the egg (I actually used an egg shaped framelit die to trace the outside). I used my Kuretake GANSAI TAMBI Watercolor Paint Set (I love this set!) to color the egg. I kept the coloring simple – one color and white. You can be as elaborate with your painting as you like though. Once the egg and grass were colored and dry, I added some splatters with some Zig Kuretake Gansai Tambi STARRY COLORS. Then I added some sketchy lines around the egg with a 0.5 Sakura Pigma Micron Fineliner Pen.
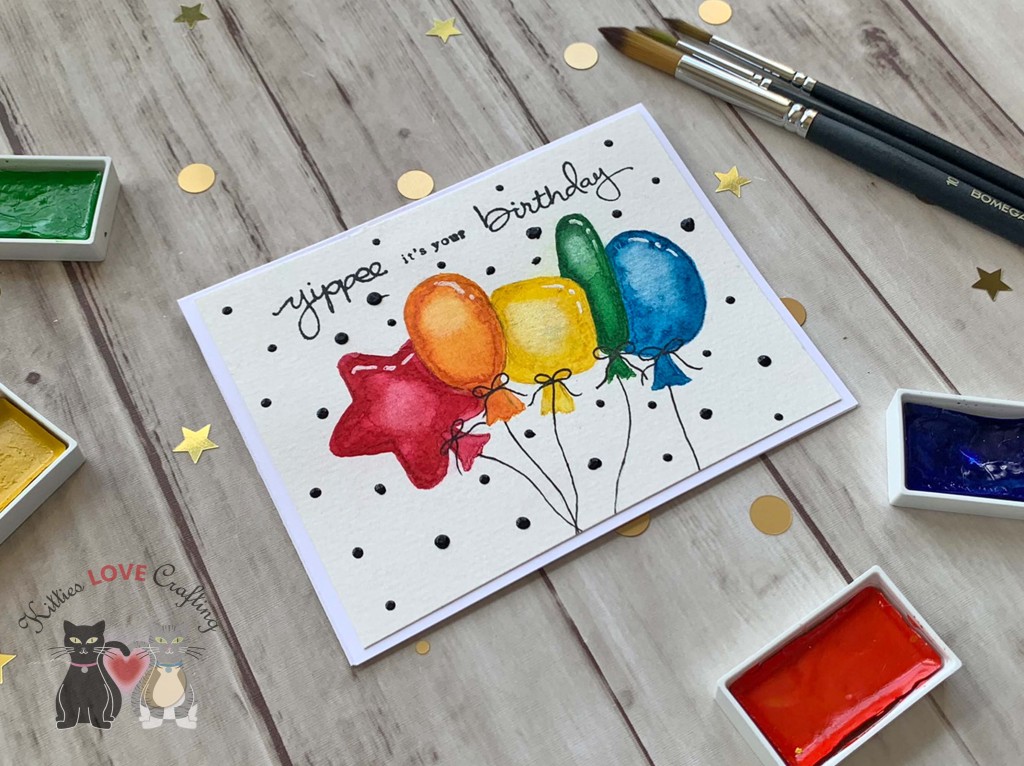
While I do not have a picture of the sketch to show you, I just drew very basic shapes for the balloons. They don’t have to be perfect. If you feel like you cannot draw them, get an image from the internet etc and trace it or use stencils or dies. Again very simple painting here. This time I used one color plus a White Gold watercolor from the Zig Kuretake Gansai Tambi STARRY COLORS.
The sketch for this card was super simple. I drew 3 hearts and a stem. I used my Kuretake GANSAI TAMBI Watercolor Paint Set again. And finished the background by adding some splatters with White and Gold Acrylic paint.
Thanks for reading this post. I hope I’ve inspired you to give these easy watercolor cards a try for yourself. Leave comments or questions below or feel free to email.
Happy Friday friends! Hope you are all doing well and are safe. With Easter right around the corner, I’m sharing some more super easy cards. These were made easy using the Simon Says Stamp’s Faberge Egg Dies.
For the first card, I started by cutting a piece of Simon Says Stamp Cotton Candy 8.5 x 11” Cardstock and Simon Says Stamp Mint 8.5×11 cardstock to 5-1/2 x 8-1/2″ and scored at 4-1/4″ To make a card base. Then to make the egg-shaped card, I used the outline egg and just positioned slightly off the folded edge of the card. this will produce a shaped card.
I diecut out the Faberge Egg Dies from Stampin’ Up! Shimmer Paper in Mint Macaron and Sweet Sugarplum (these are no longer available but Simon Says Stamp has tons of glitter papers). Next, I diecut two pieces of Simon Says Stamp VELLUM using the outer Faberge Egg die. This will go behind the front decorative egg. I also diecut two different pattern papers with the same die. I chose one from My Favorite Things Plaid Patterns Merry & Bright Paper Pad and one front an older Lawn Fawn Perfectly Plaid Rainbow 6 x 6 Paper Pad (no longer available I think).
For the second card, I wanted to make a shaker card. Unlike most shaker cards this one did not take long at all. 😀 I started by cutting a piece of Daffodil Delight 8-1/2″ X 11″ Cardstock to 5-1/2 x 8-1/2″ and scored at 4-1/4″ to create a card base and a piece of Lawn Fawn Perfectly Plaid Rainbow 6 x 6 Paper Pad (no longer available I think) to 4-1/4 x 5-1/2”. I diecut an egg window into the pattern paper using the outline die from the Simon Says Stamp’s Faberge Egg Dies. Then I added a piece of Acetate behind it with some Scor-Tape. I diecut the Faberge Egg from Simon Says Stamp’s ASSORTMENT GLITTER Cardstock 6×6 Pack and carefully adhered it to the acetate with some Tombow Mono Multi Liquid Glue.
I then added some 3M Foam Tape behind it, creating a well around the window. I added some pink sequins from my stash as well as Queen and Company Pastel Diamonds in pink, yellow and orange and Queen and Company Pops Toppings in pink, yellow and orange. I adhered a piece of the Daffodil Delight Cardstock behind the shaker as well. Instead of trying to adhere it directly to the card, adding a piece of paper behind it is much easier. I adhered the shaker element to the card base and thought it looked a little plain. Even with the sparkle of the glitter Cardstock, it was missing something so I added a strip of Stampin’ Up! Melon Mambo 8-1/2″ X 11″ Cardstock, measuring 1/4 x 5-1/2”. To finish it off, I added some Nuvo Drops in White Blizzard.
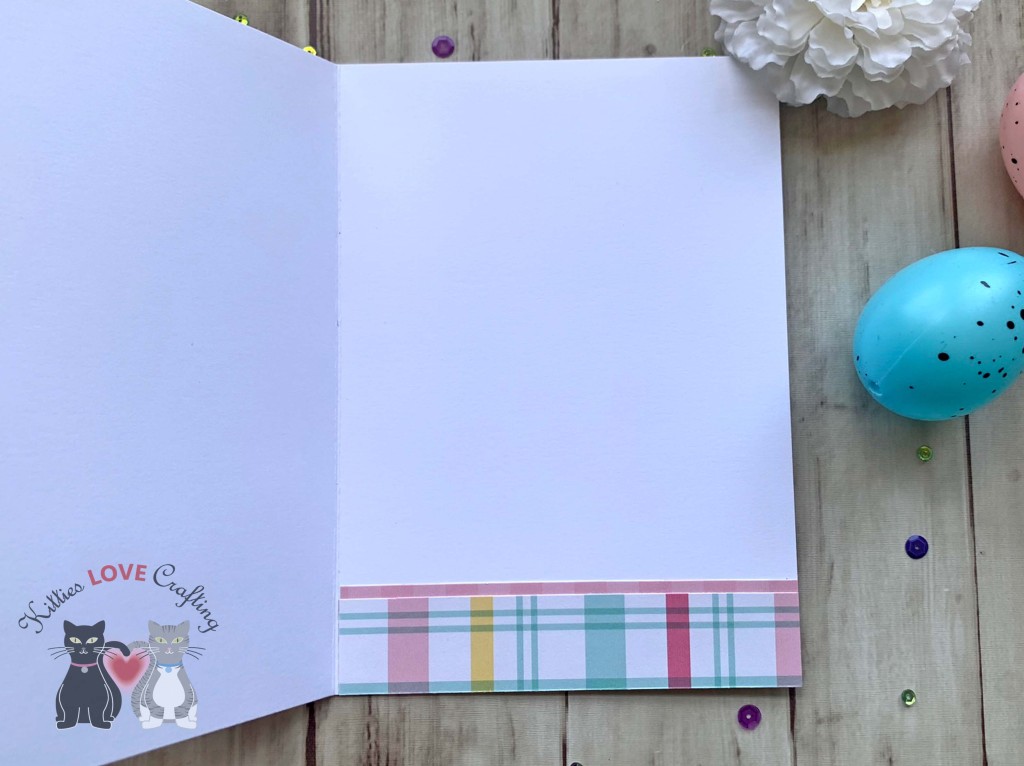
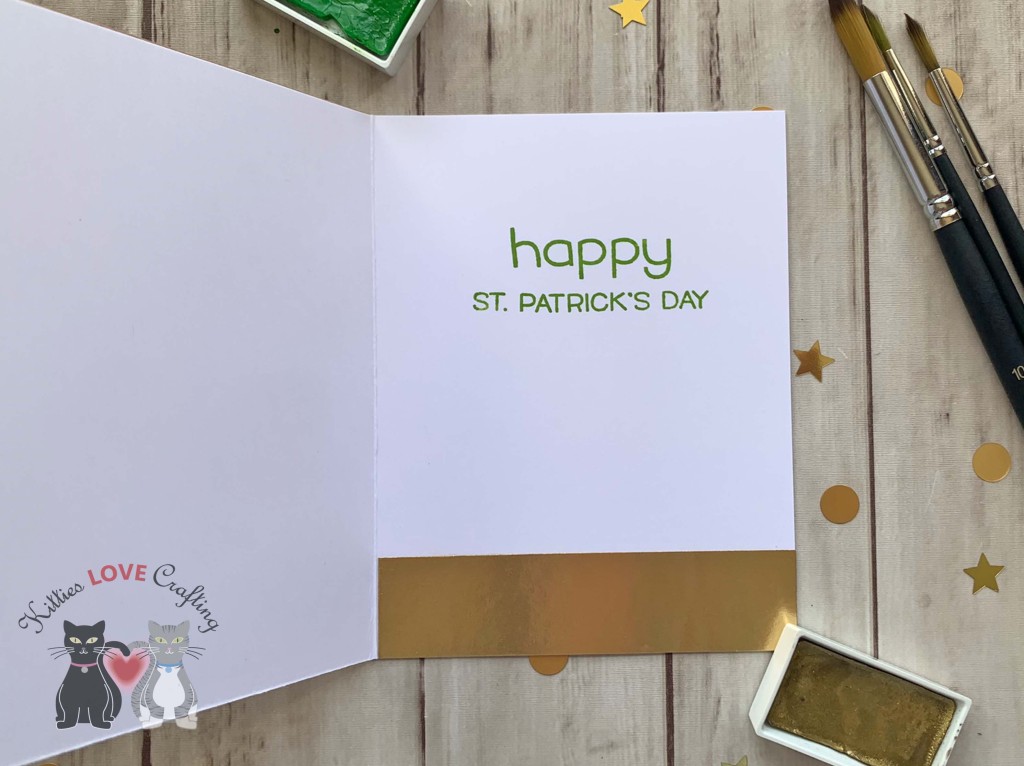
On the inside of the card, I cut down a piece of Neenah 110lb Classic Crest Cardstock 8.5 X 11″ to 4-1/ x 5-1/2” and adhered it to the inside of the card base and added a strip of the same plaid pattern paper, measuring 3/4 x 4” to the bottom of the white panel.
Thanks for reading this post. I hope you enjoyed and I’ve inspired you to give these cards a try for yourself. They are super quick and fun to make! Have a great Easter! Leave comments or questions below or feel free to email.
Happy Monday friends! Easter is fast approaching and even though we may not gather with all our families this year, we can still share happy sentiments with our loved ones by sending cards and gifts. We are going to have to get creative this year folks! Maybe instead of a community Easter Egg Hunt, try one in your back yard or inside your house. Decorate some cookies with your kids. For thedr two cards I used the very cute Hello Easter stampset from Simon Says Stamp. I like that the images are nice and big so they are easy to color and fill up more space on a card.
I stamped the ducky, large Easter egg, and the chickadee with 3 eggs from all the images I needed from Hello Easter stampset from Simon Says Stamp and the two eggs from SSS Some Bunny (not available anymore I believe) with Memento Tuxedo Black Ink onto Neenah 110lb Classic Crest Cardstock 8.5 X 11″. Once dried, I colored the images with COPIC markers. I used BG000 + 0 Blender for mini eggs and YG05 + YG07 for the grass; Y06 and Y18 for the both chicks; RV000 + RV11 for the chick’s bow; YR12 + YR16 for the chock beaks and feet; V06 + V09 for the umbrella top and BV08 + V09 for the umbrella underside, YR12 +YR07 + YR16 for the umbrella bow; Y06 + Y18 for the umbrella medallion; RV09 + RV14 + RV19 for the large egg, BG000 + BG01 + BG02 for the egg’s stripes and Y06 + Y18 for the egg’s bow; YR12 + YR16 and V06 + V09 for the small polka egg; and RV000 + RV11 and BG000 + BG01 for the small stripe egg. I fussycut the images out and adhered them to the card. I added 3M Foam Tape behind the images that hung over the edge of the grass.
Then I stamped the bunny, 2 tulip bundles and 1 daffodil from the Hello Easter stampset from Simon Says Stamp and the eggs from the SSS Some Bunny (not available anymore I believe) with Memento Tuxedo Black Ink onto Neenah 110lb Classic Crest Cardstock 8.5 X 11″. I colored the images with COPIC markers. I used N1 + N2 + N5 for the bunny, R20 + R32 for the bunny ears, cheeks and nose, R05 + R08 + R59 for the bunny’s bow; R20 + R32 and R32 + R37 for the tulips; and R08 + R59 and Y06 + Y18 for the daffodil. I fussycut all the images.
Thanks for reading this post. I hope you enjoyed and I’ve inspired you to give these cards a try for yourself. Have a great Easter! Leave comments or questions below or feel free to email.


 https://linkdeli.com/widget.js?id=f5e8378456858c916708