Hello friends. Another Monday is upon us and July is almost over. I don’t know when the whole Christmas in July phenomenon started but I look forward to it every year now. The Hallmark Channel shows Christmas movies all month long, which I just love; those cheesy Christmas movies are the best! There are crafty sales and giveaways and crafters share cute Holiday cards and crafts. What could be better? It’s also a great time to get a jump start on your holiday cards. Before we know it will be December and time to send out cards!
I taped the red cardstock to my work surface using some Post-it Tape and then taped in place the stencil where I wanted it. Since this stencil is narrower than the cardstock panel, if you want to cover the whole background you will have to do these steps twice. I did not have to do this however since I will be covering the left side. I used a palette knife to spread the deco foil transfer gel over the stencil, making sure to spread it evenly and thinly. You don’t want a thick uneven layer or the foil will not stick correctly. I set that aside to dry (it took a couple of hours) and took cut a piece of Stampin’ Up! Old Olive Cardstock to 1 1/8 x 5 1/4″ and ran it through my diecut machine using the Darice Diagonal Stripe Embossing Folder.
Time to add the snowflake. I adhered that 3D white snowflake roughly in the center of the card, added some Tonic PALE GOLD Nuvo Crystal Drops to the center of the snowflake, the top and bottom of the card panel. And the card is finished! Oh wait! we need a sentiment!
Thanks for stopping by and I hope I’ve inspired you to start making your Christmas/Holiday cards. Leave comments or questions below or feel free to email me.
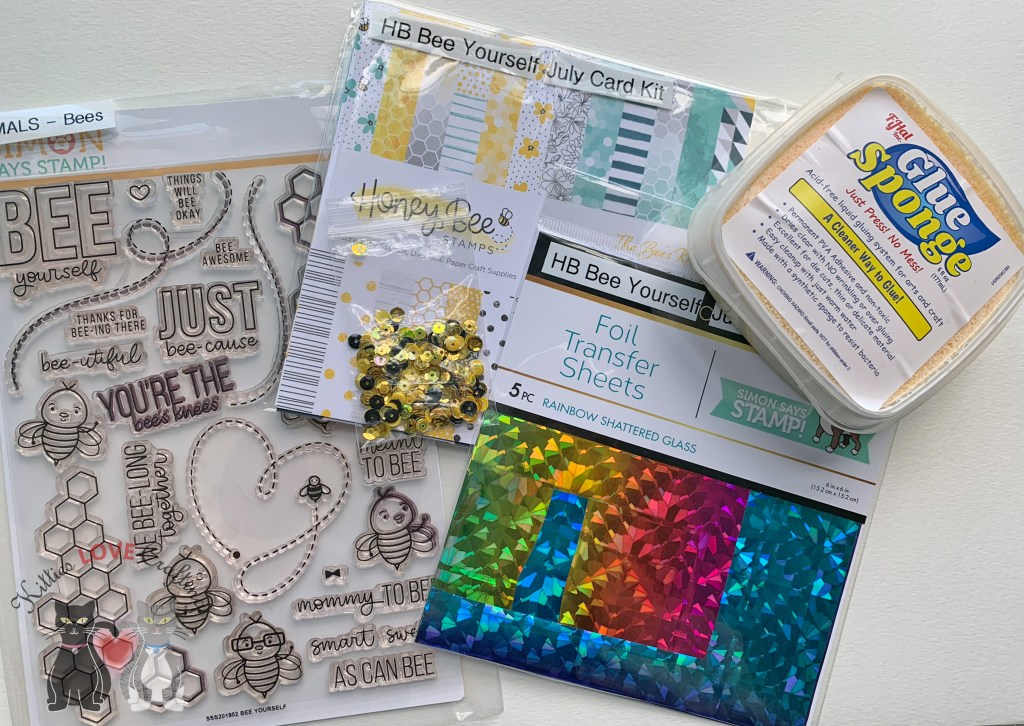
Hello friends. I finally got to play with this adorable bee-themed card kit from Simon Says Stamps. It’s the July Card Kit called Bee Yourself. Lots of fun products to play with and I just adore the stampset. Unfortunately the kit is no longer available but I will link all the available individual products. I almost strictly used only the card kit contents. I did bring in a few of my own products and I will link those below as well.
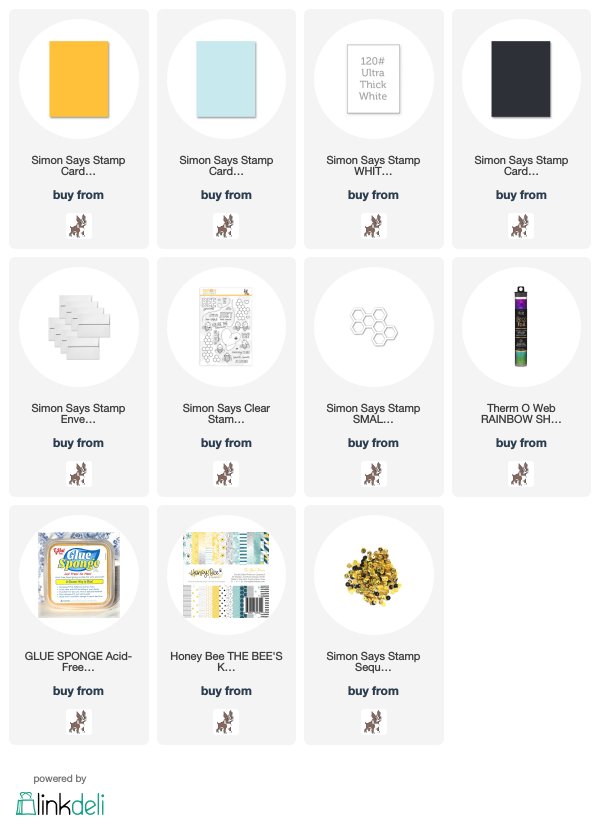
Card Kit Supplies
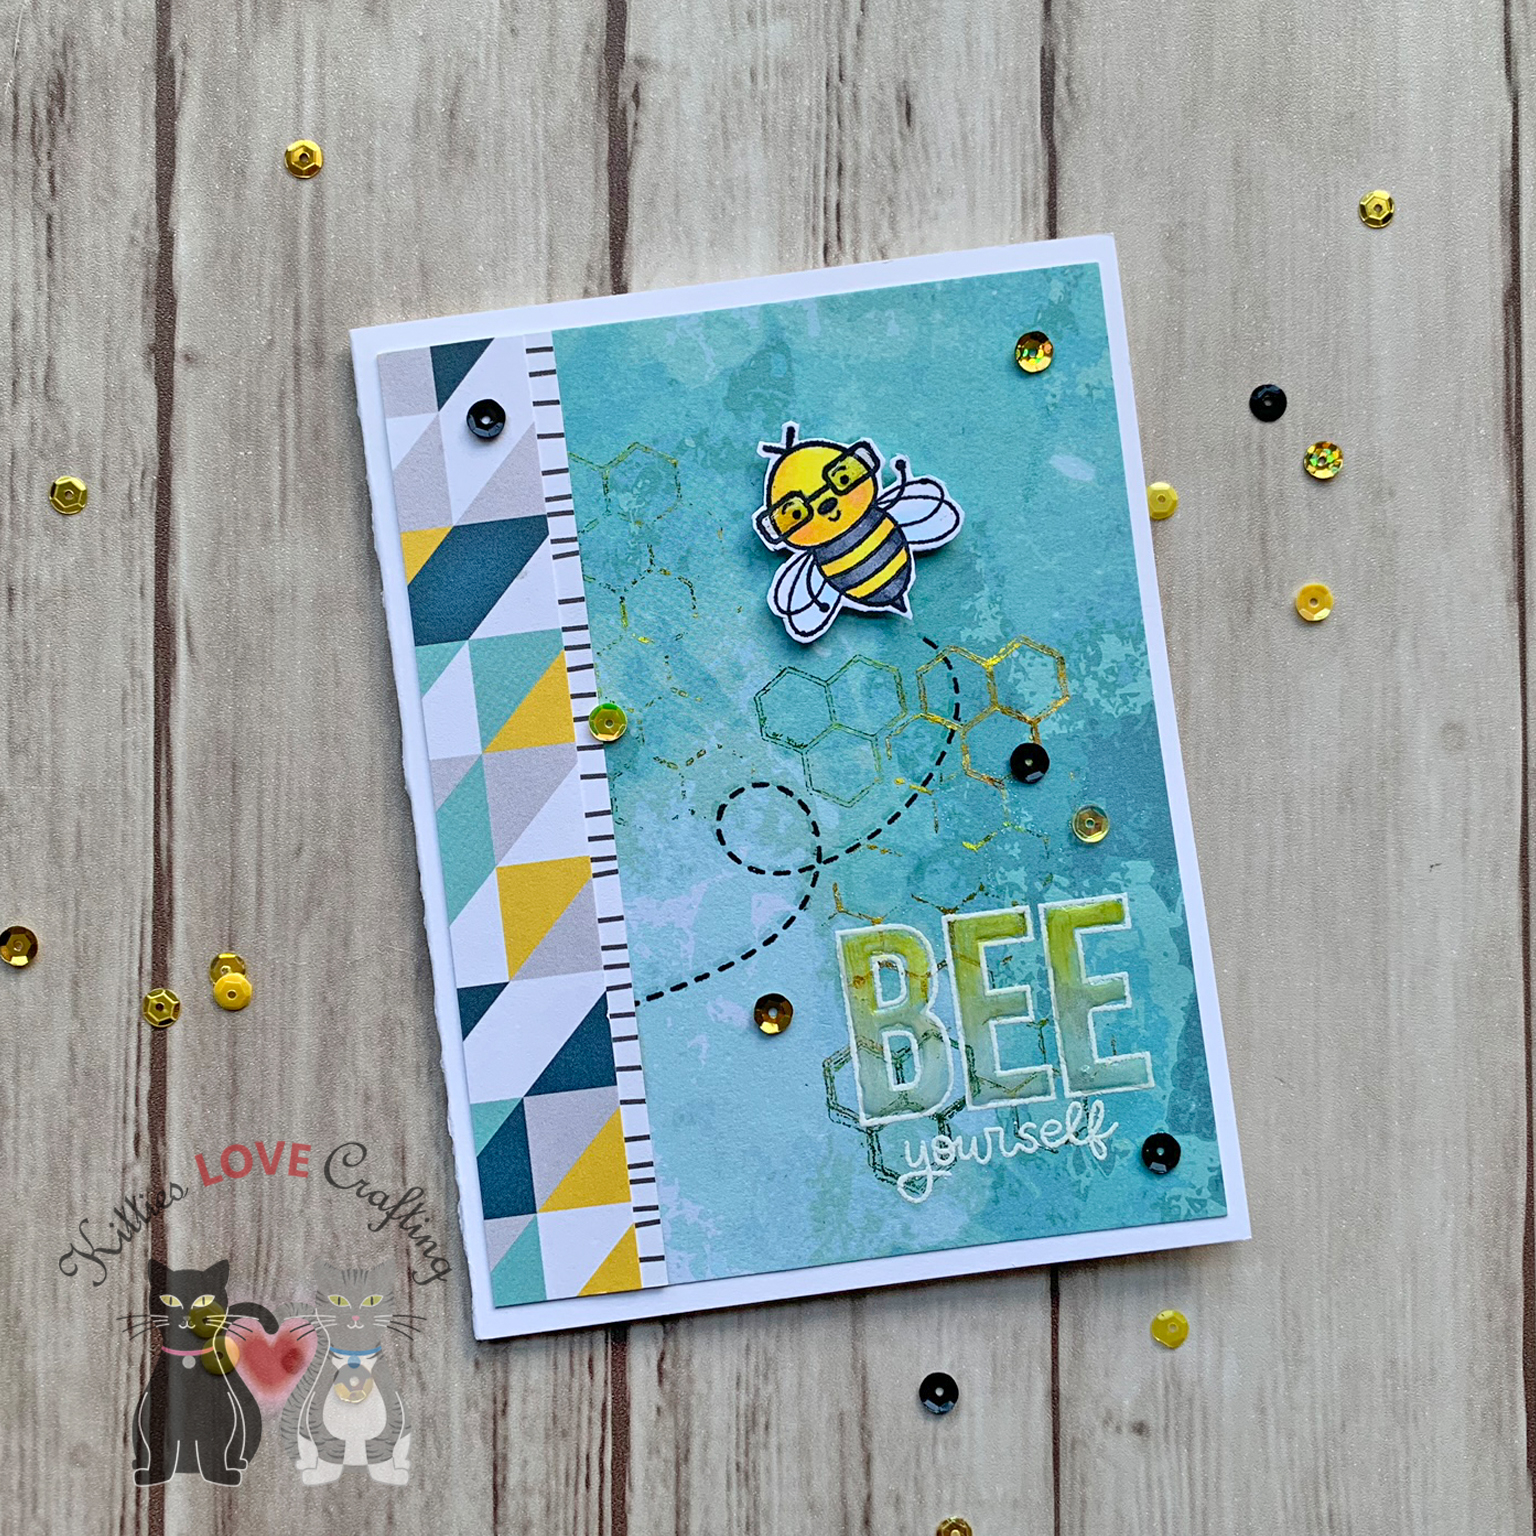
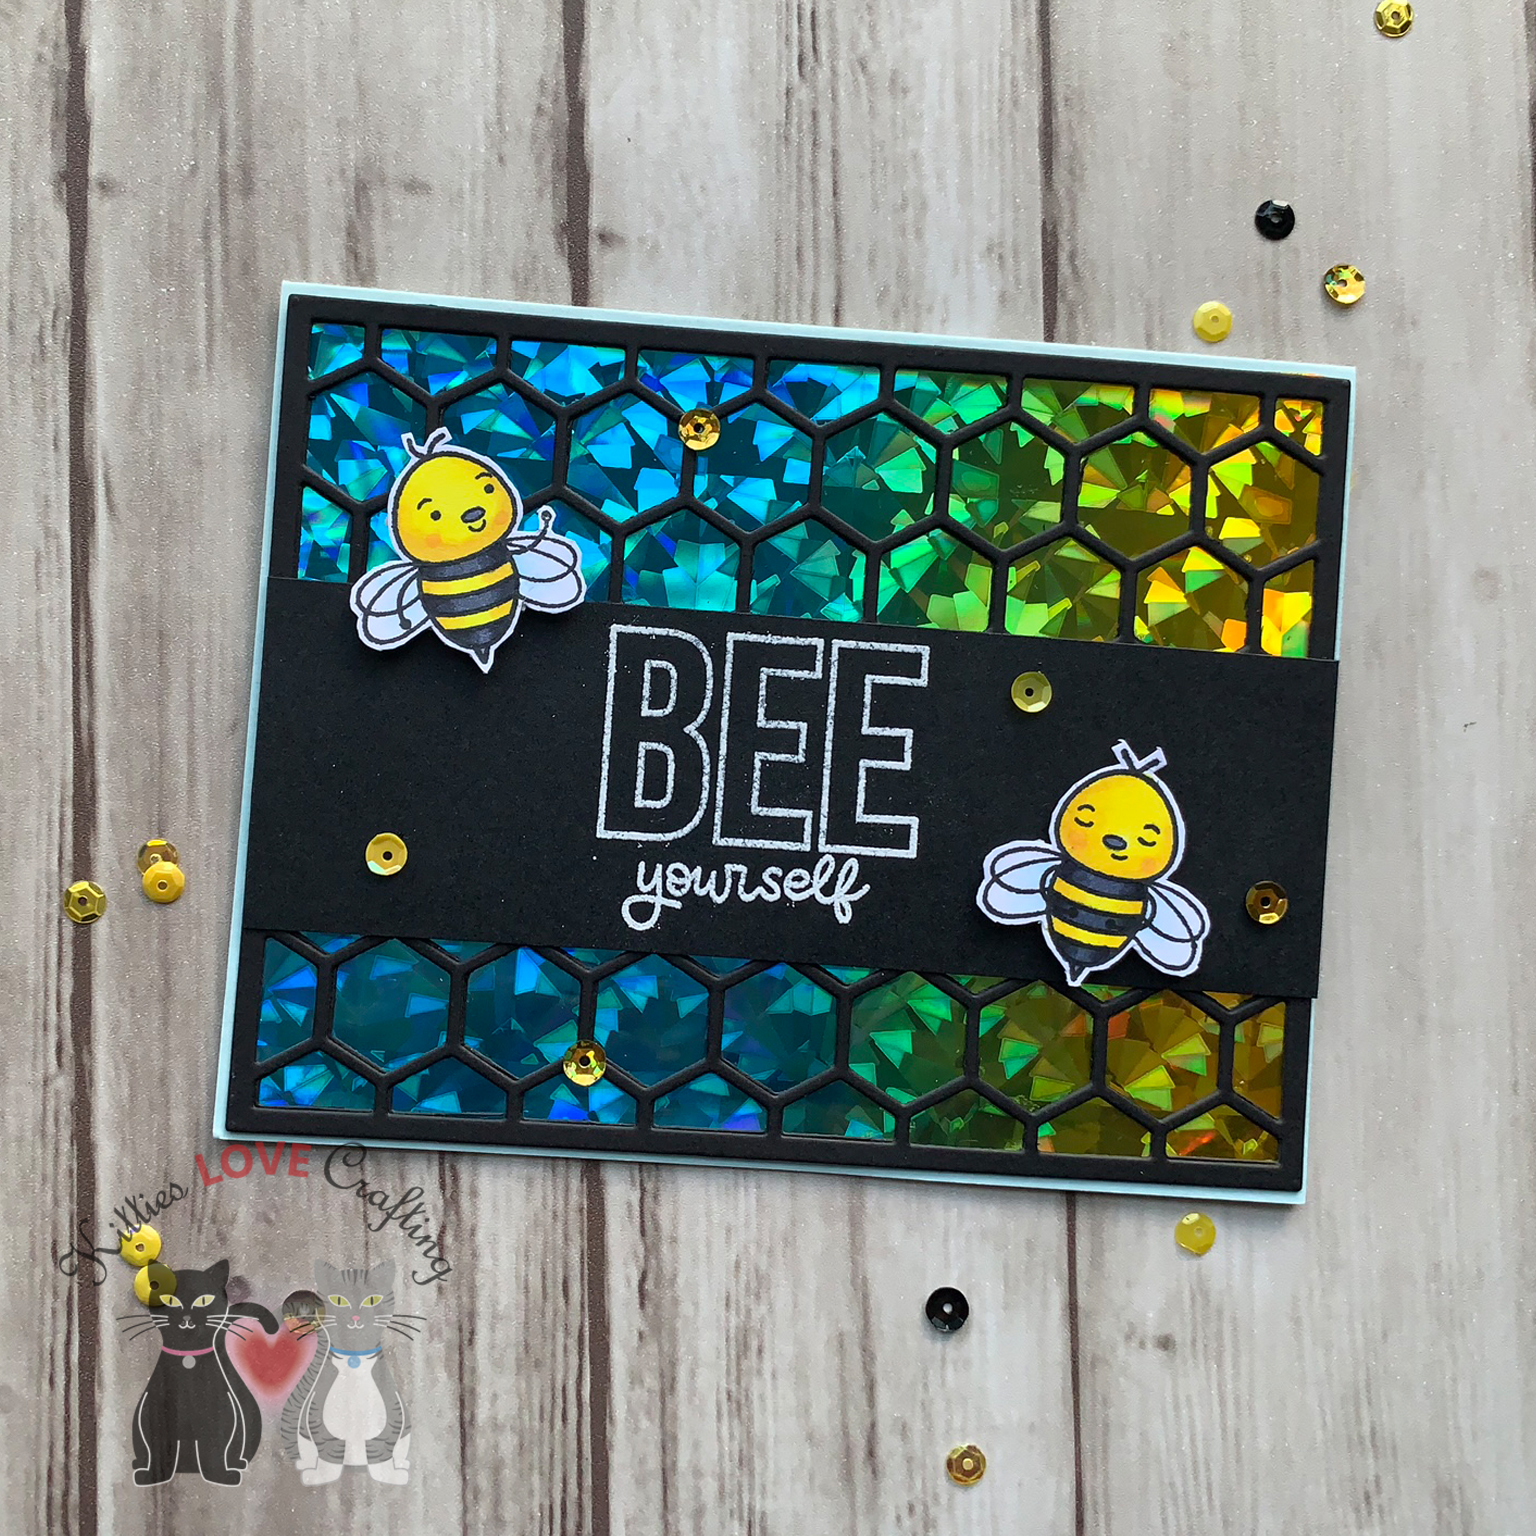
When I first saw the reveal video for this kit, I fell for the paper pad from Honeybee Stamps immediately. I knew I had to use the aqua watercolor pattern first. I kept it simple. I wanted to see if I could foil using a stamp and the glue pad and a stamp (didn’t have transfer gel. I do NOW though 🙂 ).
I diecut a few hexagons from Simon Says Stamp Black cardstock using the Simon Says Stamp Small Hexagon Cluster wafer thin die and a few from some black glitter paper. I added the black hexagon cluster to the card and then inlayed 3 glitter hexagons back into the clusters. I added a black mat behind the sentiment. Then I adhered the flower onto the right side of the card and the sentiment toward the bottom. I adhered the little bees and added some sequins to finish off the card.
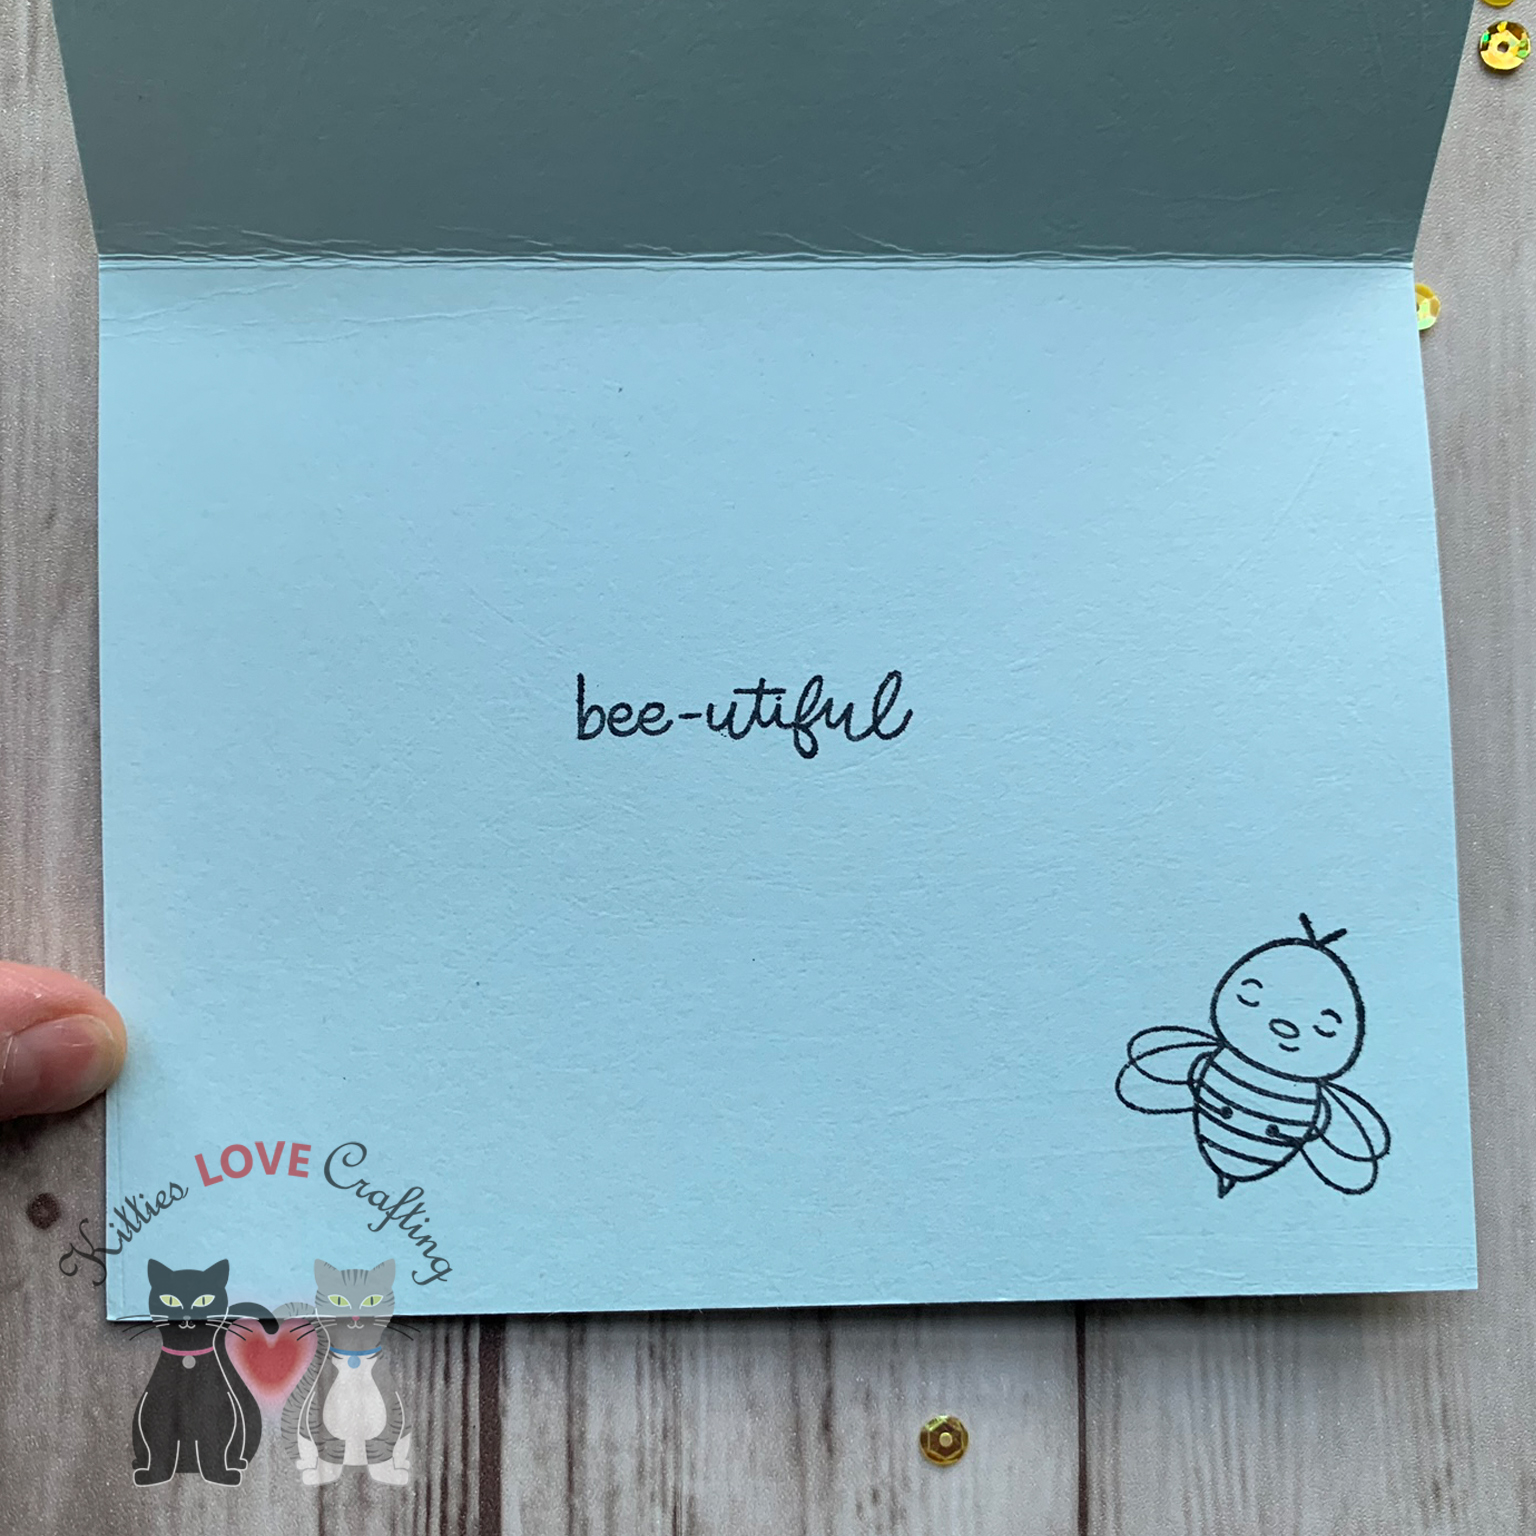
I stamped the “bee-utiful” sentiment and a little bee with Ranger Black Archival Jet Black on the inside of the card. And now this card is done!
3 cards done, 2 to go…
Another paper that I really like for this collection was the black and white wonky (technical term :)) striped one. Another thing I wanted to use was the foilable cards. And the rainbow one of course calls for rainbow foil (duh). I only foiled the rainbow itself and the little bees so that they would stand out. I fussycut around the images and words, leaving a white border around them. I chose the yellow polka dotted pattern paper from the paper pad as my background. I cut a piece to 3 1/4 x 5 1/2”. I adhered a strip of the black and white wonky stripe paper onto and A2 sized card base (Simon Says Stamp Sunshine cardstock), leaving a 1/4 inch on each side, and adhered the yellow polka dot one in the center over that piece. I added some thin Love From Lizi Pin Stripe Black Glitter Peel Offs to separate the patterns a bit. I love the peel offs from Love From Lizi! They add interest to your card with little effort and she sells soooo many colors (glitter, metallic, transparent). Super fun.
I adhered the images down onto the card and added some sequins from the included pack. To finish off the inside I cut a piece of Simon Says Stamp White 120# cardstock to 4 x 5 1/4” and adhered inside the card. I added a 1 x 5 1/4” strip of the yellow polka dotted paper and a 1/2 x 5 1/4” strip of the black and white wonky striped paper to the right side of that panel. And stamped the “JUST bee-cause” sentiment in Ranger Black Archival Jet Black. And this completes card #4.
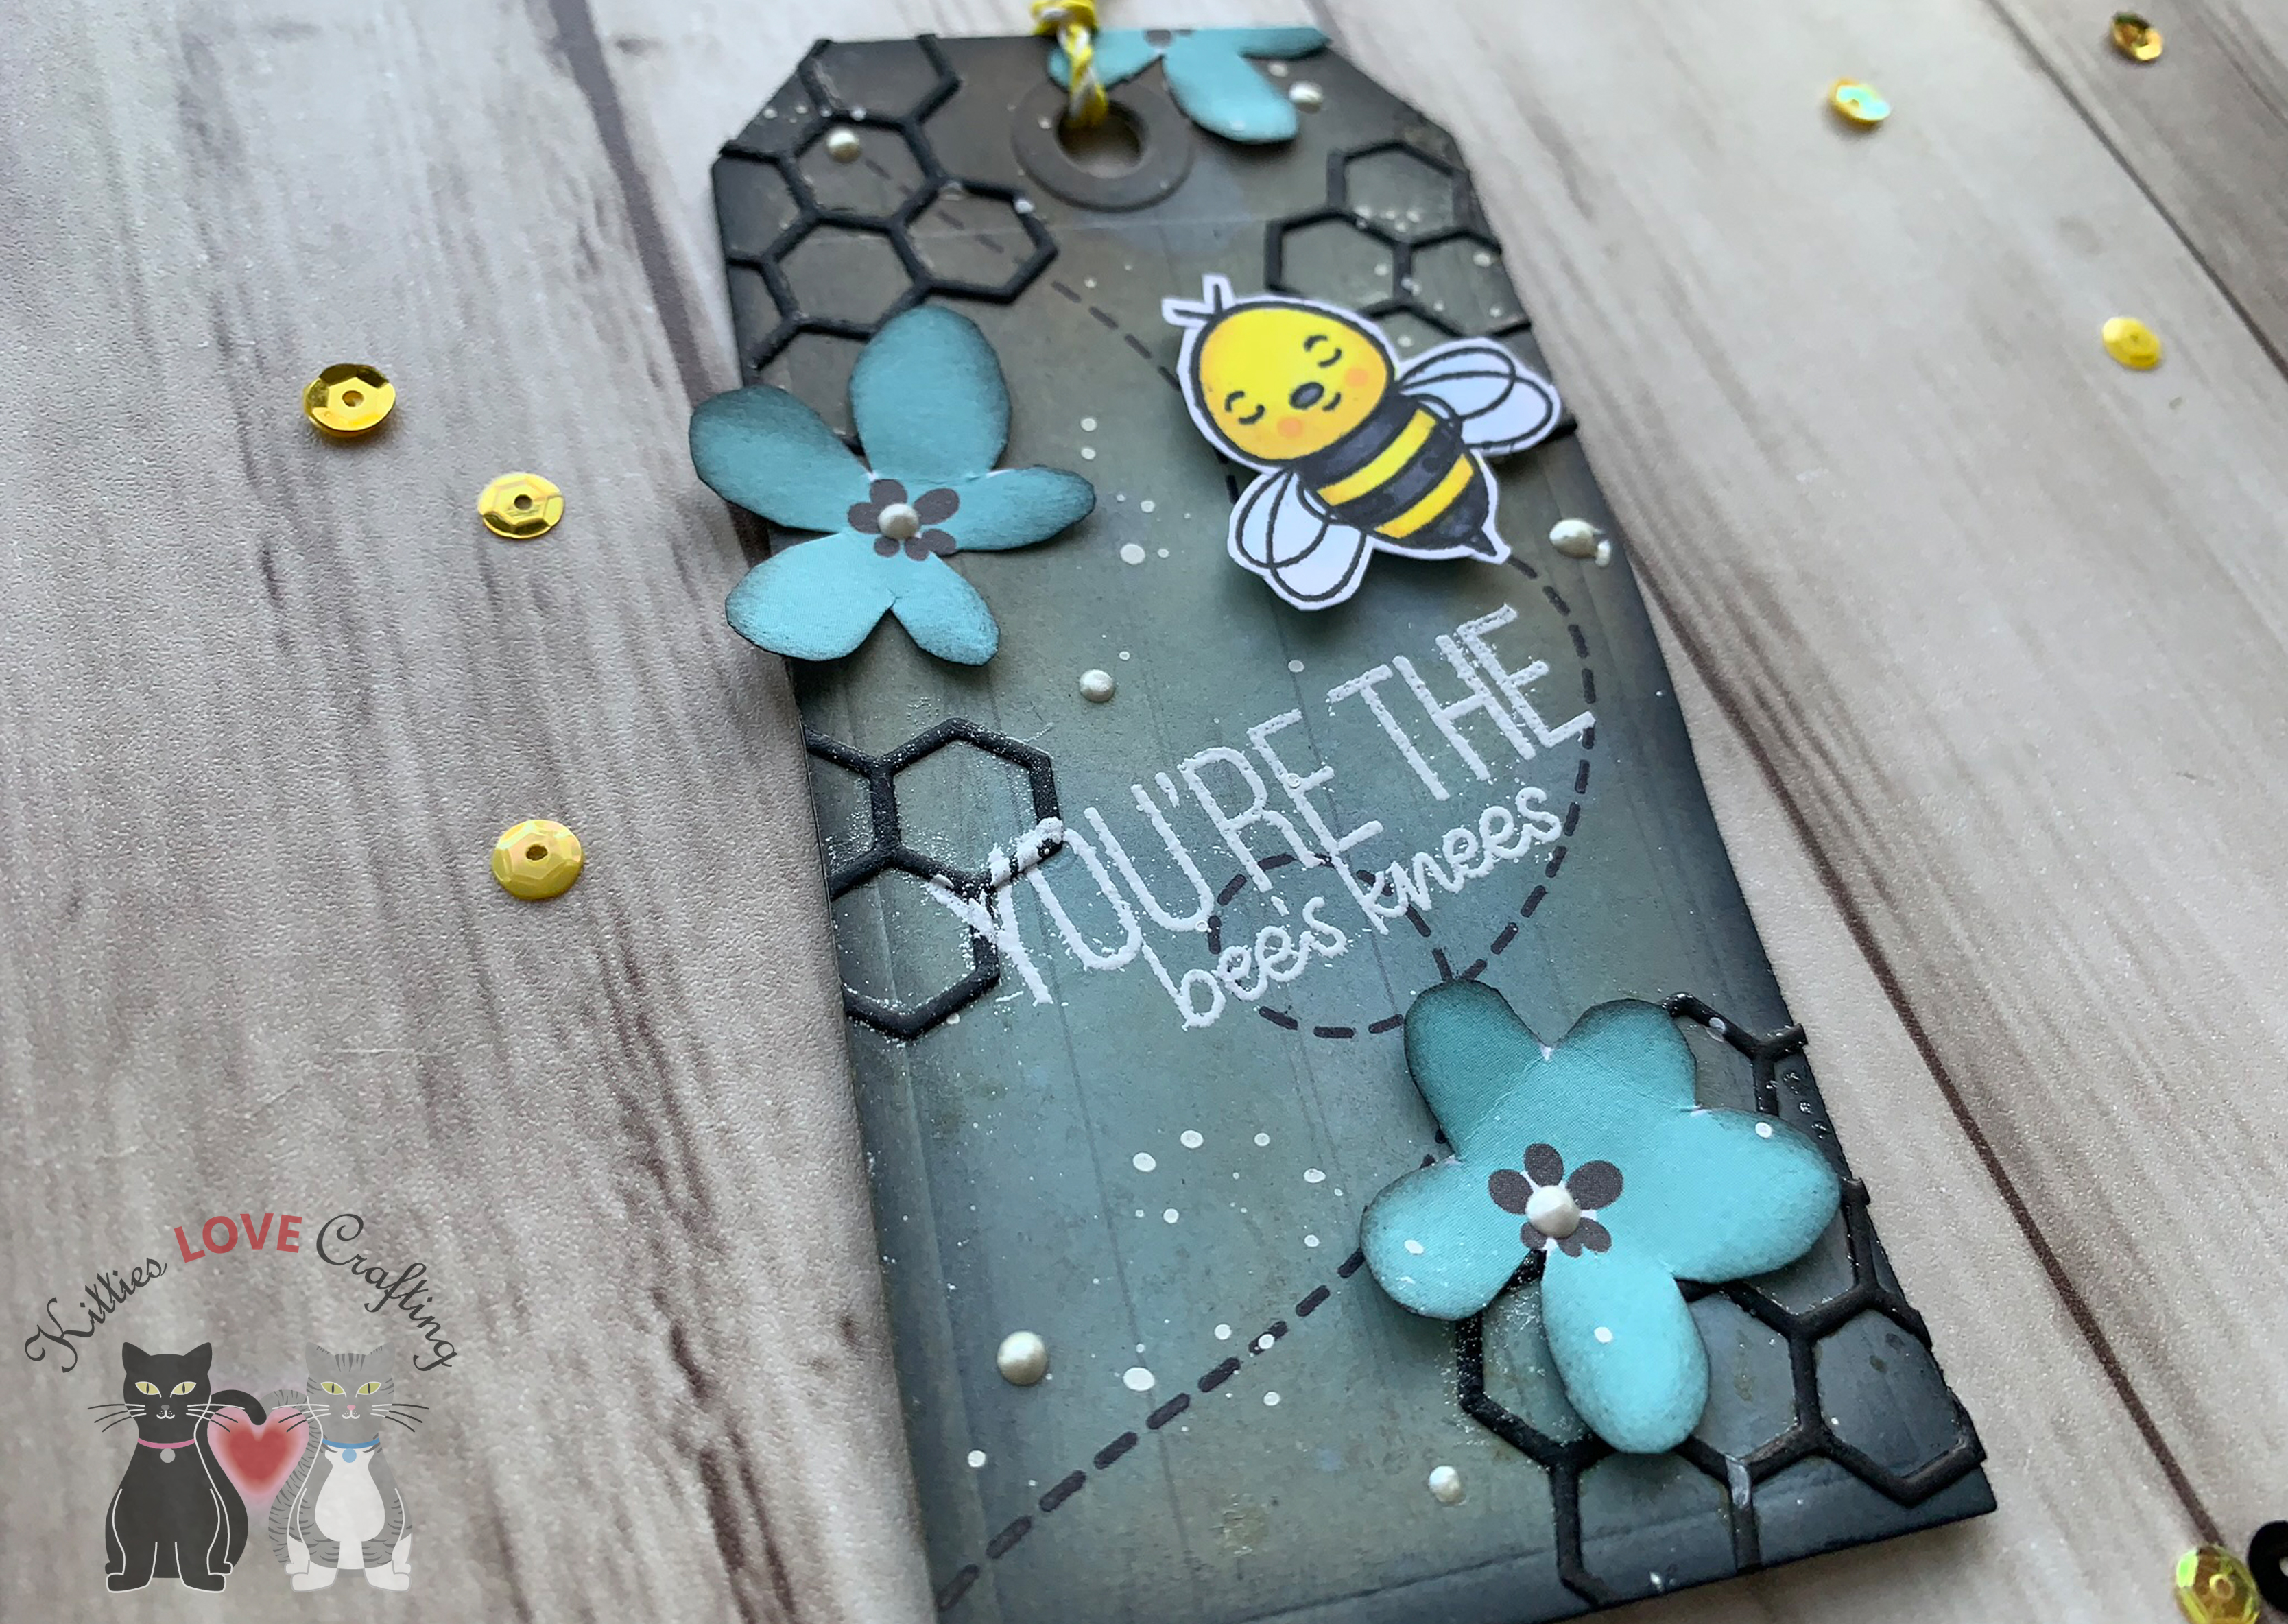
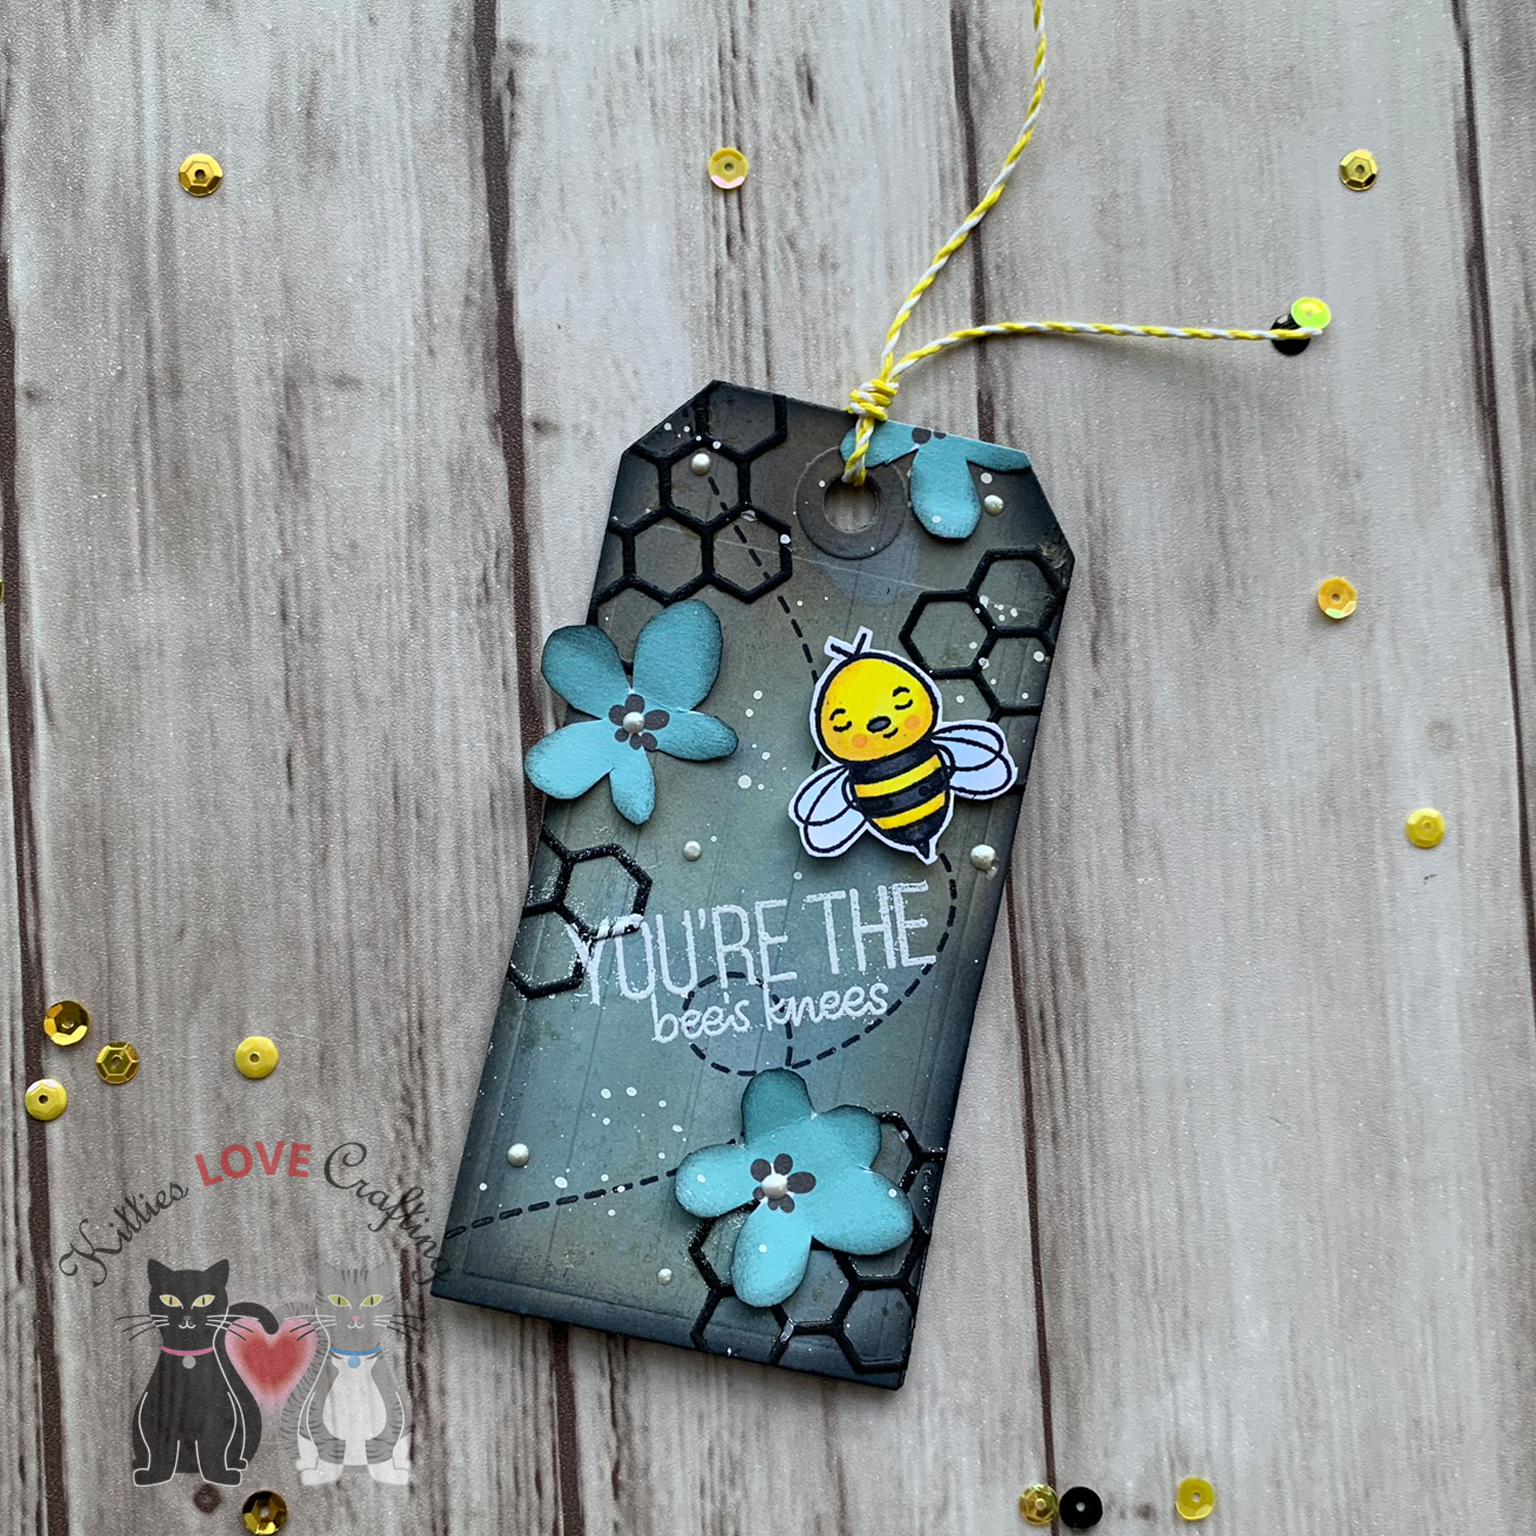
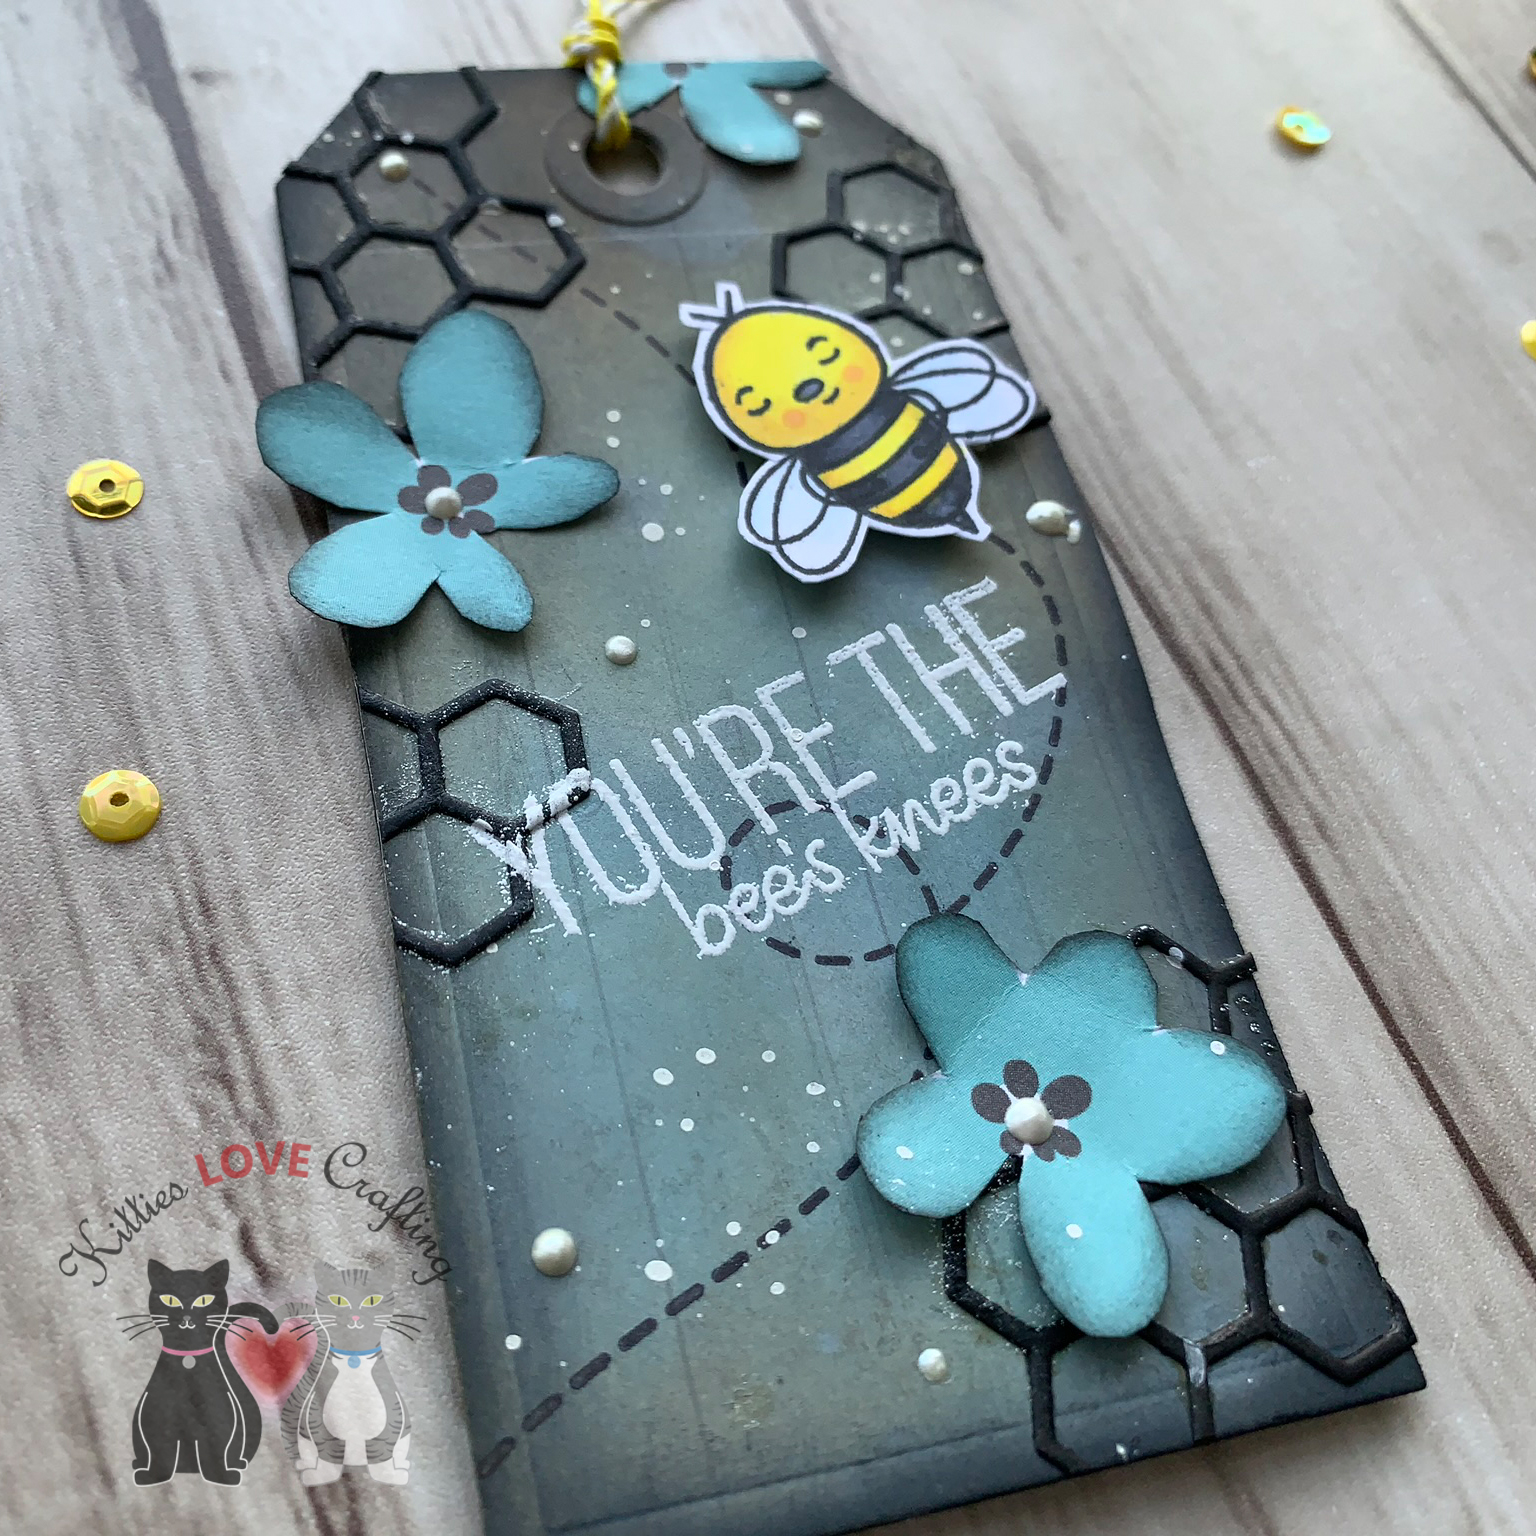
While I was making these cards, I had a thought…how cute would the bees look on a tag??? So I got out my trusty tag die from Tim Holtz (Sizzix Framelit Dies – Tag Collection by Tim Holtz) and diecut 2 tags using the second to largest die from Simon Says Stamp Black cardstock. I chose two pattern papers for my backgrounds, the light wood grain and the black and aqua hexagons, diecut 2 of each of those and glued them onto the front and back of the tag. Then I got to distressing.
I don’t want to leave this tag just as is though. I thought it might look cute as a card instead. So I cut a piece of the yellow hexagon paper to 1-1/4 x 5 1/2” and a piece of the yellow polka dot paper to -1 x 5 1/2” and adhere it to the.back of the hexagon paper and adhered both to an A2 sized card base (Simon Says Stamp Black cardstock).
I adhered the tag to the card base on a slight angle, placing it over the edges. I trimmed off the excess and proceeded to diecut some more hexagon clusters with black cardstock and adhered them to the card. I added one on the black paper so it looks like it’s embossed. I added three little bees and some sequins to complete this card.
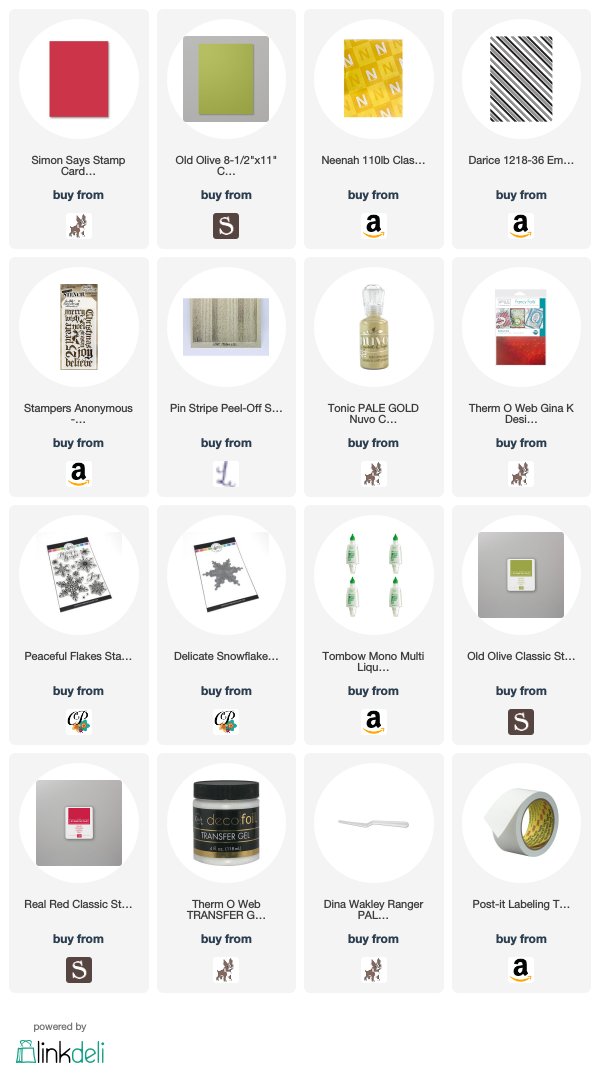
Supplies
Card Kit Includes:
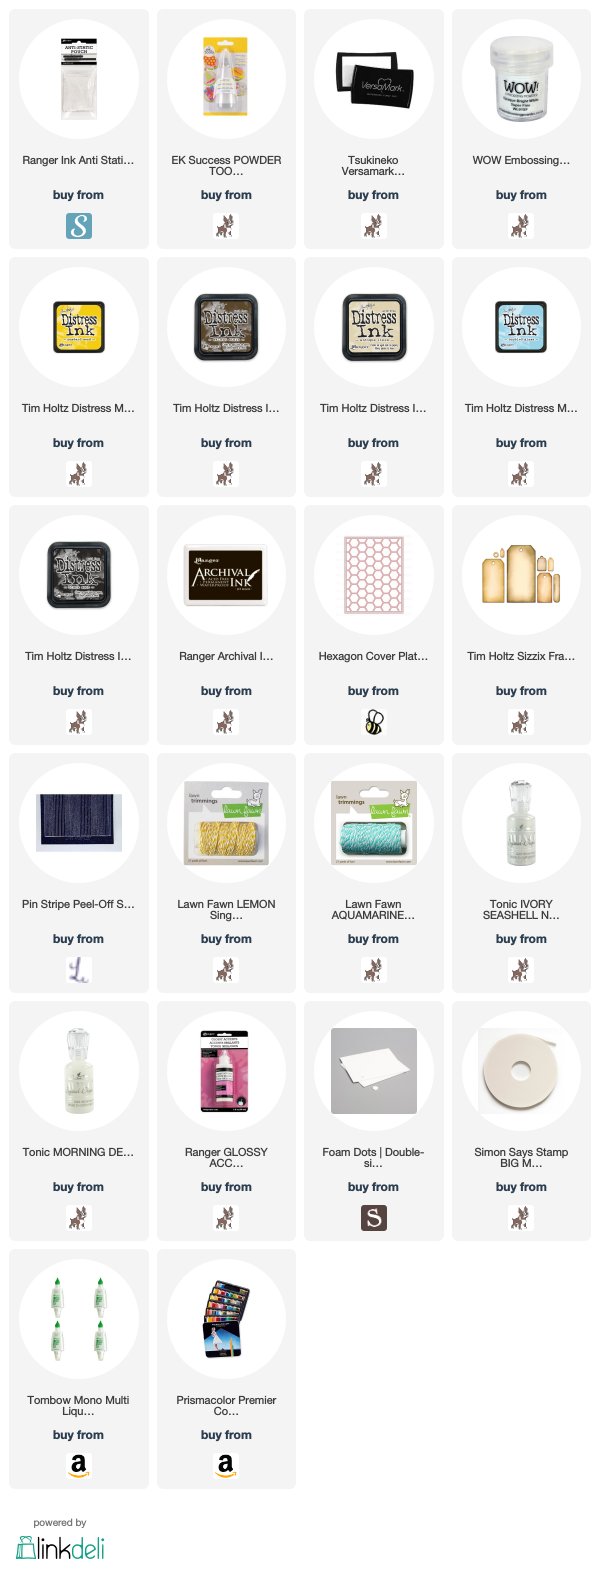
Other Supplies Used:
Hope you’ve enjoyed this post. Thanks for reading to the end; I know it was a long one. I hope I’ve inspired you to make some adorable bee cards of your own. Whether you have the kit or not you can make these cards. Leave comments or questions below or feel free toemailme.
Hello friends. I finally got to play with this adorable bee-themed card kit from Simon Says Stamps. It’s the July Card Kit called Bee Yourself. Lots of fun products to play with and I just adore the stampset. Unfortunately the kit is no longer available but I will link all the available individual products. I almost strictly used only the card kit contents. I did bring in a few of my own products and I will link those below as well.
Card Kit Supplies
When I first saw the reveal video for this kit, I fell for the paper pad from Honeybee Stamps immediately. I knew I had to use the aqua watercolor pattern first. I kept it simple. I wanted to see if I could foil using a stamp and the glue pad and a stamp (didn’t have transfer gel. I do NOW though 🙂 ).
I diecut a few hexagons from Simon Says Stamp Black cardstock using the Simon Says Stamp Small Hexagon Cluster wafer thin die and a few from some black glitter paper. I added the black hexagon cluster to the card and then inlayed 3 glitter hexagons back into the clusters. I added a black mat behind the sentiment. Then I adhered the flower onto the right side of the card and the sentiment toward the bottom. I adhered the little bees and added some sequins to finish off the card.
Another paper that I really like for this collection was the black and white wonky (technical term :)) striped one. Another thing I wanted to use was the foilable cards. And the rainbow one of course calls for rainbow foil (duh). I only foiled the rainbow itself and the little bees so that they would stand out. I fussycut around the images and words, leaving a white border around them. I chose the yellow polka dotted pattern paper from the paper pad as my background. I cut a piece to 3 1/4 x 5 1/2”. I adhered a strip of the black and white wonky stripe paper onto and A2 sized card base (Simon Says Stamp Sunshine cardstock), leaving a 1/4 inch on each side, and adhered the yellow polka dot one in the center over that piece. I added some thin Love From Lizi Pin Stripe Black Glitter Peel Offs to separate the patterns a bit. I love the peel offs from Love From Lizi! They add interest to your card with little effort and she sells soooo many colors (glitter, metallic, transparent). Super fun.
Anyways back to my card…
I adhered the images down onto the card and added some sequins from the included pack. To finish off the inside I cut a piece of Simon Says Stamp White 120# cardstock to 4 x 5 1/4” and adhered inside the card. I added a 1 x 5 1/4” strip of the yellow polka dotted paper and a 1/2 x 5 1/4” strip of the black and white wonky striped paper to the right side of that panel. And stamped the “JUST bee-cause” sentiment in Ranger Black Archival Jet Black. And this completes card #4.
While I was making these cards, I had a thought…how cute would the bees look on a tag??? So I got out my trusty tag die from Tim Holtz (Sizzix Framelit Dies – Tag Collection by Tim Holtz) and diecut 2 tags using the second to largest die from Simon Says Stamp Black cardstock. I chose two pattern papers for my backgrounds, the light wood grain and the black and aqua hexagons, diecut 2 of each of those and glued them onto the front and back of the tag. Then I got to distressing.
I don’t want to leave this tag just as is though. I thought it might look cute as a card instead. So I cut a piece of the yellow hexagon paper to 1-1/4 x 5 1/2” and a piece of the yellow polka dot paper to -1 x 5 1/2” and adhere it to the.back of the hexagon paper and adhered both to an A2 sized card base (Simon Says Stamp Black cardstock).
I adhered the tag to the card base on a slight angle, placing it over the edges.i trimmed off the excess and proceeded to diecut some more hexagon clusters with black cardstock and adhered them to the card. I added one on the black. paper so it looks like it’s embossed. I added three little bees and some sequins to complete this card.
Supplies
Card Kit Includes:
Other Supplies Used:
Hope you’ve enjoyed this post. Thanks for reading to the end; I know it was a long one. I hope I’ve inspired you to make some adorable bee cards of your own. Whether you have the kit or not you can make these cards. Leave comments or questions below or feel free toemailme.
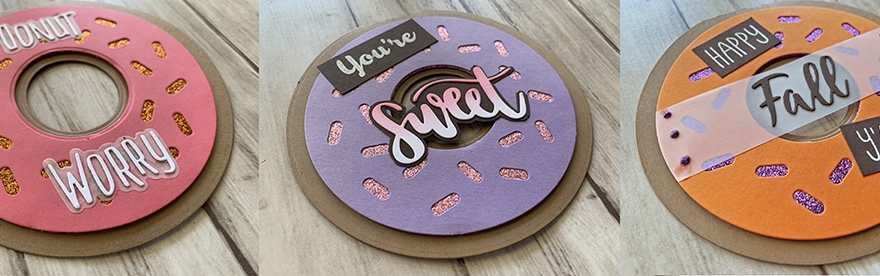
Happy Monday everyone! Coming to you today with some fun and delicious cards. I love coffee and donuts but since I am trying to be good (yeah, right!) and not eat too much sugar, I will make them into cards instead.
This die from Honey Bee Stamps really makes them super quick and easy to make. There are also so many ways to embellish this cute donut card. It can be for birthdays, holidays, seasons, or just because.
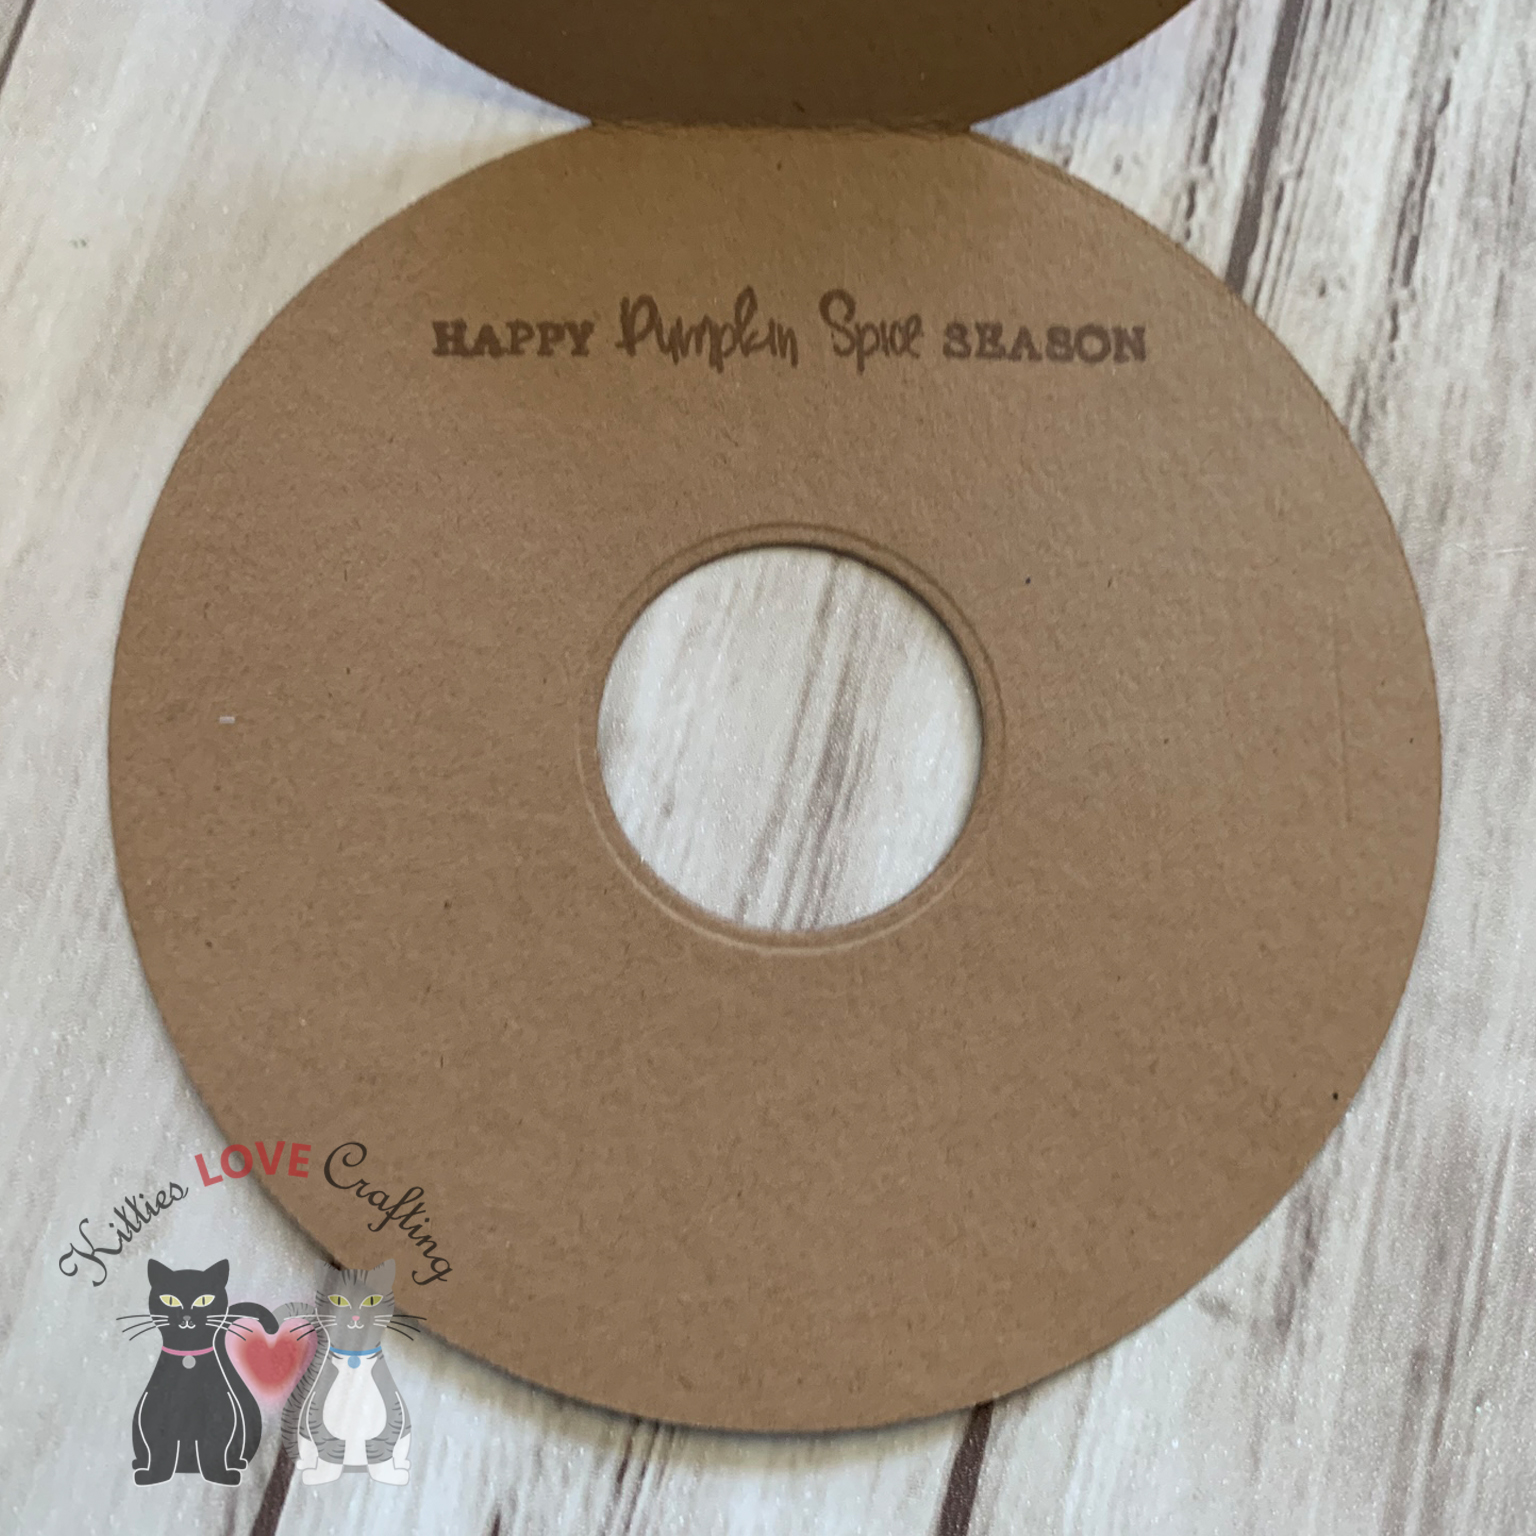
For the last card I had to make it a Fall card, not only because I love Fall but also because I love pumpkin spiced everything and donuts are no exception. Can’t wait for Fall people!
To make the word appear to float over the donut hole, I used a strip of Stampin’ Up! Vellum and adheredit over the hole. I used the circle die in the Donut Card dieset to trim the sides. I then adhered the rest of the sentiment pieces above and below. I used Nuvo Crystal Drops in Violet Galaxy to add some embellishment.
Before I go I just want to say that if you want to make these cards and you don’t have all the supplies I used and don’t want to purchase them, just look through your stash of stamps, dies, and papers and make them your own. It’s fun to play with different looks. The possibilities are really endless. Have FUN with it!!!
Thanks for stopping by and I hope I’ve inspired you to give the Honey Bee Donut Card Die a try and make some donut cards of your own. Leave comments or questions below or feel free toemailme.