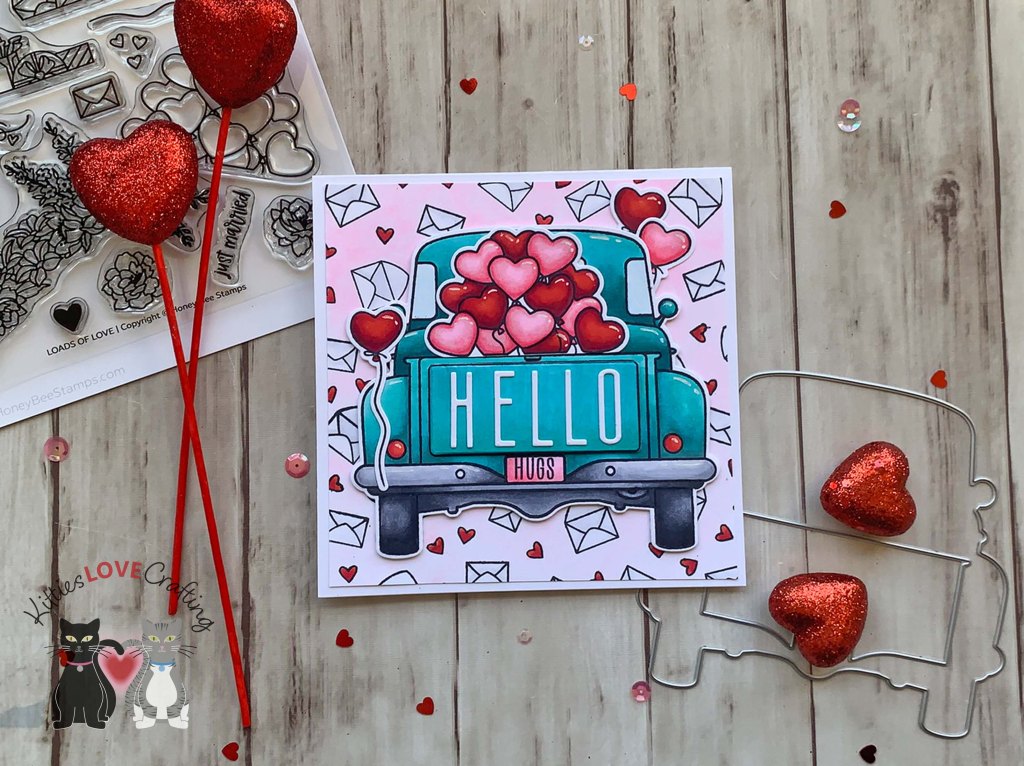
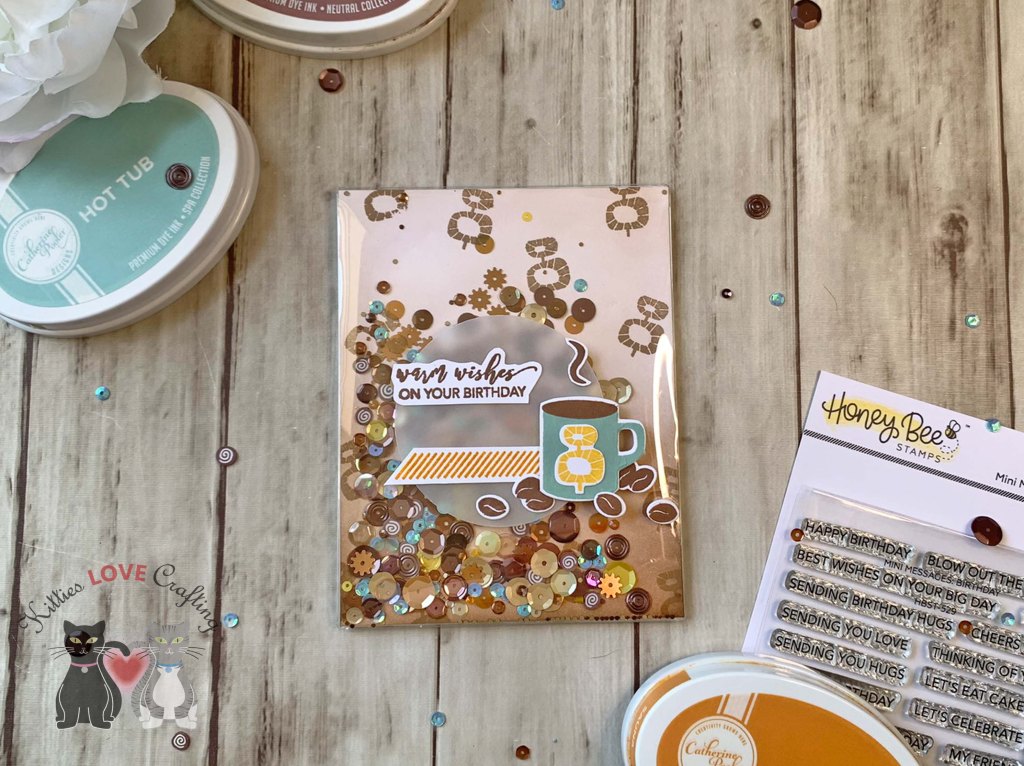
Hello friends. For this card, I decided to create a shaped card with the Honey Bee Stamps Big Pickup Cab, Big Pickup Tailgate, and Loads of Love 6×6 Stamp Sets. This card was a little time-consuming because of all the coloring but I think worth it in the end! I love how this turned out!!!
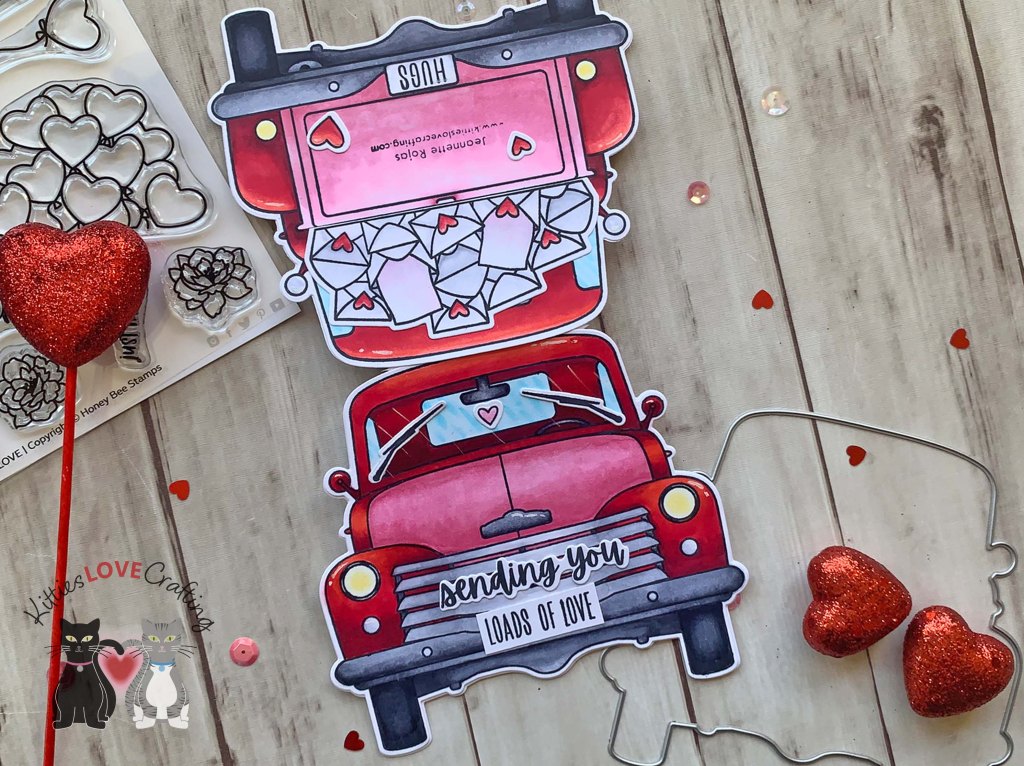
For this card, I cut a piece of Neenah 100lb Classic Crest Cardstock 8.5 X 11″ to 7 x 10 and scored at 5″ to create an A7 card base. I folded the card base and then die cut the shaped truck card by aligning the truck die up against the fold line but overhanging it a little. This will create the shape card. You can do this with any shape die.
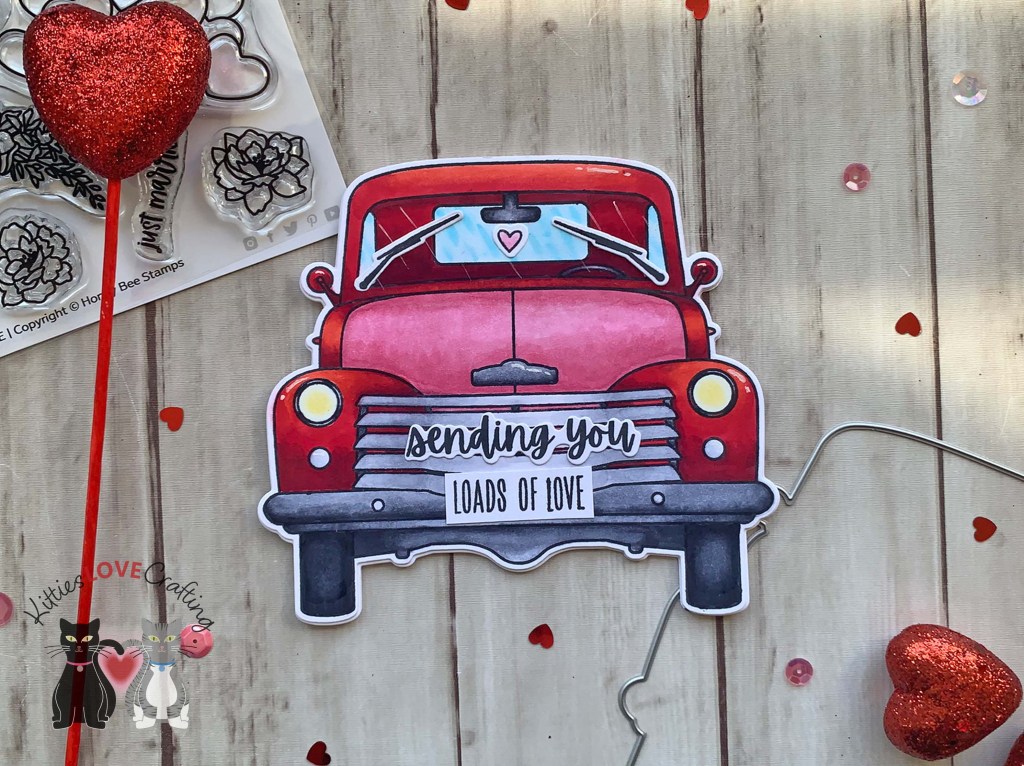

Next, I stamped both the front and back of the truck and envelope images from the Big Pickup Cab, Big Pickup Tailgate, and Loads of Love 6×6 Stamp Sets onto Neenah 100lb Classic Crest Cardstock 8.5 X 11″ with Memento Tuxedo Black Ink. I colored them with Copic markers. I used R17, R29, R59 & R69 for the truck; R83, R85 & RV10 for the truck bed; C0, C1, C3, C5 & C7 for the bumper and mirrors; C7 & C9 for the tires; BG000, BG10 & 0 (blender) for the windows; Y0000 & Y15 for the lights; and C1, 0, & RV10 for the envelopes. I die cut everything with the coordinating dies for each stamp set.

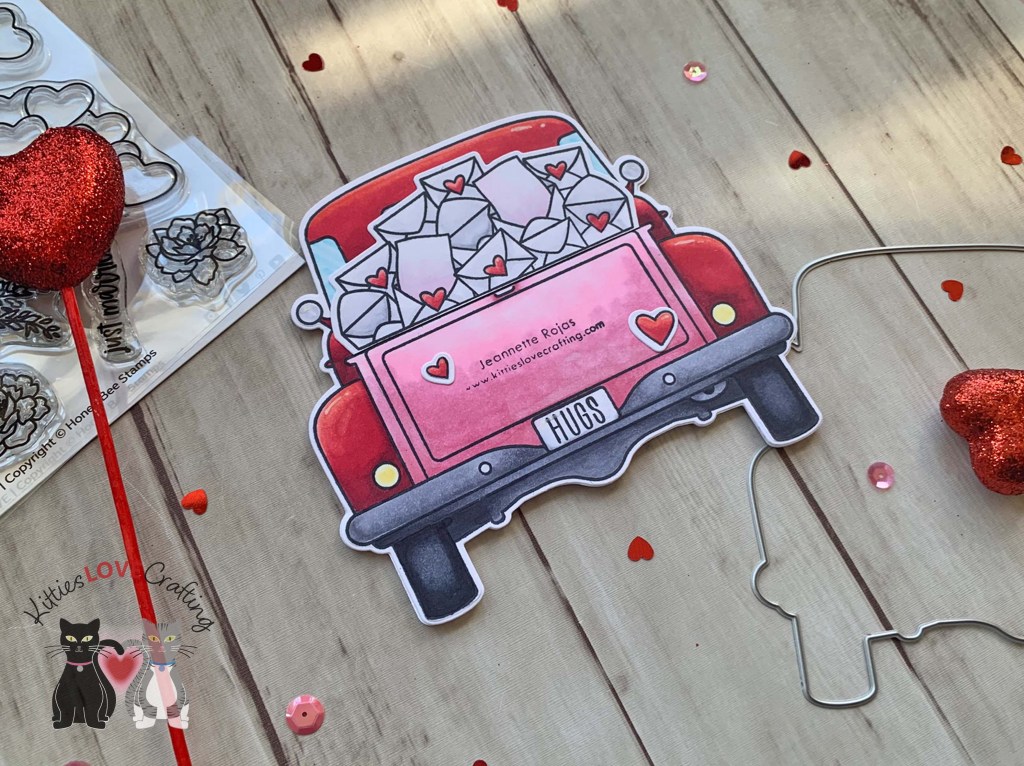
I stamped a sentiment from the Big Pickup Cab onto Neenah 100lb Classic Crest Cardstock 8.5 X 11″ with Memento Tuxedo Black Ink. I die cut one part of the sentiment with the coordinating die and hand cut the second. I also stamped a sentiment on the license plate from the Big Pickup Tailgate.
I added some white highlights to both sides with a white gel pen.


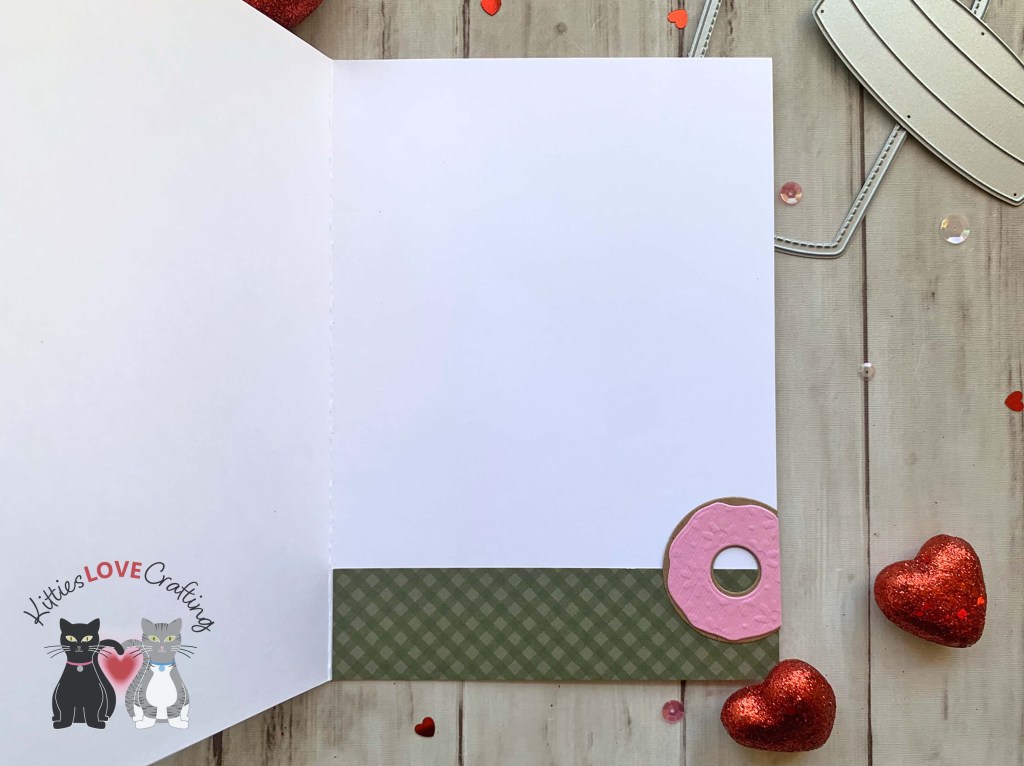
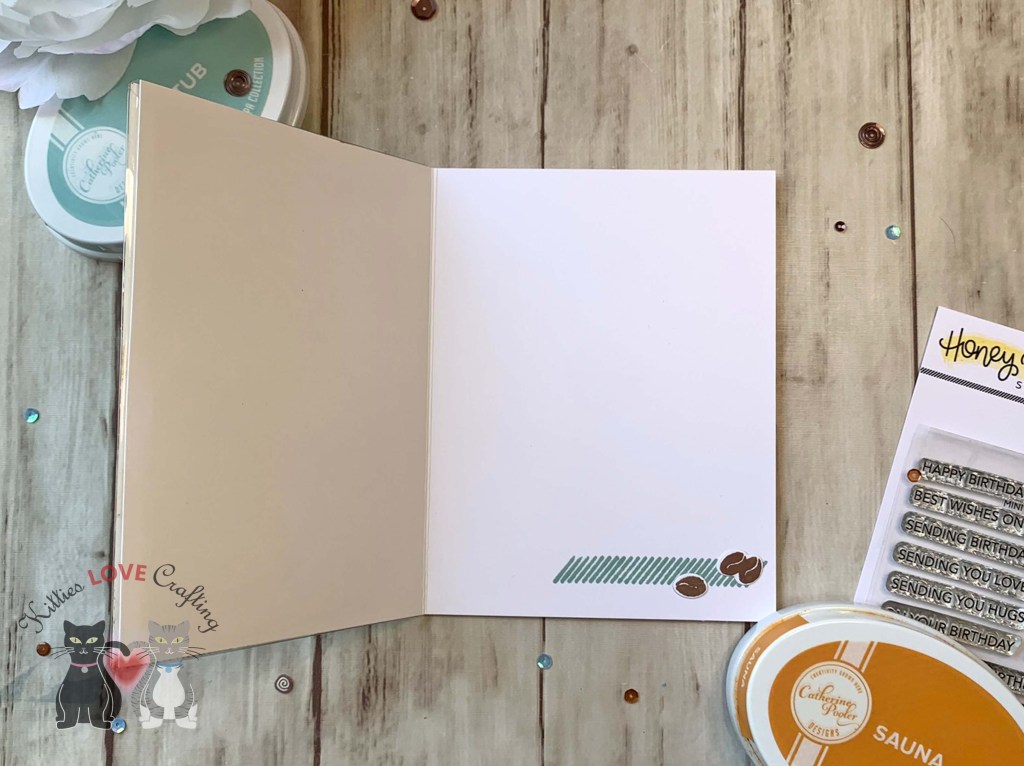
I left the inside of the card blank.
Dimensions
- Card Base = 7 x 10 and scored at 5″ Neenah 100lb Classic Crest Cardstock 8.5 X 11″
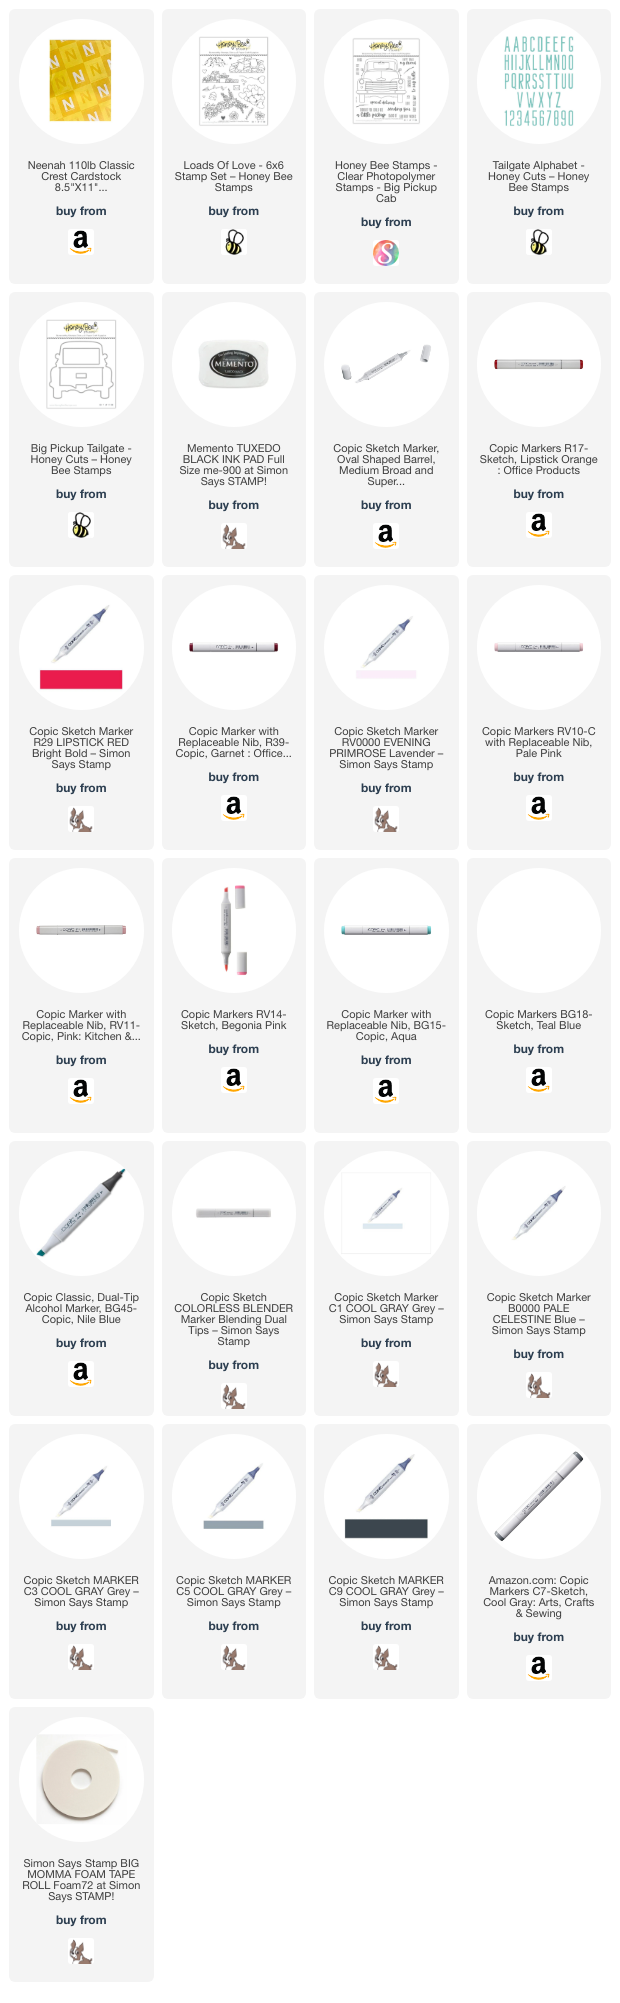
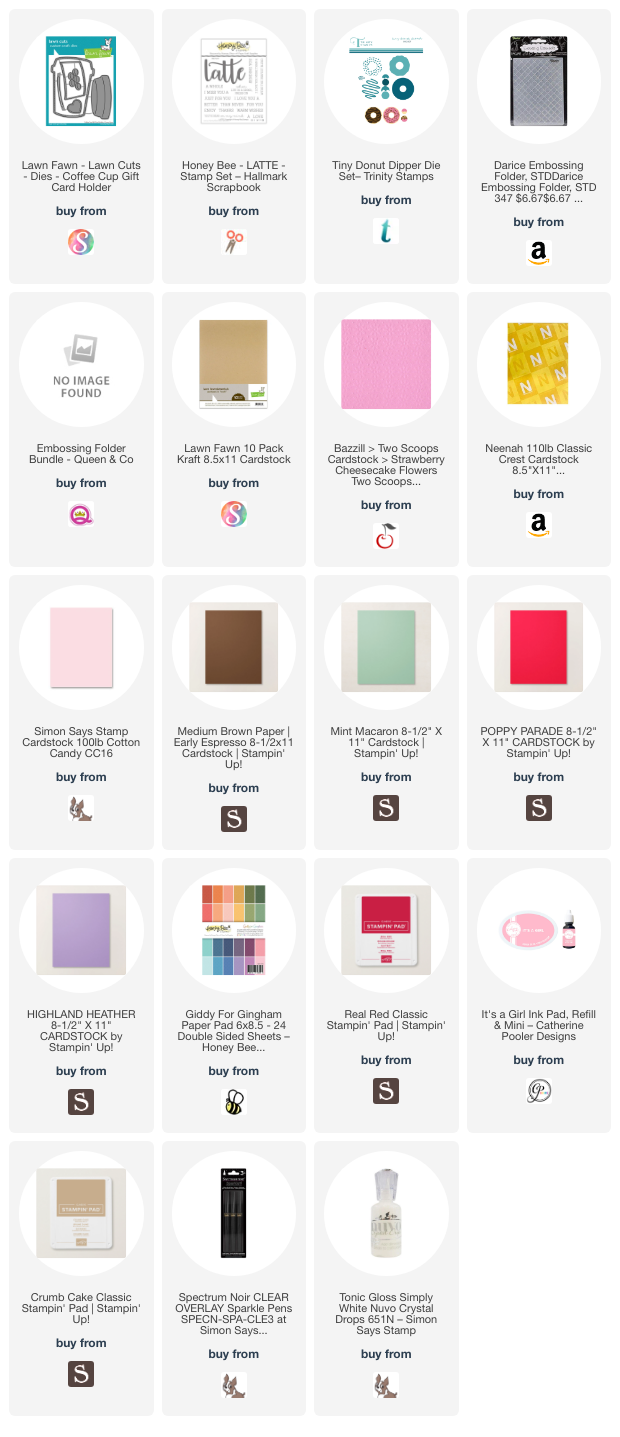
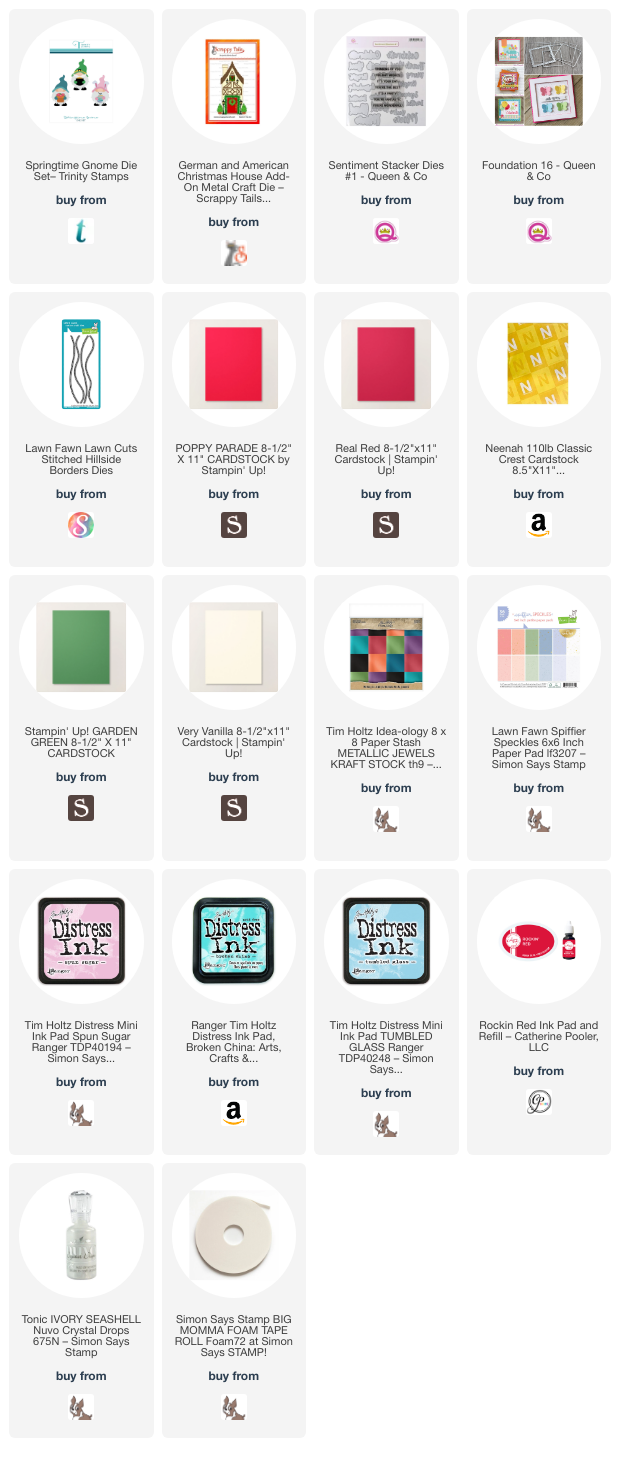
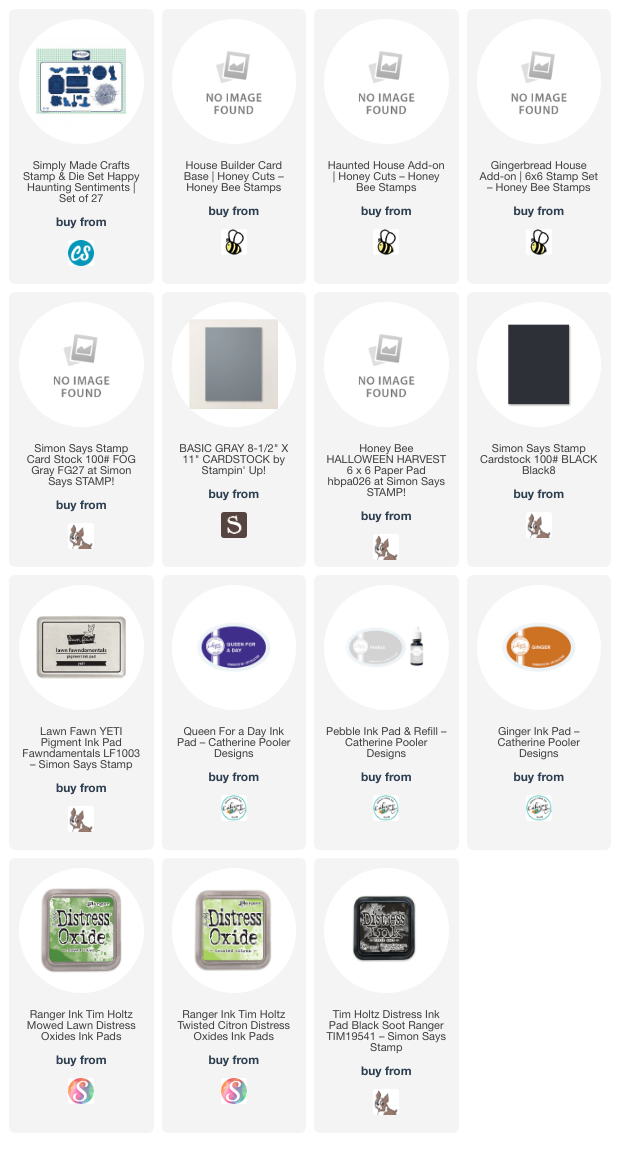
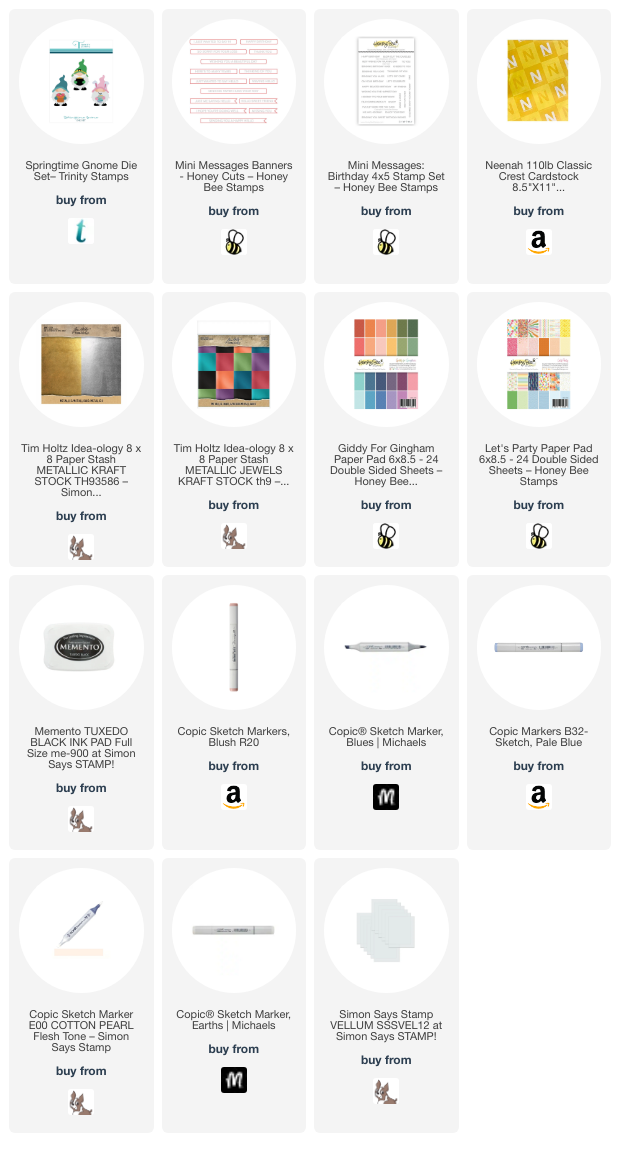
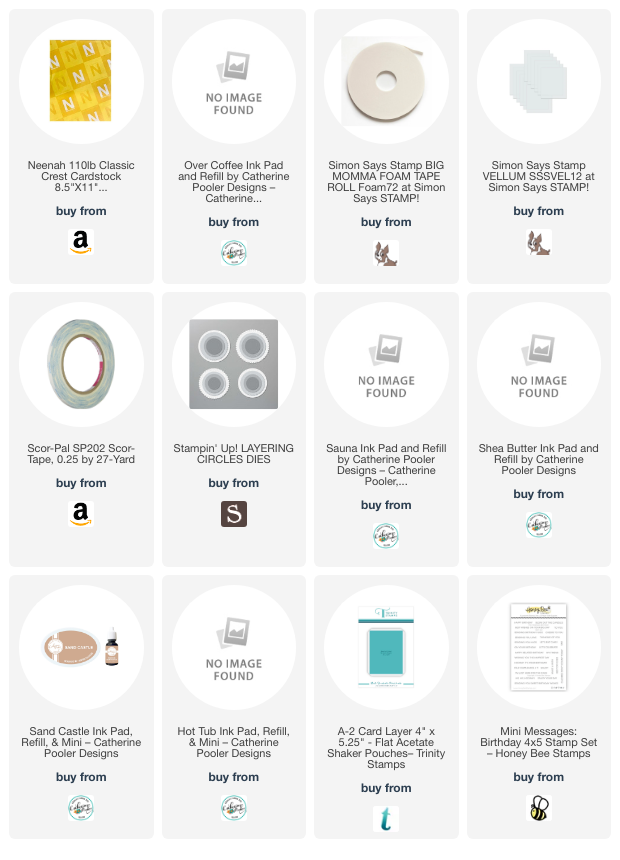
Supplies
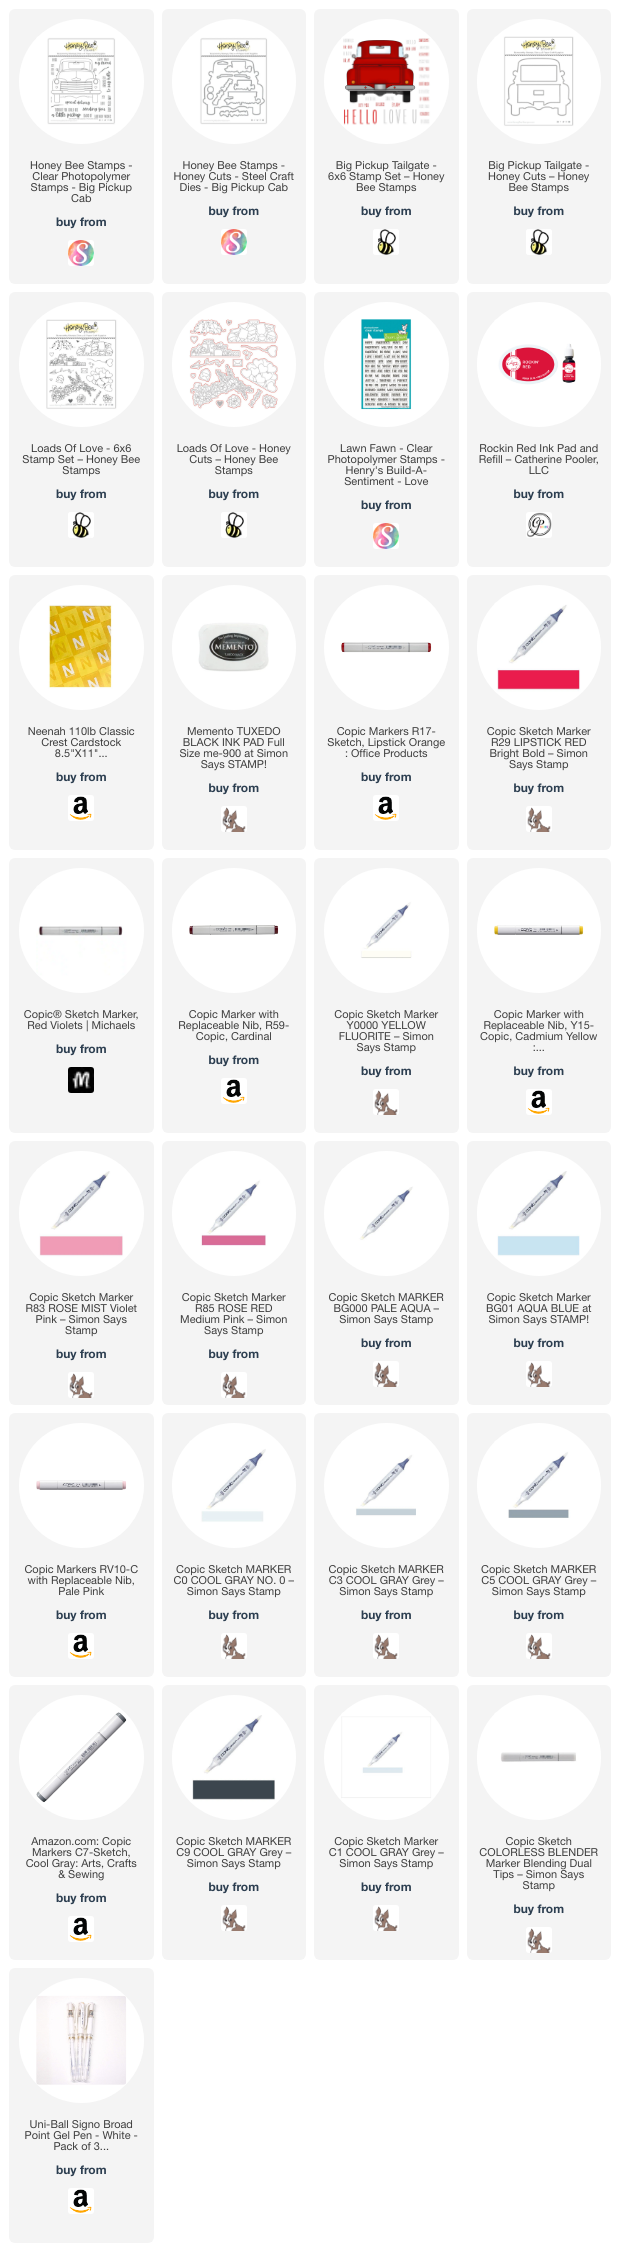 https://linkdeli.com/widget.js?id=f5e8378456858c916708
Thanks for reading this post. I hope I’ve inspired you to give this cute pickup truck shaped Valentine’s Day card a try for yourself. Leave comments or questions below or feel free to email.