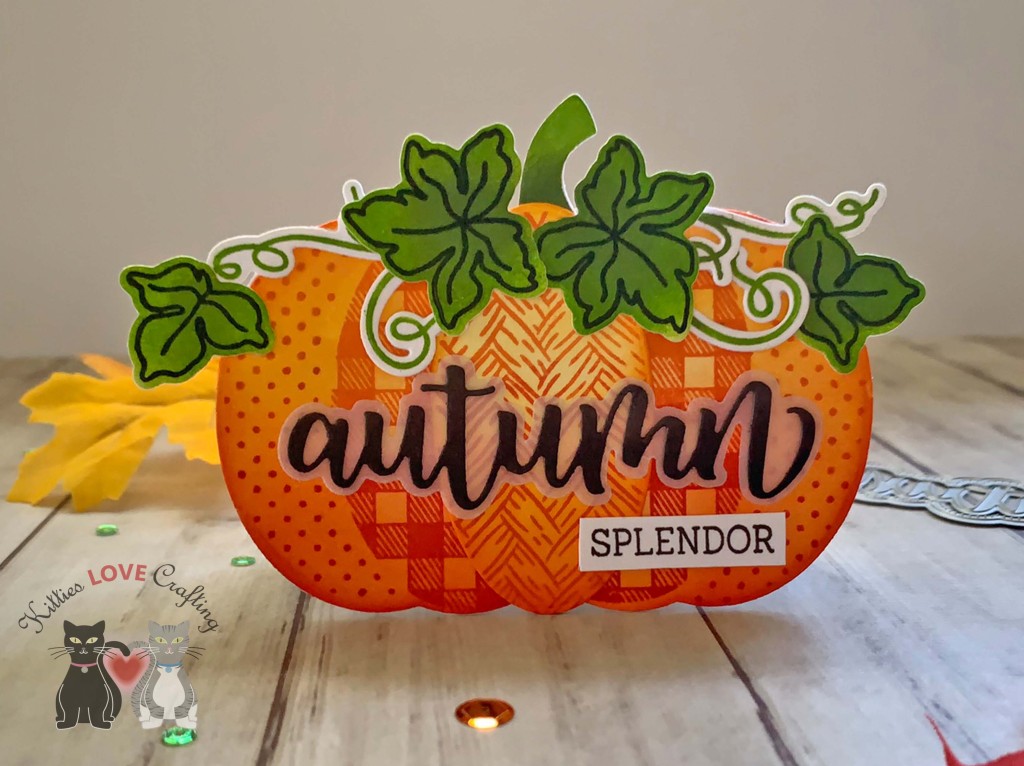
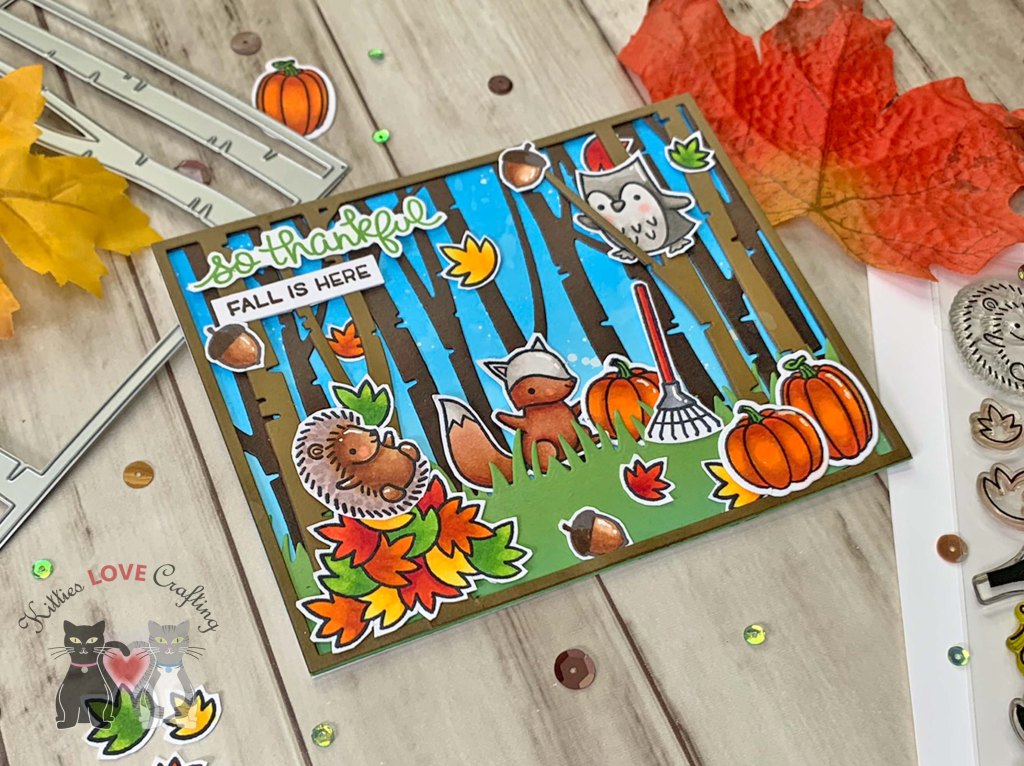
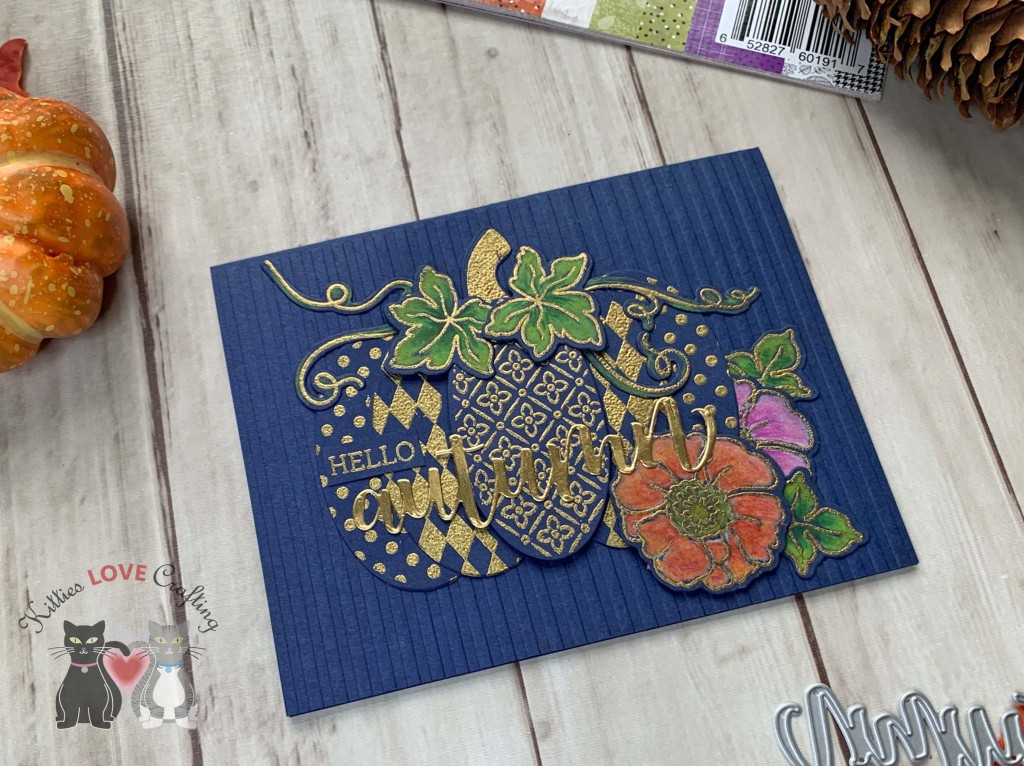
Hi friends. It’s time to start making Halloween cards. Never too early in my opinion! Today I’ve made an easel card using the House Builder Card Base Dies from Honey Bee Stamps!!! These dies are one of my most used ideas. I’ve made lots of cards with these dies and I continue to be inspired to make more… Unfortunately these dies are discontinued but if you have them I encourage you to take them out and use them!

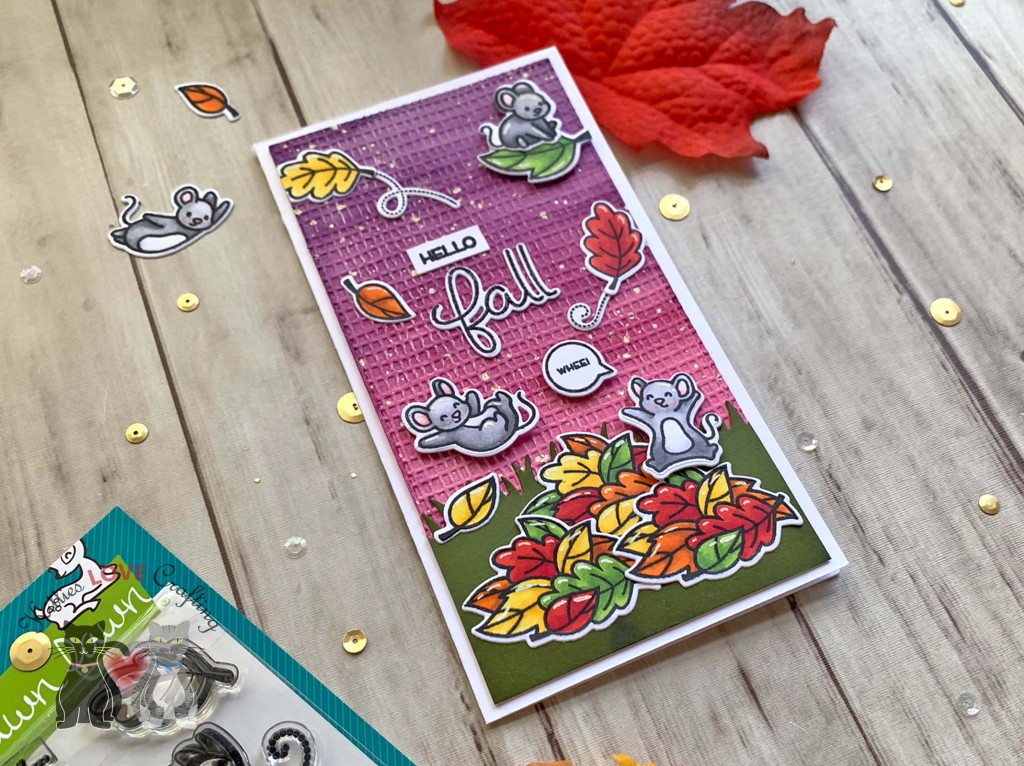
For the first card, I started by cutting a piece of Simon Says Stamp 100# Black Cardstock to 10 x 7″ and scoring at 5″ to create the card base. I also scored one side in half to create the easel card. I cut two pieces of Neenah 100lb Classic Crest Cardstock 8.5 X 11″ to 2.25″ x 6-3/4″. Then I used Distress Oxides to create a night sky. I used Tim Holtz Salty Ocean, Villanous Poison, and Chipped Sapphire Distress Oxide Inks. Then sprayed some water to let it react and get some cool variations.
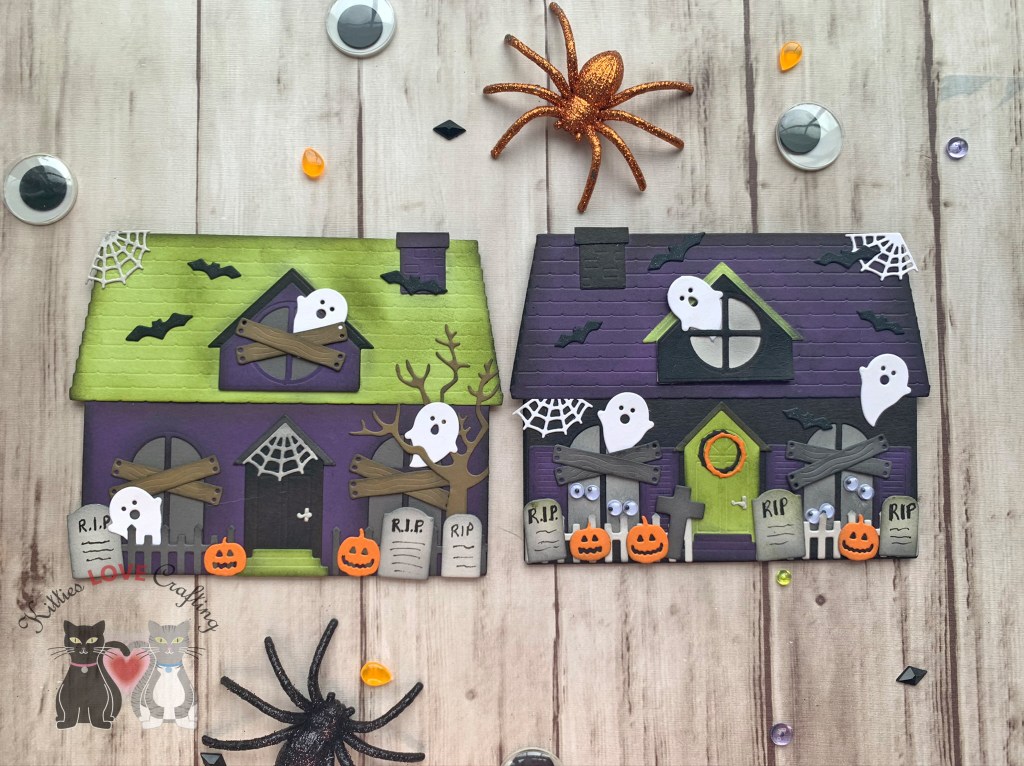
I diecut the house and the chimney from Simon Says Stamp 100# Black Cardstock using the House Builder Card Dies (discontinued), and the roof from Stampin’ Up! Basic Gray 8-1/2″ X 11″ Cardstock using the Honey Bee Stamps Haunted House Add-on (discontinued). I cut the fence, wood and door gable from the same cardstock as well, the ghosts from Neenah 100lb Classic Crest Cardstock 8.5 X 11″, tombstones from Simon Says Stamp 100lb Fog Gray Cardstock, the bats were cut from both Simon Says Stamp 100# Black Cardstock as well as Honey Bee Stamps Halloween Harvest 6 x 6 paper (discontinued).
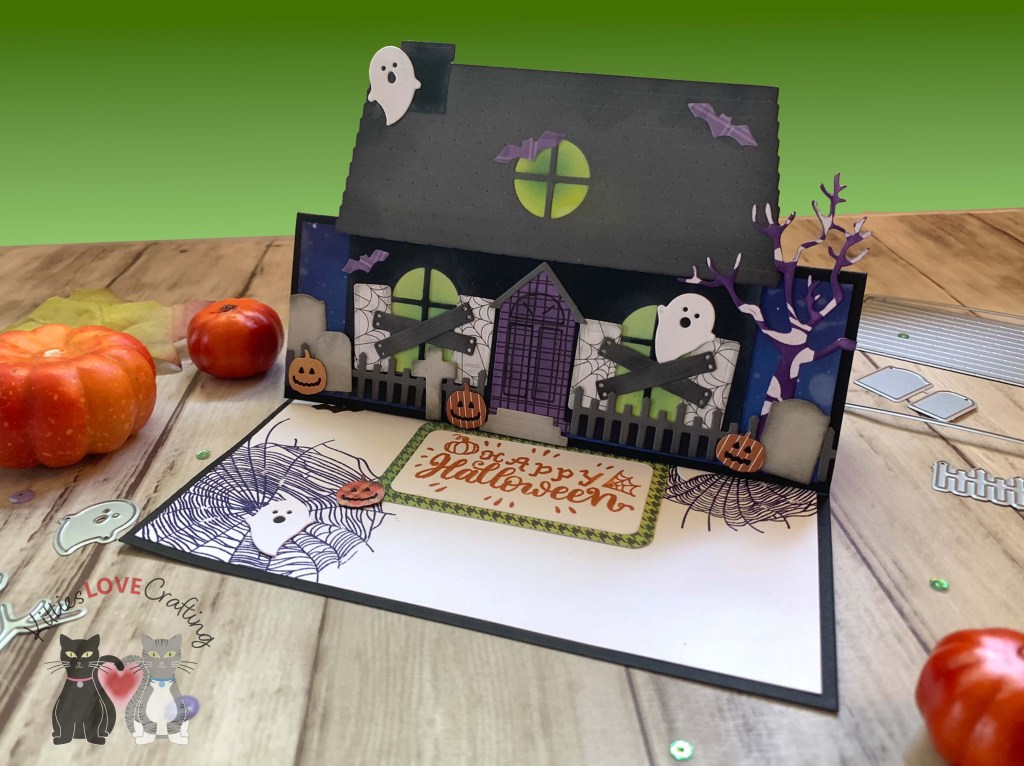
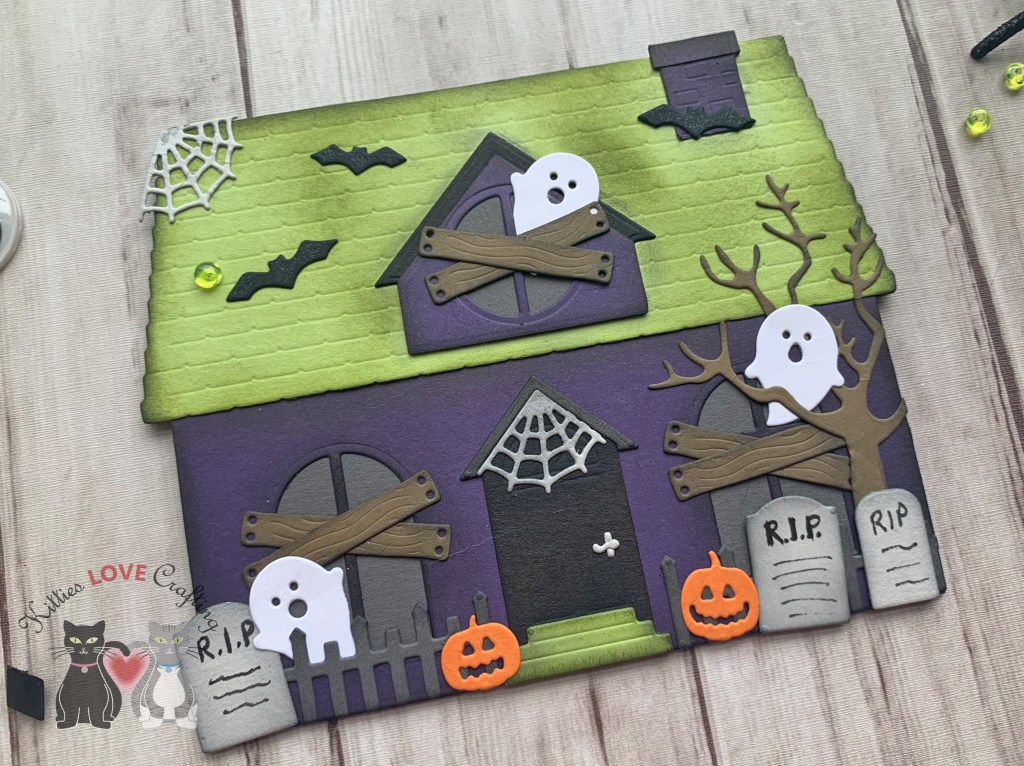
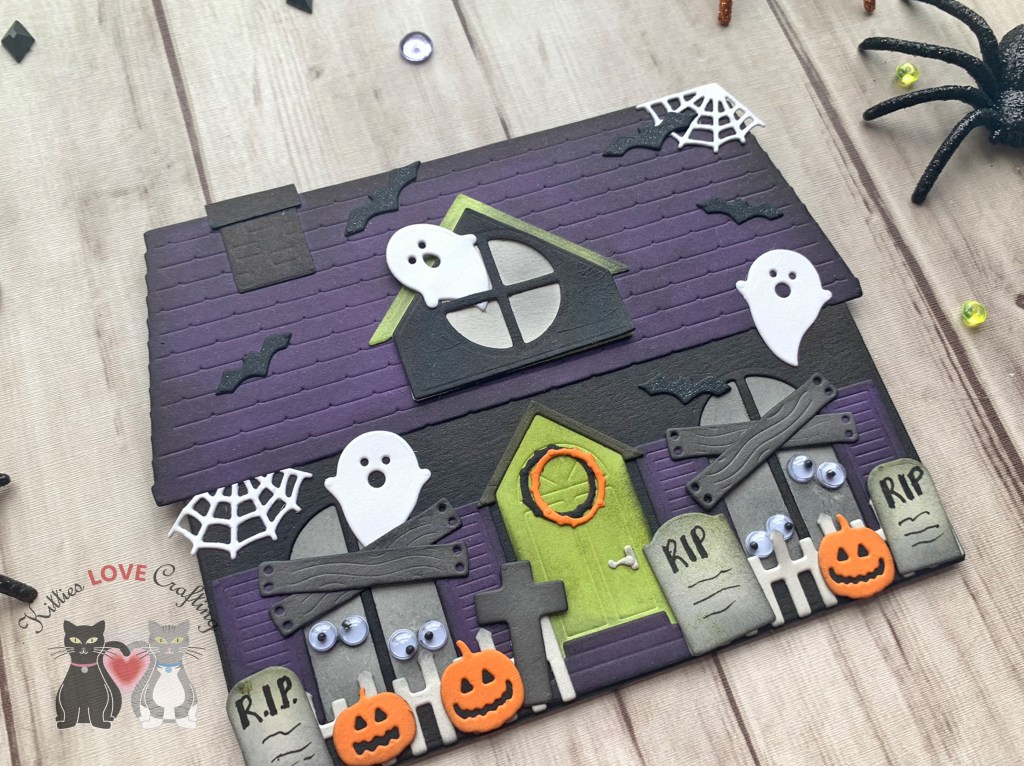
The shutters and pumpkins were cut from the same paper as well. I used ink to give all the images a distress look. I used Lawn Fawn YETI Pigment Ink for the black cardstock, Catherine Pooler Designs Pebbles Ink for the grays, and Catherine Pooler Designs Queen For a Day Ink for the purple items. For the windows, I cut pieces of Neenah 100lb Classic Crest Cardstock 8.5 X 11″ and then used Tim Holtz Twisted Citron and Mowed Lawn Distress Oxides Ink to make them glow. I adhered the house only to the bottom half of the front panel. This way when you fold it the house pops up.
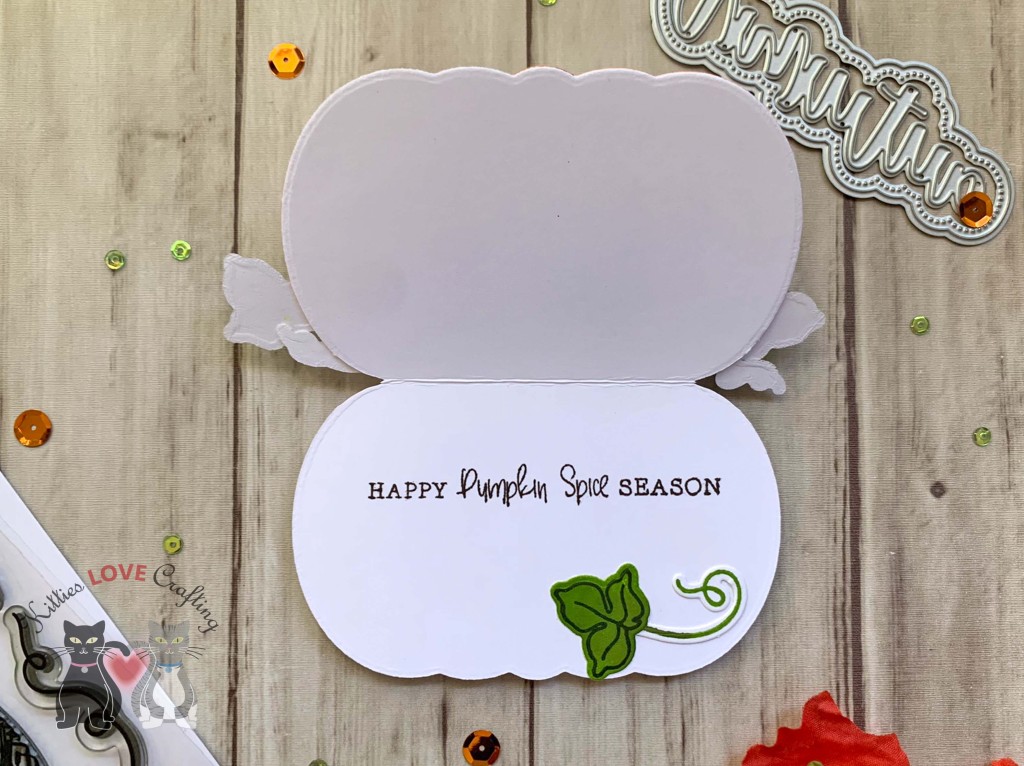
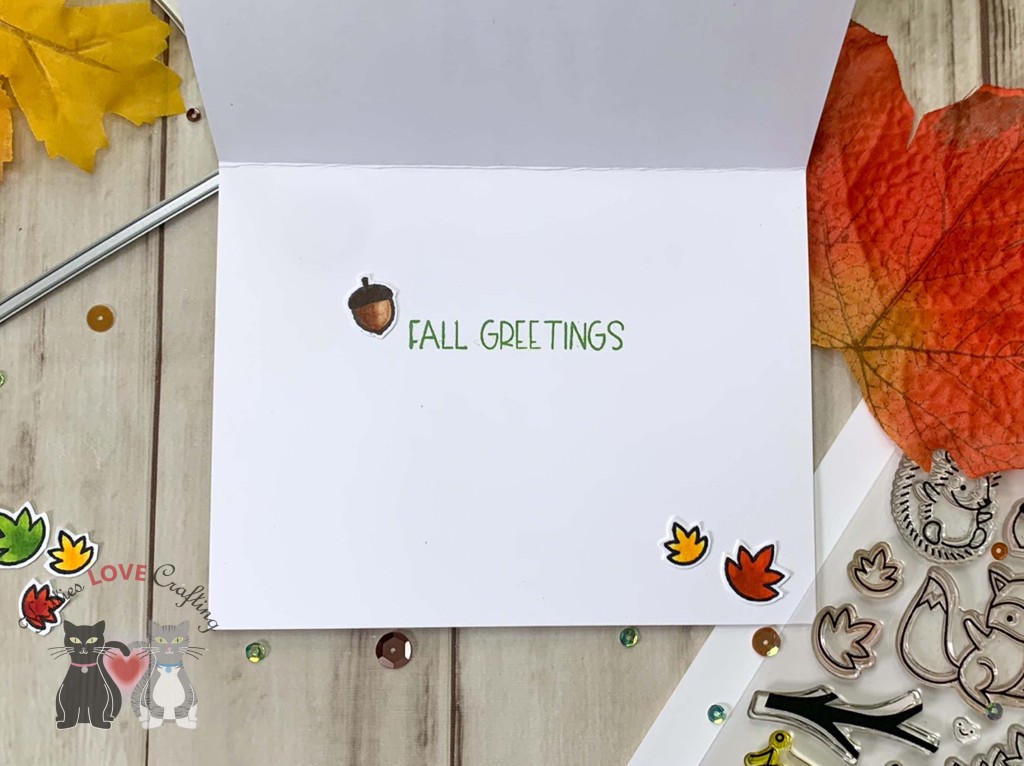
On the inside of the card, I cut a piece of Neenah Classic Crest, 80lb Solar White to 4-3/4 x 6-3/4″. Then stamped the web from Simply Made Crafts Haunting Sentiments Stamp & Die Set with Catherine Pooler Designs Queen For a Day Ink. then stamped a sentiment with Catherine Pooler Designs Ginger Ink onto Neenah Classic Crest, 80lb Solar White, die cut with the coordinating dies and rounded the corners. I cut two pieces of Honey Bee Stamps Halloween Harvest 6 x 6 paper (discontinued) and stacked them up to create the “stopper” for the card when folded. I also added some more ghosts etc.

Dimensions
- Card Base = 10 x 7″ and scoring at 5″ Simon Says Stamp 100# Black Cardstock
- Top Panels = 2.25″ x 6-3/4″ Neenah 100lb Classic Crest Cardstock 8.5 X 11″
- Inside Panel = 4-3/4 x 6-3/4″ Neenah Classic Crest, 80lb Solar White
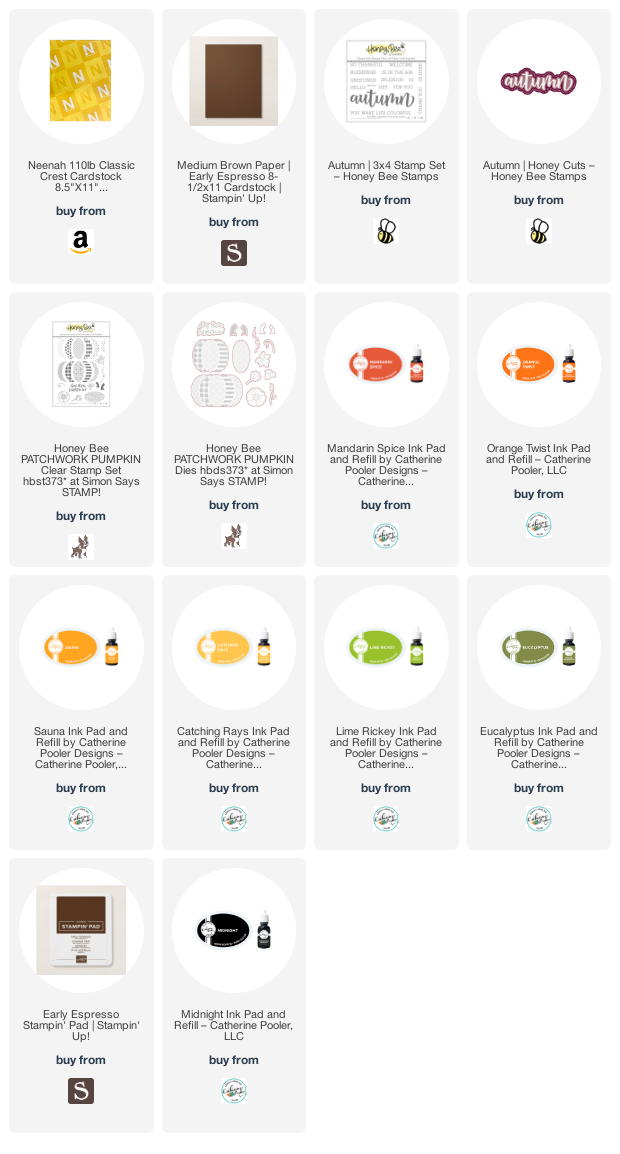
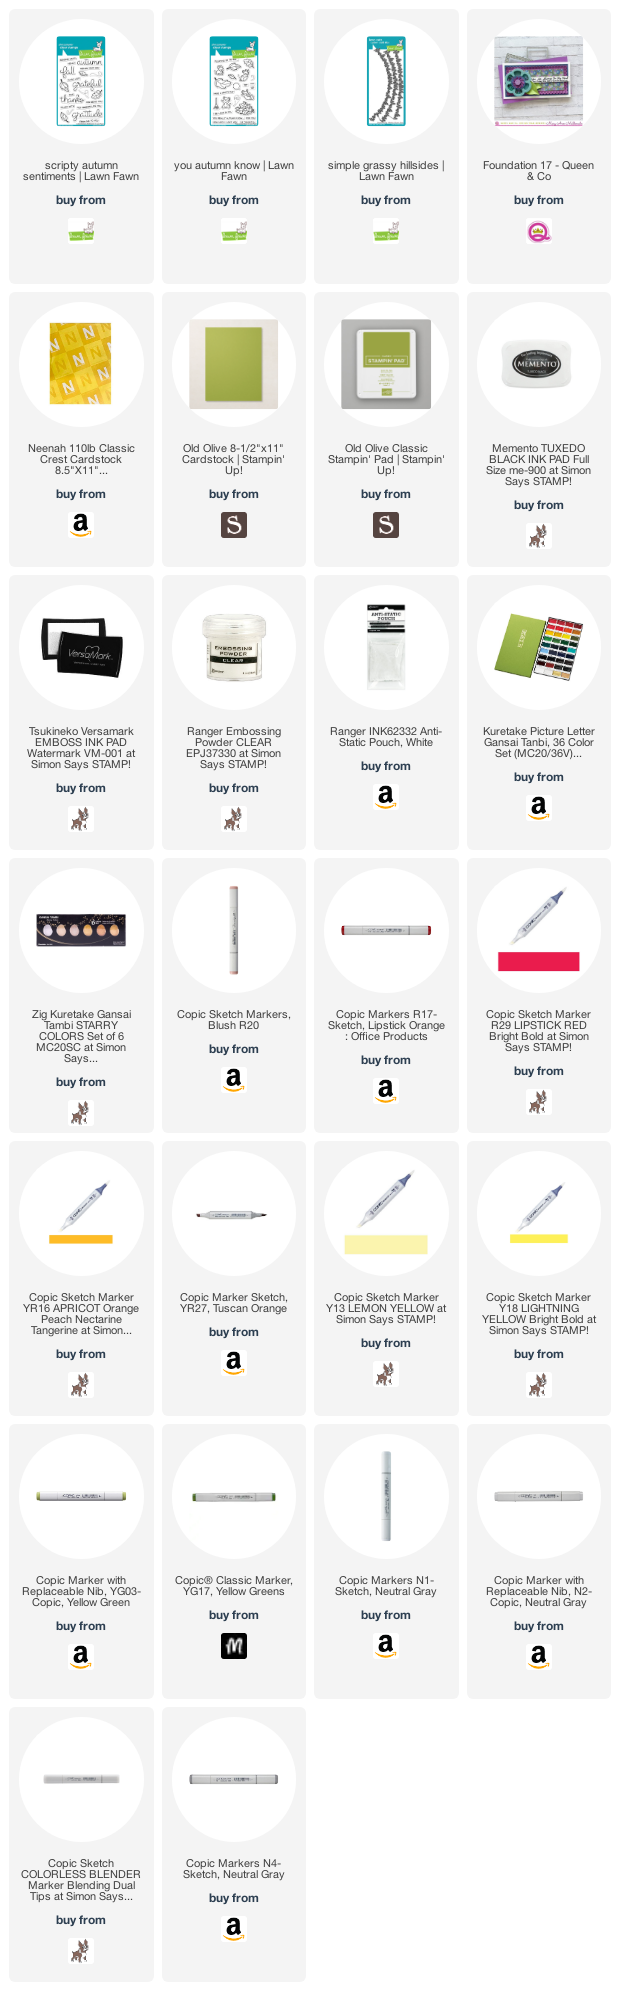
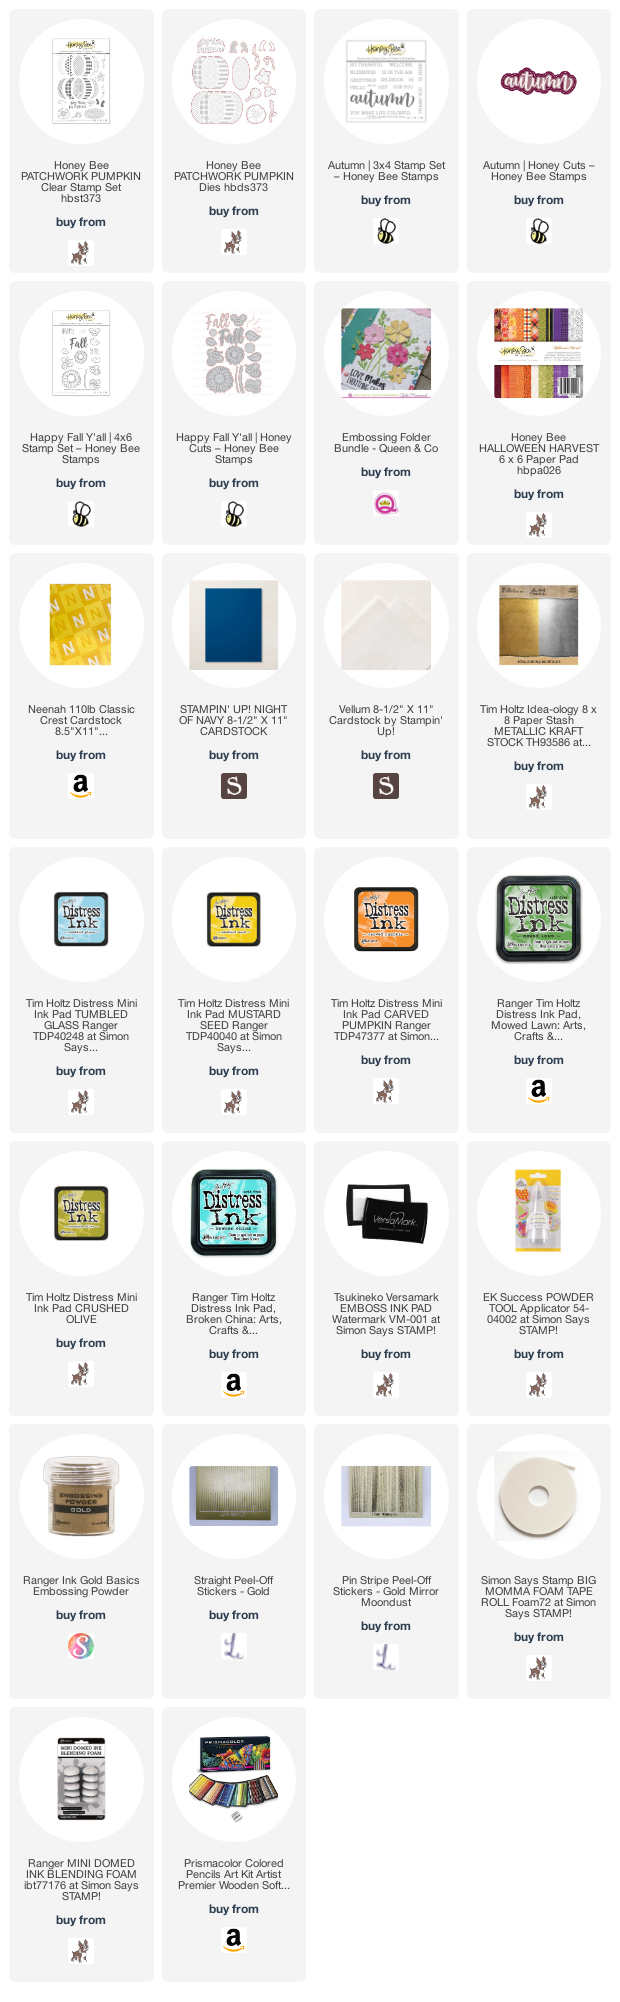
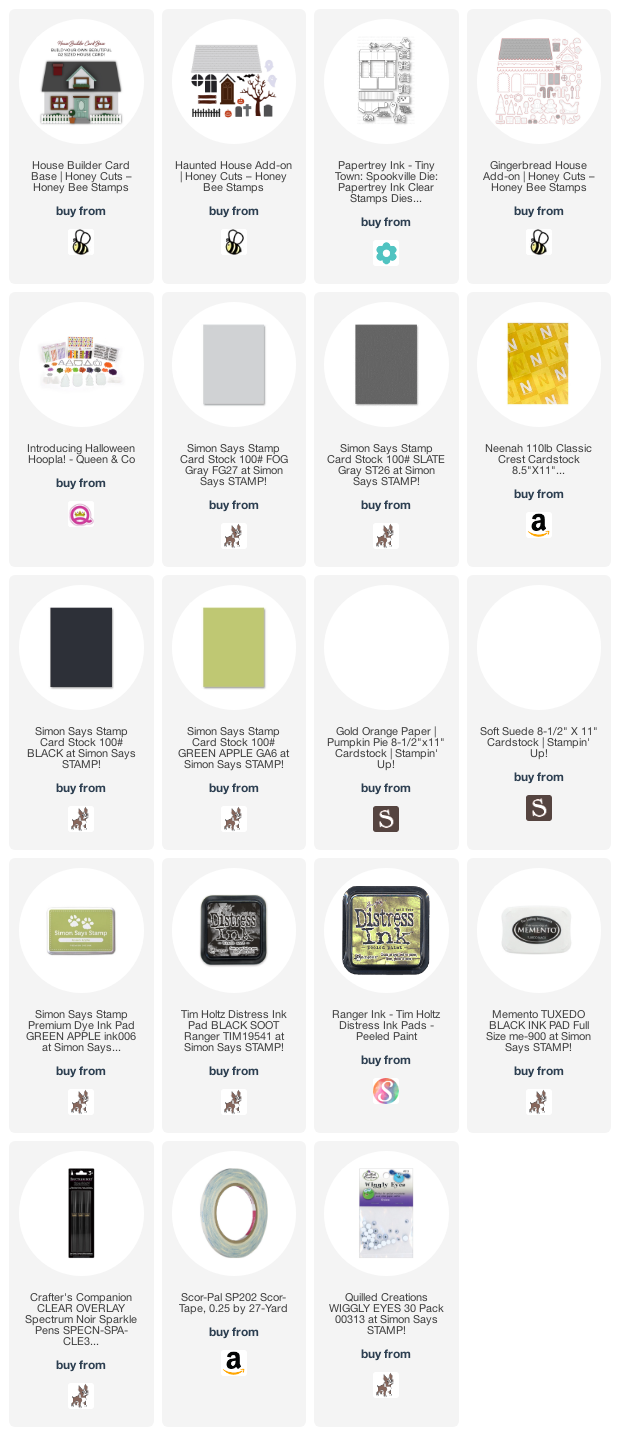
Supplies
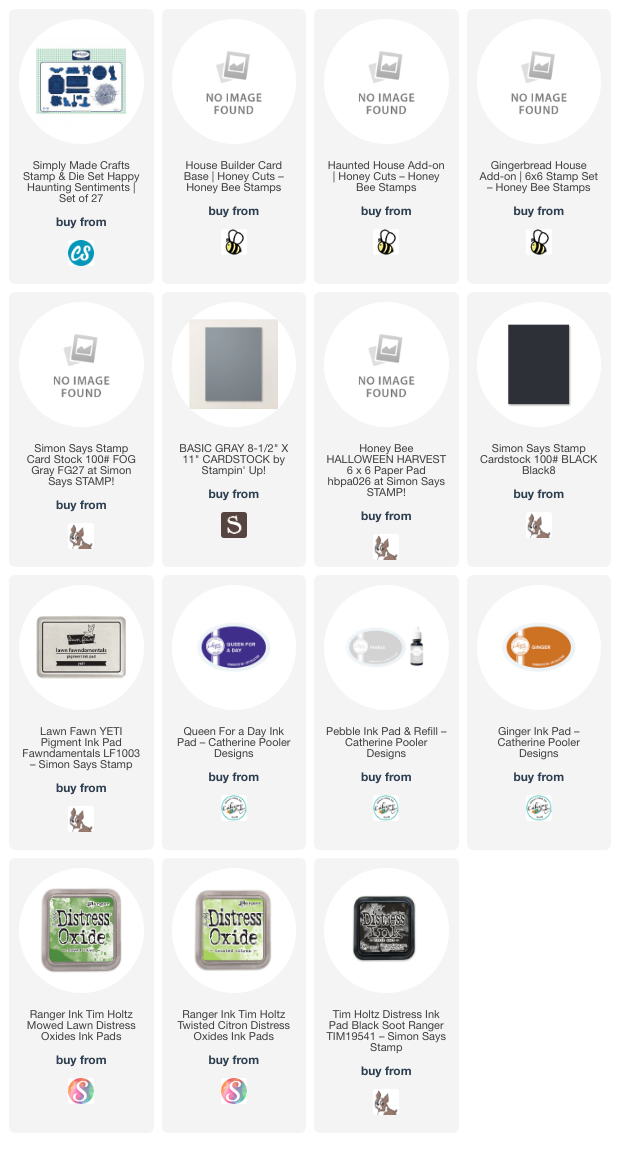 https://linkdeli.com/widget.js?id=f5e8378456858c916708
Thanks for reading this post. I hope you enjoyed and I’ve inspired you to try making this cute Halloween easel card! Leave comments or questions below or feel free to email me.