Hi friends. A quick way to create a dimensional background with little effort is to use an embossing folder. We all have a bunch of embossing folders we bought when it was all the rage to emboss everything and now they sit in a drawer or craft room shelf collecting dust. Am I right?!? Come on, you know it’s true??? LOL Well thankfully they are coming back in fashion and there are so many techniques you can do with them. Today we are keeping it simple — just some ink and a blender. No fancy tools needed either.

For this card, I cut a piece of Neenah 110lb Classic Crest Cardstock to 8-1/2 x 5-1/2″ and scored at 4-1/4″ to create the card base. Then cut a piece measuring 4 x 5-1/4″ and embossed with the Stampin’ Up! Cobwebs 3D Embossing Folder (retired); any spiderweb embossing folder will work here.
I used mostly Seedless Preserves and Villainous Poison Distress Oxide Inks to color the background. Then lightly went over the raised cobwebs with some Chipped Sapphire Distress Oxide Ink. I sprayed some water on the background to distress it further.
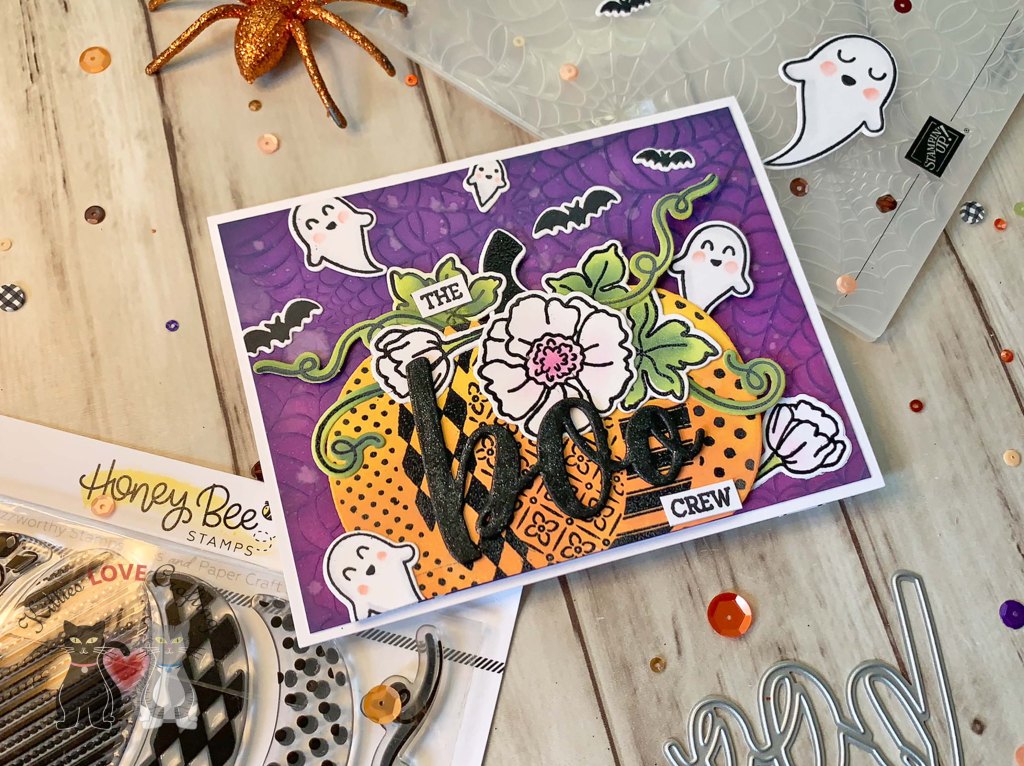
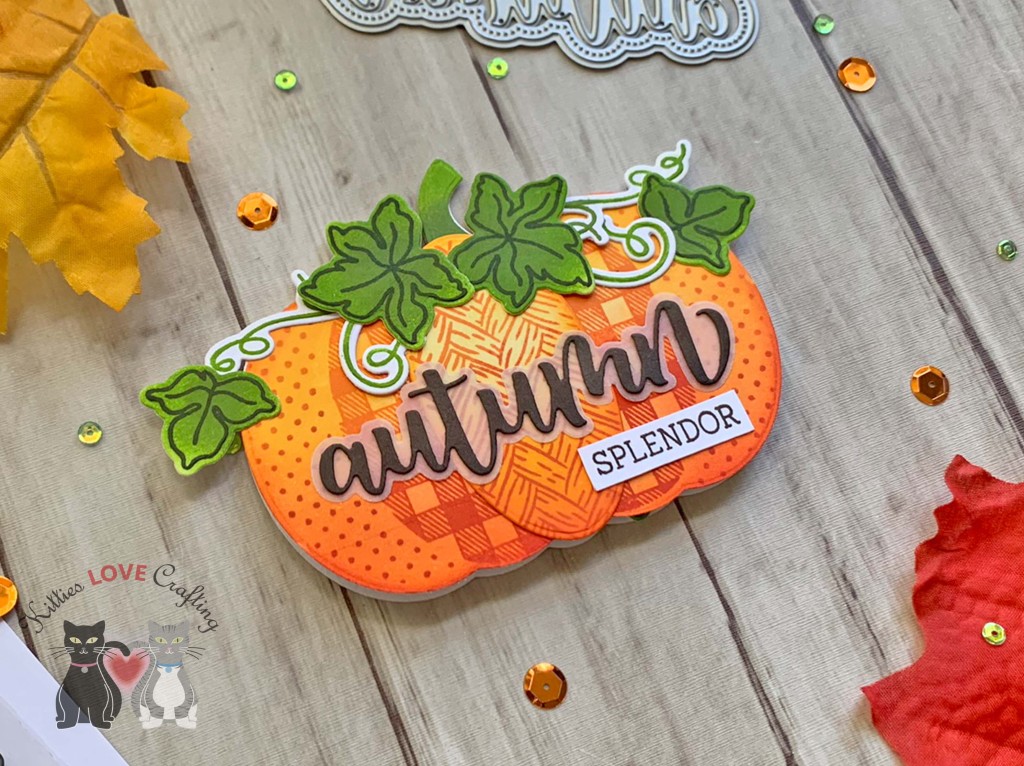
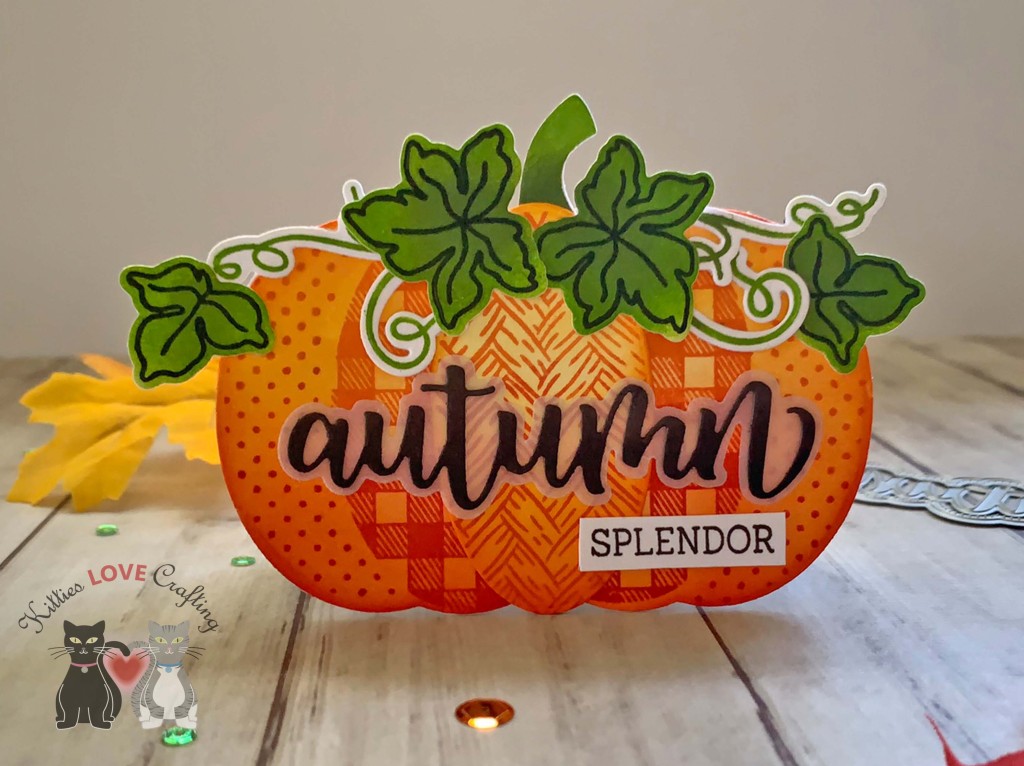
I stamped the all the images from the Honey Bee Stamps Pumpkin Patch Stampset onto Neenah 110lb Classic Crest Cardstock with Midnight Ink and heat set with Clear Embossing Powder. Then colored the pumpkin with Spiced Marmalade and Wild Honey Distress Oxide Inks. I colored the leaves with Twisted Citron, Rustic Wilderness, and Peeled Paint Distress Oxide Inks. I used Picked Raspberry Distress Oxide Ink for the flowers.
I stamped the ghost and bat images from Lawn Fawn Happy Haunting stampset and colored them with Copic Markers. I used C00, 0 and R20 for the ghosts. And then diecut them with the coordinating dies.
I stamped the sentiment from Honey Bee Stamps Boo 3×4 Stamp Set onto Neenah 110lb Classic Crest Cardstock with Midnight Ink and die cut the ‘boo’ from Simon Says Stamp Cardstock 100# Black 8-1/2 x 11″ Cardstock 3x with the Honey Bee Boo Dies. I finished it off by adding some glitter with a Spectrum Noir Clear Overlay Sparkle Pen.

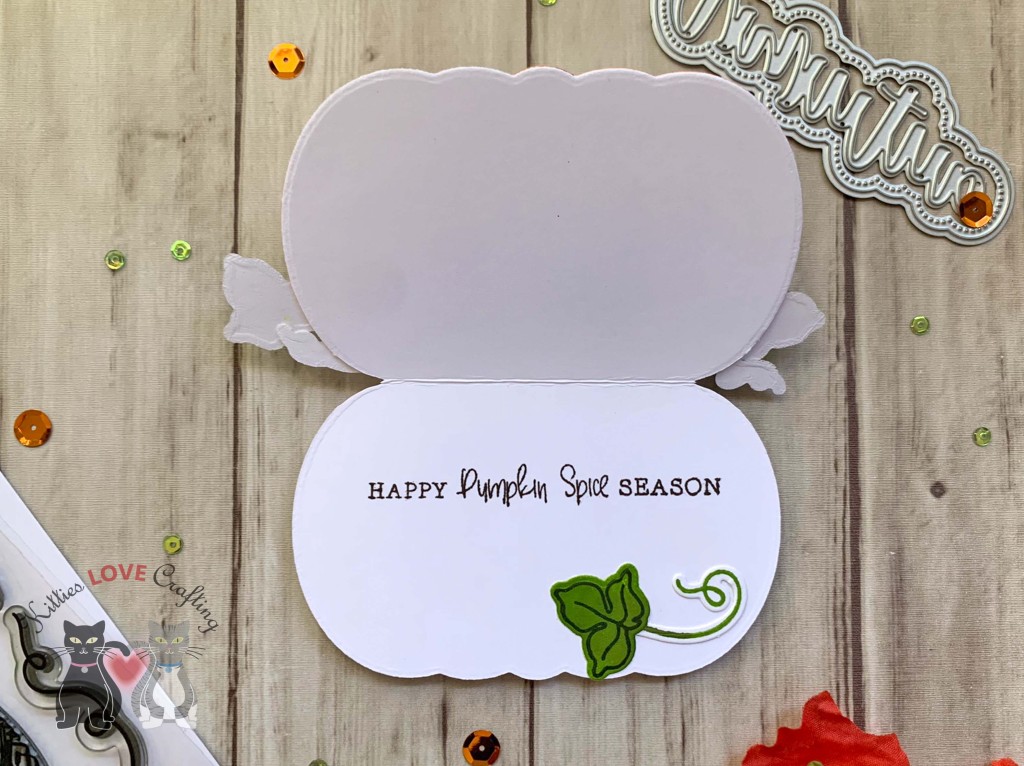
On the inside of the card, I stamped a sentiment from Queen and Company Halloween Hoopla Kit with with Midnight Ink and added an extra ghost.
Dimensions
- Card base = 5-1/2 x 8-1/2″ and scored at 4-1/4″ Neenah 110lb Classic Crest Cardstock
- Top panel = 4 x 5-1/4″ Neenah 110lb Classic Crest Cardstock
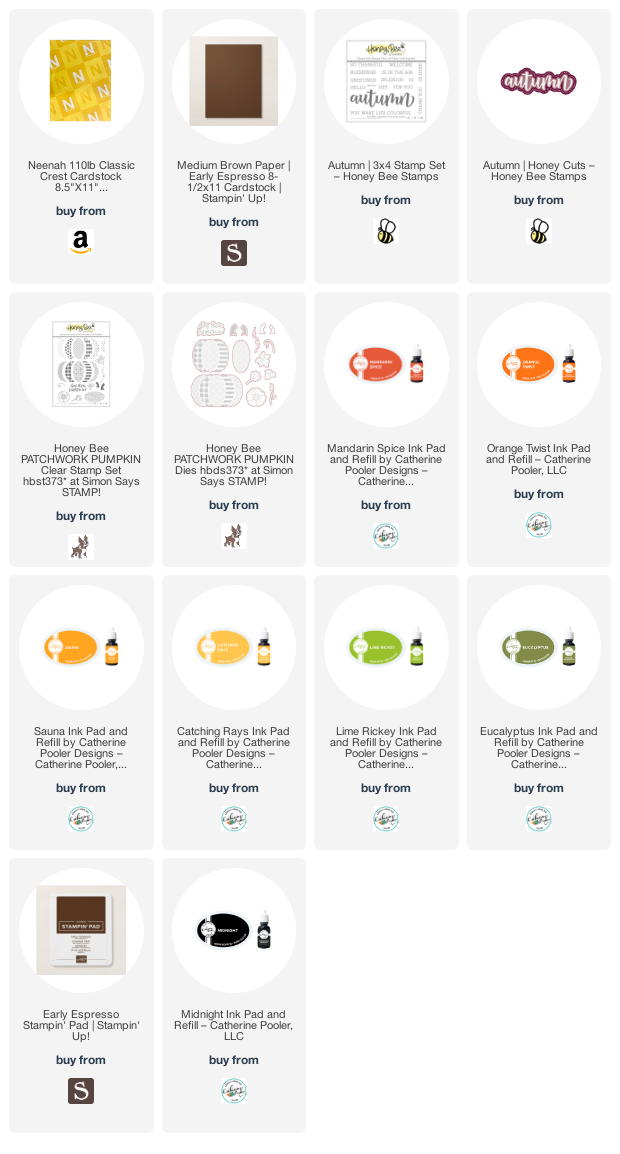
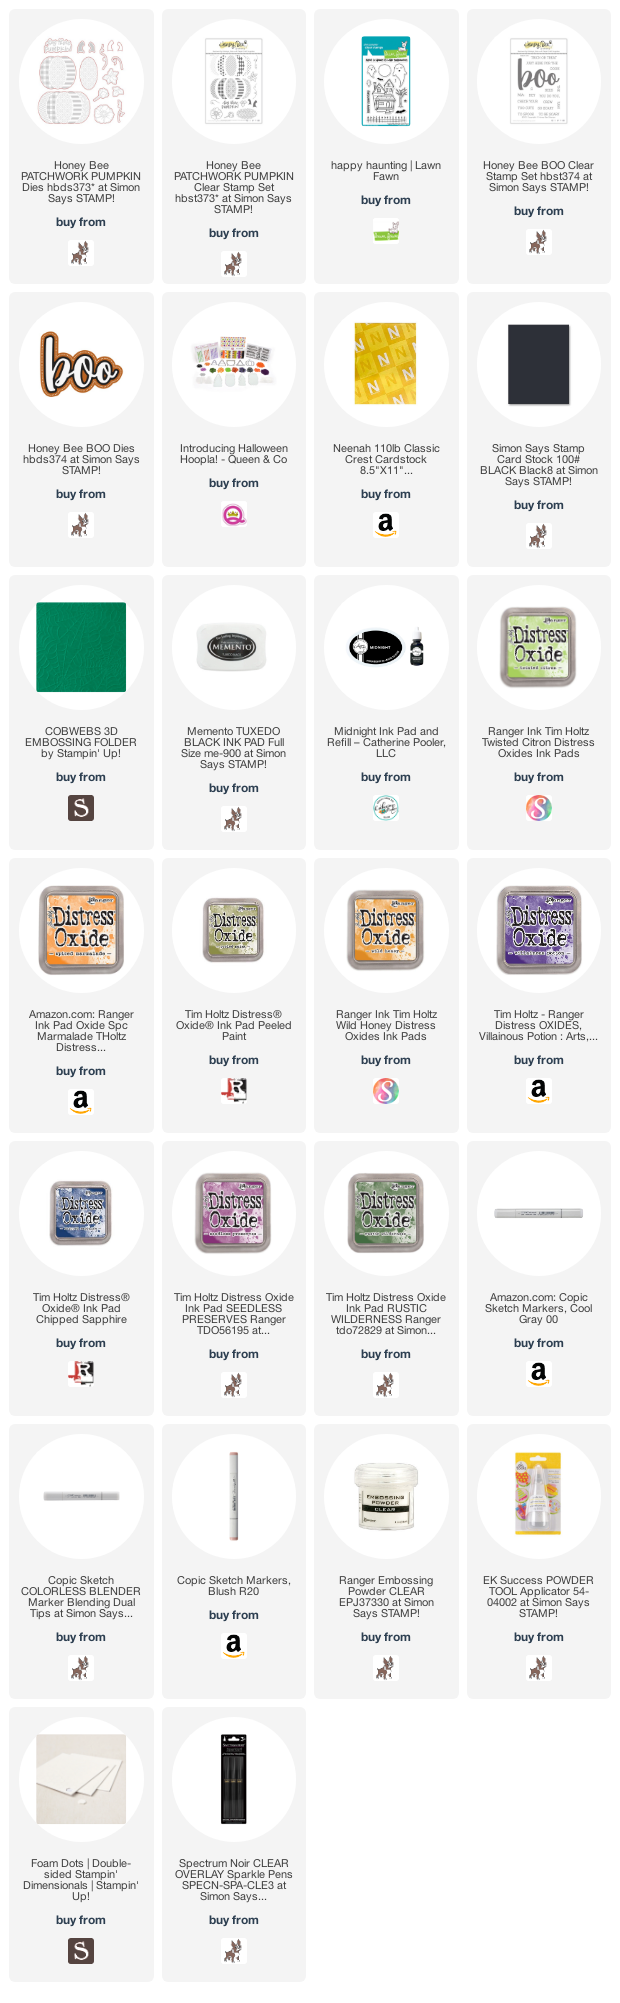
Supplies
 https://linkdeli.com/widget.js?id=f5e8378456858c916708
Thanks for reading this post! I hope you enjoyed and I’ve inspired you to make this cute Halloween card yourself! If you want to share you creations with me tag me on instagram @kittieslovecrafting. Leave comments or questions below or feel free to email me.