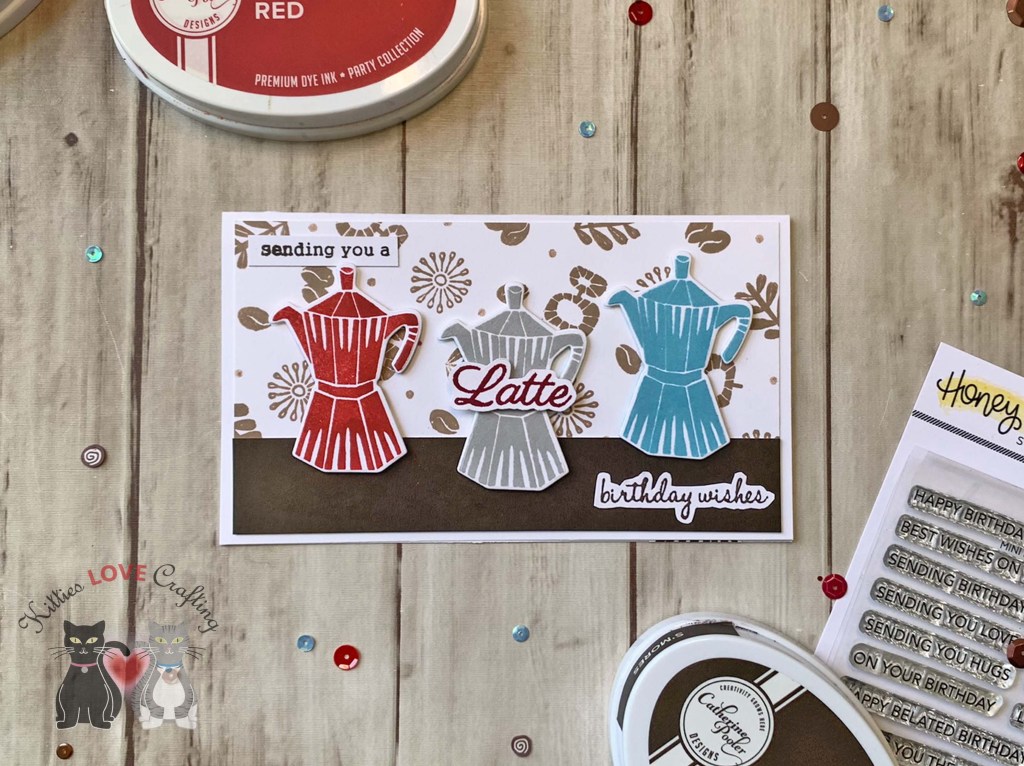
Hello friends. Here’s a quick and easy coffee-themed birthday card using older stamp sets from my stash. I love the modern graphic style of this coffee set!
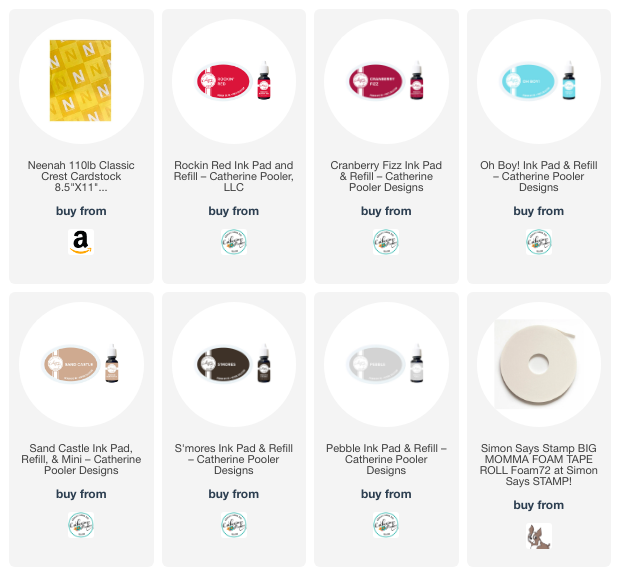
For this card, I cut a piece of Neenah 100lb Classic Crest Cardstock 8.5 X 11″ to 7” x 6” and scored at 3-1/2″. I also cut a piece to 3-1/4 x 5-3/4″, and another piece to 1 x 5-3/4″.
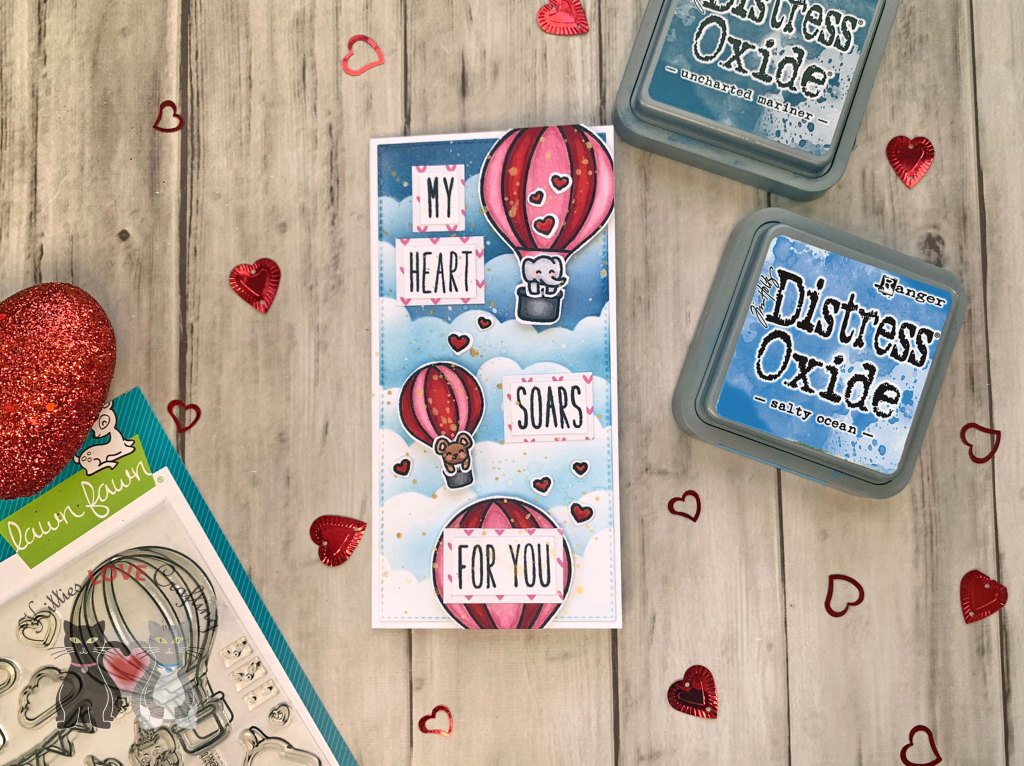
For the background piece, I stamped the smaller images from the Catherine Pooler Designs Perfect Blend Stampset (discontinued) with Catherine Pooler Sand Castle Ink and then I used the direct-to-paper technique with S’mores Ink to color the strip.

I stamped the espresso maker from Catherine Pooler Designs Perfect Blend Stampset (discontinued) onto Neenah 100lb Classic Crest Cardstock 8.5 X 11″ with Rockin’ Red, Pebble, and Oh Boy! inks. I popped them up using Foam Tape.
I stamped the sentiment from the Catherine Pooler Designs Perfect Blend Stampset (discontinued) and Sugar Pea Designs Espresso Yourself Stampset onto Neenah 100lb Classic Crest Cardstock 8.5 X 11″ with S’mores Ink and Cranberry Fizz and fussy cut it out.
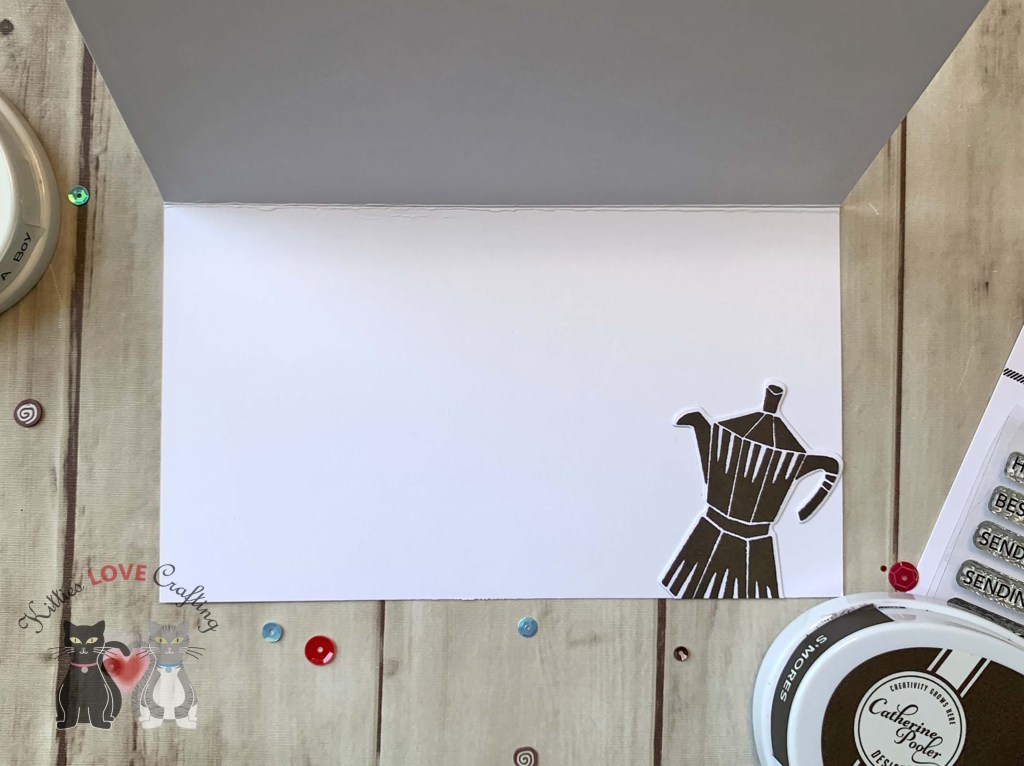
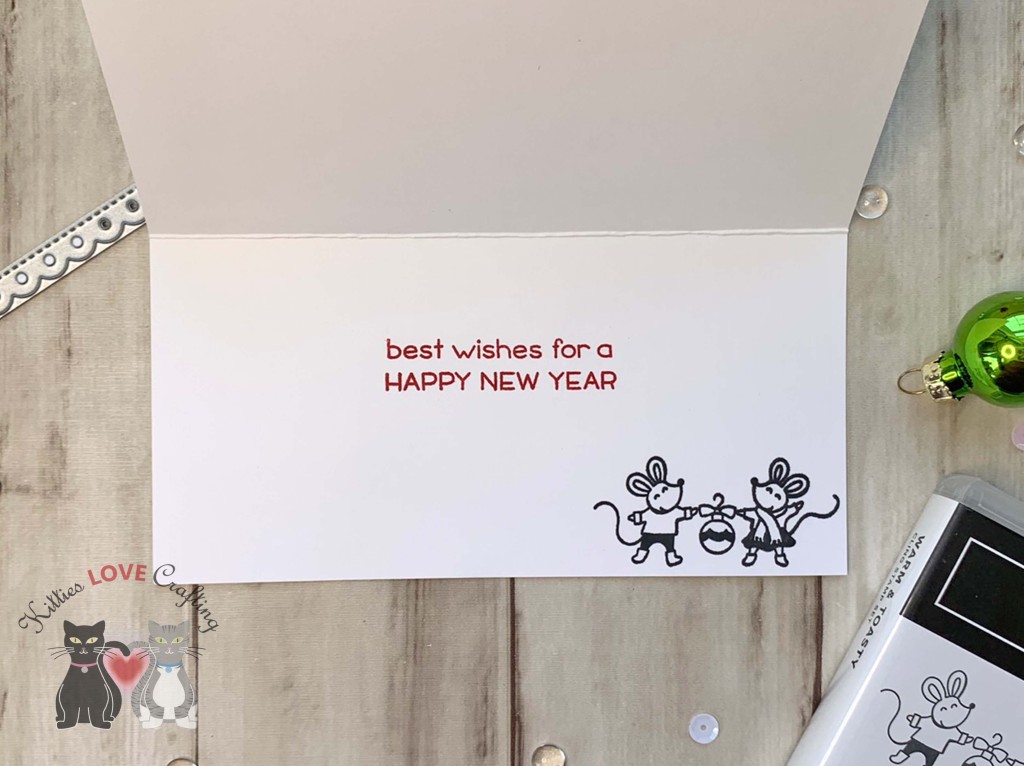
I left the inside of the card blank and added a S’mores-colored espresso maker.
Dimensions
- Card Base = 7” x 6” and scored at 3-1/2″ Neenah 100lb Classic Crest Cardstock 8.5 X 11″
- Top Panel = 3-1/4 x 5-3/4″ and 1-1/2 x 5-3/4″ Neenah 100lb Classic Crest Cardstock 8.5
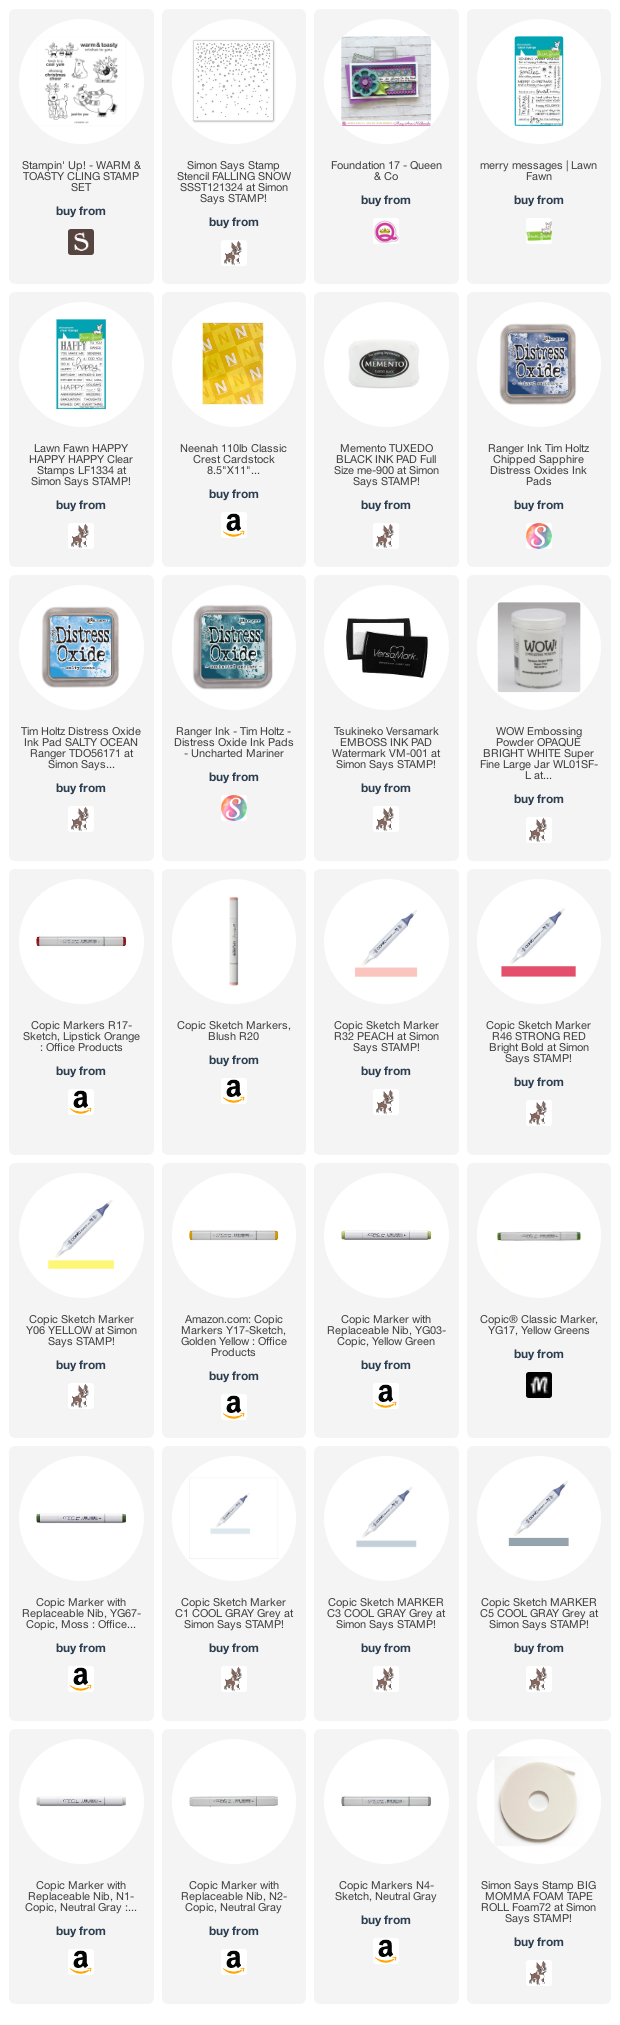
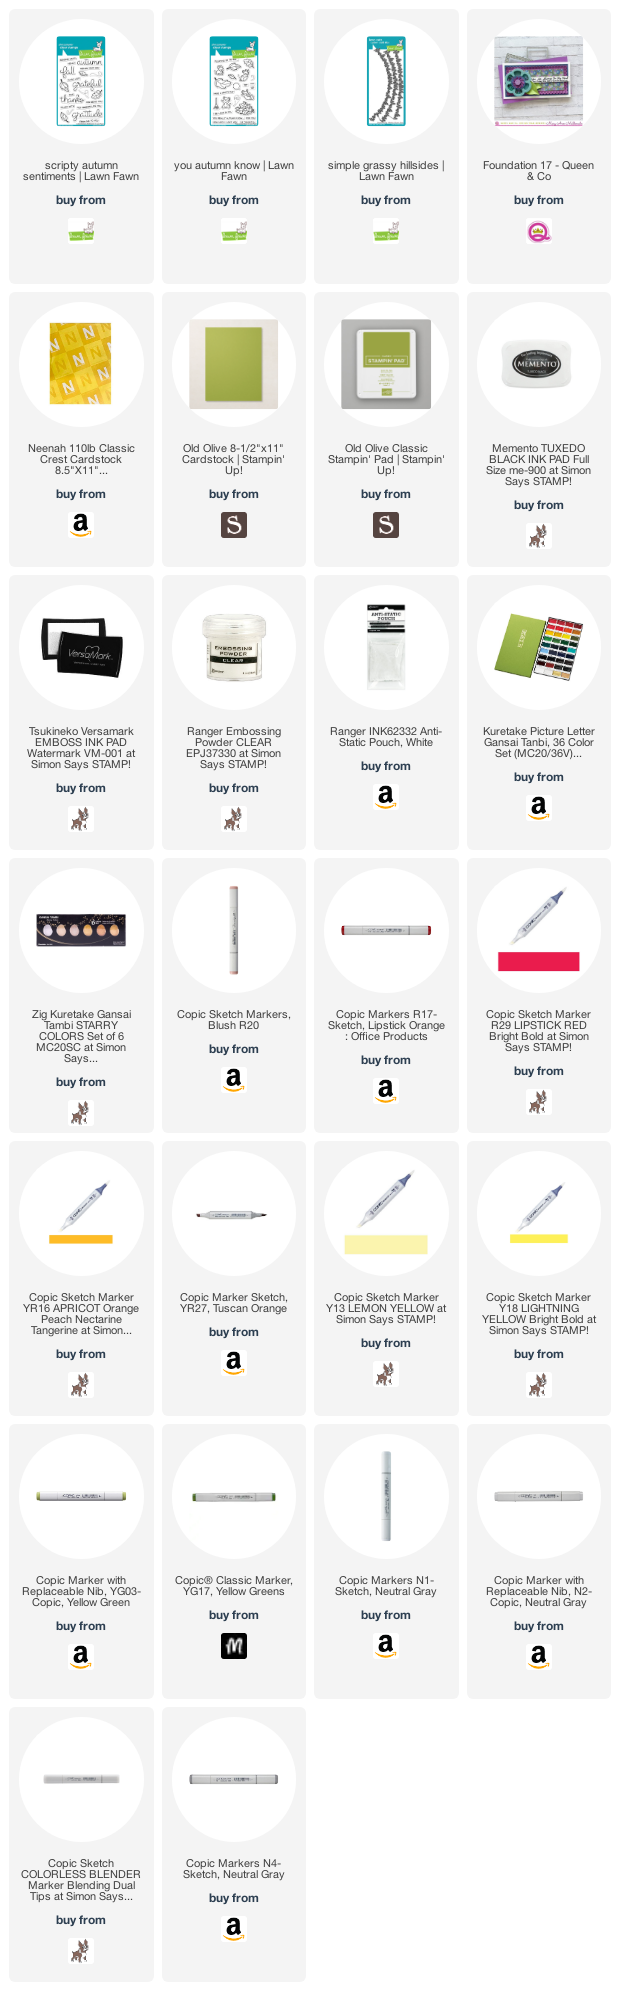
Supplies
 https://linkdeli.com/widget.js?id=f5e8378456858c916708
Thanks for reading this post. I hope I’ve inspired you to give this cute mini slimline coffee birthday card a try for yourself. Leave comments or questions below or feel free to email.