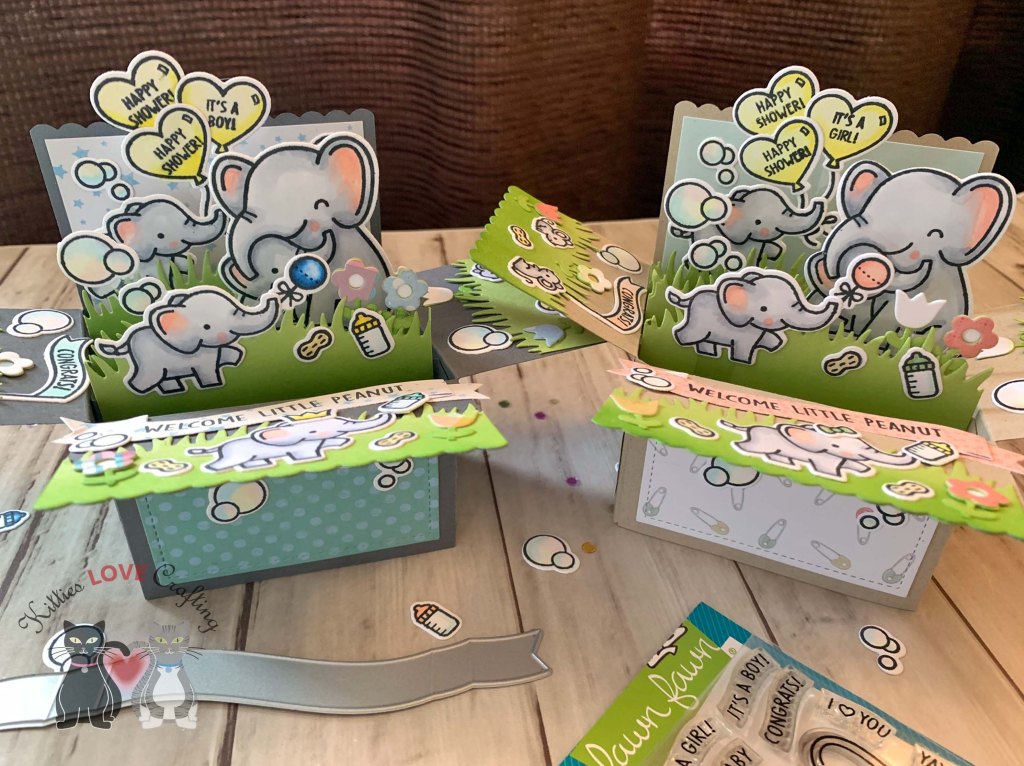
Hello friends. I couldn’t resist making a baby pop up card with the Lawn Fawn Elephant Parade stamps after seeing the one Mona from the Lawn Fawn design team made (Baby themed pop-up box card with Mona). It was so damn cute!
Granted these pop up cards take a very long time to make so I made two! LOL. Actually I originally made this card for my mom to take to a baby shower but wanted to share it with you all and I just had to make a “masculine” and “feminine” card. Obviously you can make this in the color scheme the parents choose or go with a gender neutral color if you don’t know their colors.
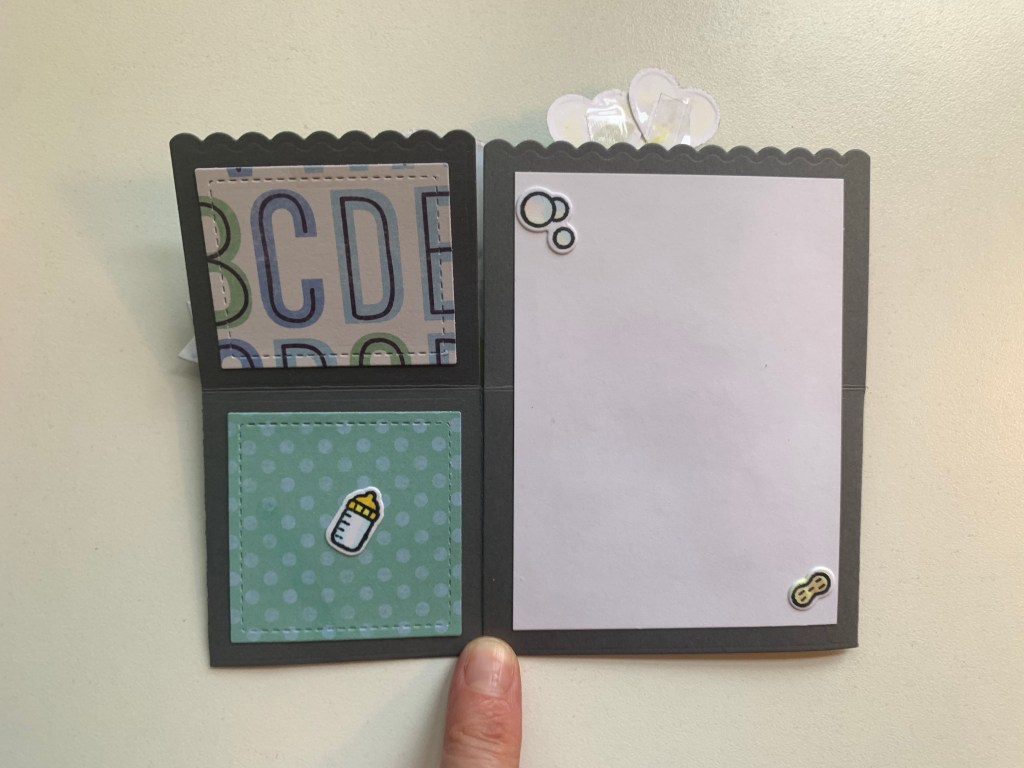
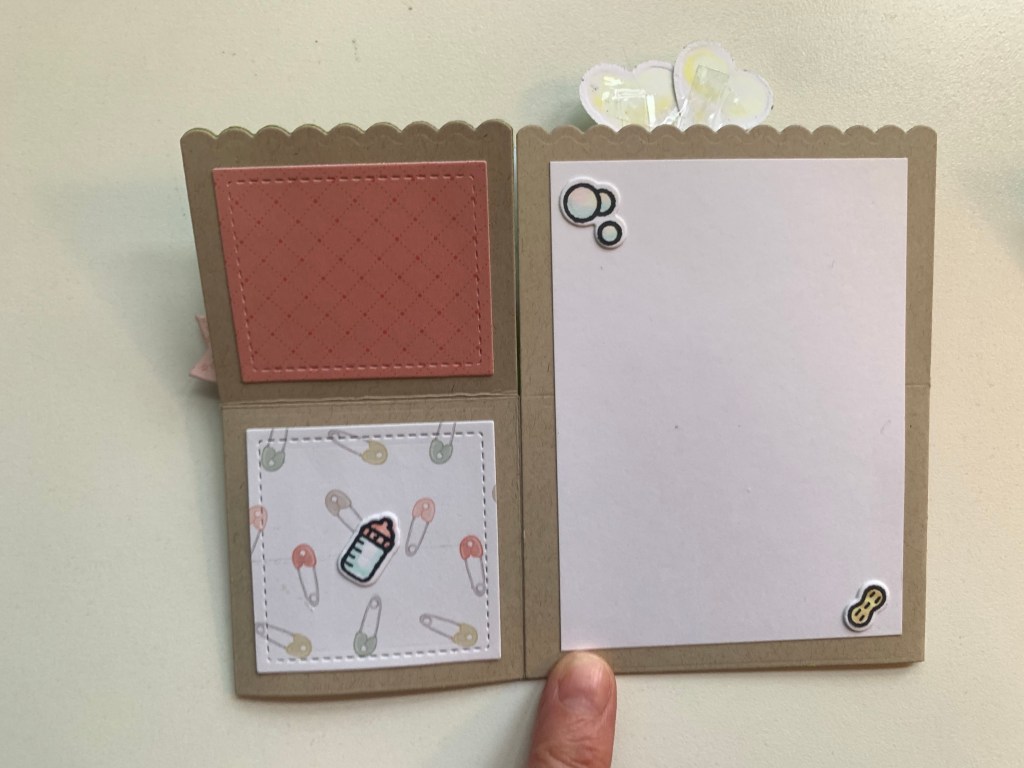
For this card, I die cut the bases from I die cut the sentiment panel from Stampin’ Up! Basic Gray 8-1/2″ X 11″ Cardstock and Lawn Fawn Kraft 8-1/2 x 11″ Cardstock using the Lawn Fawn Scalloped Box Card Pop Up Dies. For the outside pattern panels I used Pebbles 12 x 12 Special Delivery (discontinued) and Echo Park IT’S A GIRL 6 x 6 Mega Paper Pad. I cut a piece of Neenah 100lb Classic Crest Cardstock 8.5 X 11″ to 2-3/4 x 3-3/4″ for the larger outside panel which creates a space for your message.

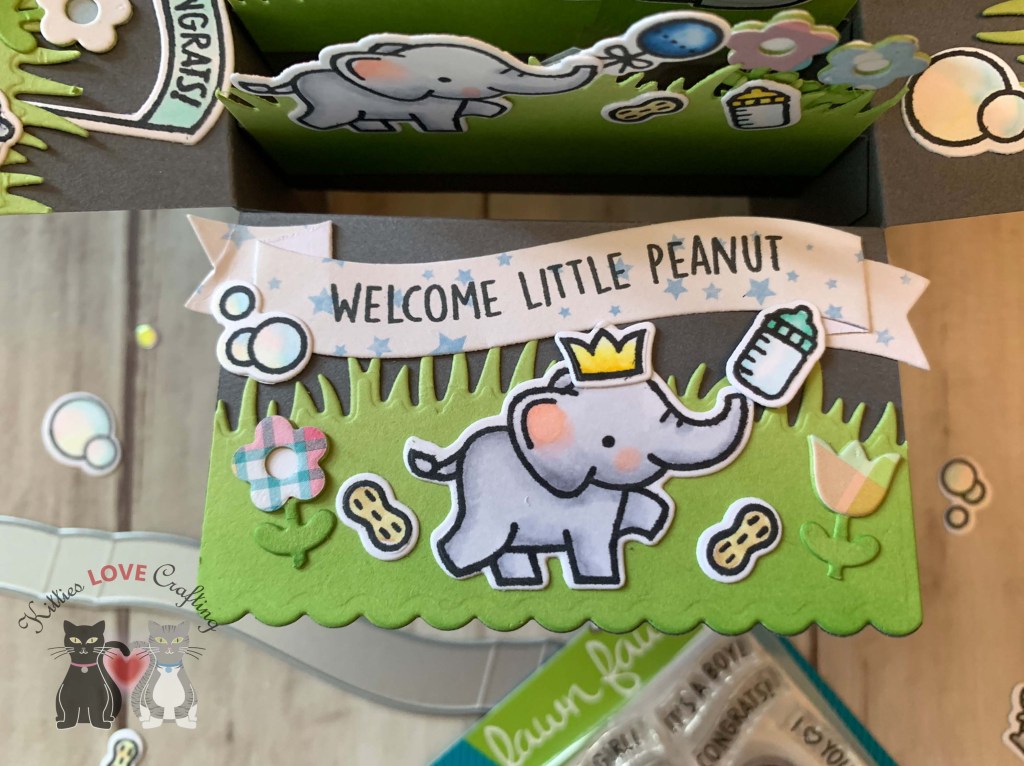
For the grassy areas I used Simon Says Stamp 100# GREEN APPLE 8-1/2 x 11″ Cardstock and the Lawn Fawn Simple Grassy Hillsides Dies. The flowers were die cut using Lawn Fawn Straight Flower Border from Lawn Fawn Single-Sided Petite Paper 6″X6″ Perfectly Plaid Remix (discontinued?) and Simon Says Stamp 100# GREEN APPLE 8-1/2 x 11″ Cardstock. The banner on the front panel was die cut from Pebbles 12 x 12 Special Delivery (discontinued) and Echo Park IT’S A GIRL 6 x 6 Mega Paper Pad using the Lawn Fawn Fancy Wavy Banners Dies.

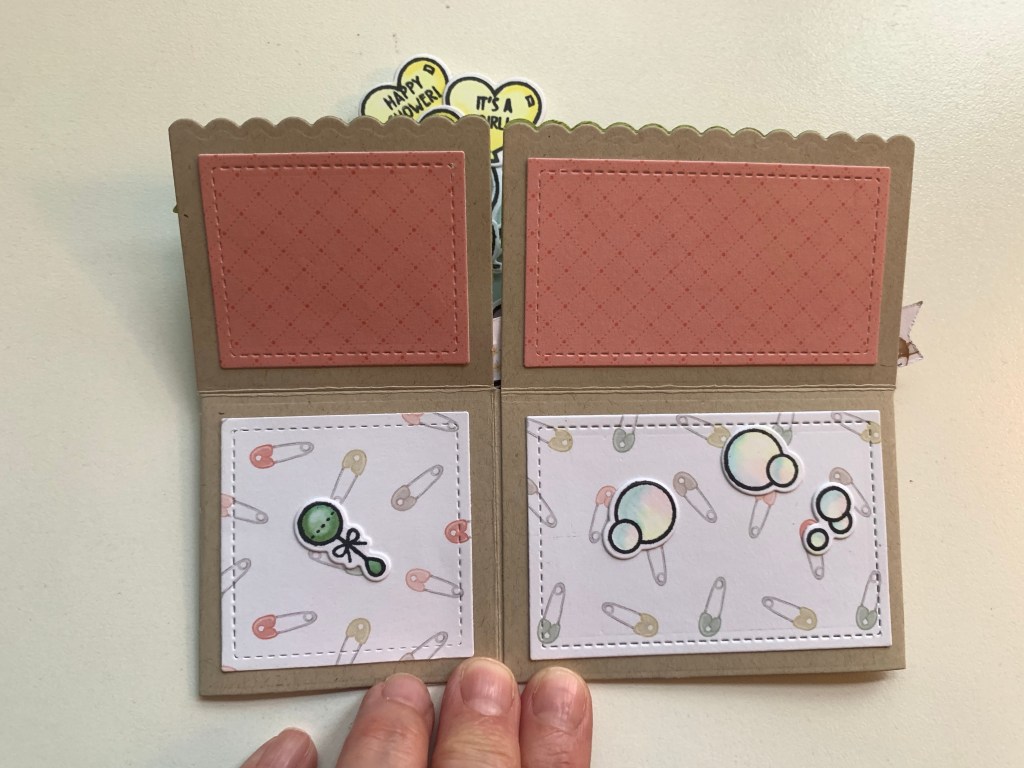
I stamped all the images for both cards from the Lawn Fawn Elephant Parade, Lawn Fawn Elephant Parade Add-on and Lawn Fawn Hello Baby (discontinued) Stampsets onto Neenah 100lb Classic Crest Cardstock 8.5 X 11″ with Memento TUXEDO BLACK Ink and colored with Copic Markers.


I used C00 & C3, R20 & R30 for the elephants; C00 & C3, R20 for the mice; and BG000, Y000, & R000 (blue card) and BG10, Y000 & R000 (pink card) for the bubbles; Y00 & E55 for the peanuts; BG000 & 0, B32 & B37, Y02 & Y15, BG11 & BG34 (blue card) and BG10 & 0, G12 & G82, Y000 & Y02, R00 & R20 (pink card) for the bottles; BG11 & BG10 (blue card) and R000 & R00 (pink card) for the banners; Y00, Y02 & Y15 for the crown; G12 & G82 for the bow; Y000, Y00, & Y02 for the balloons; and Y000, Y02 & Y15, B32 & B37 (blue card) and R00 & R20, Y000 & Y02, G12 & G82 (pink card) for the rattles.
All images were die cut using the coordinating dies.

These cards fold flat to fit into a regular A2 envelope. My balloons go outside the box top so I made a custom envelope to fit it better.
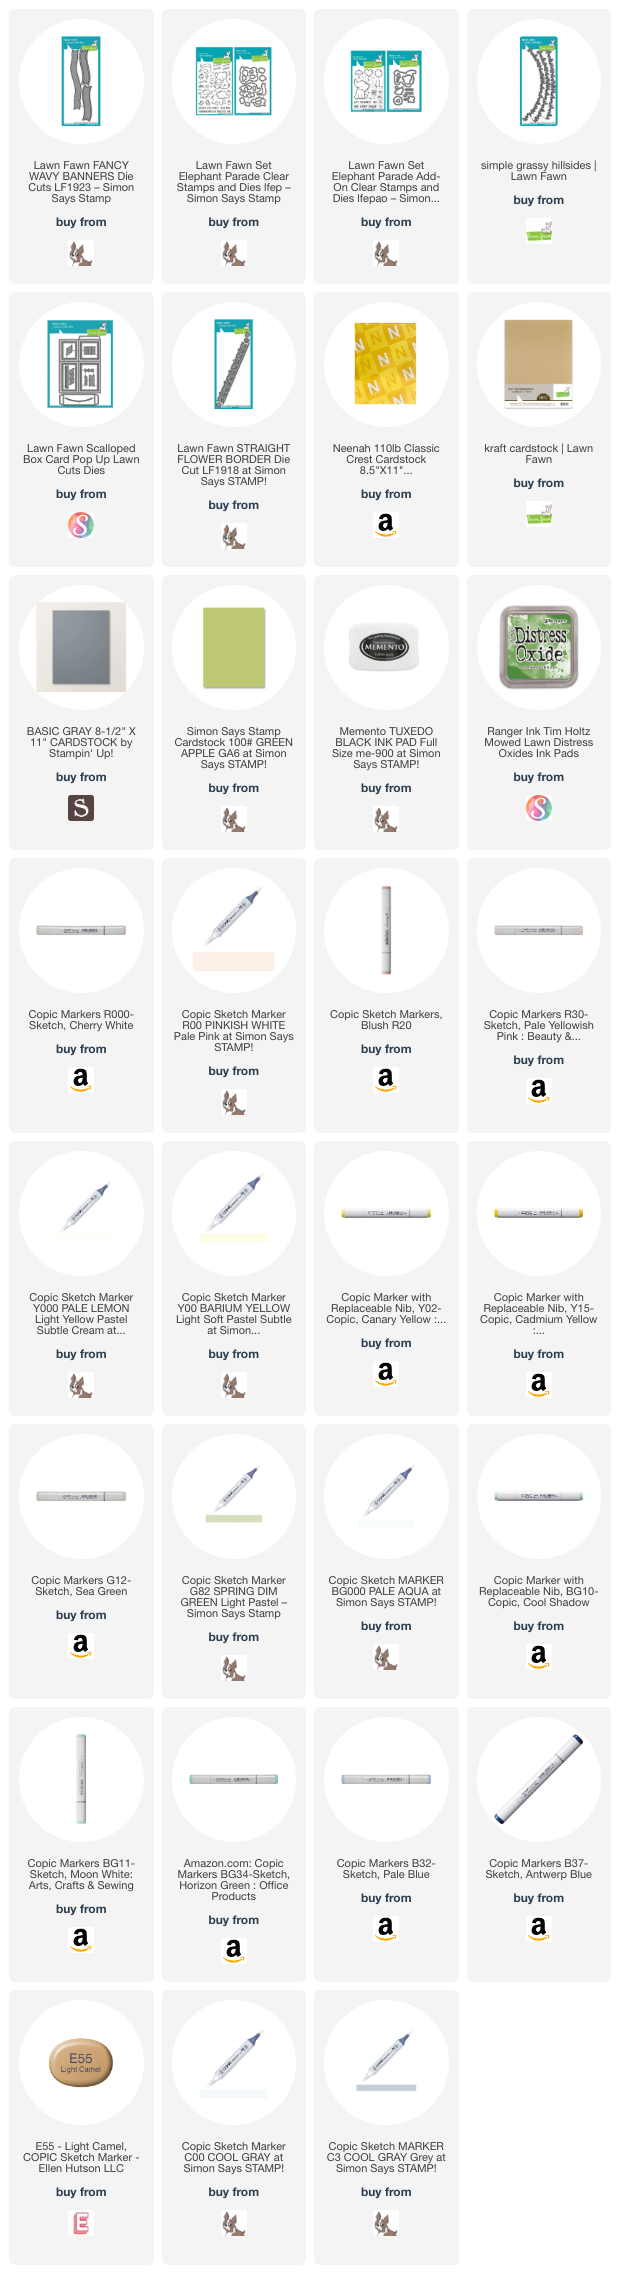
Supplies
 https://linkdeli.com/widget.js?id=f5e8378456858c916708
Thanks for reading this post. I hope I’ve inspired you to give this fun pop up baby card a try for yourself. Leave comments or questions below or feel free to email.