In today’s tutorial, I am making slimline cards. I’ve seen these popping up all over instagram and youtube and I figured I would make one too ( I mean… I have to right?!? 🙂 LOL). Since I do not have any slimline dies yet (I stress YET), I will prove you can make them with any supplies you have in your stash and no dies necessary. Even the envelope tutorial I found on YouTube makes it super simple to make a slimeline envelope.
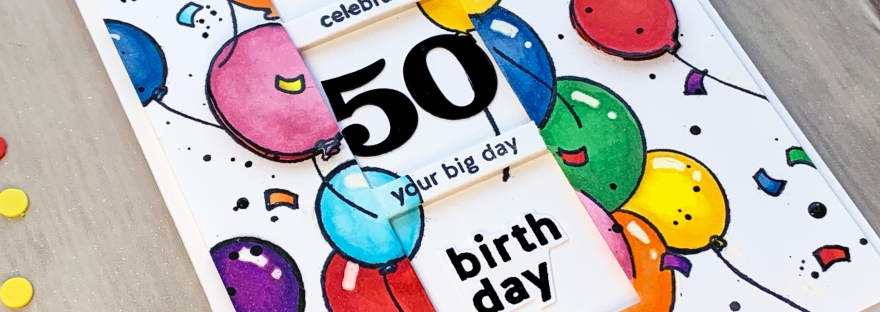
For this first card, I began by cutting a piece of Neenah 110lb Classic Crest Cardstock 8.5 X 11″ to 7 x 8-1/2″ and scored at 3-1/2″. Then I diecut 3 balloons from Paper Accents Vellum Variety Pack 8 1/2 x 11 in. Assorted 25 pc. using the Lifestyle Crafts Quickutz Nesting Balloons (Dies). I adhered the bottom halves to the card, overlapping them. I used Tonic Medium Nuvo Glue Pen to adhere them and cut off the excess.

I stamped a sentiment from Catherine Pooler Designs WooHoo Stamp Set onto a scrap of Neenah 110lb Classic Crest Cardstock 8.5 X 11″ with Memento Tuxedo Black Ink and fussycut it out. I adhered it using Tombow Mono Multi Liquid Glue. I embellished it by adding some string and bows to the balloons using my Micron 05 Pen, shimmer with the Spectrum Noir Sparkle Clear Fine Glitter Brush Pen and also added some Tonic Gloss Simply White Nuvo Crystal Drops and Tonic Gloss Midnight Blue Nuvo Crystal Drops to the balloons.
On the inside of the card, I adhered the leftover pieces of the balloons on the front of the card to the top portion and stamped ‘Happy Birthday! using the free gift stamp I received from Lawn Fawn for my birthday month and Memento Tuxedo Black Ink. Yes! you can get freebies for your birthday! 🙂 I couldn’t find this anywhere so I don’t think this particular tiny sentiment stamp can be purchased but there are a ton of other Lawn Fawn Happy Birthday stamps you can use.

I also made an envelope using Neenah 110lb Classic Crest Cardstock 8.5 X 11″. I found a great tutorial on Youtube from Jenny Card Designs. She also provides a facebook link with the template. I added some more of the vellum balloons to the edge of the envelope. Go check her out on Youtube!

Dimensions
- Card Base =7 x 8-1/2″ and scored at 3-1/2″ Neenah 110lb Classic Crest Cardstock 8.5 X 11″
For the second card, I decided to make some summer fruity cards. I started by cutting a piece of Neenah 110lb Classic Crest Cardstock 8.5 X 11″ to 7 x 8-1/2″ and scored at 3-1/2″ to create the card base. Next, I cut two pieces of green gingham pattern paper from Brutus Monroe Fresh Melon 6 x 6 Paper Pad to 3-1/2 x 6 and adhered it to the card using Tombow Mono Multi Liquid Glue. I made sure to have the section where the two pieces meet to not be centered so it can be covered by the watermelon slice.
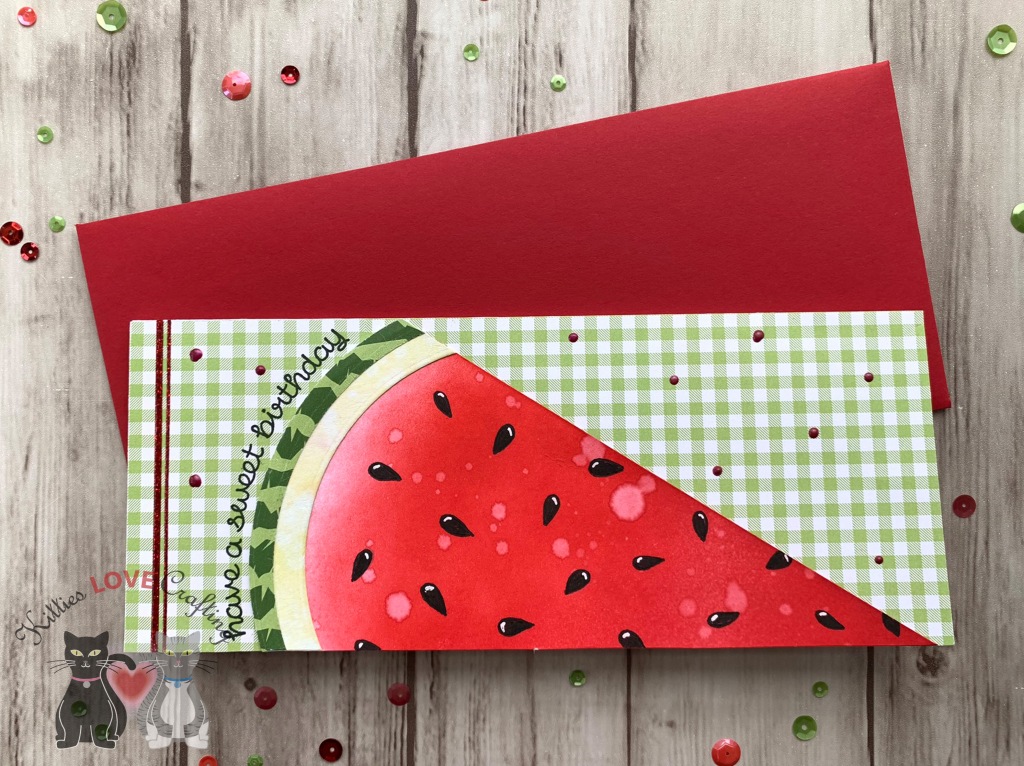
Next, I moved on to creating my watermelon slice (wedge?). For this I cut a large triangle from Neenah 110lb Classic Crest Cardstock 8.5 X 11″ that was a bit taller than my card front then using the a 5-1/2″ circle die from Simon Says Stamp NESTED CIRCLES Wafer Dies cut the edge of the wider part. To create the rind and white pith (I think that’s what it is called), I used the 5″ and 5-1/2″ circle dies to cut out a half circle from a piece of the green gingham pattern paper from Brutus Monroe Fresh Melon 6 x 6 Paper Pad and the 4-1/2″ and 5-1/2″ circle dies to to cut out a half circle from a piece of Neenah 110lb Classic Crest Cardstock 8.5 X 11″.
I added Tim Holtz Twisted Citron Distress Ink to the pith and sprayed it with water with my Tim Holtz DISTRESS SPRAYER. Then added Tim Holtz Candied Apple Distressed Ink and Festive Berries Distressed Ink to the watermelon wedge. I leftit very light towards the wider side and then sprayed water on it as well. Once the inks were dried, I adhered all three pieces to create my watermelon wedge and adhered it to the card base, trimming off any excess at the bottom. I drew on some seeds with my Sakura Pigma Micron 08 Pen and added some highlights to them with Uni-Ball Signo White Broad Point Gel Pen.

For my sentiment, I used Lawn Fawn’s Baked With Love Stampset, Memento Tuxedo Black Ink and my Stampin’ Up! Stamparatus to stamp it on a curve. The easiest way to do this, I have found is to curve the text around the circle die I used for the watermelon.
To finish off this card, I added Love From Lizi Red Glitter Pinstripe peel-offs and Nuvo Drops in Autum Red. I left the inside of the card blank for this one. And again I made an envelope using Stampin Up! Real Red 8-1/2″ X 11″ Cardstock. Tutorial on Youtube from Jenny Card Designs.
Dimensions
- Card Base = 7 x 8-1/2″ and scored at 3-1/2″ Neenah 110lb Classic Crest Cardstock 8.5 X 11″
- Background Panel = 3-1/2 x 8-1/2″ Brutus Monroe Fresh Melon 6 x 6 Paper Pad
And since lemon cards are all the rage right now. I decided to break out my lemon stampset and builder punch from Stampin’ Up!. I began this card by I started by cutting a piece of Neenah 110lb Classic Crest Cardstock 8.5 X 11″ to 7 x 8-1/2″ and scored at 3-1/2″ to create the card base. Next, I cut a piece of pattern paper from Brutus Monroe Fresh Squeeze 6 x 6 Paper Pad to 1-1/2 x 8-1/2″and adhered it to the bottom of the card front.

Next, using the Stampin’ Up! Lemon Zest Clear-Mount Stamp Set (which was retired recently), I stamped several lemon slices and whole lemons onto Neenah 110lb Classic Crest Cardstock 8.5 X 11″ with Catherine Pooler Designs Limoncello Ink, one slice with Catherine Pooler Designs Party Dress and Catherine Pooler Designs Bellini Inks, and several leaved with Catherine Pooler Designs Lime Rickey Ink. I used the Stampin’ Up! Lemon Builder Punch (retred) and a 1-3/4″ Circle Punch to cut out the leaves and lemons.
I arranged them on the card front and adhered them, popping some up with 3M Foam Tape. I added some highlights to them with Uni-Ball Signo White Broad Point Gel Pen.


For the sentiment I used the Honey Bee Stamps BEE-YOU-TIFUL Sentiments stampset. I used Tsukineko Versamark EMBOSS INK PAD and WOW OPAQUE BRIGHT WHITE Super Fine Embossing Powder to heat emboss it onto a piece of Simon Says Stamp 100# Black Card Stock and then cut it down to 1/2 x 2-3/8″. I adhered it to the top portion fo teh card and then stamped the word “K-I-N-D” with Simon Says Stamp Grid Play Alphas stampset (no longer available) and Catherine Pooler Designs Midnight Ink onto some Neenah 110lb Classic Crest Cardstock 8.5 X 11″ and adhered those on top the lemons. I added some Ranger Glossy Accents Glue Dimensional Adhesive to those letters to finish off the card.
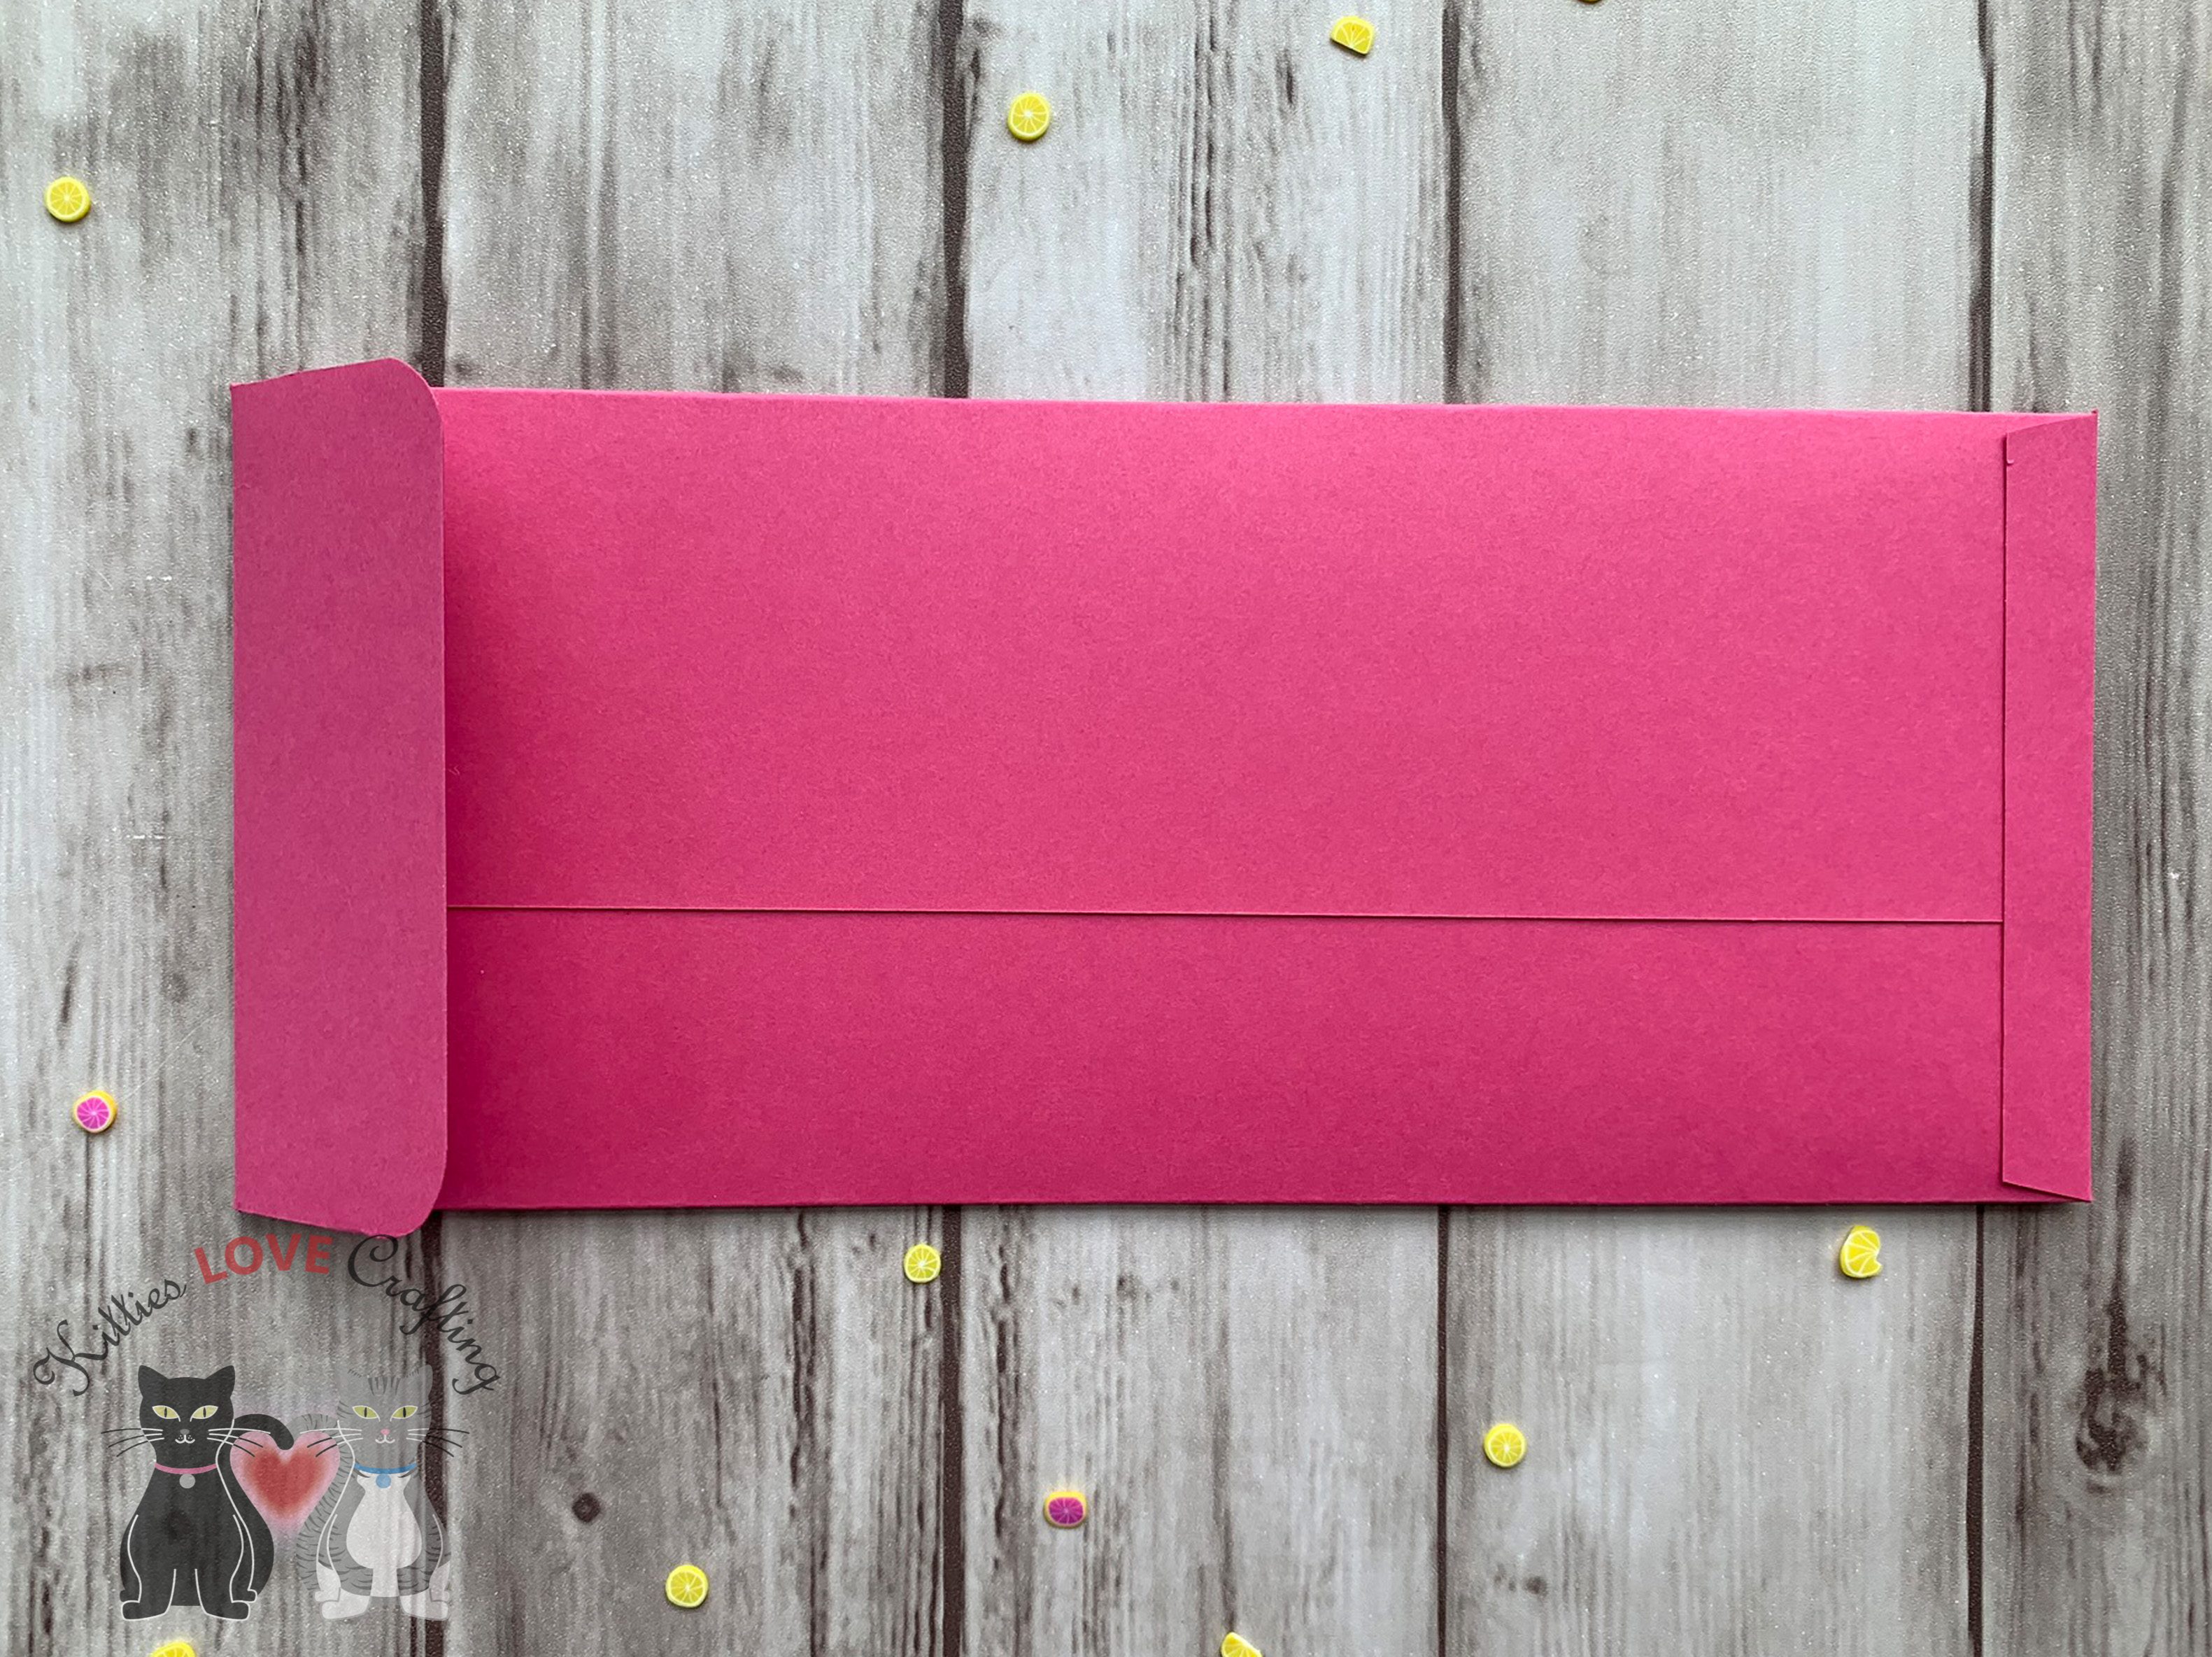
And again I made an envelope using some dark pink cardstock from my stash (not sure where it is from becasue it is soooo old). Tutorial on Youtube from Jenny Card Designs.
Dimensions
- Card Base =7 x 8-1/2″ and scored at 3-1/2″ Neenah 110lb Classic Crest Cardstock 8.5 X 11″
- Background Panel = 1-1/2 x 8-1/2″ Brutus Monroe Fresh Squeeze 6 x 6 Paper Pad
- Sentiment Strip = 1/2 x 2-3/8″ Simon Says Stamp 100# Black Card Stock
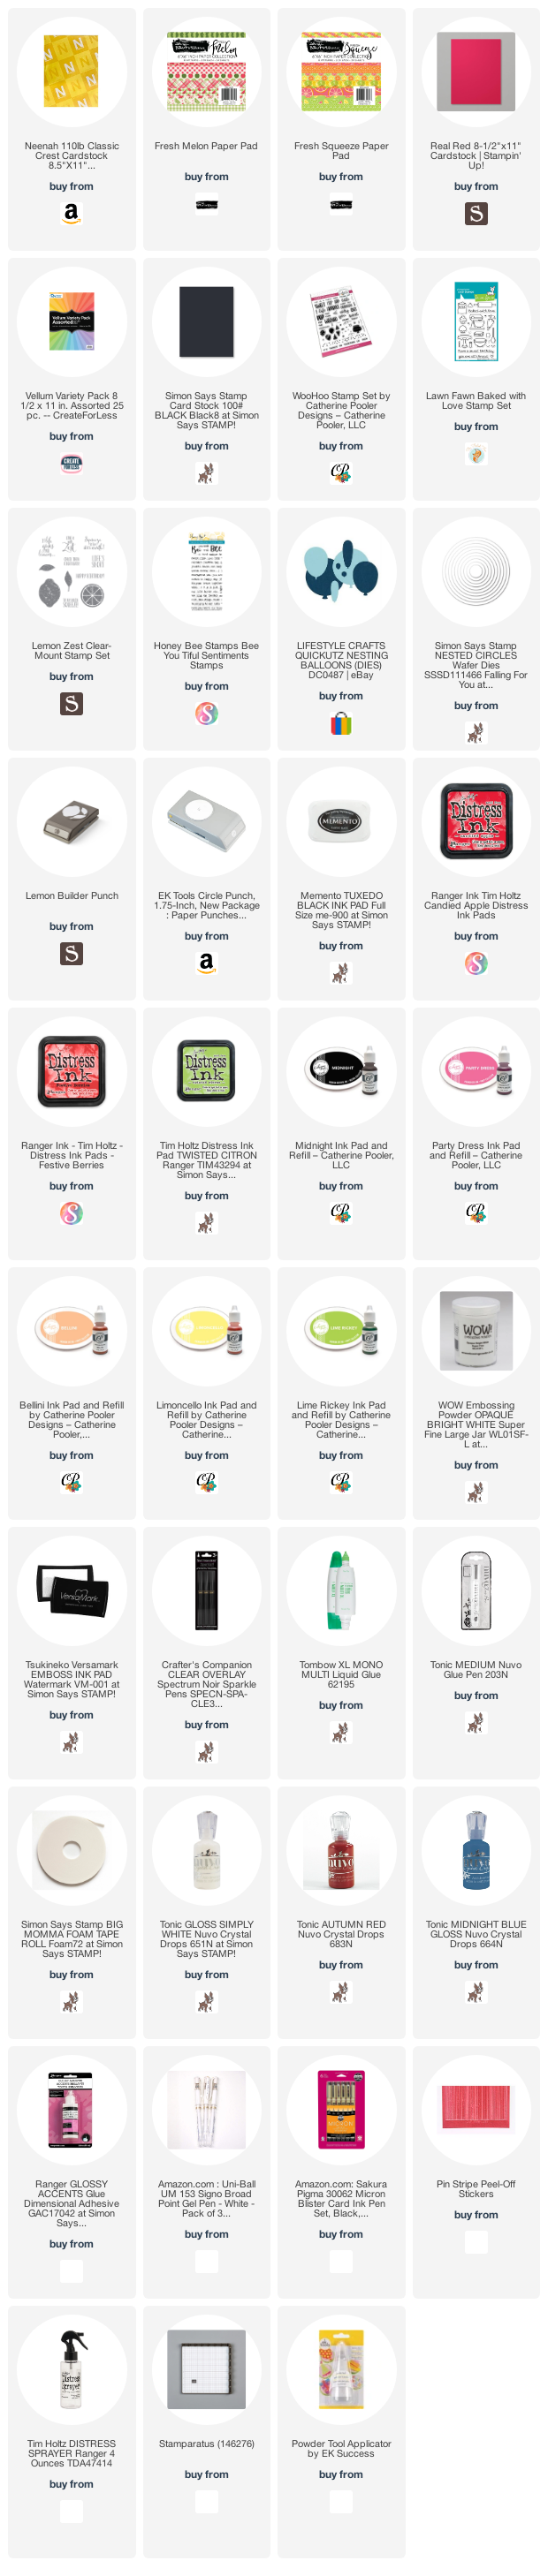
Supplies
 https://linkdeli.com/widget.js?id=f5e8378456858c916708
Thanks for reading this post. I hope you enjoyed and I’ve inspired you to Shop Your Stash and see what fun ideas you come up with and maybe rediscover supplies you forgot you had! Leave comments or questions below or feel free to email me.