
Hi friends. Today I’m bringing you two cards featuring the Simon Says Stamp Dazzling Circle and Blooming Circle Dies. One card uses the dies in the way they were intended but the second card uses it in a different way — using the positive diecuts to create a background. This is an easy way to create a background.
Traditional Use of Die

For the first card I started by cutting a piece of Neenah 110lb Classic Crest Cardstock 8.5 X 11″ to 5-1/2 x 8-1/2″ and scored at 4-1/4″. Then I cut a piece of green gingham paper (from the Birthday paper pack included in the Crafty Parcel) to 4 x 5-1/4” and diecut the wreath in the top center of the panel using the Simon Says Stamp Dazzling Circle Die (no longer available as it was part of the Stamptember release). I added some 3M Foam Tape to the back of the panel and adhered a square piece of Stampin’ Up! Granny Apple Green 8-1/2″ X 11″ Cardstock on the card base behind the wreath. The easiest way to do this is to add the foam tape to the wreath panel and then attaching the green square piece behind that and then adhering it to the card base.
I diecut a bunch of flowers from 6 different colored scraps of cardstock using the Simon Says Stamp Blooming Circle Wafer Dies and adhered them to the wreath using Tombow Mono Multi-liquid Glue.

For the sentiment, I diecut ‘Celebrate’ from the Sentiment Stacker Dies #1 with some Neenah 110lb Classic Crest Cardstock 8.5 X 11″ for the sentiment and pink glitter foam from Queen & Company’s Glitter Fun Foam – Rainbow for the shadow. I finished it off the by adding some Love from Lizi Peel-offs in Clear Iridescent Pink Glitter and some Nuvo Crystal Drops in Gloss White.

On the inside of the card, I cut a strip of Green Gingham paper (from the Birthday paper pack included in the Crafty Parcel) to 1 x 4-1/4″. I stamped a greeting from the Catherine Pooler Stamp of Approval Young at Heart Collection stampset (I don’t think this is available in her shop anymore) in Memento Tuxedo Black Ink and Catherine Pooler Party Dress Ink. I finished it off by adding some additional flowers.
Dimensions
- Card Base = 5-1/2 x 8-1/2″ and scored at 4-1/4″ Neenah 110lb Classic Crest Cardstock 8.5 X 11″
- Top Panel = 4 x 5-1/4” Green Gingham paper (from the Birthday paper pack included in the Crafty Parcel)
- Inside Strip = 1 x 4-1/4″ Green Gingham paper (from the Birthday paper pack included in the Crafty Parcel)
Creating a Background Using Just Dies
For the second card I started by cutting a piece of Neenah 110lb Classic Crest Cardstock 8.5 X 11″ to 5-1/2 x 8-1/2″ and scored at 4-1/4″ and a piece of Neenah 80lb Classic Crest Cardstock 8.5 X 11″ to 4 x 5-1/4”. I diecut the several leaves from Stampin’ Up! Old Olive Cardstock using the Simon Says Stamp Dazzling Circle Die (no longer available as it was part of the Stamptember release). I think I diecut about 3 wreaths with the die. I diecut flowers from 6 different colored scraps of cardstock using the Simon Says Stamp Blooming Circle Wafer Dies.

I adhered the leaves and flowers to the front panel using Tombow Mono Multi-liquid Glue, creating a pattern. I coated it with Matte Gel Medium to seal it because the images are so small they might come unglued without it. Next I stamped a sentiment from the Newton’s Nook Designs Newton Loves Cake with Catherine Pooler Designs Royal Treatment Ink Pad onto a piece of Neenah 110lb Classic Crest Cardstock 8.5 X 11″ and diecut it using a Studio Katia Stitched Square Nested Die set. I used the smaller square in the set. I adhered it to a piece of Stampin’ Up! Old Olive Cardstock and fussycut around it, creating a mat layer. I popped it up on my card with some 3M Foam Tape. I added a small bow made from 1/4” Lavender Double-Faced Satin Ribbon from my stash and a little flower to the sentiment area. I finished it off by adding some Nuvo Drops in Ivory Seashell to the centers of the larger flowers.
On the inside of the card, I just added some flowers. And that completes this card.

Dimensions
- Card Base = 5-1/2 x 8-1/2″ and scored at 4-1/4″ Neenah 110lb Classic Crest Cardstock 8.5 X 11″
- Top Panel = 4 x 5-1/4” Neenah 80lb Classic Crest Cardstock
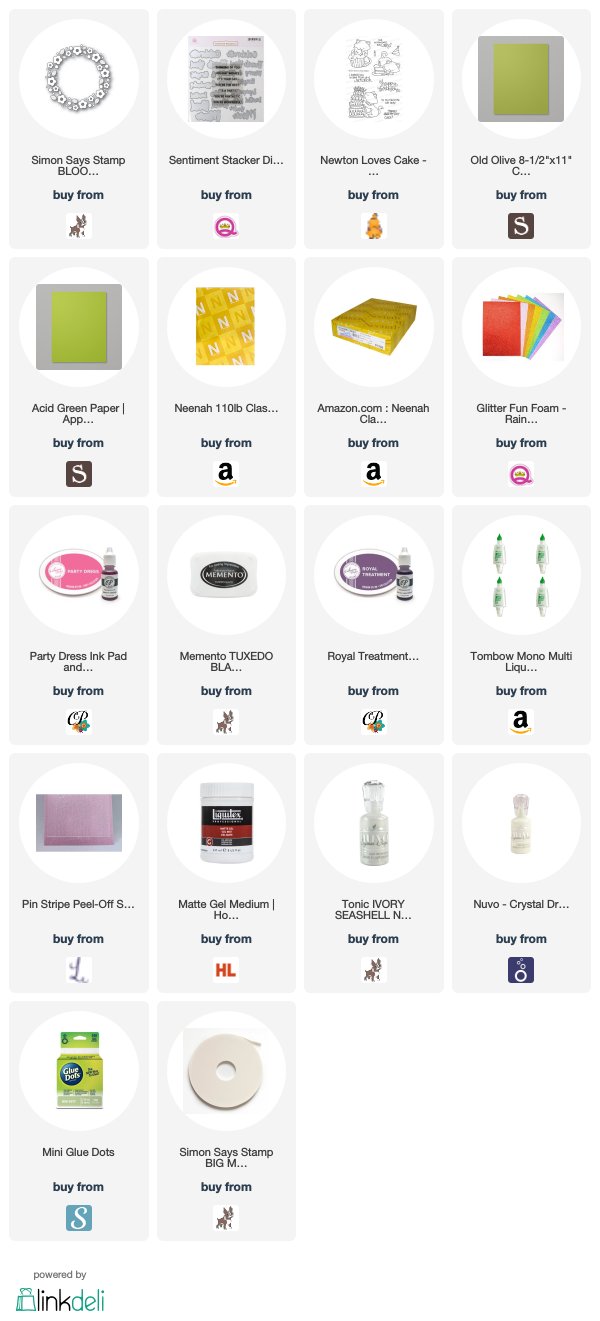 https://linkdeli.com/widget.js?1559654439292
Thanks for reading this post. I hope you enjoyed and I’ve inspired you to give your old stand-alone dies a second look and try some new techniques with them. Leave comments or questions below or feel free to email.
