I finally got to play with the new Lots to Celebrate Stampset by Stampin’ Up which is available in the new Aug-Dec Mini Catalog. I love mason jars and mason jar stamps so it only made sense to buy this one. :). It’s really cute and has stamps for different occasions. It aso coordinates with the Jar of Flowers stampset. But wait there’s more…there’s a coordinating punch. No need to fussy cut it when there’s a punch! You also save 10% when you purchase the Jar of Flowers Bundle.

I started this card by cutting a piece of Soft Suede 8-1/2″ X 11″ Cardstock to 5-1/2 x 8-1/2″ and scored at 4-1/4″ to make a card base. Then cut a piece of Crumb Cake 8-1/2″ X 11″ Cardstock to 4 x 5-1/42 x 4-1/4″” for the top panel and a piece of the Guilded Autumn Specialty Paper Pack to 2 x 4-1/4″. I stamped the background by using the leaf stamps from the Beautiful Autumn stampset and Crumb Cake Ink and adhered it to the card base. I also adhered the pattern paper strip to the card.

I stamped the mason jar from the Lots to Celebrate Stampset onto Whisper White 8-1/2″ X 11″ Cardstock with Memento Tuxedo Black Ink. I stamped the trail inside the jar with Crumb Cake Ink and the leaves with Cajun Craze Ink, Mint Macaron Ink, Soft Suede Ink and Cherry Cobbler Ink. I stamped the lid with Versamark Ink and heat embossed with Gold Emboss Powder and the doily with Soft Suede Ink. I used the Jar Punch to cut out the Mason Jar and fussycut the lid and doily and adhered them together. I added some Linen Thread and Acorn Trinket (from the Guilded Autumn Suite).
I punched a 2-1/4″ circle from Mint Macaron 8-1/2″ X 11″ Cardstock and a 2’1/2″ circle from Gold Foil and adhered them together. I stamped a sentiment from the Lots to Celebrate Stampset with Soft Suede Ink onto Whisper White 8-1/2″ X 11″ Cardstock and cut it down to 3/4 x 1-1/2″. I adhered the circles, mason jar and sentiment to the card.
On the inside of the card, I cut a piece of Whisper White 8-1/2″ X 11″ Cardstock to 4 x 5-1/4″and a strip of Guilded Autumn Specialty Paper Pack to 5/8 x 4-1/4″ and adhered them to the card. Lastly, I stamped a sentiment from the Lots to Celebrate Stampset with Mint Macaron Ink.

Dimensions
- Card Base = 5-1/2 x 8-1/2″ and scored at 4-1/4″ Soft Suede 8-1/2″ X 11″ Cardstock
- Top Panel = 2 x 4-1/4″ Crumb Cake 8-1/2″ X 11″ Cardstock; 2 x 4-1/4″ Guilded Autumn Specialty Paper Pack
- Sentiment Strip = 3/4 x 1-1/2″ Whisper White 8-1/2″ X 11″ Cardstock
- Inside Panel = 4 x 5-1/4″ Whisper White 8-1/2″ X 11″ Cardstock; Strip = 5/8 x 4-1/4″ Guilded Autumn Specialty Paper Pack
I made a second version of this card with a winter theme and simplified it a bit. I started card by cutting a piece of Night Of Navy 8-1/2″ X 11″ Cardstock to 5-1/2 x 8-1/2″ and scored at 4-1/4″ to make a card base. Then cut a piece of Plaid Tidings 6 x 6 Designer Series Paper to 2 x 5-1/4″. I stamped the background by using the the snowflakes from the Lots to Celebrate Stampset and Night Of Navy Ink. I adhered the pattern paper strip to the card.

I stamped the mason jar from the Lots to Celebrate Stampset onto Whisper White 8-1/2″ X 11″ Cardstock with Memento Tuxedo Black Ink. I stamped the trail inside the jar with Smoky Slate Ink and the snowflakes with Misty Moonlight Ink and Rich Razzleberry Ink. I stamped the lid with Versamark Ink and heat embossed with Silver Emboss Powder and the doily with Cherry Cobbler Ink. I used the Jar Punch to cut out the Mason Jar and fussycut the lid and doily and adhered them together. I added some white embroidery floss from my stash to the jar as well.
I punched a 2-1/4″ circle from Misty Moonlight 8-1/2″ X 11″ Cardstock and a 2’1/2″ circle from Silver Foil and adhered them together. I stamped a sentiment from the Lots to Celebrate Stampset with Rich Razzleberry Ink onto Whisper White 8-1/2″ X 11″ Cardstock and cut it down to 7/8 x 1-5/8. I adhered the circles, mason jar and sentiment to the card.
On the inside of the card, I cut a piece of Whisper White 8-1/2″ X 11″ Cardstock to 4 x 5-1/4″and a strip of Plaid Tidings 6 x 6 Designer Series Paper to 5/8 x 4-1/4″ and adhered them to the card.

Dimensions
- Card Base = 5-1/2 x 8-1/2″ and scored at 4-1/4″ Night Of Navy 8-1/2″ X 11″ Cardstock
- Top Panel = 2 x 4-1/4″ Plaid Tidings 6 x 6 Designer Series Paper
- Sentiment Strip = 7/8 x 1-5/8″ Whisper White 8-1/2″ X 11″ Cardstock
- Inside Panel = 4 x 5-1/4″ Whisper White 8-1/2″ X 11″ Cardstock; Strip = 5/8 x 4-1/4″ Plaid Tidings 6 x 6 Designer Series Paper
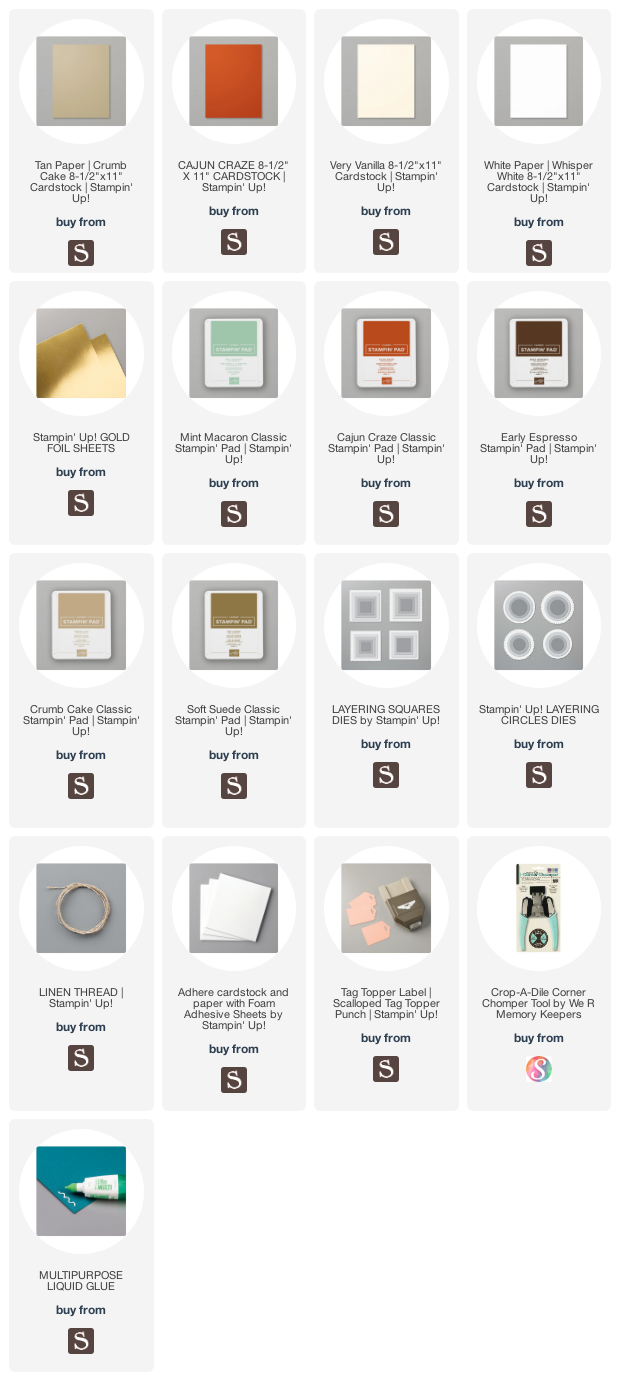
Supplies
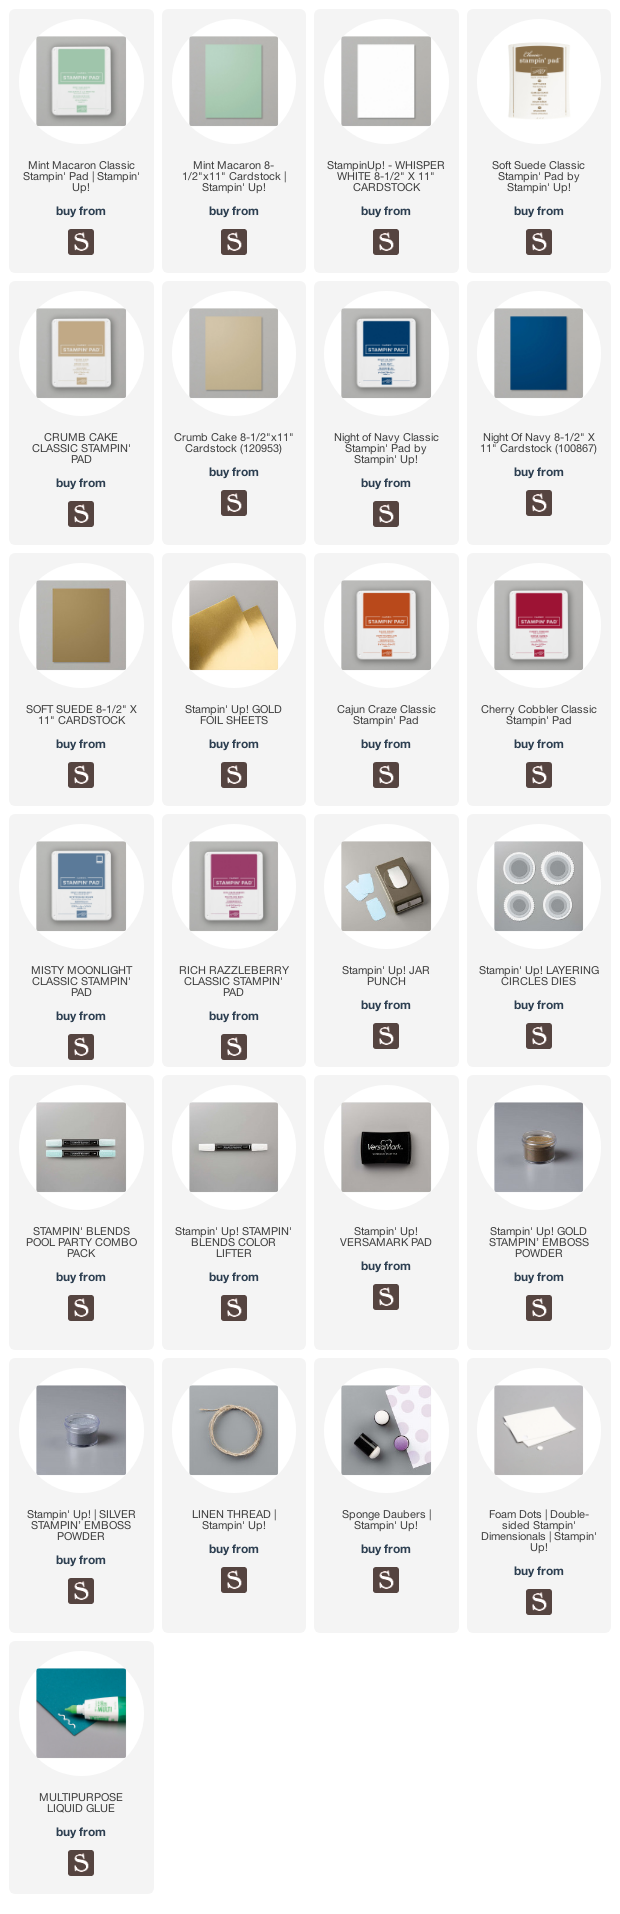 https://linkdeli.com/widget.js?id=f5e8378456858c916708
Thanks for reading this post. I hope you enjoyed and I’ve inspired you to try these cards using this adorable stampset for yourself! Leave comments or questions below or feel free to email me. If you want to share you creations with me tag me on instagram @kittieslovecrafting. If you would like a Stampin’ Up! catalog, please email me as well. All current catalogs can be found on the right side of this post and the Stampin’ Up! page. All news and fun stuff happening at Stampin’ Up! are listed there!