Love & Friendship, Valentine's Day

Quick & Easy Valentine’s Day Shaker Card featuring Simon Says Stamp February 2020 Card Kit

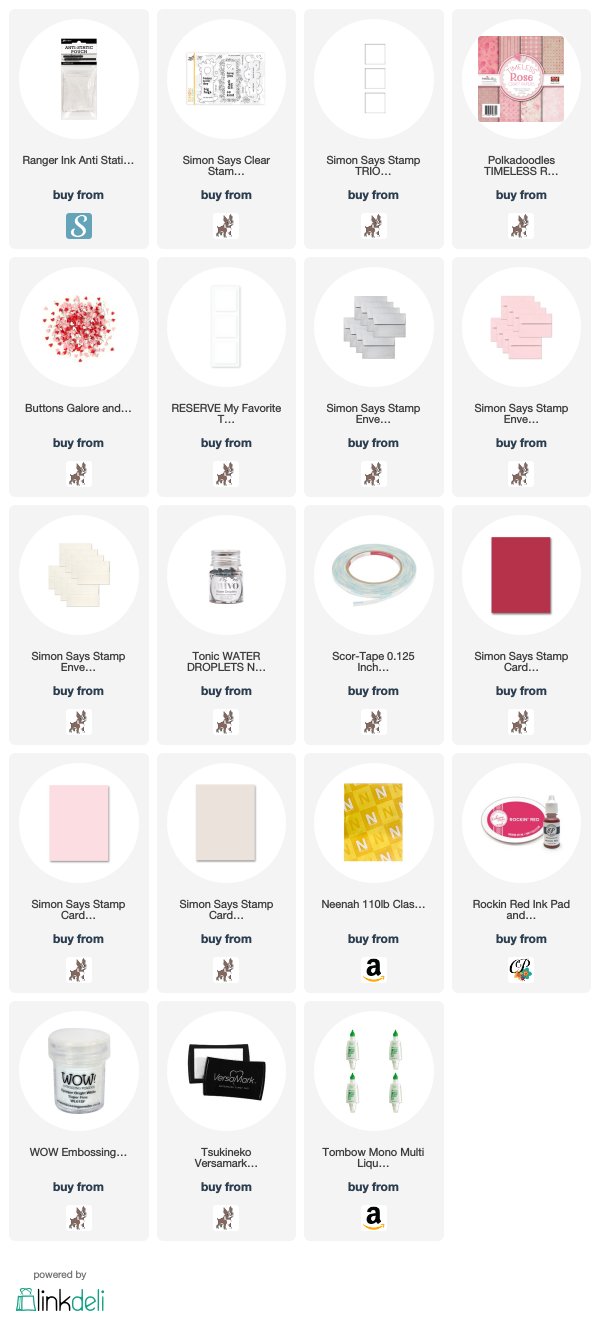
This Valentine’s Day shaker card came together quickly with the help of the Simon Says Stamp February Card Kit. This kit includes:

While the kit is no longer available the individual items are available for purchase separately. The stampset is great for all occasions; there are several sentiments for love, thank yous and birthdays.

Card Front

I began by cutting the 8.5×11 inch Simon Says Stamp Exclusive Schoolhouse Red Cardstock to 5-1/2 x 8-1/2″ and scored at 4-1/4″ to create the card base and a panel of the Polkadoodles Timeless Rose 6×6 Patterned Paper collection to 4 x 5-1/4”. I diecut the 3 windows using the Simon Says Stamp Exclusive Trio Window wafer die and adhered the Square Shaker Trio Pouch from My Favorite Things behind the panel using the 0.125 inch Scor-Tape that came in the kit.

I stamped the ‘big hugs’ sentiment from the Simon Says Stamp Exclusive 6×8 Inch Window Frames clear stamp set onto a piece of Neenah 110lb Classic Crest Cardstock 8.5 X 11″, using Catherine Pooler Designs Rockin Red Ink. I added some Buttons Galore and More SPRINKLETZ SWEETHEARTS Embellishments to the the top and bottom of the 3 shakers and adhered the sentiment panel and two other white panels behind the shaker windows. I then adhered the front panel onto the card base.

I chose a lighter pattern paper from the Polkadoodles Timeless Rose 6×6 Patterned Paper collection and stamped the hearts border using Versamark Ink and Wow Embossing Powder Bright White Super Fine. I fussycut the hearts border out and adhered it to the card around the windows. I finished it off by adding some of the confetti hearts from Buttons Galore and More SPRINKLETZ SWEETHEARTS Embellishments.

Card Inside

On the inside of the card, I cut a piece of Neenah 110lb Classic Crest Cardstock 8.5 X 11″ to 4 x 5-1/4” and adhered a strip of the same hearts pattern paper I used on the front of the card, measuring 3/4 x 4” to the bottom of the panel. Then adhered it inside the card. I stamped a few hearts from the Simon Says Stamp Exclusive 6×8 Inch Window Frames clear stamp set using Catherine Pooler Designs Rockin Red Ink. And that completes the card.

Dimensions

https://linkdeli.com/widget.js?1559654439292

Thanks for reading this post. I hope you enjoyed and I’ve inspired you to give this card a try for yourself. Leave comments or questions below or feel free to email.

Holidays 2020, Love & Friendship, Valentine's Day

Use What You Have: A Valentine’s Day Card

Hello friends. For 2020, I want to try to be aware of the supplies I have in my stash and use them. I find that I have a lot of stamps that I purchase for a season or holiday or that comes in a kit and I use it once. And that’s just wasteful! Give your craft supplies some extra love this year!

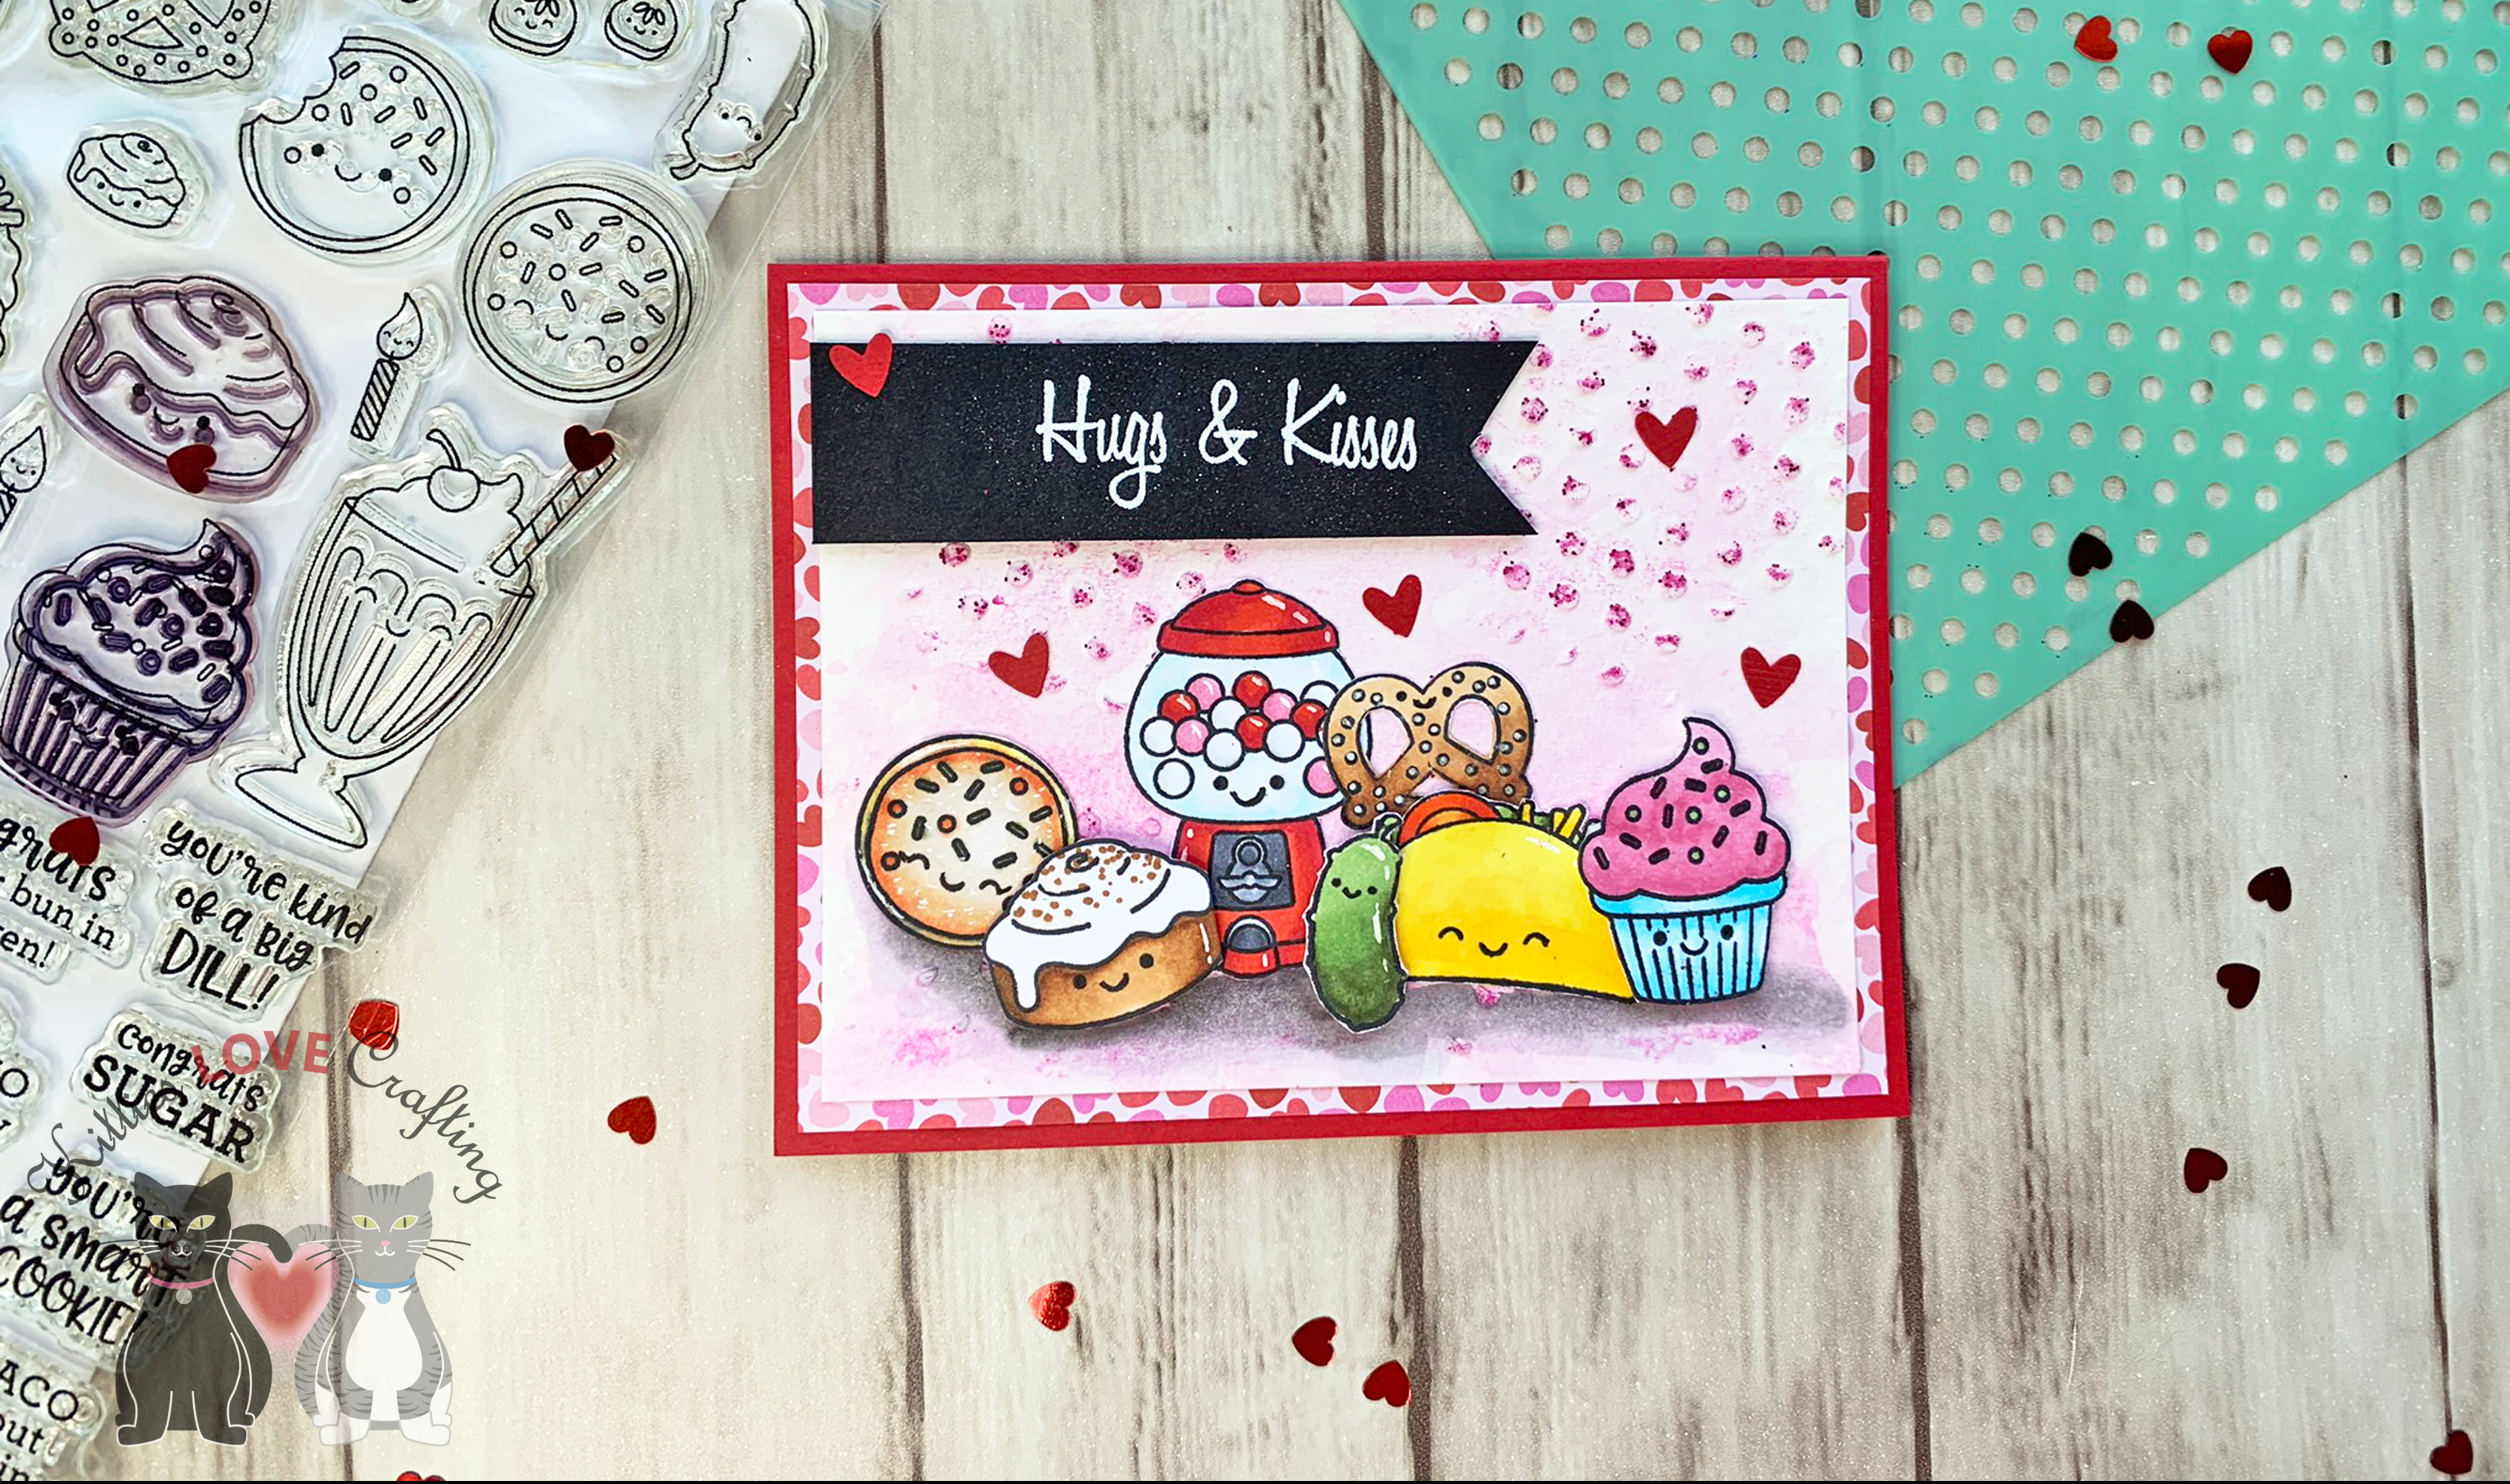
For this card I featured Simon Says Stamp I Chews You Stampset. It’s a 6 x 8 stampset with tons of cute images and sentiments. It was included in the Simon Says Stamp Stamptember 2018 I Chews You Limited Edition card kit (no longer available). I haven’t had too much opportunity to use it since I bought it, so it was time. And the food characters are friggin’ adorable so I just had to, you know what I mean?!? Food brings people joy and love so a card with cute food on it is just perfect for Valentine’s Day, don’t you think?

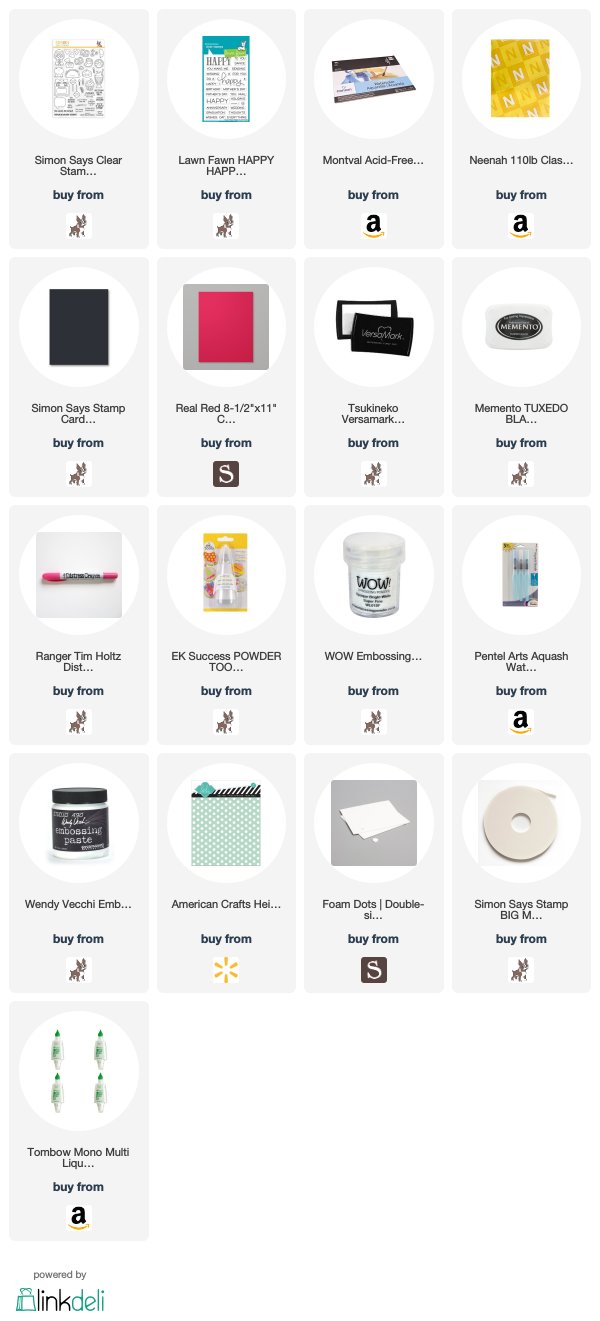
Ok, so I started by cutting a piece of Stampin’ Up! Real Red 8 1/2 x 11” Cardstock to 5-1/2 x 8-1/2″and scored at 4-1/4″ for the card base, a piece of Valentine’s Day pattern paper (this came in the Crafty Parcel I purchased from Simon Says Stamp) to 4 x 5-1/4”, and a piece of Montval Acid Free Coldpress Watercolor Paper to 3-3/4 x 5”. Then, I used Ranger Tim Holtz Picked Raspberry Distress Crayon and my waterbrush (any brush will do) and created a background. I applied a few layers, letting each layer dry (use a heat gun if you are inpatient like me), until I got the color I wanted. It was my first time using the Distress Crayons and I was not expecting to like them but they are actually pretty cool and work well.

While that panel dried, I stamped a bunch of the food characters from the Simon Says Stamp I Chews You Stampset onto Neenah 110lb Classic Crest Cardstock 8.5 X 11″ with Memento Tuxedo Black Ink. It was so hard to choose which ones too use. I love them all soo much!!! I colored them with COPIC markers. I used Y00 and Y13 for the pizza crust, E40, E53 and YR09 for the top of the pizza, and YR09 for the pepperoni and G99 for the peppers. I used E53 and E57 for the cinnabun and pretzel; R17 and R29 for the gumball machine, BG00 and 0 for the glass on it, C1, C5, and C7 for the metal parts, and R81, R83, R17, R29, C00 and 0 for the gumballs; G43 and G99 for the pickle; Y13, Y15, and Y18 for the taco shell, G42 and G99 for the lettuce and YR09 and R17 for the tomato. And BG000 and BG01 for the cupcake wrapper, R81, R83, and R85 for the cupcake and R29 and G43 for the sprinkles.

Once the watercolor panel was dry, I used Wendy Vecchi WHITE Embossing Paste and American Crafts Heidi Swapp Stencil 6 X6 Polka Dot and applied it in some places on the panel. Then I sprinkled Ruby Red Martha Stewart Glitter on top of it. Once the paste was all dry I shook off the excess glitter. Unfortunately, most of the glitter shook off so I rubbed some Ranger Tim Holtz Picked Raspberry Distress Crayon to the raised areas.

I adhered the hearts pattern paper to the card base and the watercolor panel to that paper. Then proceeded to fussycut the images and adhered them to the bottom of the card using Tombow Mono Multi Liquid Glue. I popped up a couple of the images with some Stampin’ Dimensionals. I also added a shadow under the images using COPIC markers C3, C5 and the blender.

I stamped “Hugs & Kisses” onto a piece of Simon Says Stamp Card Stock 100# BLACK with Versamark Ink and WOW Embossing Powder Opaque Bright White Super Fine. The sentiment is from an old stampset but I don’t where it came from because when I started crafting I didn’t save the backing or note the company 😦 I cut the piece down to 1 x 3-1/2″, cut the right side into a banner edge and adhered to the panel using. I finished it off by punching some tiny hearts from Stampin’ Up! Real Red 8 1/2 x 11” Cardstock using the Stampin’ Up! Owl Builder Punch (retired). You can use any tiny heart dies you may have.

For the inside for the card, I cut a piece of Neenah 110lb Classic Crest Cardstock 8.5 X 11″ to 4 x 5-1/4” and a piece of the pattern paper to 1 x 5-1/4”. I stamped Happy Valentine’s Day from the Lawn Fawn happy happy happy Add-on stampset with Black Memento Ink and added some more of the little hearts to complete the inside of this card.

Dimensions

https://linkdeli.com/widget.js?1559654439292

Thanks for reading this post and I hope I’ve inspired you to give this card a try or make some Valentine’s Day cards of your own. Leave comments or questions below or feel free to email.

Holidays 2019, Valentines Day

Valentine’s Day Cards Day 4

Hello friends. This card wraps up my Valentine’s Day card series for 2019! I’ve enjoyed sharing my cards with all of you. For this last one I broke out one of my Stampin Up! Christmas stampsets. Unfortunately it was recently retired so it’s no longer available. But no worries if you don’t have this stampset because you can use any small stamp you may have to recreate the look. If you absolutely must have it though, check Etsy or EBay. Lots of people sell SU! Stamps in both places. Enjoy!

Making Every Day Bright Valentine Card

This card was super easy to make. I just stamped the little light bulb image in Stampin Up! Blushing Bride ink all over the background. Using a stamp positioner is the key to aligning them in rows. Also, stamped the light bulb “glow” in red over the middle bulb.

Then for I stamped one light bulb in Stampin Up! Real Red ink and quickly added Wow clear embossing powder over the image. To add some interest I added splatters of both the pink and red inks to the background. I also colored in the hearts inside the pink bulbs with my Stampin’ Write Markers in Blushing Bride.

I mounted that to a piece of red glitter paper and then to the card base. I added Stampin’ Dimensionals to the back of the red light bulb and added to the card. I stamped ‘Happy Valentine’s Day’ from the Lawn Fawn HOW YOU BEAN Conversation Heart Add-On with Versamark clear embossing ink and Wow white embossing powder onto a piece of Real Red Cardstock and cut it down into a strip. Used more Stampin’ Dimensionals to adhere it to the card. And for some additional interest, added some Nuvo Crystal Drops in Autumn Red.

Card Base = 5 1/2 x 5 1/2″ Real Red Cardstock
Glitter Panel = 5 x 5″
White Panel = 4 1/2 x 4 1/2″ Neenah Solar White 110lb Cardstock
Sentiment Strip = 1/2 x 3 1/8″ Real Red Cardstock

Supplies:

Hope you’ve enjoyed seeing my creations and I hope I’ve inspired you to create some cards of your own Thanks for stopping by and once again please leave questions in the comments or feel free to email me if you prefer.

Holidays 2019, Valentines Day

Valentine’s Day Cards Day 3

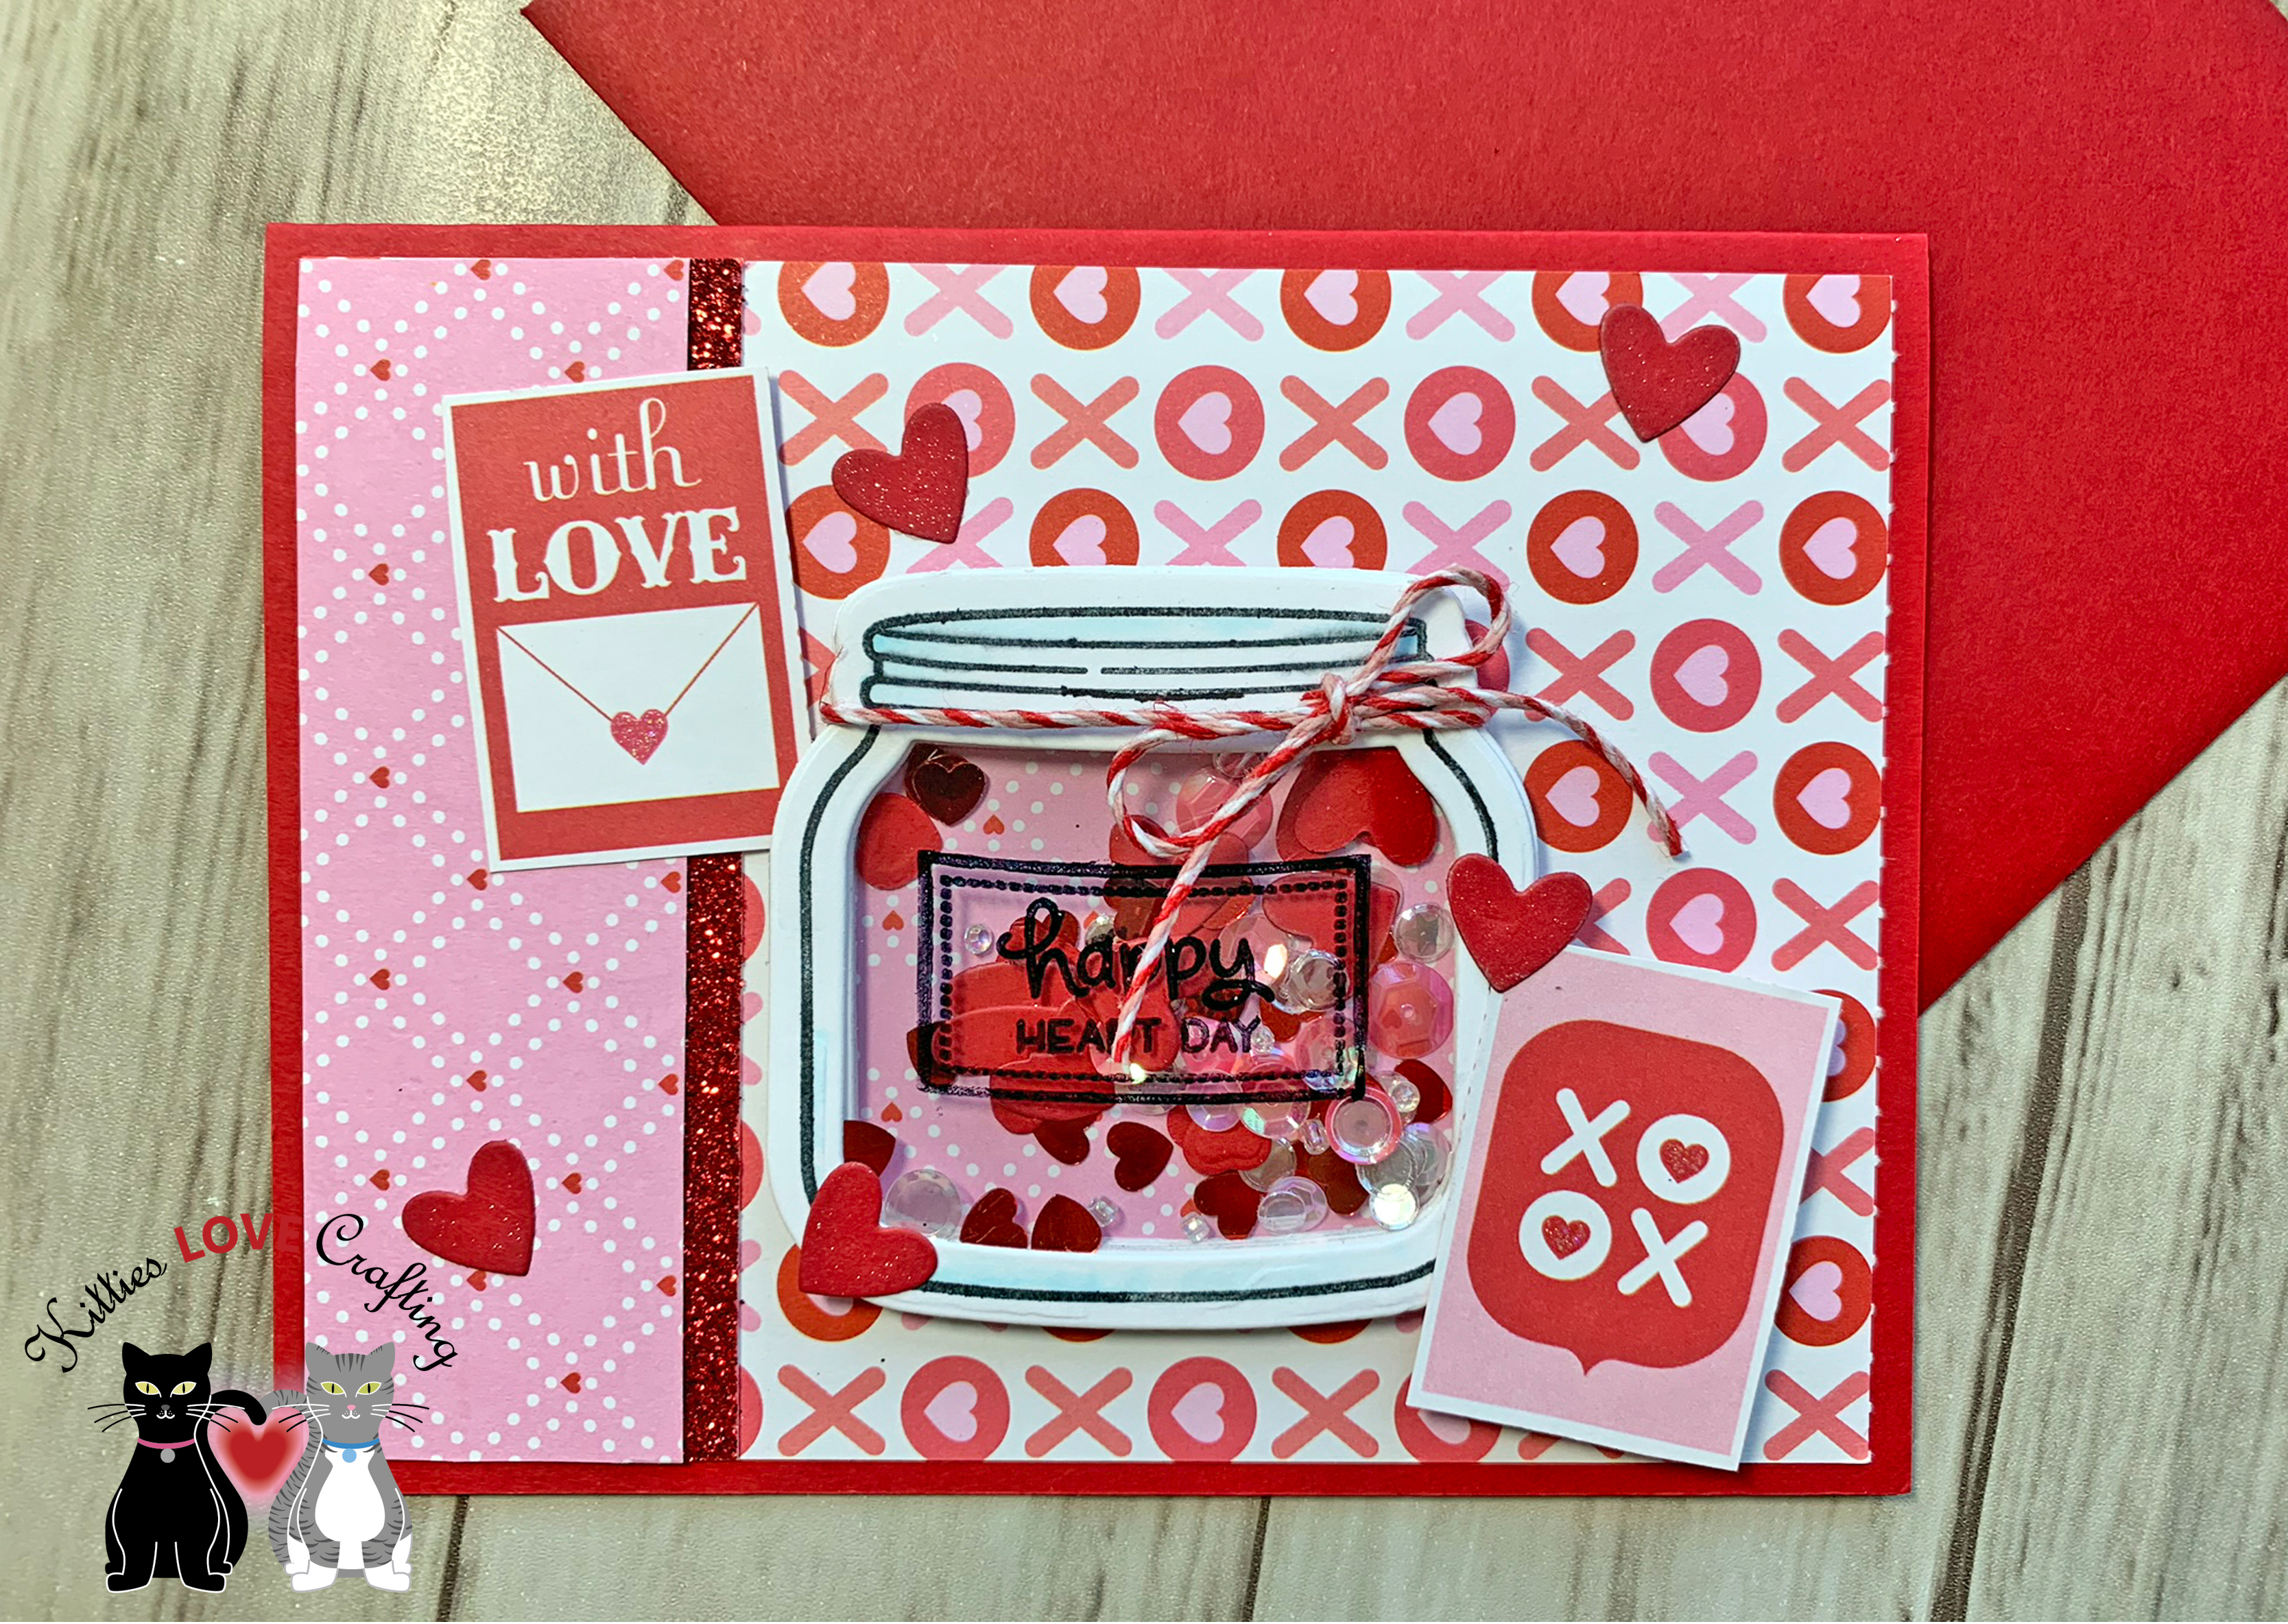
Hello friends. My Valentine’s Day card series is coming to end soon. I’ve had lots of fun making these cards. For this card, I had to pull out the adorable Lawn Fawn HOW YOU BEAN? stamp set and Valentine’s add-on. I just love a good mason jar stamp, don’t you?!? And Lawn Fawn was brilliant in creating add-ons for this set so you can use it over and over again. That’s a great value for your dollar!

I will also be posting a DIY Valentine’s project this coming Monday. I love making holiday decorations so I thought I’d share this one with you all. It’s budget friendly but looks like beautiful once complete. So look out for that post! 🙂

Happy Heart Day Shaker

Happy Heart Day Shaker
Closeup

Supplies:

Thanks for stopping by and once again please leave questions in the comments or feel free to email me if you prefer.

Holidays 2019, Valentines Day

Valentine’s Day Cards Day 2

Hello everyone. Since the temperature here in the Northeast has been absolutely frigid, I thought I’d share some cards to warm the heart. 😀 To all my fellow Northeasterners and my friends in the Midwest who are worse off than we are, I wish all a warm and safe weekend. And for everyone elsewhere in the country and around the world, have a great weekend!

Heart-shaped Cards

Heart-shaped Cards 1

Supplies:

Heart-shaped Cards 2

Supplies:

Thanks for stopping by and once again please leave questions in the comments or feel free to email me if you prefer.

Holidays 2019, Valentines Day

Valentine’s Day Cards Day 2

Hello everyone. Since the temperature here in the Northeast has been absolutely frigid, I thought I’d share some cards that warm the heart. 😀 To all my fellow Northeasterners and my friends in the Midwest who are worse off than we are, I wish all a warm and safe weekend. And for everyone elsewhere in the country and around the world, have a great weekend!

Heart-shaped Cards

Heart-shaped Cards 1

Supplies:

Heart-shaped Cards 2

Supplies: