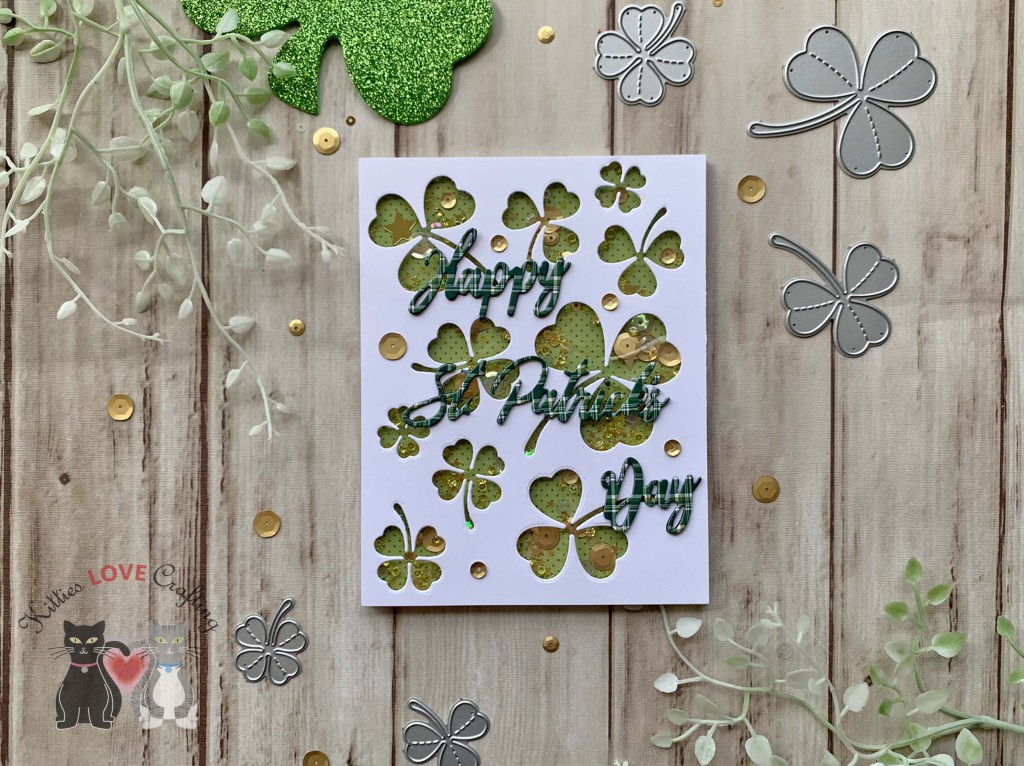
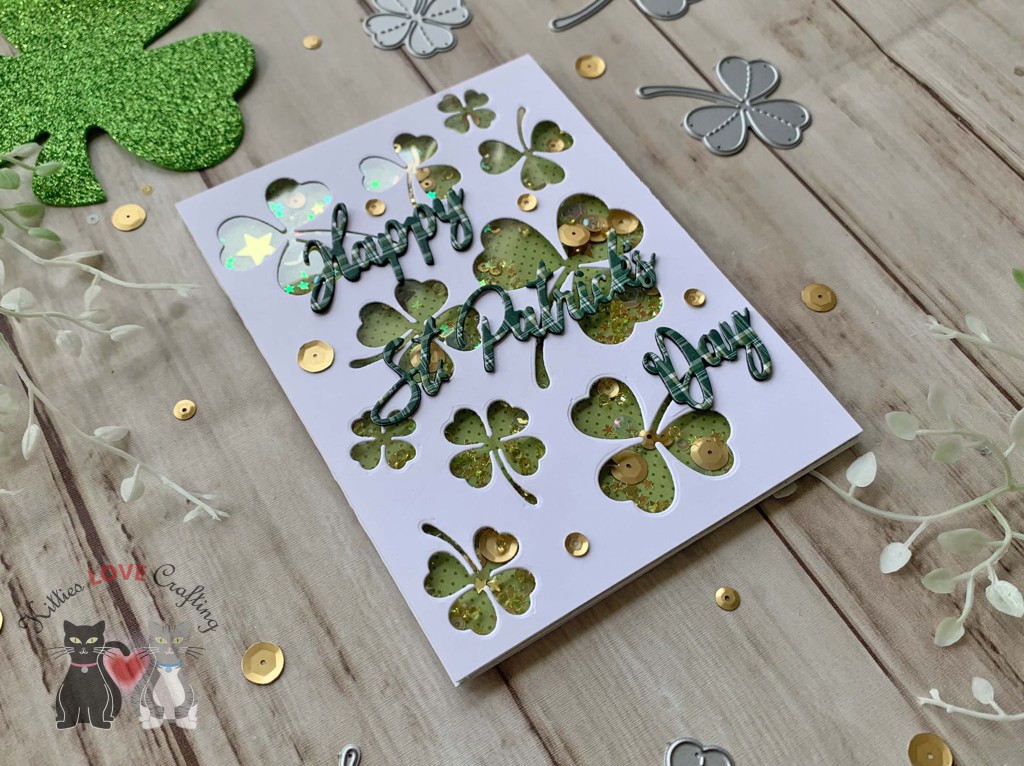
Hello friends. St. Patrick’s Day is just around the corner. Here is a fun way to make a shaker card. I used the Lawn Fawn Lucky Clovers dies to create windows for this fun shaker card background. This card also uses NO stamping. I know some folks out there don’t like stamping. It’s just not there thing so using dies will eliminate stamping.
I die cut the sentiment from Authentique 6 x 6 Emerald Paper (discontinued) and 2x from Simon Says Stamp Cardstock 100# 8-1/2 x 11″ Black Cardstock using Stampin’ Up! Word Wished Dies (retired) and stacked them to give the sentiment dimension.
I finished off the card by adding some gold sequins from my stash.
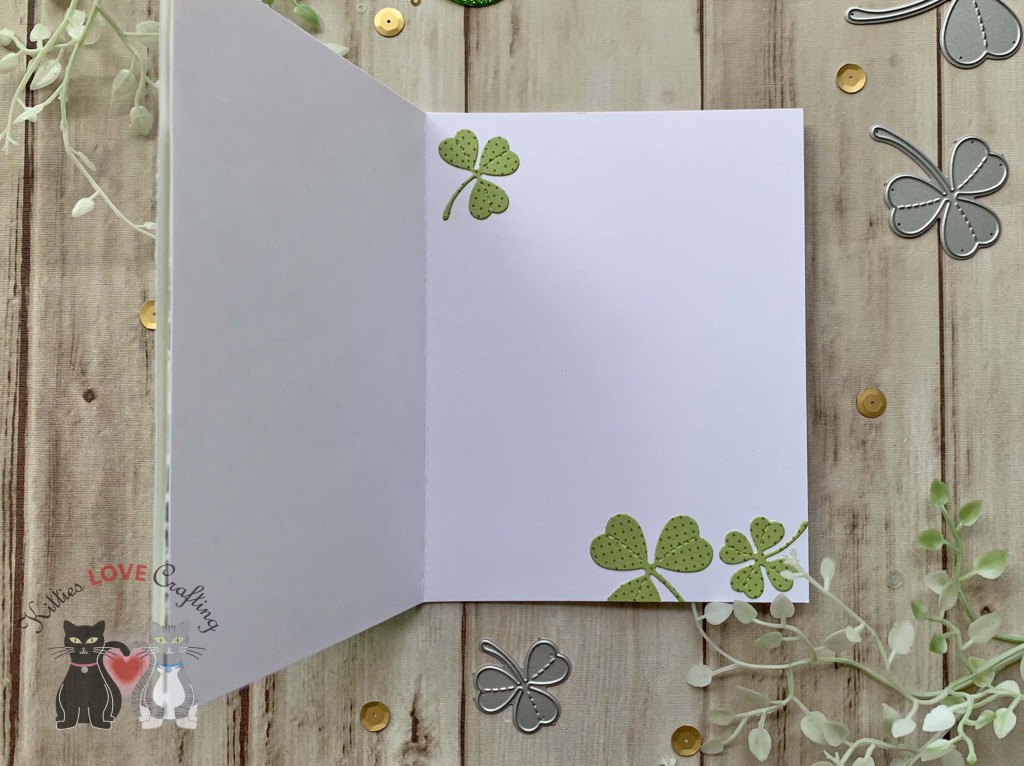
On the inside of the card, I added clovers die cut from Authentique 6 x 6 Emerald Paper (discontinued) using the Lawn Fawn Lucky Clovers dies.
Thanks for reading this post. I hope I’ve inspired you to give this fun and easy St. Patrick’s Day shaker card a try for yourself. Leave comments or questions below or feel free to email.
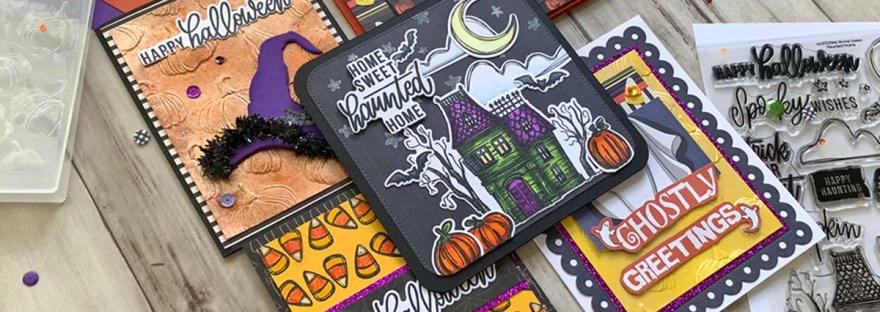
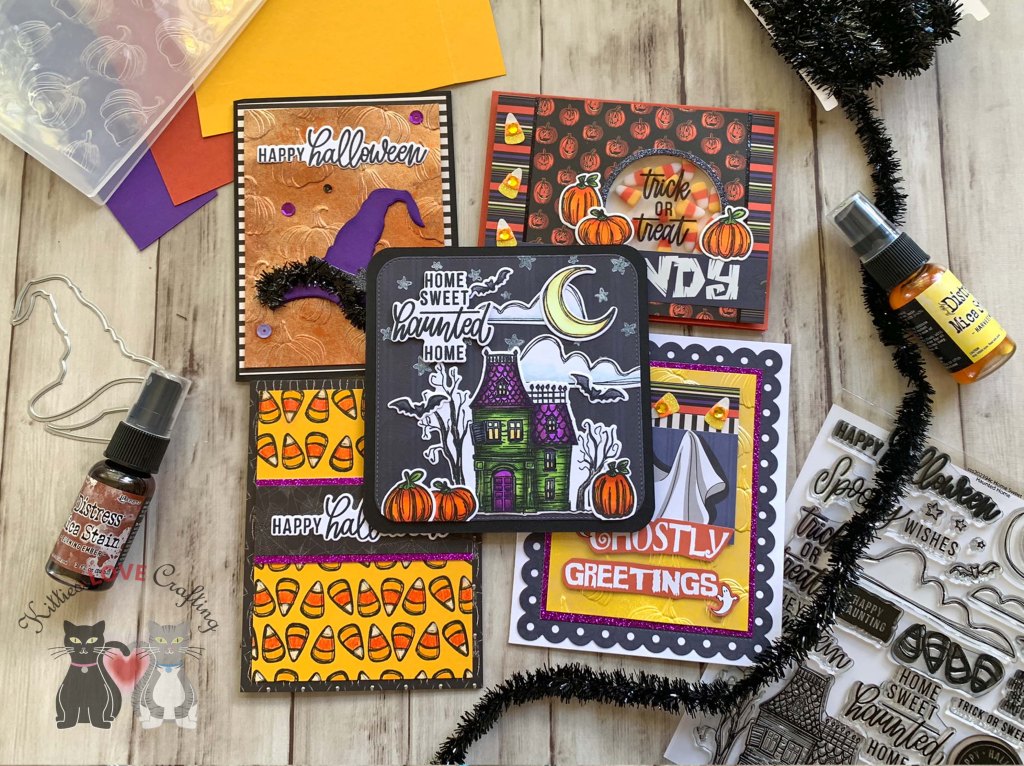
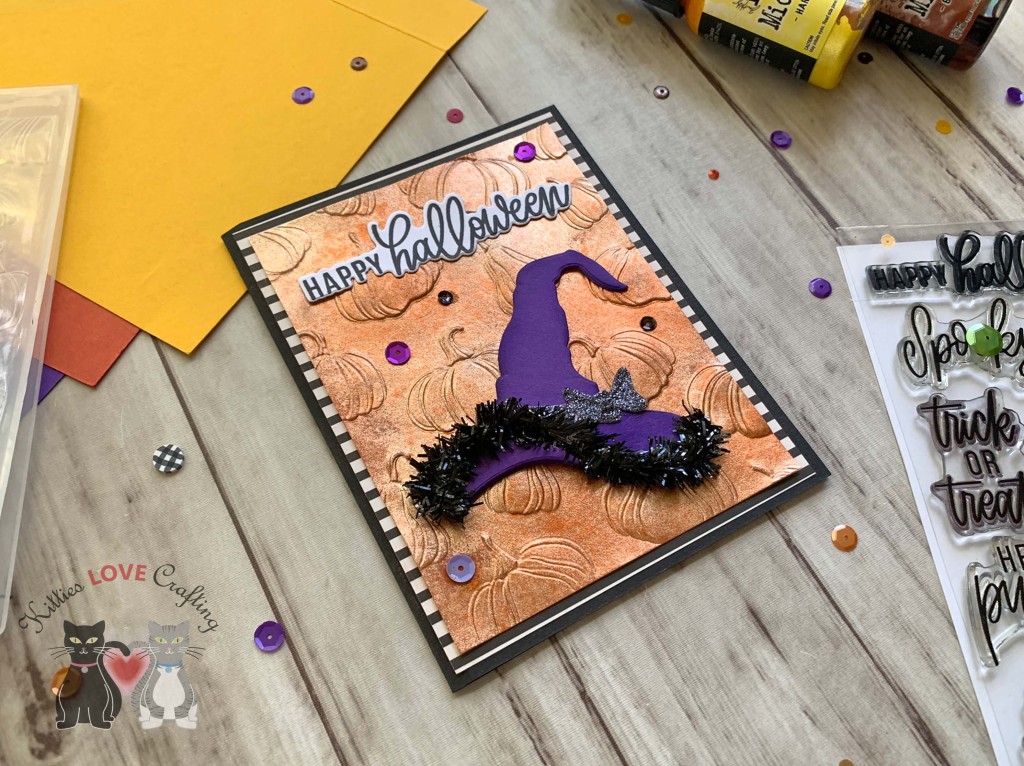
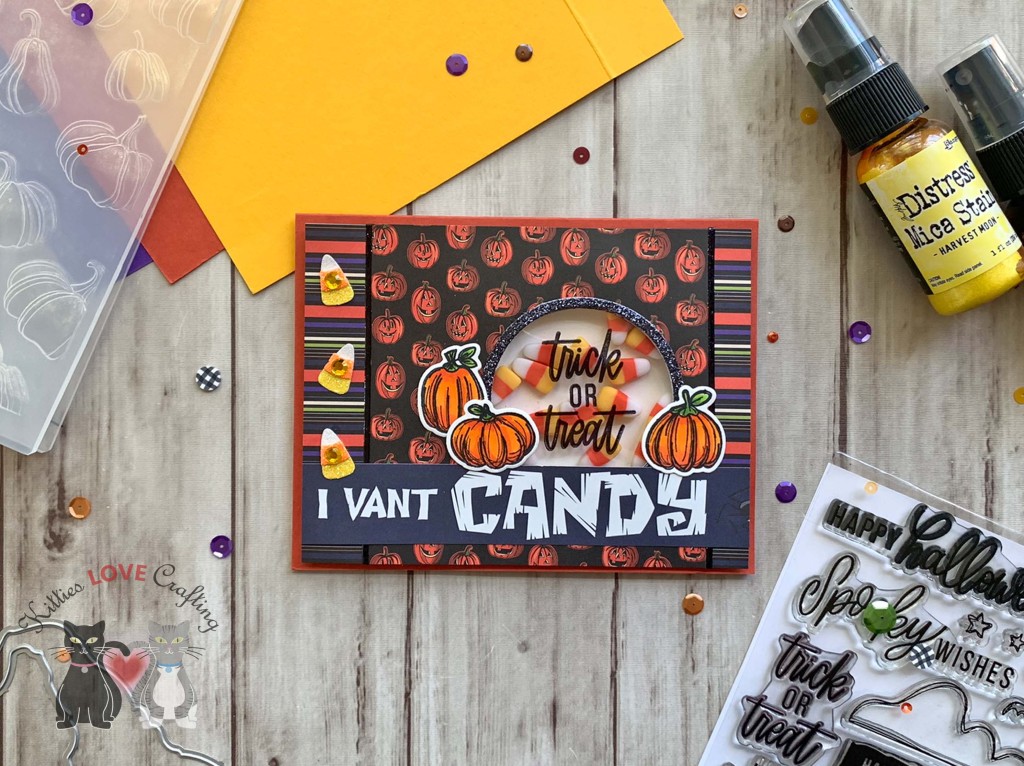
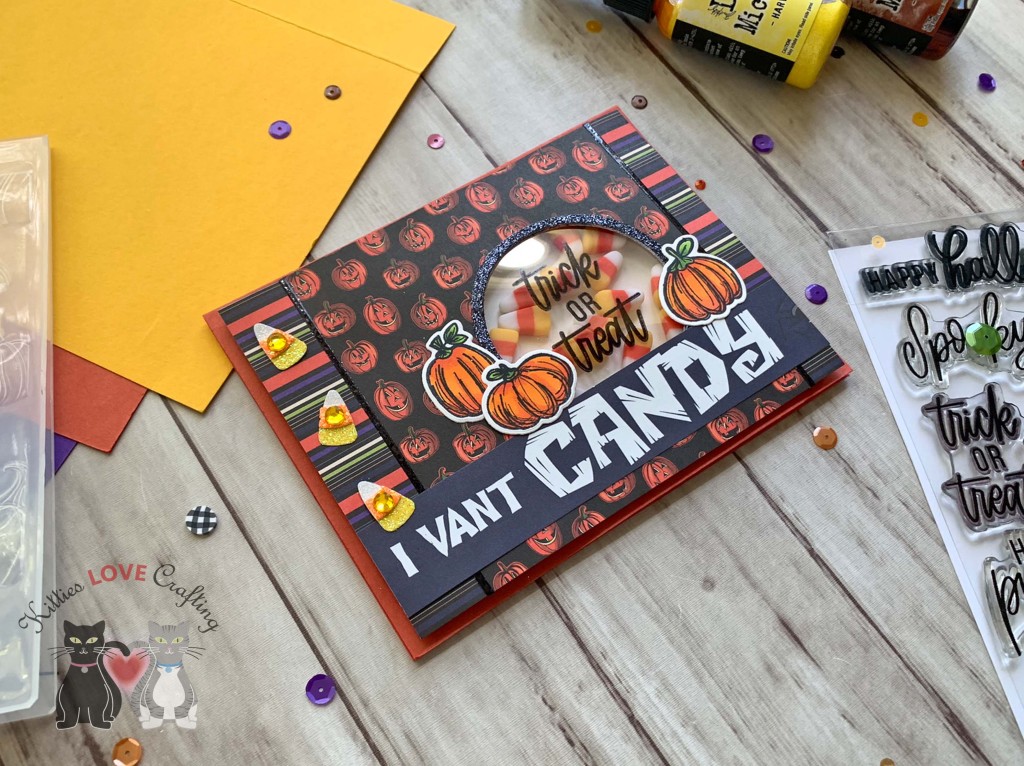
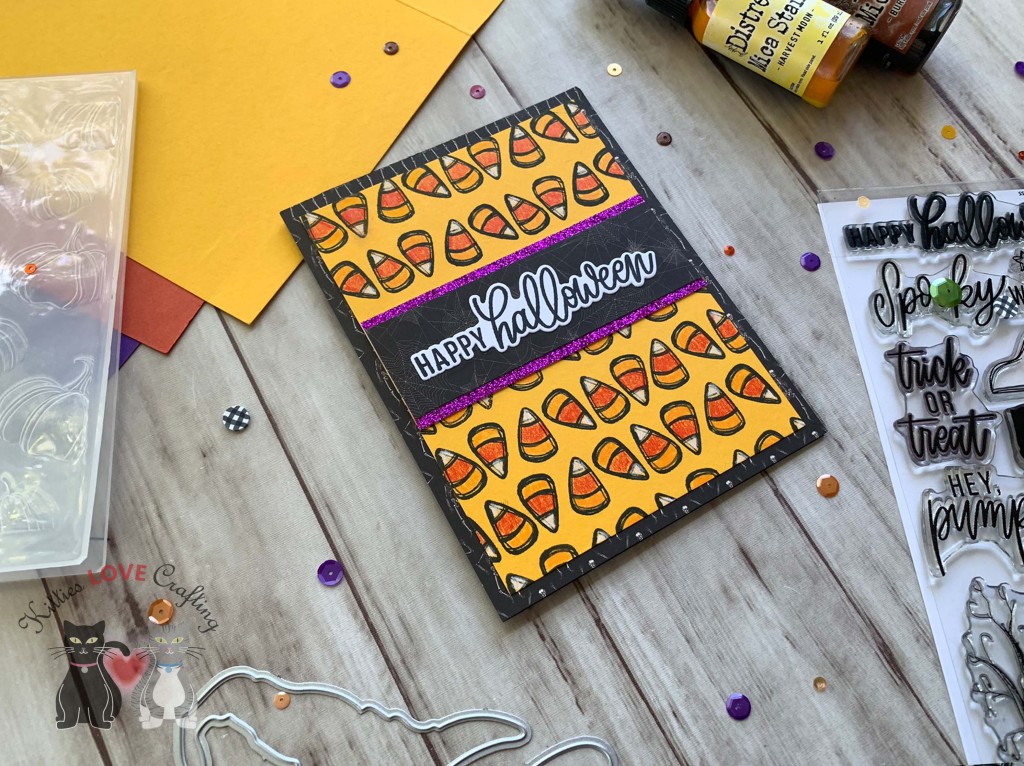
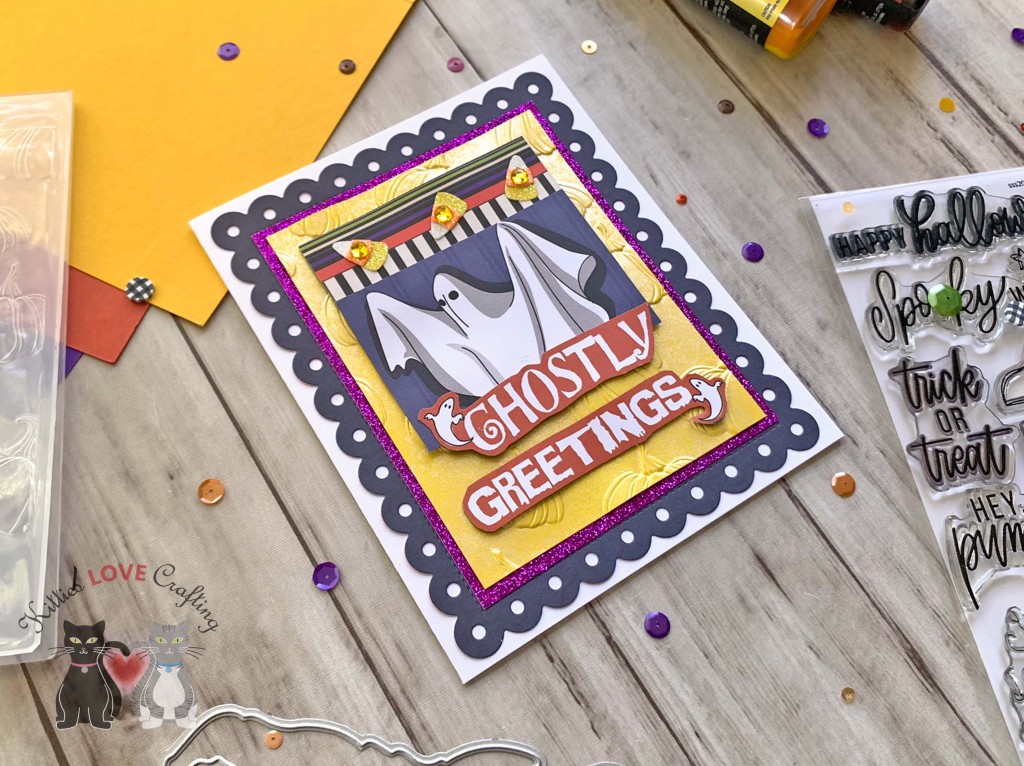
Limited Edition Simon Says Stamp Home Sweet Haunted Home Halloween Card Kit is full of tons of goodies to make cute Halloween cards and gift bags. While the kit is now sold out, you can buy most of the items in the kit seperately. The list below has all the links. Stay tuned for the next post featuring the gift bags!
I cut a sentiment and image from the Carta Bella Hocus Pocus 6×6 inch paper pack cut apart pages as well as two strips measuring 1/2 x 3″ and 1 x 3″ to add to the top of the ghost panel.
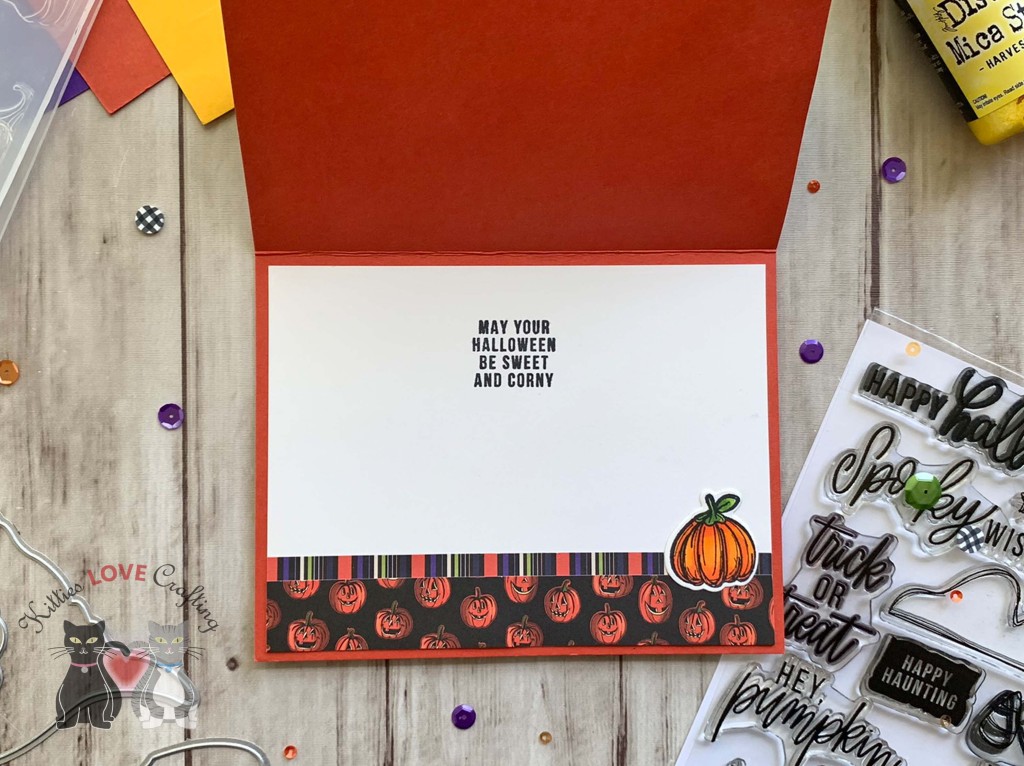
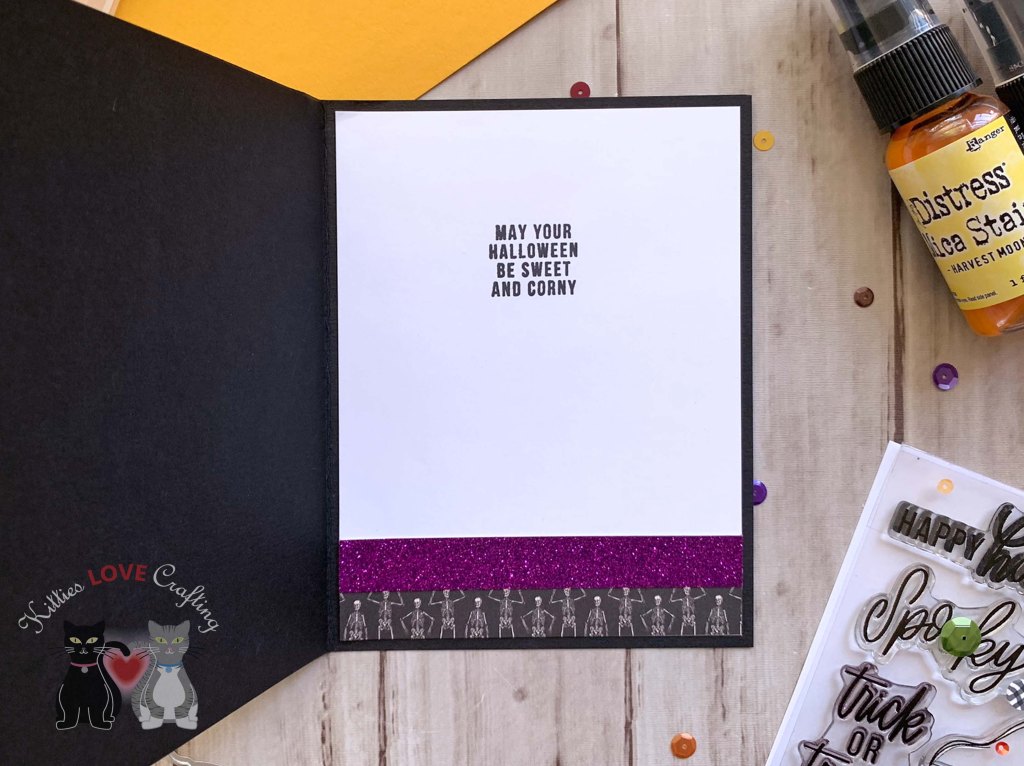
Thanks for reading this post! I hope you enjoyed and I’ve inspired you to make these Halloween cards yourself! If you want to share you creations with me tag me on instagram @kittieslovecrafting. Leave comments or questions below or feel free to email me.
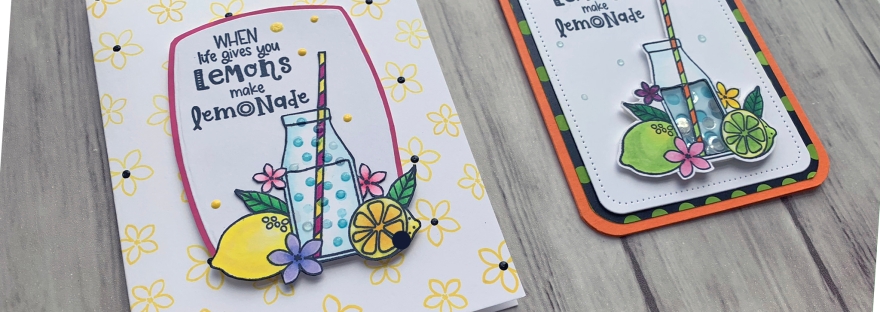
Hello friends. Hope you are all safe and healthy. And if you are struggling to cope with everything going on in our world right now, hang in there because ‘this too shall pass’. Speaking of old adages, “When Life Gives You Lemons Make Lemonade” is very fitting for these times we are in as well. While it’s very easy to focus on the scary and sad stuff going on, we have to find the bright spots too — the healthcare workers saving lives, families coming together, babies being born, spending time with our pets (one of my faves right now)…
These bright and cheerful cards were made using the Catherine Pooler Designs Make Lemonade Stampset (Out of stock-maybe discontinued). It was a limited release in March, I believe. It’s a tiny stampset but was super fun to color. I made one of them into a shaker (a tiny shaker:)).
Next, I colored the image with COPICS. I used BG000 + 0 for the bottle; Y11 +Y06 + Y13 for the lemons; Y11 +Y06 + Y13 + Y15 for the sliced lemon; YG06 + YG07 for the leaves; RV09 and Y06 + Y15 for the straw; RV10 + RV11 + RV14 for the flowers. I stamped the bubbles with Catherine Pooler Designs It’s A Boy Ink. I fussycut the image out.
I stamped the image onto a scrap of Neenah 110lb Classic Crest Cardstock with Memento Tuxedo Black Ink and set it aside to dry. I colored it with COPICS. I used Y13 + YG03 + YG01 + YG25 for the lime on the left; B0000 + 0 for the bottle; YR16 + YR18 and YG03 + YG25 for the straw; Y06 + Y18, R81 + R85, and V25 + BV17 for the flowers; and YG06 + G07 for the leaves .
Hello friends. Hope you are all safe and healthy. And if you are struggling to cope with everything going on in our world right now, hang in there because ‘this too shall pass’. Speaking of old adages, “When Life Gives You Lemons Make Lemonade” is very fitting for these times we are in as well. While it’s very easy to focus on the scary and sad stuff going on, we have to find the bright spots too — the healthcare workers saving lives, families coming together, babies being born, spending time with our pets (one of my faves right now)…
These bright and cheerful cards were made using the Catherine Pooler Designs Make Lemonade Stampset (Out of stock-maybe discontinued). It was a limited release in March, I believe. It’s a tiny stampset but was super fun to color. I made one of them into a shaker (a tiny shaker:)).
Next, I colored the image with COPICS. I used BG000 + 0 for the bottle; Y11 +Y06 + Y13 for the lemons; Y11 +Y06 + Y13 + Y15 for the sliced lemon; YG06 + YG07 for the leaves; RV09 and Y06 + Y15 for the straw; RV10 + RV11 + RV14 for the flowers. I stamped the bubbles with Catherine Pooler Designs It’s A Boy Ink. I fussycut the image out.
I added a piece of acetate behind the shaker window in the bottle, some 3M Foam Tape, and some flat clear sequins from my stash added it to the card. I finished it off by adding some Nuvo Sea Breeze Jewel Drops around the card.
On the inside of the card, I cut out a panel of Neenah 110lb Classic Crest Cardstock 8.5 X 11″ to 3-1/2″ x 4-3/4″ and a left over piece of the pattern paper to 3/4 x 3-1/2″ and adhered it to the bottom of the panel, then rounded the corners before adhereing it to the card base.
Thanks for reading this post. I hope you enjoyed and I’ve inspired you to give these cards a try for yourself. Leave comments or questions below or feel free to email.
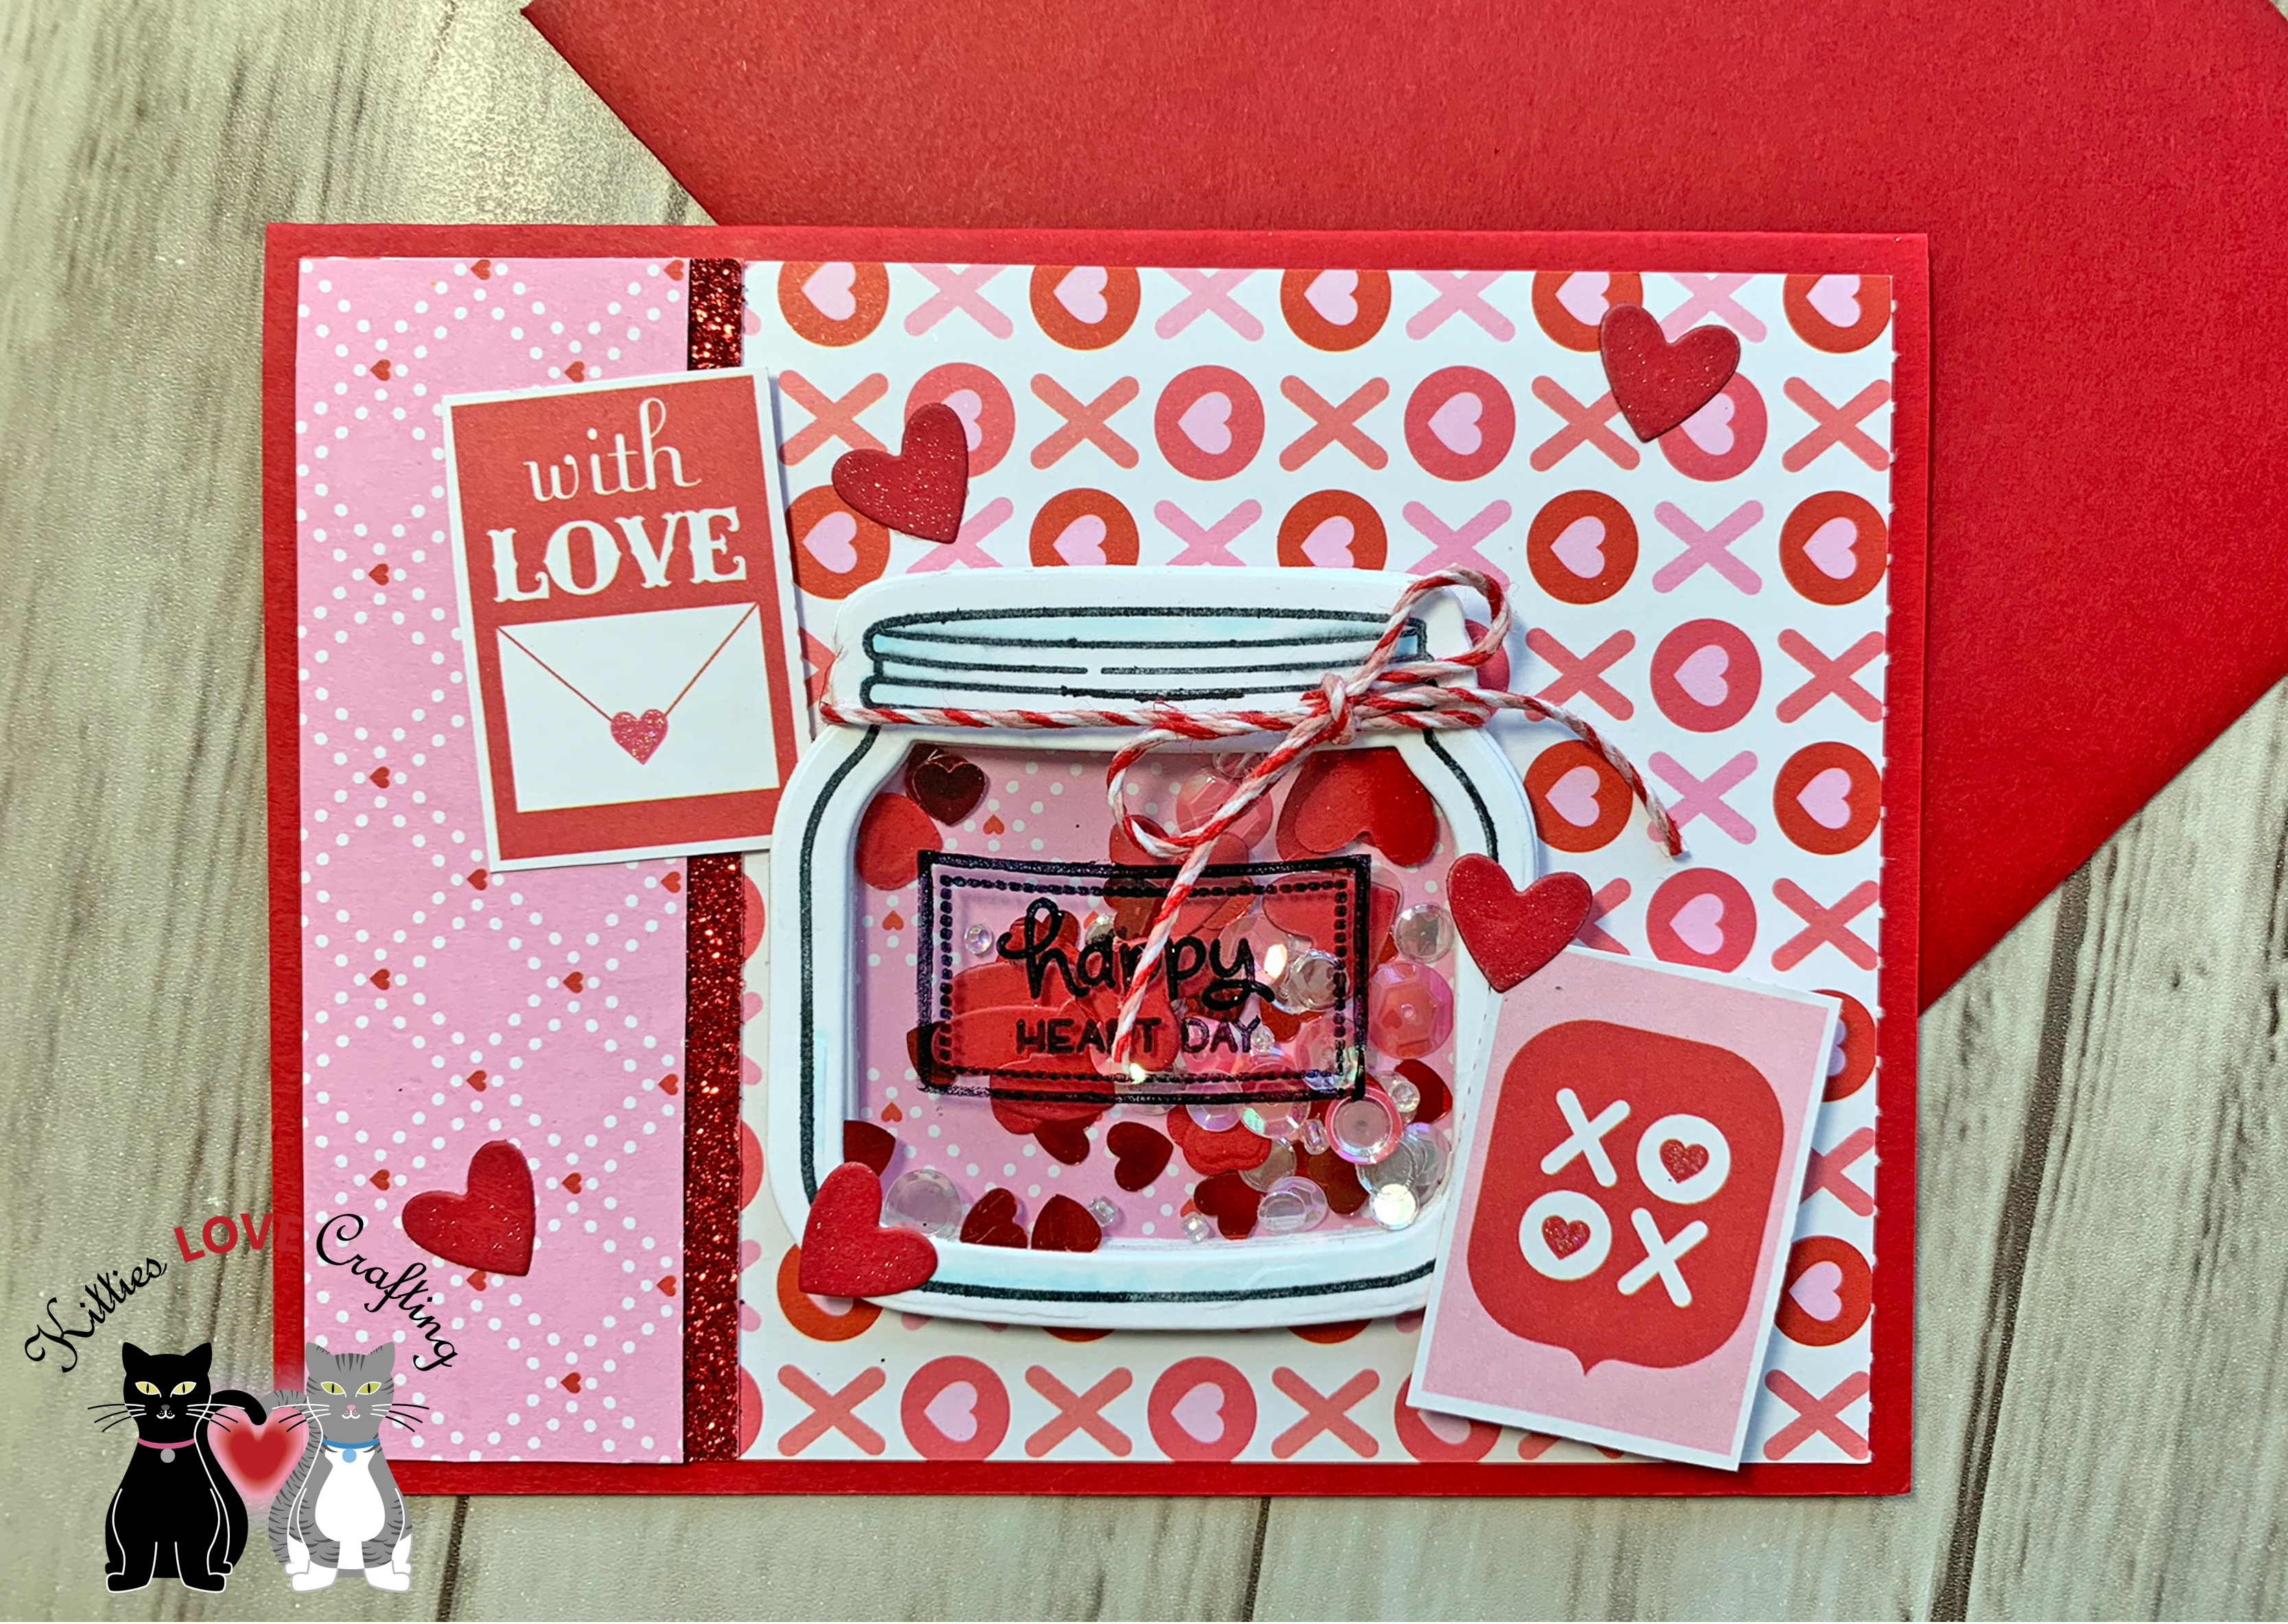
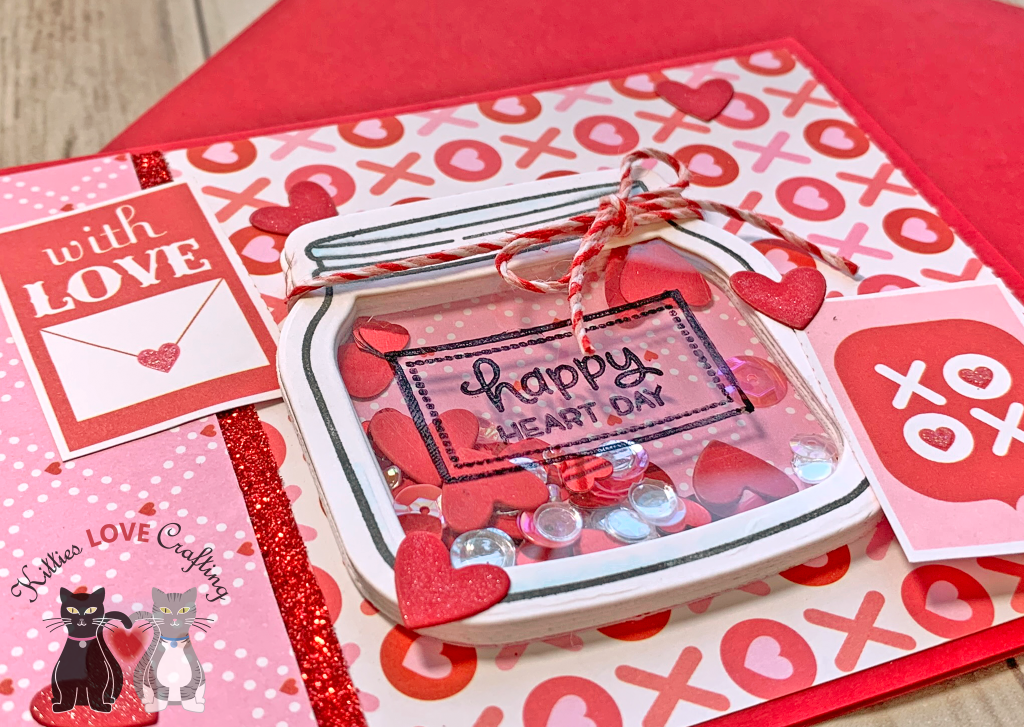
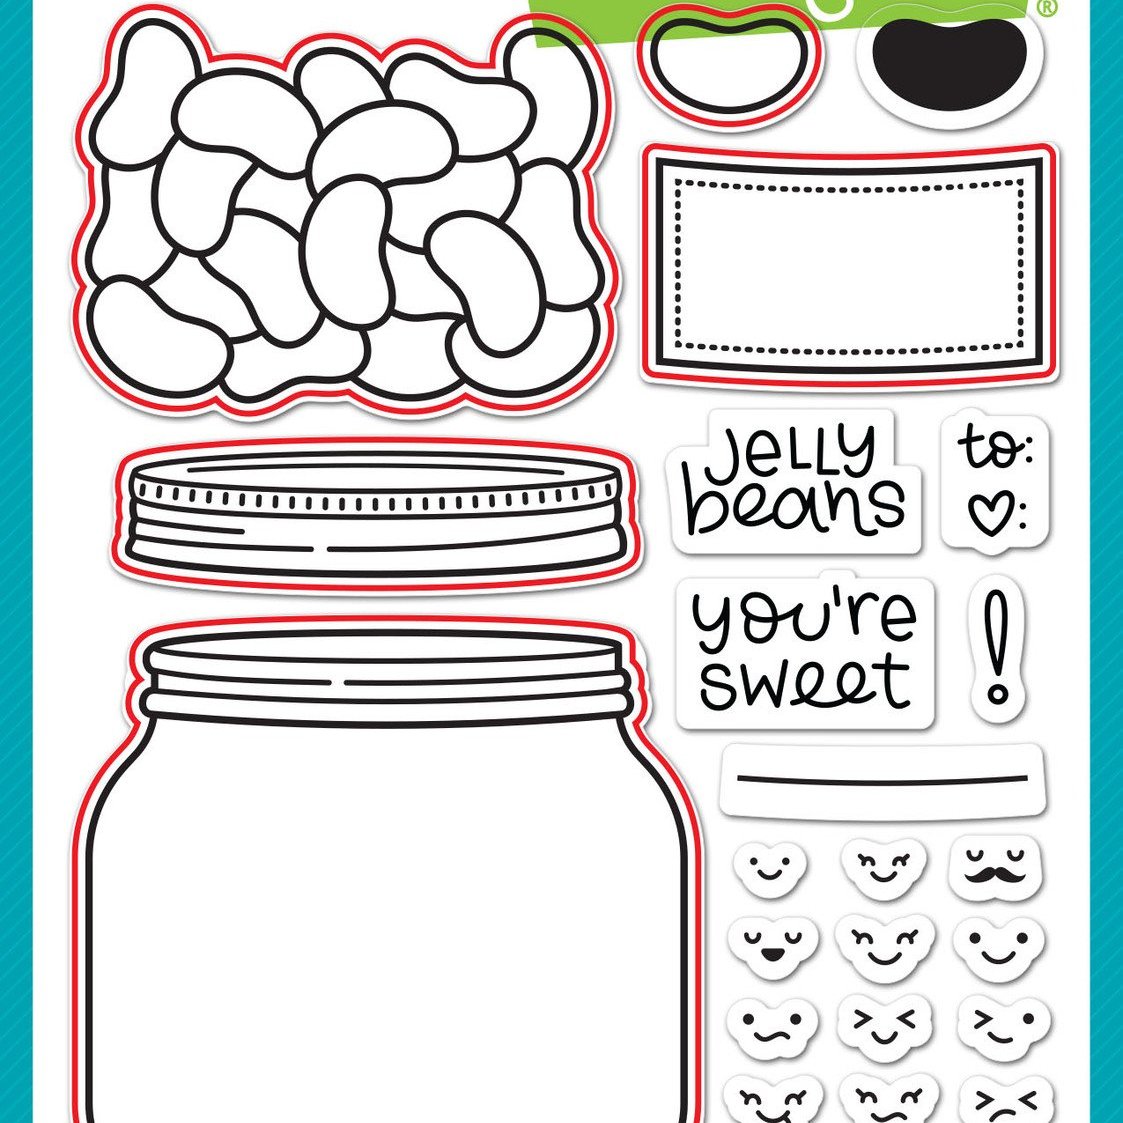
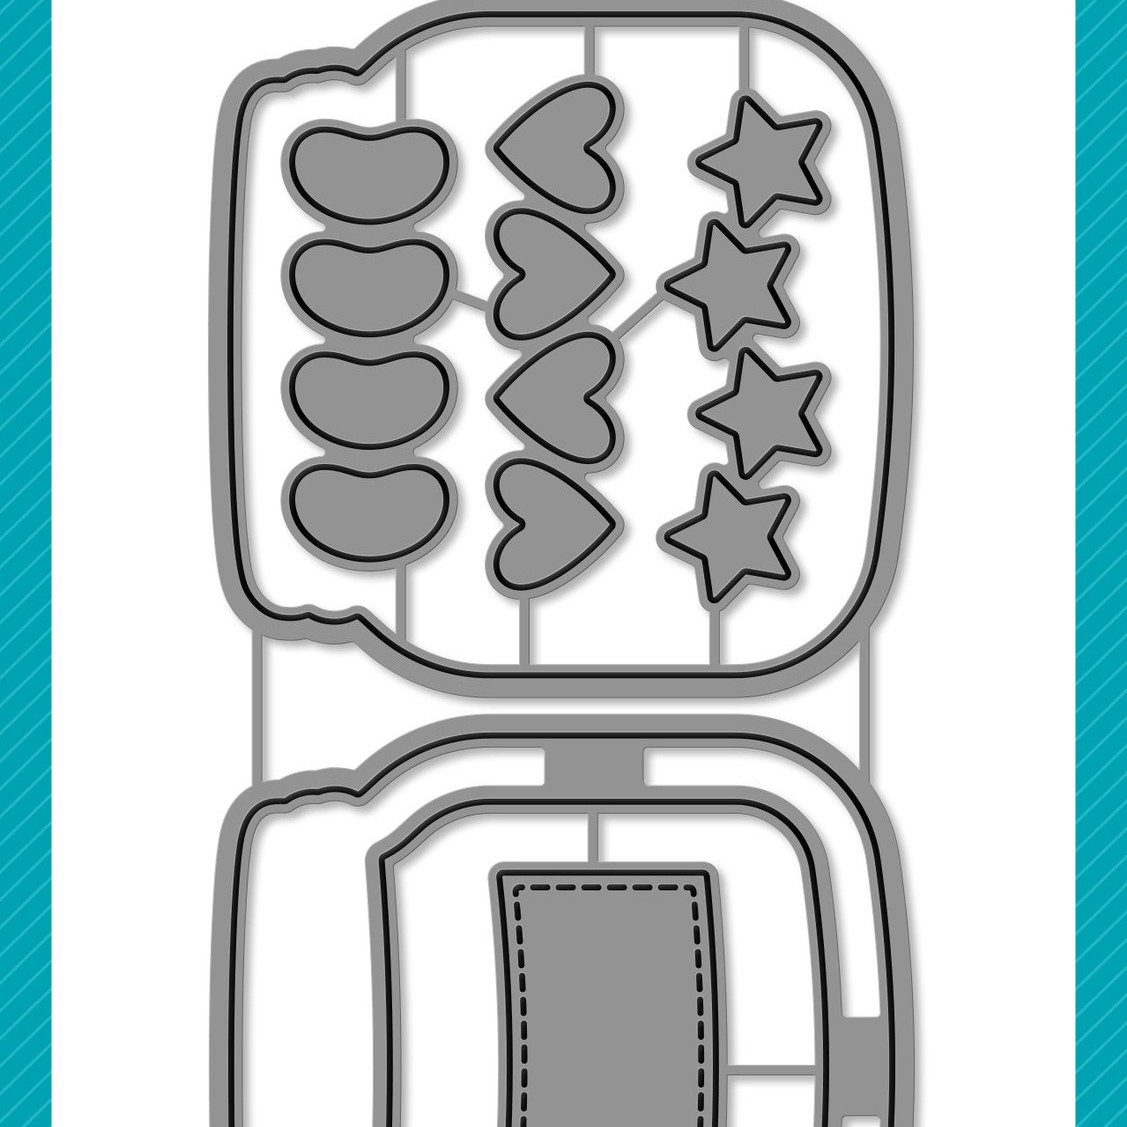
Hello friends. My Valentine’s Day card series is coming to end soon. I’ve had lots of fun making these cards. For this card, I had to pull out the adorable Lawn Fawn HOW YOU BEAN? stamp set and Valentine’s add-on. I just love a good mason jar stamp, don’t you?!? And Lawn Fawn was brilliant in creating add-ons for this set so you can use it over and over again. That’s a great value for your dollar!
I will also be posting a DIY Valentine’s project this coming Monday. I love making holiday decorations so I thought I’d share this one with you all. It’s budget friendly but looks like beautiful once complete. So look out for that post! 🙂

 https://linkdeli.com/widget.js?id=f5e8378456858c916708