
Hello friends. Today’s post is a little different. Coming to you with a with an art journal layout. I haven’t done one of these in quite a while but it’s time to start it up again. An art journal is just a fun place to play with your products and experiment. Sometimes it comes out great and sometimes not so much but it’s about having fun. If you haven’t tried art journaling yet I highly recommend it. You don’t need a ton of supplies to do this either. I like to keep some printed tissue papers and some Acrylic paints on hand. I use stamps and pattern papers from my stash. God knows I have plenty of those!!! LOL I recently purchased the Stamperia paper after seeing Umut Radios use them in her videos. They are beautiful papers. Check out her videos for more inspiration. She inspired me to get started; she makes beautiful layouts using printed napkins!
Ok so let take you through my process. First I gathered some supplies.

I stamped the Tim Holtz Rubber Stamp BOOKS SKETCH Stampers Anonymous several times onto scraps of Neenah Solar White 110lb Cardstock with Ranger Black Archival Jet Black Ink. At this point I only had a slight idea of what I was doing on these pages but I kind of knew I wanted stacks of books. I will continue while those dry.
I added Canvas Tissuestock Printed French Script, 12-Inch by 12-Inch, Ivory, 10-Pack to the pages. I used Matte gel medium to adhere. I added some to the back and then some over top once down on the page. This seals it and allows you to add other mediums on top without saturating the paper. Next I tore up some of the pattern paper from the Stamperia Scrapbooking Paper – Clockwise collection and randomly adhered them onto the pages. No need for perfection here because I want it to look organic. I sealed everything with Matte gel medium. And now I wait…and wait…and wait for it to dry. A couple of hours later….

Time to add ink some. I spritzed the pages with water and again very randomly sprayed distress sprays in Tumbled Glass and Walnut Stain. I spread it around with a brush and used my heat tool to dry it some but I still had to wait for it to dry a few hours before continuing with other colors. Once it dried, I added some Broken China Distress Stain, Ground Espresso Distress Stain, and Tarnished Brass Distress Stain and kept layering color until I was happy with the results.

While that dried, I cut out and colored all my images. i distressed the tag edges and added distress ink at the edges. I added Walnut Stain Distress Stain and Ground Espresso Distress Stain around the edges of all the cut outs, except the books. Set those aside to dry and got my Stencils out. I used some brown and aqua acrylic paint with the Catherine Pooler Harleen Creative Screenings to some texture. The pattern is similar to the one on the paper I added in the background. Then I used the Tim Holtz Layering Stencil BURLAP with gold acrylic paint and added some small areas of gold.

Next I laid out the images on my spread and adhered them down with Matte gel medium. Let that dry and completely and added shading with my Faber Castell Stamper’s Big Brush Pens and highlights with a Uni-Ball Signo Broad Point White Gel Pen. Lastly I added splatters with gold and white acrylic paint.
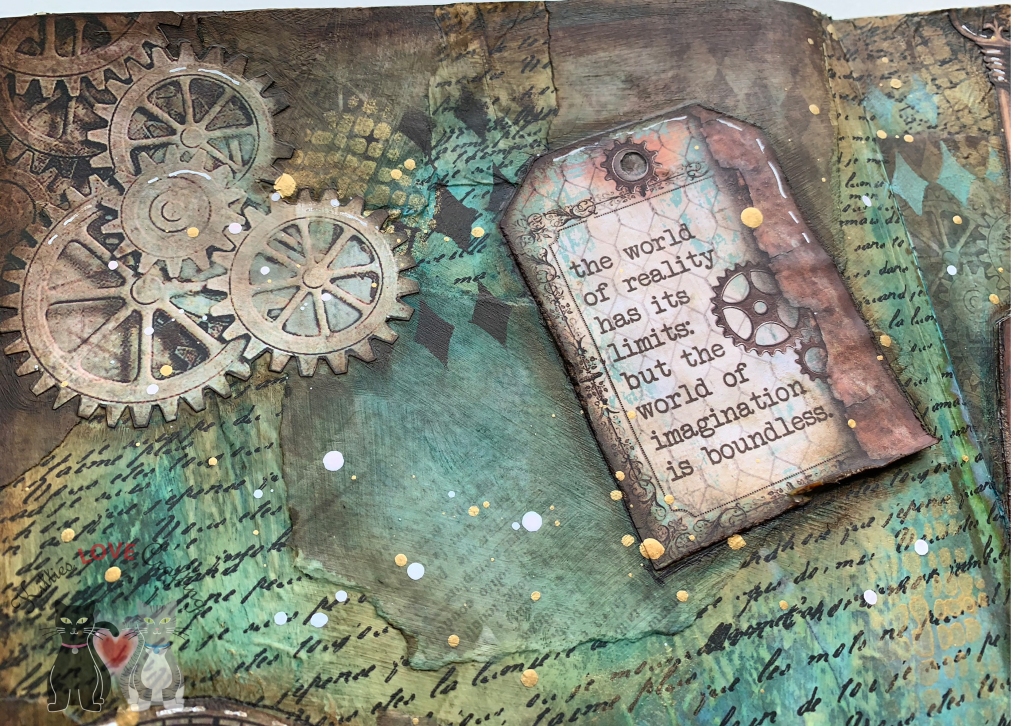
Here are some closeups.
Top Left Page_Closeup 
Bottom Left Page_Closeup 
Top Right Page_Closeup 
Bottom Right Page_Closeup
Supplies
- Paper – Ranger Dylusions Art Journal, Canvas Tissuestock Printed French Script, 12-Inch by 12-Inch, Ivory, 10-Pack, Stamperia Scrapbooking Paper – Clockwise, Stamperia Rice Paper Sheet A4 Packed Clocks,
- Inks – Tim Holtz Tumbled Glass Distress Stain, Tim Holtz Walnut Stain Distress Stain, Tim Holtz Broken China Distress Stain, Tim Holtz Ground Espresso Distress Stain, Tim Holtz Tarnished Brass Distress Stain, Ranger Black Archival Jet Black Ink
- Paints – Brown Acrylic paint, Gold Acrylic Paint, White Acrylic Paint
- Stamps – Tim Holtz Rubber Stamp BOOKS SKETCH Stampers Anonymous
- Stencils – Catherine Pooler Harleen Creative Screenings, Tim Holtz Layering Stencil BURLAP
- Embellishments – Gold Paint, Uni-Ball Signo Broad Point White Gel Pen
- Adhesives – Matte gel medium
- Coloring Tools – Distress markers, Faber Castell Stamper’s Big Brush Pens
Thanks for stopping by and I hope I’ve inspired you to make some adorable critter cards of your own. Leave comments or questions below or feel free to email me.
