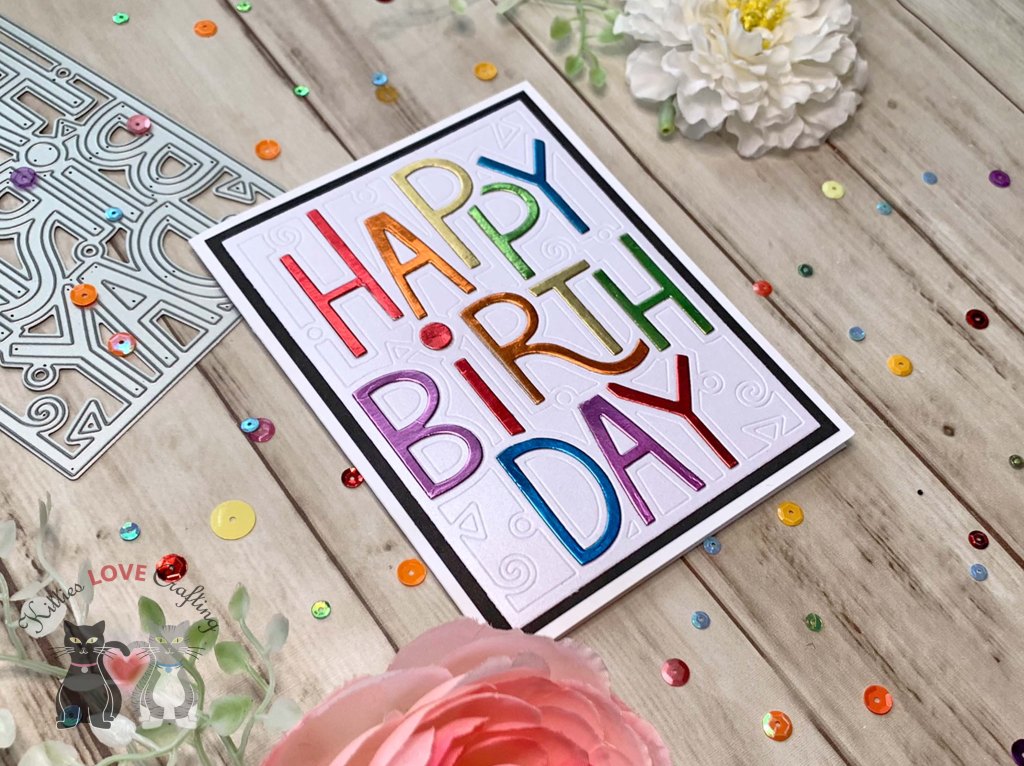
Hello friends. Today I’m using the Lawn Fawn Portrait Giant Outlined Happy Birthday die to create an embossed background. This card was pretty quick to make even with all the die cutting involved.

For the first card, I cut a piece of Neenah 100lb Classic Crest Cardstock 8.5 X 11″ to 5-1/2 x 8-1/2″ and scored at 4-1/4″ to create a card base and a piece of Lawn Fawn Black Licorice Cardstock to 4 x 5-1/4″ for the background.
I embossed the sentiment panel from Crafter’s Companion 6 x 6 White Pearl Shimmering Cardstock using the Lawn Fawn Portrait Giant Outlined Happy Birthday die. (See your die cutting machine’s manula for the correct sandwich to use). Then die cut the same panel from 6 colors from the Tim Holtz Idea-ology 8 x 8 METALLIC JEWELS Kraft Stock Paper and Tim Holtz Idea-ology 8 x 8 Paper Stash METALLIC Kraft Stock Paper.
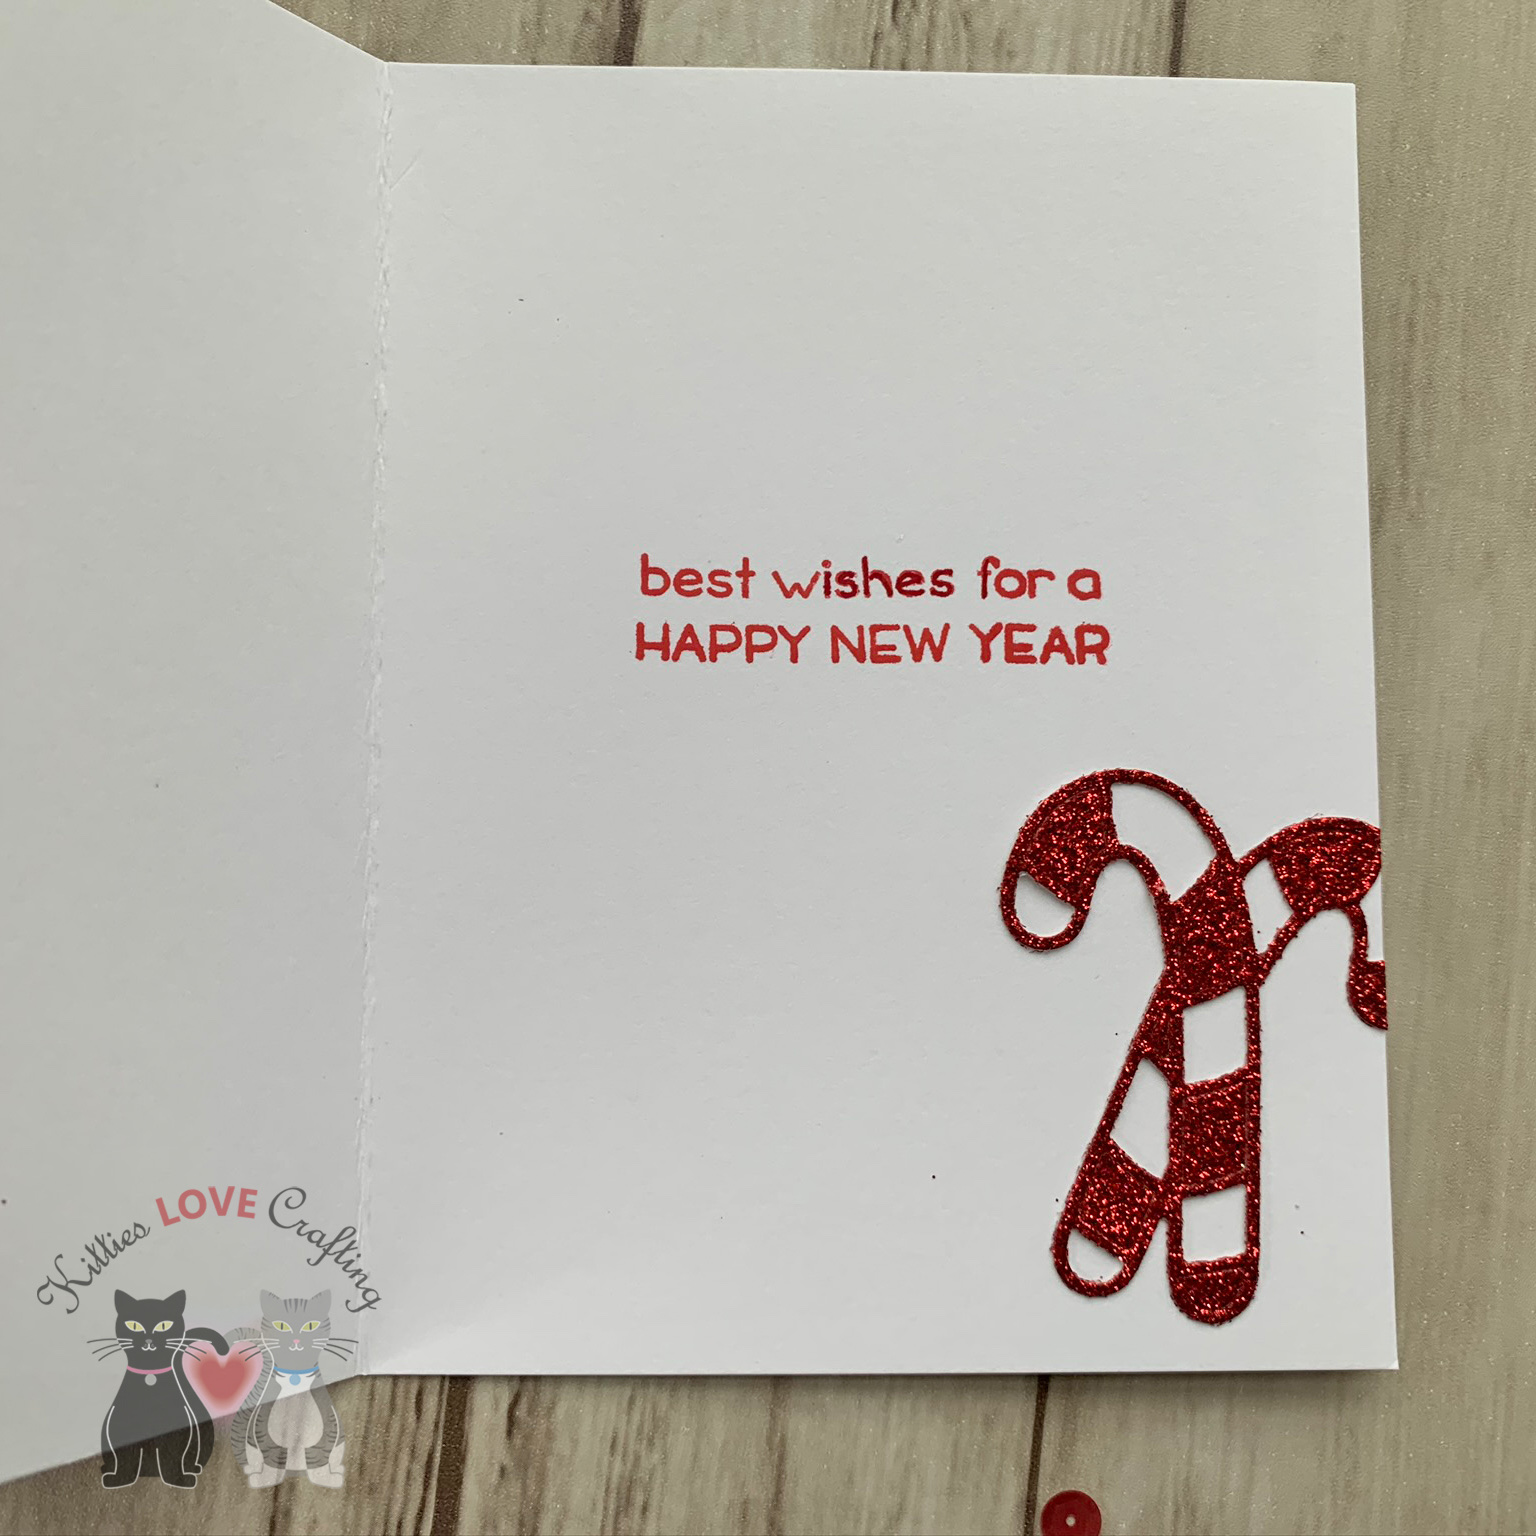
On the inside of the card, I stamped a sentiment from Catherine Pooler Designs Young at Heart stampset (not available-part of the Stamp of Approval Collections she used to produce) with Memento Tuxedo Black Ink and added some of the small shapes left over from the sentiment panels.

Dimensions
- Card Base = 5-1/2 x 8-1/2″ and scored at 4-1/4″ Neenah 100lb Classic Crest Cardstock 8.5 X 11″
- Background Panels = 4 x 5-1/4″ Lawn Fawn Black Licorice Cardstock
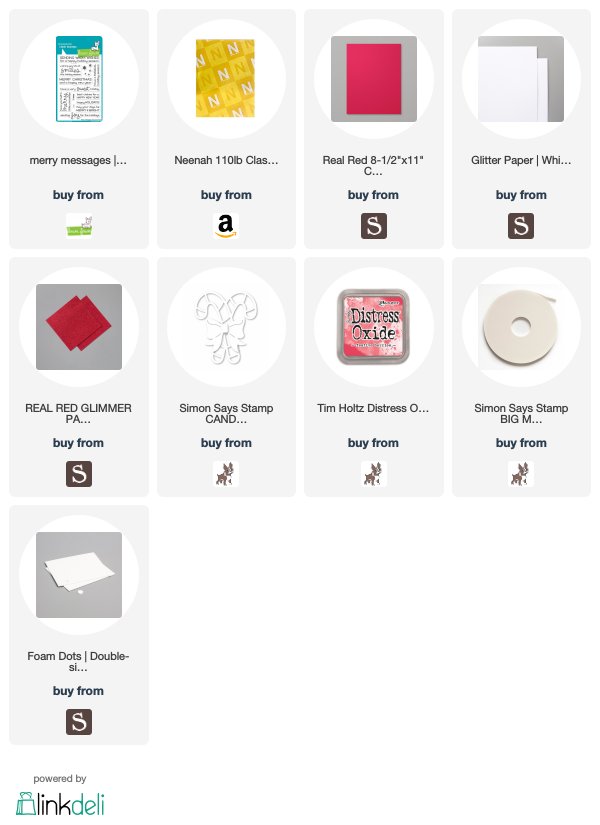
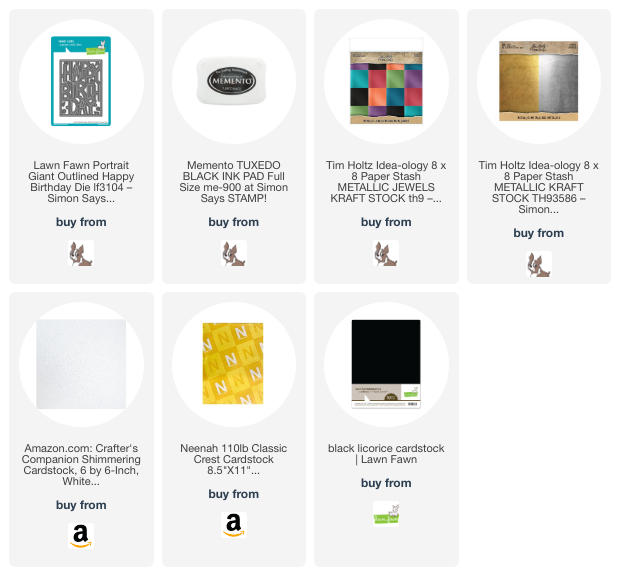
Supplies
 https://linkdeli.com/widget.js?id=f5e8378456858c916708
Thanks for reading this post. I hope I’ve inspired you to give these fun birthday card a try for yourself. Leave comments or questions below or feel free to email.