
It’s always fun to find new ways to use your dies and this is one of my favorite techniques to stretch my dies. It’s a faux embossing technique; no embossing folder needed.

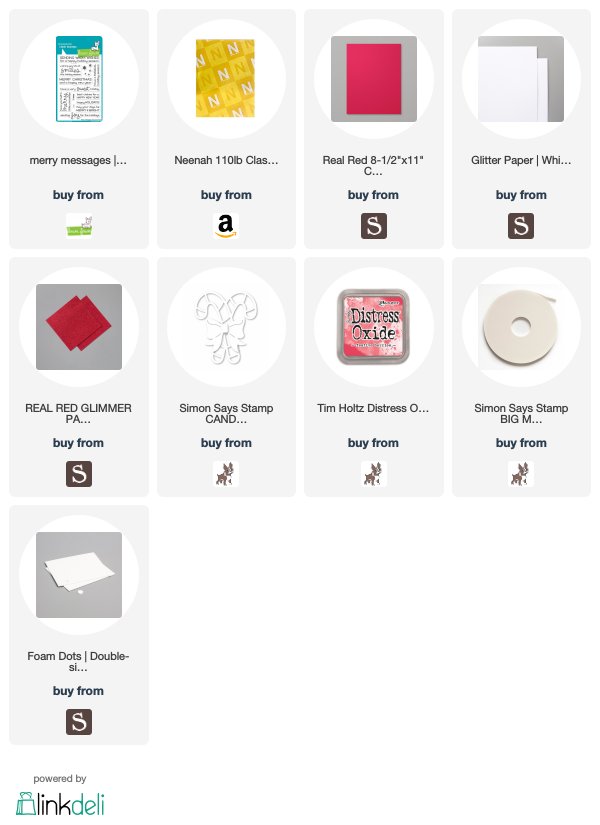
I started this card by cutting a piece of Neenah 110lb Classic Crest Cardstock 8.5″X11″ to 4 x 5-1/4″ and a card base measuring 5-1/2 x 8-1/2″and scored at 4 1/4″. Then diecut several pieces with the Simon Says Stamp Candy Canes Wafer Die and one from Stampin’ Up! Sparkle Glimmer Paper and Real Red Glimmer Paper. This die was included in the Simon Says Stamp December 2018 Card Kit but is available seperately. I diecut the bow using the same die with Stampin’ Up! Real Red 8-1/2″ X 11″ Cardstock.
I adhered the white candy cane diecuts randomly around the card, creating a pattern and a faux embossed look. This is a quick way to add dimension to your backgrounds. I made one of the candy canes the focal point by inlaying the red and white glitter paper pieces inside the candy cane outlines. Then added the bow from the same die. Don’t get rid of the leftover glitter diecut candy cane pieces, you can use them on the inside of the card.

I adhered the front panel to the card base and then stamped a sentiment from Merry Messages Stampset by Lawn Fawn onto a piece of Neenah 110lb Classic Crest Cardstock 8.5″X11″ using Festive Berries Distress Oxide Ink. I cut down the sentiment piece to 7/8 x 3-1/8” and then adhered it to a piece of Stampin’ Up! Real Red 8-1/2″ X 11″ Cardstock and cut that down to 1-1/8 x 3-1/4”. I added the sentiment strip to the card using 3M Foam Tape.
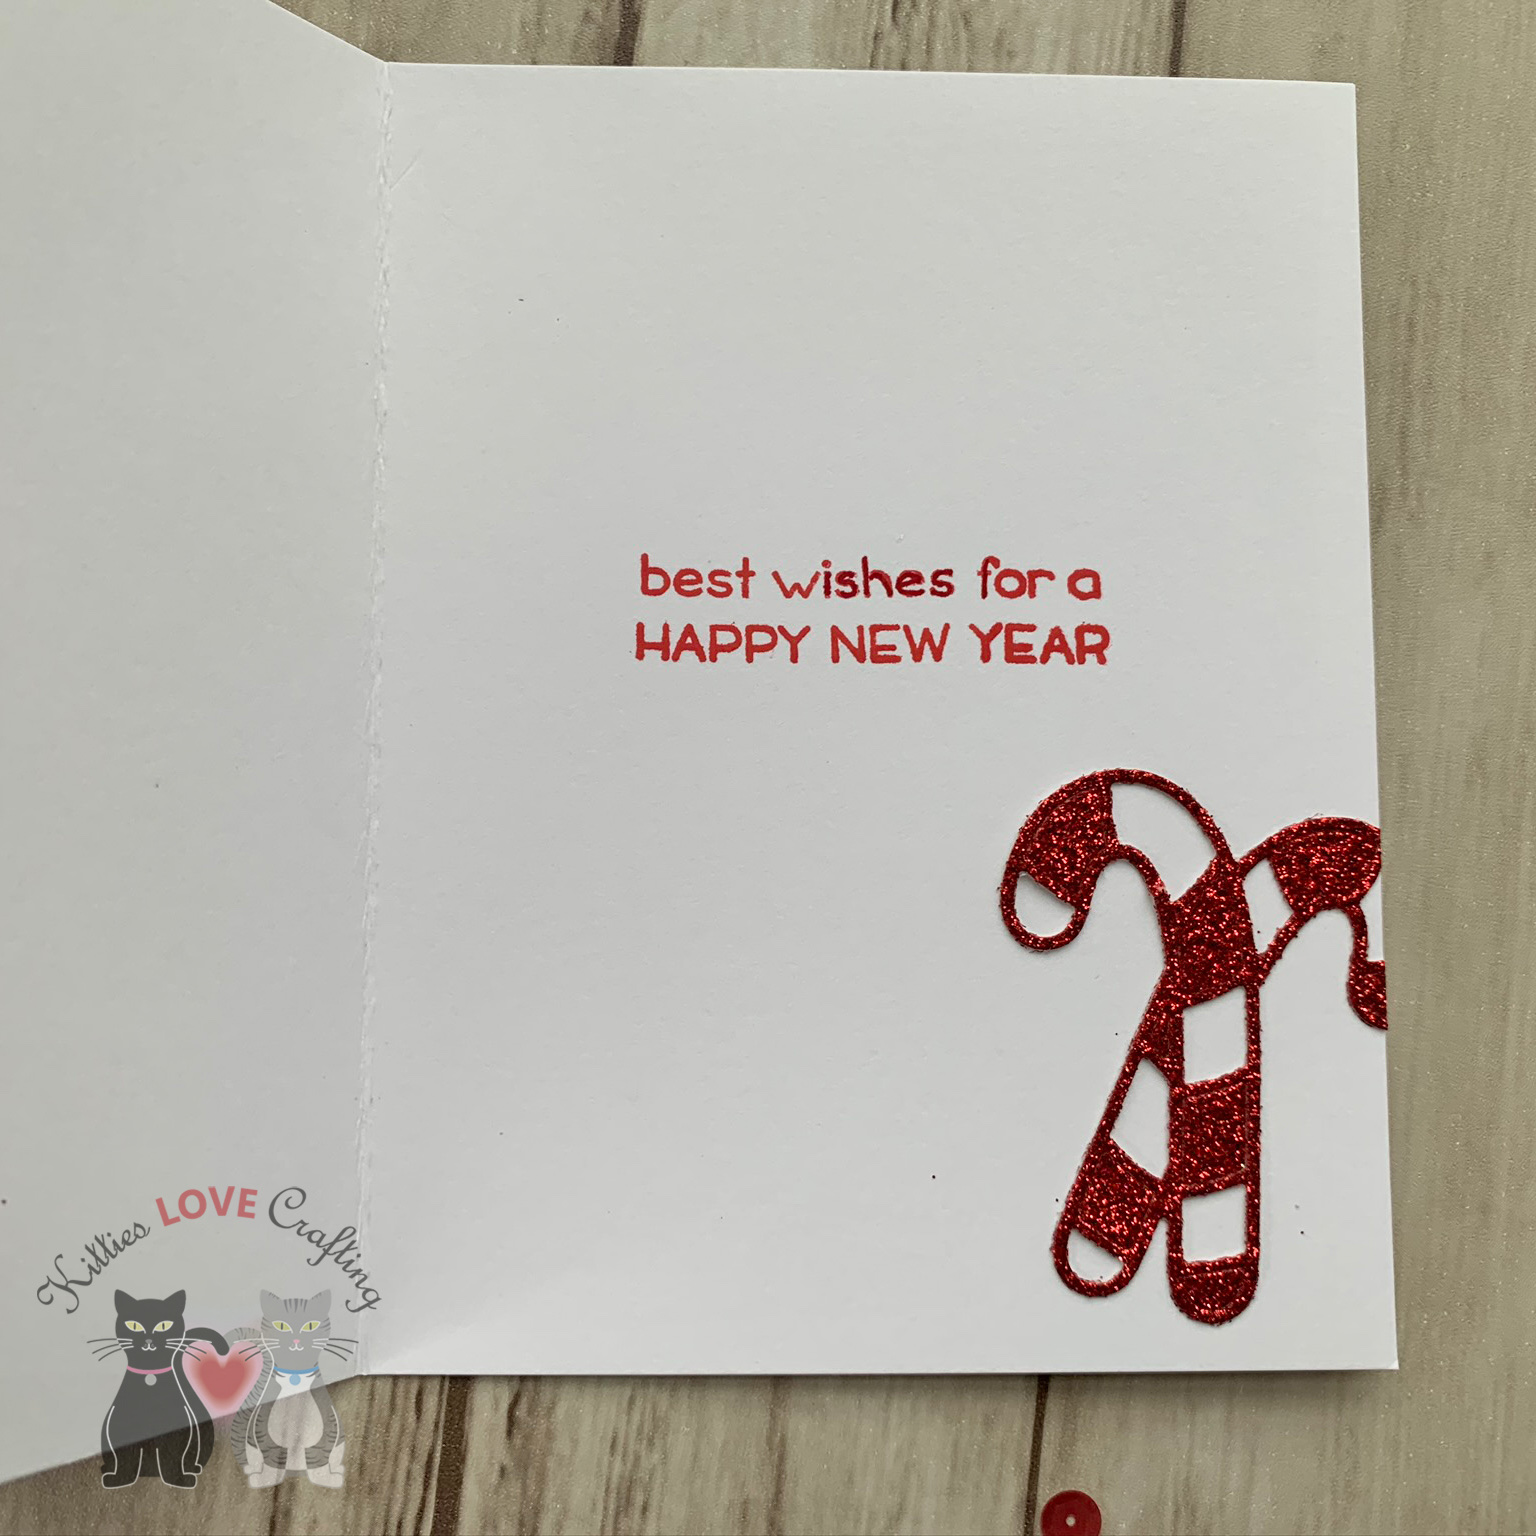
On the inside of the card,I stamped another sentiment from the Merry Messages Stampset by Lawn Fawn with Festive Berries Distress Oxide and adhered the leftover red glitter candy cane diecut and Inlayed some of the interior stripe pieces. And that completes this card. Pretty easy and quick to make.
Dimensions
- Card Base = 5-1/2 x 8-1/2″and scored at 4 1/4″ Neenah 110lb Classic Crest Cardstock 8.5″X11″
- Outside Panel = 4 x 5-1/4″ Neenah 110lb Classic Crest Cardstock 8.5″X11″
- Sentiment Strip = 7/8 x 3-1/8” Neenah 110lb Classic Crest Cardstock 8.5″X11″ and 1-1/8 x 3-1/4”Stampin’ Up! Real Red 8-1/2″ X 11″ Cardstock
 https://linkdeli.com/widget.js?1559654439292
Thanks for reading this post and I hope I’ve inspired you to give this card a try on your own. Leave comments or questions below or feel free to email me.
