
Hello friends. Have you ever tried using your dies to emboss or stencil your backgrounds?!? It’s super easy and you can make quick cards using these techniques. I created three cards demonstrating these techniques using the Catherine Pooler Retro Ornament Dies. Let me show you how easy they are to make. For more stenciled backgrounds using dies check out my previous post.

For this first card, I created a tone-on-tone background with a little shimmer. I cut a piece of Neenah 110lb Classic Crest Cardstock 8.5 X 11″ to 5-1/2 x 11″ and scored at 5-1/2″ to create a card base, piece of Tim Holtz Idea-ology 8 x 8 Paper Stash Metallic Jewels Kraft Stock to 5-1/2 x 5-1/2″, a piece of Neenah 110lb Classic Crest Cardstock 8.5 X 11″ to 5-1/4 x 5-1/4″ for the top panels. I also diecut a piece of Neenah 110lb Classic Crest Cardstock 8.5 X 11″ with the Queen and Company Foundation 18 Dies.
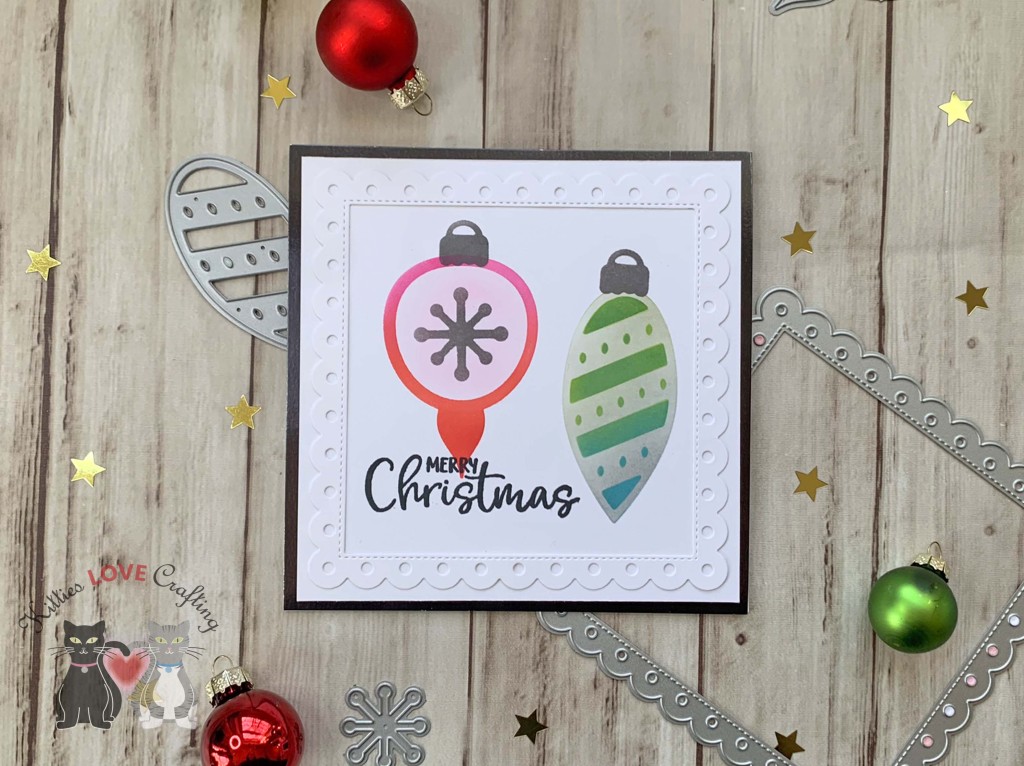
I die cut the ornaments from scrap cardstock with the Catherine Pooler Designs Retro Ornament Dies. You can also use post it paper or masking paper. I pieced the negative and positive pieces to stencil the ornaments. I used Tim Holtz Candied Apple and Picked Raspberry Distress Oxide Inks for the left ornament. And Mowed Lawn and Broken China Distress Oxide Inks for the right one. I used Hickory Smoke Distress Ink for the ornament cap and stars.
I stamped a sentiment from Stampin’ Up!’s Paper Pumpkin Joy to the World directly onto the card with Catherine Pooler Designs Black Jack Ink.

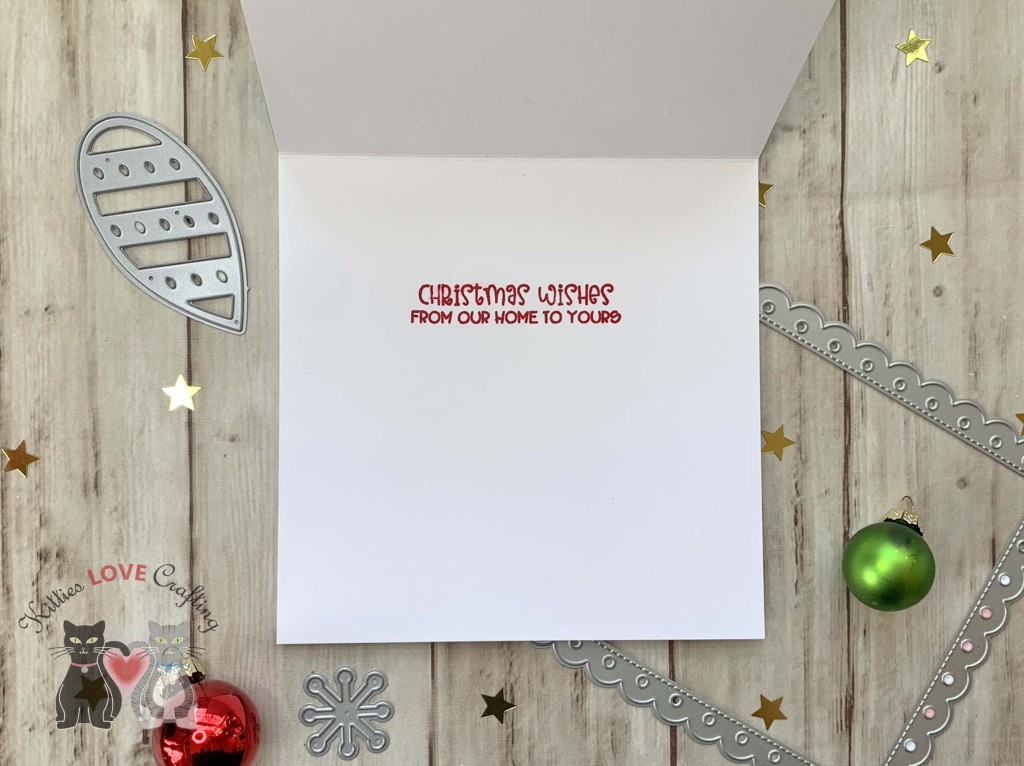
On the inside of the card, I stamped a sentiment from Queen & Company’s North Pole Kit Stamp Set with Stampin’ Up!’s Real Red Ink.
Dimensions
- Card Base = 5-1/2 x 11″ and scored at 5-1/2″ Neenah 110lb Classic Crest Cardstock 8.5 X 11″
- Top Panel = 5-1/2 x 5-1/2″ Tim Holtz Idea-ology 8 x 8 Paper Stash Metallic Jewels Kraft Stock; 5-1/4 x 5-1/4″ Neenah 80lb Classic Crest Cardstock 8.5 X 11″
For this second card, I decided to try embossing with my dies. I cut a piece of Stampin’ Up! Real Red 8-1/2″ X 11″ Cardstock 5-1/2 x 8-1/2″ and scored at 4-1/4″ to create a card base and piece of Neenah 110lb Classic Crest Cardstock 8.5 X 11″ to 4 x 5-1/4” for the top panel.
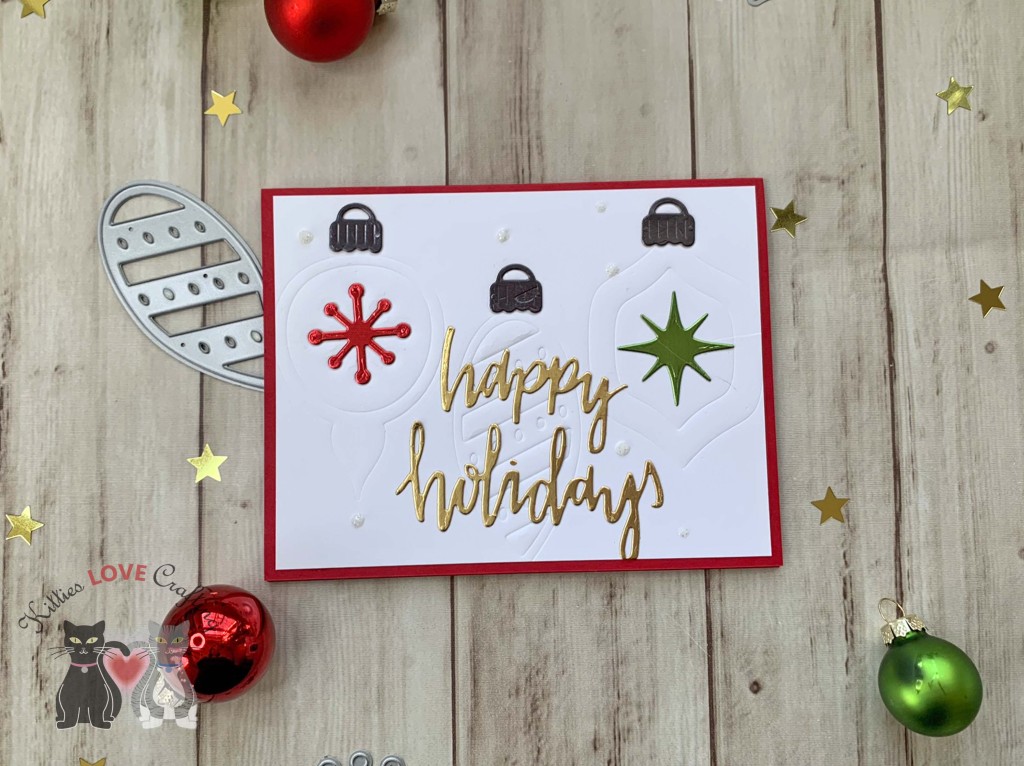
I took the ornament dies from the Catherine Pooler Designs Retro Ornament Dies and embossed the background panel. For my Sizzix Big Shot machine I used the following sandwich from the bottom up: 1.) Multipurpose Platform, 2.) Cutting Plate, 3.) Emboss mat, 4.) Paper. 5.) Die face down, and 6.) Cutting Plate. Check your machines guide for the proper snadwich. I also added additonal paper to deepen the embossing a bit.
I die cut the ornament cap from dark gray metallic cardstock from Tim Holtz Idea-ology 8 x 8 Paper Stash Metallic Jewels Kraft Stock and the ornament centers from green and red metallic cardstock from the same collection.
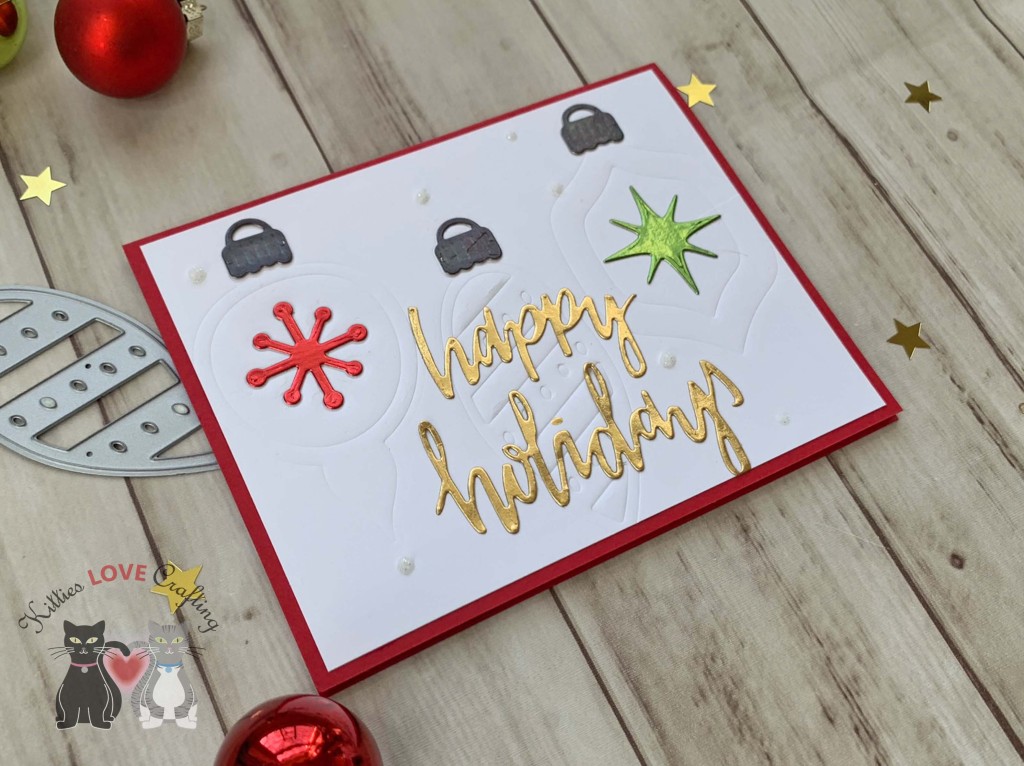
Then die cut a sentiment from gold cardstock from the Tim Holtz Idea-ology 8 x 8 Paper Stash Metallic Kraft Stock using the Neat & Tangled Happy Holidays die. I finished off the card by adding some Nuvo Fresh Snowfall Glitter Drops.
On the inside of the card, I cut a piece of Neenah 110lb Classic Crest Cardstock 8.5 X 11″ to 4 x 5-1/4” and stamped a sentiment from Catherine Pooler Designs Bright Baubles Stamp Set (discontinued) with Stampin’ Up!’s Real Red Ink.

Dimensions
- Card Base = 5-1/2 x 8-1/2″ and scored at 4-1/4″ Stampin’ Up! Real Red 8-1/2″ X 11″ Cardstock
- Top Panel = 4 x 5-1/4” Neenah 110lb Classic Crest Cardstock 8.5 X 11″
- Inside Panel = 4 x 5-1/4” Neenah 110lb Classic Crest Cardstock 8.5 X 11″
For this third card, I made a fun shaker pocket card. I cut a piece of Stampin’ Up! Melon Mambo 8-1/2 x 11″ Cardstock (retired) to 5-1/2 x 8-1/2″ and scored at 4-1/4″ to create a card base and piece of patter paper from my stash to 4-1/4 x 5-1/2” for the inside of the shaker panel.

I cut a piece Acetate slightly larger than my back panel. then used double sided tape to adhere three sides of the acetate to the back of the panel, creasing the edges. I filled the pocket with a variety of flat sequins and stars and sealed the last side of the pocket. I adhered the panel to the card and then die cut a frame from Neenah 110lb Classic Crest Cardstock 8.5 X 11″ using the Spellbinders Nestabilities A2 Card Creator Dies Matting Basics A 4-1/4 x 5-1/2″ and 4-5/8 x 4-7/8″.
For the ornaments I used Altenew Glitter Gradient Cardstock Set in Pink Brilliance, Ocean Reflection, and Forest Canopy and the Catherine Pooler Designs Retro Ornament Dies. I also used the Tim Holtz Idea-ology 8 x 8 Paper Stash Metallic Kraft Stock for the the ornament caps.

I stamped a sentiment from the Catherine Pooler Bright and Baubles Stamp Set (retired) onto a piece of Neenah 110lb Classic Crest Cardstock 8.5 X 11″ with Memento Tuxedo Ink, trimmed sentiment to 3/4 x 2″ thebefore adhering it flat.
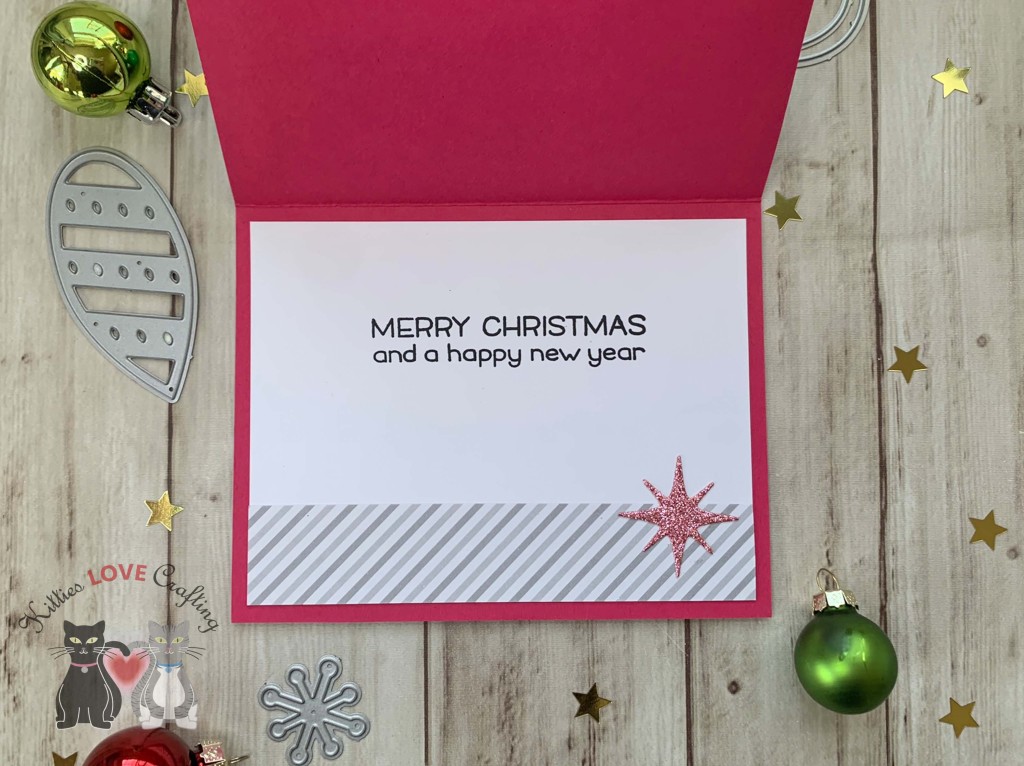
On the inside of the card, I cut a piece of Neenah 110lb Classic Crest Cardstock 8.5 X 11″ to 4 x 5-1/4” and the same pattern paper from the front panel to 1 x 4″. Then stamped a sentiment from Lawn Fawn’s Merry Messages Stamp Set with Catherine Pooler Designs Black Jack Ink.
Dimensions
- Card Base = 5-1/2 x 8-1/2″ and scored at 4-1/4″ Stampin’ Up! Melon Mambo 8-1/2 x 11″ Cardstock (retired)
- Top Panel = 4-1/4 x 5-1/2” pattern paper; 4-1/4 x 5-1/2″ (frame) Neenah 80lb Classic Crest Cardstock 8.5 X 11″
- Inside Panel = 4 x 5-1/4” Neenah 110lb Classic Crest Cardstock 8.5 X 11″; 1 x 4″ pattern paper
Supplies
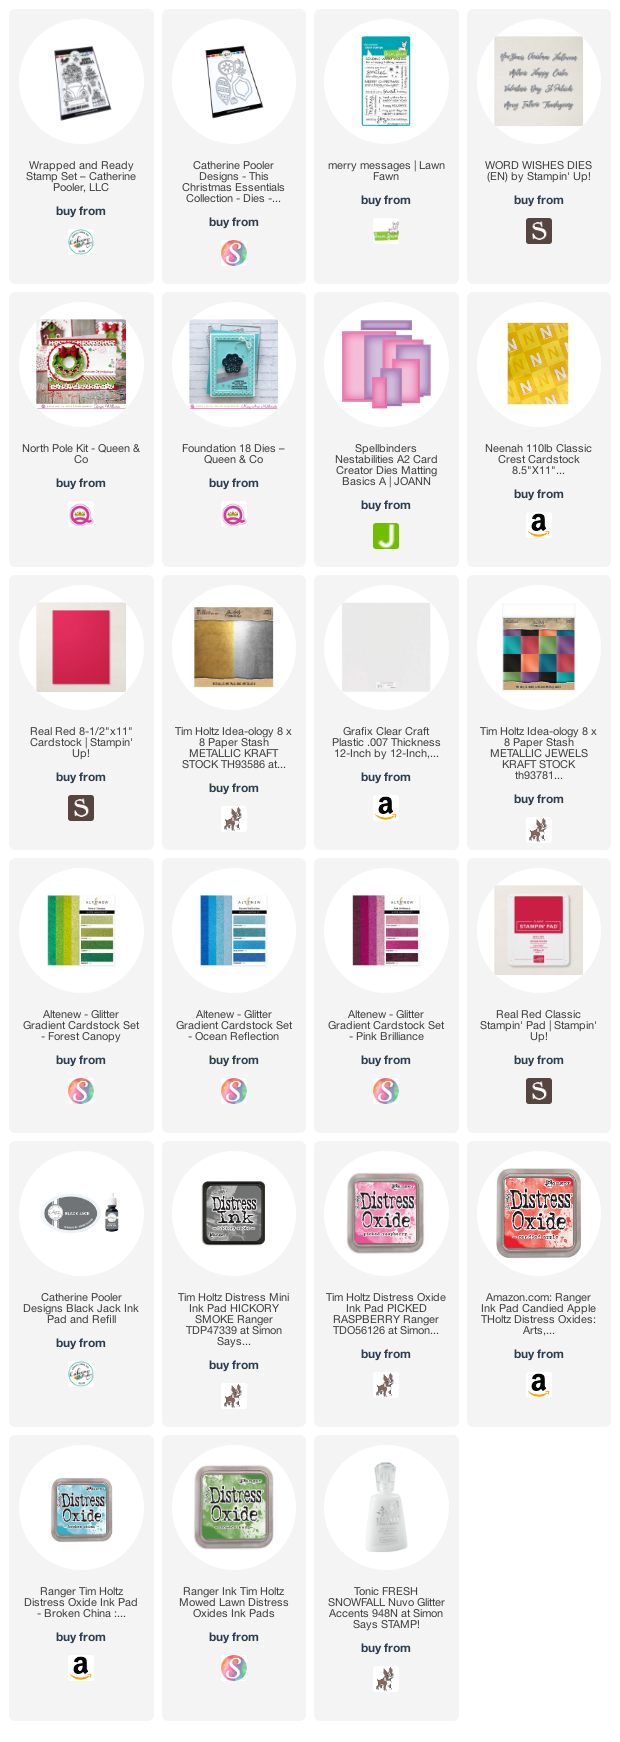 https://linkdeli.com/widget.js?id=f5e8378456858c916708
Thanks for reading this post. I hope you enjoyed and I’ve inspired you to give these cards a try for yourself. Leave comments or questions below or feel free to email.
