Background stencils are a great option to make quick backgrounds! This cute Pretty Pink Posh CANDY BACKGROUND Stencil is a fun one to use for Halloween. This card came together very quickly with minimal stamping and coloring. I combined this background stencil and a couple of background and sentiment dies to create this quick and simple card.
I stamped the images from the Pretty Pink Posh Halloween Wreath Stampset with Memento Tuxedo Black Ink and colored them with Copic Markers. I used R20, C1 + 0 blender for the ghost; C1 + 0 blender, Y02 + Y13, YR04 + YR07 for the candy corn; C7 + C9 for the bat and spider; V06 + V09, YG17 + YG25 for the witch hat; YR04 + YR07 and YG17 + YG25, YG17 + YG25 and V06 + V09 for the candy; C1 + C7, YR04 + YR07 for the lollipop. I added white highlights with my Uni-Ball UM 153 Signo Broad Point Gel Pen and die cut with the coordinating dies.
Thanks for reading this post. I hope you enjoyed and I’ve inspired you to give this sweet and easy Halloween card a try for yourself. Leave comments or questions below or feel free to email me.
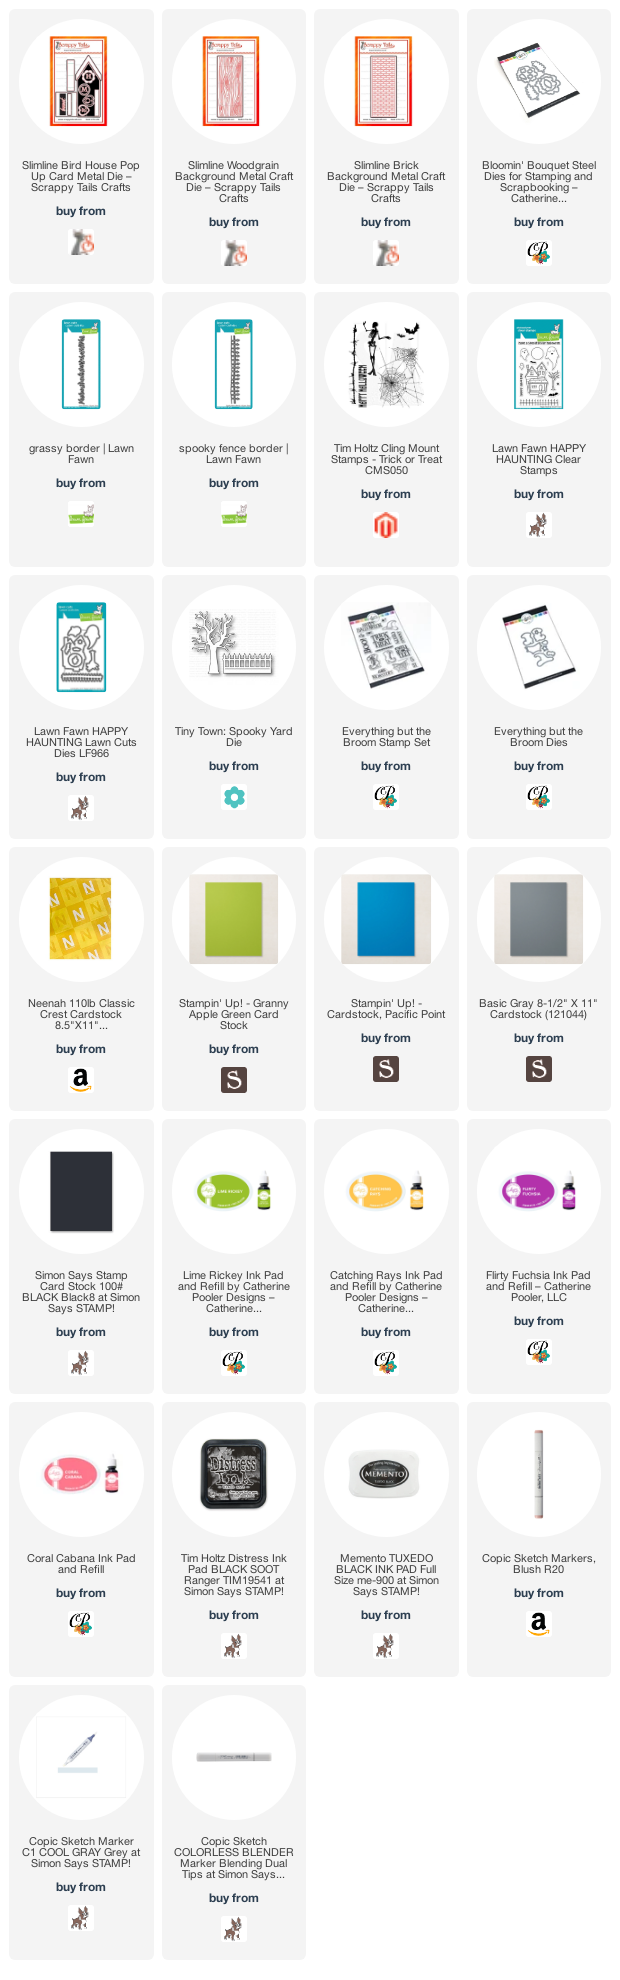
Hi friends. When I saw Jennifer McGuire’s video featuring the Slimline Bird House Pop Up Card Dies and add-on dies from Scrappy Tails, I knew I had to have them. They remind me of the Honey Bee Stamps House Card Dies and Add-ons which as you may have figured out I love so much! These dies are just as versatile and allow you to make tons of different types of cards for all occasions.
I cut out the two windows using the circle from the birdhouse die set. I adhered the scallop bosrders on the window as well as the roof. Then diecut some grass using the Lawn Fawn Grassy Border from Stampin’ Up! Granny Apple Green 8-1/2 x 11″ Cardstock, trimmed it down to size and adhered it to the bottom of the card. I added the white base on top of the grass.
I colored the images with COPIC Markers. I c olored the peppermints and candy canes with R27, R46 and C1, YG17 and YG25 for the trees, E34, E37, R20, C1 and 0 for the gingerbread people, and R81 and R85 for the gumdrops.
Thanks for reading this post. I hope you enjoyed and I’ve inspired you to give these cute cards a try for yourself. Leave comments or questions below or feel free to email me.
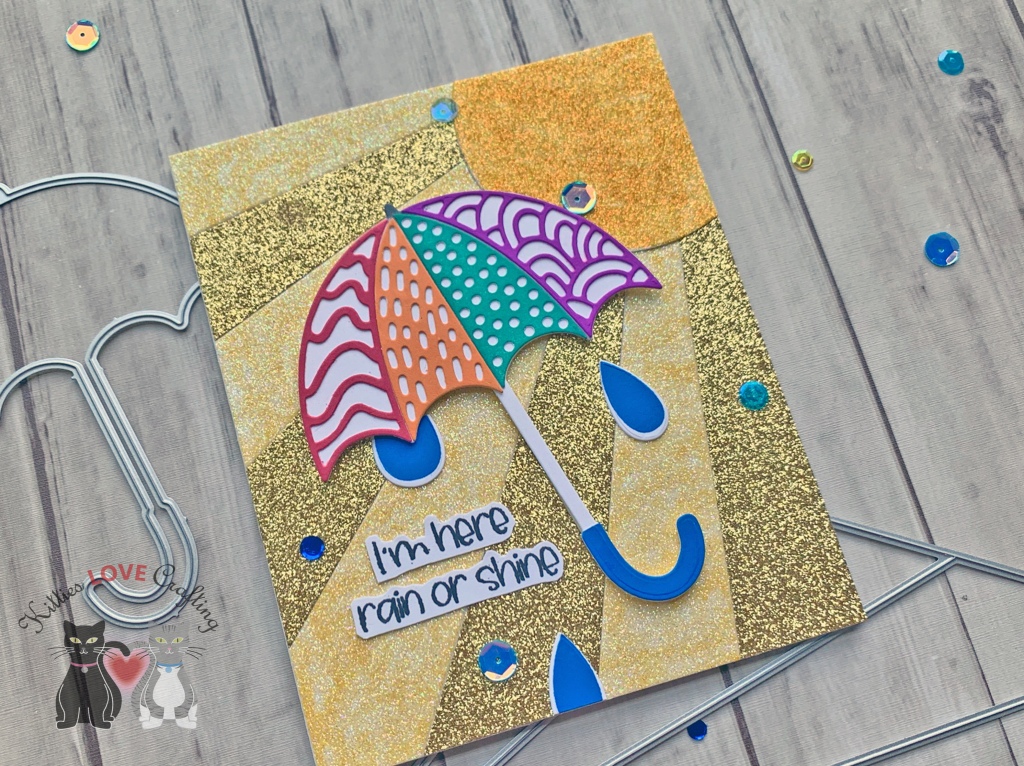
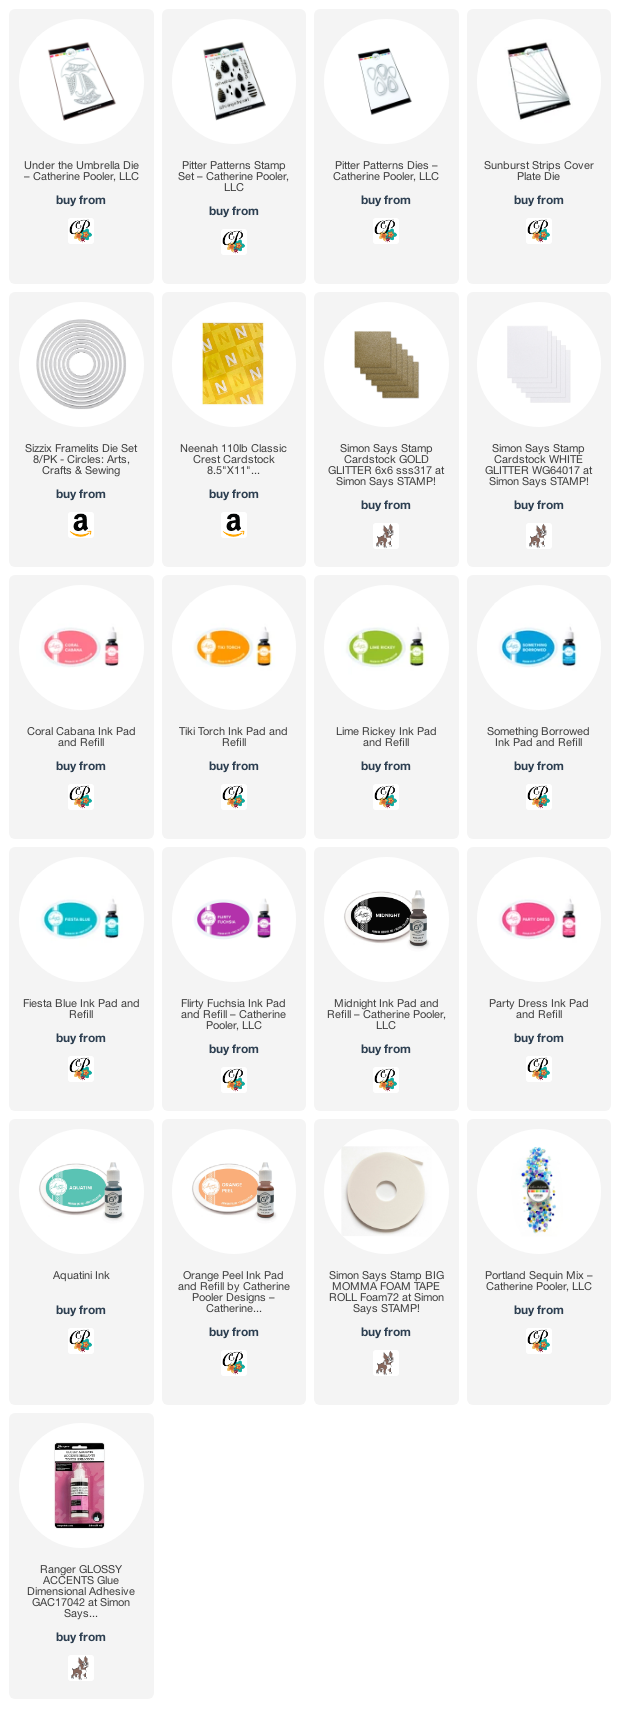
Hi friends. When I purchased the Sunburst Strips Cover Plate Die from Catherine Pooler Designs I knew that I had to try rainbow colors but also glitter paper because your sun rays need to sparkle! Rainbow sunshine rays to come for sure! Stay tuned. I decided to alternate the colors of the rays but also cut off the top of the rays with a circle and add another circle for the sun. I ended up with extra pieces of rays which I then used on a second card. No waste here!
For the first card, I started by cutting a piece of Neenah 110lb Classic Crest Cardstock 8.5 X 11″ to 6-1/4 x 10″ and scored at 5″ to create a card base and to make it easier to adhere the sun, I also cut a top panel to 4-3/4 x 6″.
I diecut the Sunburst Strips Cover Plate Die from Gold and White Glitter Cardstock. I didn’t have any light yellow glitter paper so I used the white and colored with some old alcohol markers. WARNING: Coloring glitter cardstock with markers will ruin the tip of the marker so if you use a good alcohol marker like a copic make sure you have extra nibs. I taped the back of each diecut piece of cardstock and then used a 3″ circle die to cut off the narrow end. You can use whatever size you want here. Then cut a 2-1/2″ circle from the White Glitter Cardstock. I adhered all the sun pieces to the 4-3/4 x 6″ panel I previously cut and that to the card base.
For the second card, I did the exact same things with a few exceptions. I cutting a piece of Neenah 110lb Classic Crest Cardstock 8.5 X 11″ to 9-1/2 x 5-3/4″ and scored at 4-3/4” to create a card base and thIs time I adhered the sun directly to the card base and didn’t leave any border around it.
Thanks for reading this post. I hope you enjoyed and I’ve inspired you to make this cute glittery umbrella cards yourself! If you want to share you creations with me tag me on instagram @kittieslovecrafting. Leave comments or questions below or feel free to email me.
Thanks for reading this post. I hope you enjoyed and I’ve inspired you to make this cute umbrella card yourself! If you want to share you creations with me tag me on instagram @kittieslovecrafting. Leave comments or questions below or feel free to email me.
Hi friends. I don;t know about you but I love a cute pair of wellies! And this stampset from Catherine Pooler Designs, Bloomin’ Wellies, is adorable. For this card I tried creating a completely covered distress resist background but I didn’t like it in the end so I diecut it into a circle and I think this works so much better. So if you make a background and you don’t quite love it, use only a portion of it and that usually solves the problem.
Thanks for reading this post. I hope you enjoyed and I’ve inspired you to make this cute wellies Spring card yourself! If you want to share you creations with me tag me on instagram @kittieslovecrafting. Leave comments or questions below or feel free to email me.
This month I decided to challenge myself to NOT buy any new craft supplies (with the exception of necessary supplies like white cardstock and adhesive). Like many of you, I realized that I have been spending a ton of money on cleaning supplies, hygiene and groceries since I have had to order online more than usual so it was time to cut some corners. I also thought this would help people who are struggling financially but who still want to craft.
I went through my stamps, dies, stencils and picked out some that I know I have not used very often and combined with the other things I already own. I alos thought it was a good time to go through my already made card stash and see what categories I was low on –birthdays is one such category so I started there.
Thanks for reading this post. I hope you enjoyed and I’ve inspired you to Shop Your Stash and see what fun ideas you come up with and maybe rediscover supplies you forgot you had! Leave comments or questions below or feel free to email me.
Going back to the 80s for this post. Some of you may too young to have experienced the fun of the 80s, but these composition notebook stamps and dies from Catherine Pooler remind us all of our schooldays as youngsters. And while the fashion of the 80s was pretty horrible (in my opinion), there was nothing like a new composition notebook to start a new year of school.
These cards would be fun to make with kids who are currently stuck at home. You can make the notebooks any color and tons of different items in the shaker (maybe some glitter?).
Thanks for reading this post. I hope you enjoyed and I’ve inspired you to give these cards a try for yourself. Leave comments or questions below or feel free to email.
Hi friends. Today I’m bringing you two cards featuring the Simon Says Stamp Dazzling Circle and Blooming Circle Dies. One card uses the dies in the way they were intended but the second card uses it in a different way — using the positive diecuts to create a background. This is an easy way to create a background.
Traditional Use of Die
For the first card I started by cutting a piece of Neenah 110lb Classic Crest Cardstock 8.5 X 11″ to 5-1/2 x 8-1/2″ and scored at 4-1/4″. Then I cut a piece of green gingham paper (from the Birthday paper pack included in the Crafty Parcel) to 4 x 5-1/4” and diecut the wreath in the top center of the panel using the Simon Says Stamp Dazzling Circle Die (no longer available as it was part of the Stamptember release). I added some 3M Foam Tape to the back of the panel and adhered a square piece of Stampin’ Up! Granny Apple Green 8-1/2″ X 11″ Cardstock on the card base behind the wreath. The easiest way to do this is to add the foam tape to the wreath panel and then attaching the green square piece behind that and then adhering it to the card base.
On the inside of the card, I cut a strip of Green Gingham paper (from the Birthday paper pack included in the Crafty Parcel) to 1 x 4-1/4″. I stamped a greeting from the Catherine Pooler Stamp of Approval Young at Heart Collection stampset(I don’t think this is available in her shop anymore) in Memento Tuxedo Black Ink and Catherine Pooler Party Dress Ink. I finished it off by adding some additional flowers.
Thanks for reading this post. I hope you enjoyed and I’ve inspired you to give your old stand-alone dies a second look and try some new techniques with them. Leave comments or questions below or feel free to email.
Happy Friday everyone! Halloween is just about 4 weeks away! Have you picked out your costumes yet?!? What will you be for Halloween???
This card cute Halloween card uses old and knew Halloween supplies from various companies. The adorable black cat and his hat come from an older Stampin’ Up! Designer Series Halloween Paper Collection. I punched him out using a coordinating punch.
Thanks for reading this post and I hope I’ve inspired you to go make some Halloween cards of your own. Leave comments or questions below or feel free to email me.
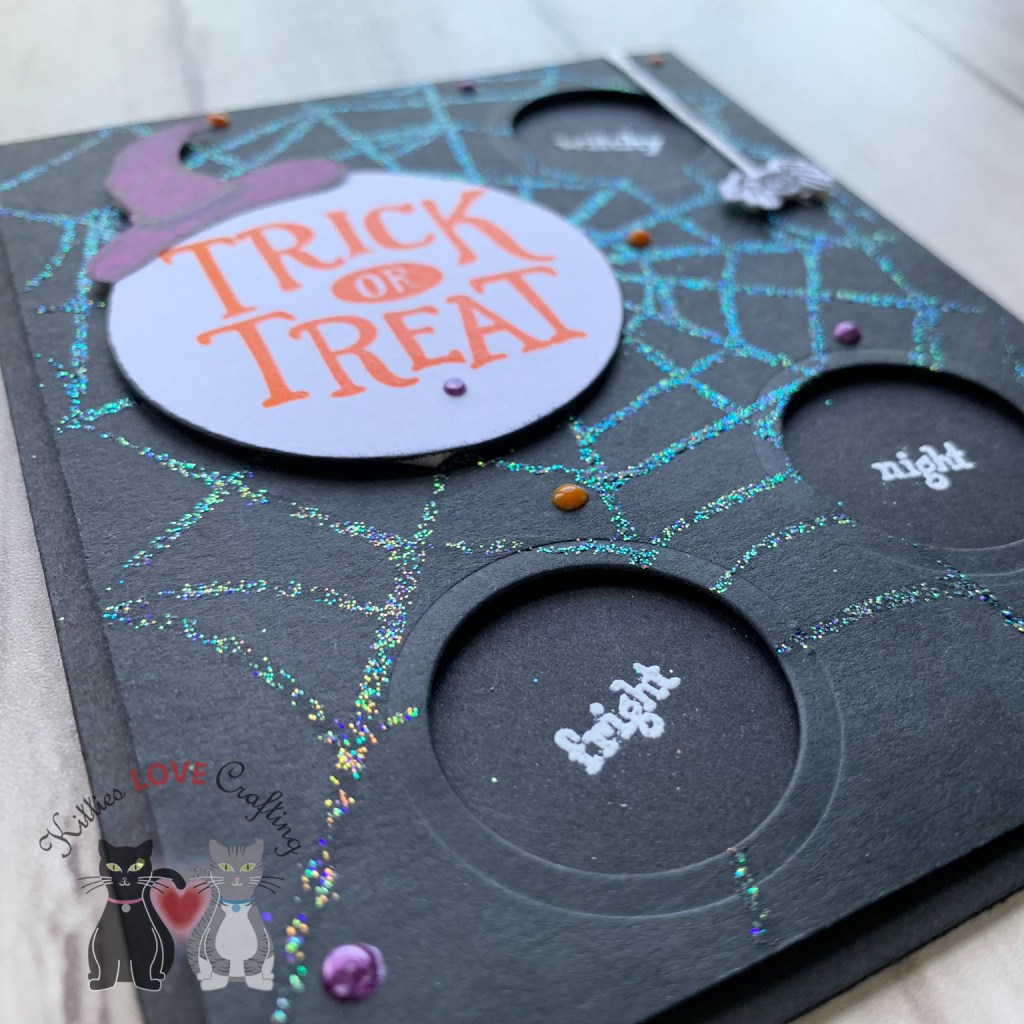
Happy Friday friends! Coming to you today with a fun and easy Halloween card featuring the Spooky Hollow by Catherine Pooler Designs and Everything but the Broom by Catherine Pooler Designs Stamp Sets. I love, love, love these two stampsets! The whole Halloween collection which was released last year is great fun but these two stampsets are my fave! If you don’t like to color images this is the card for you! Let’s get started…
I added some Foam Tape to the back of the panel and adhered the three words behind each window, then adhered it to the card base. For the three words that go inside the windows I just cut them into squares before adhering them.
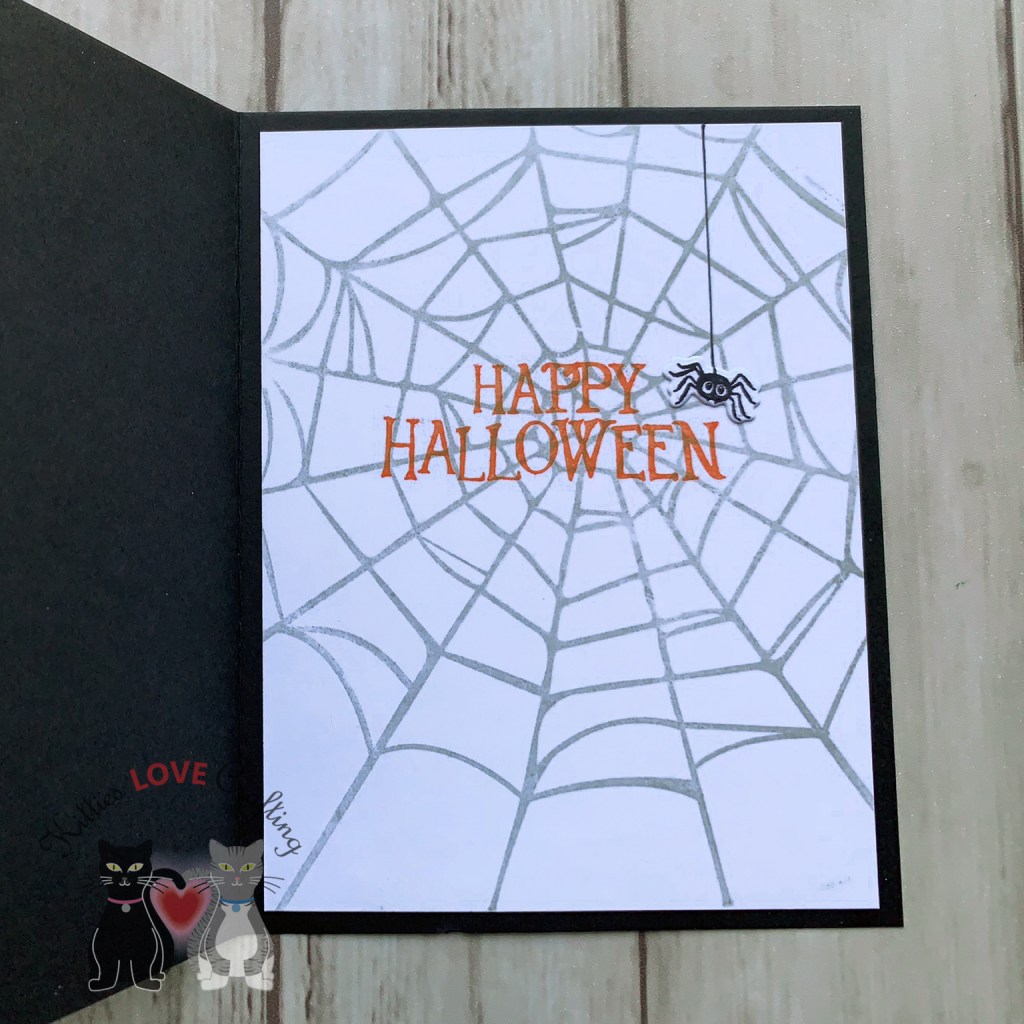
I adhered the sentiment circle and the hat with some Stampin’ Dimensionals to the card as well as the spider. I added some White Cotton Embroidery Floss (which I’ve had in my stash for ages BTW) for the spider’s string. I finished it off with some Nuvo Crystal Drops in Violet Galaxy and Ripened Pumpkin.
Thanks for reading this post and I hope I’ve inspired you to go make some Halloween cards of your own. Leave comments or questions below or feel free to email me.


 https://linkdeli.com/widget.js?id=f5e8378456858c916708