I have been an avid crafter for two decades and started card making about fifteen years ago and just fell in love. It started as something to reduce stress but now it’s something I can’t live without. It’s so much fun to play with ink and paper and end up with something pretty cool that you can share with someone else. I love the fact that something that brings me so much joy can bring happiness to others too. i am a wife and mother to two sweet fur babies, Cola and Bailey, that love to hang around while I craft. They bring me just as much joy as crafting. I couldn’t imagine my life without either!
Spring is officially here friends! And when I think of Spring, I think of beautiful flowers in bloom and soft pastel colors. And this Card Kit from Simon Says Stamp is perfect for spring cards, as well as Easter cards and even Mother’s Day cards! And can we talk about the purple glitter paper included in this kit?!? OMG, just gorgeous.
Thanks for reading this post. I hope you enjoyed and I’ve inspired you to give this card a try for yourself. Leave comments or questions below or feel free to email.
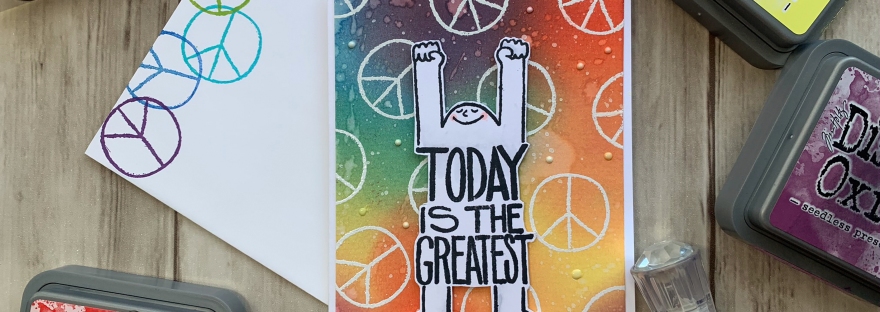
Hello friends. I think it’s time for a fun and cheerful card. In this uncertain and scary times, it’s nice to send others a little cheer in the form of a card. Also the creative outlet relieves stress; it’s a win win. So if you are finding yourself stressed and worried right now, do something fun, make something, draw something, or just talk to someone. Distractions and connections are super important right now.
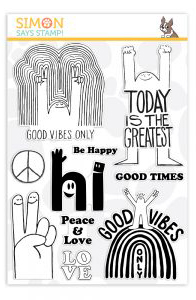
This cute card features Simon Says Stamp Good Vibes Stampset which is unfortunately no longer available and was released during Simon Says Stamp’s Stamptember release.
Thanks for reading this post. I hope you enjoyed and I’ve inspired you to give this card a try for yourself. Leave comments or questions below or feel free to email.
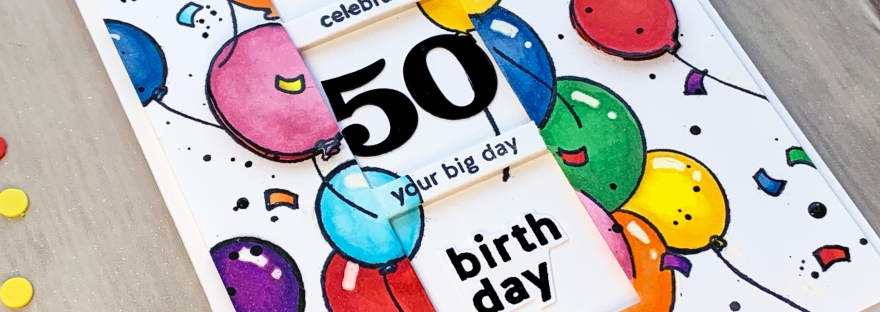
I stamped the balloon border from the Simon Says Stamp Exclusive 6×8 Inch Window Frames clear stamp set around the windows and also some extra balloons with the additional balloon and string stamp included in the stampset using Memento Tuxedo Black Ink. To stamp balloons that look like they are behind the balloons around the windows, I stamped the balloon border on to Masking Paper, fussycut it out, and placed it over the balloon border image before stamping additional balloons. I stamped some of the confetti pieces around the card to fill up the white space. I wanted this card to look like a party on paper!
I also stamped some balloons in the inside of the windows so it looks like balloons continue on the inside. To do this, I just lined up the stamp on the card panel using my Tim Holtz Tonic Craft Travel Stamp Platform, removed the top panel, and stamped in the card base. I also stamped additional balloons onto scraps of Neenah 110lb Classic Crest Cardstock 8.5 X 11″, which I will pop up later with foam squares.
Before I started coloring all the images, I stamped some of the tiny sentiments in between the windows using the same Memento Tuxedo Black Ink (COPIC-friendly ink). I used COPICS in R17 and R27, R81 and R85, YR12 and YR16, Y06 and Y18, G07 and G14, BG000 and BG01, B95 and B37, and V06 and V09. Not gonna lie, this took a long time to color but I usually just watch a movie or Youtube videos while doing it so it makes it more fun. Once colored I all the images, I adhered the panel to the card base with 3M Foam Tape and used Stampin’ Dimensionals to adhered some of the additional balloons.
Thanks for reading this post. I hope you enjoyed and I’ve inspired you to give this card a try for yourself. Leave comments or questions below or feel free to email.
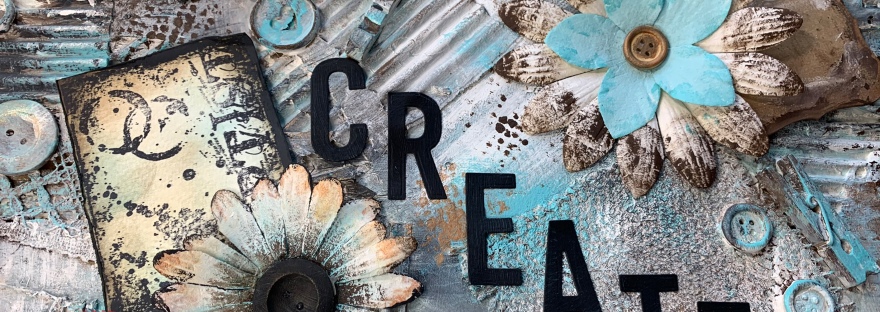
Hi friends. Today I am posting something a bit different than my usual card making blogs. I thought I’d try my hand at creating a multimedia canvas. I haven’t tried making a multimedia project in many years (mostly because I didn’t have the space to work or let the piece dry. But now that I have space to work, it’s time to get back to it.
Like many people I was hesitant to start this project or even post it but I figured I’d play and see what happens and if I don’t hate it I’ll post it for you guys. It may inspire someone else get over their fear of doing multimedia.
I was inspired by a Youtuber I came across in my feed, Marta Lapkowska, who makes amazing art journal and multimedia projects. She likes to use stuff around her house as well as things she buys to make her art. Check her out on YouTube at Maremi’s Small Art. Her shop also has cool stuff you can use on your projects. I just got my order and I love all the papers, chipboards, etc I purchased.
In keeping with my pledge to use what I have in my craftroom stash and not overspend this year, I looked through all my chipboard, diecuts, tissue paper, fabrics, and stamps to see what has been under utilized. I also used some cardboard (from an Amazon box) to add to my project. I saw Marta do this in one of her videos and I thought it was a cool idea.
Once I was happy with the composition, I added Gesso over everything. I added two coats of Gesso, allowing to dry in between coats.
Once that was dry, I started adding paint. I used Martha Stewart Acrylic Paints in Surf, Summer Haze, Pool, and Vanilla Bean, plus a Craft Smart® Acrylic Paint, 2 oz, Black and DecoArt Crafters Acrylic, 8-Ounce, White from my stash to add layers of color. This took a while and once I was happy with the background I let it dry. I was trying to create an aged look but I still wanted pops of color which is why I used the three aqua colors. My advice to any of you out there who are afraid to screw up your piece once you add paint, is not to worry. The good thing about acrylics is you can add layers on top of layers (let the paint dry before adding more) or add Gesso over it and start over with the paint. No mistakes are bad and have fun!
Thanks for reading this post. I hope you enjoyed and I’ve inspired you to give try creating some multimedia projects yourself. I challenge you to check out your supplies and use it to make some art. Have fun and enjoy! Leave comments or questions below or feel free to email.
While the kit is no longer available the individual items are available for purchase separately. The stampset is great for all occasions; there are several sentiments for love, thank yous and birthdays.
Thanks for reading this post. I hope you enjoyed and I’ve inspired you to give this card a try for yourself. Leave comments or questions below or feel free to email.
Hi friends. Today I’m bringing you two cards featuring the Simon Says Stamp Dazzling Circle and Blooming Circle Dies. One card uses the dies in the way they were intended but the second card uses it in a different way — using the positive diecuts to create a background. This is an easy way to create a background.
Traditional Use of Die
For the first card I started by cutting a piece of Neenah 110lb Classic Crest Cardstock 8.5 X 11″ to 5-1/2 x 8-1/2″ and scored at 4-1/4″. Then I cut a piece of green gingham paper (from the Birthday paper pack included in the Crafty Parcel) to 4 x 5-1/4” and diecut the wreath in the top center of the panel using the Simon Says Stamp Dazzling Circle Die (no longer available as it was part of the Stamptember release). I added some 3M Foam Tape to the back of the panel and adhered a square piece of Stampin’ Up! Granny Apple Green 8-1/2″ X 11″ Cardstock on the card base behind the wreath. The easiest way to do this is to add the foam tape to the wreath panel and then attaching the green square piece behind that and then adhering it to the card base.
On the inside of the card, I cut a strip of Green Gingham paper (from the Birthday paper pack included in the Crafty Parcel) to 1 x 4-1/4″. I stamped a greeting from the Catherine Pooler Stamp of Approval Young at Heart Collection stampset(I don’t think this is available in her shop anymore) in Memento Tuxedo Black Ink and Catherine Pooler Party Dress Ink. I finished it off by adding some additional flowers.
Thanks for reading this post. I hope you enjoyed and I’ve inspired you to give your old stand-alone dies a second look and try some new techniques with them. Leave comments or questions below or feel free to email.
Hello friends. This cute little card features musical bugs from the Waffle Flower Rock On Stampset as well as Simon Says Stamp Grid Play Alphas Set (no longer available) and cute Valentine’s Day pattern paper (Pebbles Forever My Always 6 x 6 Paper). If you haven’t tried the crafty parcel from Simon, you should give it a try once. I received lots of unexpected supplies I wouldn’t normally purchase for myself but was happy to try.
Front view
For this card I began by cutting a piece of Stampin’ Up! Real Red 8 1/2 x 11” Cardstock to 5-1/2 x 8-1/2″and scored at 4-1/4″. Then cut a piece of the hearts pattern paper (from Valentine’s Day paper included in the Crafty Parcel) to 3-5/8H x 4”W (left side) and 2”H x 4”W (right side), creating a diagonal cut and grid pattern paper (from the same paper pad) to 1-7/16 x 4” (left side) and 3-5/16 x 4” (right side) and adhered them to the card panel using Tombow Mono Multi Liquid Glue. Then added some Love From Lizi Red Glitter Peel-offs where the two pieces meet.
Hello friends. For 2020, I want to try to be aware of the supplies I have in my stash and use them. I find that I have a lot of stamps that I purchase for a season or holiday or that comes in a kit and I use it once. And that’s just wasteful! Give your craft supplies some extra love this year!
For this card I featured Simon Says Stamp I Chews You Stampset. It’s a 6 x 8 stampset with tons of cute images and sentiments. It was included in the Simon Says Stamp Stamptember 2018 I Chews You Limited Edition card kit (no longer available). I haven’t had too much opportunity to use it since I bought it, so it was time. And the food characters are friggin’ adorable so I just had to, you know what I mean?!? Food brings people joy and love so a card with cute food on it is just perfect for Valentine’s Day, don’t you think?
Ok, so I started by cutting a piece of Stampin’ Up! Real Red 8 1/2 x 11” Cardstock to 5-1/2 x 8-1/2″and scored at 4-1/4″ for the card base, a piece of Valentine’s Day pattern paper (this came in the Crafty Parcel I purchased from Simon Says Stamp) to 4 x 5-1/4”, and a piece of Montval Acid Free Coldpress Watercolor Paper to 3-3/4 x 5”. Then, I used Ranger Tim Holtz Picked Raspberry Distress Crayon and my waterbrush (any brush will do) and created a background. I applied a few layers, letting each layer dry (use a heat gun if you are inpatient like me), until I got the color I wanted. It was my first time using the Distress Crayons and I was not expecting to like them but they are actually pretty cool and work well.
While that panel dried, I stamped a bunch of the food characters from the Simon Says Stamp I Chews You Stampset onto Neenah 110lb Classic Crest Cardstock 8.5 X 11″ with Memento Tuxedo Black Ink. It was so hard to choose which ones too use. I love them all soo much!!! I colored them with COPIC markers. I used Y00 and Y13 for the pizza crust, E40, E53 and YR09 for the top of the pizza, and YR09 for the pepperoni and G99 for the peppers. I used E53 and E57 for the cinnabun and pretzel; R17 and R29 for the gumball machine, BG00 and 0 for the glass on it, C1, C5, and C7 for the metal parts, and R81, R83, R17, R29, C00 and 0 for the gumballs; G43 and G99 for the pickle; Y13, Y15, and Y18 for the taco shell, G42 and G99 for the lettuce and YR09 and R17 for the tomato. And BG000 and BG01 for the cupcake wrapper, R81, R83, and R85 for the cupcake and R29 and G43 for the sprinkles.
I adhered the hearts pattern paper to the card base and the watercolor panel to that paper. Then proceeded to fussycut the images and adhered them to the bottom of the card using Tombow Mono Multi Liquid Glue. I popped up a couple of the images with some Stampin’ Dimensionals. I also added a shadow under the images using COPIC markers C3, C5 and the blender.
I stamped “Hugs & Kisses” onto a piece of Simon Says Stamp Card Stock 100# BLACK with Versamark Ink and WOW Embossing Powder Opaque Bright White Super Fine. The sentiment is from an old stampset but I don’t where it came from because when I started crafting I didn’t save the backing or note the company 😦 I cut the piece down to 1 x 3-1/2″, cut the right side into a banner edge and adhered to the panel using. I finished it off by punching some tiny hearts from Stampin’ Up! Real Red 8 1/2 x 11” Cardstock using the Stampin’ Up! Owl Builder Punch (retired). You can use any tiny heart dies you may have.
Thanks for reading this post and I hope I’ve inspired you to give this card a try or make some Valentine’s Day cards of your own. Leave comments or questions below or feel free to email.
Hello friends and Happy New Year! My first post of 2020 is this cute distressed jewelry box. I made something similar from paper years ago but it was time for a new sturdier box since the original is falling apart from so much use. This jewelry box will just hold some watches and rings and I wear daily but like to remove before bed. This way they can be safely tucked away out of reach of the kitties. Sometimes the kitties are naughty an play with things they should not so it’s my responsibility to make sure they don’t have access to those things.
Anyway let me show you how easy it was to make this box. I kept my box simple by just using some paper, paint, ribbon but you can add all kinds of embellishments. You can add fabric, flowers, jewels, brads, etc.
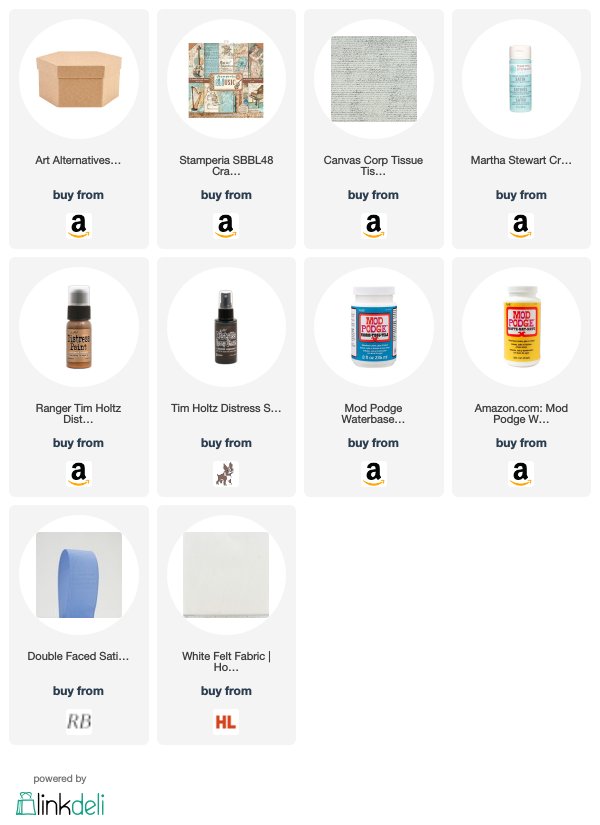
Art Alternatives MVPM06224 Paper-Mache Hexagon Box Set 5/Pkg
Next, I used Martha Stewart Crafts Multi Surface Satin Acrylic Paint in Sea Lavender (I think this color is discontinued) to paint the box inside and out. I applied 2-3 thin coats. I cannot stress this enough…when painting paper mache products, even smooth surfaces, it is best to apply thin layers, letting each layer dry between applications. I let each layer dry about 10-15 minutes.
Stamperia Double-Sided 12 X 12″ Paper Pad – Music and Canvas Tissuestock Printed French Script, 12-Inch by 12-Inch, Ivory, 10-Pack
Tip: When using Modge Podge to glue down paper work in small areas so you can smooth out the surface and hold it down for a few seconds so it holds properly. otherwise you can get bubbles or areas that just are not glued down.
I added ripped strips of the tissue paper to both parts of the box, adhering each time with the Modge Podge. With thin papers like tissue paper you need to add glue to both the underside and over top.
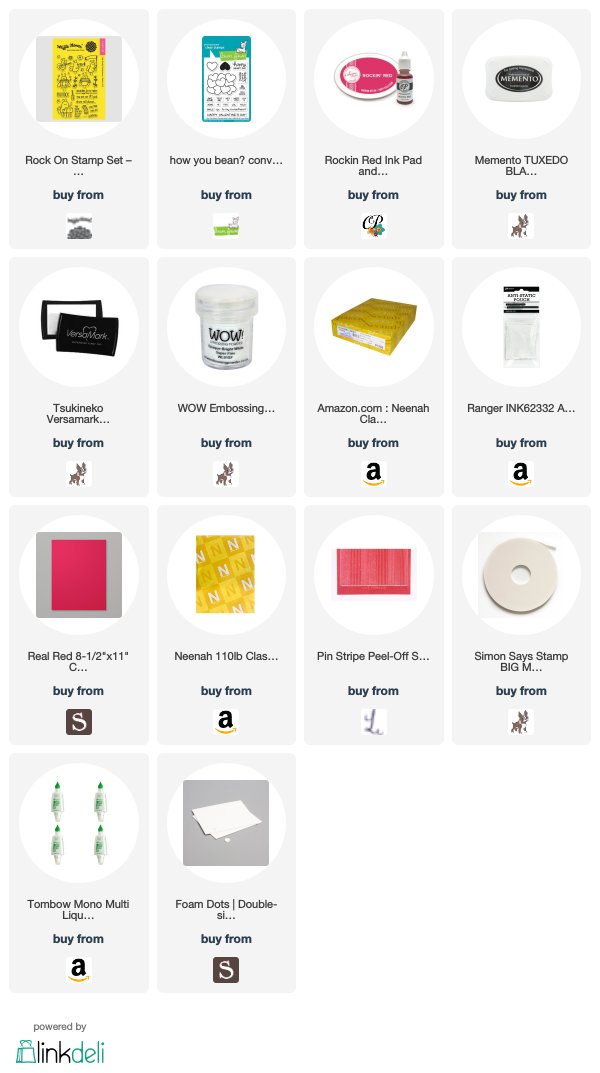
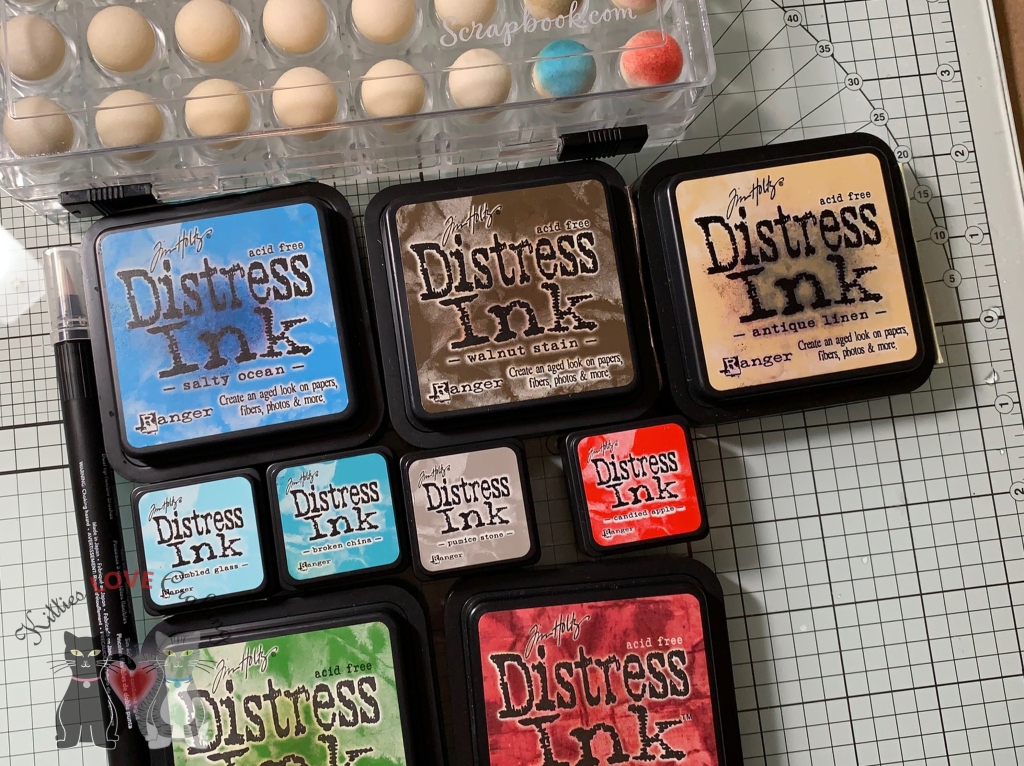
Hello friends. Today I’m focusing on using distress markers, ink and watercolors to create different looks using one stamp. I bought this Tim Holtz Wood Mount Iced Coffee Sketch Stamp several months ago and was saving it for the holidays because I don’t know about you but I’m all about specialty coffees during the holidays. These are available in my shop for purchase If you’re interested.
For the first card, I stamped the coffee cup image onto a piece of Montval Acid Free Coldpress Watercolor Paper, measuring 3-3/4 x 5” with Ranger Archival Jet Black Ink and colored the image with Distress Markers. I love distress markers and don’t use them enough! I used Pumice Stone and Picket Fence for the whipped cream, Shabby Shutters and Peeled Paint for the straw, Antique Linen and Ground Espresso for the coffee cup, Candied Apple and Fired Brick for the sleeve and Tumbled Glass for the background.
On the inside of the card, I added a strip of the same red and white striped pattern paper, measuring 1 x 5-1/4” and stamped another greeting in Peeled Paint Distress Oxide Ink from the same stampset.
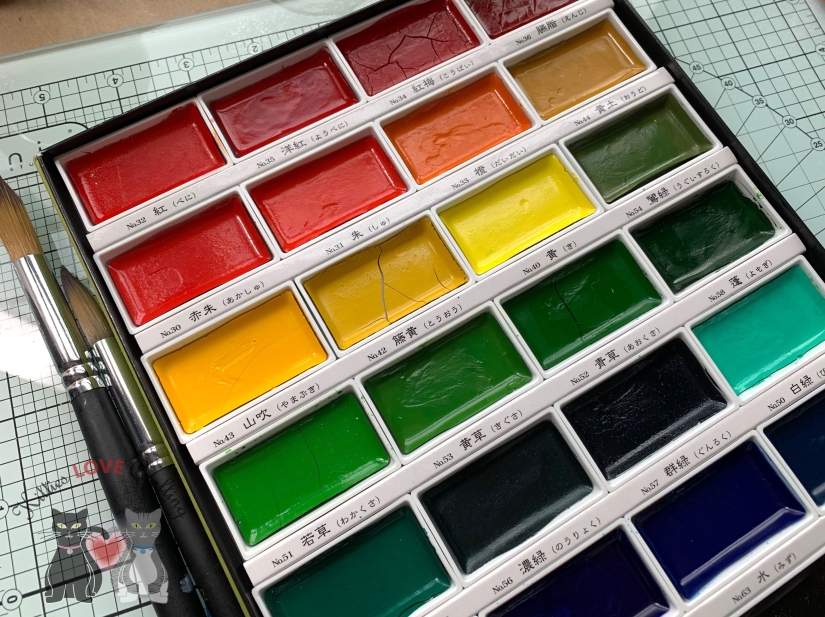
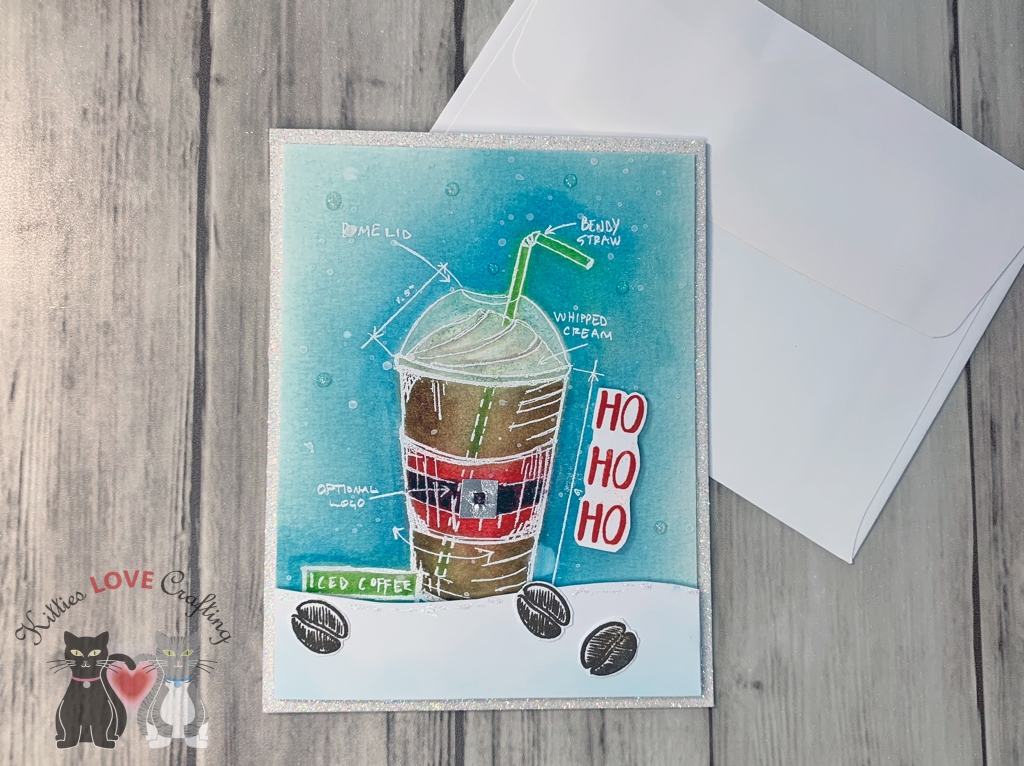
For the second card, I stamped the coffee cup image onto a piece of Montval Acid Free Coldpress Watercolor Paper, measuring 3-3/4 x 5” with Ranger Archival Jet Black Ink and colored the image with my Kuretake Gansai Tanbi 36 Watercolor Set. I taped the image panel down to my glass mat with some Blue Painters Tape and I used 20, 10, 64 and 95 for the whipped cream, 63 and 10 for the lid, 30 and 36 for the straw, 43, 47 and 10 for the coffee cup, 51 and 54 for the sleeve, and 50, 64, and 10 for the background. I added splashes with some of the gold watercolor from the set.
Thanks for reading this post and I hope I’ve inspired you to give these cards a try on your own. Leave comments or questions below or feel free to email.


 https://linkdeli.com/widget.js?id=36e575d4b4503edd8f9a