Happy Monday friends! Easter is fast approaching and even though we may not gather with all our families this year, we can still share happy sentiments with our loved ones by sending cards and gifts. We are going to have to get creative this year folks! Maybe instead of a community Easter Egg Hunt, try one in your back yard or inside your house. Decorate some cookies with your kids. For thedr two cards I used the very cute Hello Easter stampset from Simon Says Stamp. I like that the images are nice and big so they are easy to color and fill up more space on a card.

For the first card I started by cutting a piece of Simon Says Stamp Card Stock 100# 8 1/2 x 11″ Ivory to 5-1/2 x 8-1/2″ and scored at 4-1/4″ for a card base. Then I used the Tags, Etc. Dies by Catherine Pooler to cut a piece of Canson Montval Acid-Free Cold Press Watercolor Paper, 140 lb, 18 X 24 in, Natural White as well as a piece of Neenah 110lb Classic Crest Cardstock 8.5 X 11″. Next I used the Lawn Fawn Simple Grassy Hillsides Lawn Cuts Dies to cut out a grassy hillside from the piece of Neenah 110lb Classic Crest Cardstock 8.5 X 11″ that already has a scallop edge. I made it about 2-1/4″ in height so this piece will measure 2-1/4 x 4″.

Once everything was diecut, it was time to ink the background. I used the My Favorite Things Mini Cloud Edges Mix-ables Stencil in combination with Tim Holtz Tumbled Glass Distress Oxide Ink and Tim Holtz Salty Ocean Distress Oxide Ink and my Ink Blenders to add clouds to the top 2/3 of the panel. I sprayed some water using my Tim Holtz Distress Sprayer by Ranger to add texture. Once it dried, I ran the panel through a diecutting machine using Taylored Expressions Raindrops Embossing Folder to add some raindrops.
Then I used Tim Holtz TWISTED CITRON Distress Oxide Ink and Tim Holtz Mowed Lawn Distress Oxide Ink for the grassy hillside. I again used the Tim Holtz Distress Sprayer by Ranger to add water droplets and create more interest. I let that dry and then adhered both pieces to the card base. I popped up the grassy hillside with 3M Foam Tape.
I stamped the ducky, large Easter egg, and the chickadee with 3 eggs from all the images I needed from Hello Easter stampset from Simon Says Stamp and the two eggs from SSS Some Bunny (not available anymore I believe) with Memento Tuxedo Black Ink onto Neenah 110lb Classic Crest Cardstock 8.5 X 11″. Once dried, I colored the images with COPIC markers. I used BG000 + 0 Blender for mini eggs and YG05 + YG07 for the grass; Y06 and Y18 for the both chicks; RV000 + RV11 for the chick’s bow; YR12 + YR16 for the chock beaks and feet; V06 + V09 for the umbrella top and BV08 + V09 for the umbrella underside, YR12 +YR07 + YR16 for the umbrella bow; Y06 + Y18 for the umbrella medallion; RV09 + RV14 + RV19 for the large egg, BG000 + BG01 + BG02 for the egg’s stripes and Y06 + Y18 for the egg’s bow; YR12 + YR16 and V06 + V09 for the small polka egg; and RV000 + RV11 and BG000 + BG01 for the small stripe egg. I fussycut the images out and adhered them to the card. I added 3M Foam Tape behind the images that hung over the edge of the grass.

I finished the card by adding some white highlights to the images with a White Uni-Ball Signo Broad Point Gel Pen and shimmer to the umbrella bow, the chick’s bow and the small eggs with Spectrum Noir Clear Overlay Sparkle Fine Glitter Brush Pens. I also added Ranger Glossy Accents Glue Dimensional Adhesive to the small egg trio.
On the inside of the card, I stamped “Happy Easter” and the chick from the Hello Easter stampset from Simon Says Stamp with Memento Tuxedo Black Ink and colored in the chick’s feet and beak and added some pink for the cheeks.

Dimensions
- Card Base = 5-1/2 x 8-1/2″ and scored at 4-1/4″ Simon Says Stamp Card Stock 100# 8 1/2 x 11″ Ivory
- Top Panel = 4 x 5-1/4” Canson Montval Acid-Free Cold Press Watercolor Paper, 140 lb, 18 X 24 in, Natural White; 2-1/4 x 4″ Neenah 110lb Classic Crest Cardstock 8.5 X 11″
For the second card I started by cutting a piece of Simon Says Stamp Cornflower Blue 8.5×11 cardstock to 5-1/2 x 8-1/2″ and scored at 4-1/4″ for a card base. I cut a piece of light aqua scallop paper from Lawn Fawn REALLY RAINBOW SCALLOPS 6×6 Petite Paper Pack to 4-1/4 x 5-1/2″ and 2 pieces of the green plaid paper from Lawn Fawn 6×6 Perfectly Plaid Spring Petite Paper Pack to 2 x 4-1/4″ and then used one of the Lawn Fawn Simple Grassy Hillsides Lawn Cuts Dies on both. I used some Tim Holtz PEELED PAINT Distress Mini Ink to ink around the edges of the grassy edges.
I diecut a piece of Stampin’ up! Vellum 8-1/2″ X 11″ Cardstock with the My Favorite Things PEEK A BOO POLKA DOTS Die-Namics. I adhered the vellum piece to the aqua scallop paper and those to the card base.

Then I stamped the bunny, 2 tulip bundles and 1 daffodil from the Hello Easter stampset from Simon Says Stamp and the eggs from the SSS Some Bunny (not available anymore I believe) with Memento Tuxedo Black Ink onto Neenah 110lb Classic Crest Cardstock 8.5 X 11″. I colored the images with COPIC markers. I used N1 + N2 + N5 for the bunny, R20 + R32 for the bunny ears, cheeks and nose, R05 + R08 + R59 for the bunny’s bow; R20 + R32 and R32 + R37 for the tulips; and R08 + R59 and Y06 + Y18 for the daffodil. I fussycut all the images.

Using a stamp platform I stamped “Happy Easter” with Memento Tuxedo Black Ink onto one of the green plaid grassy hillsides. Then I prepped the piece with my EK Success Antistatic Powder Tool Applicator and restamped the sentiment with Versamark Ink and added WOW CLEAR MATTE DULL Embossing Powder.
I adhered one piece of the grassy areas directly onto the card with Tombow Mono Multi Liquid Glue and the one with the sentiment with some 3M Foam Tape. I then adhered all the images, adding 3M Foam Tape behind the striped egg. I finished it off by adding to Ice Blue Mirror Pin Stripe Peel-Off Stickers by Love From Lizi to the top of the card.
For the inside of the card, I cut a piece of Neenah 110lb Classic Crest Cardstock 8.5 X 11″ to 4 x 5-1/4″ and adhered it to the inside of the card. I cut a piece of the aqua scallop pattern paper from Lawn Fawn REALLY RAINBOW SCALLOPS 6×6 Petite Paper Pack to 1 x 4″ and the green plaid pattern paper from Lawn Fawn 6×6 Perfectly Plaid Spring Petite Paper Pack to 3/4 x 4″ and adhered them at the bottom of the panel. Lastly, I stamped the bunny with Memento Tuxedo Black Ink and colored his cheeks. And that completes this card.

Dimensions
- Card Base = 5-1/2 x 8-1/2″ and scored at 4-1/4″ Simon Says Stamp Cornflower Blue 8.5×11 cardstock
- Top Panel = 4-1/4 x 5-1/2″ Lawn Fawn REALLY RAINBOW SCALLOPS 6×6 Petite Paper Pack; 2-1/4 x 4″ Neenah 110lb Classic Crest Cardstock 8.5 X 11″
- Inside Panel = 4 x 5-1/4″ Neenah 110lb Classic Crest Cardstock 8.5 X 11″; 1 x 4″Lawn Fawn REALLY RAINBOW SCALLOPS 6×6 Petite Paper Pack; 3/4 x 4″ Lawn Fawn 6×6 Perfectly Plaid Spring Petite Paper Pack
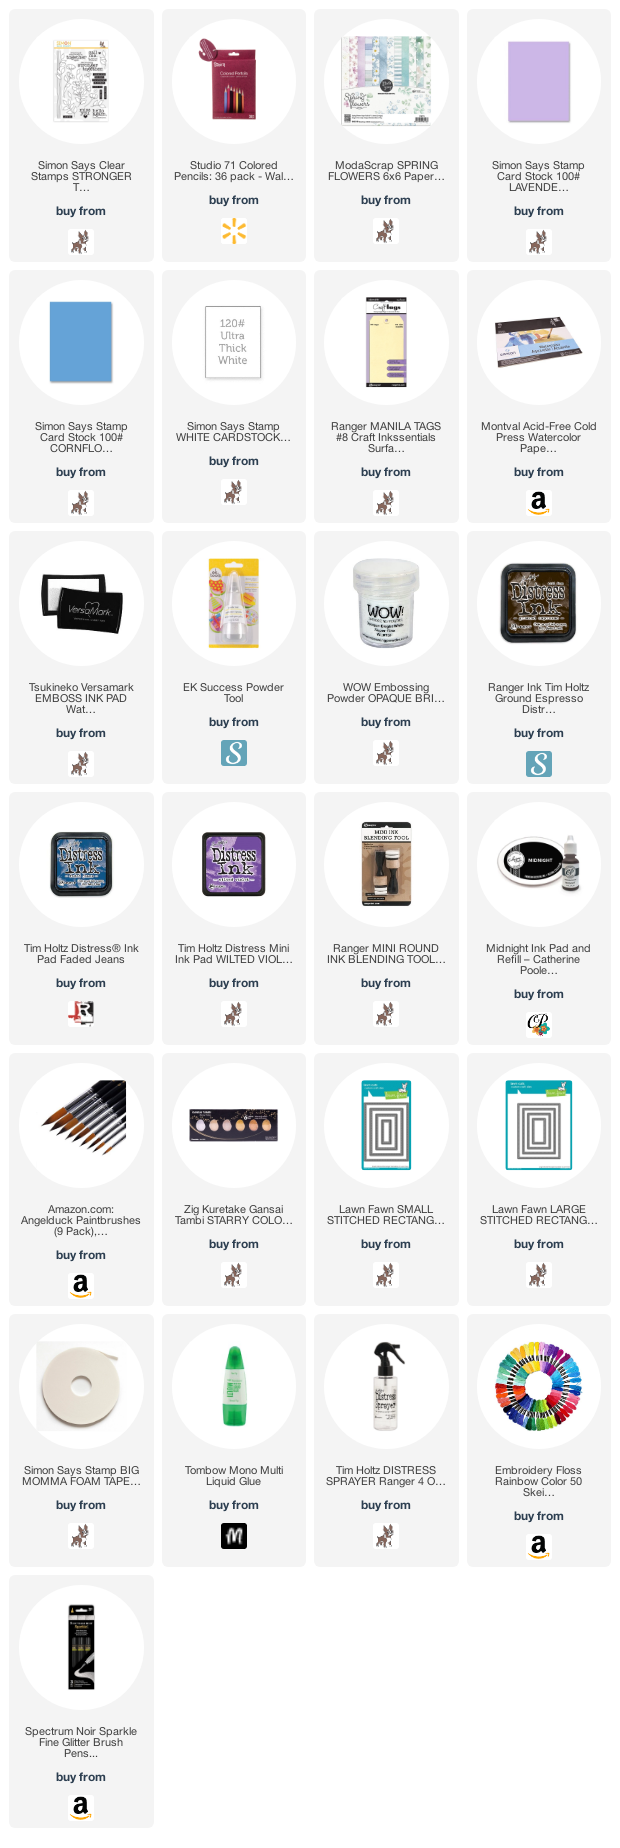
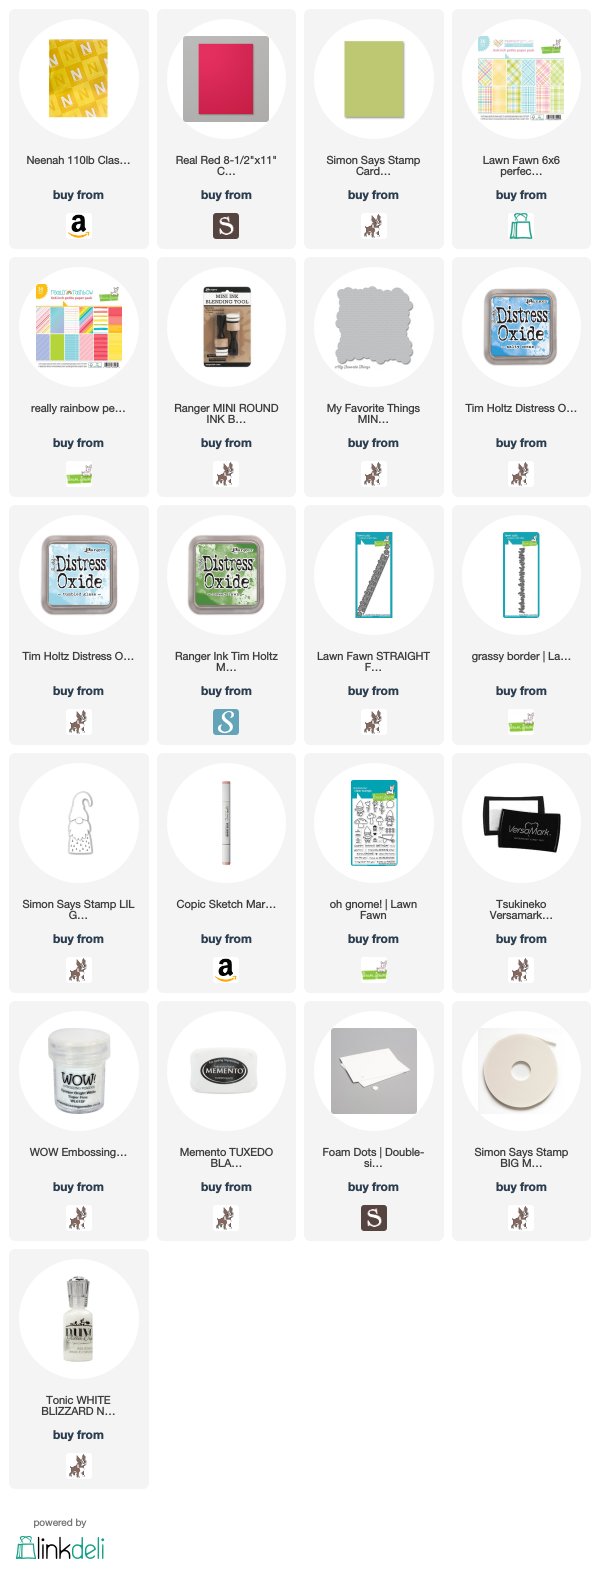
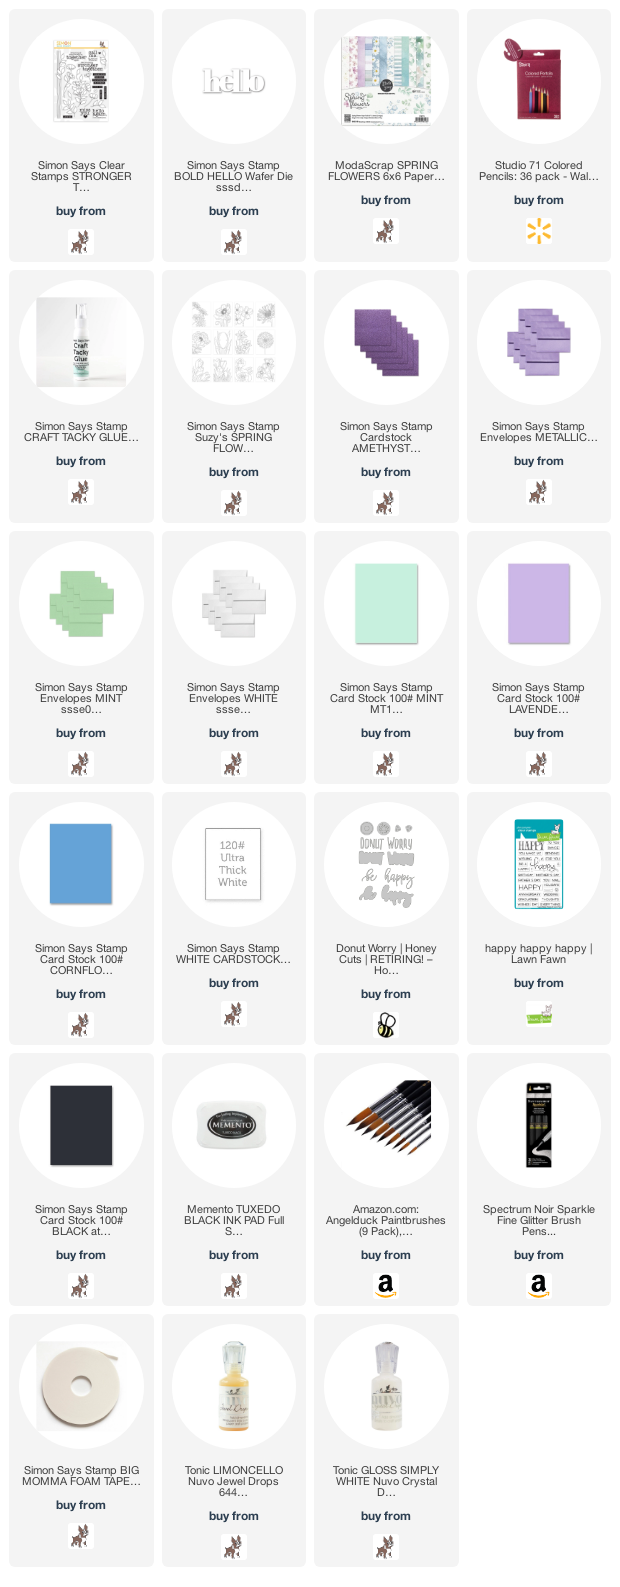
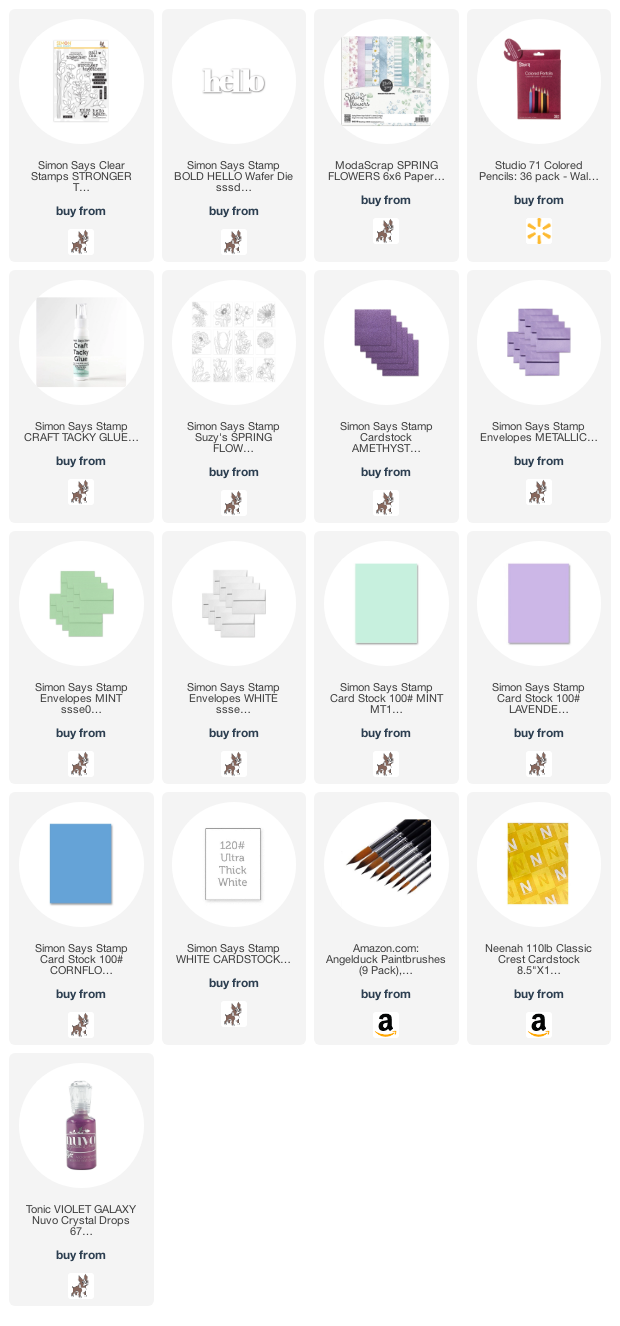
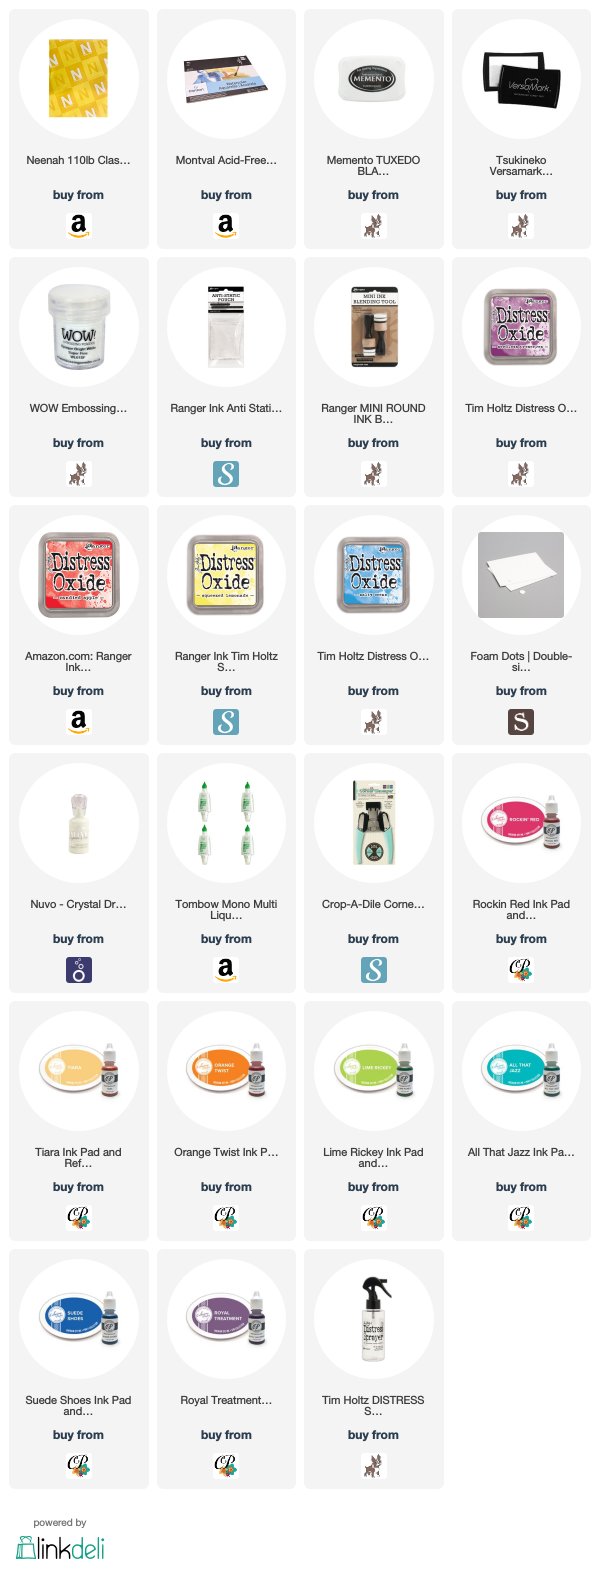
Supplies
 https://linkdeli.com/widget.js?id=36e575d4b4503edd8f9a
Thanks for reading this post. I hope you enjoyed and I’ve inspired you to give these cards a try for yourself. Have a great Easter! Leave comments or questions below or feel free to email.