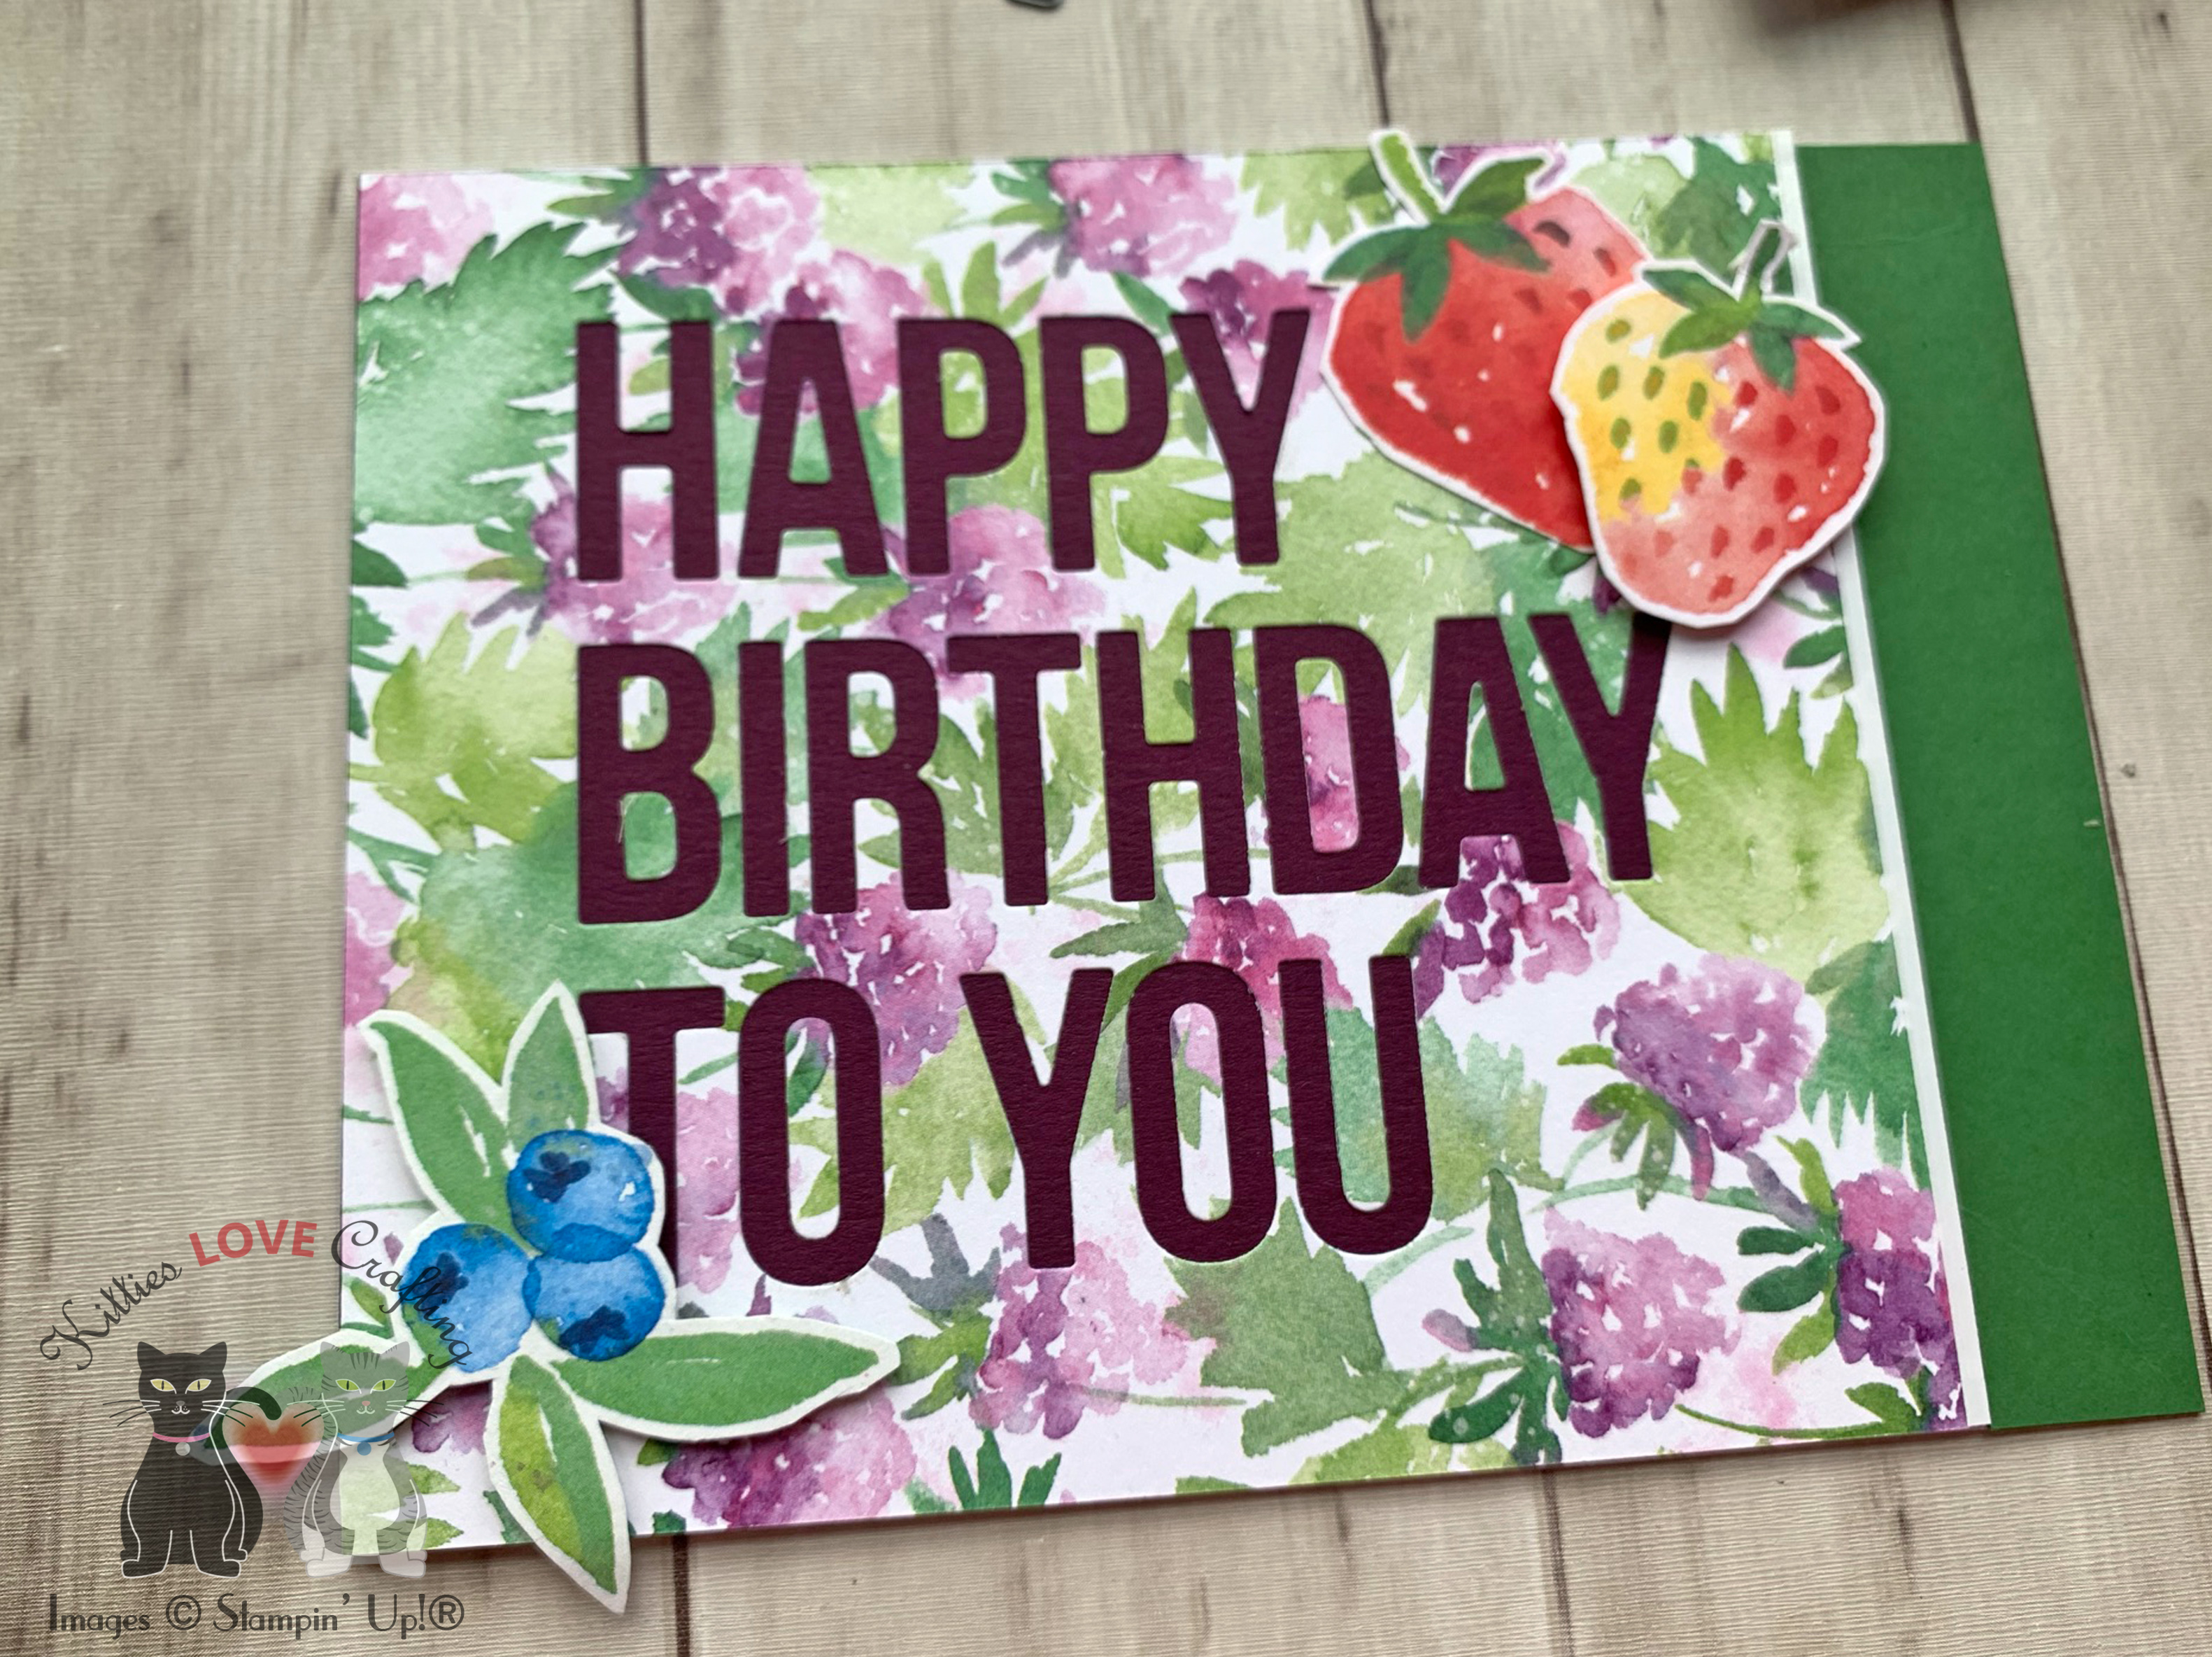
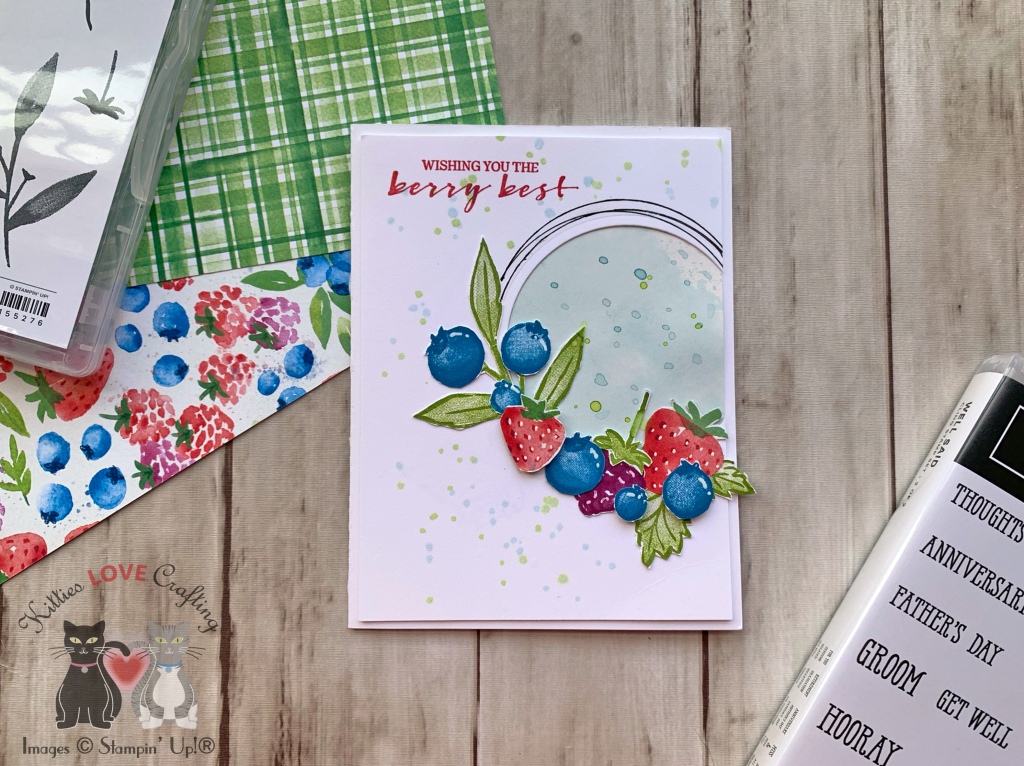
Hi friends. I tried something new with my background dies which gave me a cool 3-dimensional background. I combined the Catherine Pooler Designs Narrow Stripe Cover Plate and the Catherine Pooler Designs Sprinkles Mini Cover Plate to create this fun background. It was super easy. Here’s how I did it…

For this card, I cut a piece of Neenah 110lb Classic Crest Cardstock to 5-1/2 x 8-1/2″ and scored at 4-1/4″ to create the card base. I also cut a piece of Lawn Fawn Gotta Have Gignham Rainbow 12×12 Collection Pack to 4 x 5-1/4″ for the top panel. I die cut two pieces of Neenah 110lb Classic Crest Cardstock with the frame from the Catherine Pooler Designs Sprinkles Mini Cover Plate (3/4 x 4-1/2″) and then used the Catherine Pooler Designs Narrow Stripe Cover Plate to diecut that piece. Then added every other stripe to the rectangle panel I previously die cut to create a tone-on-tone 3-d effect for my background.
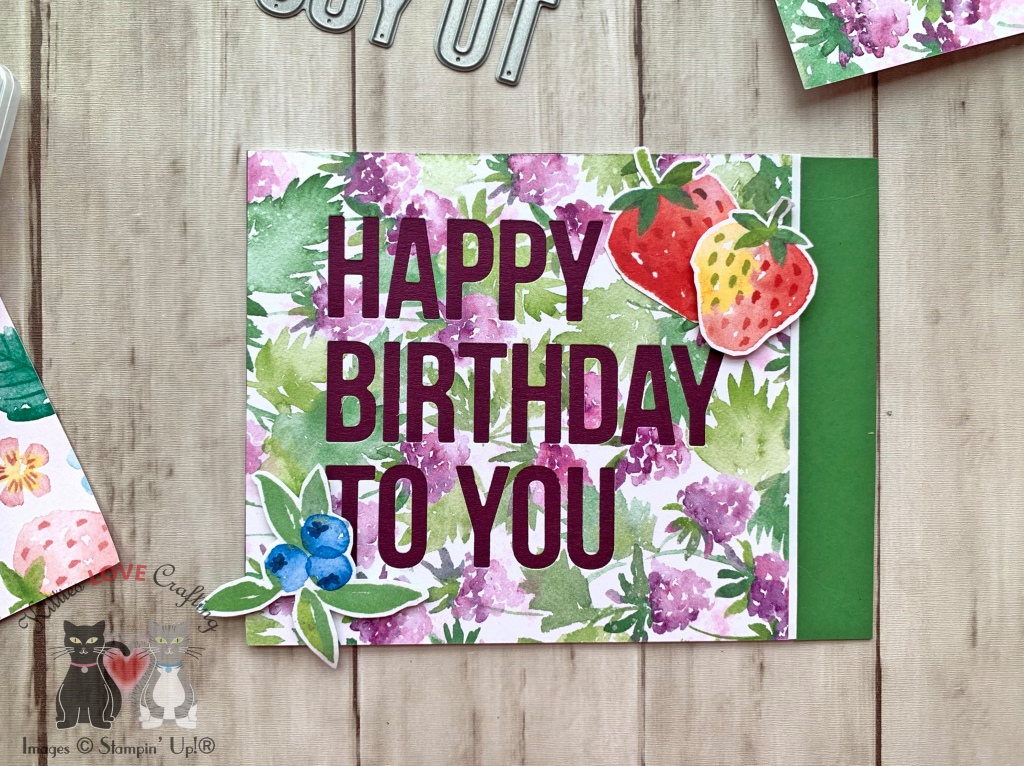
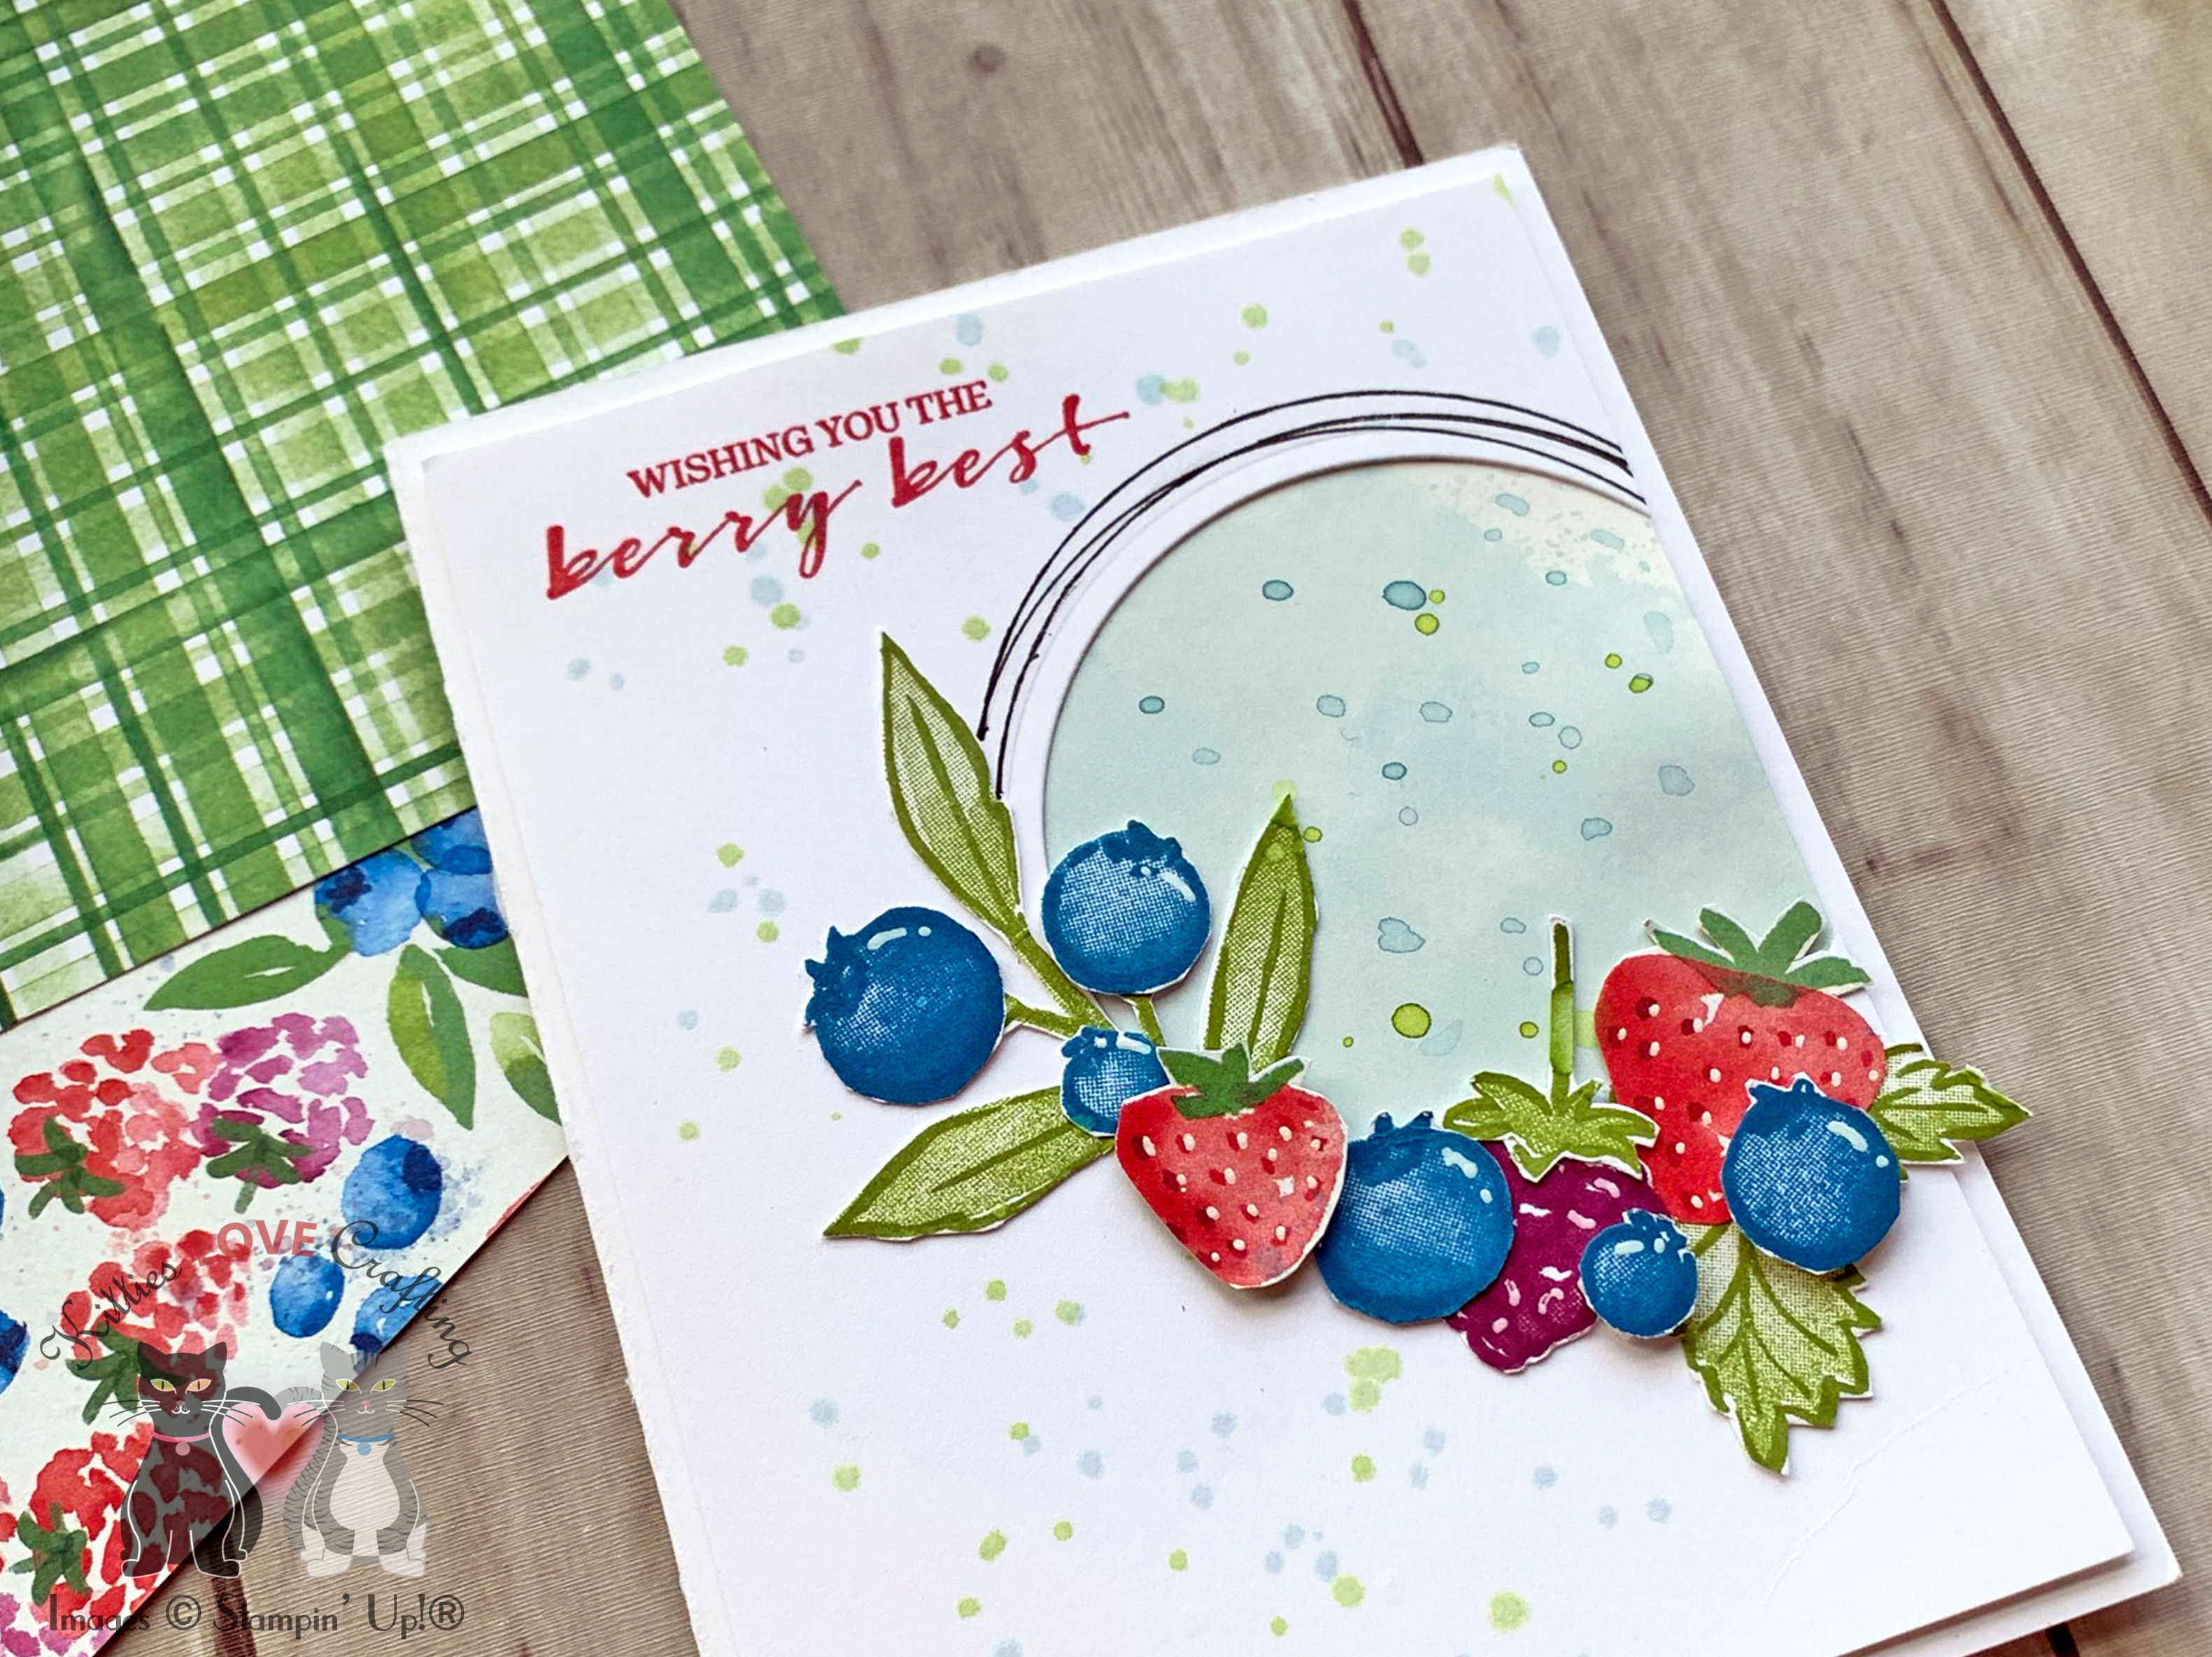
I stamped and colored all my images from the Lawn Fawn How You Bean? and Lawn Fawn How You Bean? Strawberries Add-on stampsets. I stamped them onto some Neenah 110lb Classic Crest Cardstock with Memento Tuxedo Ink. I colored the images with Copic Markers. I used BG000 + 0 for the mason jar and R22, R05 + R27 and YG05 + G07 for the strawberries. Then I die cut all the images using the coordinating dies.
For the mason jar shaker, instead of using foam tape (which would be a slight pain to add due to the small size) I diecut about 7 mason jars from Neenah 110lb Classic Crest Cardstock using the Lawn Fawn How You Bean? Shaker Add-on and stacked them. I diecut the acetate piece with the same die set (using the background die included) as well as the backing piece for the shaker which I colored with the same copic markers (BG000 + 0).
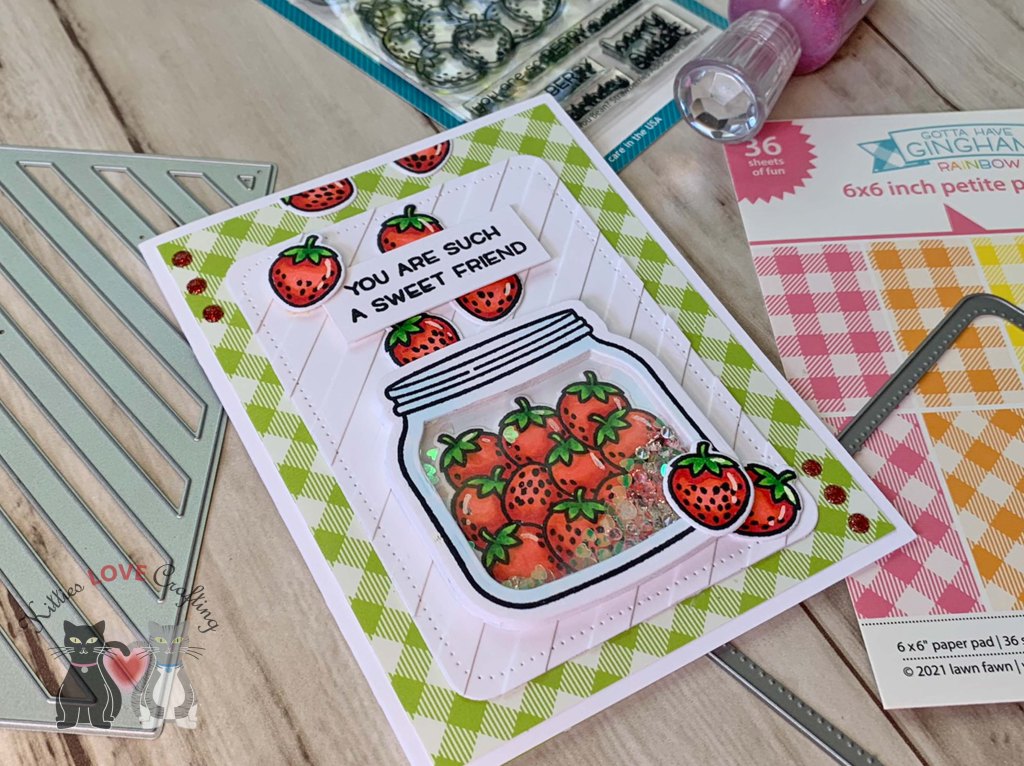
For the shaker element, I used Queen & Co Toppings in Pink and Clear Diamonds and some older Martha Stewart Iridescent Hearts and Stars Glitter (no longer available).
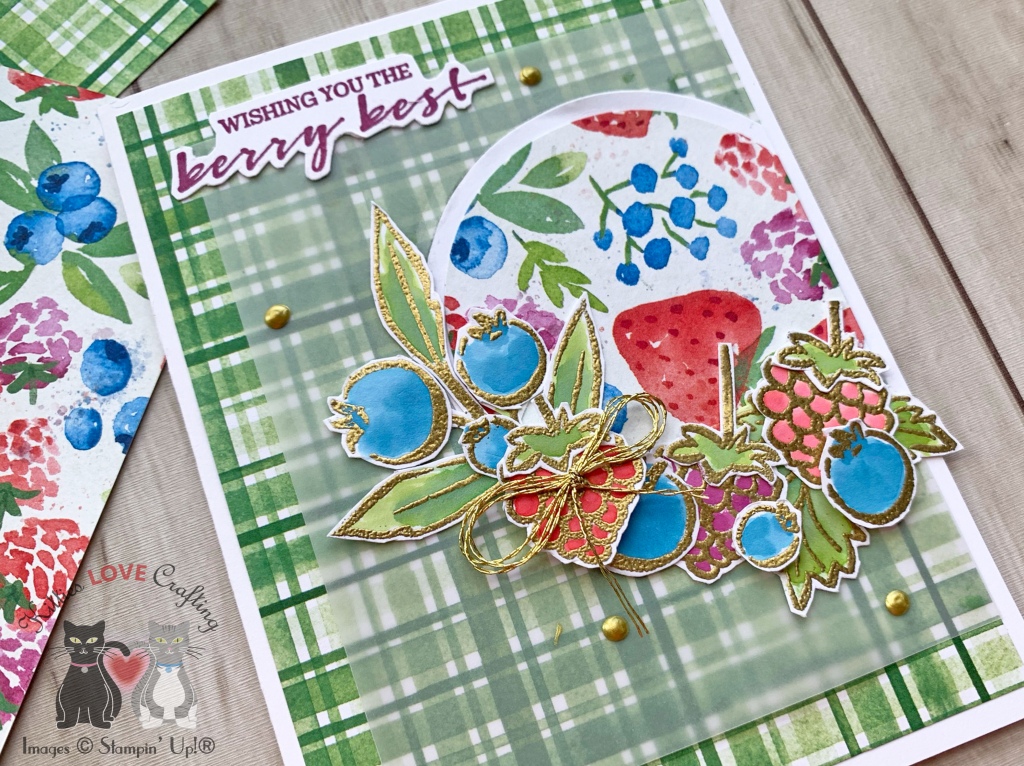
For the sentiment, I stamped one from the Lawn Fawn How You Bean? Strawberries Add-on stampset onto some Neenah 110lb Classic Crest Cardstock with Memento Tuxedo Ink and cut it down to 3/4 x 1″ and popped it onto the card using some 3M Foam Tape.
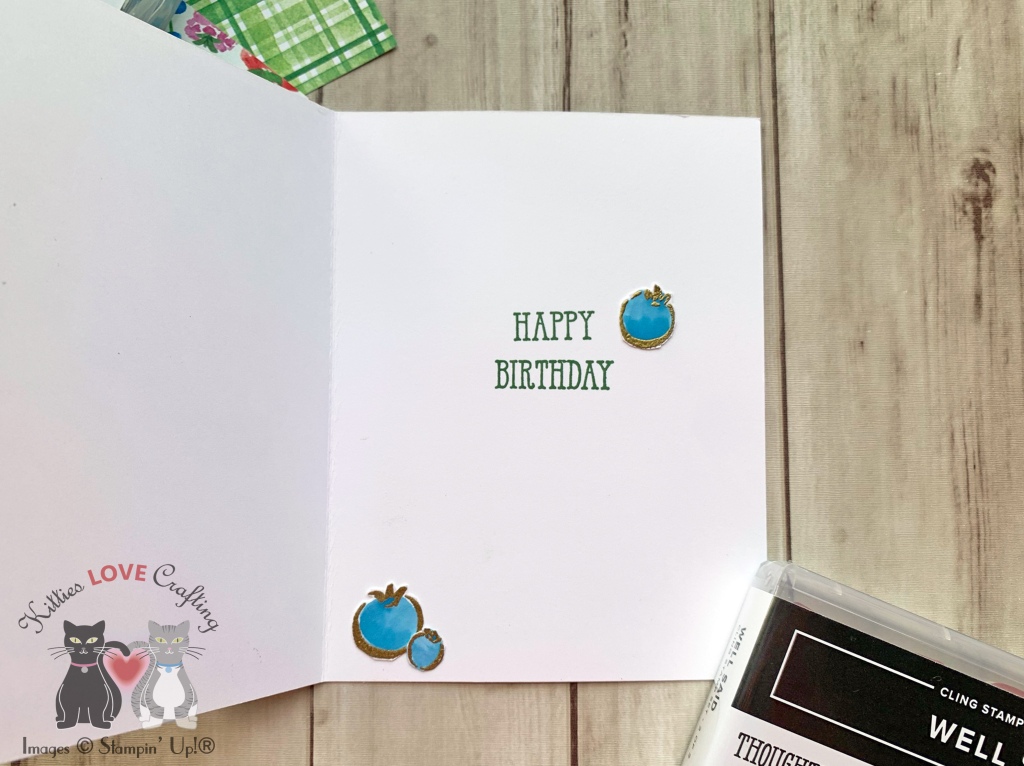
Lastly, I finished it off by adding some highlights with a White Gel Pen. One note: I added the highlights to the strawberries on the inside before adhering it inside the shaker element. I also added some Ruby Slipper Nuvo Glitter Drops to the card.
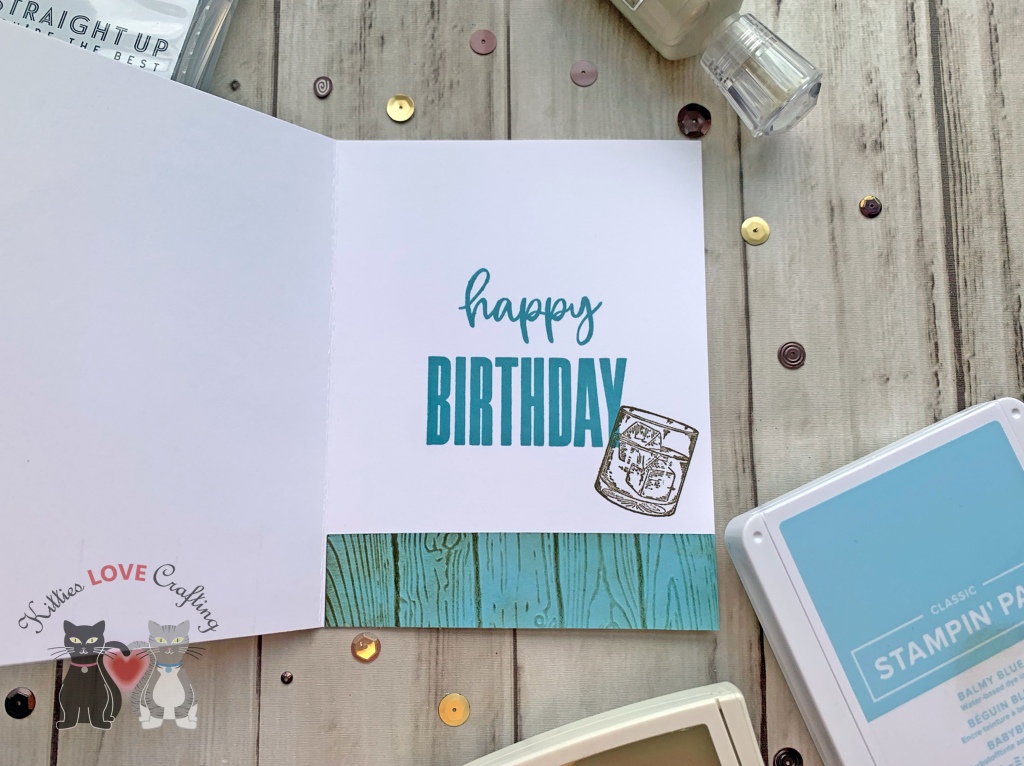
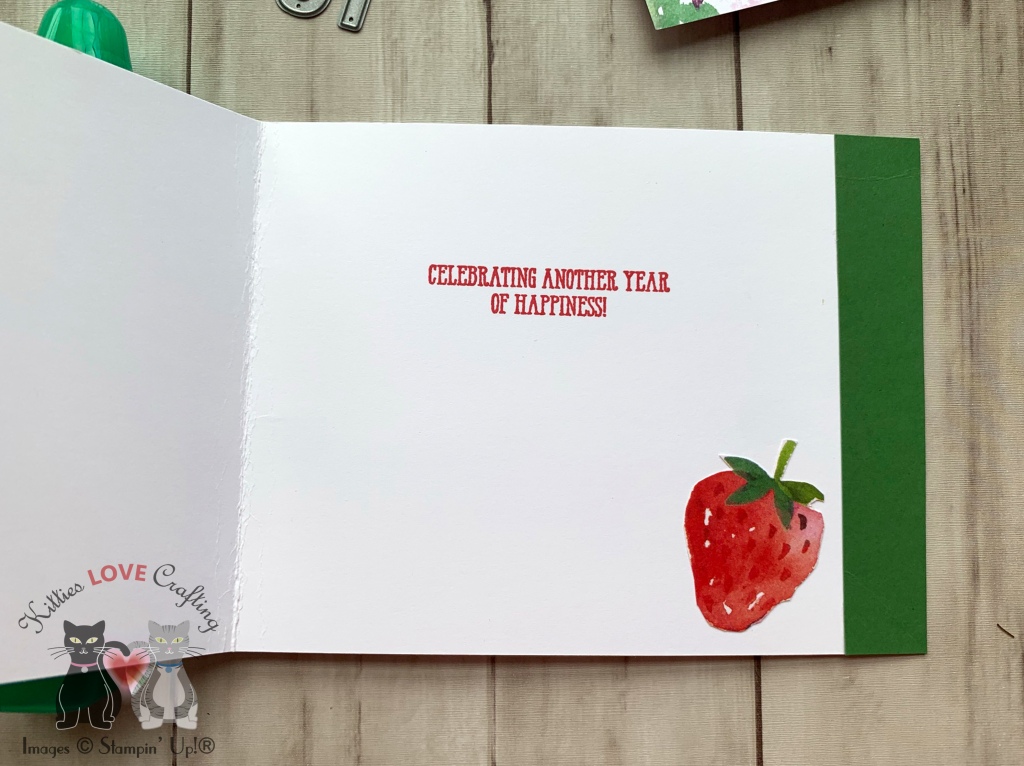
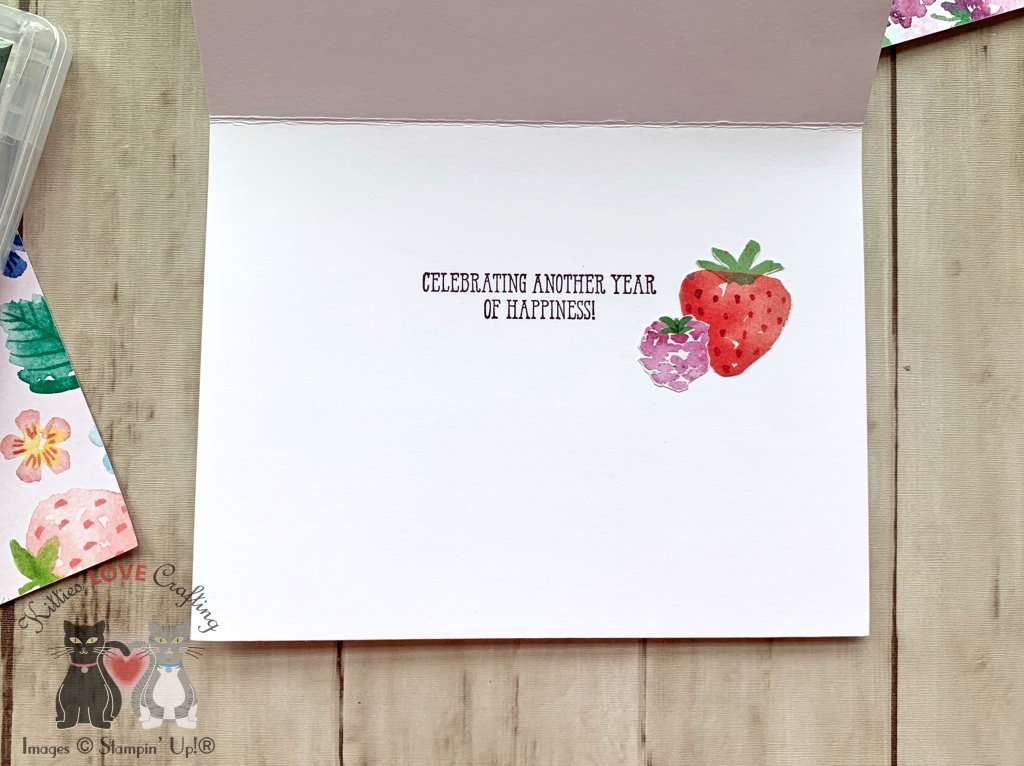
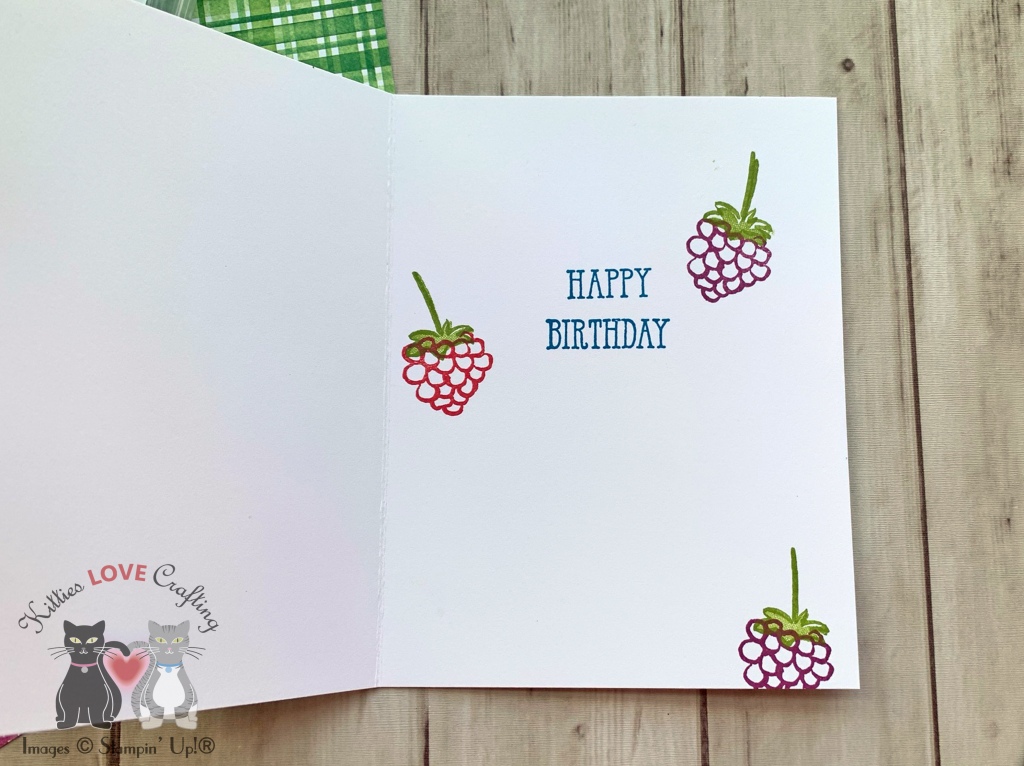
On the inside of the card, I stamped a sentiment from the Lawn Fawn How You Bean? stampset with Stampin’ Up! Real Red Ink. I also added a strip of the same pattern paper from the front of the card measuring 1 x 4-1/4″ and adhered 1/2 a strawberry image I had left over.

Dimensions
- Card Base = 5-1/2 x 8-1/2″ and scored at 4-1/4″ Neenah 110lb Classic Crest Cardstock
- Top Panel = 4 x 5-1/4″ Lawn Fawn Gotta Have Gignham Rainbow 12×12 Collection Pack
- Top Frame Panel = 3/4 x 4-1/2″ Neenah 110lb Classic Crest Cardstock
- Inside Panel = 1 x 4-1/4″ Lawn Fawn Gotta Have Gignham Rainbow 12×12 Collection Pack
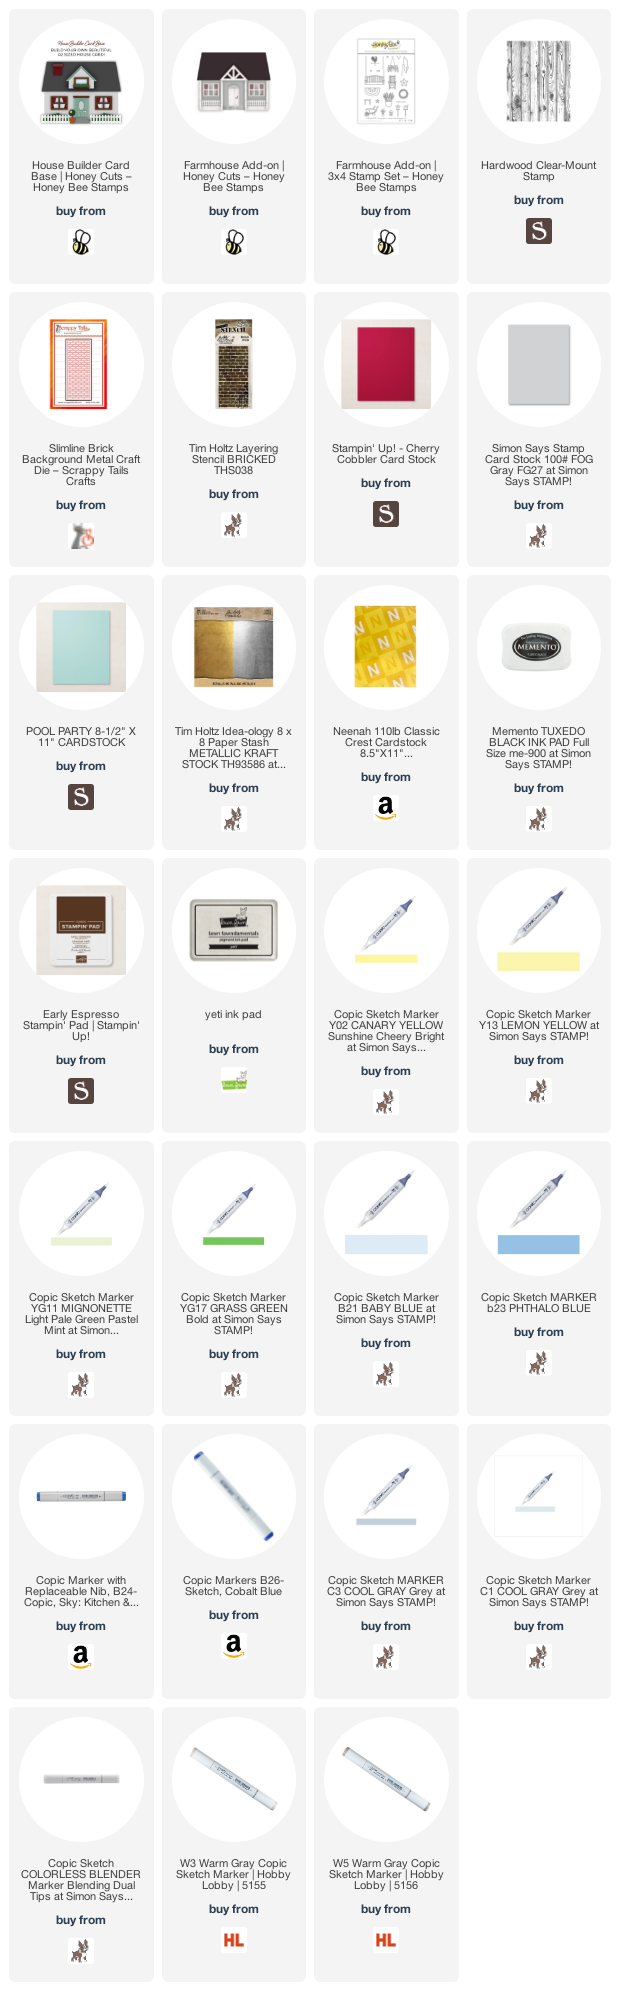
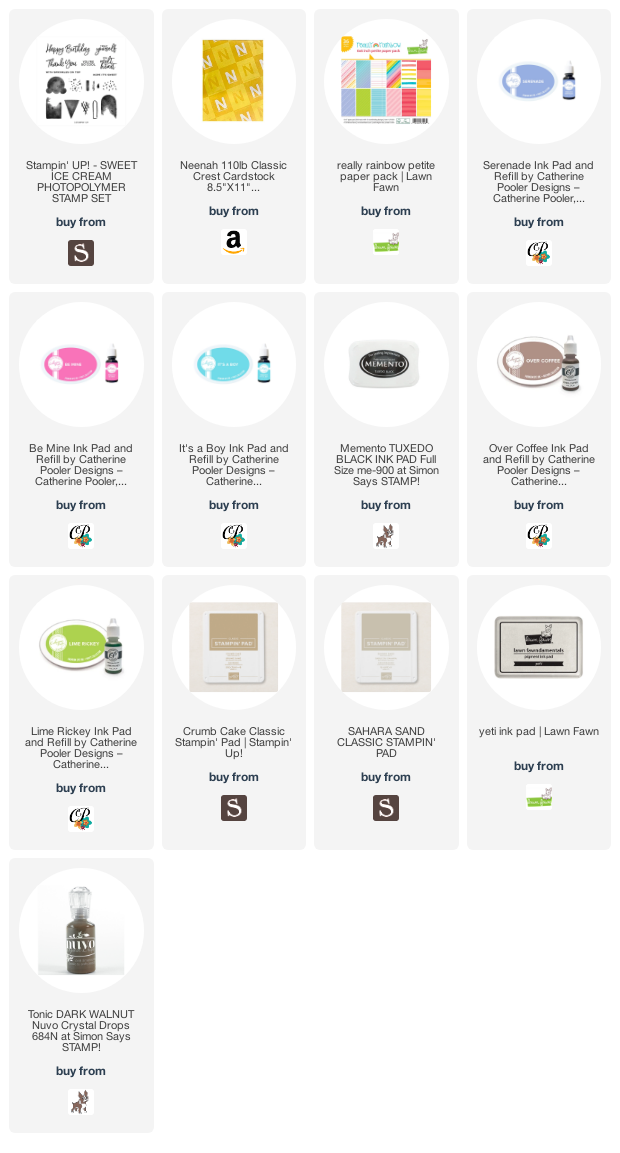
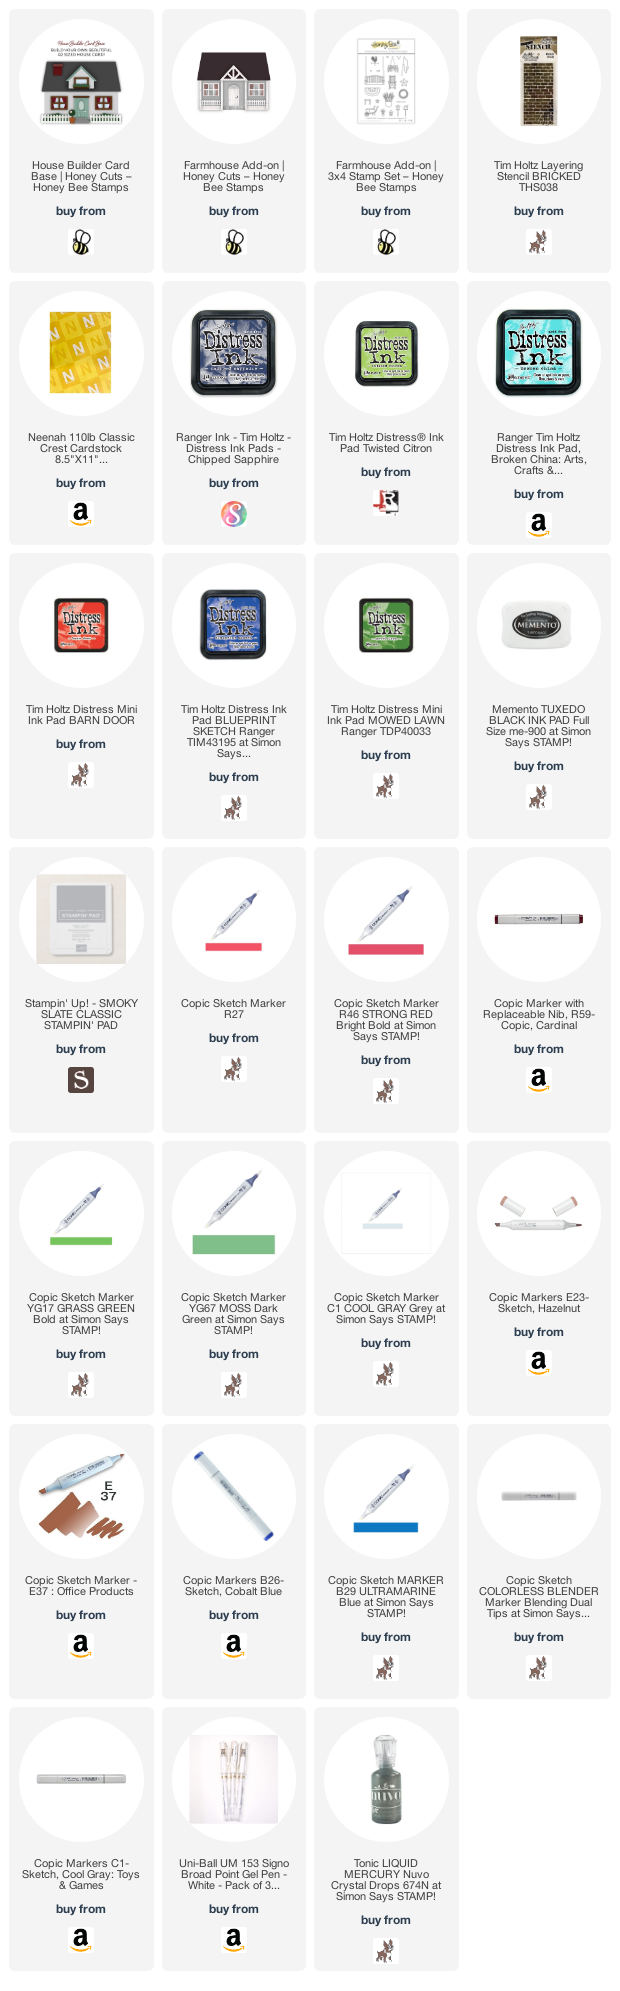
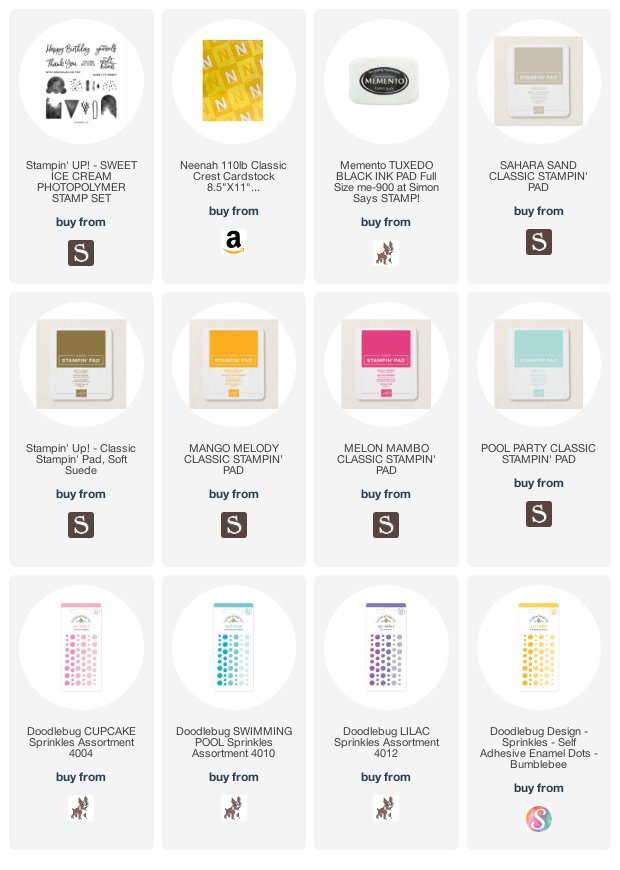
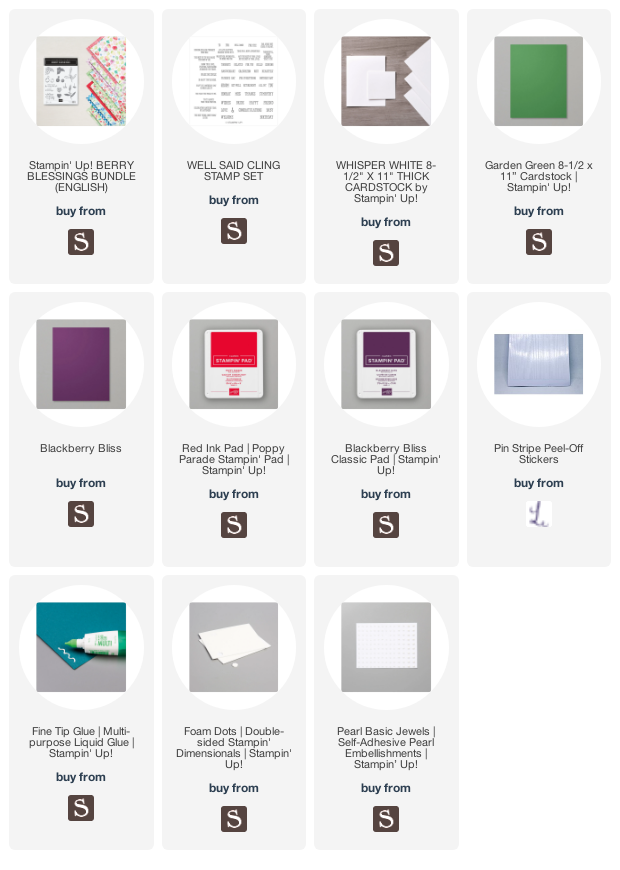
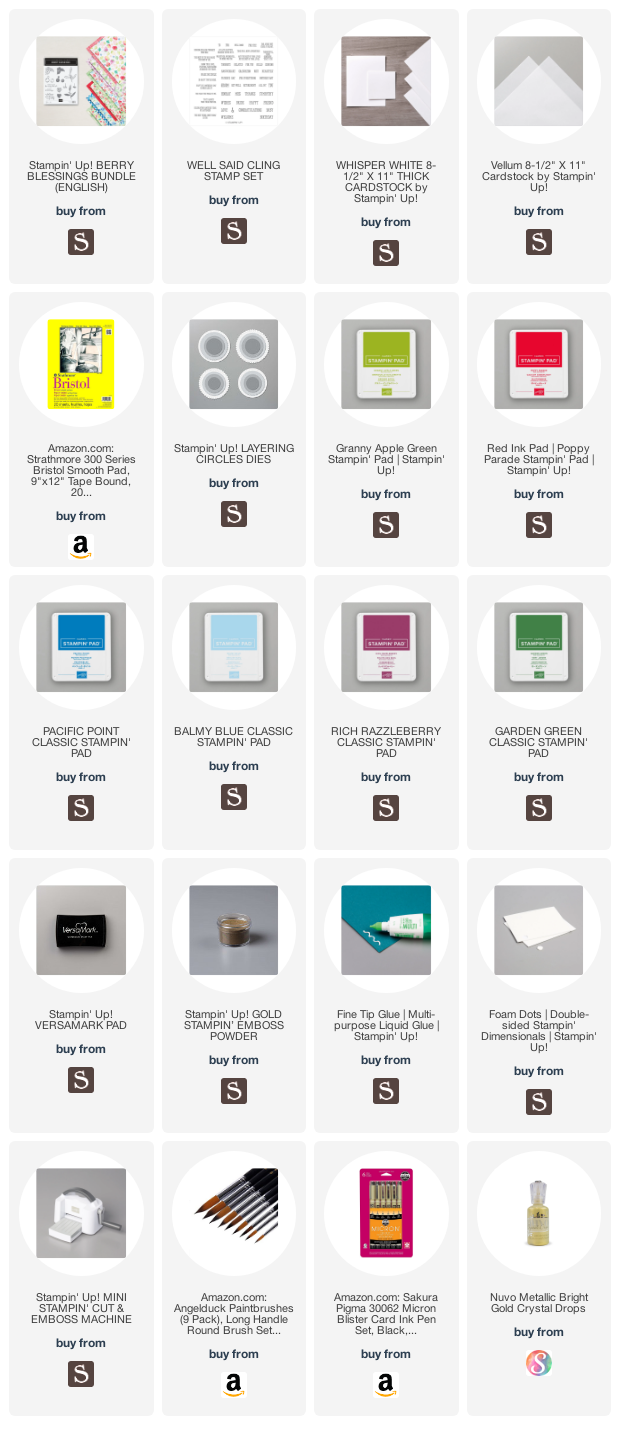
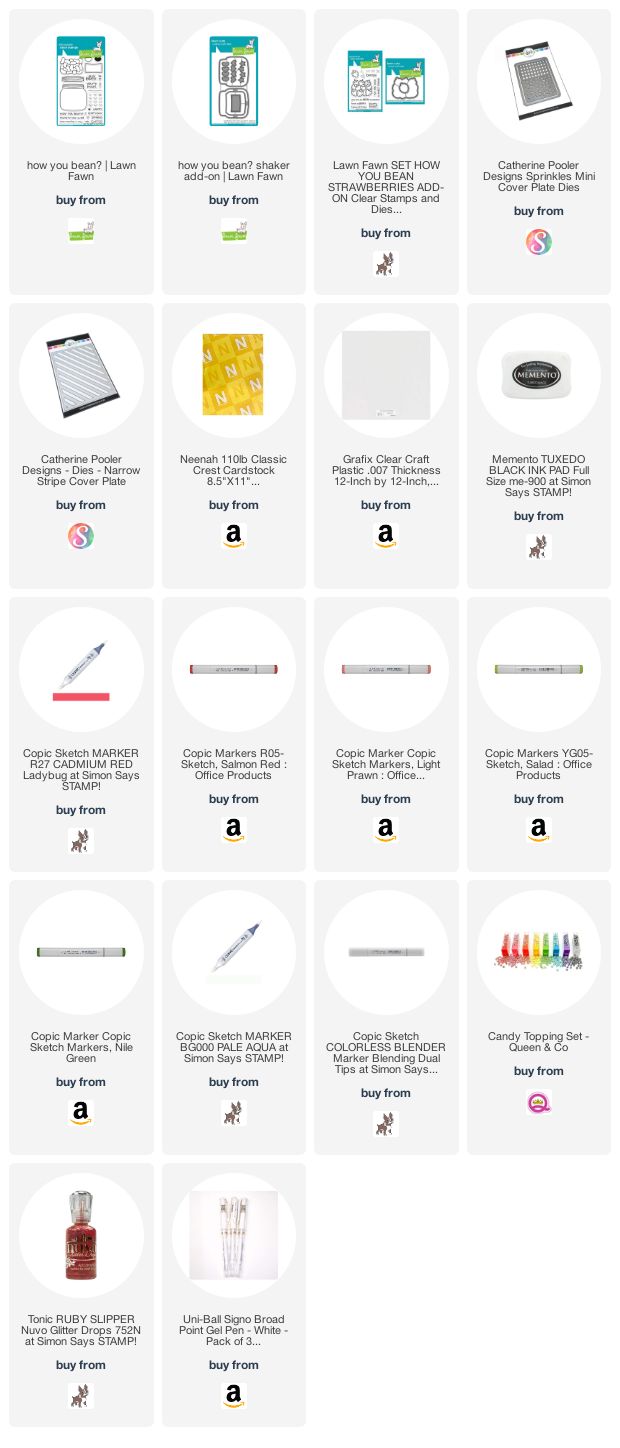
Supplies
 https://linkdeli.com/widget.js?id=f5e8378456858c916708
Thanks for reading this post! I hope you enjoyed and I’ve inspired you to make this cute shaker card yourself! If you want to share you creations with me tag me on instagram @kittieslovecrafting. Leave comments or questions below or feel free to email me.