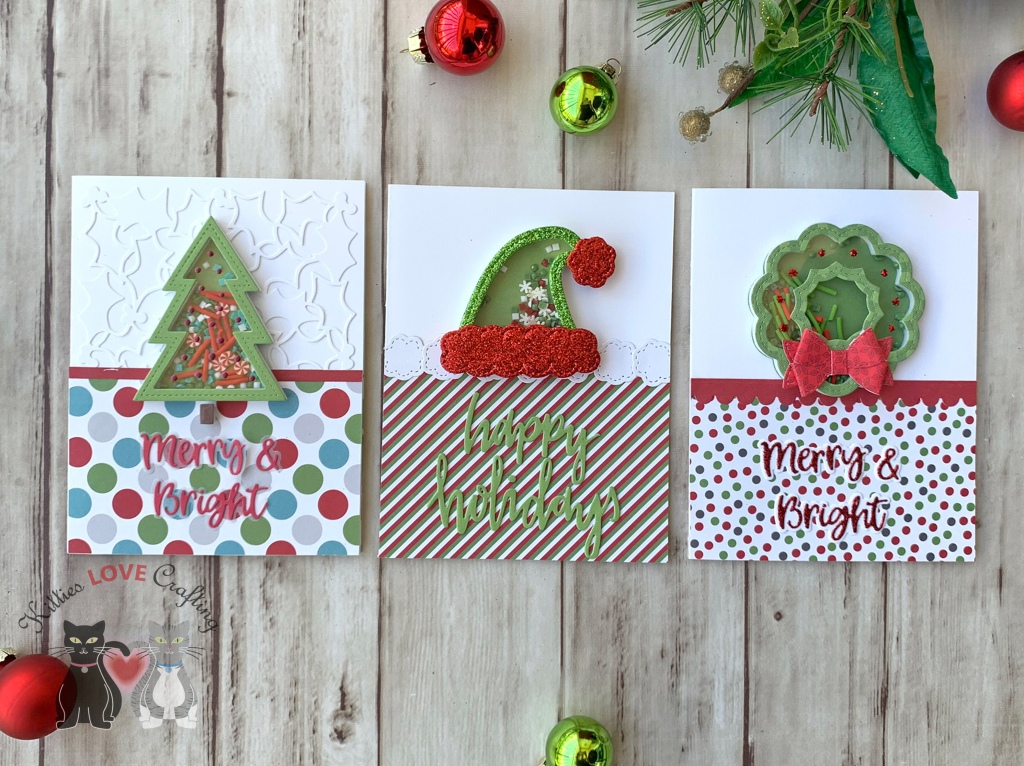
I love most of their shaker kits, but this one by far, the North Pole Kit, is my favorite Queen and Company Card Kit. It pairs great with their Glitter Foam (I used some for the hat card). The kit Includes: 25 steel dies, 6×6 paper pad, 4×6 stamp set, 11 custom toppings and 21 foam and acetate shakers. Tons of goodies to make tons of cards and they sell refills for the paper pad, shaker foam, acetate and toppings!
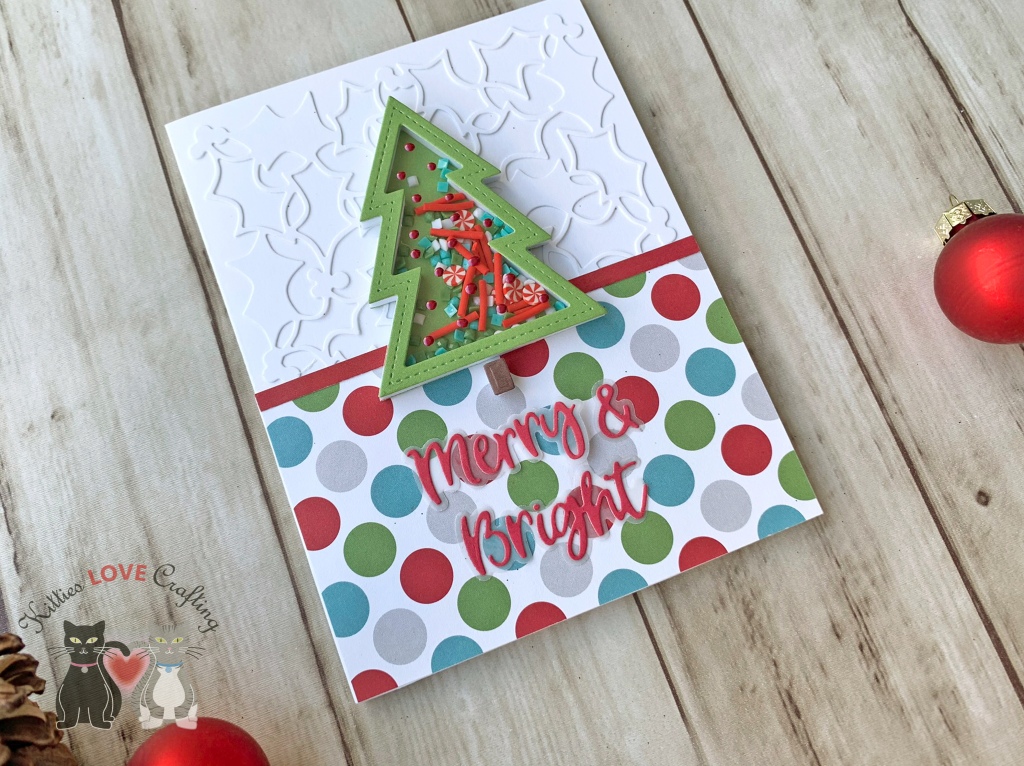
I started these cards by cutting some Neenah 110lb Classic Crest Cardstock 8.5 X 11″ to 5-1/2 x 8-1/2″ and scored at 4-1/4″. I cut three of those to create my card bases. For this first card, I diecut another piece of Neenah 110lb Classic Crest Cardstock 8.5 X 11″ with the Catherine Pooler Designs Holly and Berries Coverplate and adhered it to the card. (Tip: Save the outer border that is cut with this die to use later under the pattern paper. It will even out the papers so there’s no drooping.) I cut a piece of pattern paper from the North Pole Paper Pad (included in the kit) to 2-3/16 x 4-1/4″ and a red strip from the North Pole Solids Paper Pad to 2/16 x 4-1/4″ and adhered them to the card.
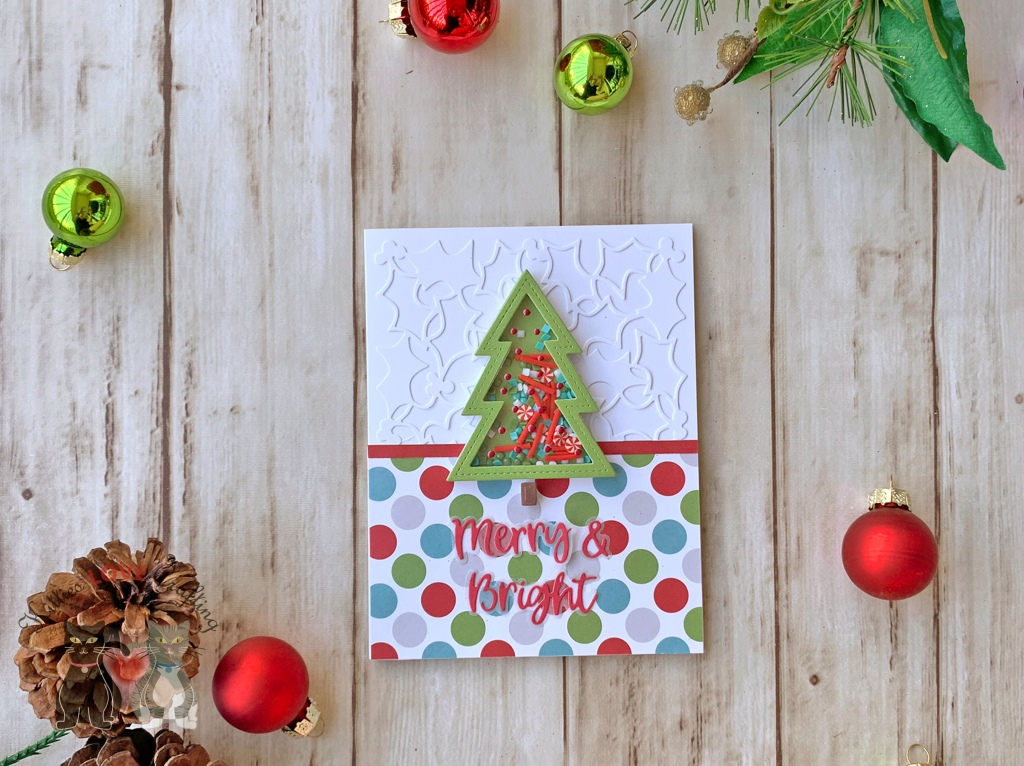
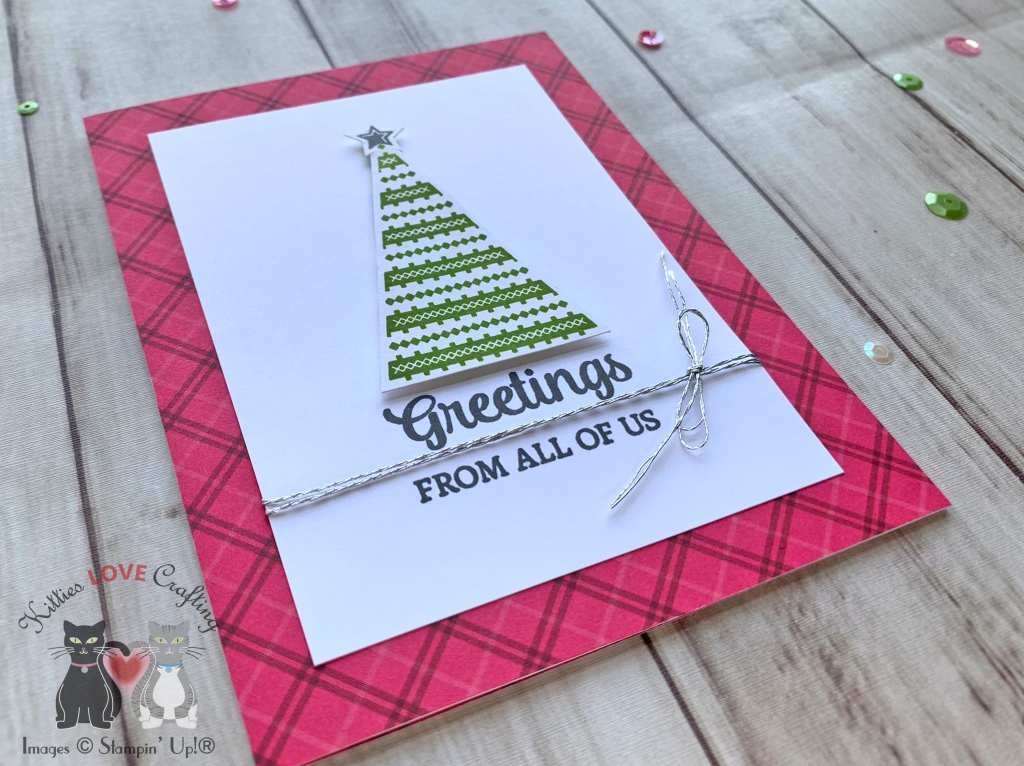
I assembled the tree shaker and added the toppings inside. I used the paper from the North Pole Solids Paper Pad for the tree and the trunk (saved the inside (solid) piece of the tree frame). I added some left over foam from the shakers to the tree trunk. I save all the extra foam from the shakers because they can be used on other cards.
I used the Queen and Company Sentiment Stacker Dies #1 and the North Pole Solids Paper Pad to diecut “Merry & Bright” and some Vellum for the shadow, adhered them together and to the card. I added the tree and trunk to the card and finished it off by adding some Nuvo – Crystal Drops in Autumn Red to the tree.
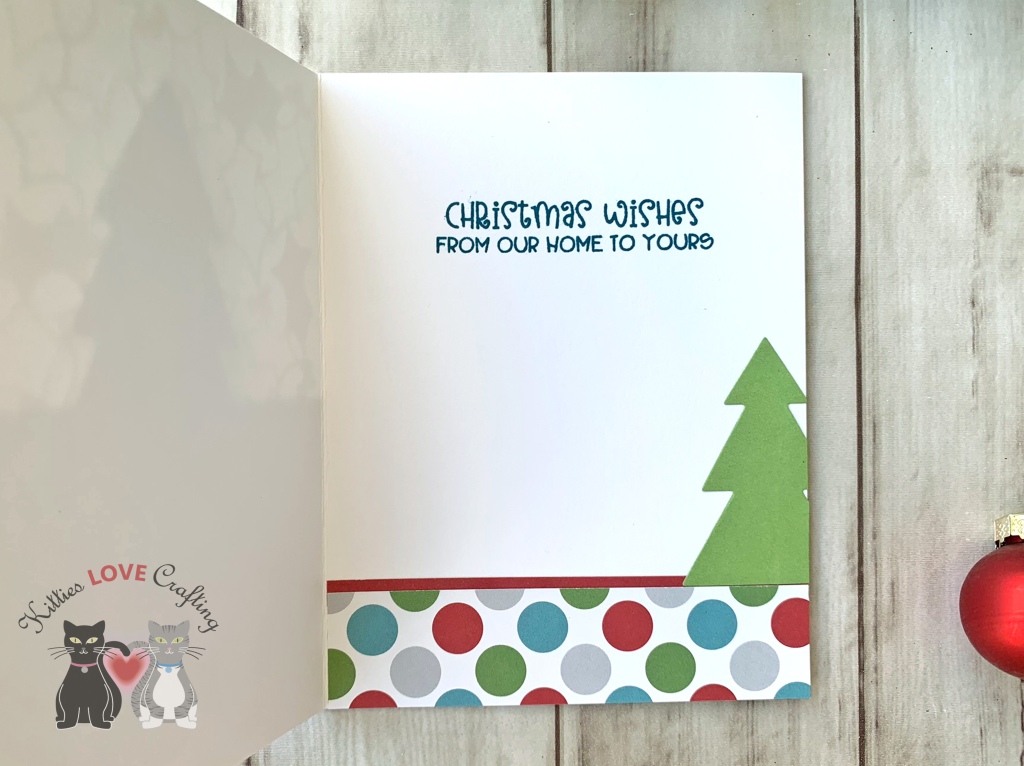
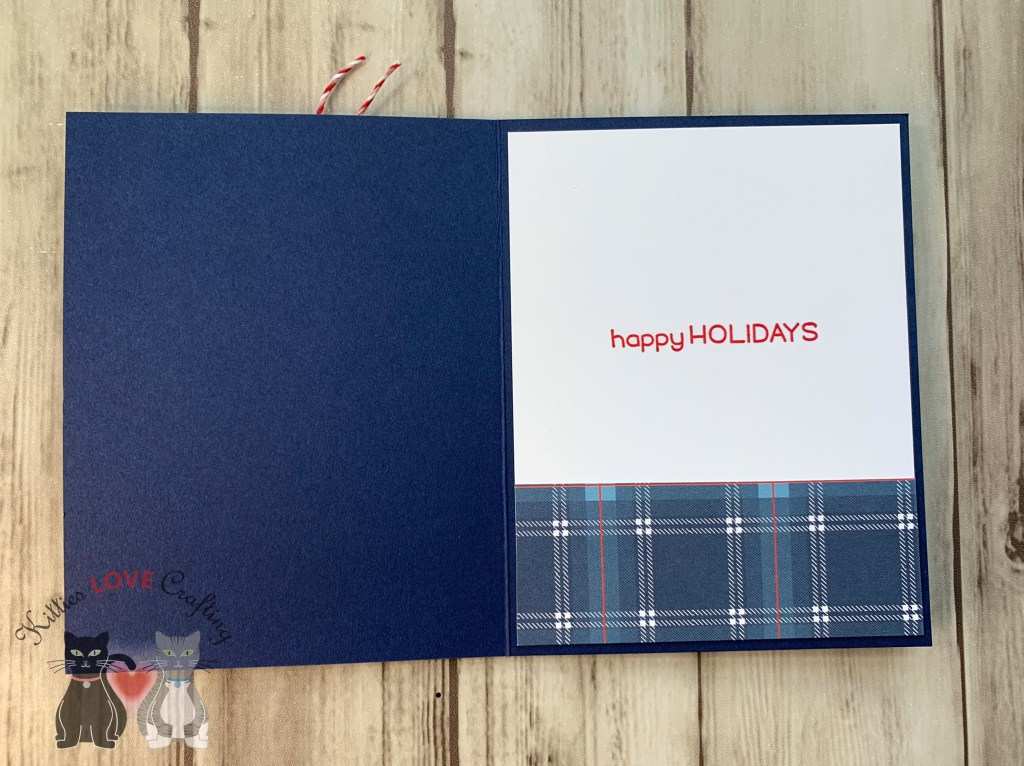
On the inside of the card, I added a red piece of North Pole Solids Paper Pad, measuring 1-1/8 x 4-1/4″and a piece of North Pole Paper Pad, measuring 1″x 4-1/4″ and stamped a sentiment from the stampset included in the kit and Catherine Pooler Daydream Ink. I added the solid inside piece of the tree frame to the bottom of the card.
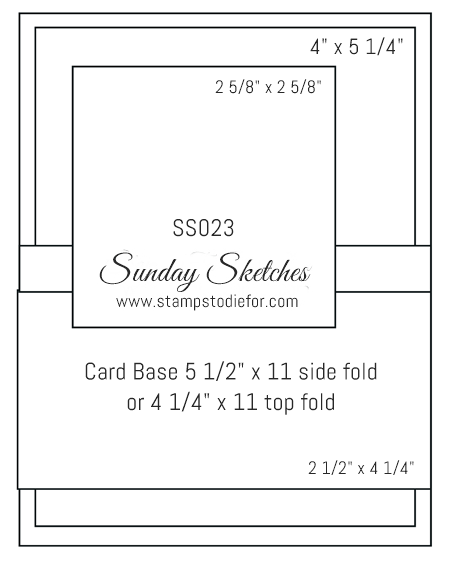
Dimensions
- Card Base = 5-1/2 x 8-1/2″ and scored at 4-1/4″ Neenah 110lb Classic Crest Cardstock 8.5 X 11″
- Bottom Panel = 2-3/16 x 4-1/4″ North Pole Paper Pad; 2/16 x 4-1/4″ North Pole Solids Paper Pad
- Inside strip = 1-1/8 x 4-1/4″ North Pole Solids Paper Pad; 1″ x 4-1/4″ North Pole Paper Pad
For the second card, I cut a piece of pattern paper from the North Pole Paper Pad (included in the kit) to 2-7/8 x 4-1/4″ and a red strip from the North Pole Solids Paper Pad to 2/16 x 4-1/4″ and adhered them to the card base. I also used the die for the santa hat’s pom pom and diecut 7 from some Neenah 110lb Classic Crest Cardstock 8.5 X 11″ to create a cute border. I thought they looked like puffy clouds and just adds some more whimsy to the card.

I assembled the hat shaker and added the toppings inside. I used red and green glitter foam from Queen and Company’s Glitter Fun Foam – Rainbow Pack to turn this santa hat into an elf hat. I saw Kristie Marcotte do this last year and thought it was adorable so I created my own. I added some left over foam from the shakers to the pom pom and edges of the hat trim once I adhered them together. this ensures that all of the hat is the same height.
I used the Catherine Pooler Happy Holidays Die and the North Pole Solids Paper Pad to diecut a sentiment and adhered to the card. I added the cute hat to the card, and finished it by adding some shimmer to the sentiment with Spectrum Noir Clear Overlay Sparkle Pens. Look how sparkly that hat is!


On the inside of the card, I added a piece of North Pole Paper Pad, measuring 9/16″ x 4-1/4″ and stamped a sentiment from the stampset included in the kit and Catherine Pooler Lime Rickey Ink.
Dimensions
- Card Base = 5-1/2 x 8-1/2″ and scored at 4-1/4″ Neenah 110lb Classic Crest Cardstock 8.5 X 11″
- Bottom Panel = 2-7/8 x 4-1/4″ North Pole Paper Pad
- Inside strip = 9/16 x 4-1/4″ North Pole Paper Pad
For the third card, I cut a piece of pattern paper from the North Pole Paper Pad (included in the kit) to 2-11/16 x 4-1/4″ and a red strip from the North Pole Solids Paper Pad using the scallop border die from the Honeybee Stamps Gingerbread House Add-on and adhered them to the card. This die is meant for the roof of the house but I though it made a great border!
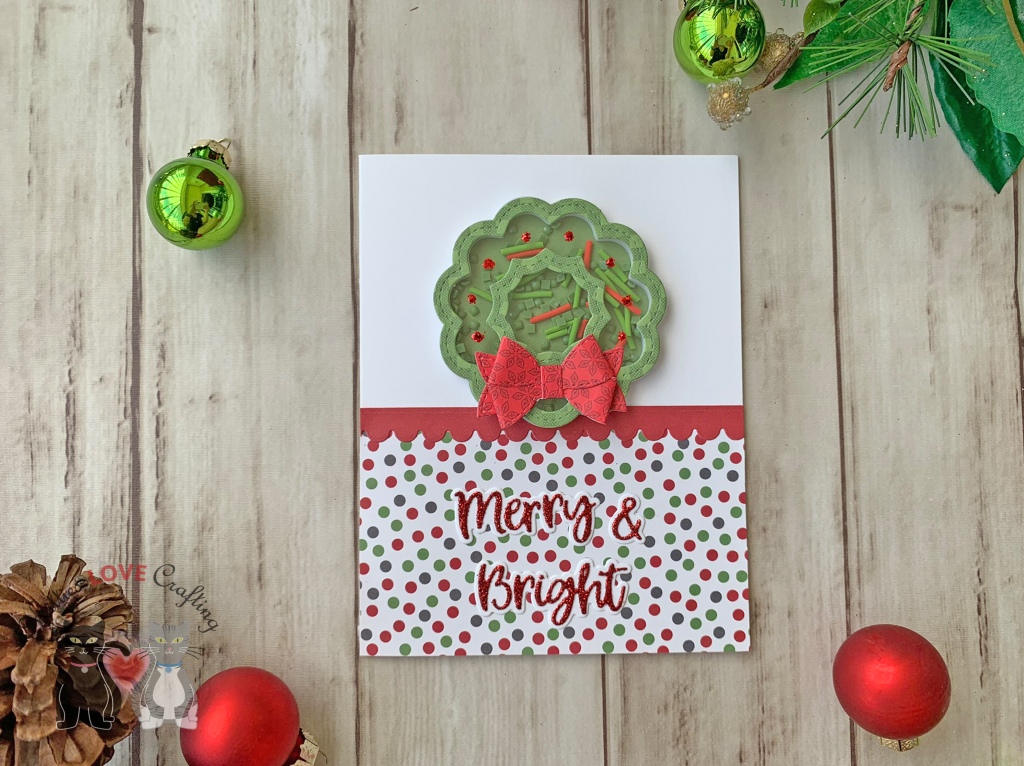
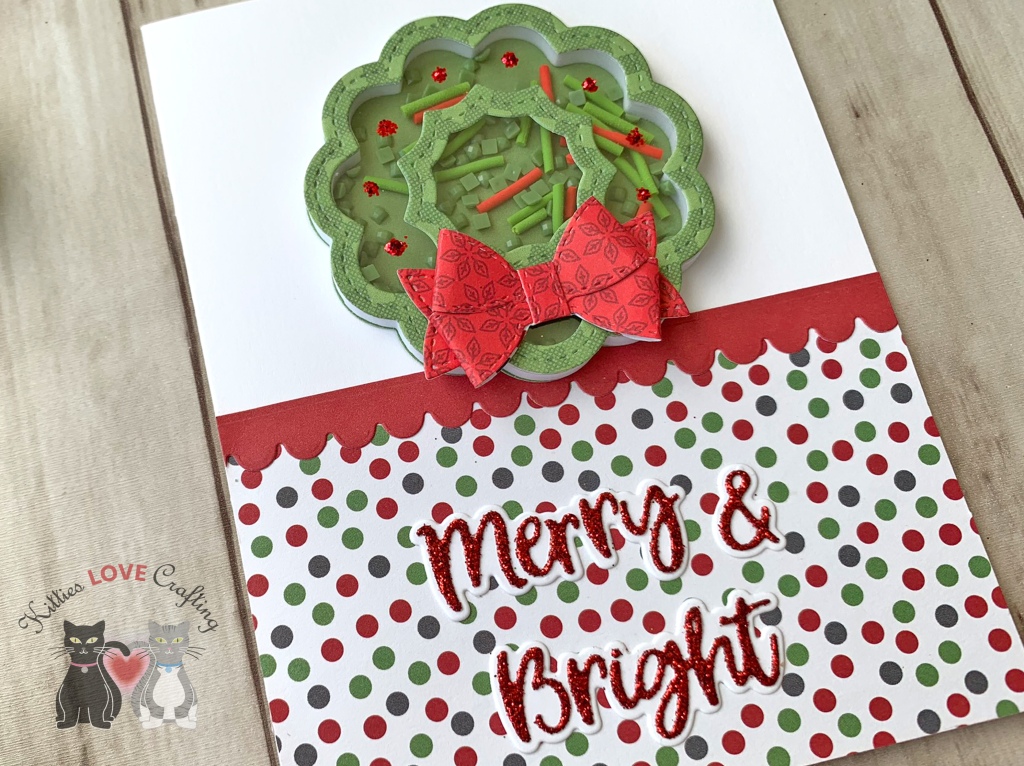
I assembled the wreath shaker and added the toppings inside (saved the inside (solid) piece of the tree frame). I used green and red pattern paper from the North Pole Paper Pad for the wreath and bow.
I used the Queen and Company Sentiment Stacker Dies #1 and red glitter paper from Simon Says Stamp Cardstock Assortment Glitter 6×6 Pack to diecut a sentiment and Neenah 110lb Classic Crest Cardstock 8.5 X 11″ for the shadow, adhered them together and to the card. I added the wreath to the card, and finished it off by adding Christmas Red Ranger Stickles Glitter Glue for berries. I find this also balances the glitter in the sentiment.
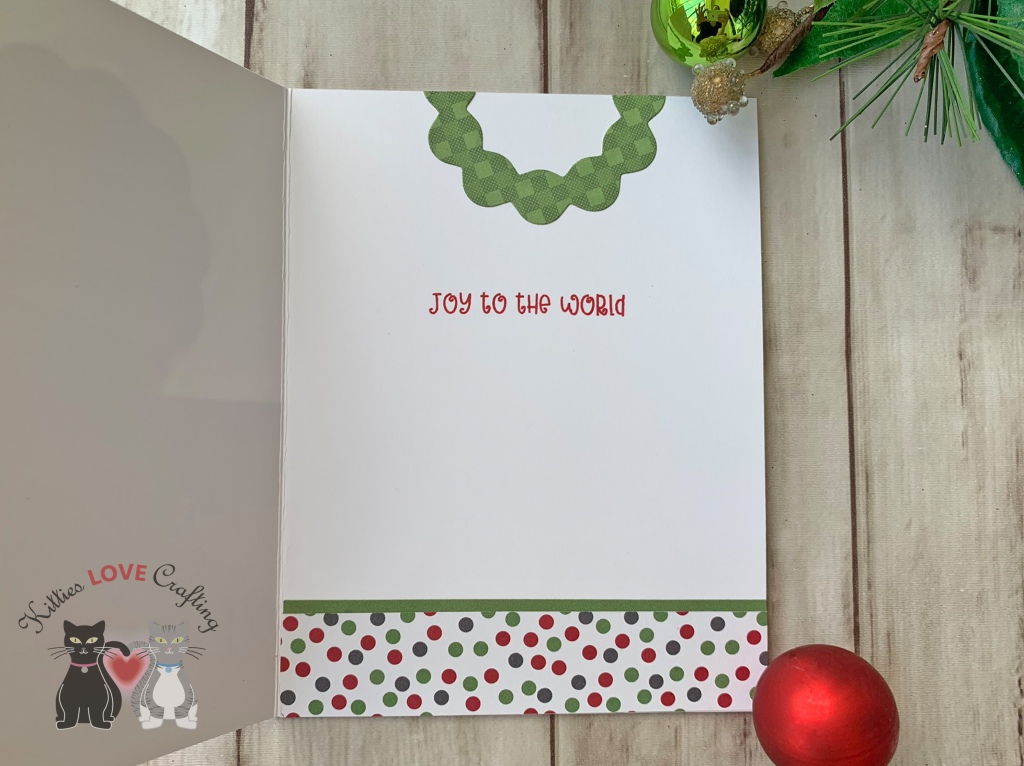
On the inside of the card, I added a green piece of North Pole Solids Paper Pad, measuring 1 x 4-1/4″and a piece of North Pole Paper Pad, measuring 7/8″x 4-1/4″ and stamped a sentiment from the stampset included in the kit and Catherine Pooler Rockin Red Ink. I added the solid inside piece of the wreath frame to the top of the card.
Dimensions
- Card Base = 5-1/2 x 8-1/2″ and scored at 4-1/4″ Neenah 110lb Classic Crest Cardstock 8.5 X 11″
- Bottom Panel = 2-11/16 x 4-1/4″ North Pole Paper Pad
- Inside strip = 1 x 4-1/4″ North Pole Solids Paper Pad; 7/8″ x 4-1/4″ North Pole Paper Pad
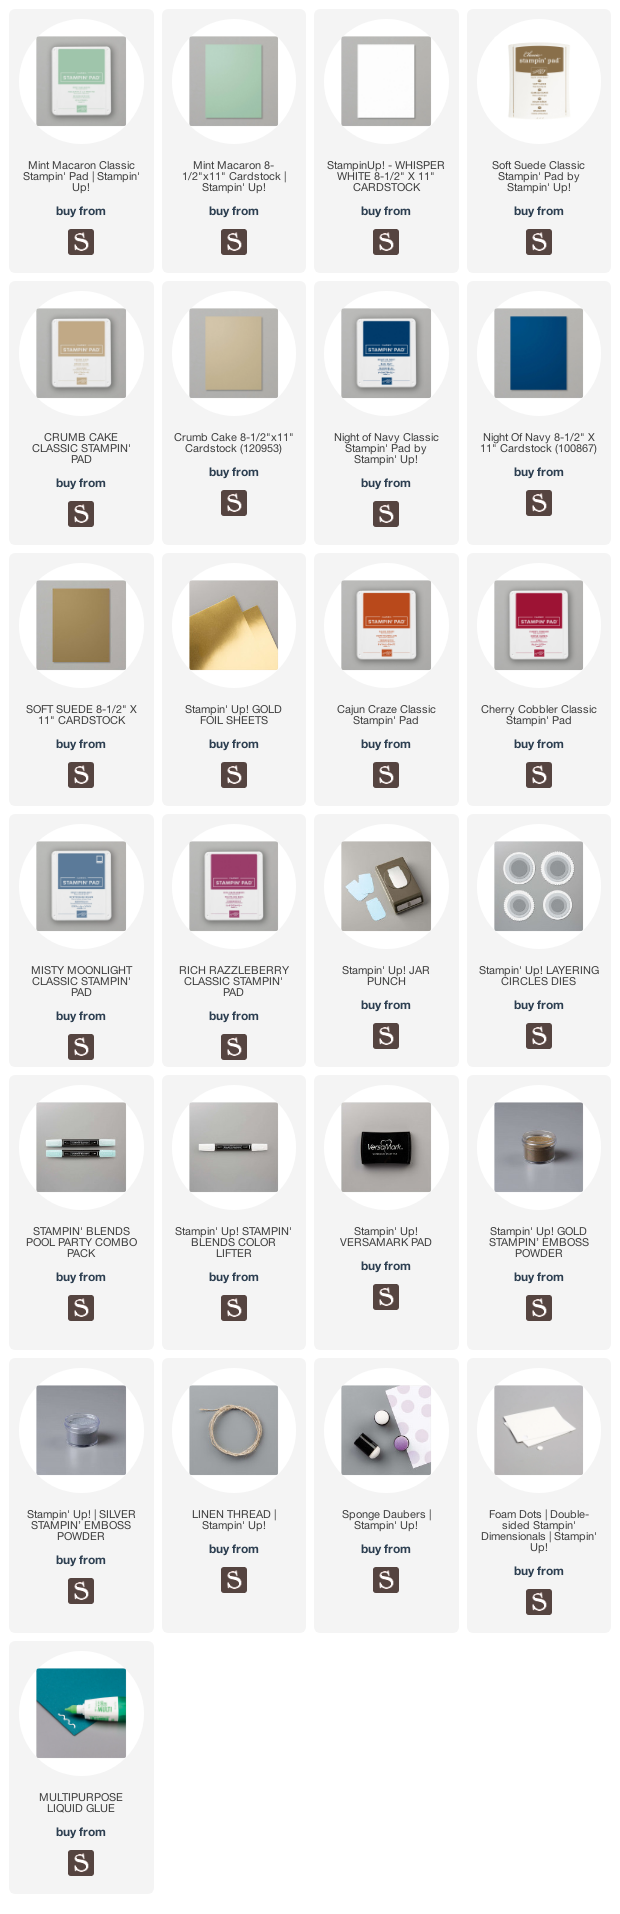
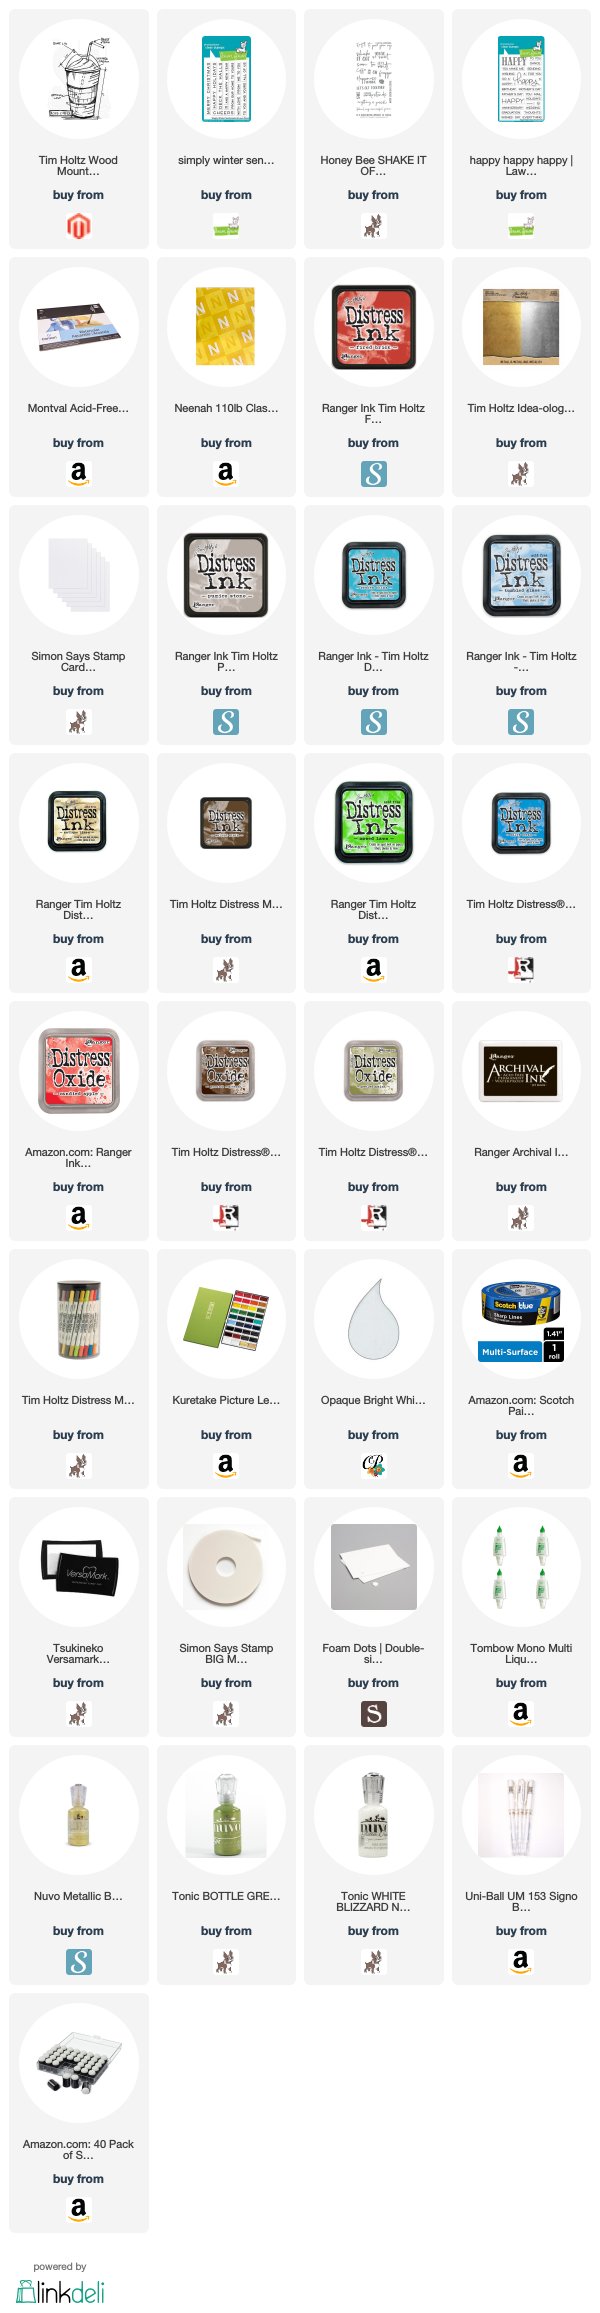
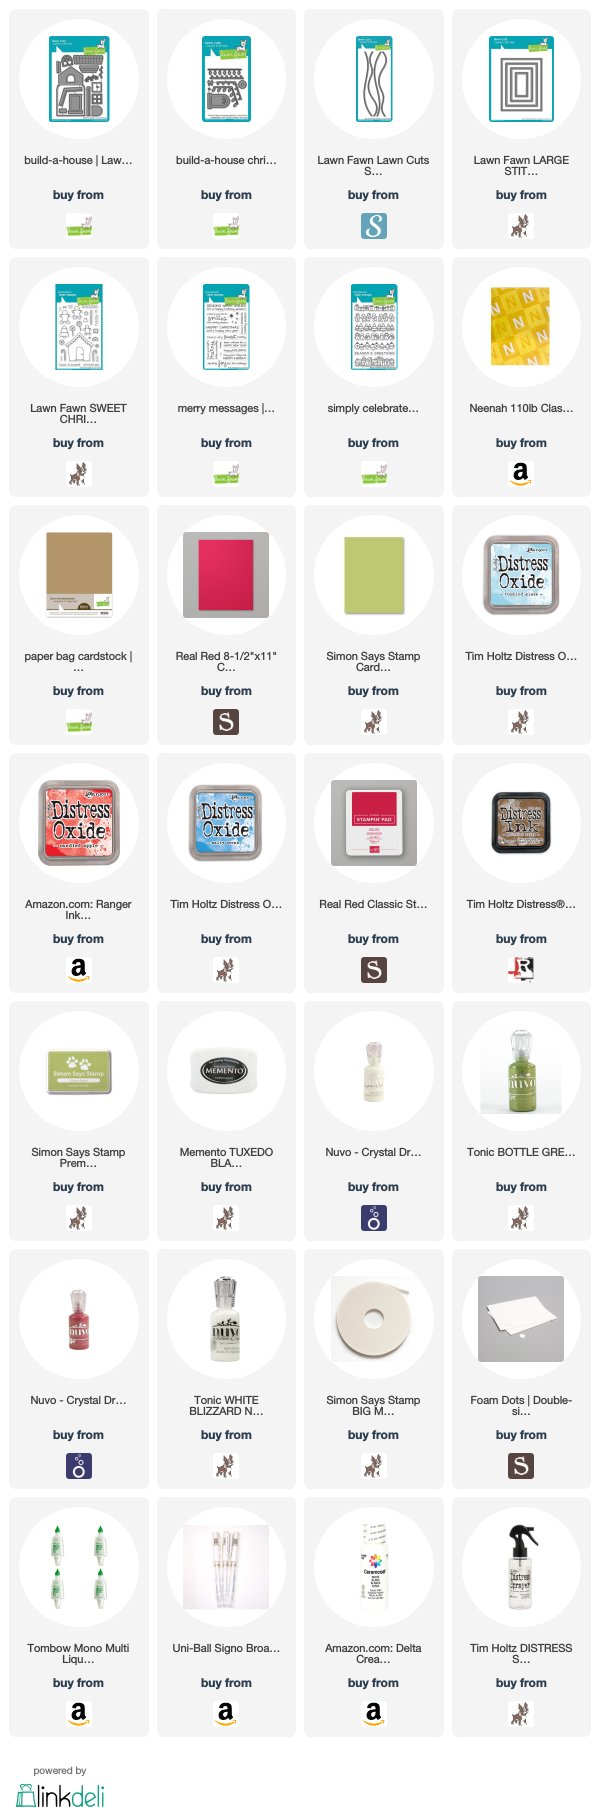
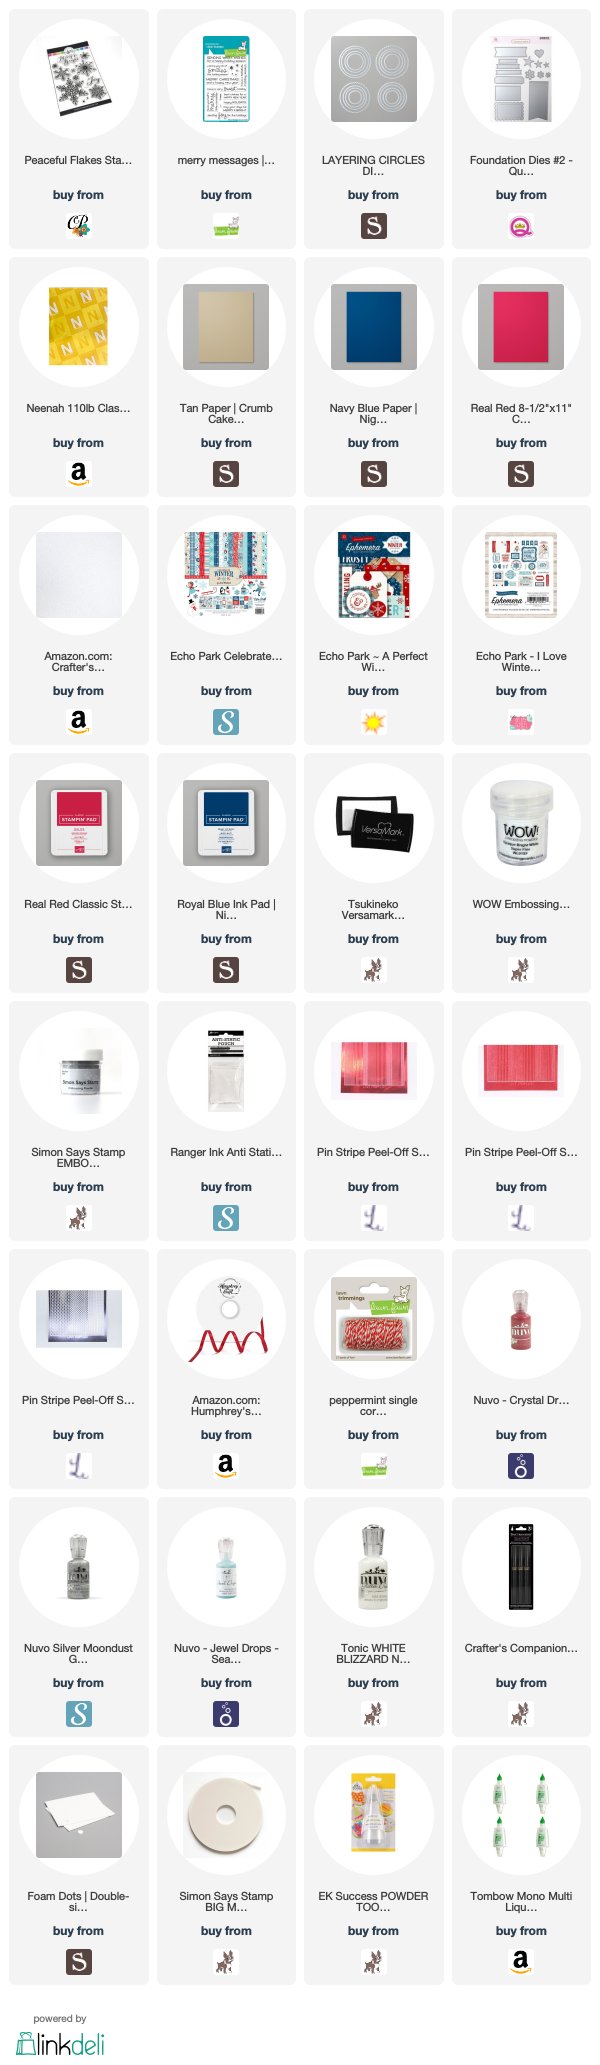
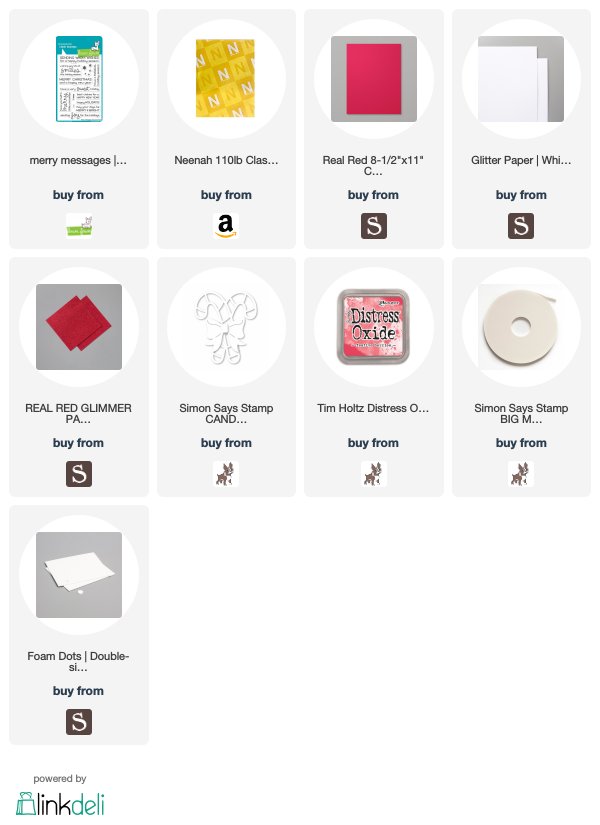
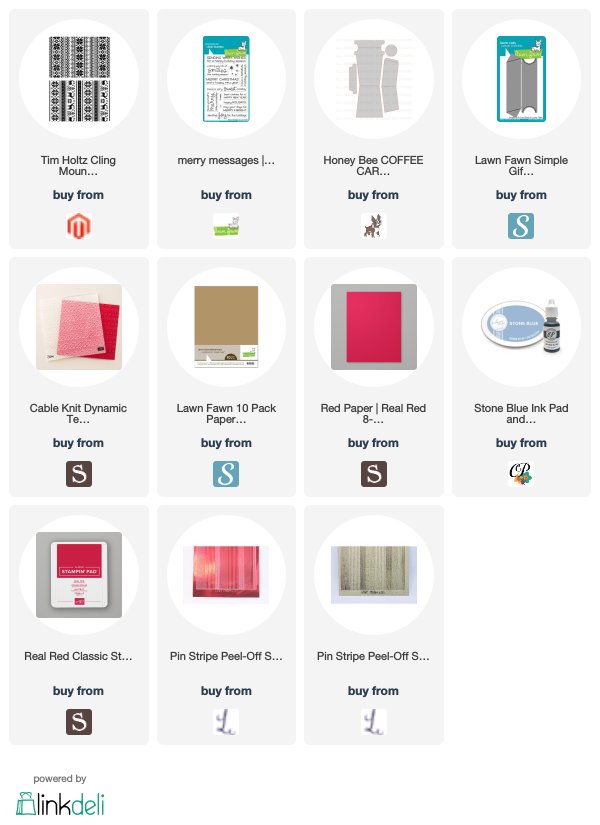
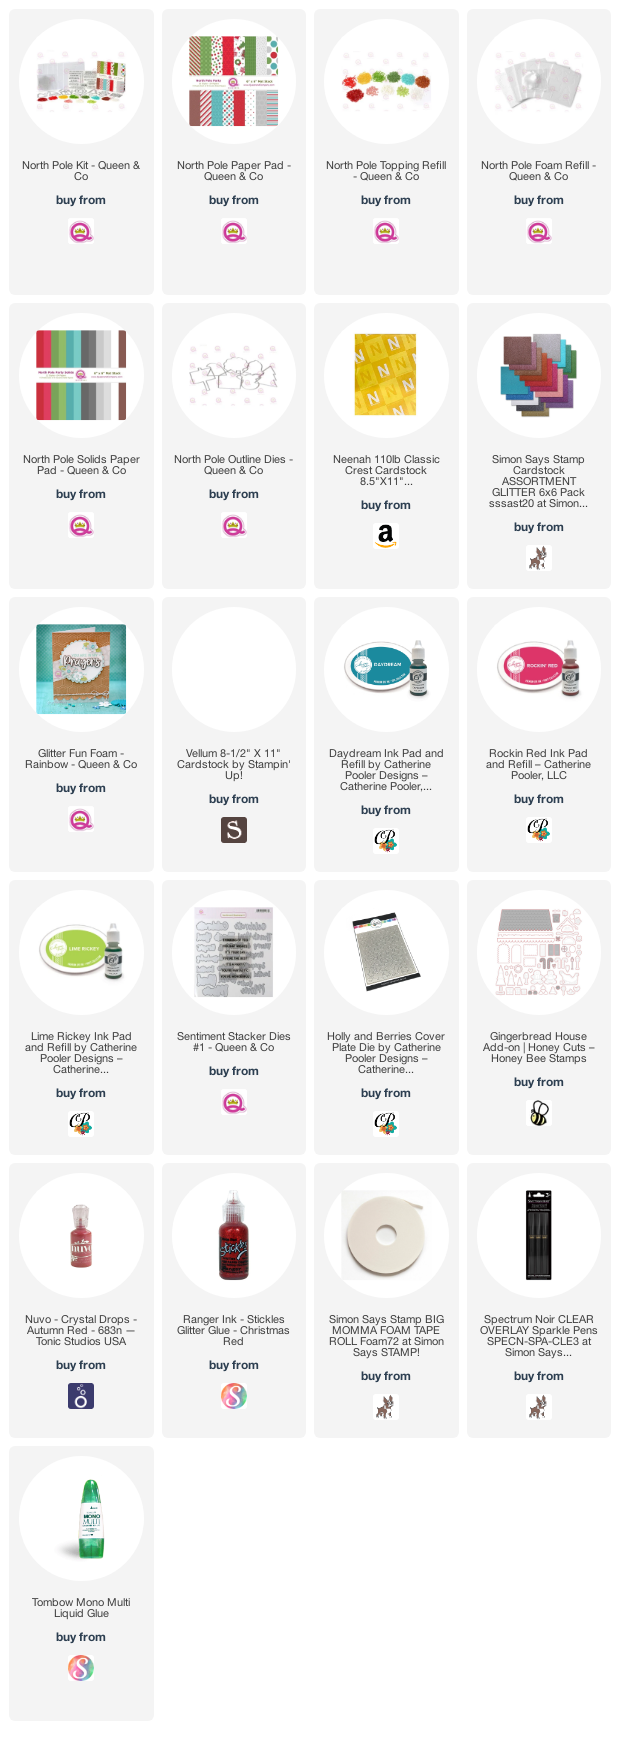
Supplies
 https://linkdeli.com/widget.js?id=f5e8378456858c916708
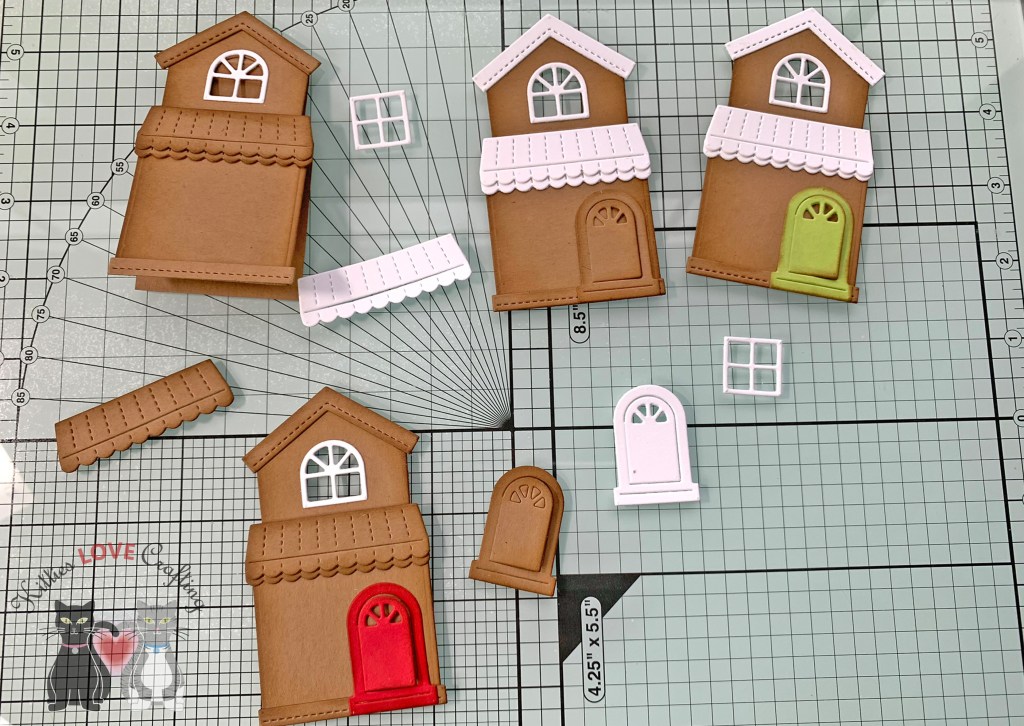
Thanks for reading this post. I hope you enjoyed and I’ve inspired you to try out these adorable House Builder dies and make some fun cards and gift boxes! Leave comments or questions below or feel free to email me.