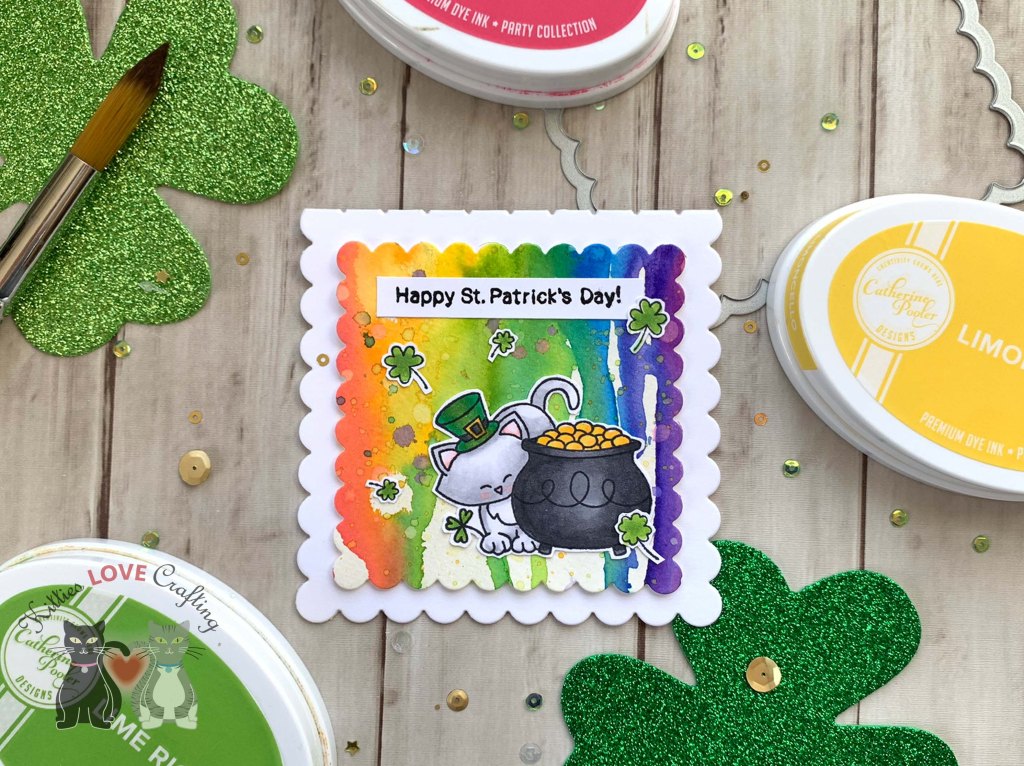
Hello friends. Need a quick card for St. Patrick’s Day?!? The watercolor background on this card is super quick to make and there’s no for perfection (which I love) necessary because it should look like paint was dropped on the paper.
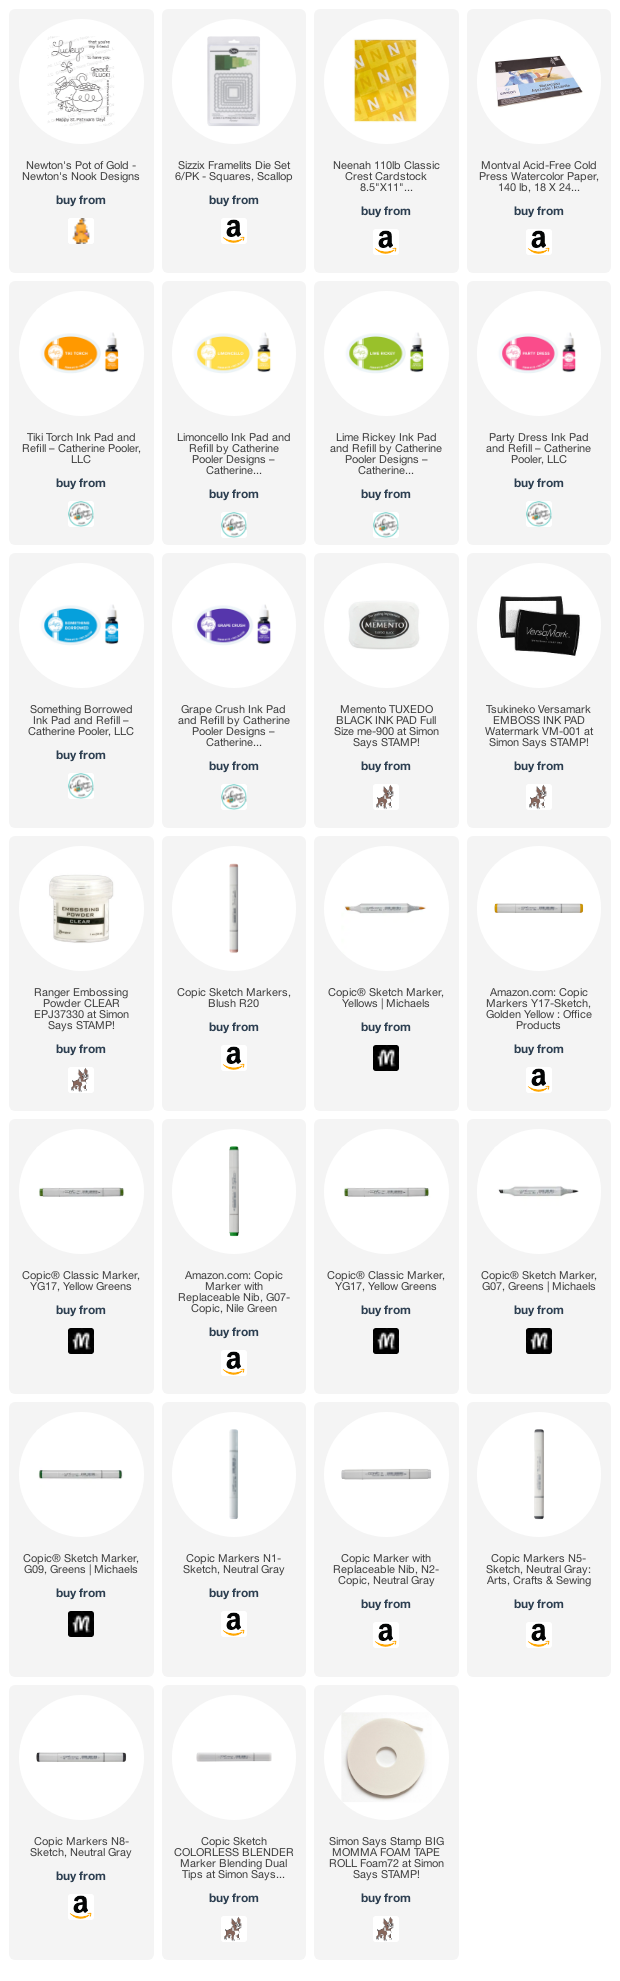
I colored the images with Copic colors. I used N5 & N8 and Y15 & Y17 for the pot of gold; YG17, G07 & G09, N5 & N8 and Y15 & Y17 for Newton’s hat; N1, N2, 0 & R20 for Newton; and YG17, G07 & G09 for the shamrocks.
Thanks for reading this post. I hope you enjoyed and I’ve inspired you to give this card a try for yourself. Leave comments or questions below or feel free to email.
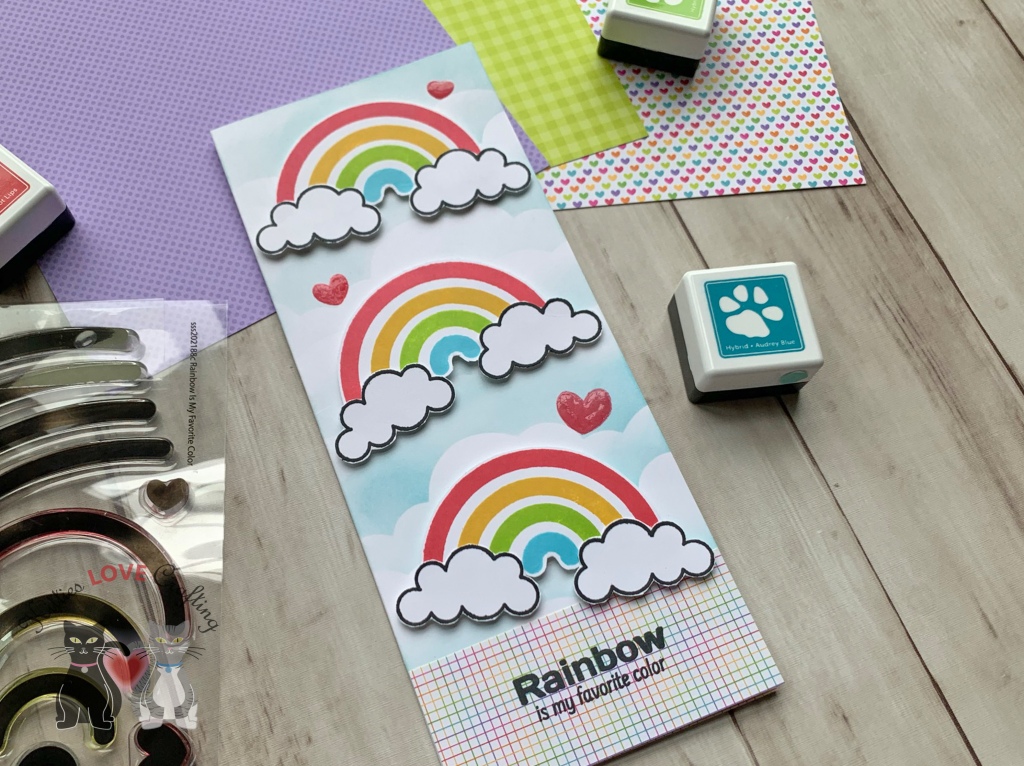
Hi everyone. This card kit just makes me happy. It’s all about rainbows and what’s not to like about that?!? The Simon Says Stamp Rainbow Is My Favorite Color 6×8 inch clear stamp set has a ton of rainbow images and cute sentiments to go along with them. Lots of options with this one. You can also use the straight stripe in non rainbow cards or make no traditional rainbows. I was definitely inspired my several of the design team cards I’ve been seeing posted on instagram @ #sssck.
For the second card, I started by cutting a piece of Neenah 110lb Solar White 8.5 x 11″ Cardstock to 7 x 8-1/2″ and scored at 3-1/2″ to make a card base. Then cut another piece to 3-1/4 x 8-1/4″.
For the third card, I started by cutting a piece of Neenah 110lb Solar White 8.5 x 11″ Cardstock to 7 x 8-1/2″ and scored at 3-1/2″ to make a card base. Then cut another piece to 3-1/4 x 8-1/4″.
I adhered the pattern paper to the card and used 3M Foam Tape to adhere the rainbows and clouds to the card. I stamped the three hearts from the stamp set with Hot Lips Ink and added Glossy Accents over them.
On the inside of the card I cut a piece of the same pattern paper as the front of the card to 1-1/4 x 3-1/2″.
Thanks for reading this post. I hope you enjoyed and I’ve inspired you to make some cards using this kit yourself! If you want to share you creations with me tag me on instagram @kittieslovecrafting. Leave comments or questions below or feel free to email me.
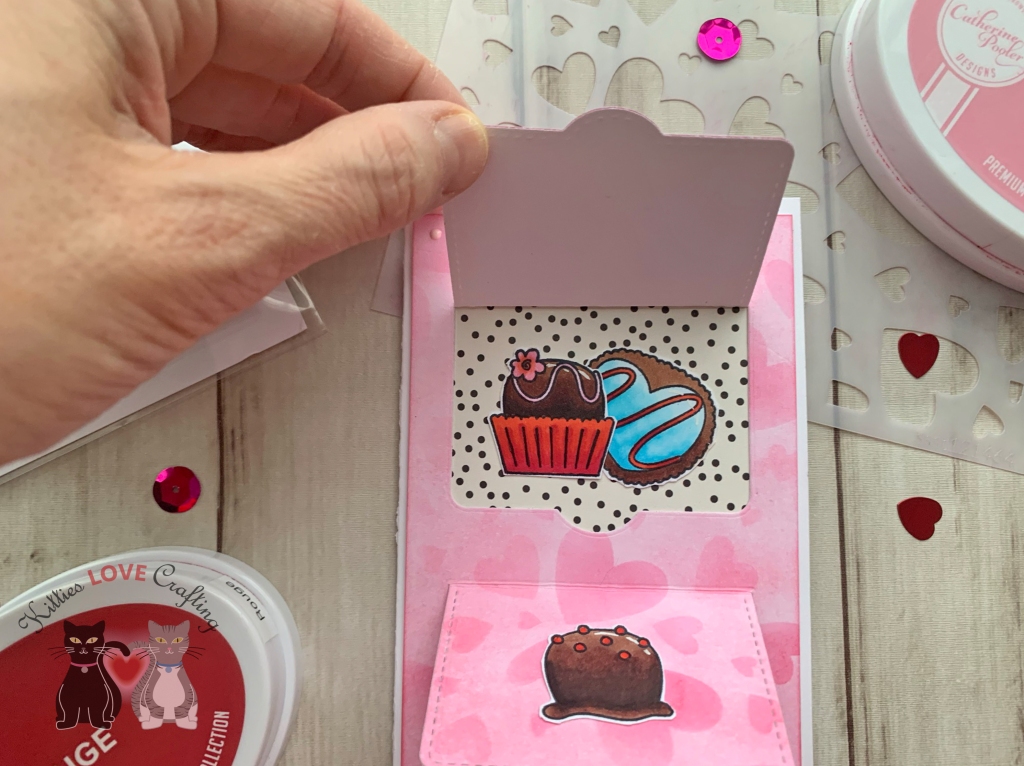
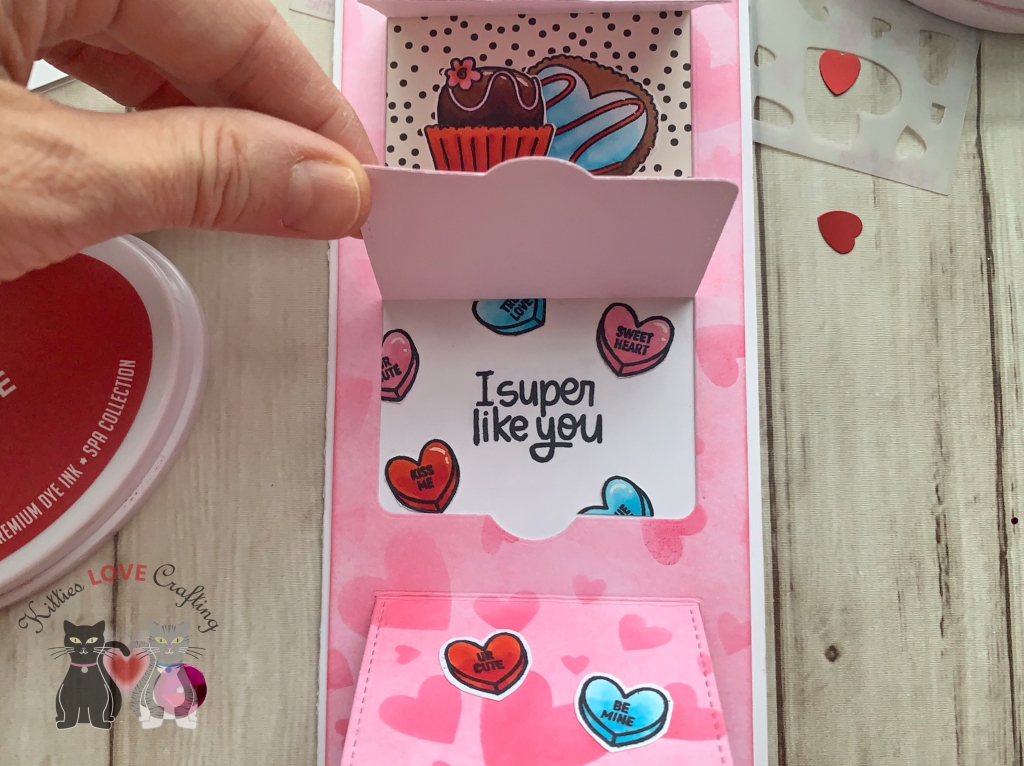
Hi friends. Here’s a fun interactive peekaboo window with hidden messages for Valentine’s, Galentine’s or any day you want to share love. I pulled out an oldy but goody interactive die from Lawn Fawn and combined it with the Simon Says Stamp February 2021 Card Kit Love You Beary Much. I love the Tumbling Hearts 6 x 6 stencil included in this kit! It is so easy to make a pretty background with it. I will show you how I was able to use it on a slimline card.
I colored all the images with Copic Markers. I used E23, E25, E29 & E49 (for chocolate truffles); R81, R83 & R85 (for the truffle wrappers, sprinkles and decor, hearts); R05, R17 & R29 (for hearts); BG000, BG01 & BG02 (for sprinkles and decor, hearts). I fussycut all the images and adhered some to the inside of the card and some on the outside.
Thanks for reading this post. I hope you enjoyed and I’ve inspired you to make this slimline card using this kit yourself! If you want to share you creations with me tag me on instagram @kittieslovecrafting. Leave comments or questions below or feel free to email me.
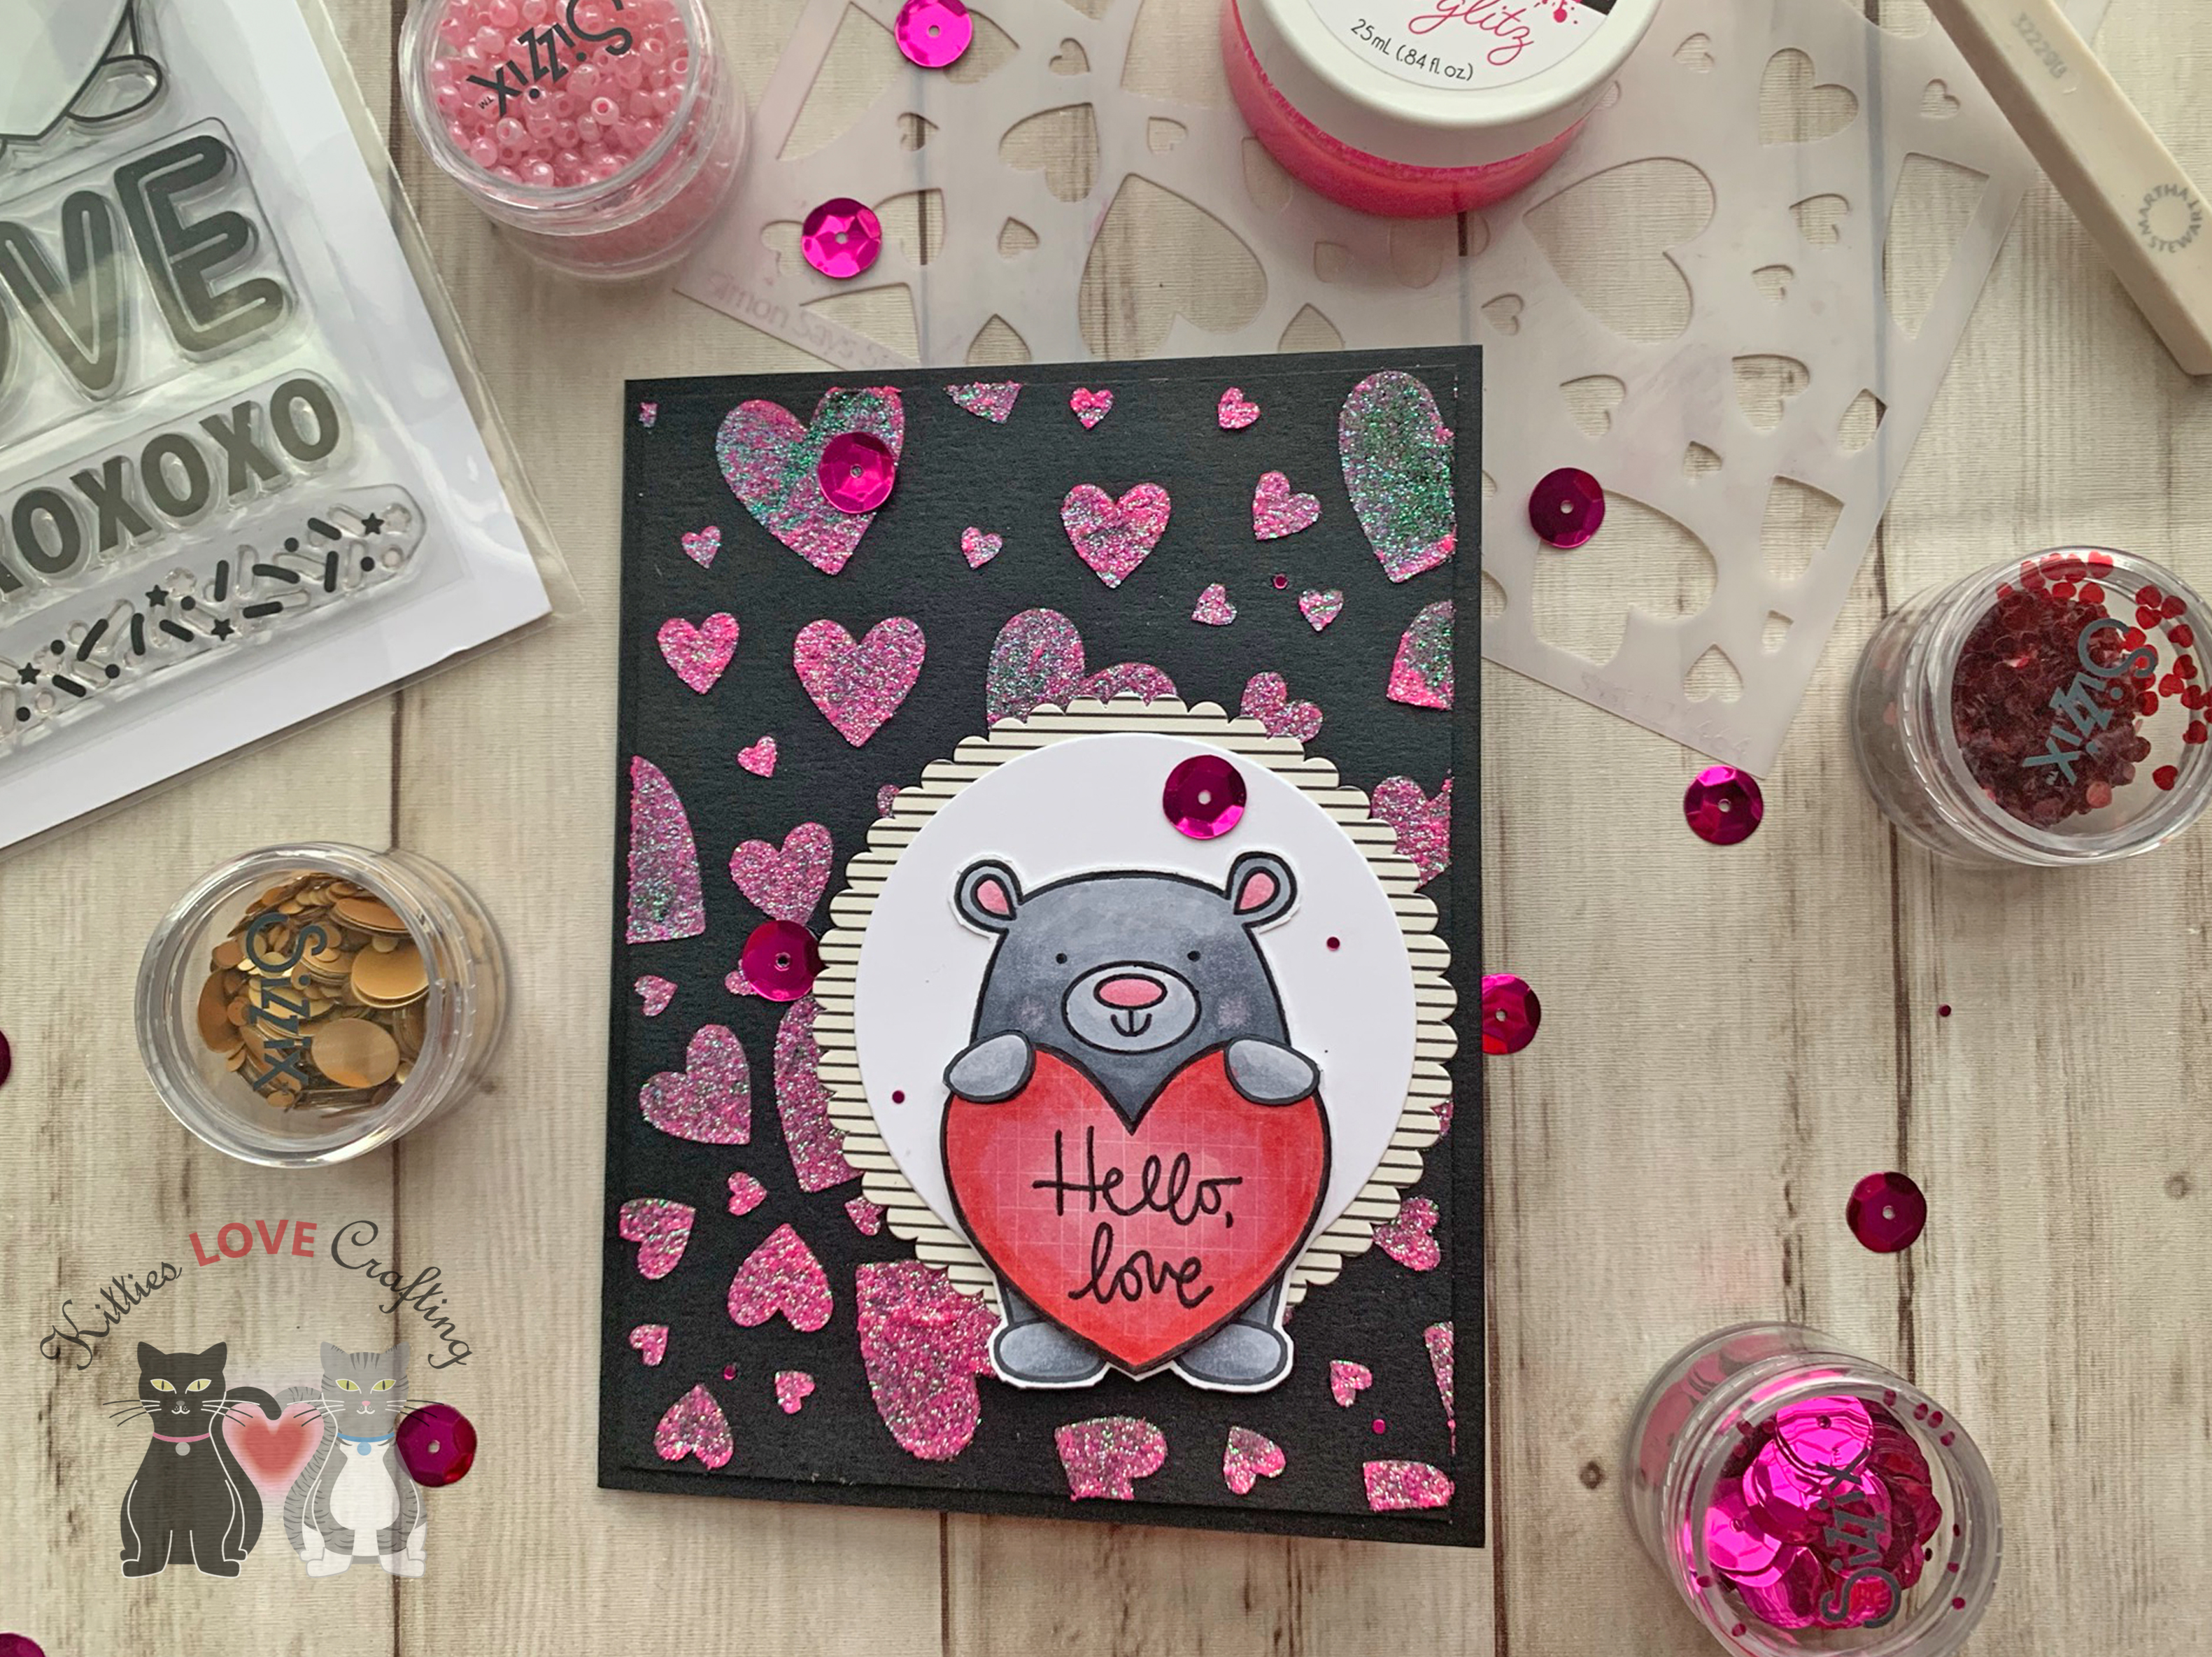
Hi friends. Need a fairly quick card for Valentine’s or Galentine’s Day? This cute sparkly pink bear card came together quickly using the Simon Says Stamp February 2021 Card Kit Love You Beary Much.
For this card, I started by using the Simon Says Stamp A2 Black Notecards included in the kit for the card base and cut another one down to 4 x 5-1/4″. Next I used the Simon Says Stamp Exclusive Tumbling Hearts 6 x 6 stencil and applied Thermoweb Rina K Poppin Pink Mini Glitz to the card panel. When I saw this sparkly pink glitter paste I immediately wanted to see what it would look like on the black cardstock. It looks pretty cool. Next time I will add a little bit more so its all completely evenly covered.
I colored the image with Copic Markers. I also colored the pattern paper heart to give it some dimension and make it pop a bit more. I used R81, R83 and R85 (ears and nose); R20 (cheeks); C1, C3, C5, & C7 (bear); adn R27 and R83 (pattern heart). I fussycut the images out and adhered them together using 3M Foam Tape behind the heart and paws.
Thanks for reading this post. I hope you enjoyed and I’ve inspired you to make this fun sparkly card using this kit yourself! If you want to share you creations with me tag me on instagram @kittieslovecrafting. Leave comments or questions below or feel free to email me.
Happy Monday friends! Hope you are safe and had a good weekend. Today I am bringing you this card featuring a faux shaker. I saw this technique used by Jennifer McGuire and I decided to try it. I made it simpler by using pattern paper and some stamped snowflakes.
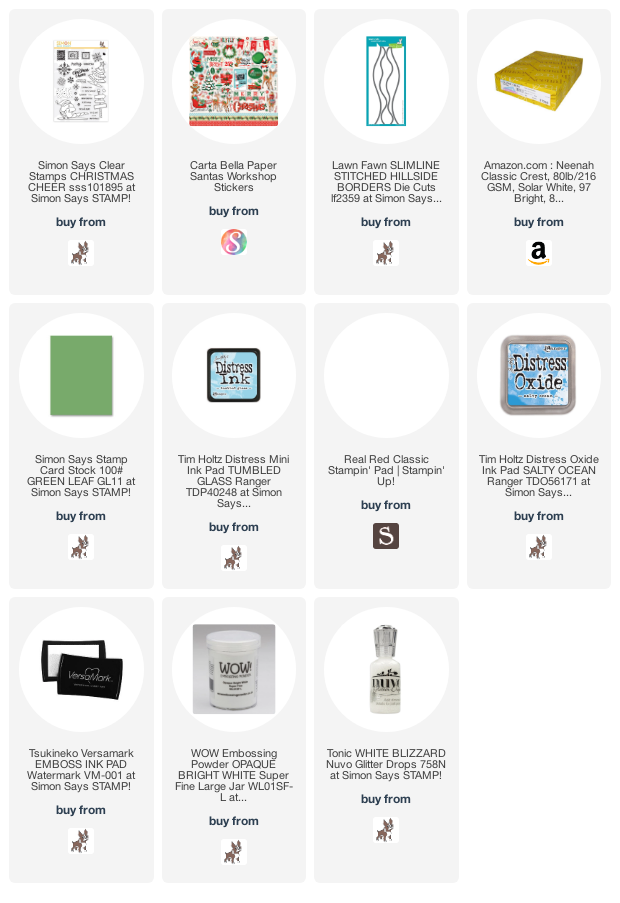
I started by cutting a piece of Simon Says Stamp Audrey Blue 100lb Card Stock to 5-1/2 x 8-1/2″ and scored at 4-1/4″, to create a card base. I cut out a strip from the front of the card base, measuring 1-1/4” in height and then two strips of the stories from the Carta Bella Santa’s Workshop 6 x 6 Designer Papers (discontinued), each measuring 1-1/2 x 5-1/2”.
I took some sequins and added them inside a laminating pouch and ran that through a lamination machine. I trimmed it down to approximately 3 x 5-1/2” and adhered it between the card base pieces and the pattern pieces using 1/4” double sided tape.
On the inside of the card, I adhered two strips of another pattern paper from the Carta Bella Santa’s Workshop 6 x 6 Designer Papers (discontinued), each measuring 1-1/2 x 5-1/2”, to the back of the front panel. Then I stamped another greeting from the Simon Says Stamp CHRISTMAS CHEER Stamps with Tim Holtz Festive Berries Distress Oxide Ink.
Thanks for reading this post. I hope you enjoyed and I’ve inspired you to give this technique a try for yourself. Leave comments or questions below or feel free to email.
Stickers are a great way to create quick cards and who doesn’t like quick cards for the holidays, right?!? I had some leftover stickers from the Carta Bella Paper – Santa’s Workshop Collection, Christmas, 12 x 12 Cardstock Stickers featured in the Says Stamp December 2018 Card Kit, Holiday Cheer (sold out) so I decided to use them on a slimline card. The larger sticker like the Santa and reindeer one are great fro slimline cards!
Thanks for reading this post. I hope you enjoyed and I’ve inspired you to give this card a try for yourself. Leave comments or questions below or feel free to email.
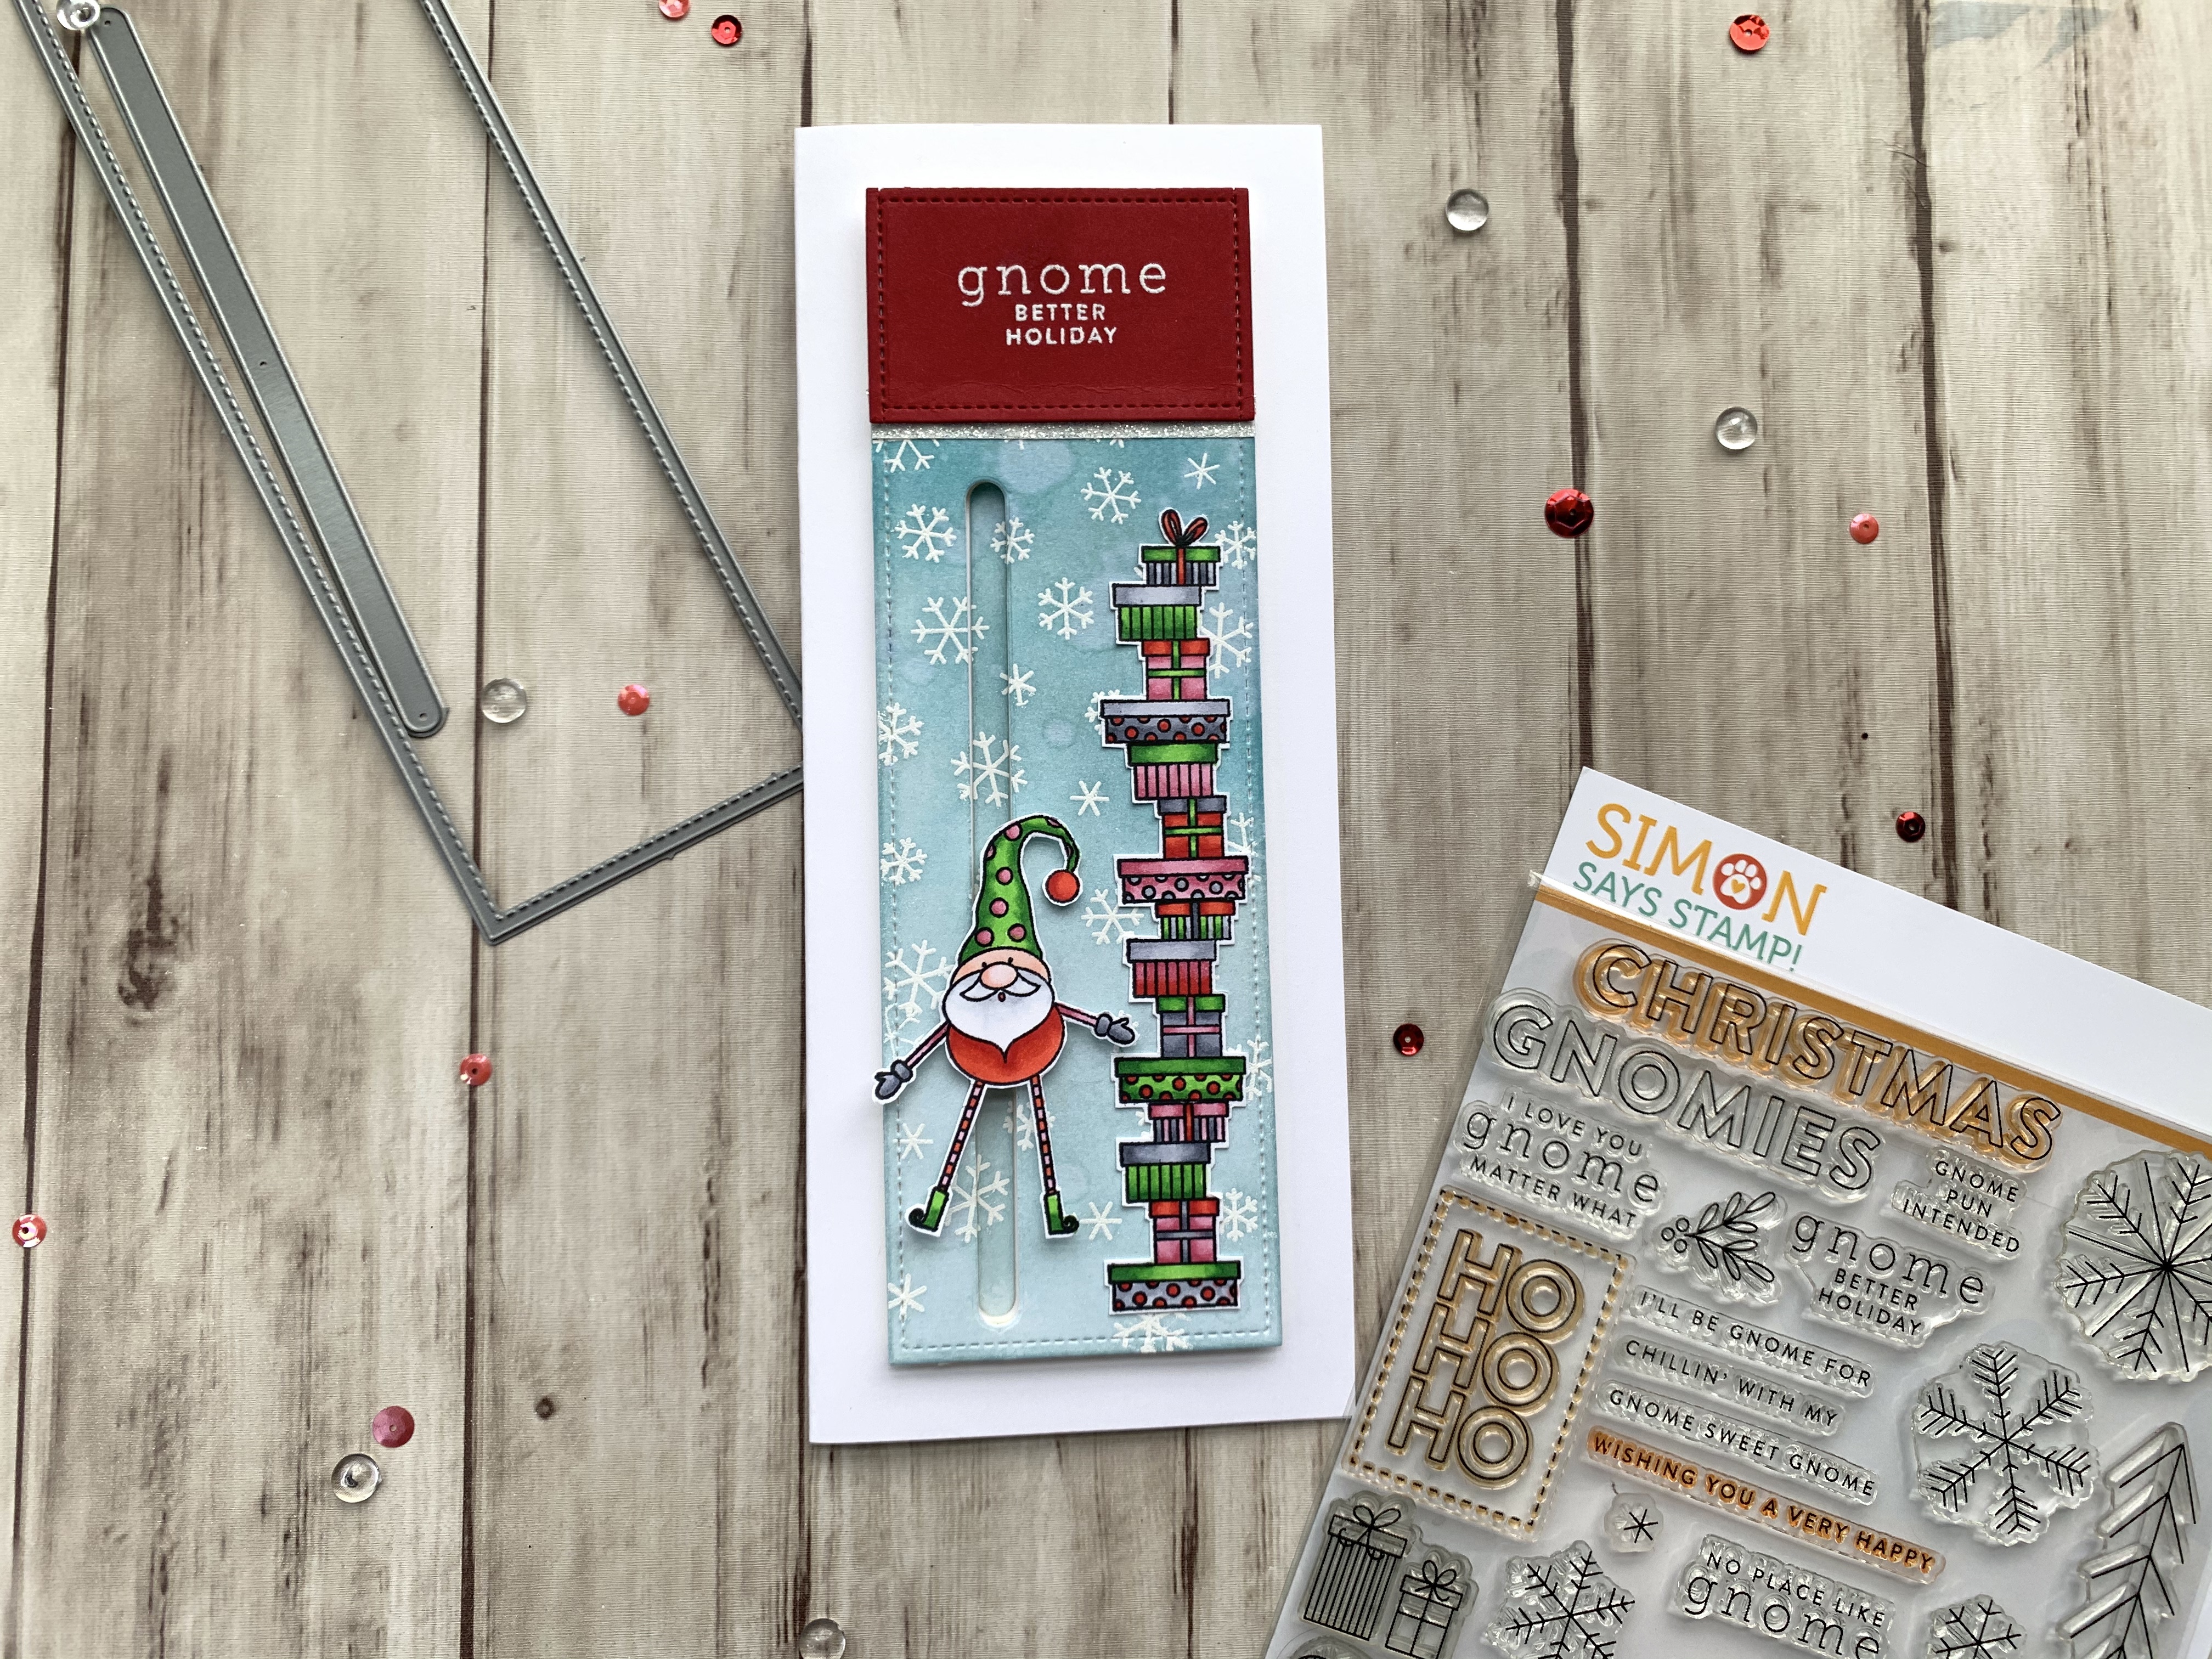
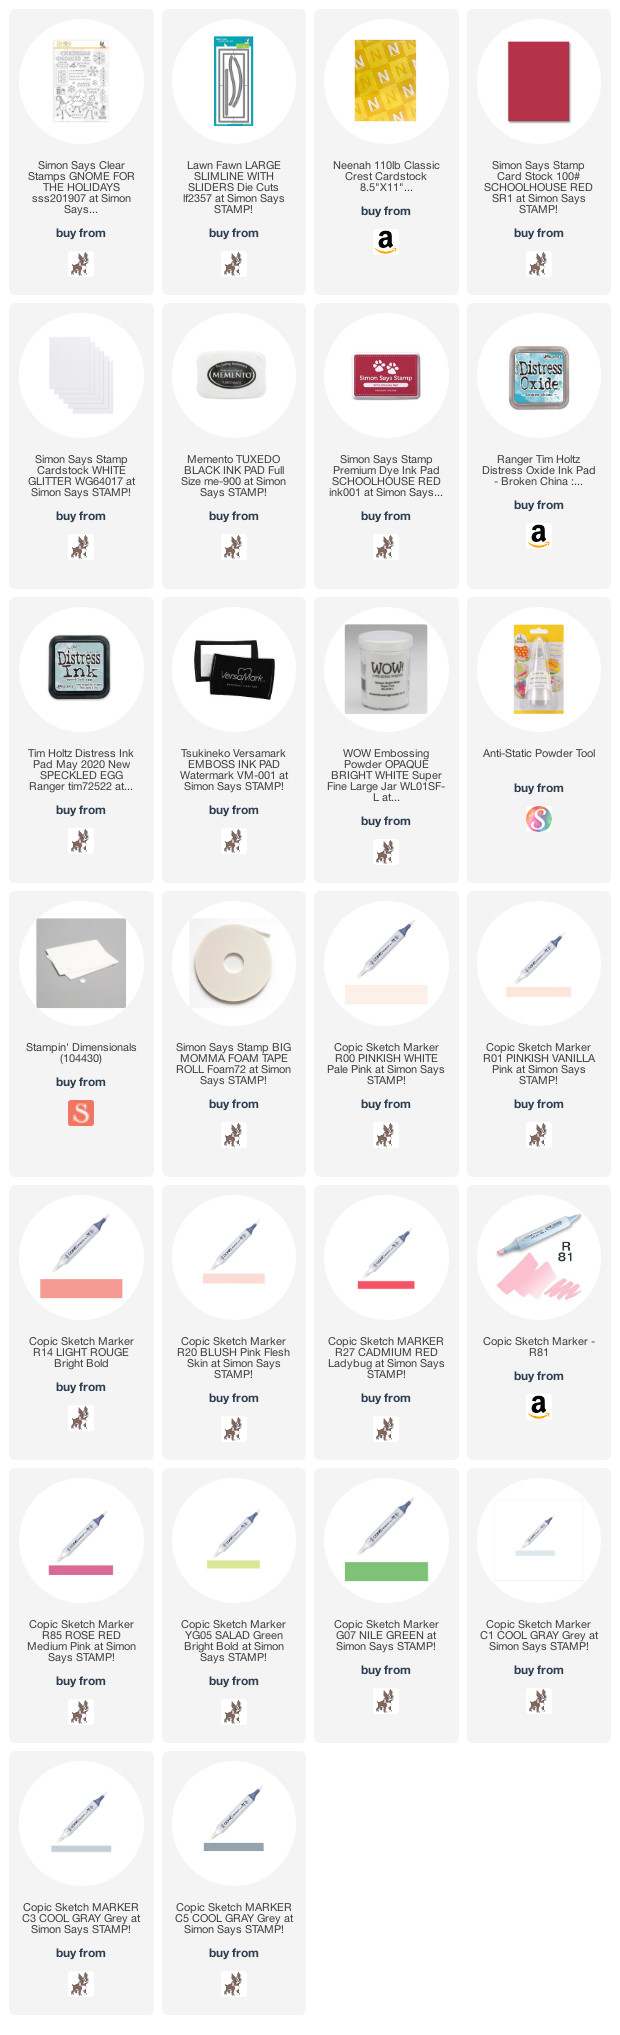
Happy Wednesday friends! I thought I would revisit an old Simon Says Stamp Card Kit. The ‘Gnome for the Holidays’ Card Kit was released in December 2019 and features the cute 6 x 8″ Gnome for the Holidays stampset. I thought it might be fun to make a slimline slider card with the little gnomes. It was fairly easy to make and can be even more simplified by skipping th eheat embossing and doing simple coloring on the images.
I colored the image with COPIC markers. I used YG05 + G07 (body), R20 (cheeks), R14 + R27 (gloves and socks), C3 + C5 (shoes) and C1 (arms) for the tree gnome; R14 + R27 (body), YG05 + G07 (hat), C1 + 0 (beard), R00 + R01 (face), R81+ R27 (socks), R81+ R85 (hat dots and sleeves), and C1 + C3 (gloves) for the second gnome; and R14, R27, R81, R85, YG05, G07, C1, C3, and C5 for the gifts.
I fussycut the images out and decided where they would go on my card. Then diecut the slider with the Lawn Fawn Large Slimline With Sliders Die Cuts. I added Foam Tape and a penny for the slider element and adhered it to the card base.
Thanks for reading this post. I hope you enjoyed and I’ve inspired you to give this card a try for yourself. Leave comments or questions below or feel free to email.
Well this post is a little late but….better late than never I guess. This kit is very appropriate for the time we are currently in. What I really liked about the included stamp set, Simon Says Stamp Home Sweet Home 6×8 Stamp Set, is that the image of the houses fits across a landscape A2 card or a slimline card.
I colored all the images with COPICS. I used R81 & R85, W1 & W3, Y13 & Y18, G07 & G28 for the first house (top); BG11 & BG53, W1, W3 & W7, G07 & G28, Y13 & Y18, R29 & R56 for the second house; R29 & R56, W3 & W7, Y13 & Y18 for the third house; R29 & R56, BG11 & BG53, W3 & W7 for the Airplane and banner; Y13 & Y18 for the sun and R81 & R85 for the paper plane. I fussycut all the images and adhered them to the card. I used 3M Foam Tape to pop up some of the images for added dimension.
For the third card, I started by cutting a piece of Simon Says Stamp Soft Navy Cardstock to 4-1/4 x 5-1/2″ and scored at 4-1/4″ to create the card base and another piece to 4 x 5-1/4″.
For this card I wanted to try using my prismacolors on the navy cardstock to see if it wouls work. To be honest it is a techinique I have never tried before but have seen Jennifer McGuire and others do it successfully so I figured why not. I also saw Kristina Werner white heat emboss onto the navy cardstock with this kit and looked stunning so I combined the two ideas and came up with this card.
Ok, so how did I fix the stray embossing powder. Well, I tried using a sand eraser and an exacto knife to gently scrape it off but it was starting to pill the paper so I decided to embrace it instead and add white dots (for stars) with my Uni-Ball Signo Broad Point Gel Pen.
I adhered the panel to the card base and then finished it off by adding a wonky stitched line around the edge.
I stamped houses and the paper airplane from Simon Says Stamp’s Home Sweet Home 6×8 Stamp Set onto Neenah Solar White 80lb Cardstock with Memento Tuxedo Black Ink. I colored them with COPIC markers. I used B000 & B01, W1 & W3 (roof), BG0000 & 0 (windows) for the first house; RV10, RV11 & RV14, W1 & W3 (roof), BG0000 & 0 (windows) for the second house; YG09 & YG25 for the trees; W1 & W3, Y06 & Y13 for the lamp post; B24 & B37 for the sky; Y06 & Y13 for the stars and B01 & B24 for the paper airplane and RV10 & RV11 for the background.
I added 3M Foam Tape to the top panel, adhered the images behind the panel and adhered it to the card base. I finished it off by adding three dots of Nuvo Gloss Drops in Midnight Blue at the top and bottom of the card.
I fussycut the images out and adhered them to the card front. I heat embossed a sentiment and some clouds to the top of the card with the same Silver Embossing Powder. To finish it off I added some splashes with Silver Acrylic Paint.
I left the inside of the card blank and just added a strip of the leftover watercolor, measuring 1 x 4-1/4″.
Thanks for reading this post. I hope you enjoyed and I’ve inspired you to make some cards using this kit yourself! If you want to share you creations with me tag me on instagram @kittieslovecrafting. Leave comments or questions below or feel free to email me.
Happy Saturday friends! Hope you are all doing well and are safe. To go along with the cards in my previous post using the Hello Easter stampset from Simon Says Stamp, I decided to make some multimedia tags. I also dug up some items from my stash that I forgot I had (yeah that’s how old they are. LOL, Anyone else have this problem?) to use on the tags.
I colored them with COPICS. I used C000, C1, and 0 for the bunny and R81 and R85 for its ears; Y06, Y13 and Y18 for the bunny’s bow; YG06, YG07, and YG09, YR07 and YR16 for the egg the bunny holds; YR07, YR16 and R29 for one tulip; BG01, BG02, and BG05 for the second tulip; Y06, Y13 and Y18 for the daffodils and YG06, YG07, and YG09 for the stems; and Y00, Y06, and Y21 for the basket, V04, V06 and V09, YR07, YR16 and R29, BG01, BG02, and BG05 for the eggs inside the basket, R29 and R32 for the basket bow. Once I finished coloring the images, I fussycut them all out.
I colored them with COPICS. I used Y06, Y13 and Y18 for the ducky body, YR07 and YR16 for the feet and beak and R81 for the cheeks, V04, V06 and V09 for the bow; R32, R37 and R29 for the umbrella and V04, V06 and V09 for the umbrella bow; Y06, Y13 and Y18, YR07 and YR16 for the medallion; R81 and R85, BG000, BG01 and BG02 for the large egg, and YR07, YR16 and R29 for the egg’s bow. Once I finished coloring the images, I fussycut them all out.
Thanks for reading this post. I hope you enjoyed and I’ve inspired you to give these tags a try for yourself. Have a great Easter! Leave comments or questions below or feel free to email.
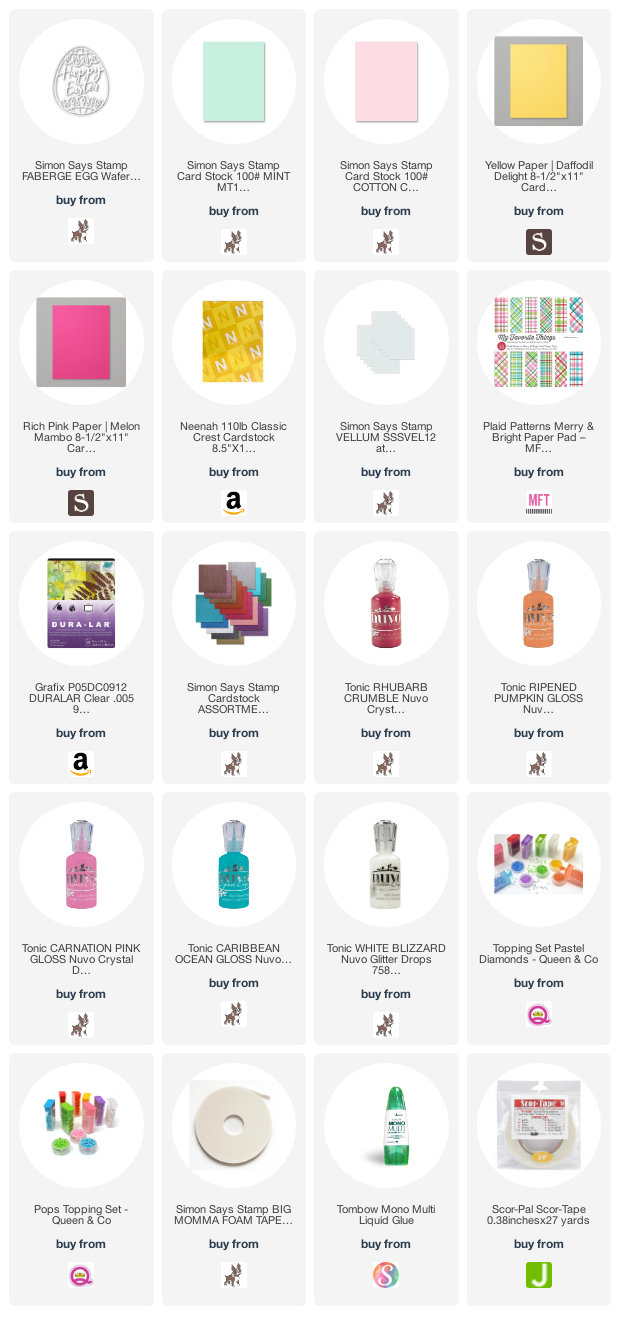
Happy Friday friends! Hope you are all doing well and are safe. With Easter right around the corner, I’m sharing some more super easy cards. These were made easy using the Simon Says Stamp’s Faberge Egg Dies.
For the first card, I started by cutting a piece of Simon Says Stamp Cotton Candy 8.5 x 11” Cardstock and Simon Says Stamp Mint 8.5×11 cardstock to 5-1/2 x 8-1/2″ and scored at 4-1/4″ To make a card base. Then to make the egg-shaped card, I used the outline egg and just positioned slightly off the folded edge of the card. this will produce a shaped card.
I diecut out the Faberge Egg Dies from Stampin’ Up! Shimmer Paper in Mint Macaron and Sweet Sugarplum (these are no longer available but Simon Says Stamp has tons of glitter papers). Next, I diecut two pieces of Simon Says Stamp VELLUM using the outer Faberge Egg die. This will go behind the front decorative egg. I also diecut two different pattern papers with the same die. I chose one from My Favorite Things Plaid Patterns Merry & Bright Paper Pad and one front an older Lawn Fawn Perfectly Plaid Rainbow 6 x 6 Paper Pad (no longer available I think).
For the second card, I wanted to make a shaker card. Unlike most shaker cards this one did not take long at all. 😀 I started by cutting a piece of Daffodil Delight 8-1/2″ X 11″ Cardstock to 5-1/2 x 8-1/2″ and scored at 4-1/4″ to create a card base and a piece of Lawn Fawn Perfectly Plaid Rainbow 6 x 6 Paper Pad (no longer available I think) to 4-1/4 x 5-1/2”. I diecut an egg window into the pattern paper using the outline die from the Simon Says Stamp’s Faberge Egg Dies. Then I added a piece of Acetate behind it with some Scor-Tape. I diecut the Faberge Egg from Simon Says Stamp’s ASSORTMENT GLITTER Cardstock 6×6 Pack and carefully adhered it to the acetate with some Tombow Mono Multi Liquid Glue.
I then added some 3M Foam Tape behind it, creating a well around the window. I added some pink sequins from my stash as well as Queen and Company Pastel Diamonds in pink, yellow and orange and Queen and Company Pops Toppings in pink, yellow and orange. I adhered a piece of the Daffodil Delight Cardstock behind the shaker as well. Instead of trying to adhere it directly to the card, adding a piece of paper behind it is much easier. I adhered the shaker element to the card base and thought it looked a little plain. Even with the sparkle of the glitter Cardstock, it was missing something so I added a strip of Stampin’ Up! Melon Mambo 8-1/2″ X 11″ Cardstock, measuring 1/4 x 5-1/2”. To finish it off, I added some Nuvo Drops in White Blizzard.
On the inside of the card, I cut down a piece of Neenah 110lb Classic Crest Cardstock 8.5 X 11″ to 4-1/ x 5-1/2” and adhered it to the inside of the card base and added a strip of the same plaid pattern paper, measuring 3/4 x 4” to the bottom of the white panel.
Thanks for reading this post. I hope you enjoyed and I’ve inspired you to give these cards a try for yourself. They are super quick and fun to make! Have a great Easter! Leave comments or questions below or feel free to email.


 https://linkdeli.com/widget.js?id=f5e8378456858c916708