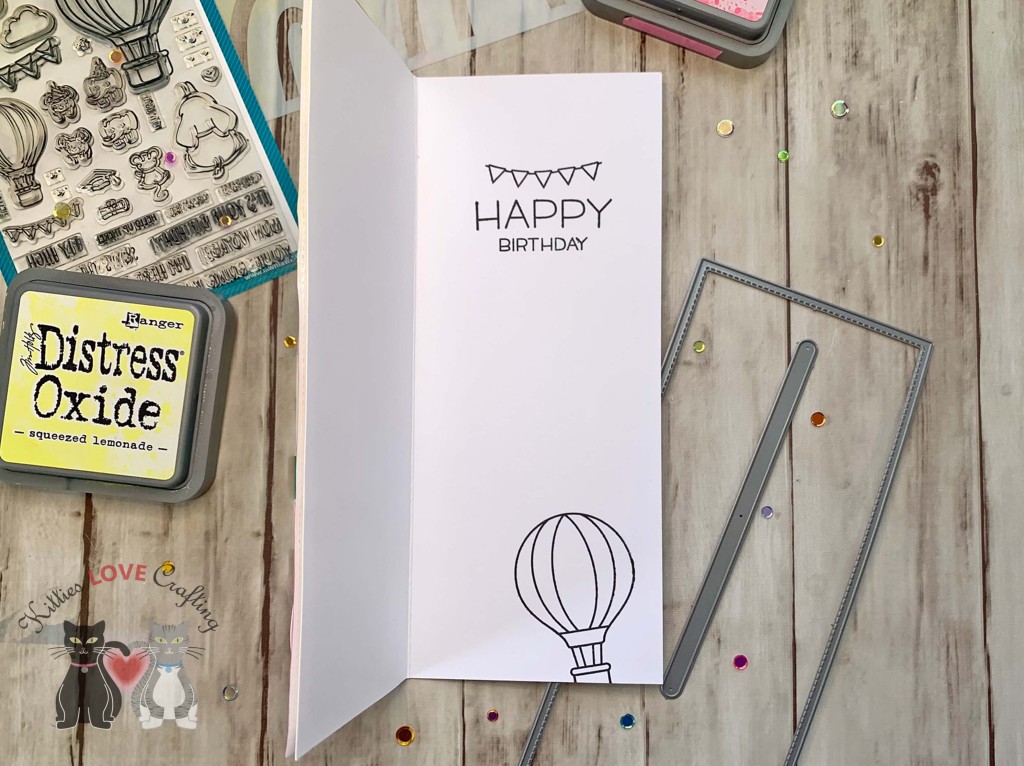
Hello friends. This card features the Lawn Fawn Fly High stampset. This is an example on how to create an interactive slimline card with this stampset. The hot air balloons can be used in a variety of ways. Check out the mini slimline Valentine’s Day card I made with it to see more ideas in my previous post.
Thanks for reading this post. I hope I’ve inspired you to give this cute slimline birthday card a try for yourself. Leave comments or questions below or feel free to email.
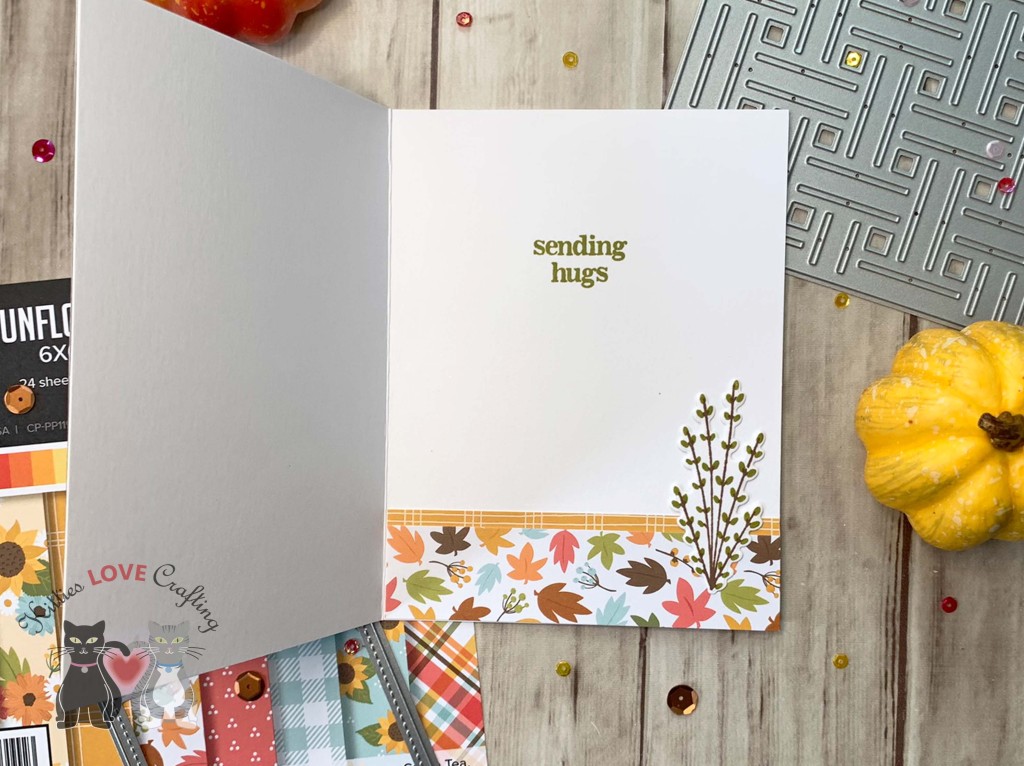
Hello friends. I am starting my Fall series with a card featuring the new release from Catherine Pooler Designs. More cards using these products will be coming soon. For this one I featured the Woven Cover Plate. This cover plate adds lots of texture to your cards without to much work. That’s a win win!
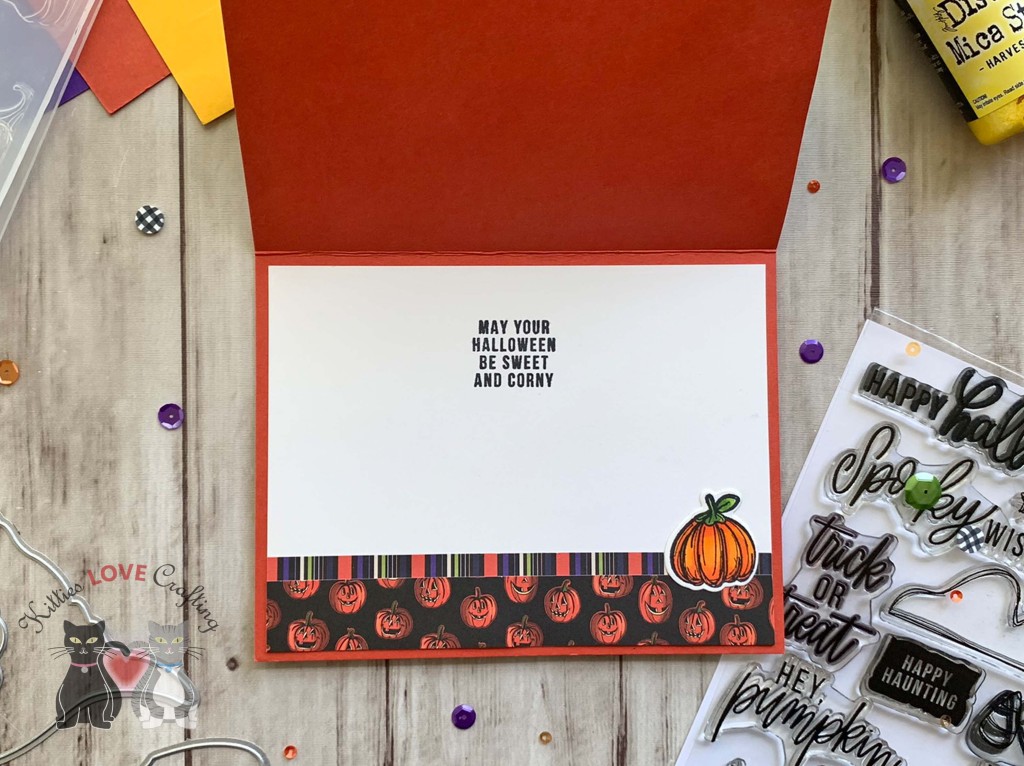
On the inside of the card I added a piece of pattern paper measuring 1 x 4-1/4″ and another measuring 1-1/8 x 4-1/4″. I stamped a sentiment from the CP Joyful Thanks Sentiments with Eucalyptus ink and added another sprig.
Thanks for reading this post. I hope I’ve inspired you to give this Fall card a try for yourself. Leave comments or questions below or feel free to email.
Hello friends. Here’s another fun summer card using the Lawn Fawn Build-A-Drink Dies. This requires minimal stamping. I used all dies except for the sentiment strip and added texture to the background using a Tim Holtz stencil. I love how bright this card turned out. Definitely some summer vibes happening here!
For this card, I cut a piece of Neenah 100lb Classic Crest Cardstock 8.5 X 11″ to 5-1/2 x 8-1/2″ and scored at 4-1/4″ to create a card base and another piece die cut using the Catherine Pooler Scallops & Dots Dies.
I added dimension to the images by inking them. I used Tim Holtz Mowed Lawn Distress Oxide Ink for the lighter leaves and limes; Rustic Wilderness Distress Oxide Ink for the darker leaves and stems; Squeezed Lemonade Distress Oxide Ink for the lemons and the drink and Stampin’ Up! Sahara Sand Ink (retired) for the fruit basket.
Thanks for reading this post. I hope I’ve inspired you to give this cute summer card a try for yourself. Leave comments or questions below or feel free to email.
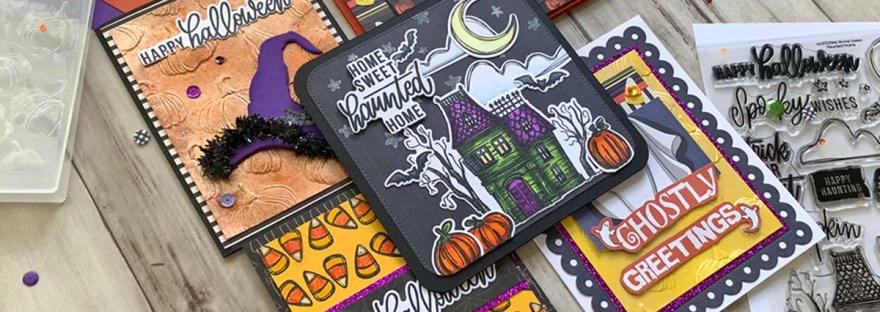
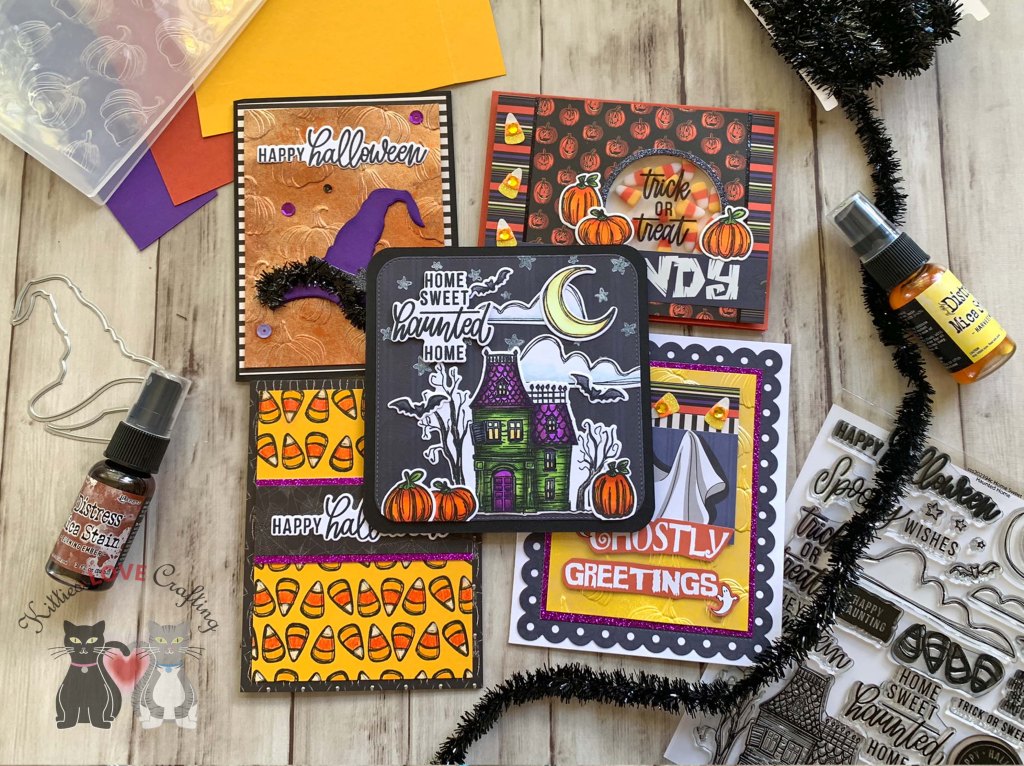
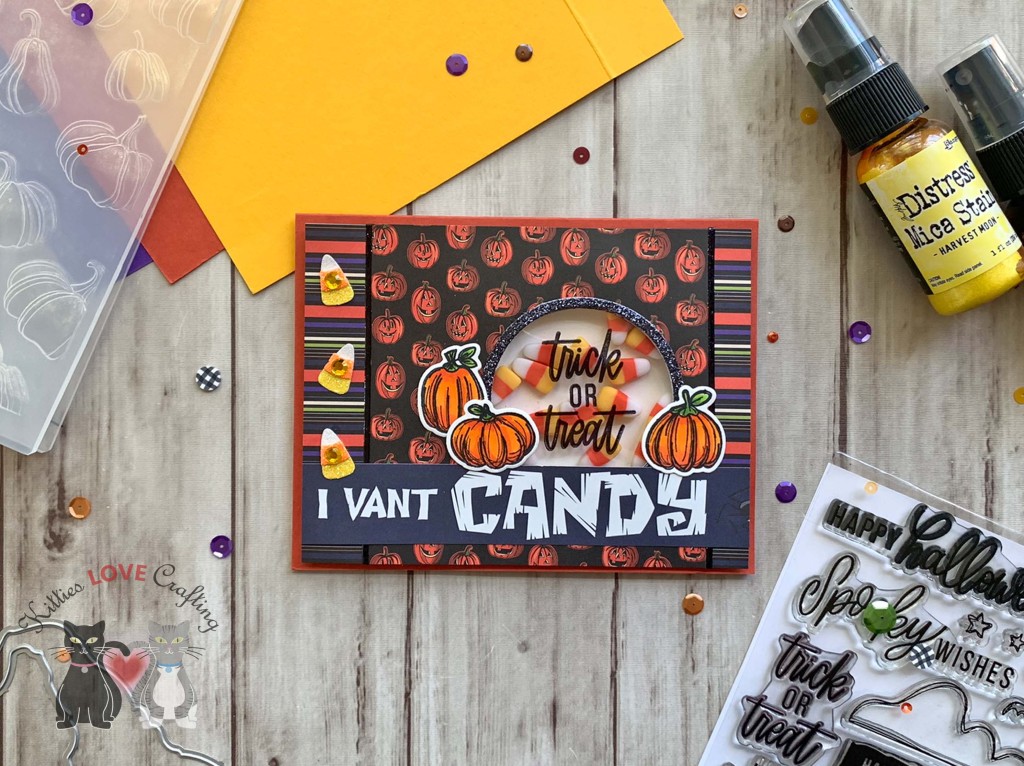
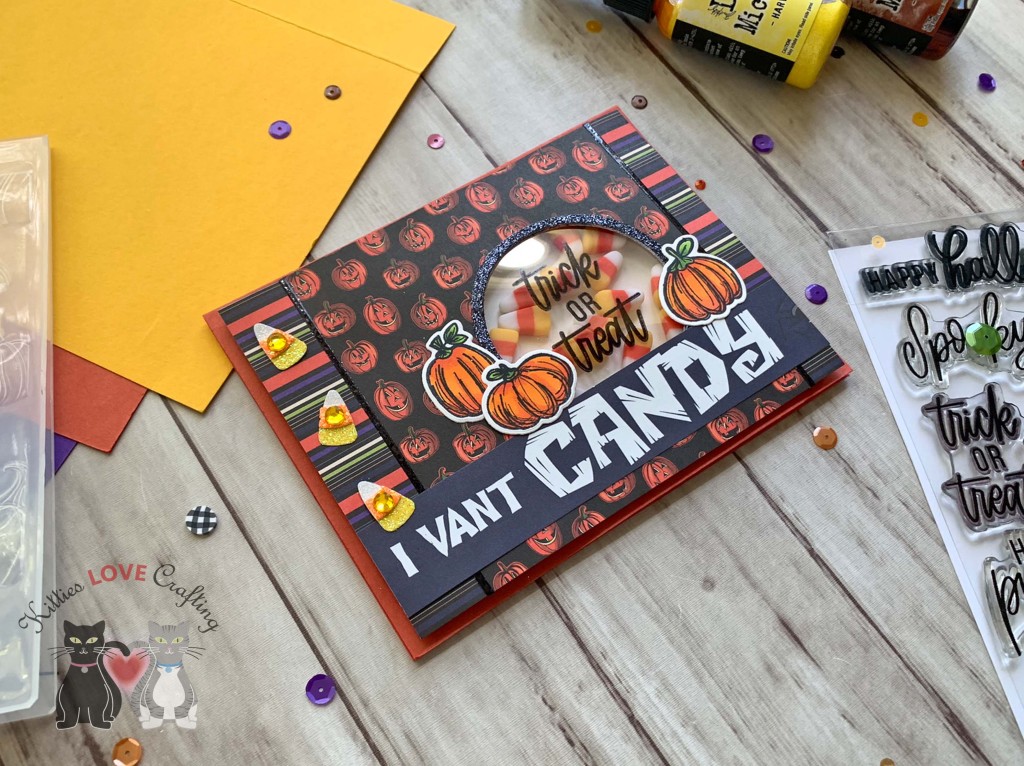
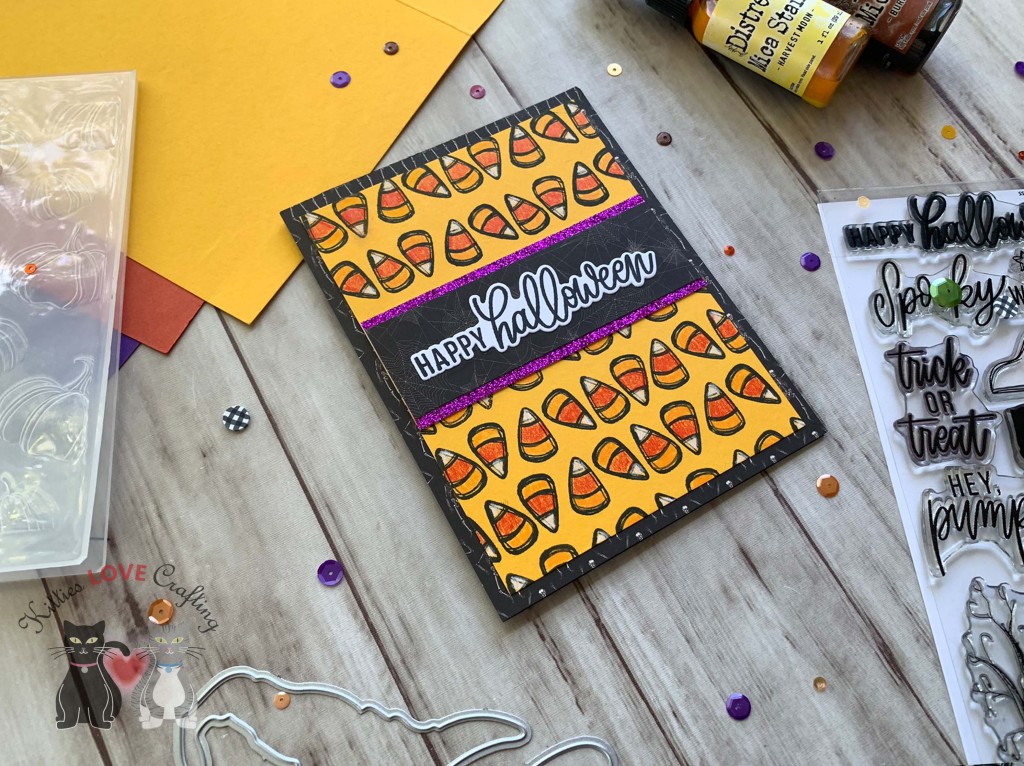
Limited Edition Simon Says Stamp Home Sweet Haunted Home Halloween Card Kit is full of tons of goodies to make cute Halloween cards and gift bags. While the kit is now sold out, you can buy most of the items in the kit seperately. The list below has all the links. Stay tuned for the next post featuring the gift bags!
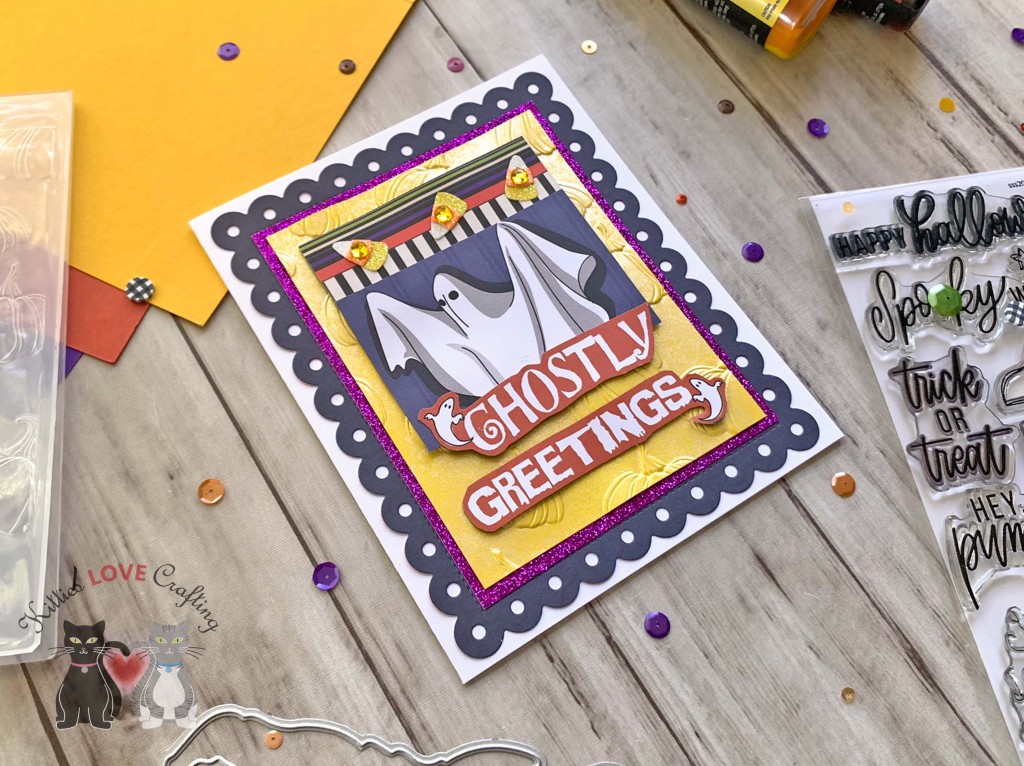
I cut a sentiment and image from the Carta Bella Hocus Pocus 6×6 inch paper pack cut apart pages as well as two strips measuring 1/2 x 3″ and 1 x 3″ to add to the top of the ghost panel.
Thanks for reading this post! I hope you enjoyed and I’ve inspired you to make these Halloween cards yourself! If you want to share you creations with me tag me on instagram @kittieslovecrafting. Leave comments or questions below or feel free to email me.
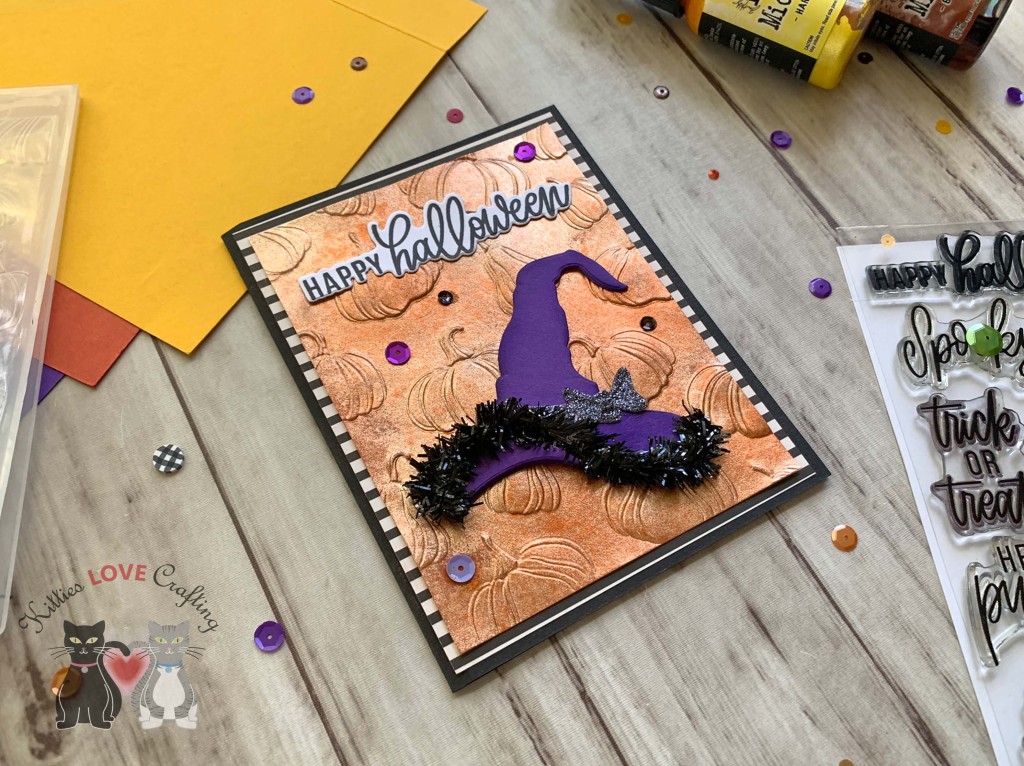
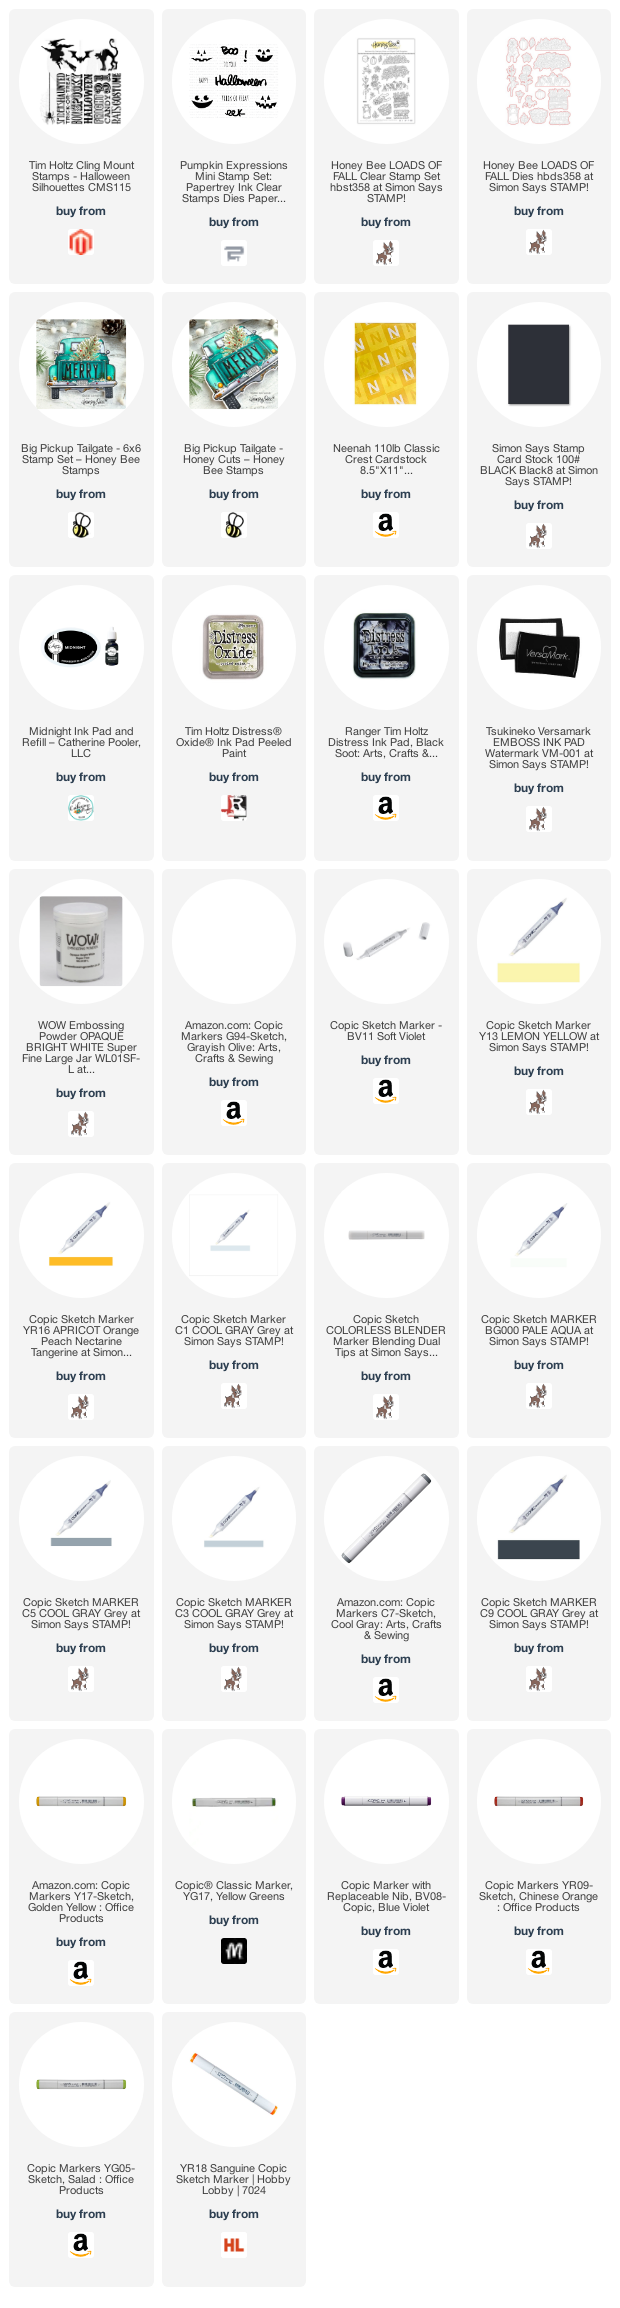
Hi friends. Using the emboss resist technique to create a background is super easy and creates a very high contrast, impactful visual. Let me show you how easy this was to create.
I used YR16, YR18, & YR09, N2, N6 & N8 for the pumpkins; G94 & G99 for the leaves; BV11, BV08, V25 & V28 for the truck bed; Y13 & Y17 for the truck head lights; C1, C3, C5, C7, & C9 for the metal on the truck; YG05, YG17 & YG67 for the license plate; and BG000 & 0 for the truck windows.
Thanks for reading this post! I hope you enjoyed and I’ve inspired you to make this cute Halloween card yourself! If you want to share you creations with me tag me on instagram @kittieslovecrafting. Leave comments or questions below or feel free to email me.
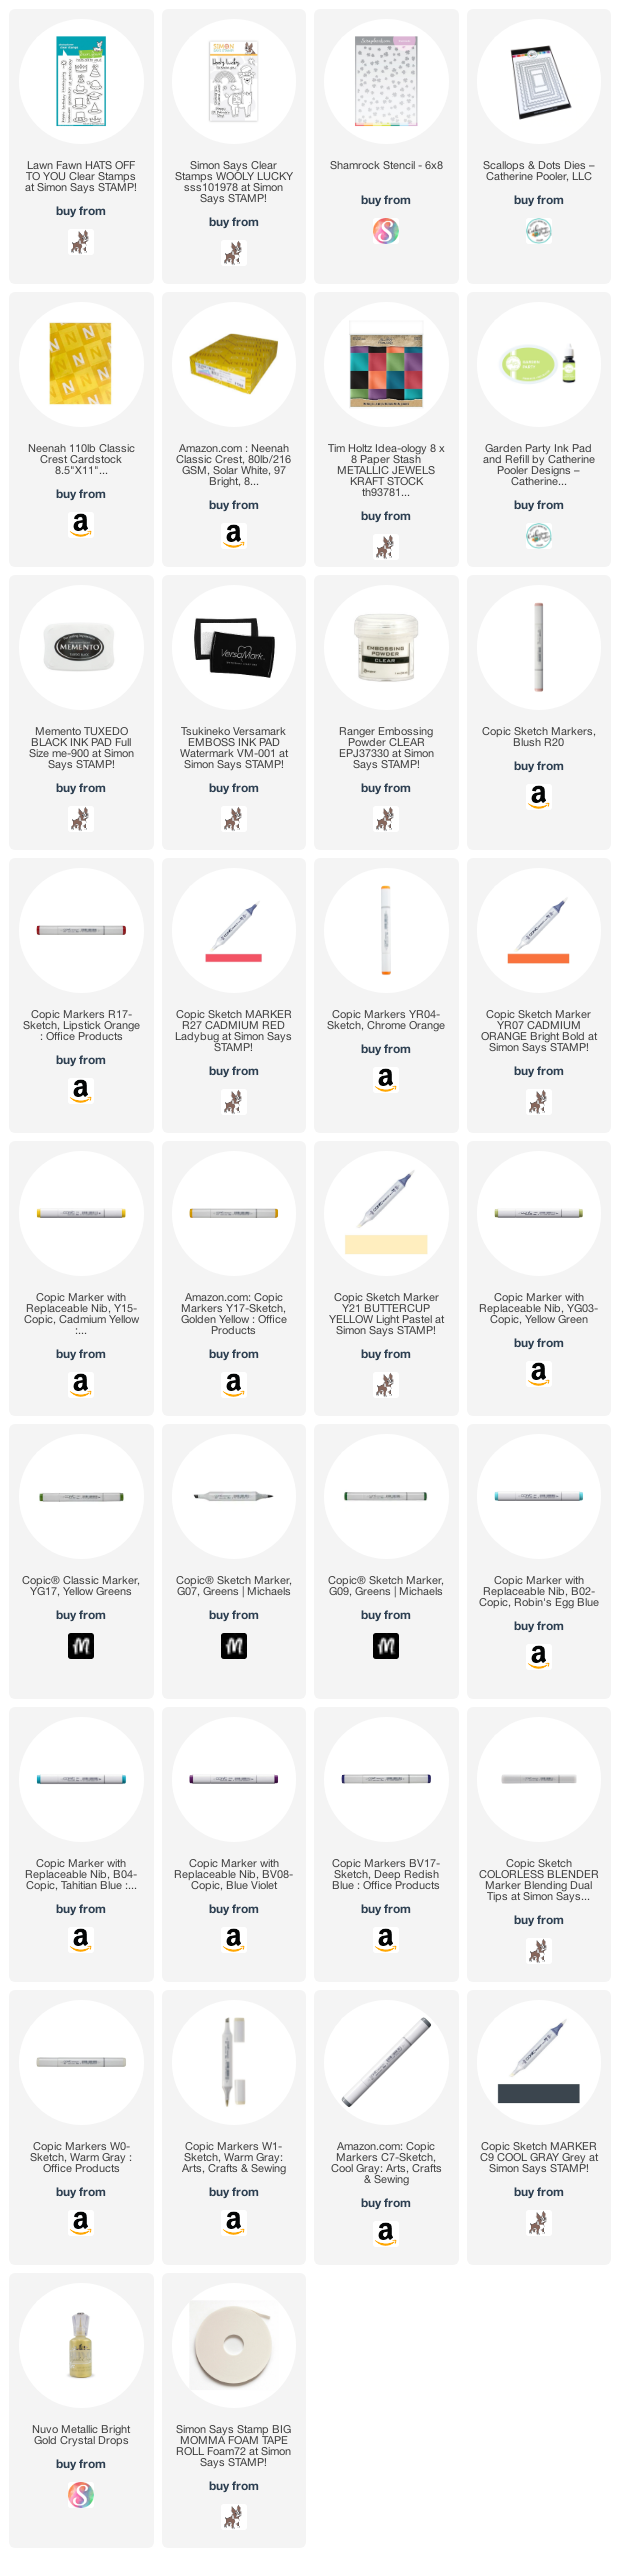
Hello friends. Here’s a quick but very cute St. Patrick’s Day card featuring Simon Says Stamp’s Wooly Lucky Stampset (this came out last year I believe). It’s a very simple card with a subtle stenciled background. I love using stencils for backgrounds because it makes it so quick. And who’s got time to make complicated backgrounds these days?!? Not me.
I colored the images with Copic colors. I used W0, W1 & 0, R20, & C7 for the llama; G07 & G09, C7 & C9, Y15 & Y17 for the hat and bow; YG03 for the shamrocks; YG03, YG17, G07, Y15 & Y17 for the blanket; R17 & R27, YR04 & YR07, YG17 & G07, B02 & B04, BV08 & BV17 for the rainbow; and BG000 & 0 for the clouds. I fussy cut all the images.
Thanks for reading this post. I hope you enjoyed and I’ve inspired you to give this card a try for yourself. Leave comments or questions below or feel free to email.
Hello friends. This festive holiday card features several of the Scrappy Tails Crafts add-on dies for the Slimline Bird House Pop Up Card Metal Die. These are tons of fun to play with and quickly becoming another favorite house builder set. These standalone dies are especially great for those of you who dislike or struggle with stamping.
Thanks for reading this post. I hope you enjoyed and I’ve inspired you to give this card a try for yourself. Leave comments or questions below or feel free to email.
Hello friends. This little car from Catherine Pooler Wrapped and Ready Stampset is so cute! I also love how large it is so it covers a good portion of an A2 card or a mini slimline card as well. In a previous post I created a mini slimline card using this stampset.
I colored the car with Copic Markers. I used R05, R17 & R46; Y02 and Y18; and C1, C3, C5, C7 & C9 for the car. R05, R17 & R46; Y02 and Y18; C1, C3, C5, C7; YG01, YG25, YG17; BV11 & BV08; YR14 & YR16; B00 & B02; and R81 & R85 for the gifts; and R05, R17 & R46; YG01, YG25, YG17; and C1, C3, C5 for the ornaments. I used a White Uni-Ball Gel Pen to add highlights to the car.
Thanks for reading this post. I hope you enjoyed and I’ve inspired you to give these cards a try for yourself. Leave comments or questions below or feel free to email.
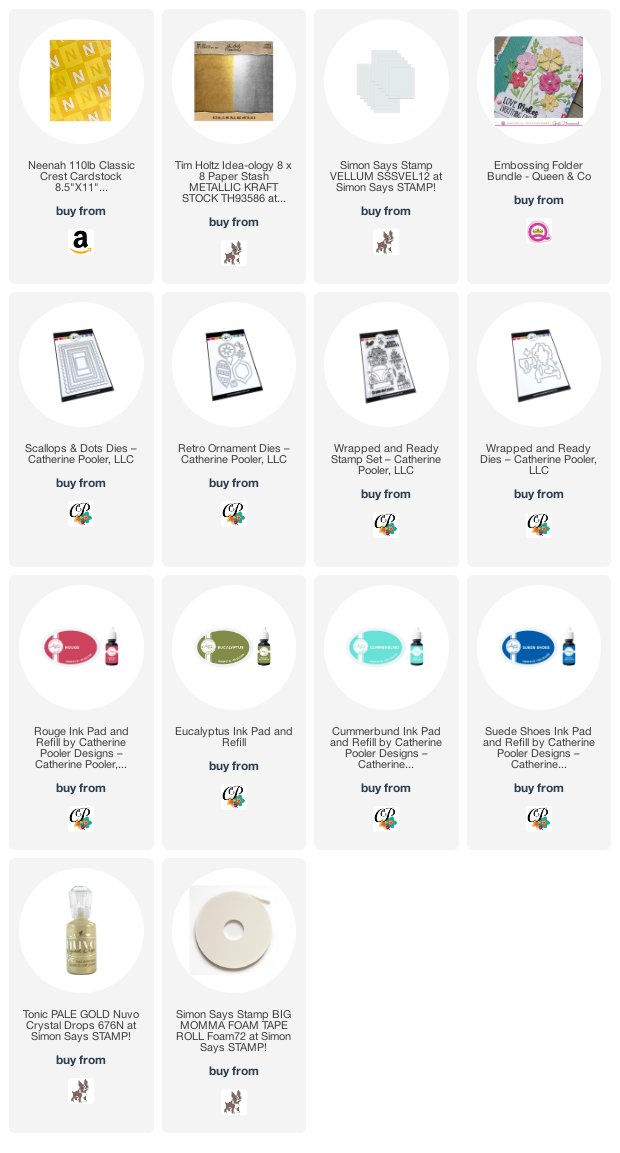
Hello friends. I’m loving this Retro Ornament Dieset from Catherine Pooler! The images are large enough to cover an A2 size card and really great on a slimline card. I went for a more traditional color but then decided to try a little less traditional color scheme.
For these cards, I cut a piece of Neenah 110lb Classic Crest Cardstock 8.5 X 11″ to 7 x 8-1/2″ and scored at 3-1/2″ to create the card bases and piece of to 3-1/4 x 8-1/4” for the top panel. For the first card,I used the Catherine Pooler’s Rouge and Eucalyptus Inks to color white cardstock using direct-to-paper technique. Then diecut three rectangles using Catherine Pooler’s Scallops & Dots Dies. I adhered them offset.
On the inside of the card, I stamped a sentiment from the Stampin’ Up! ‘Joy to the World’ Paper Pumpkin stampset (Paper Pumpkin is a subscription box so this stampset is not available for purchase) with Eucalyptus Ink and adhered the gold star shape that I had cut out of one of the ornaments.
On the inside of the card, I stamped a sentiment from the Stampin’ Up! ‘Joy to the World’ Paper Pumpkin stampset (Paper Pumpkin is a subscription box so this stampset is not available for purchase) with Suede Shoes ink and adhered the silver star shape that I had cut out of one of the ornaments.
Thanks for reading this post. I hope you enjoyed and I’ve inspired you to give these cards a try for yourself. Leave comments or questions below or feel free to email.
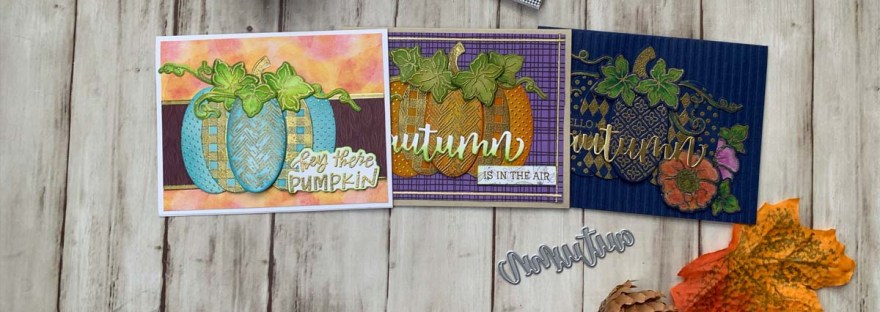
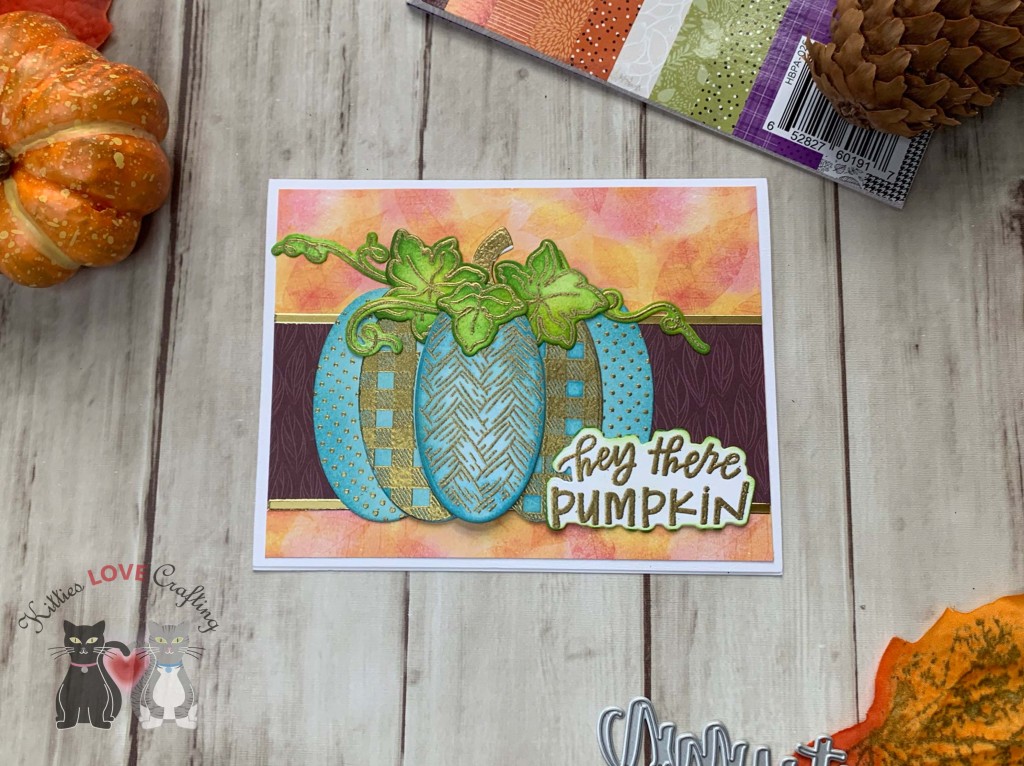
I love this new Patchwork Pumpkin Stampset from Honey Bee Stamps! You can create all kinds of cute pumpkins. You can also add flowers and the coordinating dies makes it easy to cut everything out. I made three cards using different color papers and coloring methods but with the same embossing powder. I wanted to see how to create different cards by just making subtle changes. Using pattern papers and embossing folders is also an easy way to add interest.
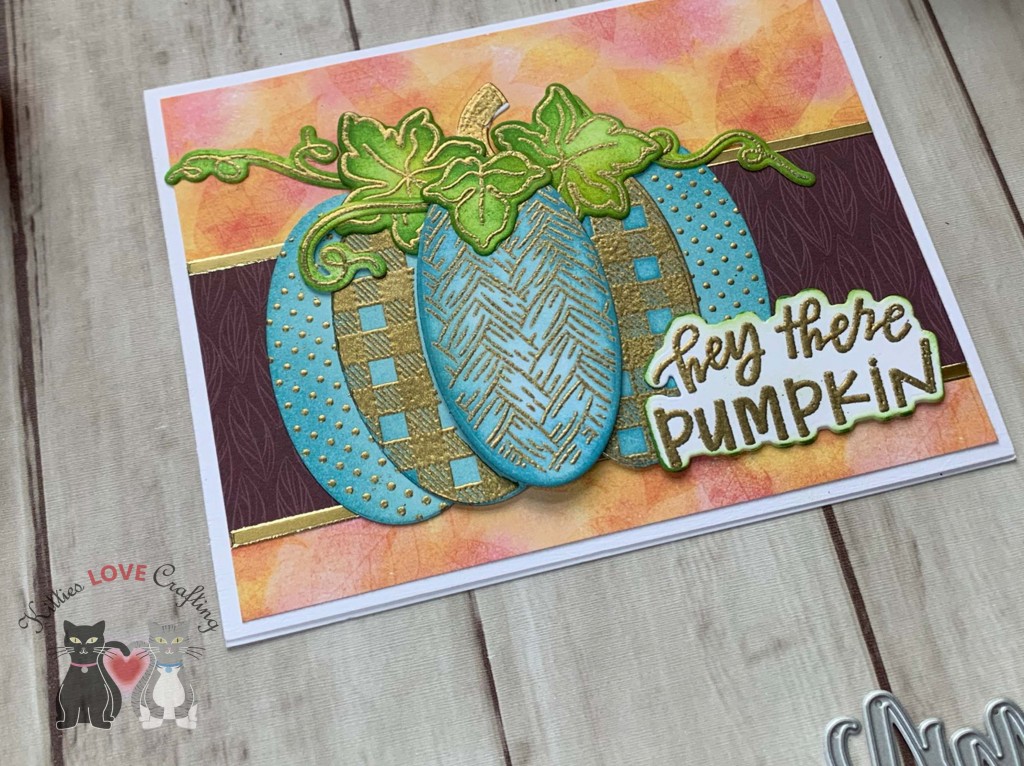
For the second card, I started by cutting a piece of Catherine Pooler Sand Dunes 8-1/2 x 11″ Cardstock (discontinued-any kraft cardstock will work) to 5-1/2 x 8-1/2″ and scored at 4-1/4″ to make the card base and cut a piece of the purple paper from the Honey Bee Stamps Halloween Harvest 6×6 Paper Pad to 4 x 5-1/4″.
I used Versamark Ink to stamp several of the pattern pumpkins, leaves, curly vines and the stem from the Honey Bee Stamps Patchwork Pumpkin Stampset onto some Catherine Pooler Sand Dunes 8-1/2 x 11″ Cardstock (retired) and heat embossed with Gold Embossing Powder. Then diecut all the pieces with the oval die included in the coordinating dieset. I used Tim Holtz Mustard Seed and Carved Pumpkin Distress Inks to color the pumpkin and Crushed Olive and Mowed Lawn to color the leaves and vines. I used 3M Foam Tape to pop up the center piece of the pumpkin and some of the leaves.
Thanks for reading this post. I hope you enjoyed and I’ve inspired you to give these cute Fall cards a try for yourself. Leave comments or questions below or feel free to email me.


 https://linkdeli.com/widget.js?id=f5e8378456858c916708