Hello friends. I came across these two birthday gift stampsets I have from Lawn Fawn while organizing and thought they would be cute on some Valentine’s Day card. These stamp sets are meant for birthdays but why not try to make Valentine’s Day cards instead. It’s time to challenge myself.
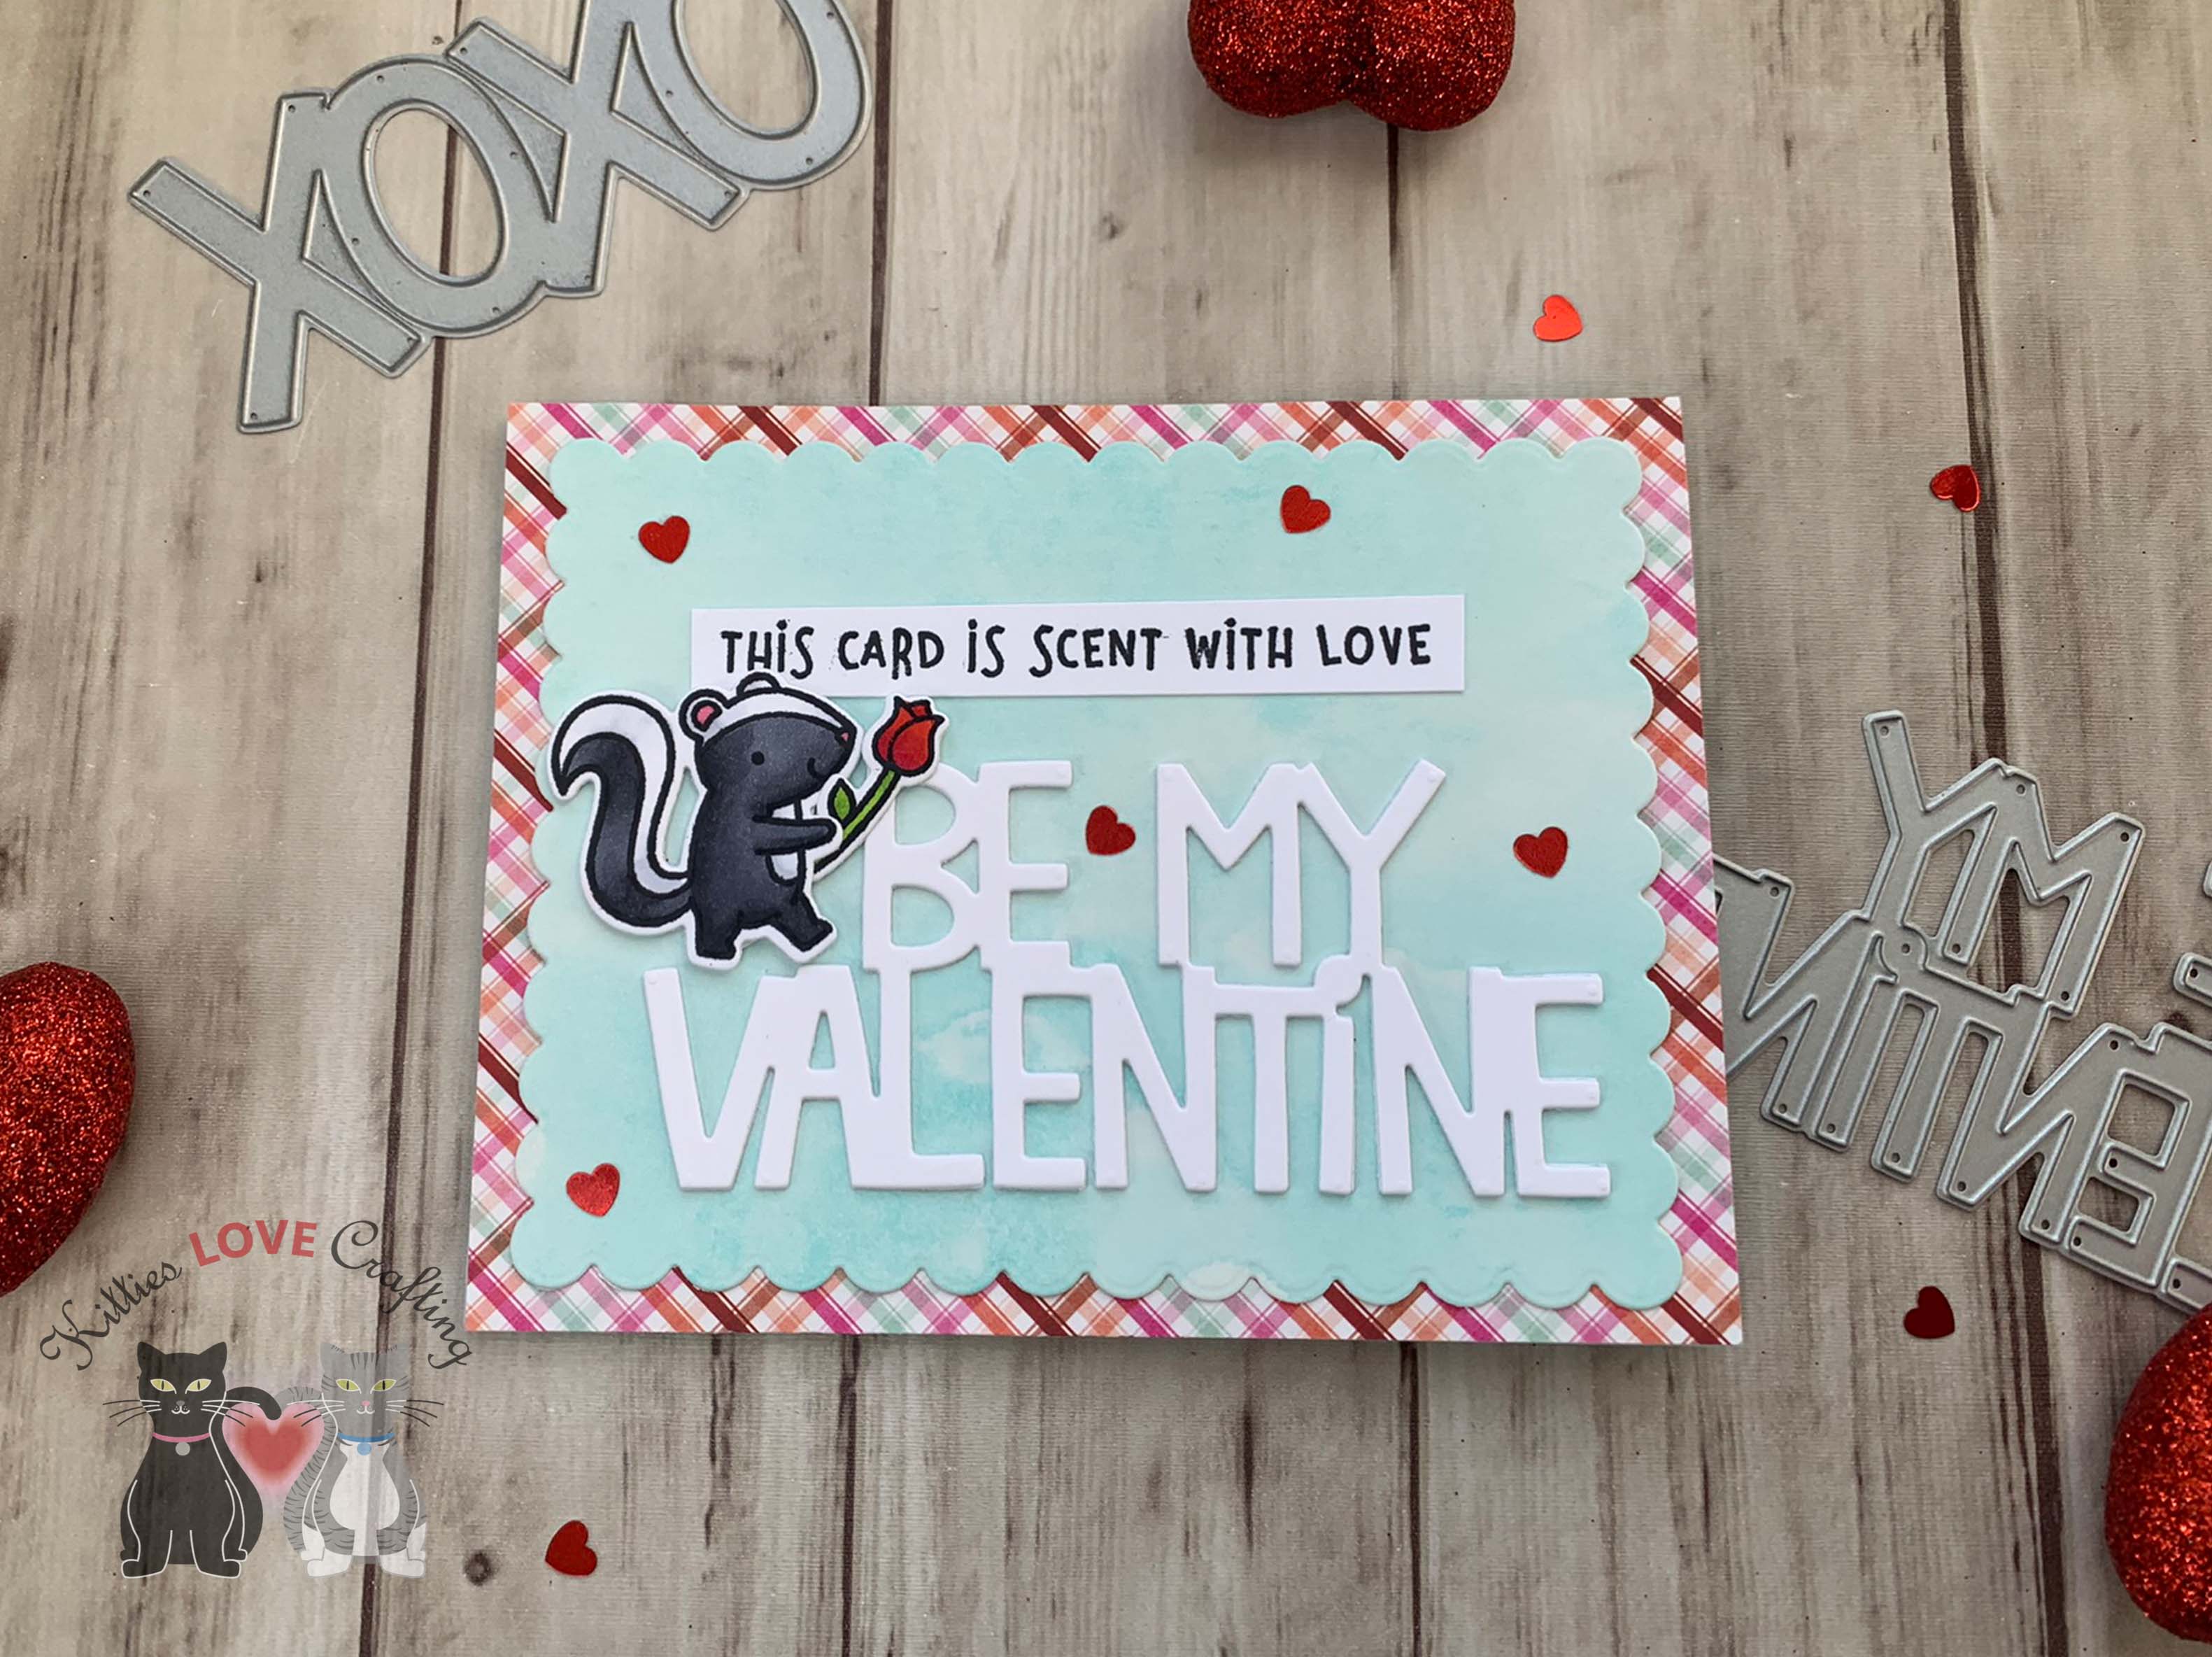
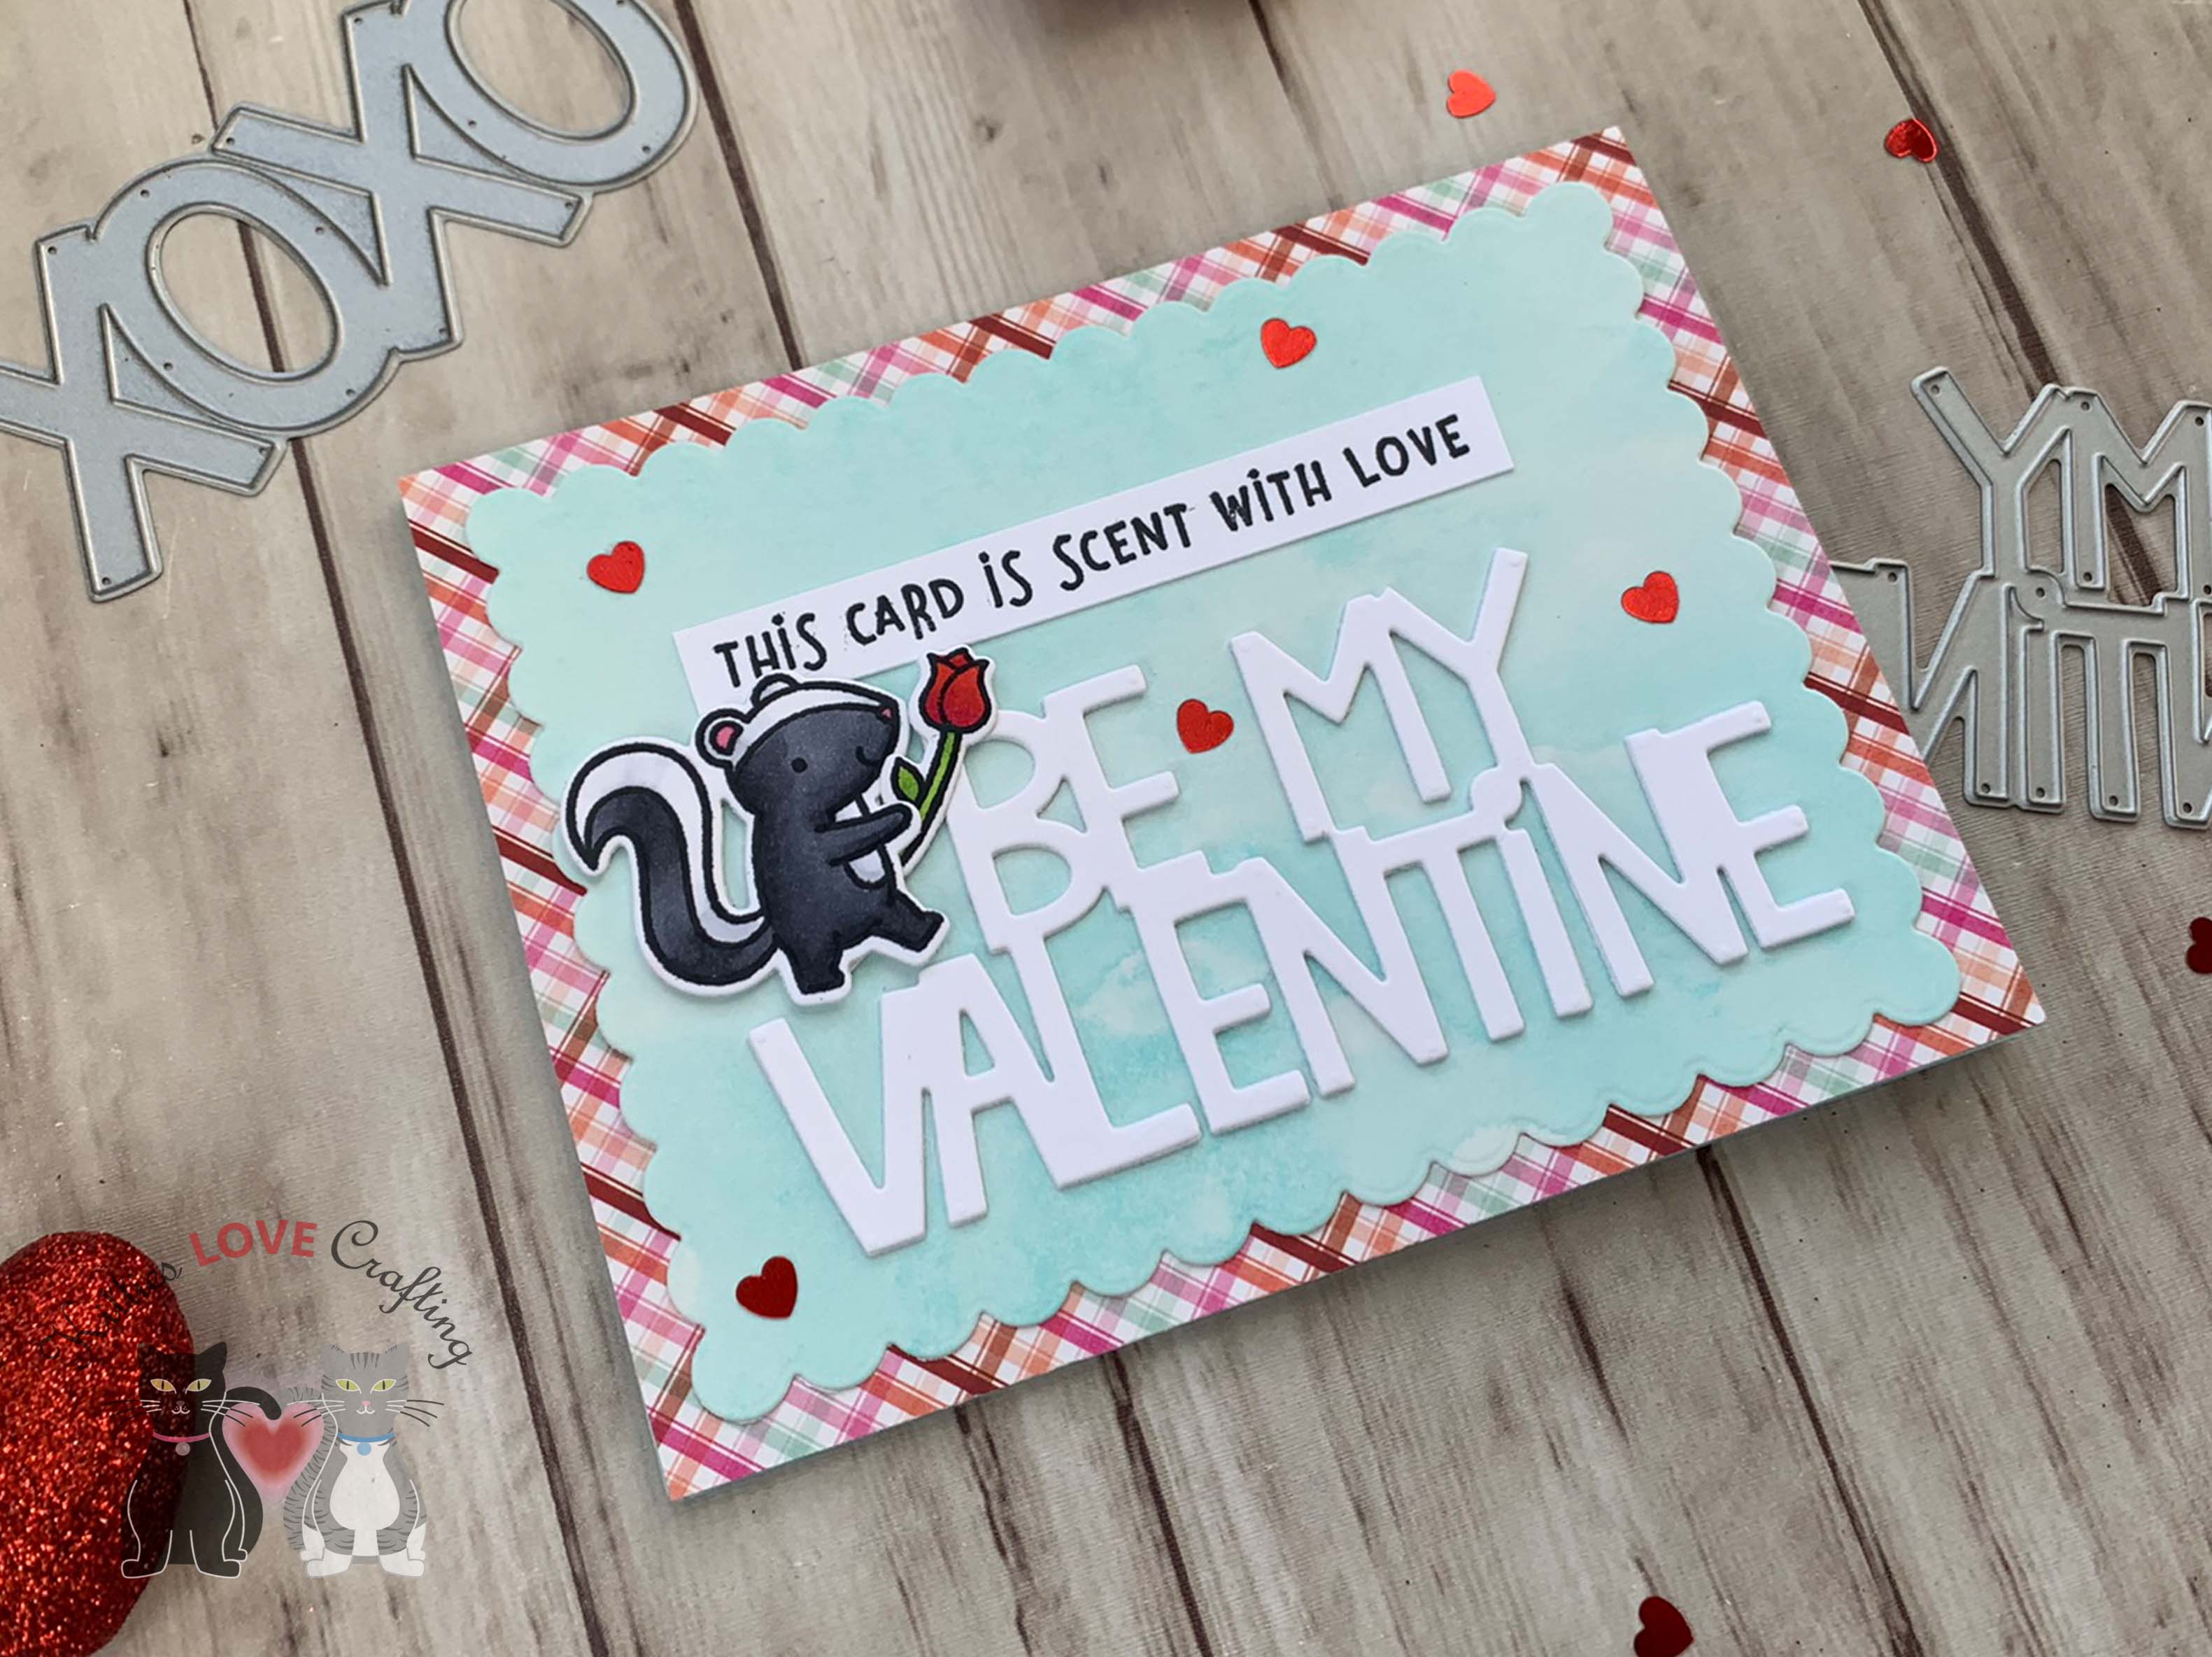
I used the Lawn Fawn, Party Pig, which I received as my birthday gift from Lawn Fawn in 2021 but also decide to use the Party Panda stamp set I received in 2020 as well. I combined them with the Giant Be My Valentine sentiment die to create a lovely focal image. Combining this die and some pattern papers helped me create two very quick cards!

For the first card, I cut a piece of Neenah 110lb Classic Crest Cardstock 8.5 X 11″ to 5-1/2 x 8-1/2″ and scored at 4-1/4″ to create the card base. Then cut another panel of Simple Stories – Sweet Talk Collection – 6 x 8 Papers (had some left over from my SSS Feb 2021 Card Kit – Love You Beary) to 4 x 5-1/4″.
I diecut a piece of Stampin’ Up! Real Red 8-1/2 x 11″ Cardstock with the Lawn Fawn Lacy Heart Stackables which I embossed it using the Crafters Companion Embossalicious Grand Dots Embossing Folder (retired but I linked a similar one).

I diecut the sentiment from Neenah 110lb Classic Crest Cardstock 8.5 X 11″ (3x) using the Lawn Fawn Giant Be My Valentine Die and stacked them.
I stamped the panda image and cupcake from the Lawn Fawn Party Panda mini stampset (2020 birthday gift with purchase) onto Neenah 110lb Classic Crest Cardstock 8.5 X 11″ with Memento Tuxedo Black Ink.


I colored them with Copic markers. Then I used C1 & 0 to add shading to the panda; R81, 83, & 85 for the cupcake, E23 & E29 for the cupcake wrapper, and R17 for the cherry on top of the cupcake. I die cut all the images with the coordinating dies and added some Stampin Dimensionals to the panda before adhering to the card. And added some Pretty Pink Posh Sparkling Clear Mix Cupped Sequins to finish it.
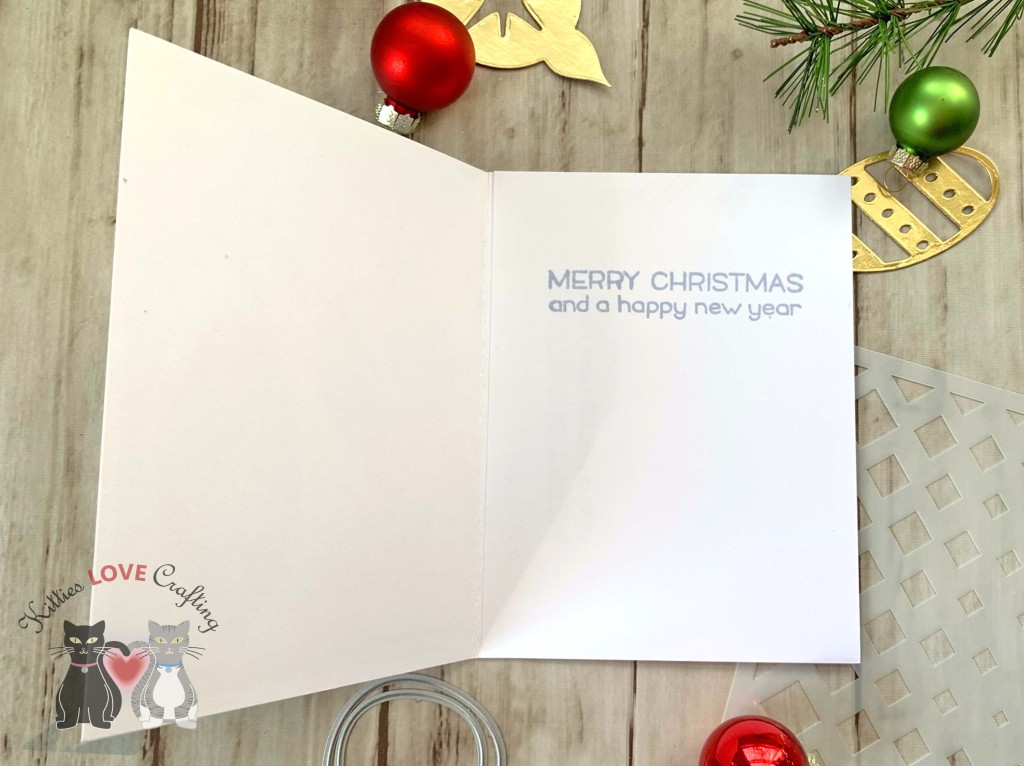
On the inside of the card, I stamped a sentiment the Lawn Fawn Happy Happy Happy add-on Stamps with Stampin’ Up! Real Red Ink.

Dimensions
- Card Base = 5-1/2 x 8-1/2″ and scored at 4-1/4″ Neenah 110lb Classic Crest Cardstock 8.5 X 11″
- Top Panel = 4 x 5-1/4″ Simple Stories – Sweet Talk Collection – 6 x 8 Papers
For the second card, I cut a piece of Neenah 110lb Classic Crest Cardstock 8.5 X 11″ to 5-1/2 x 8-1/2″ and scored at 4-1/4″ to create the card base. Then cut another panel of Simple Stories – Sweet Talk Collection – 6 x 8 Papers (had some left over from my SSS Feb 2021 Card Kit – Love You Beary) to 4 x 5-1/4″.

I diecut a piece of Vellum Cardstock with the Lawn Fawn Lacy Heart Stackables which I embossed it using the Crafters Companion Embossalicious Grand Dots Embossing Folder (retired but I linked a similar one).
I diecut the sentiment from Neenah 110lb Classic Crest Cardstock 8.5 X 11″ (2x) and one from Stampin’ Up! Red Foil 12 x 12 Cardstock (retired) using the Lawn Fawn Giant Be My Valentine Die and stacked them together.


I stamped the pig and gift images from the Lawn Fawn Party Pig mini stampset (2021 birthday gift with purchase) onto Neenah 110lb Classic Crest Cardstock 8.5 X 11″ with Memento Tuxedo Black Ink and colored them with Copic markers. I used RV52, RV55, RV66, C1, C3, C7 & 0 to for the pig; R17 & R27, E29 & E27 for the gift. I die cut all the images with the coordinating dies.
I added some Stampin Dimensionals to the pig before adhering to the card. And added some Pretty Pink Posh Sparkling Clear Mix Cupped Sequins to finish it.
On the inside of the card, I stamped a sentiment the Lawn Fawn Happy Happy Happy add-on Stamps with Stampin’ Up! Real Red Ink.

Dimensions
- Card Base = 5-1/2 x 8-1/2″ and scored at 4-1/4″ Neenah 110lb Classic Crest Cardstock 8.5 X 11″
- Top Panel = 4 x 5-1/4″ Simple Stories – Sweet Talk Collection – 6 x 8 Papers Cardstock 8.5 X 11″
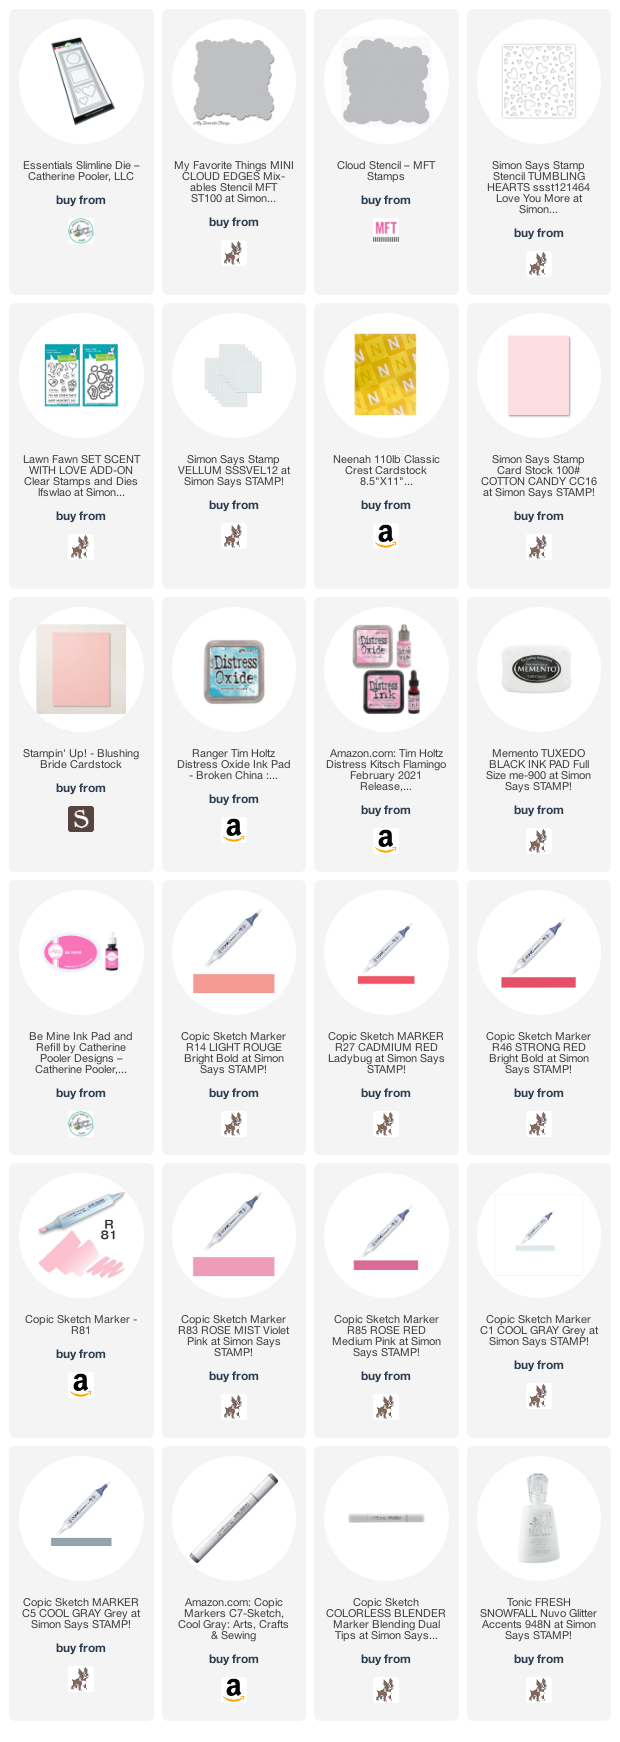
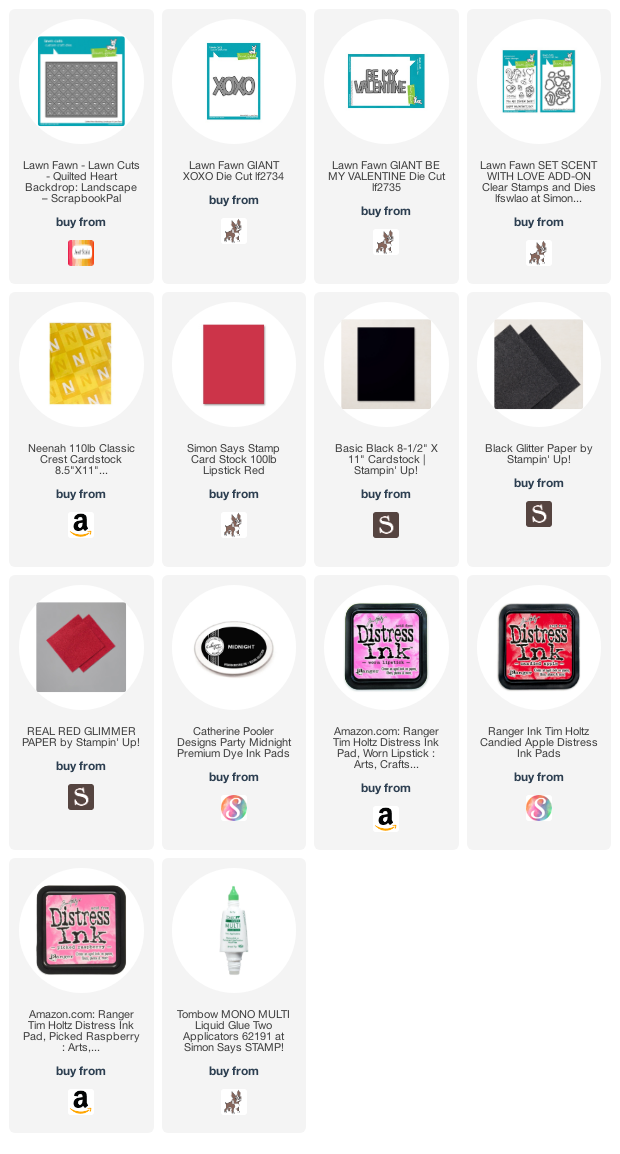
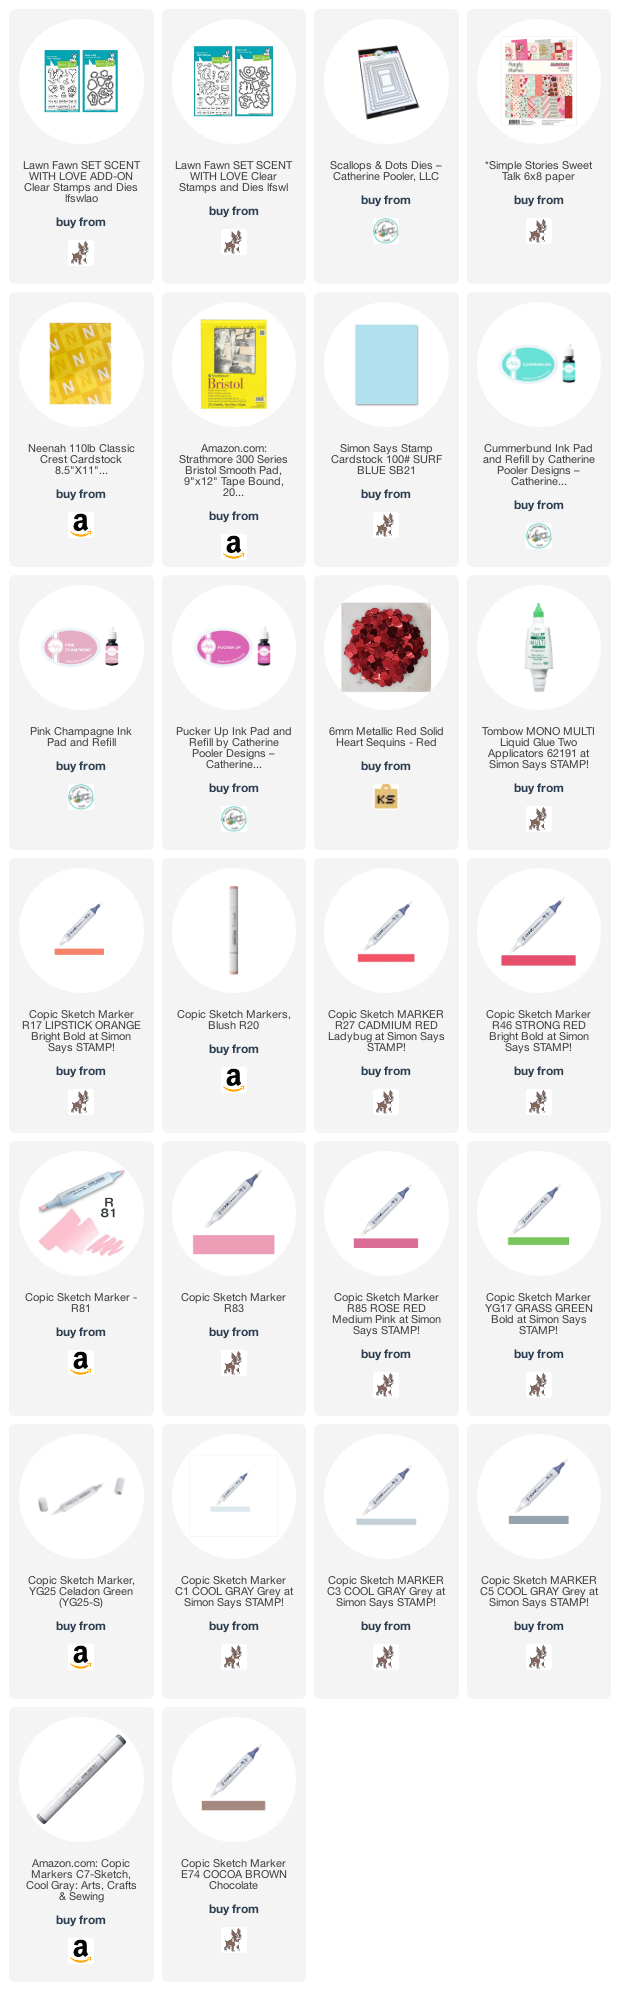
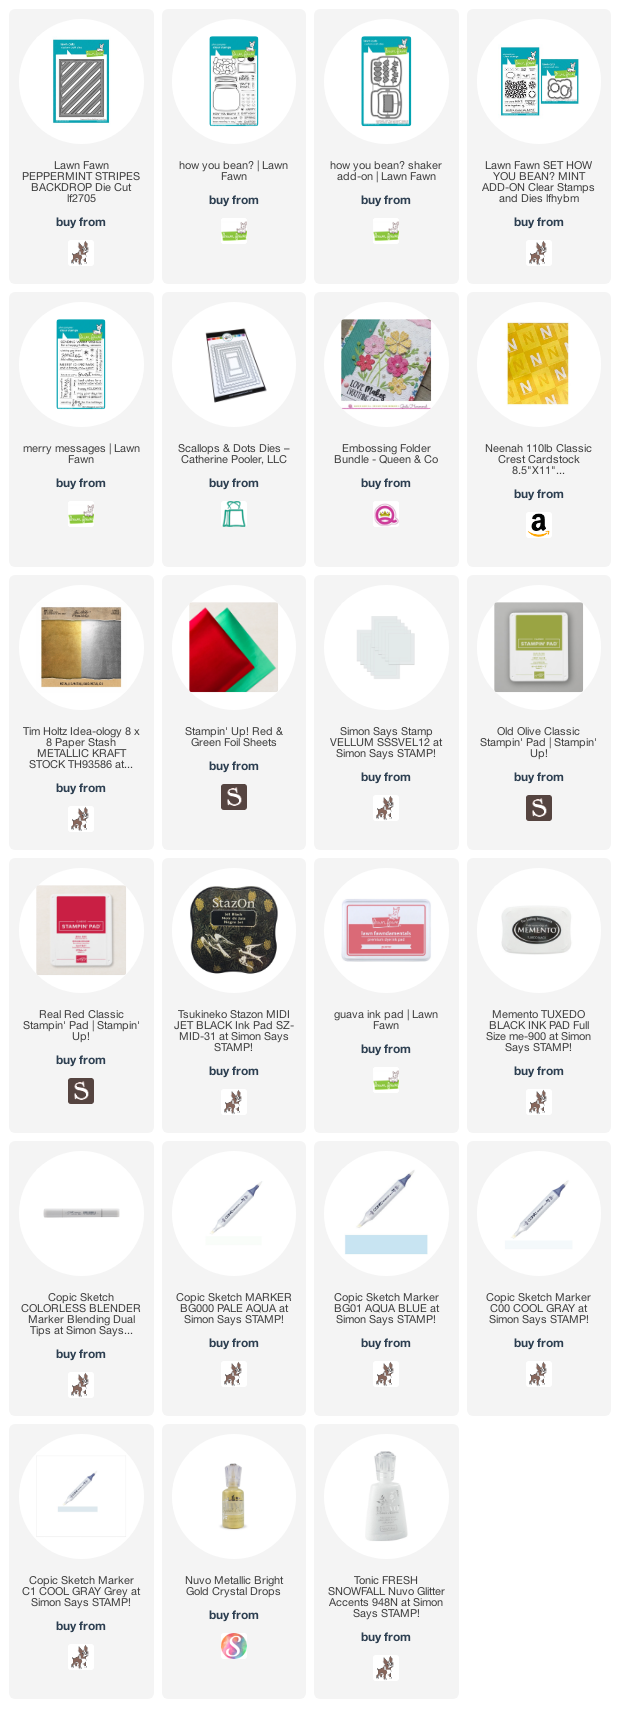
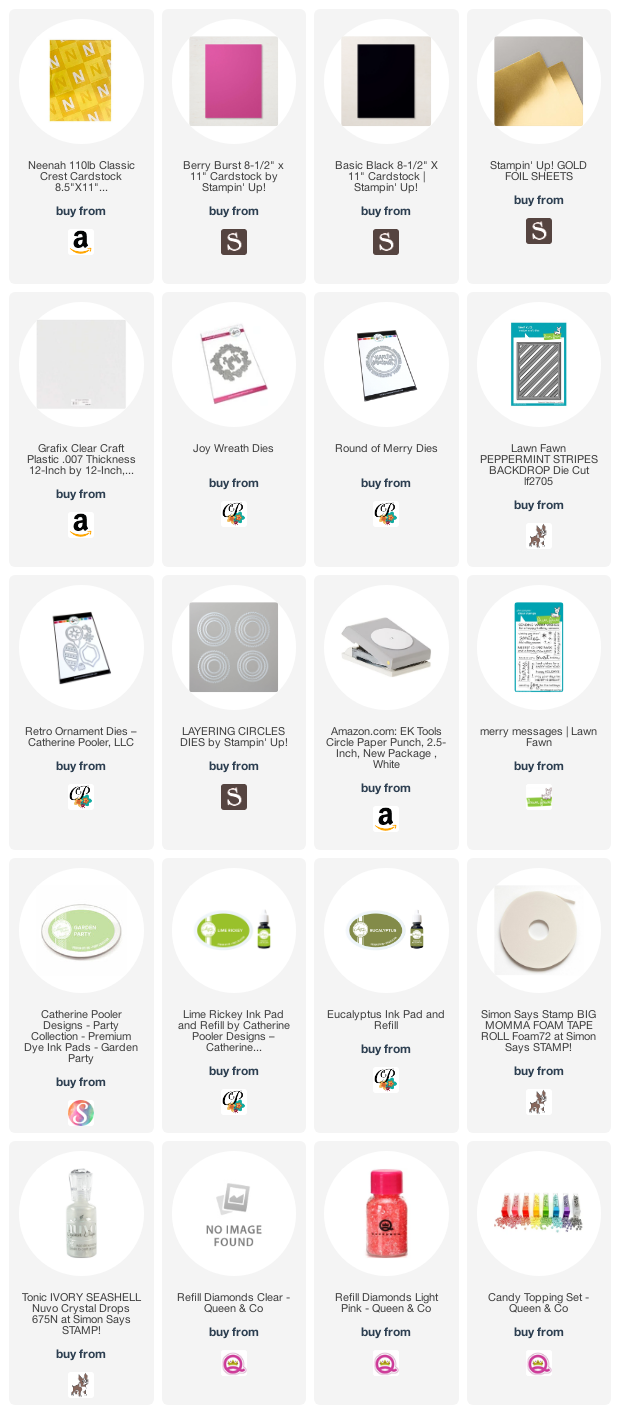
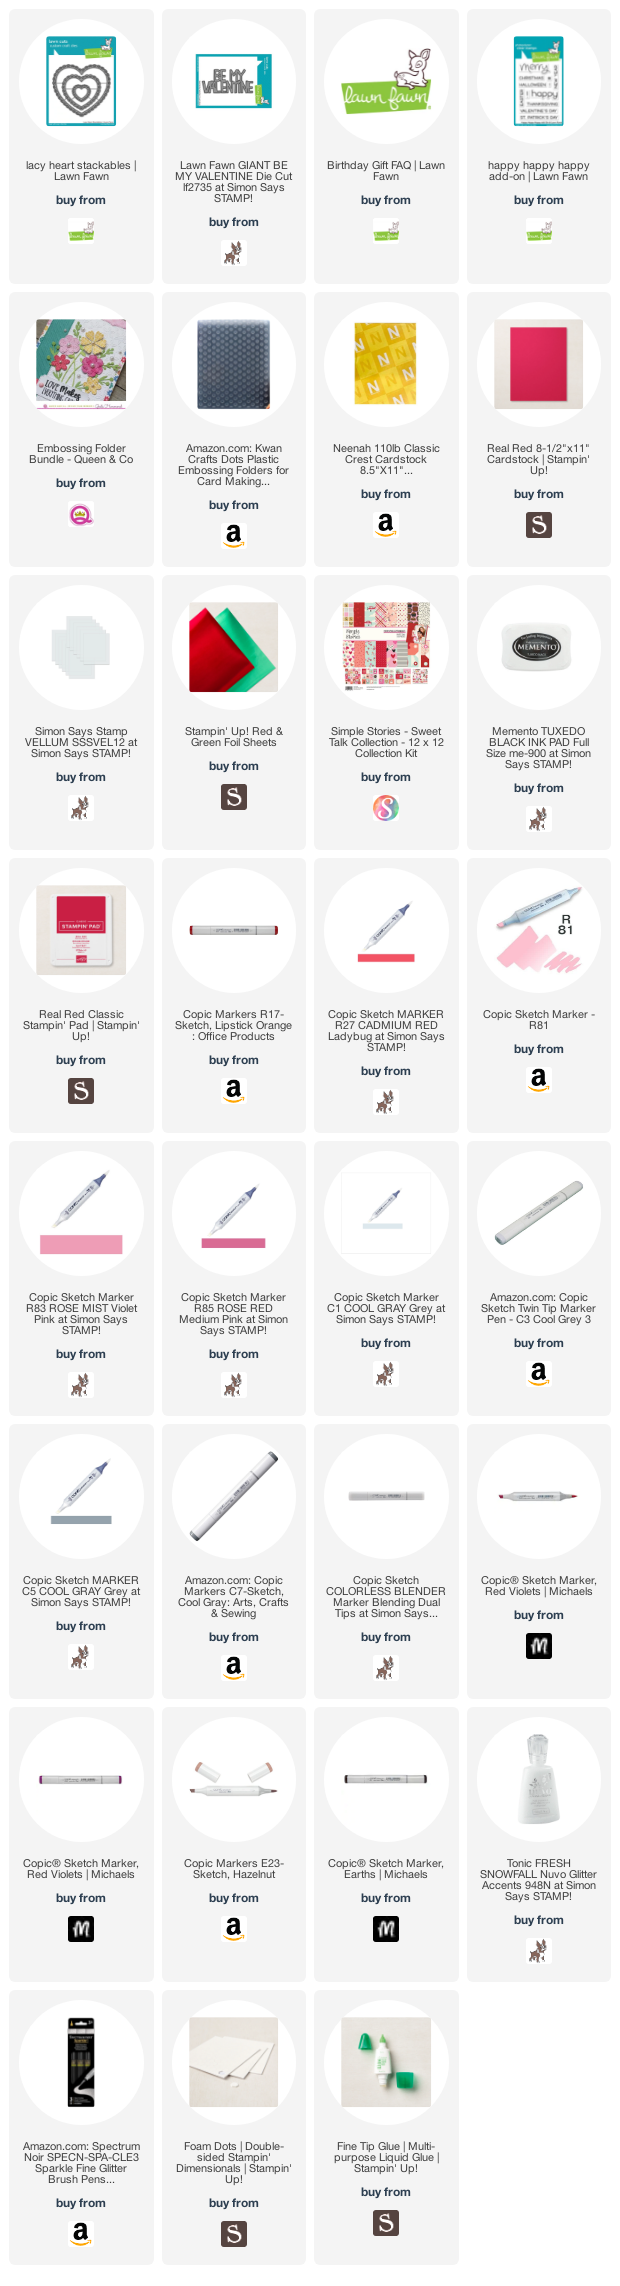
Supplies
 https://linkdeli.com/widget.js?id=f5e8378456858c916708
Thanks for reading this post. I hope you enjoyed and I’ve inspired you to give these cards a try for yourself. Leave comments or questions below or feel free to email.