Hi friends! As promised, here a few more masculine card ideas using Stampin’ Up!’s Whiskey Business Stamp Set. These can be easily mass produced and are great for birthdays, Father’s Day or any celebration.
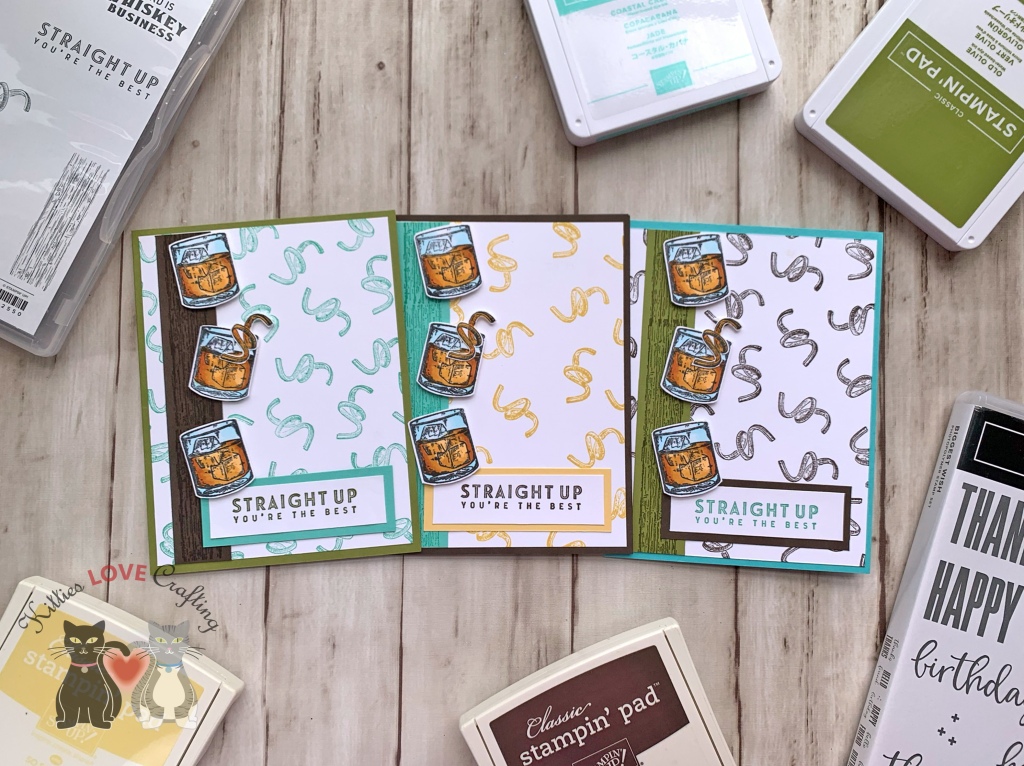
For the first card, I used Stampin’ Up! Old Olive 8-1/2″ X 11″ Cardstock cut to 5-1/2 x 8-1/2″ and scored at 4-1/4″ to make the card base and a piece of Neenah 110lb Classic Crest Cardstock 8.5 X 11″ cut to 4 x 5-1/4″. I stamped the curly rind from the Stampin’ Up!’s Whiskey Business Stamp Set with Coastal Cabana Ink to create the background. Then adhered the panel to the card base.
I cut a piece of Stampin’ Up! Early Espresso 8-1/2″ X 11″ Cardstock to 7/8 x 5-1/4″ and stamped the woodgrain border from the Stampin’ Up!’s Whiskey Business Stamp Set with Early Espresso Ink to create a border and adhered it to the card.
I stamped 3 glass images and one curly rind from Stampin’ Up!’s Whiskey Business Stamp Set onto Neenah 110lb Classic Crest Cardstock 8.5 X 11″ with Memento Tuxedo Black Ink and colored them with Copic Markers. A tip for mass producing this card is do everything in steps (cut all your cardstock, then all the stamping etc). I used BG000 + 0 for the glass, YR16 + YR21 + YR23 for the whiskey and YR16 + YR27 for the rind.
I stamped a sentiment from the Stampin’ Up!’s Whiskey Business Stamp Set onto a piece of Neenah 110lb Classic Crest Cardstock 8.5 X 11″ with Old Olive Ink and trimmed it to 3/4 x 2-3/4″ and adhered that to a piece of Stampin’ Up! Coastal Cabana 8-1/2″ X 11″ Cardstock, cut to 1 x 3″. I used Stampin’ Dimensionals to adhere the glasses to the card.

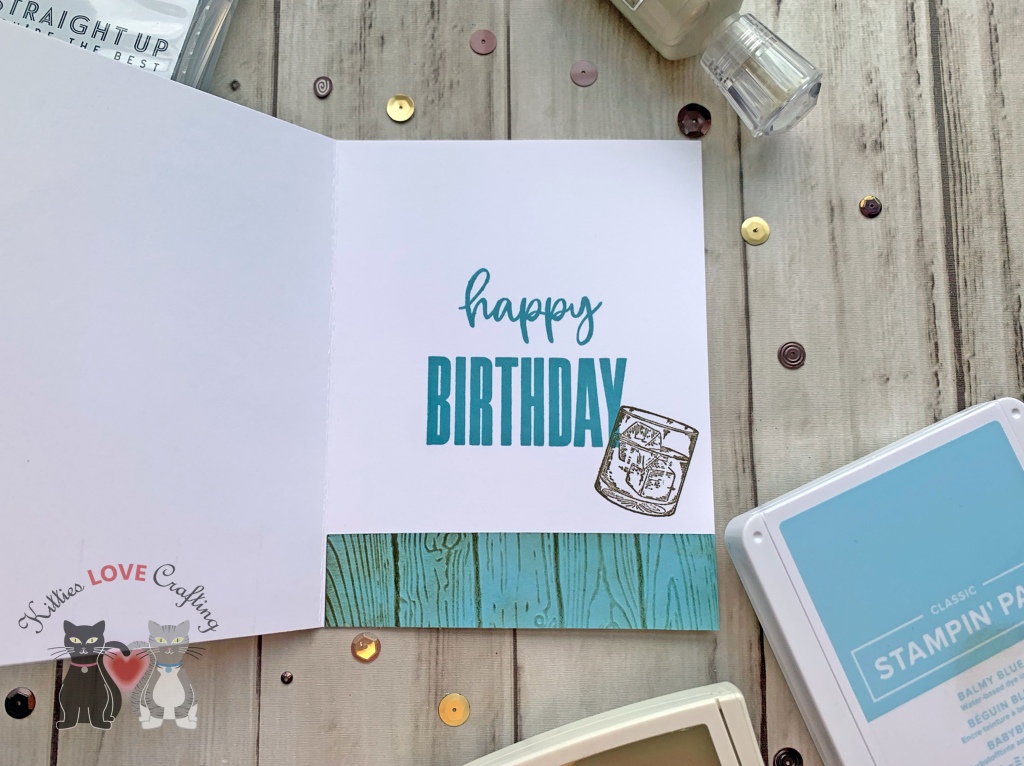
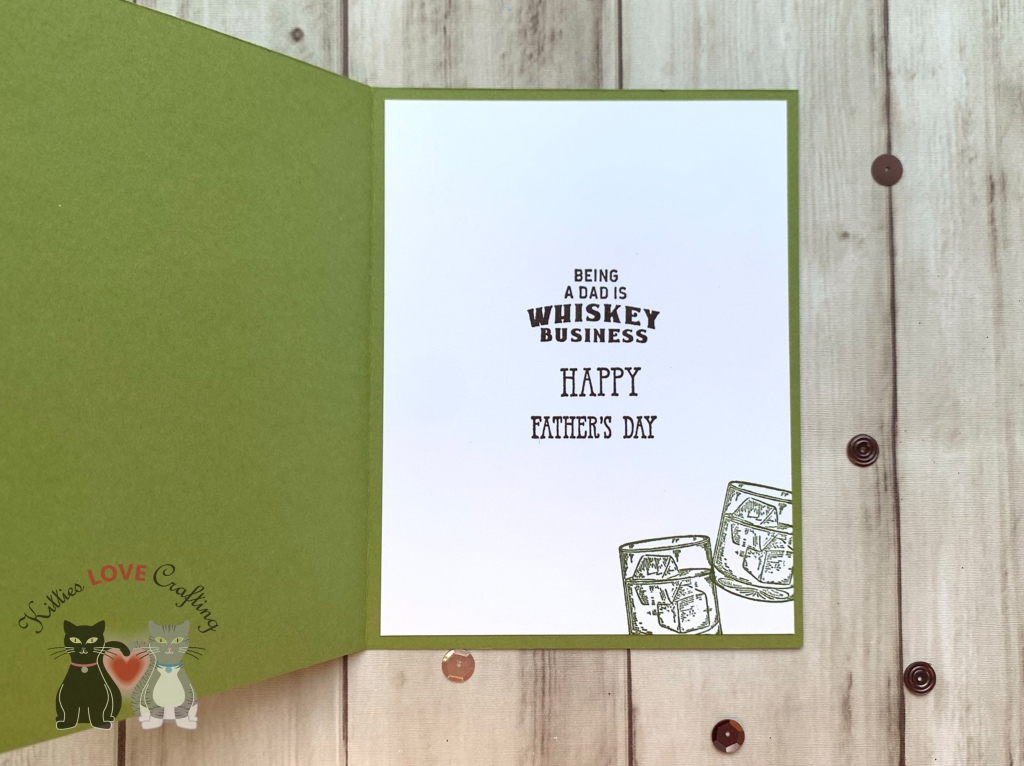
On the inside, I cut a piece of Neenah 110lb Classic Crest Cardstock 8.5 X 11″ to 4 x 5-1/4″, adhered it to the card and stamped a sentiment and glasses from Stampin’ Up!’s Whiskey Business Stamp Set and another from Stampin’ Up!’s Well Said Stamp Set (retired) with Old Olive Ink.
Dimensions
- Card Base = 5-1/2 x 8-1/2″ and scored at 4-1/4″ Stampin’ Up! Old Olive 8-1/2″ X 11″ Cardstock
- Top Panel = 4 x 5-1/4″ Neenah 110lb Classic Crest Cardstock 8.5 X 11″
- Border Strip = 7/8 x 5-1/4″ Stampin’ Up! Early Espresso 8-1/2″ X 11″ Cardstock
- Sentiment Strip = 3/4 x 2-3/4″ Neenah 110lb Classic Crest Cardstock 8.5 X 11″; 1 x 3″ Stampin’ Up! Coastal Cabana 8-1/2″ X 11″ Cardstock
For the second card, I followed the same steps but used Stampin’ Up! Early Espresso 8-1/2″ X 11″ Cardstock for the card base and stamped the curly rind with So Saffron Ink to create the background.

I used Stampin’ Up! Coastal Cabana 8-1/2″ X 11″ Cardstock for the border and stamped the woodgrain border with Coastal Cabana Ink.
The glass images were stamped and colored the same as before. And I stamped the sentiment from the Stampin’ Up!’s Whiskey Business Stamp Set with Early Espresso Ink. I backed the sentiment strip with Stampin’ Up! So Saffron 8-1/2″ X 11″ Cardstock.

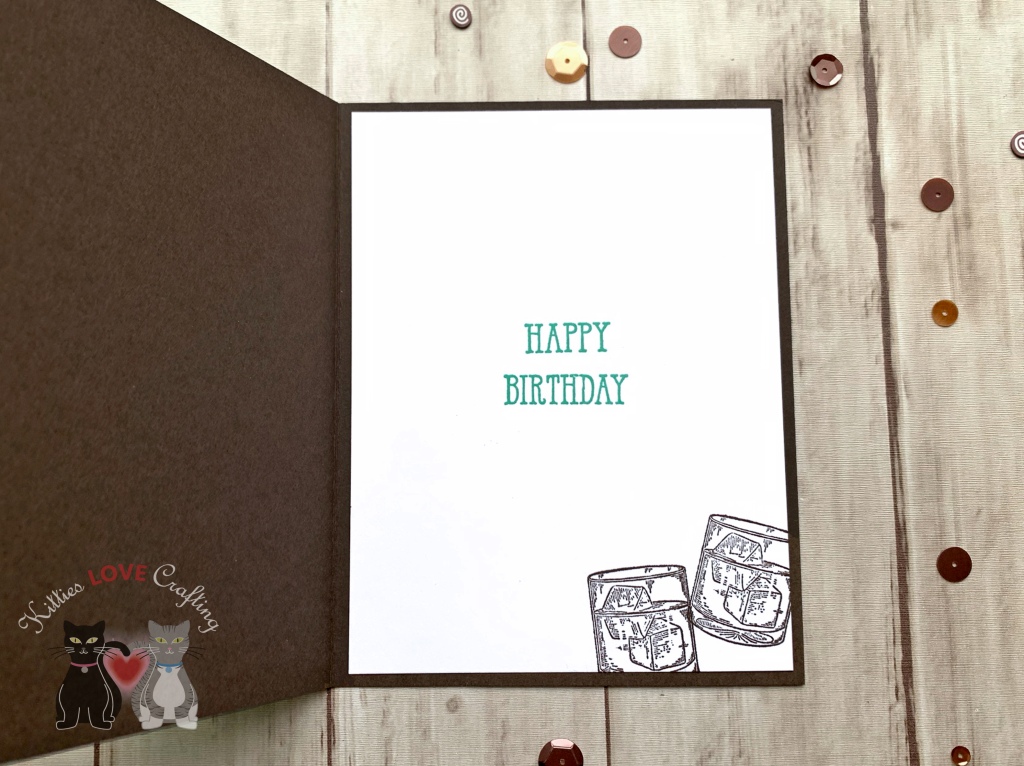
On the inside, I cut a piece of Neenah 110lb Classic Crest Cardstock 8.5 X 11″ to 4 x 5-1/4″, adhered it to the card and stamped a sentiment from Stampin’ Up!’s Well Said Stamp Set (retired) with Coastal Cabana Ink and glasses from Stampin’ Up!’s Whiskey Business Stamp Set with Early Espresso Ink.
Dimensions
- Card Base = 5-1/2 x 8-1/2″ and scored at 4-1/4″ Stampin’ Up! Early Espresso 8-1/2″ X 11″ Cardstock
- Top Panel = 4 x 5-1/4″ Neenah 110lb Classic Crest Cardstock 8.5 X 11″
- Border Strip = 7/8 x 5-1/4″ Stampin’ Up! Coastal Cabana 8-1/2″ X 11″ Cardstock
- Sentiment Strip = 3/4 x 2-3/4″ Neenah 110lb Classic Crest Cardstock 8.5 X 11″; 1 x 3″ Stampin’ Up! So Saffron 8-1/2″ X 11″ Cardstock
For the third card, I followed the same steps as before but used Stampin’ Up! Coastal Cabana 8-1/2″ X 11″ Cardstock for the card base and stamped the curly rind with Early Espresso Ink to create the background.

I used Stampin’ Up! Old Olive 8-1/2″ X 11″ Cardstock for the border and stamped the woodgrain border with Old Olive Ink.
The glass images were stamped and colored the same as before. And I stamped the sentiment from the Stampin’ Up!’s Whiskey Business Stamp Set with Coastal Cabana Ink. I backed the sentiment strip with Stampin’ Up! Early Espresso 8-1/2″ X 11″ Cardstock.

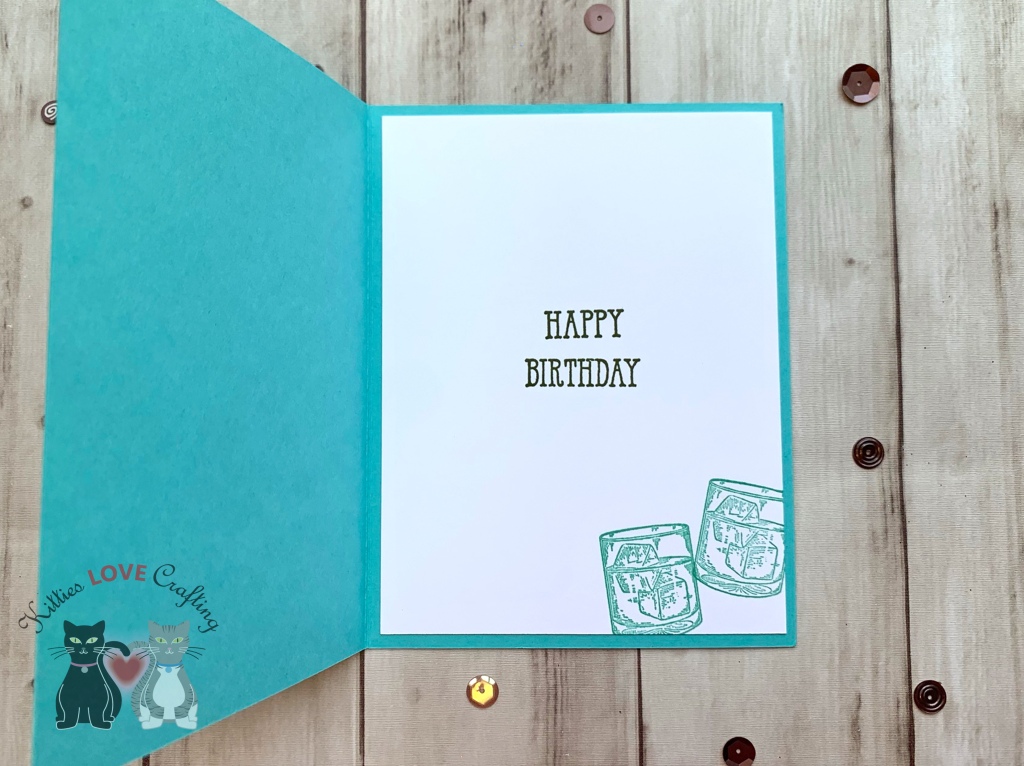
On the inside, I cut a piece of Neenah 110lb Classic Crest Cardstock 8.5 X 11″ to 4 x 5-1/4″, adhered it to the card and stamped a sentiment from Stampin’ Up!’s Well Said Stamp Set (retired) with Early Espresso Ink and glasses from Stampin’ Up!’s Whiskey Business Stamp Set with Coastal Cabana Ink.
Dimensions
- Card Base = 5-1/2 x 8-1/2″ and scored at 4-1/4″ Stampin’ Up! Coastal Cabana 8-1/2″ X 11″ Cardstock
- Top Panel = 4 x 5-1/4″ Neenah 110lb Classic Crest Cardstock 8.5 X 11″
- Border Strip = 7/8 x 5-1/4″ Stampin’ Up! Old Olive 8-1/2″ X 11″ Cardstock
- Top Panel = 4 x 5-1/4″ Neenah 110lb Classic Crest Cardstock 8.5 X 11″
- Sentiment Strip = 3/4 x 2-3/4″ Neenah 110lb Classic Crest Cardstock 8.5 X 11″; 1 x 3″ Stampin’ Up! Early Espresso 8-1/2″ X 11″ Cardstock
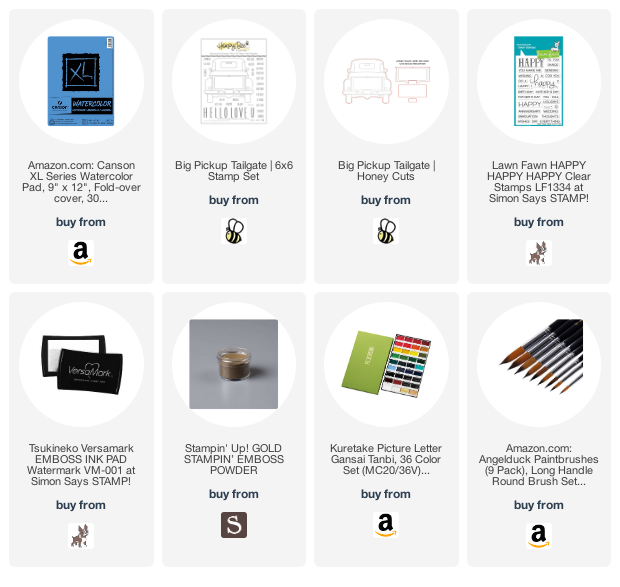
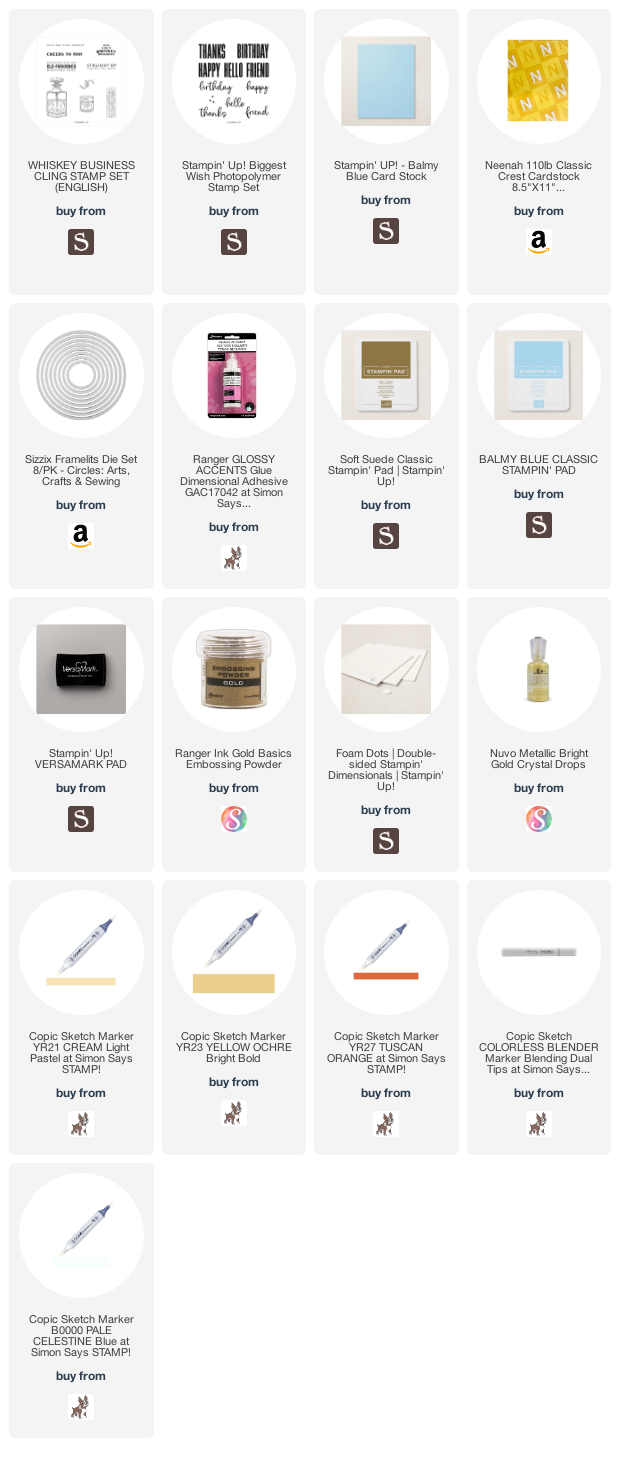
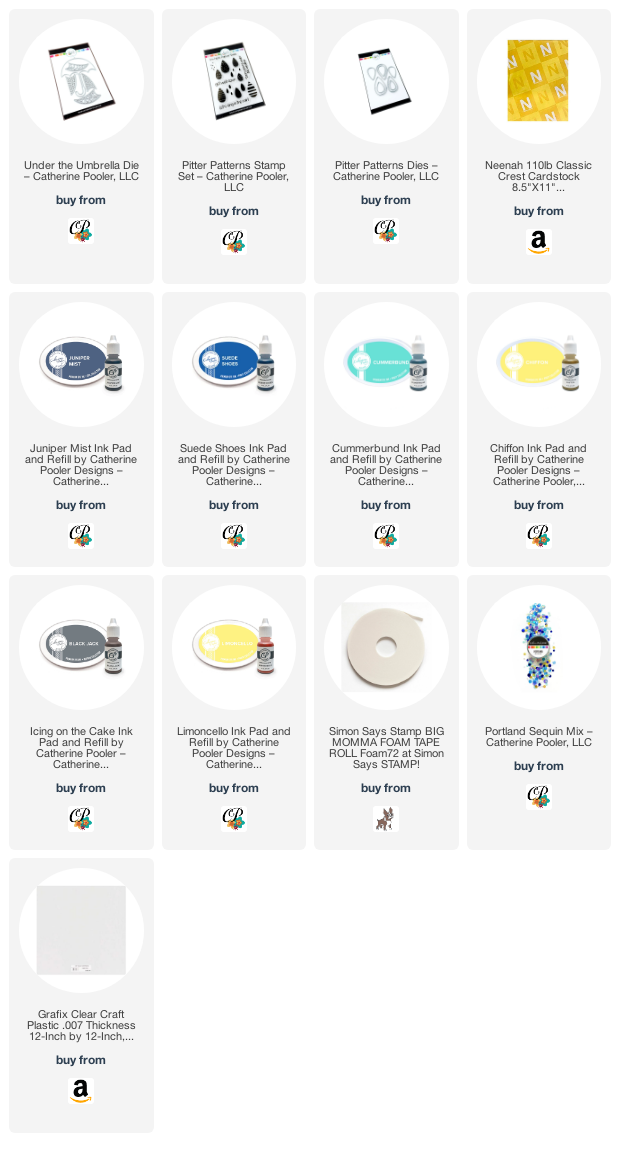
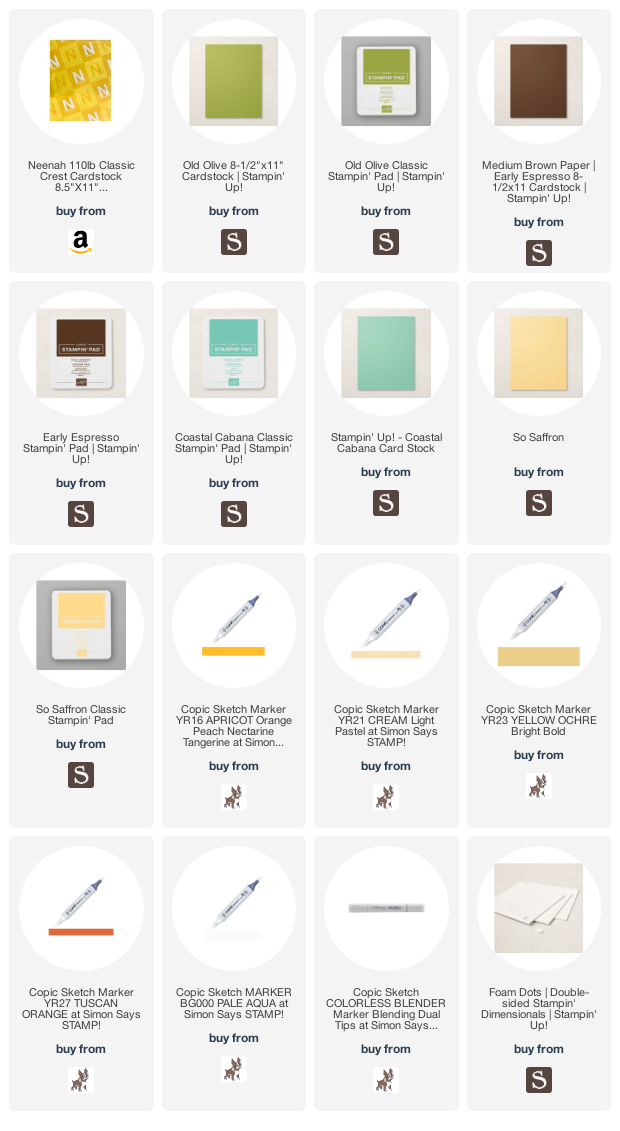
Supplies
 https://linkdeli.com/widget.js?id=f5e8378456858c916708
Thanks for reading this post. I hope you enjoyed and I’ve inspired you to try these easy maSCULINE cards using this stampset and paper for yourself! Leave comments or questions below or feel free to email me. If you want to share you creations with me tag me on instagram @kittieslovecrafting.