Hello friends. I’m bringing out an oldie but goodie from Honey Bee Stamps to make this fun St. Patrick’s Day card. I used the Honey Bee Stamps Frappe Shaker Card (which I’ve used a ton because I truly love it!) and combined it with the Lawn Fawn Lucky Clovers to make a quick card. Who doesn’t love a green drink?!
For this card, I die cut a piece of Neenah 100lb Classic Crest Cardstock 8.5 X 11″ with the Honey Bee Stamps Frappe Shaker Card (I think it may discontinued) to create the card base. And a piece of Cold Press Watercolor Paper die for the top panel and the whip cream portion which I will be watercoloring.
Thanks for reading this post. I hope I’ve inspired you to give this fun and easy St. Patrick’s Day shaker card a try for yourself. Leave comments or questions below or feel free to email.
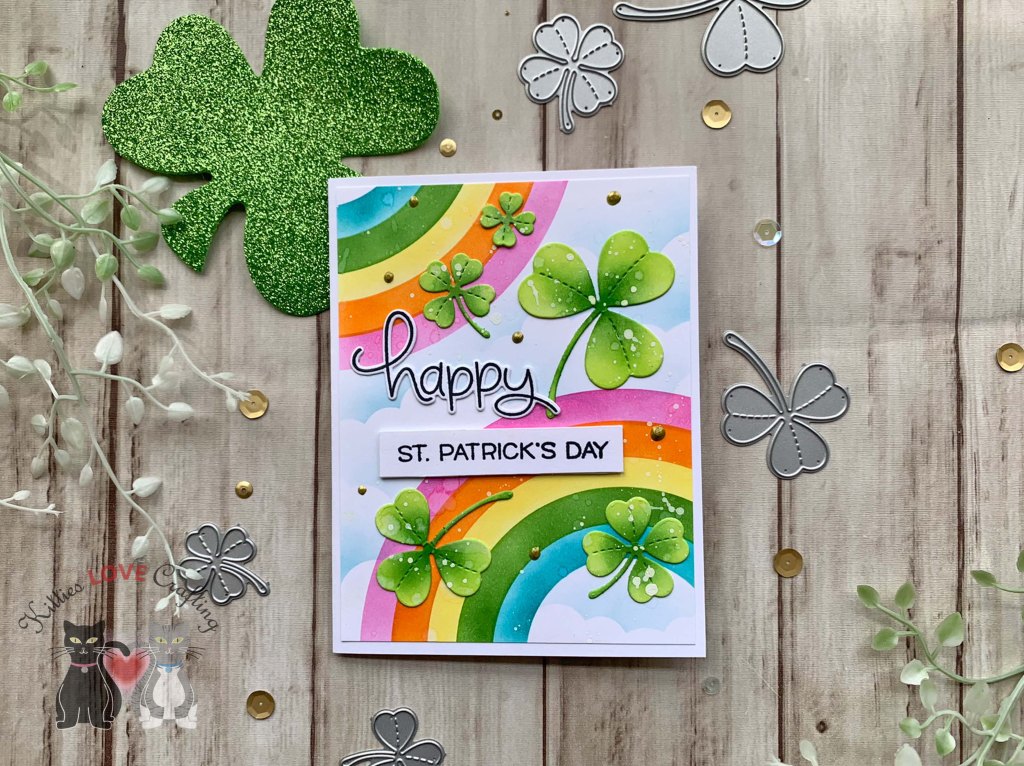
Hello friends. St. Patrick’s day is going to be here soon and if you want to make some cute and quick cards, the Lawn Fawn Lucky Clovers dies set is perfect!
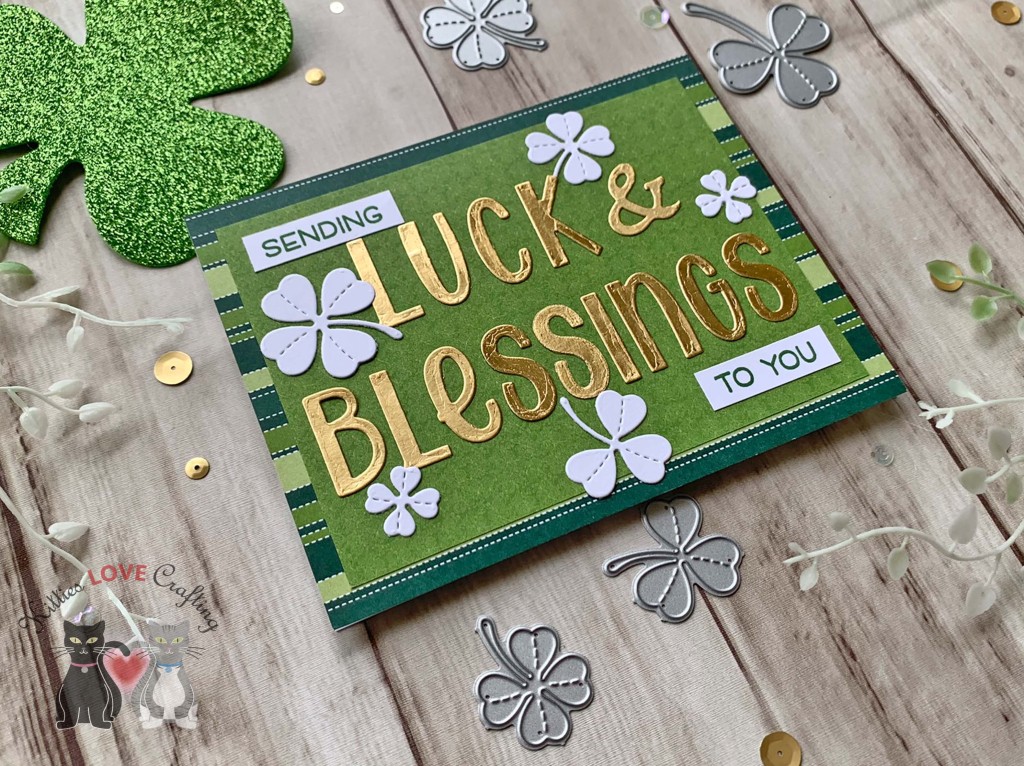
For the second card, I CASEd a card by Renata Dolezel because I loved how the greeting was bold and the focal point of the card. I cut a piece of Neenah 100lb Classic Crest Cardstock 8.5 X 11″ to 5-1/2 x 8-1/2″ and scored at 4-1/4″ to create a card base. I also cut pattern paper from Authentique 6 x 6 Emerald Paper (discontinued) to 4-1/4 x 5-1/2″ and 3-3/4 x 5″.
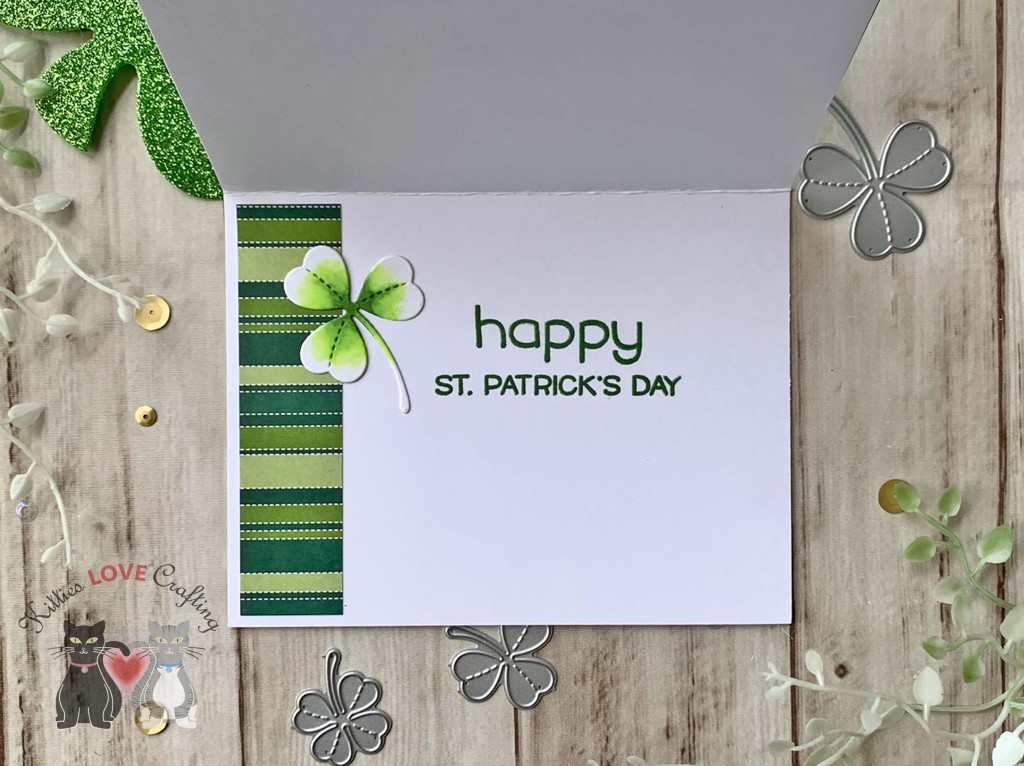
On the inside of the card, I stamped a sentiment from Lawn Fawn’s Happy Happy Happy add-on stampset and added a 1 x 4″ strip of the pattern paper from the top panel. I also added a clover which I colored with Copic Markers (YG25, G07 and 0 blender).
Thanks for reading this post. I hope I’ve inspired you to give these quick and easy St. Patrick’s Day cards a try for yourself. Leave comments or questions below or feel free to email.
Hello friends. I decided to challenge myself and make Valentine’s Day cards using Dollar Tree products and a few of my own stamps and dies. My Dollar Tree doesn’t have an abundance of craft supplies like stamps but they have enough that you can create some fun crafts. Three of the cards use only Dollar Tree products.
I found some gift bags in the Valentine’s Day section that I used to replace my pattern paper as well as some doilies, 5/8″ ribbon, and confetti I used to decorate my cards. The doilies (30 count), ribbon (9ft), and confetti (1oz.) packages contain enough product to make several type of crafts so it’s a steal at $1.25! Ok let’s get into the making of the cards.
For the first card, I cut a piece of Stampin’ Up! Poppy Parade 8.5 X 11″ Cardstock to 5-1/2 x 8-1/2″ and scored at 4-1/4″ to create a card base. I took one of the gift bags and fussy cut out the heart on one side and then die cut the background from the other side of the bag using the Lawn Fawn Quilted Heart Landscape Backdrop. I also cut a piece of a metallic gift bag I also purchased at the Dollar Tree to 4-1/4 x 5-1/2″ to back the background.
For the third card, I cut a piece of Stampin’ Up! Poppy Parade 8.5 X 11″ Cardstock to 7 x 10″ and scored at 5-1/2″ to create a card base. I took one of the gift bags and cut a piece to 4-3/4 x 6-3/4″. I added a Heart-Shaped Paper Doily to the front panel as well as the heart sentiment I fussy cut from one of the gift bags
For the fourth card, I cut a piece of Neenah 100lb Classic Crest Cardstock 8.5 X 11″ to 7 x 10″ and scored at 5-1/2″ to create a card base. I took one of the gift bags and cut a piece to 4-3/4 x 6-3/4″. I added a sentiment piece from another gift bag to the front panel as well.
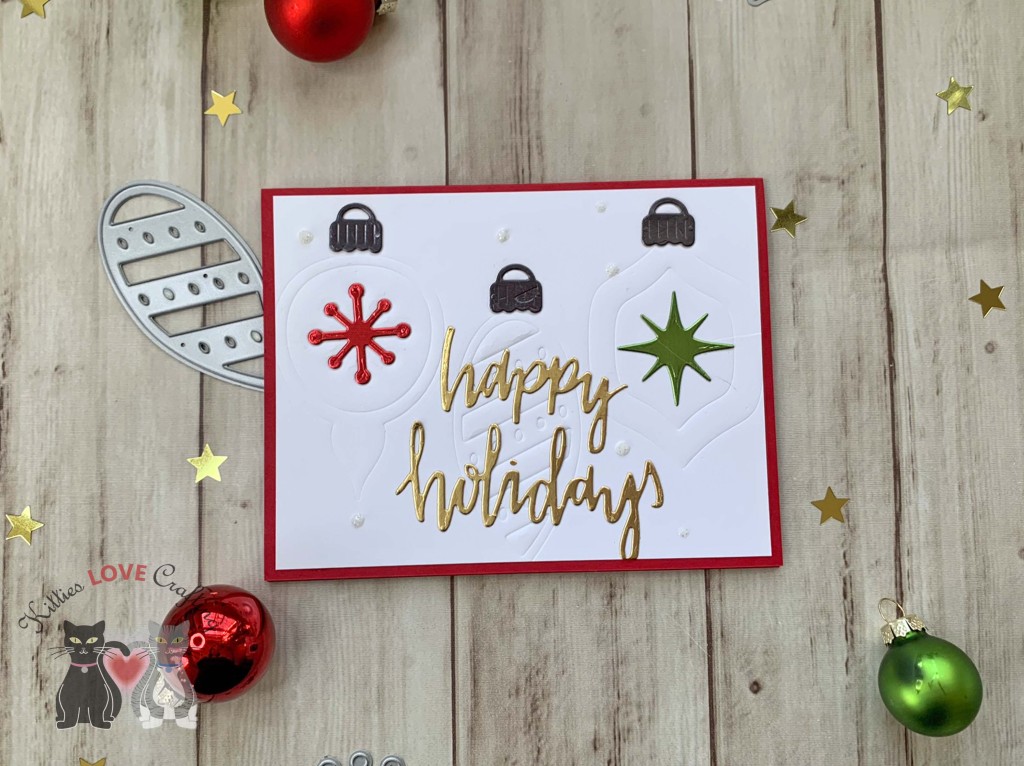
I finished the card off by adding some Nuvo Liquid Mercury Drops (discontinued).
I left the inside of the card blank and added a 1 x 5-1/2″ strip of the same gift bag.
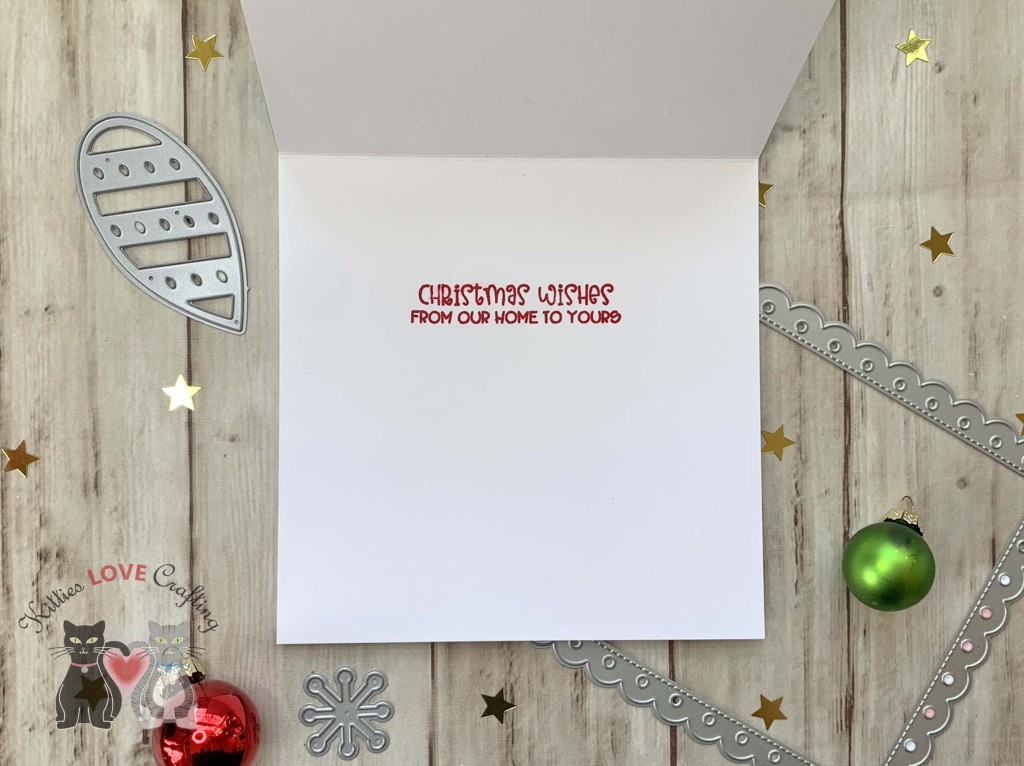
On the inside of the card, I stamped a sentiment from Simon Says Stamp Love Stamp Set (discontinued I believe)with Stampin’ Up! Poppy Parade Ink and added a 1 x 7″ strip of the same gift bag.
Thanks for reading this post. I hope I’ve inspired you to give these quick and easy Valentine’s Day cards a try for yourself. Leave comments or questions below or feel free to email.
Thanks for reading this post. I hope you enjoyed and I’ve inspired you to give this card a try for yourself. Leave comments or questions below or feel free to email.
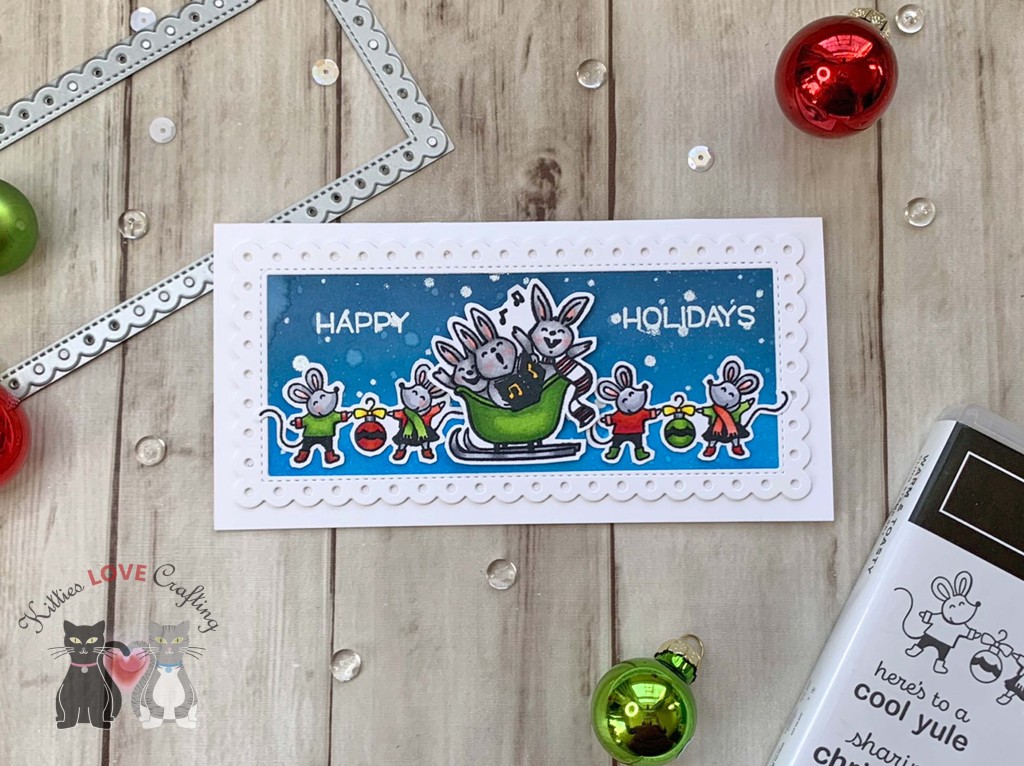
Hello friends. Want to make an impactful background with little effort. Try using an emboss resist technique. You can stamp or stencil the embossing. Either way the results are impressive!
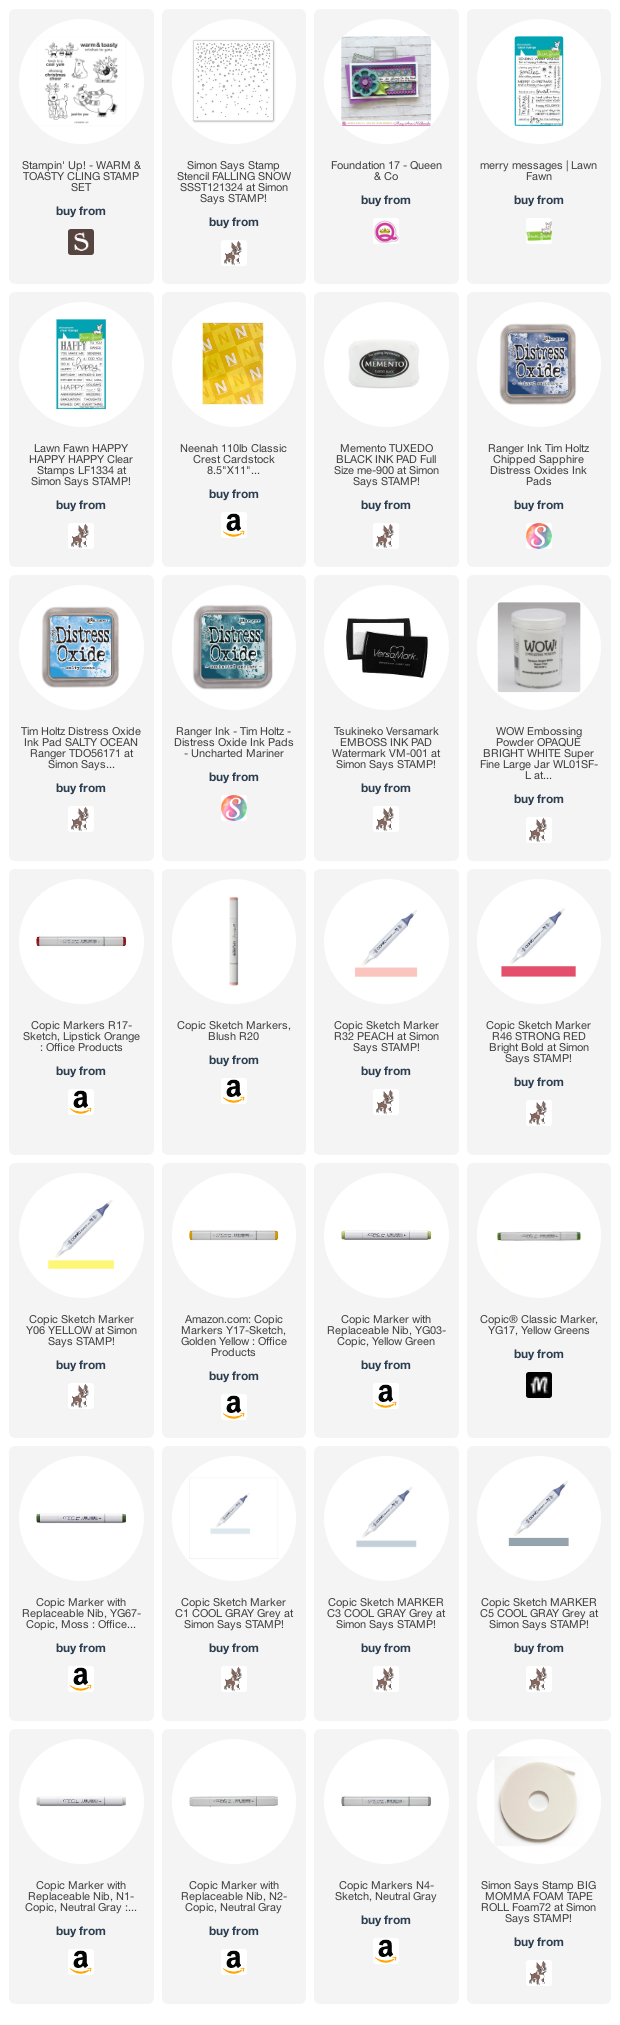
I stamped the images from Stampin’ Up!’s Warm & Toasty Stamp Set (retired) onto Neenah 110lb Classic Crest Cardstock 8.5 X 11″ with Memento Tuxedo Black Ink. I colored them with Copic Markers. I used YG03, YG17 & YG67, C1, C3 & C5 for the sleigh; N1, N2 & N4, R20 & R46 for the bunnies; R46 & R32, C1 & C3, YG03 & YG17, R20 for the mice; and R17 & R46, Y06 & Y17 for the ornaments.
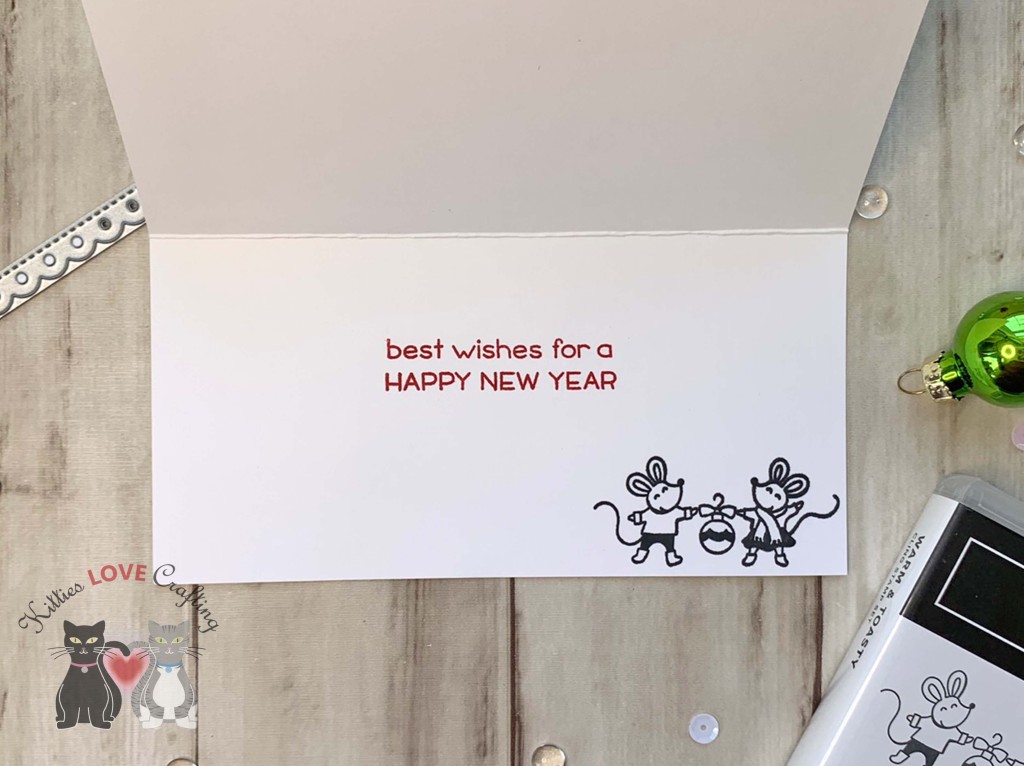
Thanks for reading this post. I hope you enjoyed and I’ve inspired you to give this card a try for yourself. Leave comments or questions below or feel free to email.
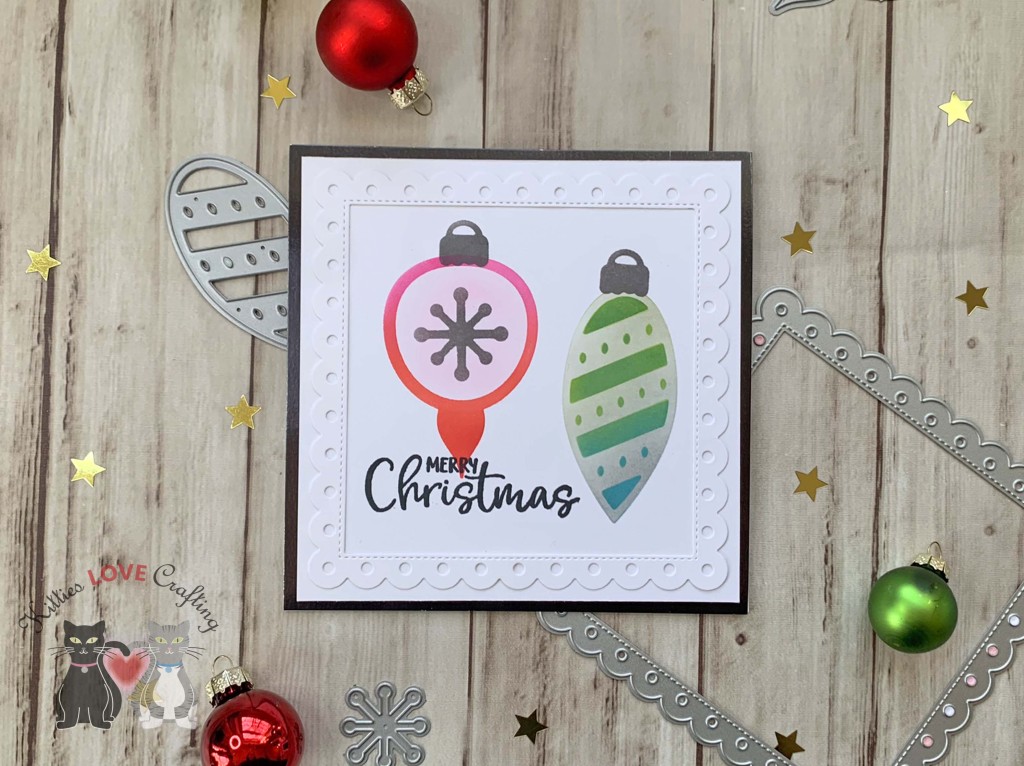
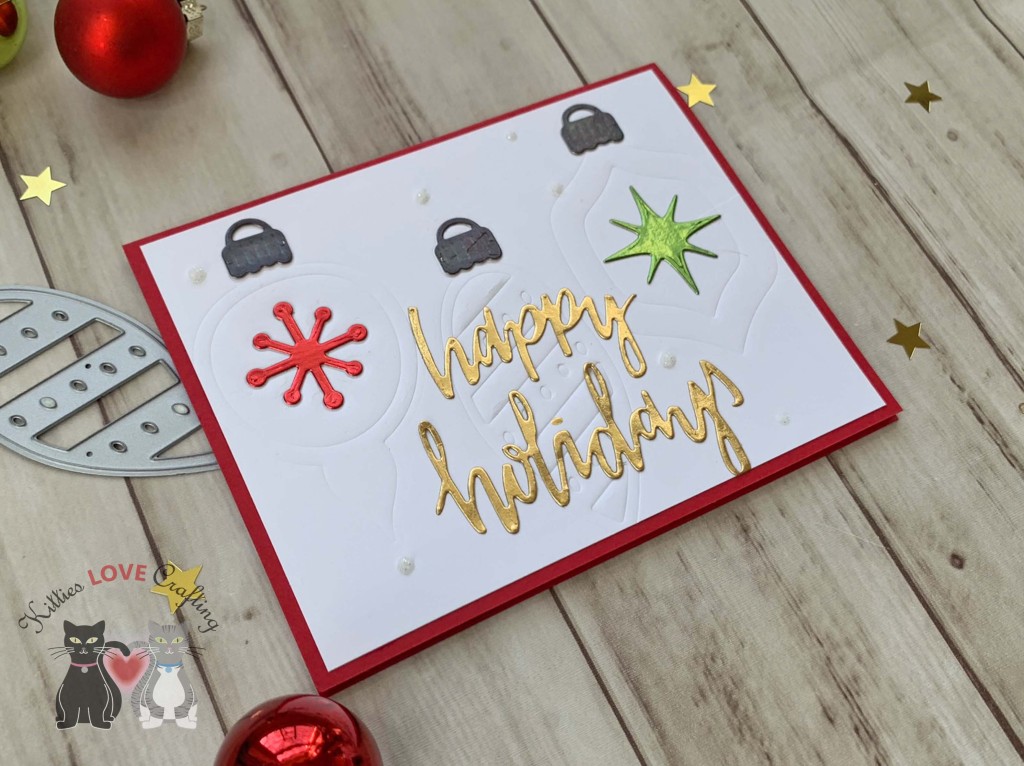
Hello friends. Have you ever tried using your dies to emboss or stencil your backgrounds?!? It’s super easy and you can make quick cards using these techniques. I created three cards demonstrating these techniques using the Catherine Pooler Retro Ornament Dies. Let me show you how easy they are to make. For more stenciled backgrounds using dies check out my previous post.
I took the ornament dies from the Catherine Pooler Designs Retro Ornament Dies and embossed the background panel. For my Sizzix Big Shot machine I used the following sandwich from the bottom up: 1.) Multipurpose Platform, 2.) Cutting Plate, 3.) Emboss mat, 4.) Paper. 5.) Die face down, and 6.) Cutting Plate. Check your machines guide for the proper snadwich. I also added additonal paper to deepen the embossing a bit.
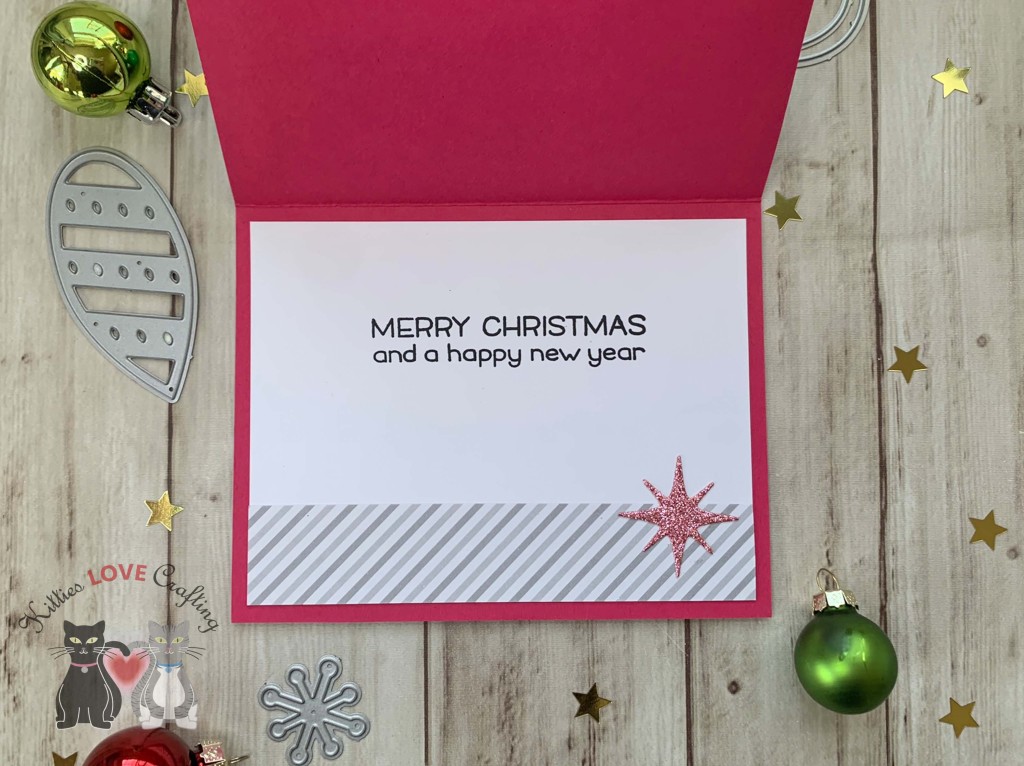
For this third card, I made a fun shaker pocket card. I cut a piece of Stampin’ Up! Melon Mambo 8-1/2 x 11″ Cardstock (retired) to 5-1/2 x 8-1/2″ and scored at 4-1/4″ to create a card base and piece of patter paper from my stash to 4-1/4 x 5-1/2” for the inside of the shaker panel.
I cut a piece Acetate slightly larger than my back panel. then used double sided tape to adhere three sides of the acetate to the back of the panel, creasing the edges. I filled the pocket with a variety of flat sequins and stars and sealed the last side of the pocket. I adhered the panel to the card and then die cut a frame from Neenah 110lb Classic Crest Cardstock 8.5 X 11″ using the Spellbinders Nestabilities A2 Card Creator Dies Matting Basics A 4-1/4 x 5-1/2″ and 4-5/8 x 4-7/8″.
Thanks for reading this post. I hope you enjoyed and I’ve inspired you to give these cards a try for yourself. Leave comments or questions below or feel free to email.
Hello friends. It’s time to make some holiday cards. Starting things off with some super easy cards using dies to emboss backgrounds. It’s a super easy technique and produces some really cool results. You can use the embossed or debossed side as well.
For the first card, I cut a piece of Neenah 110lb Classic Crest Cardstock 8.5 X 11″ to 5-1/2 x 8-1/2″ and scored at 4-1/4″ to create a card base and piece of Neenah 80lb Classic Crest Cardstock 8.5 X 11″ to 4 x 5-1/4” for the top panel.I used the Stampin’ Up! So Many Snowflakes dies (retired) to emboss the background. I followed the sandwich for wafer dies on my diecut machine (Sizzix Big Shot) and added another piece of cardstock to get a deeper impression. Play around with your sandwich and add a shim if necessary to get the desired raised effect.
I die cut snowflakes from Neenah 110lb Classic Crest Cardstock 8.5 X 11″, Simon Says Stamp 6×6 Silver Glitter Cardstock and Stampin; Up! 12 x 12 Balmy Blue Glimmer Paper (retired) as well as some bright pink glitter paper from my stash. I used the Hero Arts Fancy Snowflake Die (discontinued), Stampin’ Up! So Many Snowflakes (retired) and Stampin’ Up! Colorful Seasons.
I die cut snowflakes from Neenah 110lb Classic Crest Cardstock 8.5 X 11″, Stampin; Up! 12 x 12 Balmy Blue Glimmer Paper (retired) as well as some pale and bright pink glitter paper from my stash. I used the Hero Arts Fancy Snowflake Die (discontinued), Stampin’ Up! So Many Snowflakes (retired) and Stampin’ Up! Colorful Seasons.
I die cut snowflakes from Neenah 110lb Classic Crest Cardstock 8.5 X 11″ as well as some bright pink glitter paper from my stash. I used the Catherine Pooler Designs Delicate Snowflake Die (discontinued), Stampin’ Up! So Many Snowflakes (retired) and Stampin’ Up! Colorful Seasons.
I stamped the sentiment from the Stampin’ Up! Joy to the World Paper Pumpkin Stampset (retired) directly onto the card with Catherine Pooler Designs Black Jack Ink.
Thanks for reading this post. I hope you enjoyed and I’ve inspired you to give these cards a try for yourself. Leave comments or questions below or feel free to email.
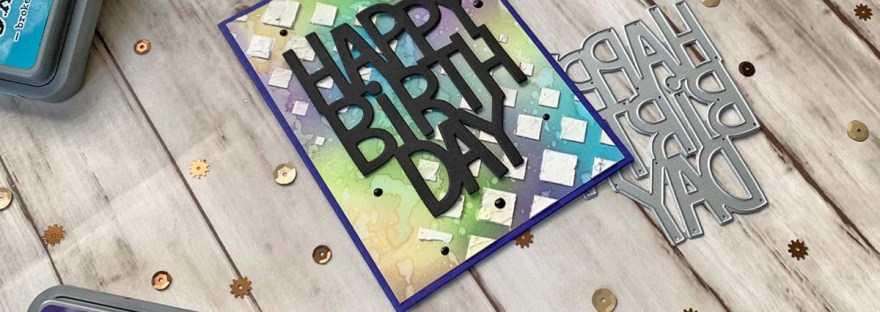
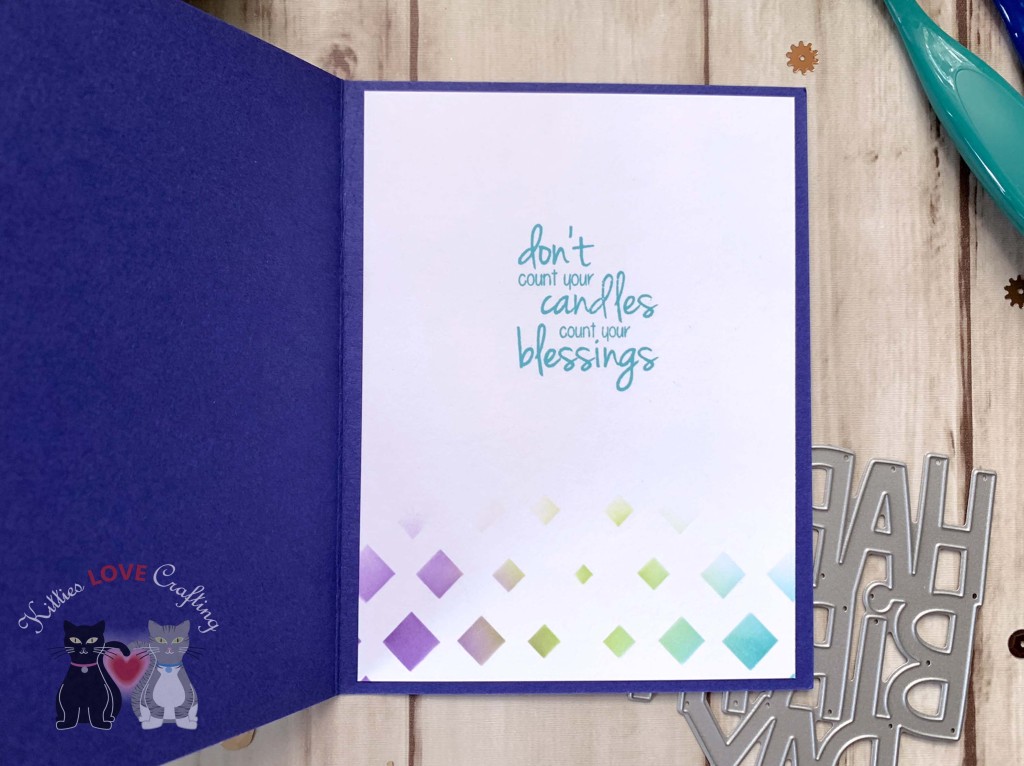
Hi friends. I needed a birthday card for my dad and even though my dad is completely fine with whatever type of card he receives I wanted to keep it kinda masculine bit modern. So I chose a geometric stencil, modeling paste and a few distress inks and made this easy background. Let me show you how easy it is to make!
Thanks for reading this post! I hope you enjoyed and I’ve inspired you to make this easy masculine birthday card yourself! If you want to share you creations with me tag me on instagram @kittieslovecrafting. Leave comments or questions below or feel free to email me.
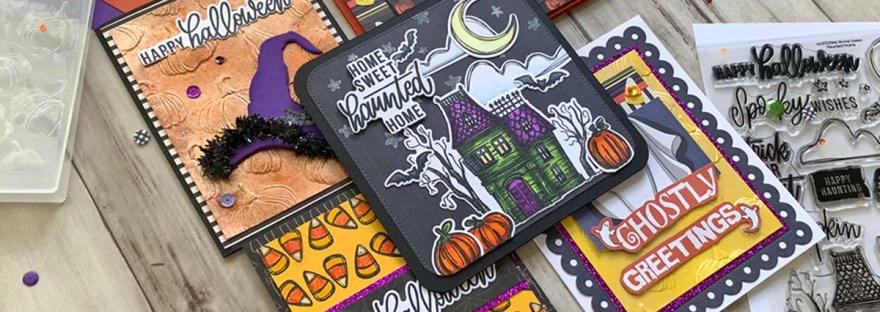
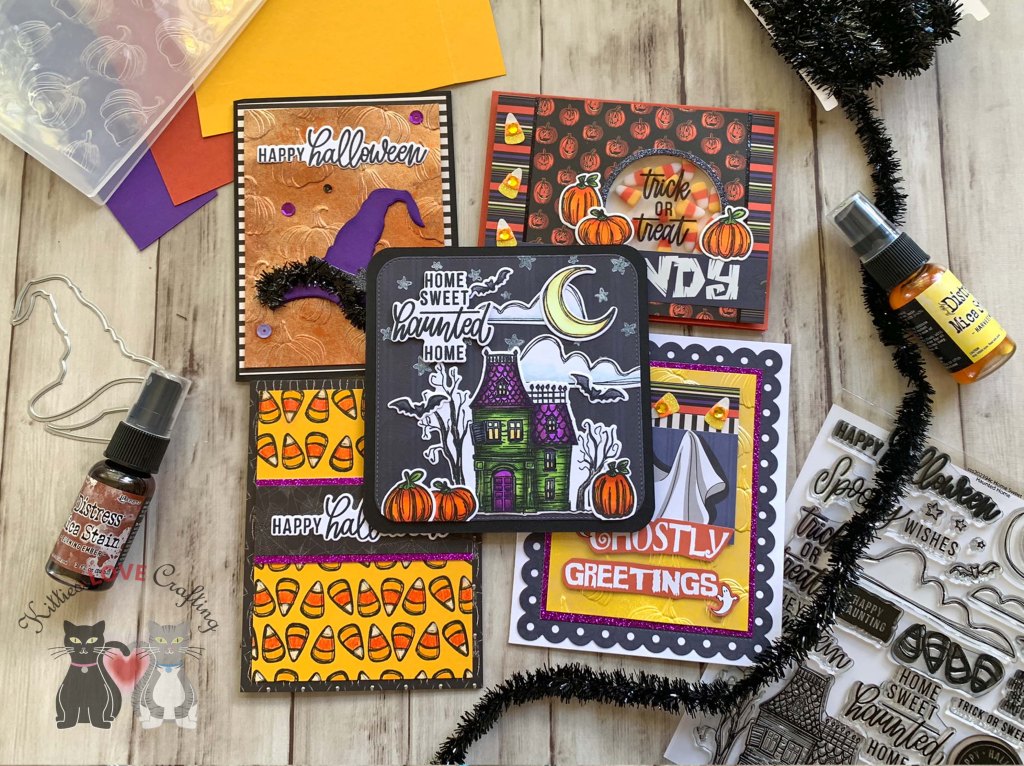
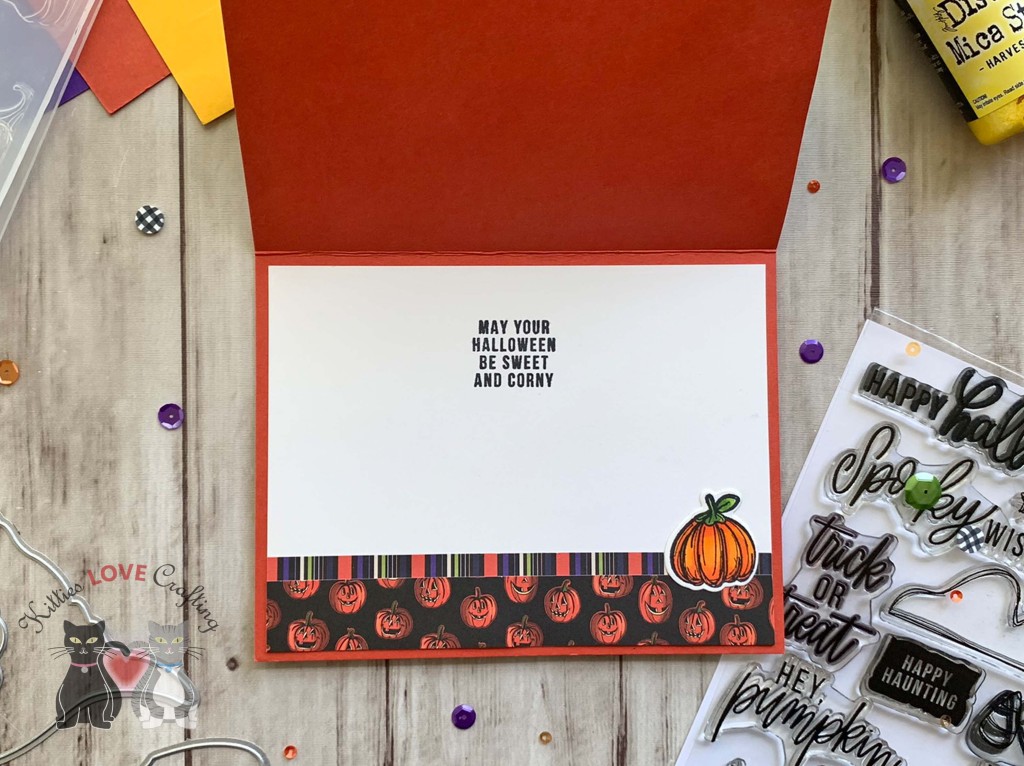
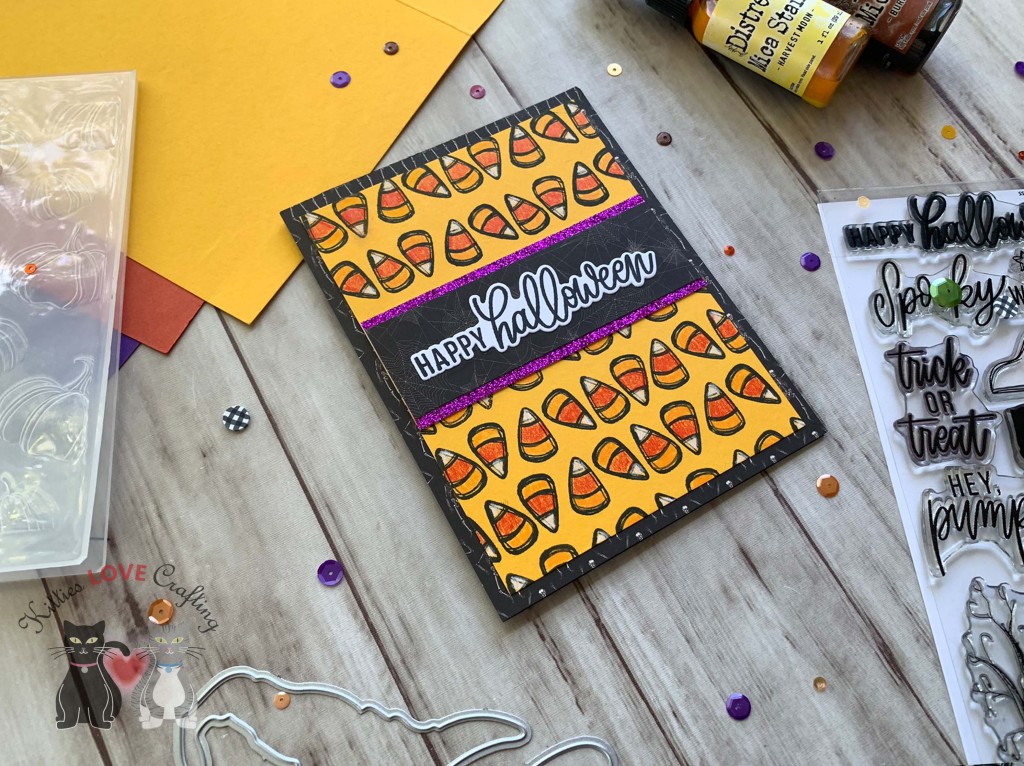
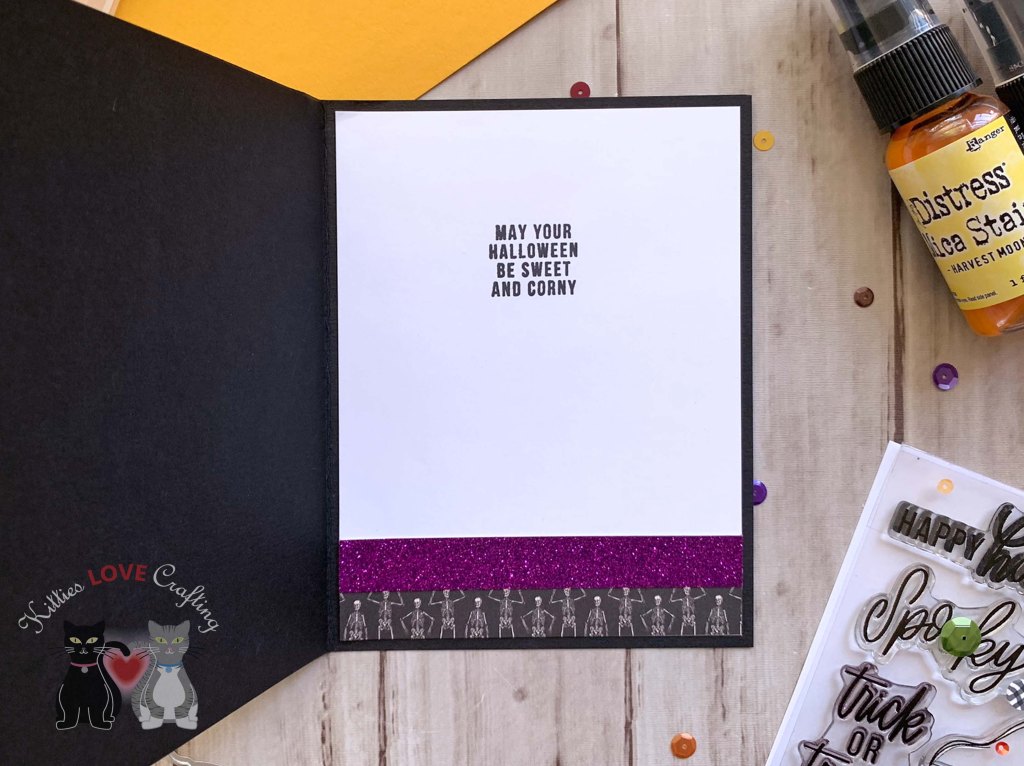
Limited Edition Simon Says Stamp Home Sweet Haunted Home Halloween Card Kit is full of tons of goodies to make cute Halloween cards and gift bags. While the kit is now sold out, you can buy most of the items in the kit seperately. The list below has all the links. Stay tuned for the next post featuring the gift bags!
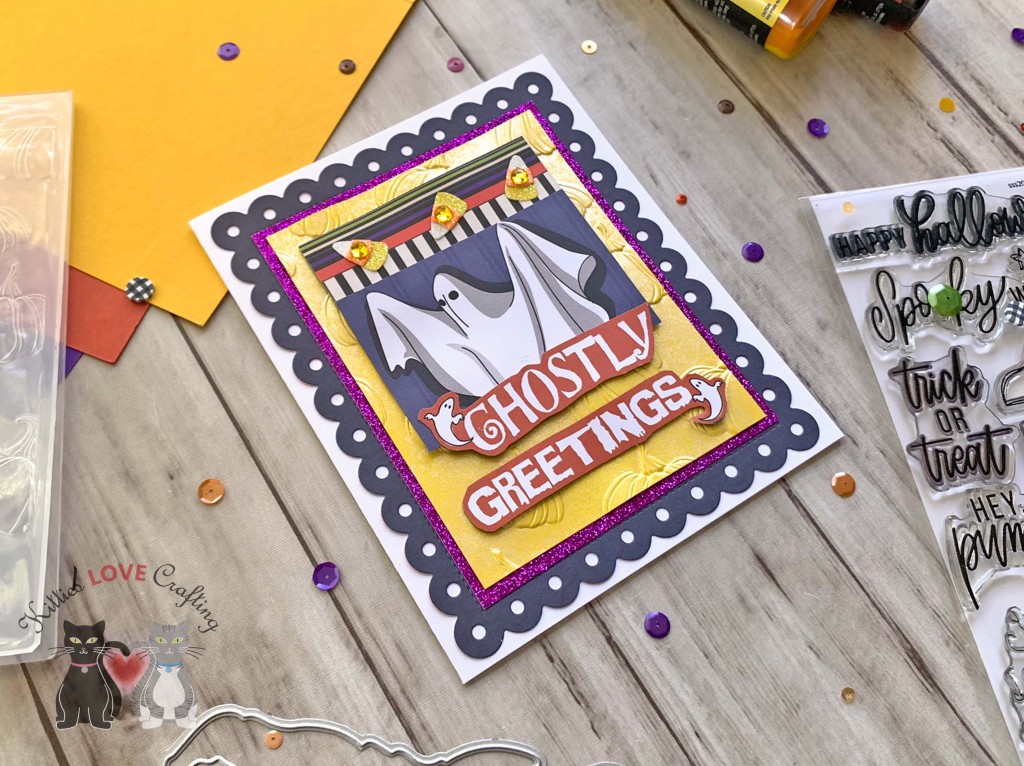
I cut a sentiment and image from the Carta Bella Hocus Pocus 6×6 inch paper pack cut apart pages as well as two strips measuring 1/2 x 3″ and 1 x 3″ to add to the top of the ghost panel.
Thanks for reading this post! I hope you enjoyed and I’ve inspired you to make these Halloween cards yourself! If you want to share you creations with me tag me on instagram @kittieslovecrafting. Leave comments or questions below or feel free to email me.
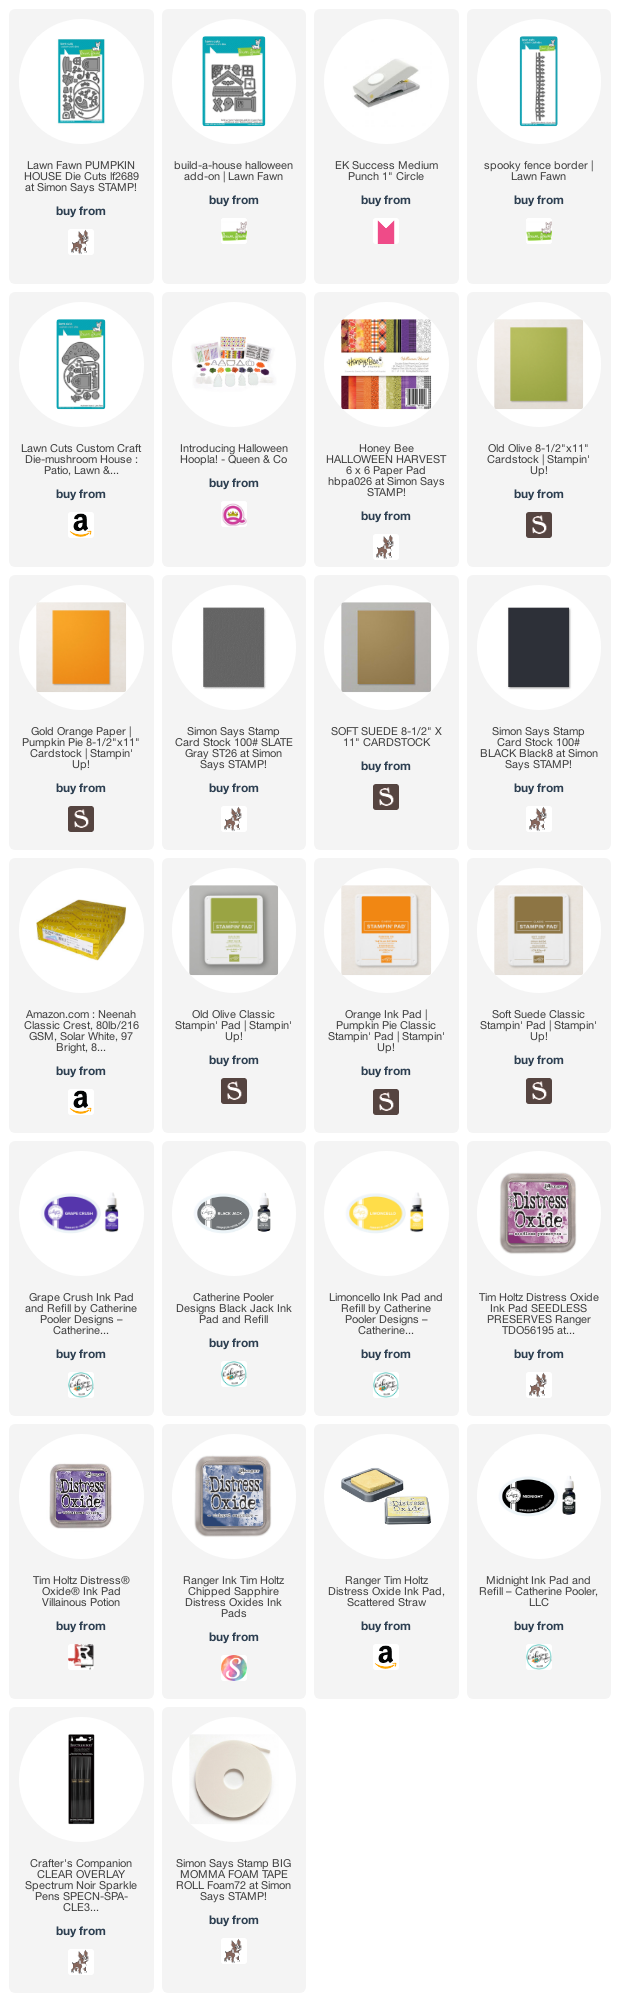
Hi friends. Here’s another adorable scene card using the Pumpkin House Die from Lawn Fawn. It’s such a fun die set. There are so many occasions for which it can be used, Maybe a winter pumpkin?? Christmas??
I masked off the moon by punching out a 1-1/4″ circle from post it paper. I used Tim Holtz Seedless Preserves, Villainous Potion, and Chipped Sapphire Distress Oxide Inks. Then removed the mask and added Scattered Straw Distress Oxide Ink around the moon which blended with the sky colors and created a cool spooky effect. This was totally unplanned but worked out in my favor. I also sprayed water on the panel to further distress it.
Thanks for reading this post! I hope you enjoyed and I’ve inspired you to make this Halloween scene card yourself! If you want to share you creations with me tag me on instagram @kittieslovecrafting. Leave comments or questions below or feel free to email me.


 https://linkdeli.com/widget.js?id=f5e8378456858c916708