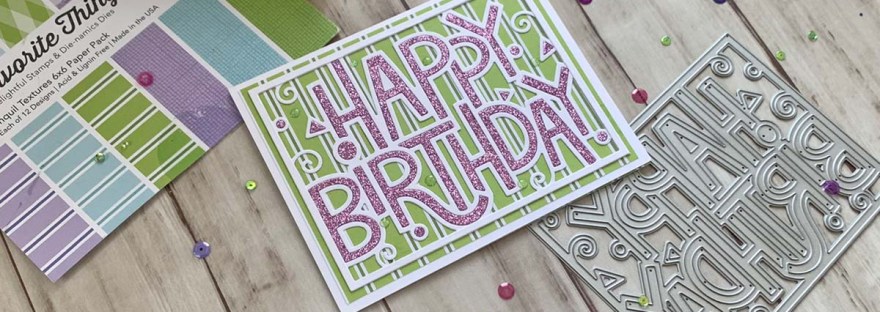
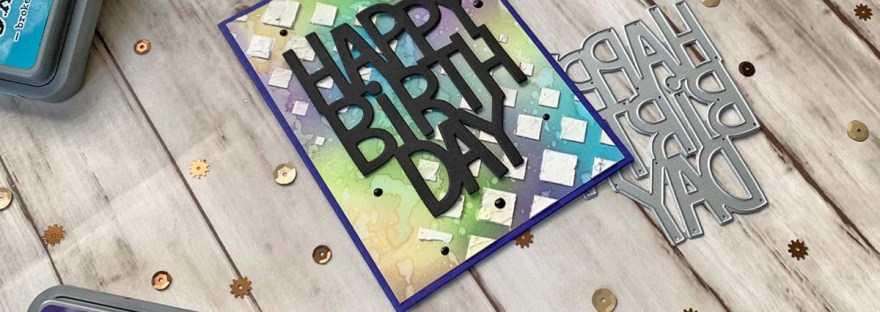
Hello friends. I made this cute Easter card using the Lawn Giant Happy Easter die and decided instead of being wasteful, I made 2 cards instead using the positive and negative of the die produces. These giant sentiment dies make great shakers and make an impact on your cards.

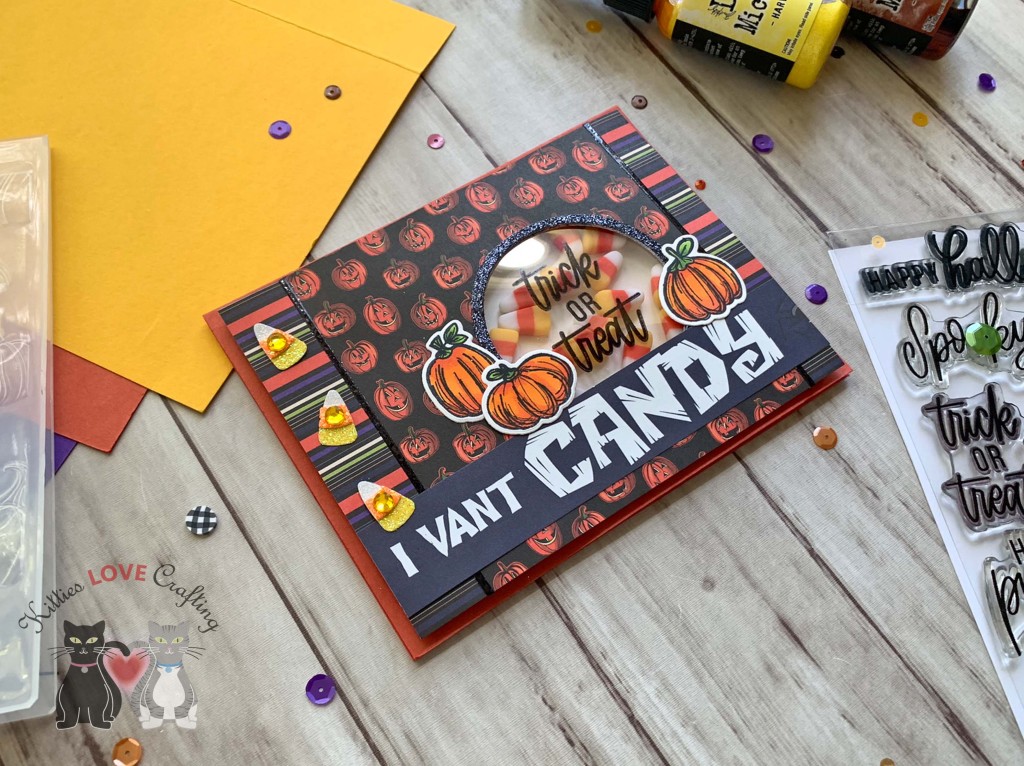
For the first card, I cut a piece of Neenah 100lb Classic Crest Cardstock 8.5 X 11″ to 10 x 7″ and scored at 5″ to create a card base and another piece to 4-3/4 x 6-3/4″. I inked the background with Broken China Distress Oxide Ink and sprayed with water.

I die cut the sentiment once from Queen & Company’s Flirty Florals 6 x 6 Mat Stack and 3x from Simon Says Stamp 100# GREEN APPLE Cardstock. I also die cut the grass from the same green cardstock using the Lawn Fawn Grassy Border die and used Mowed Lawn Distress Oxide Ink to add dimension.

I stamped images from Lawn Fawn Eggstraordinary Easter onto Neenah 100lb Classic Crest Cardstock 8.5 X 11″ with Memento Tuxedo Ink. Then colored with Copic Markers. I used R20, C1 and the blender for the bunnies; YG25 & YG17 for the grasses; R81, R83, & R85, Y13 & Y15, BV13 & BV17 for the eggs; W3 & W7, C1 and Y13 for the brush; Y11, Y13 & Y15, E55, E57 & E27 for the paint bucket; YR14 & YR07, R81 & R83, Y13, and Y11 & Y15, B11 & B17, R83 for the butterflies; Y11, Y13 & Y15, YR07, and R20 for the chicks; and Y17, B00, B01, R81 & R85 for the flowers.
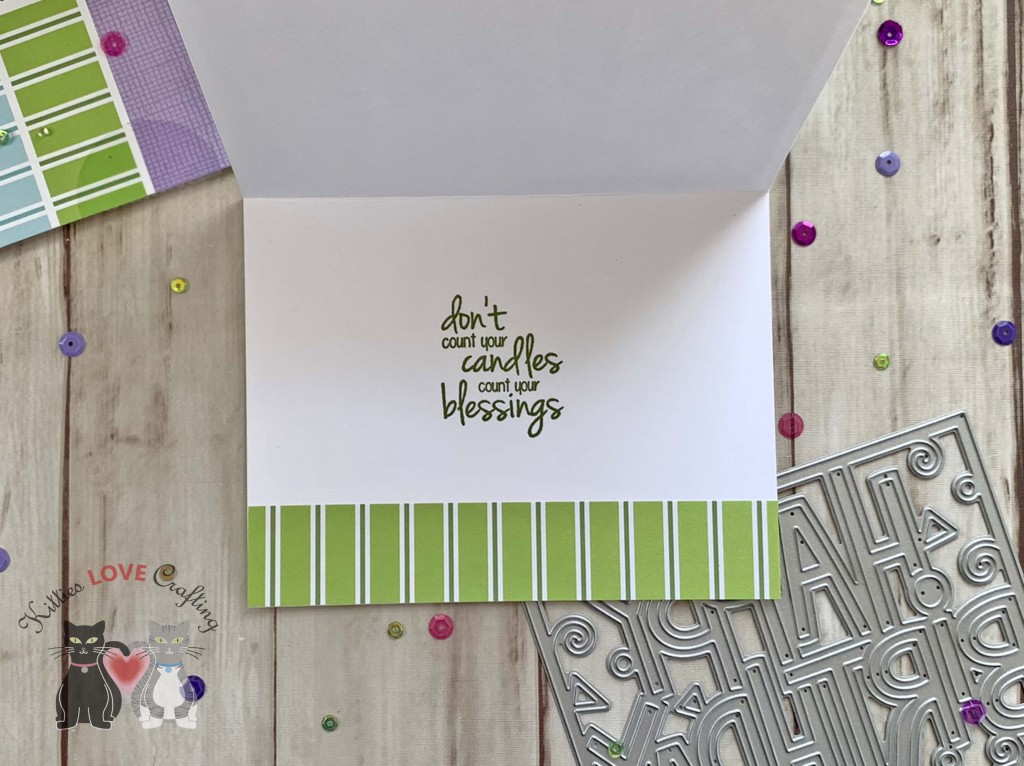
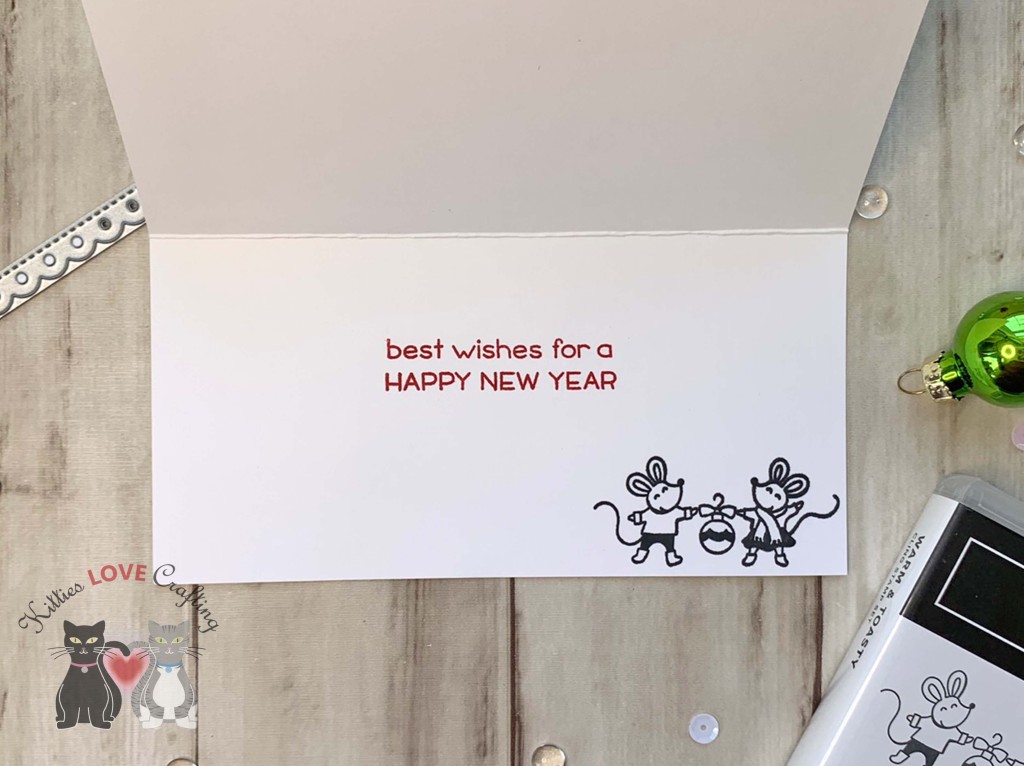
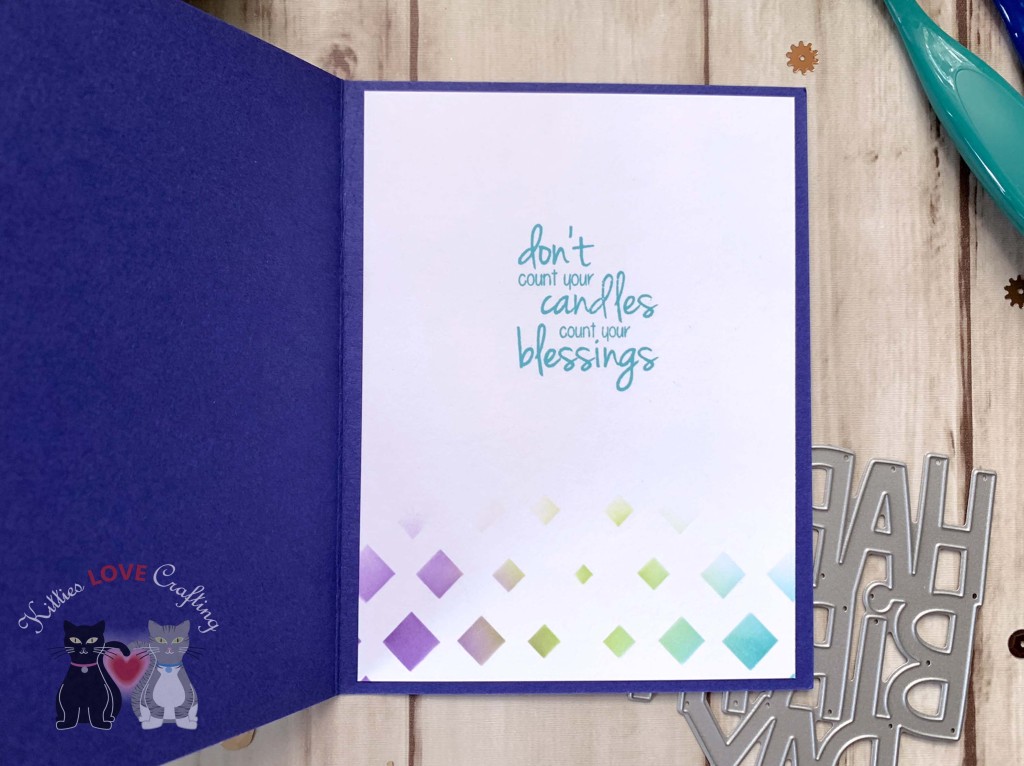
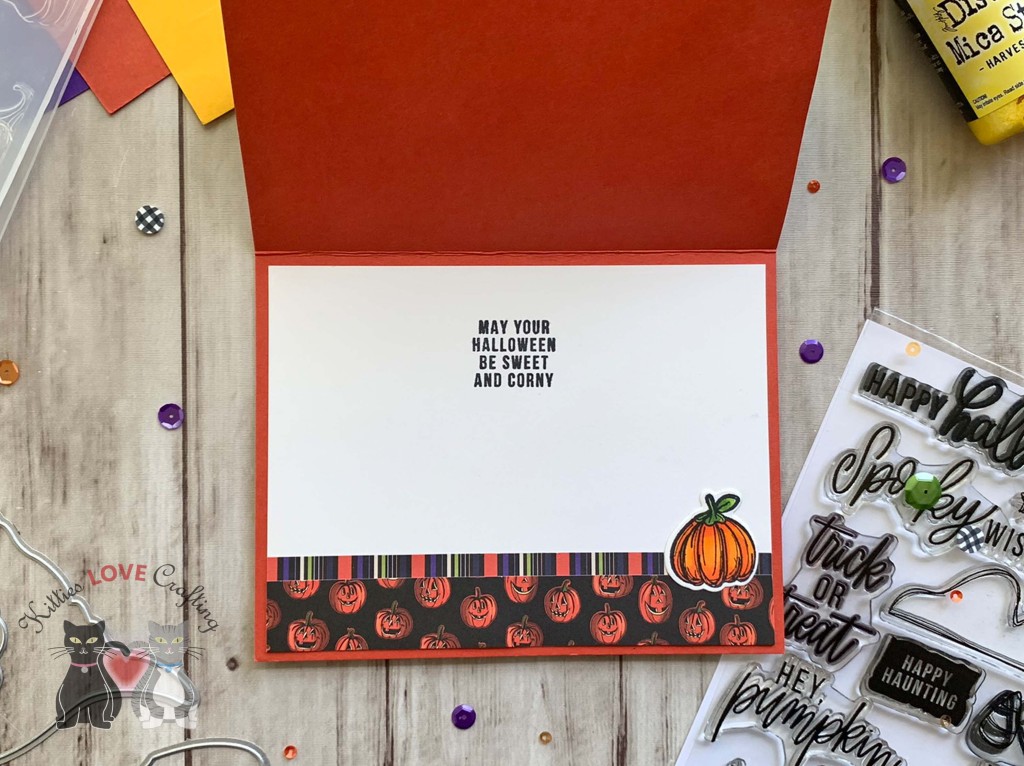
On the inside of the card, I stamped a sentiment from Lawn Fawn Eggstraordinary Easter Add-on stamp set with Memento Tuxedo Ink and added some extra flowers.
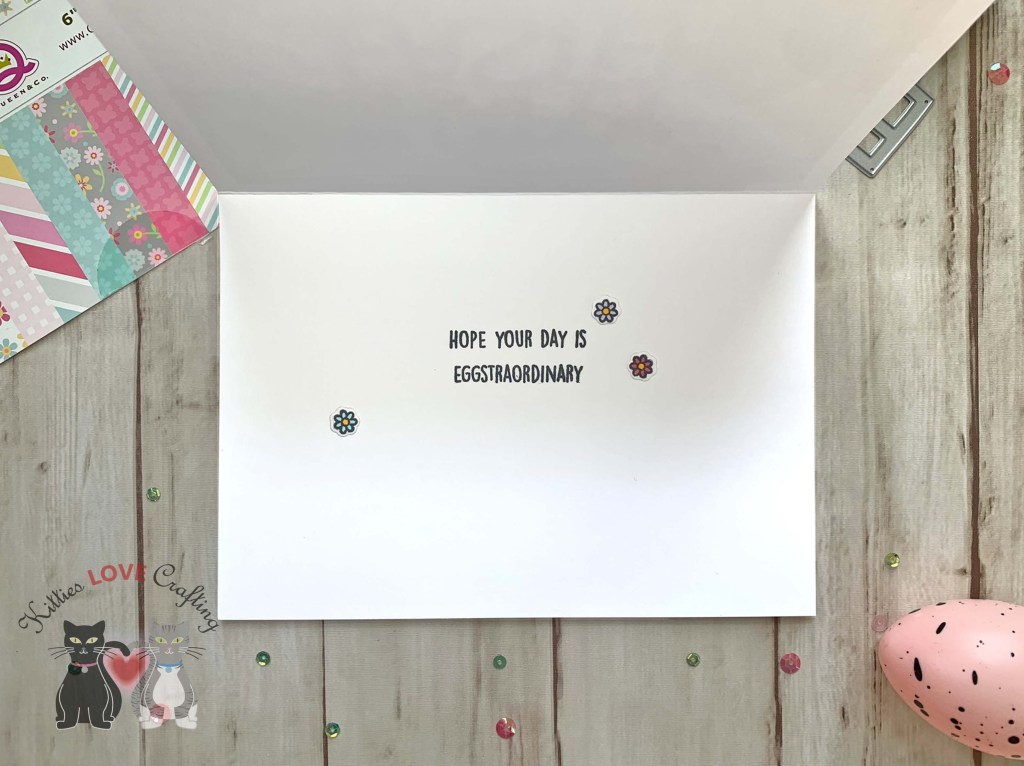
On the inside of the card, I stamped a sentiment from Lawn Fawn Eggstraordinary Easter Add-on stamp set with Memento Tuxedo Ink and added some extra flowers.
Dimensions
- Card Base = 10 x 7″ and scored at 5″ Neenah 100lb Classic Crest Cardstock 8.5 X 11″
- Background Panel = 4-3/4 x 6-3/4″ Neenah 100lb Classic Crest Cardstock 8.5 X 11″
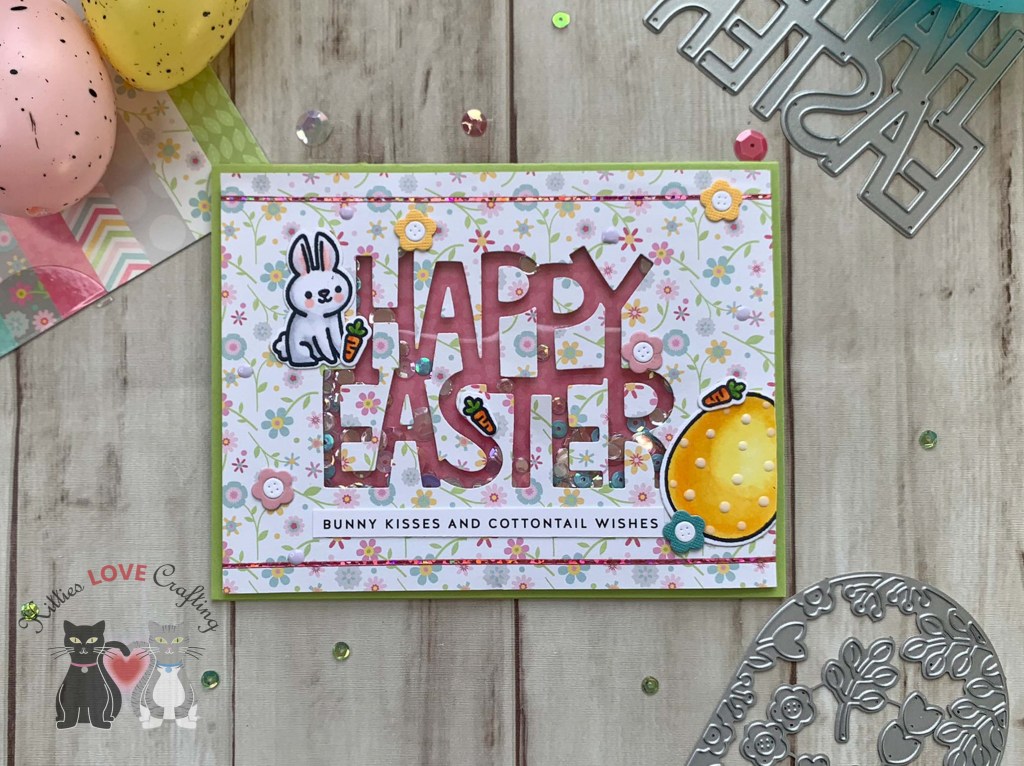
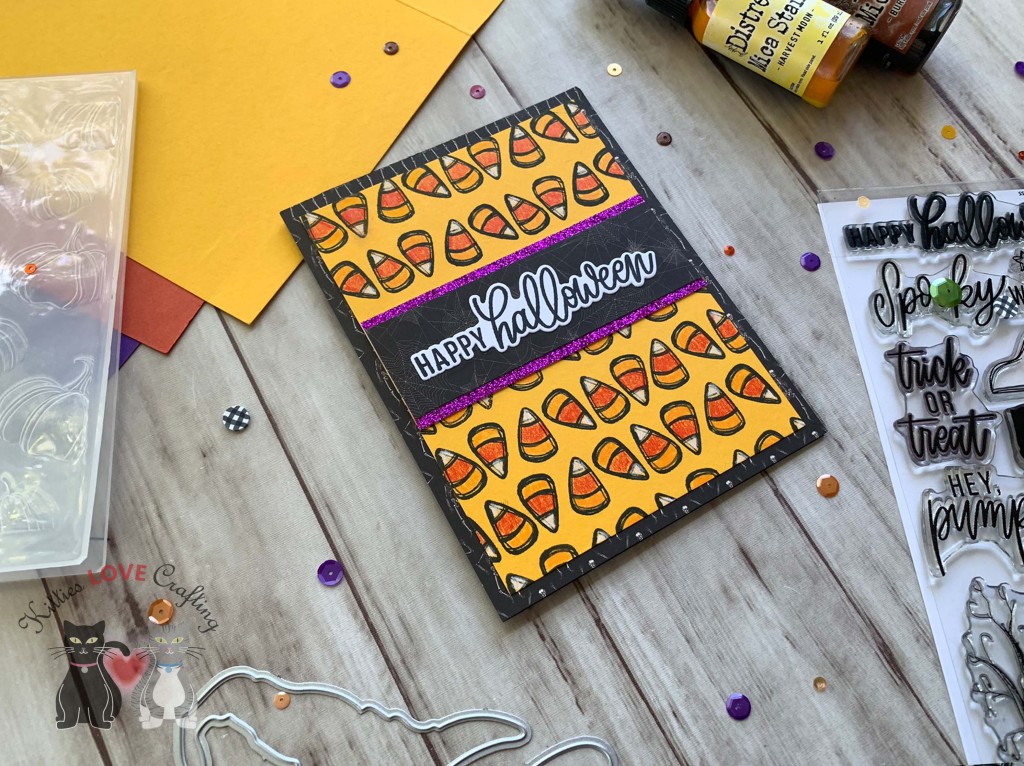
For the second card, I cut a piece of Simon Says Stamp 100# GREEN APPLE Cardstock to 5-1/2 x 8-1/2″ and scored at 4-1/4″ to create a card base. I also cut down the piece of from Queen & Company’s Flirty Florals 6 x 6 Mat Stack that I die cut the sentiment from to 4 x 5-1/4″. And cut another piece from the same paper stack to 4 x 5-1/4″.
I turned the panel into a shaker by adding a piece of Acetate behind it and adding some 3M Foam Tape and sequins from my stash. I addedsome Love From Lizi Peel-offs in Pink Holographic.
I stamped the images onto Neenah 100lb Classic Crest Cardstock 8.5 X 11″ from the Lawn Fawn Eggstraordinary Easter Add-on stamp set with Memento Tuxedo Ink. I colored the images with Copic Markers. I used R20, C1, C3 and the blender for the bunny; YG25 & YG17, YR07 & YR14 for the carrots; and Y11, Y15, & Y17 for the egg.

I added a sentiment from the Simon Says Stamp Sentiment Strips Easter Wishes and added some flowers from the Lawn Fawn Secret Garden Window Dies which i die cut from colored cardstock from my stash.
I finished off the card by adding some White Nuvo Gloss Drops to the egg and Nuvo French Lilac Gloss Drops to the card front.
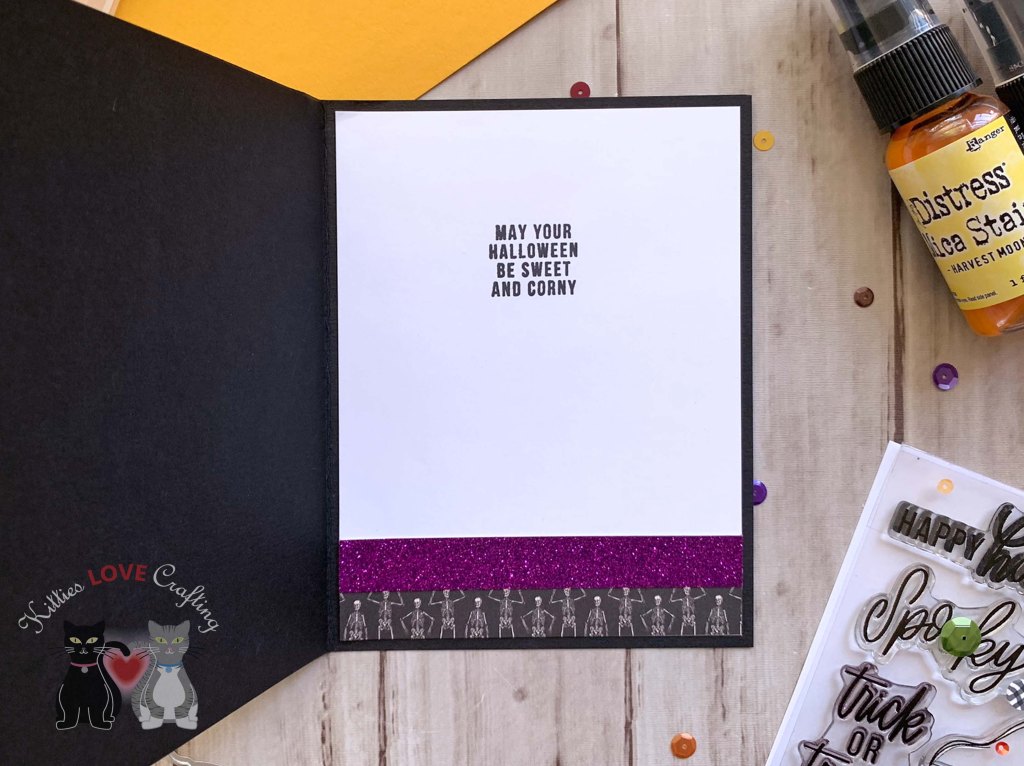
On the inside of the card, I cut a piece of Neenah 100lb Classic Crest Cardstock 8.5 X 11″ to 4 x 5-1/4″ and a piece of the pattern paper from the front panel to 1 x 4-1/4″. I stamped a sentiment from Lawn Fawn Eggstraordinary Easter Add-on stamp set with Memento Tuxedo Ink.

Dimensions
- Card Base = 5-1/2 x 8-1/2″ and scored at 4-1/4″ Neenah 100lb Classic Crest Cardstock 8.5 X 11″
- Background Panel = 4 x 5-1/4″; 4-1/4 x 5-1/2″ Flirty Florals Paper Pad
- Inside Panel = 4 x 5-1/4″ Neenah 100lb Classic Crest Cardstock 8.5 X 11″; 1 x 4-1/4″ Flirty Florals Paper Pad
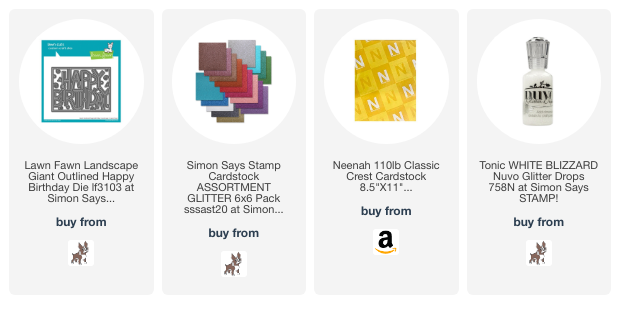
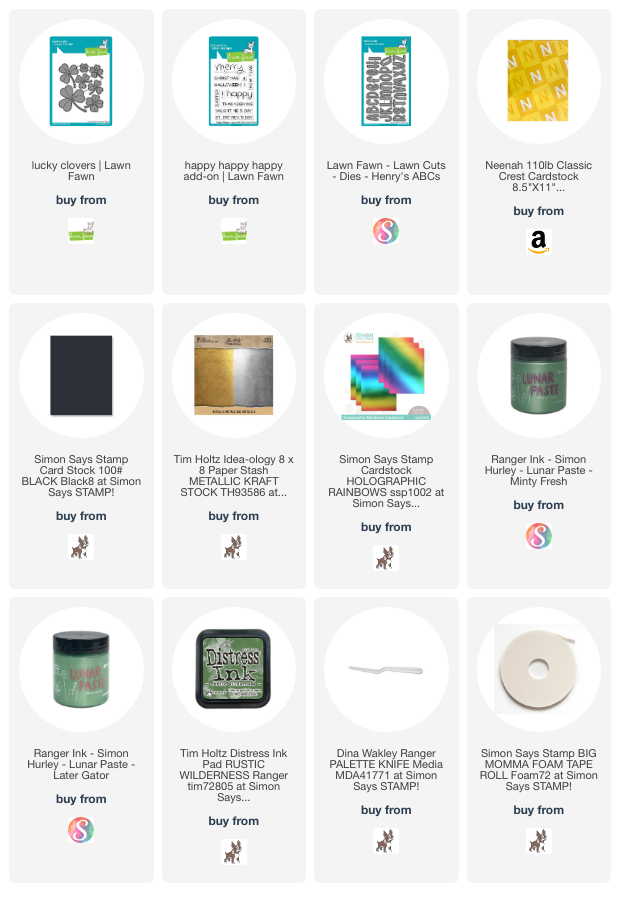
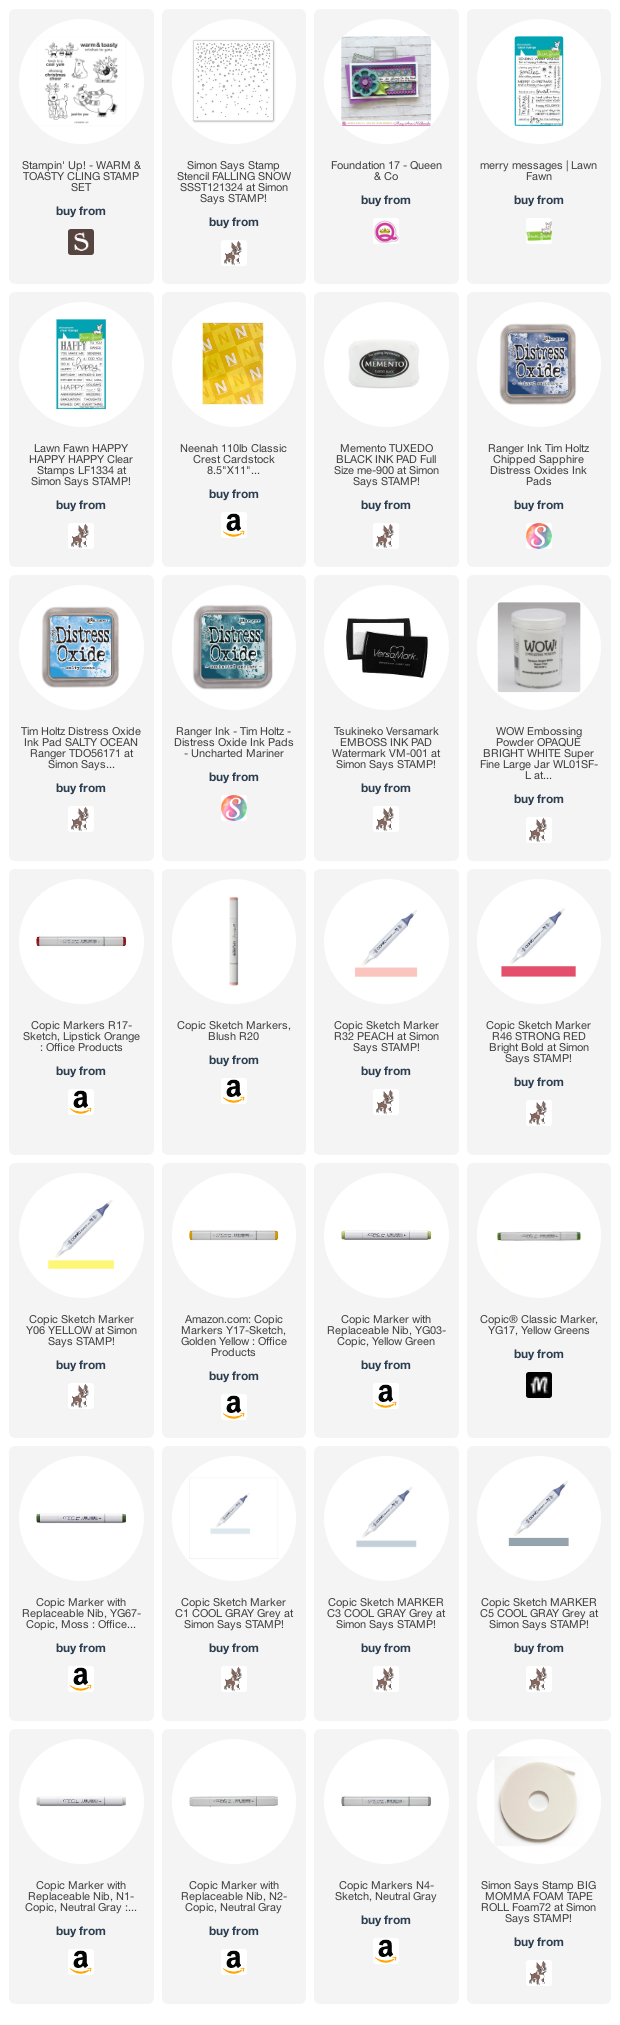
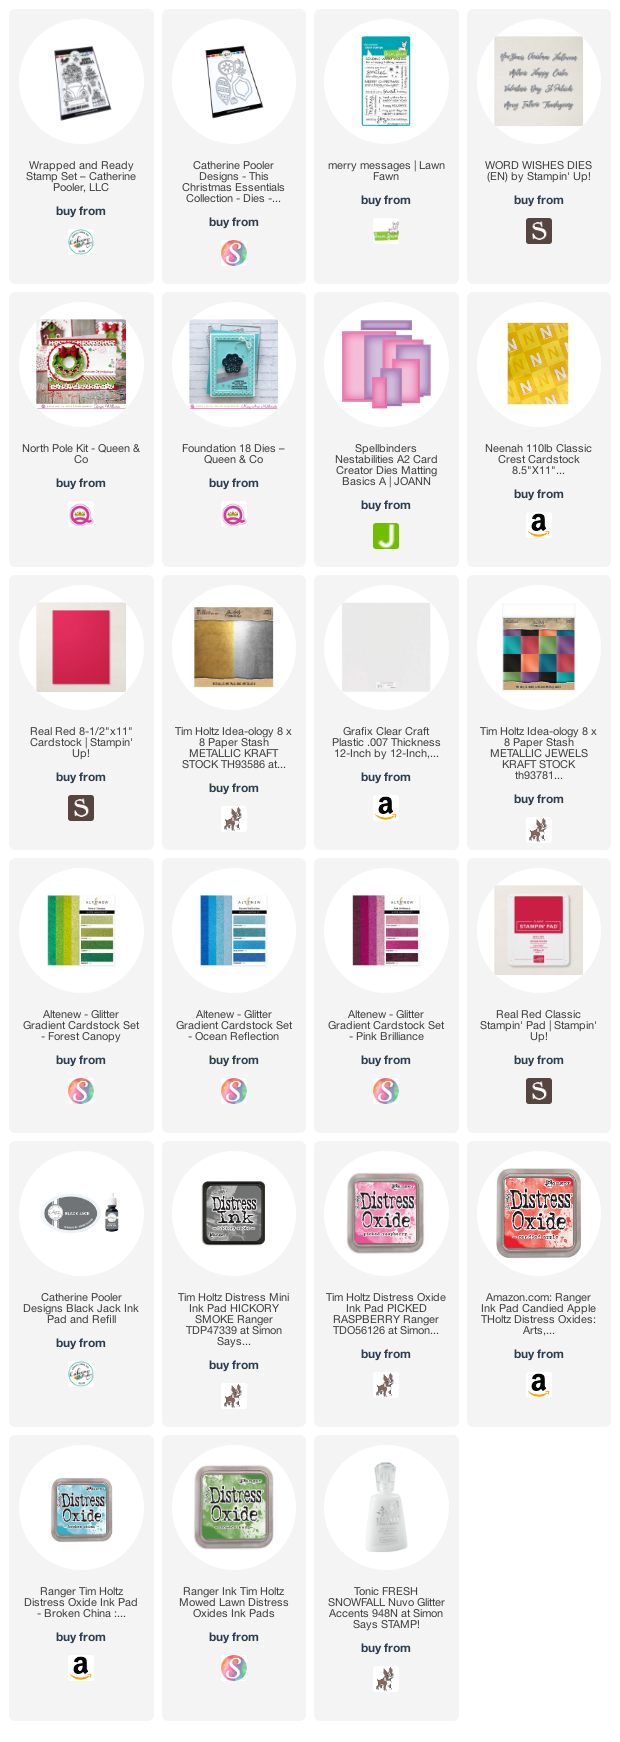
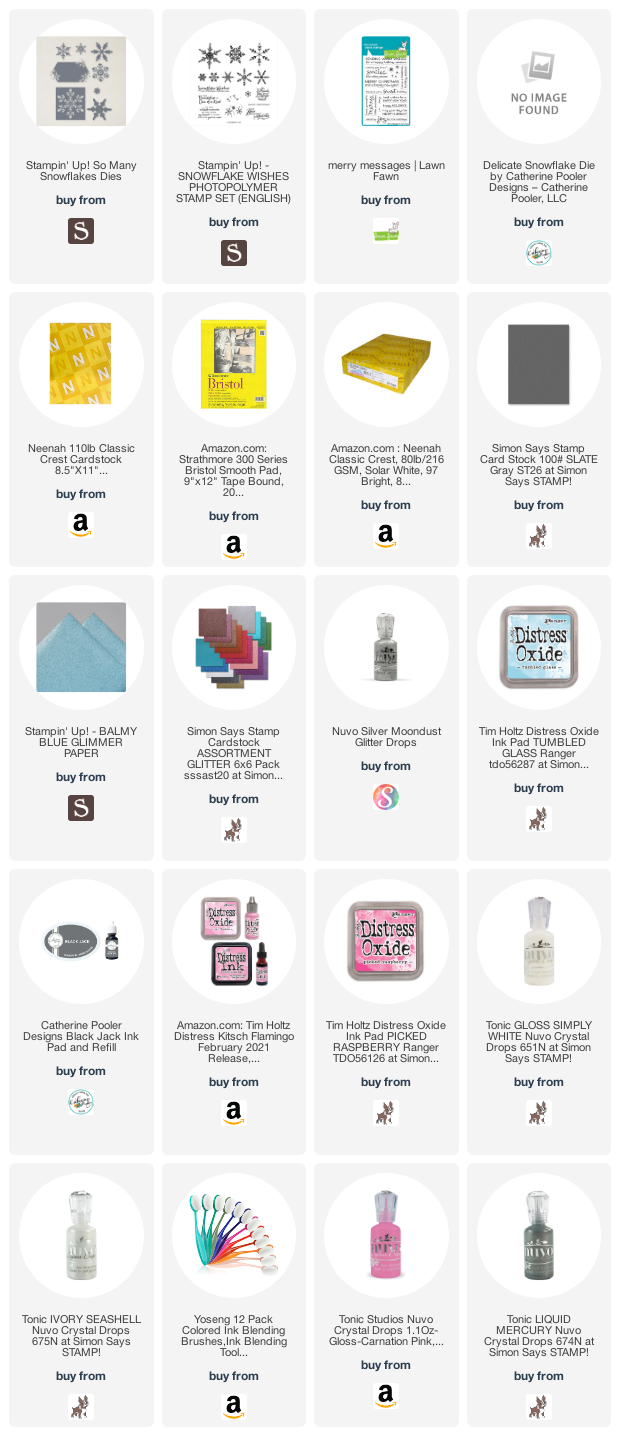
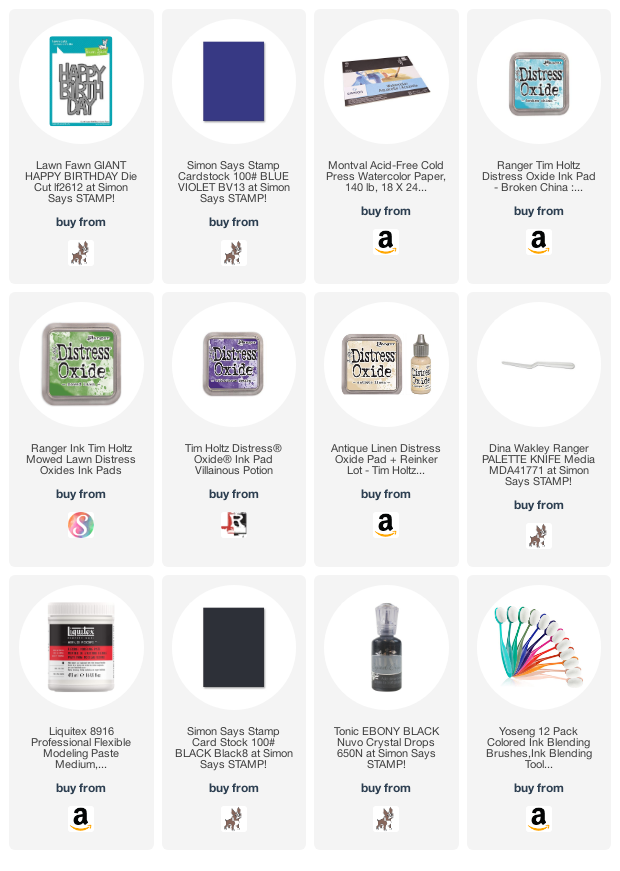
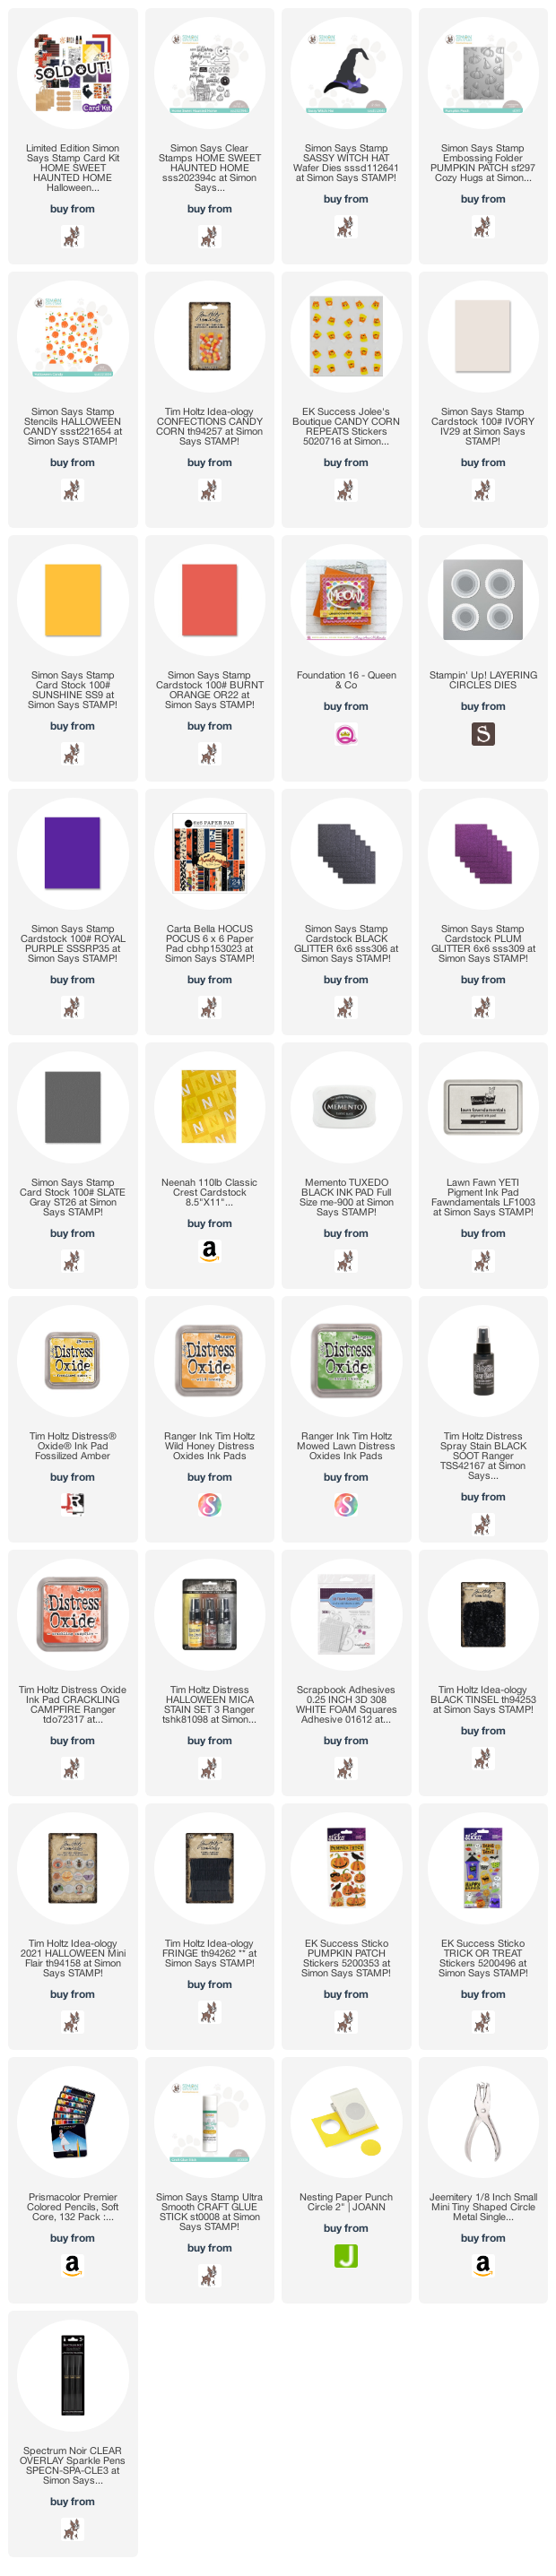
Supplies
 https://linkdeli.com/widget.js?id=f5e8378456858c916708
Thanks for reading this post. I hope I’ve inspired you to give this cute Easter card a try for yourself. Leave comments or questions below or feel free to email.