Happy New Year friends. Hope you all had some quality safe time with family and friends and are ready for a new and hopefully better year!
For my first cards of the new year I am making some cute Valentine’s cards using Lawn Fawn SCENT WITH LOVE Clear Stamps and Dies and Giant XOXO and Giant Be My Valentine combined with some simple watercolor/smooshed backgrounds. I haven’t done any watercoloring techniques in a while and wanted to play with this technique again. It’s great for quick backgrounds!

For the first card, I cut a piece of Simon Says Stamp 100lb Surf Blue 8-1/2 x 11″ Card Stock to 5-1/2 x 8-1/2″ and scored at 4-1/4″ to create the card base. Then cut another panel of Simple Stories – Sweet Talk Collection – 6 x 8 Papers (had some left over from my SSS Feb 2021 Card Kit – Love You Beary) to the same size as the card base (4-1/4 x 5-1/2″).
I took a piece of Strathmore 300 Series Bristol Smooth Paper, measuring 4-1/4 x 5-1/2″ and Catherine Pooler Cummerbund Ink to create the background. I used the smoosh technique (you put ink on an acrylic block or glass surface, add ink and lots of water and press your paper doen onto it) which is super easy and fun. Then I had to wait for it to dry….(always hard for me since I’m super impatient. LOL). Once dry, I used the Catherine Pooler Scallops & Dots Dies (I used the largest scallop) to cut it out. Always make sure the paper is completely dry before die cutting or it will tear the paper!
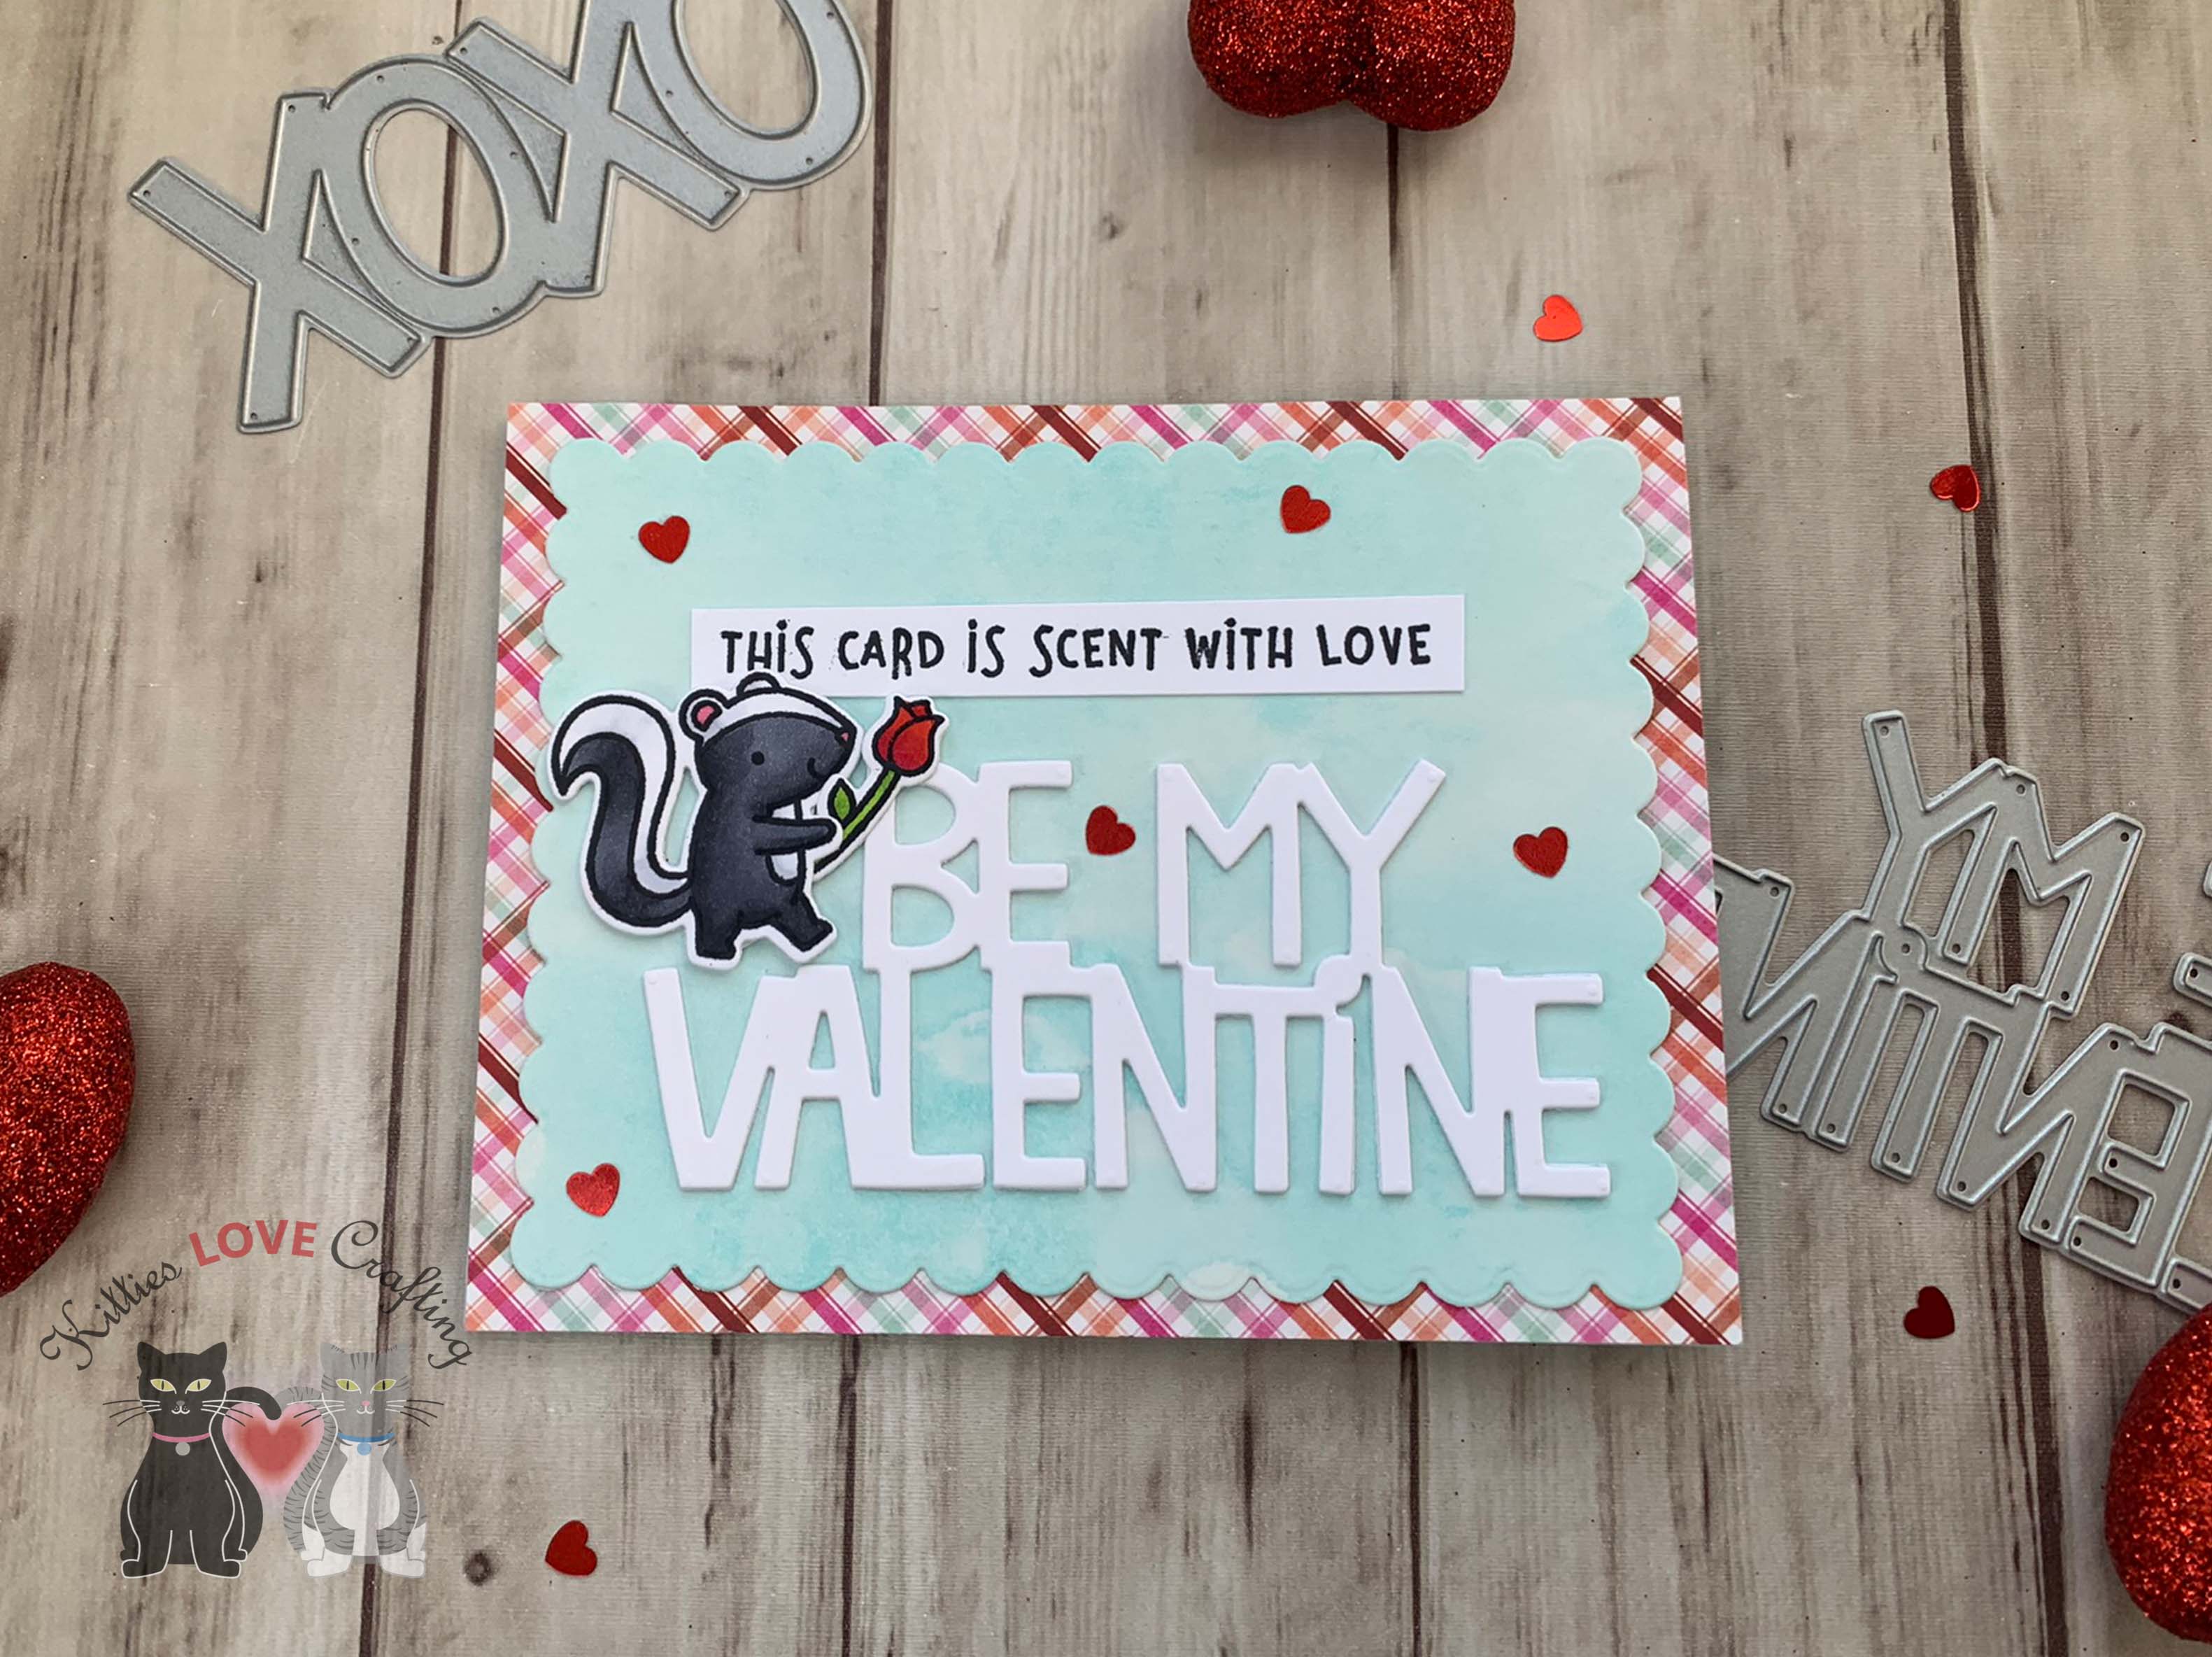
While waiting for the background to dry, I stamped a bunch of images from the Lawn Fawn SCENT WITH LOVE Clear Stamps and Dies and the Lawn Fawn SCENT WITH LOVE ADD-ON Clear Stamps and Dies onto some Neenah 110lb Classic Crest Cardstock 8.5 X 11″ with Memento Tuxedo Black Ink.
I colored the images with Copic colors. I used R17, 27 & 46 for all the red items; R81, 83, & 85 for all the pink items; YG25 & 17 for all the greenery; C1, 3, 5, & 7 for the skunks; and E74 & 79 for all the chocolate items. I die cut all the images with the coordinating dies.
I diecut the sentiment from Neenah 110lb Classic Crest Cardstock 8.5 X 11″ using the Lawn Fawn GIANT BE MY VALENTINE. I cut two of them and stacked them on top of each other. I stamped the rest of the sentiment from Lawn Fawn SCENT WITH LOVE Clear Stamps and Dies with Memento Tuxedo Black Ink and cut it to 1/2 x 3-1/2″. I chose a little skunk and the rose to add to the front of the card.
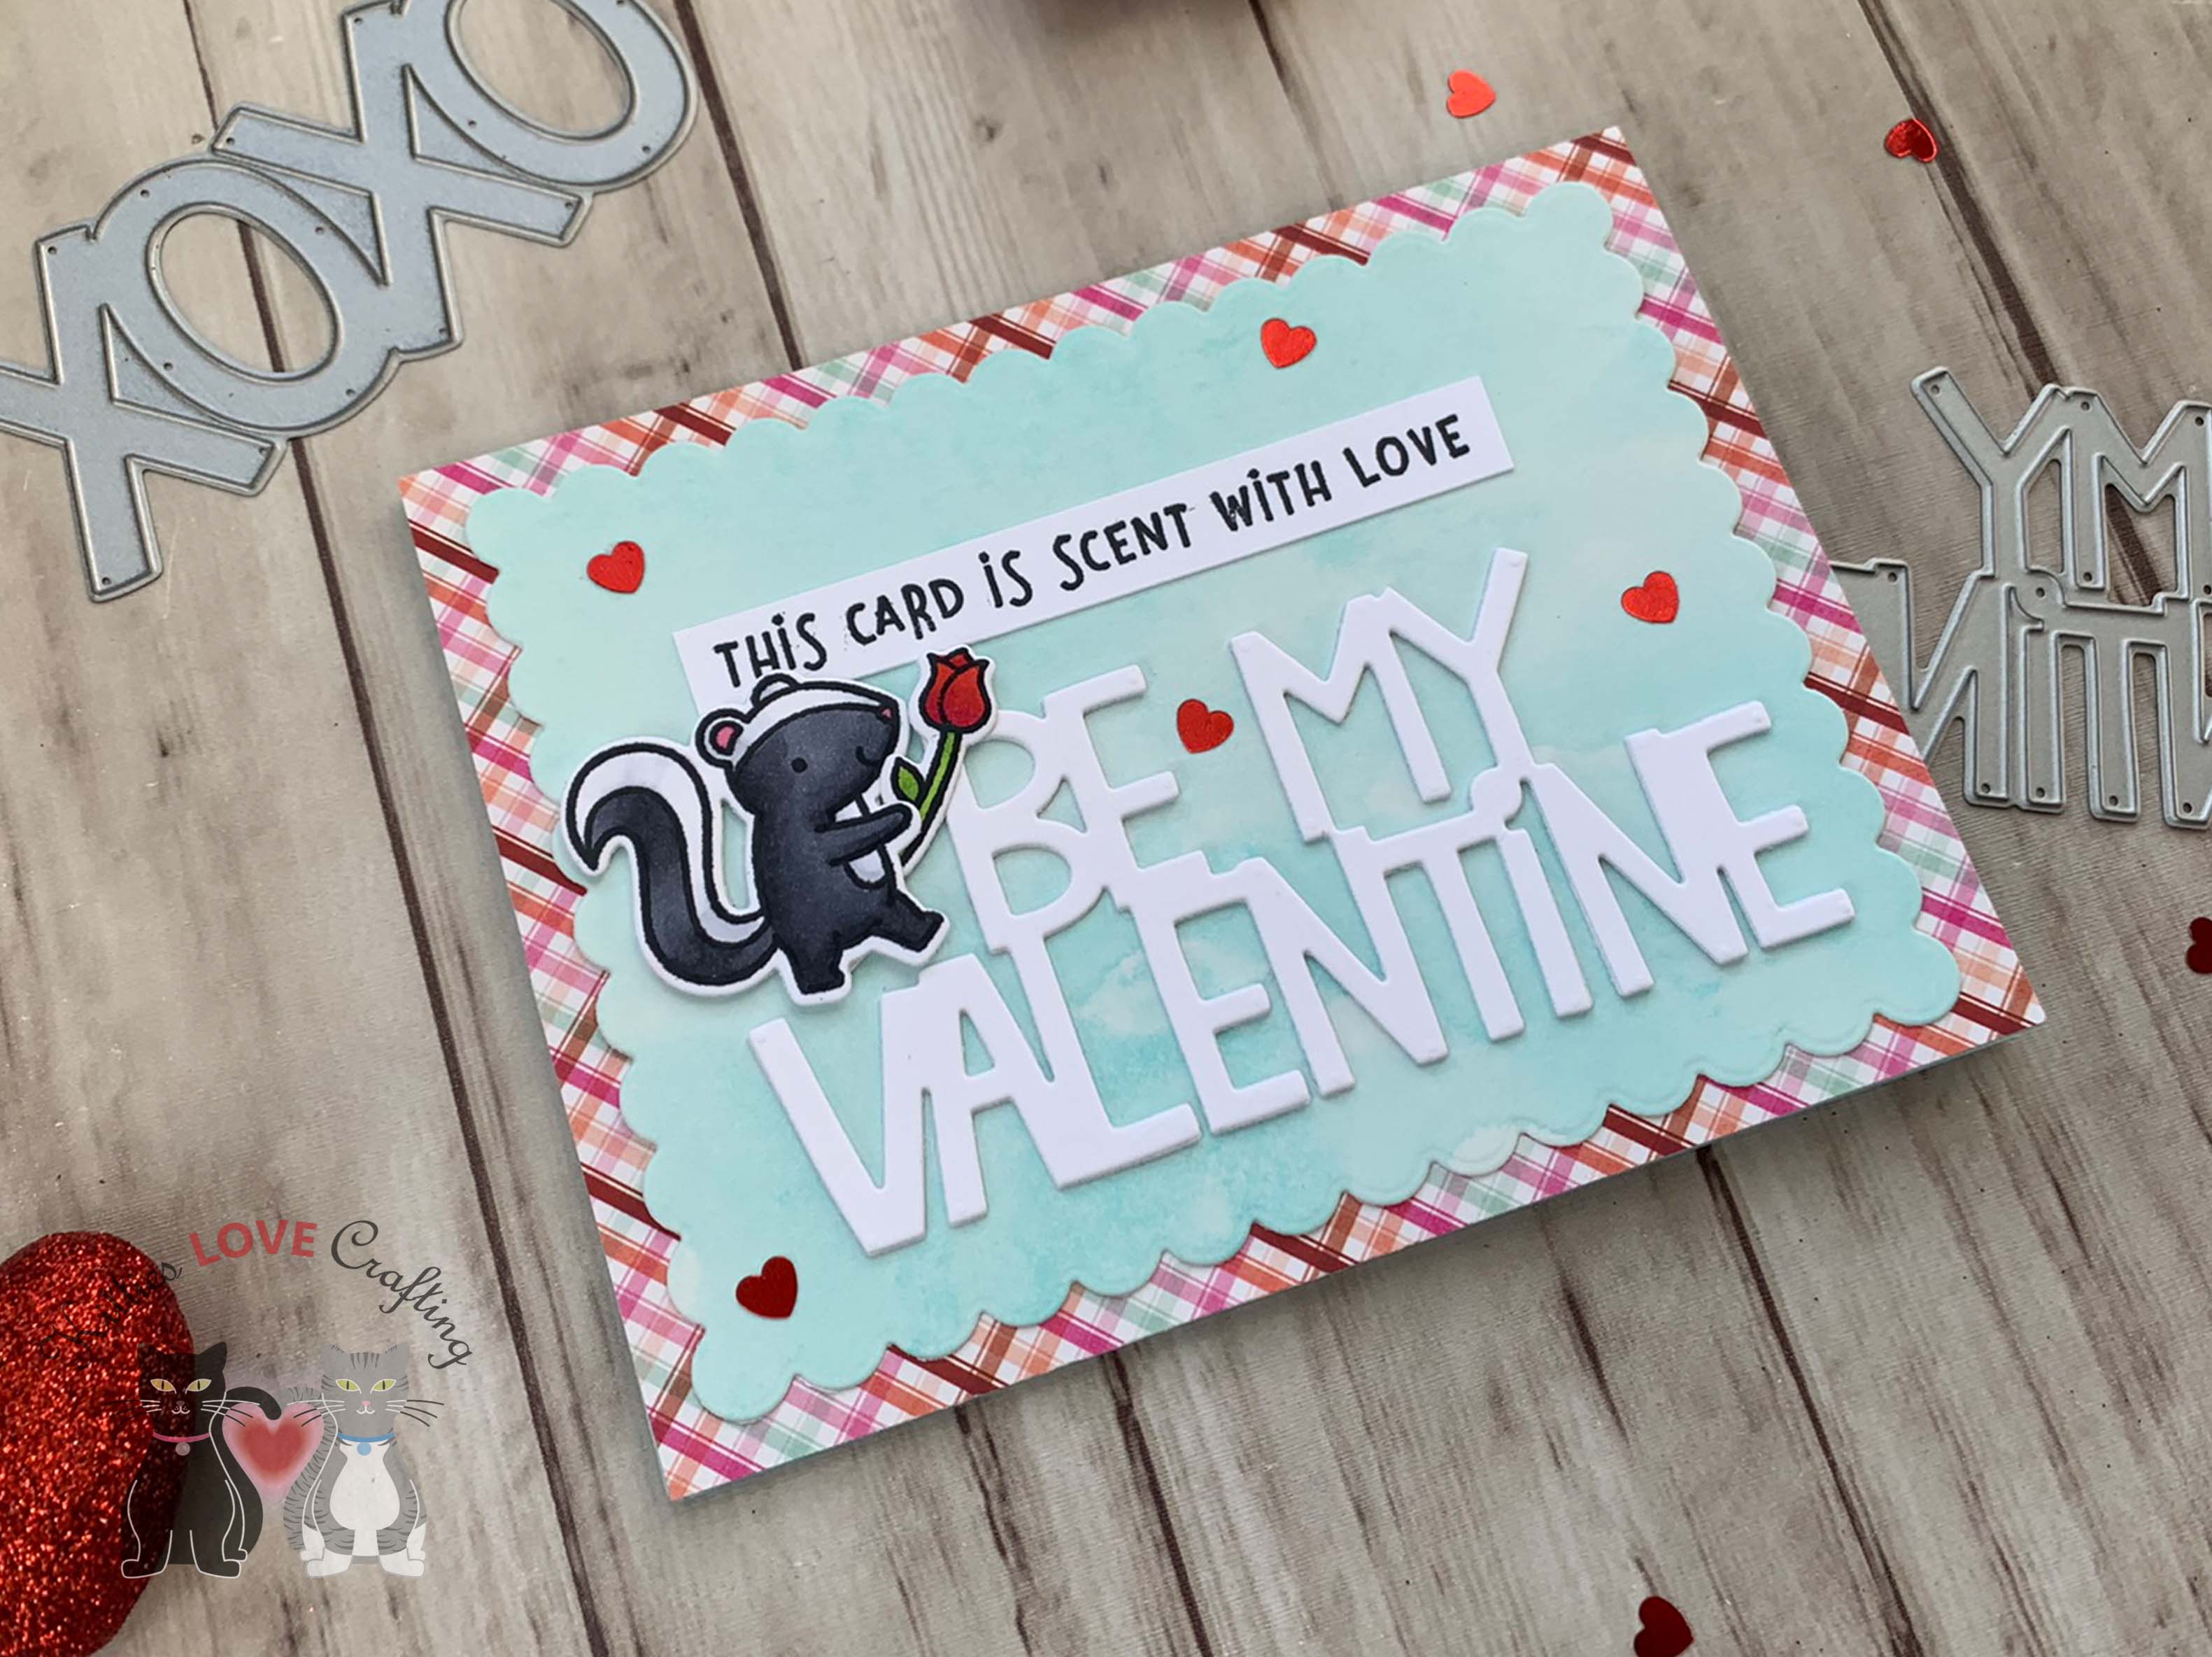
I finished it by adding some Kat Scrappiness 6mm Metallic Red Solid Heart Sequins.
On the inside of the card, I cut a piece of Neenah 110lb Classic Crest Cardstock 8.5 X 11″ to 4 x 5-1/4″ and adhered it to the inside of the card and stamped a sentiment and the heart balloon from the Lawn Fawn SCENT WITH LOVE ADD-ON Clear Stamps and Dies with Memento Tuxedo Black Ink.

Dimensions
- Card Base = 5-1/2 x 8-1/2″ and scored at 4-1/4″ Simon Says Stamp 100lb Surf Blue 8-1/2 x 11″ Card Stock
- Top Panel = 4-1/4 x 5-1/2″ Simple Stories – Sweet Talk Collection – 6 x 8 Papers
- Inside Panel = 4 x 5-1/4″ Neenah 110lb Classic Crest Cardstock 8.5 X 11″
- Sentiment Strip = 1/2 x 3-1/2″ Neenah 110lb Classic Crest Cardstock 8.5 X 11″
For the second card, I cut a piece of Neenah 110lb Classic Crest Cardstock 8.5 X 11″ to 5-1/2 x 8-1/2″ and scored at 4-1/4″ to create the card base. Then again cut another panel of Simple Stories – Sweet Talk Collection – 6 x 8 Papers to 4-1/4 x 5-1/2″.

For the background again I used Strathmore 300 Series Bristol Smooth Paper, measuring 4-1/4 x 5-1/2″ and Catherine Pooler Pink Champagne and Pucker Up Inks to create the background, using the smoosh technique again. Once dry, I used the Catherine Pooler Scallops & Dots Dies (I used the largest scallop) to cut it out.
For this card, I diecut the sentiment from Neenah 110lb Classic Crest Cardstock 8.5 X 11″ using the Lawn Fawn Giant XOXO. Again cut two of them and stacked them. I stamped the rest of the sentiment from Lawn Fawn SCENT WITH LOVE Clear Stamps and Dies with Memento Tuxedo Black Ink and cut it to 1/2 x 3-1/2″. I chose a two little skunks, the envelope, and heart balloon images from the Lawn Fawn SCENT WITH LOVE Clear Stamps and Dies and Lawn Fawn SCENT WITH LOVE ADD-ON Clear Stamps and Dies.

I finished it by adding some Metallic Bright Gold Nuvo Crystal Drops.
On the inside of the card, I stamped a sentiment and the heart scent trail from the Lawn Fawn SCENT WITH LOVE Clear Stamps and Dies and the Lawn Fawn SCENT WITH LOVE ADD-ON Clear Stamps and Dies with Memento Tuxedo Black Ink.

Dimensions
- Card Base = 5-1/2 x 8-1/2″ and scored at 4-1/4″ Neenah 110lb Classic Crest Cardstock 8.5 X 11″
- Top Panel = 4-1/4 x 5-1/2″ Simple Stories – Sweet Talk Collection – 6 x 8 Papers
- Sentiment Strip = 1/2 x 3-1/2″ Neenah 110lb Classic Crest Cardstock 8.5 X 11″
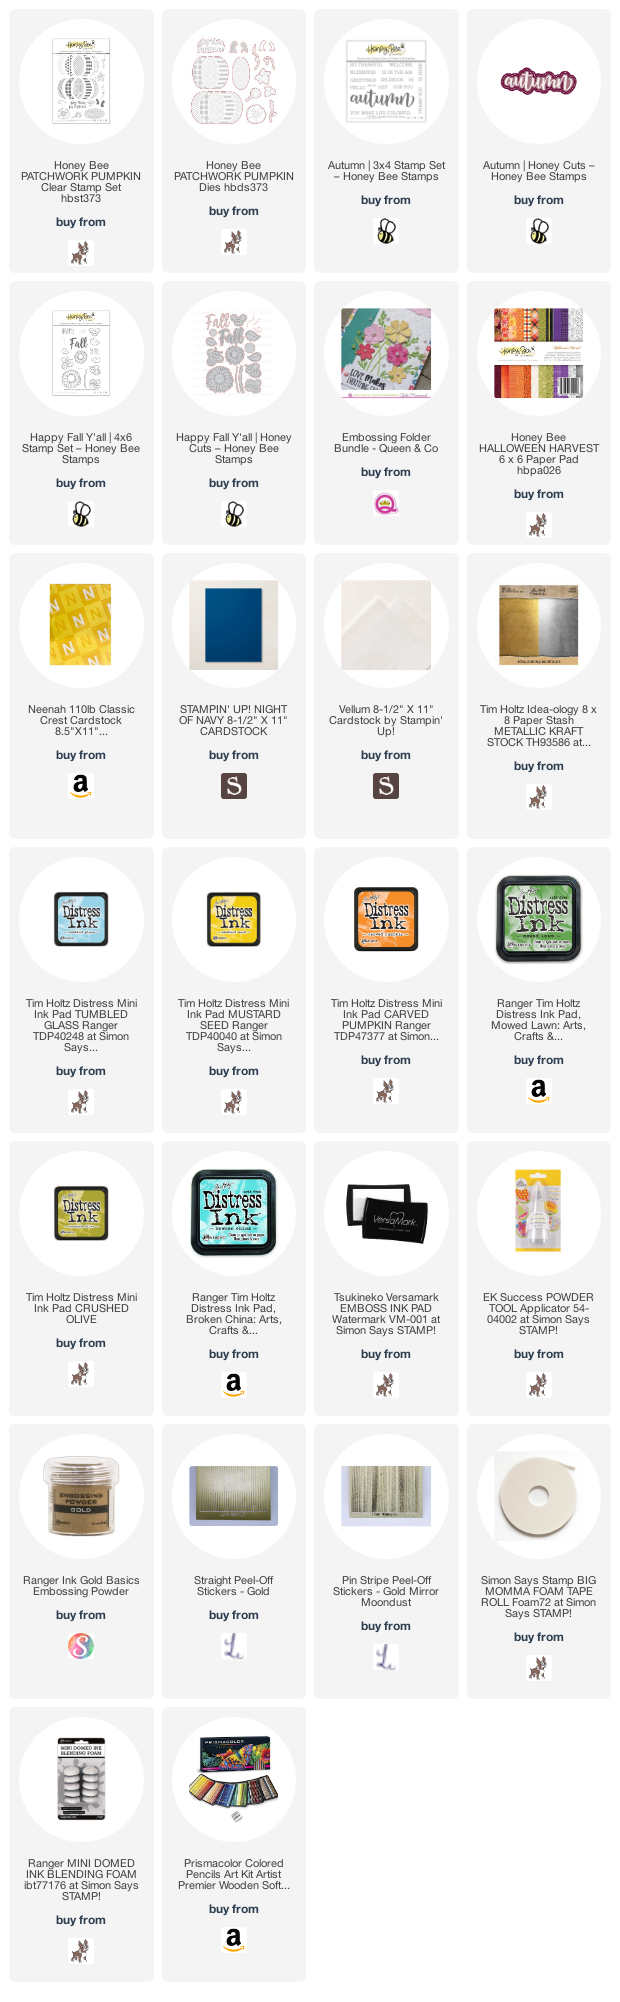
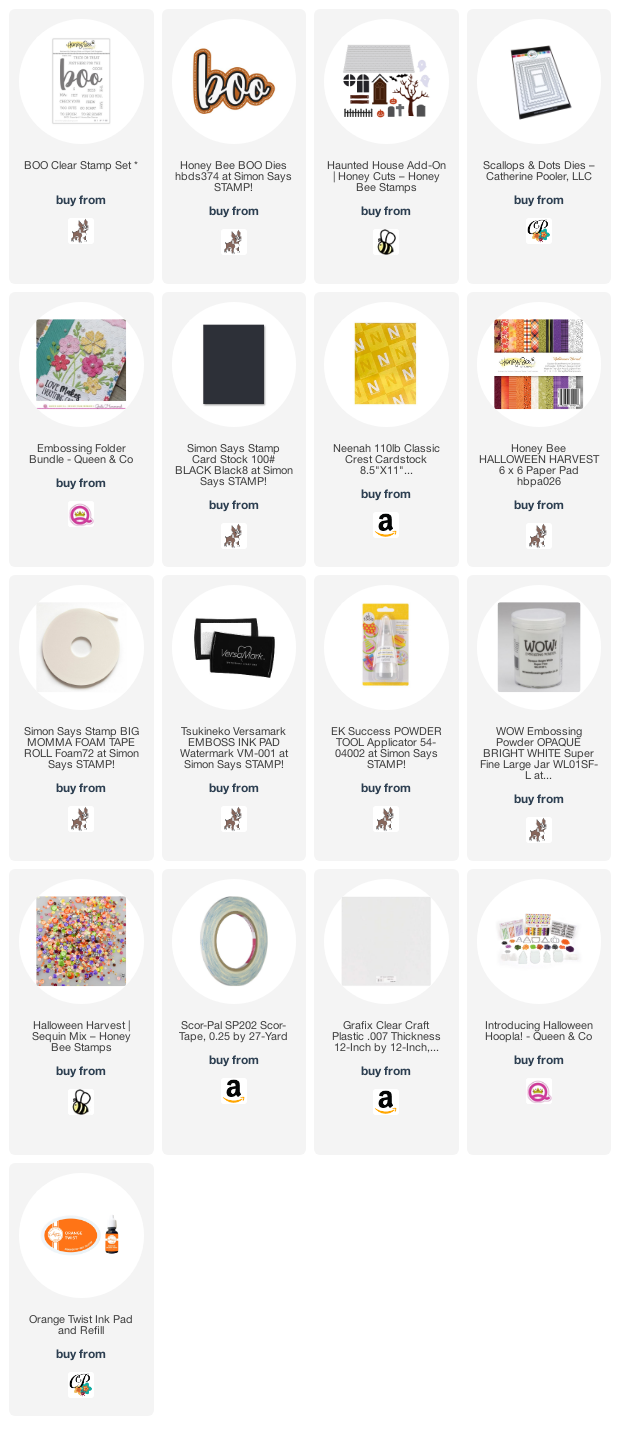
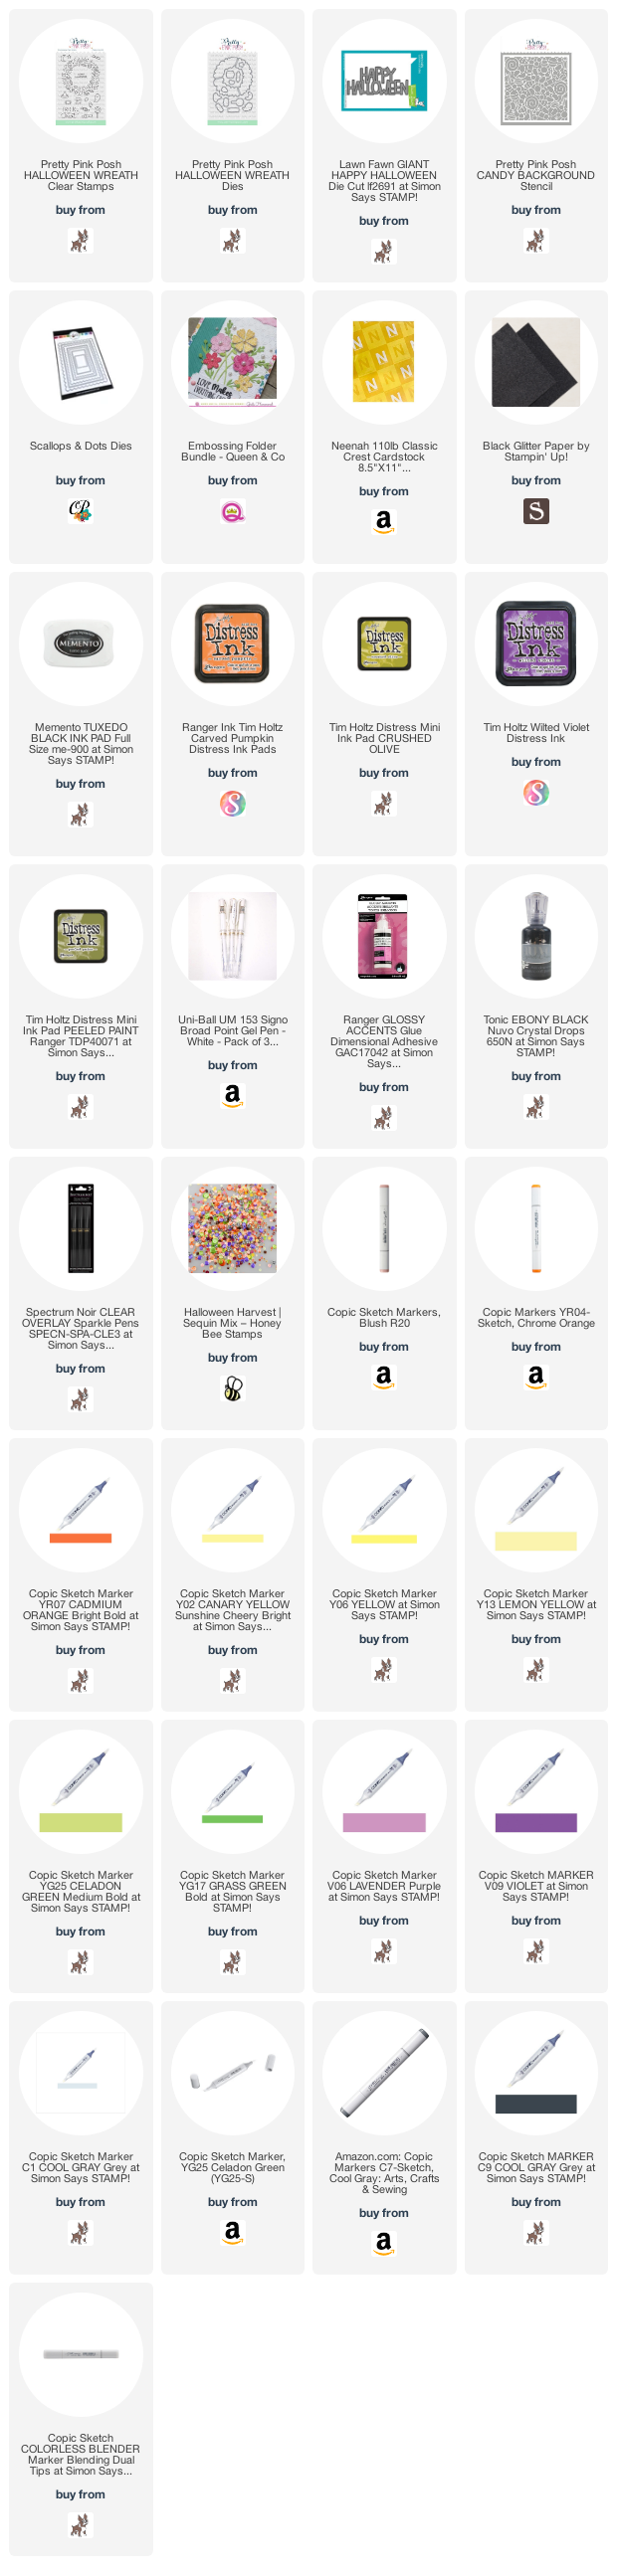
Supplies
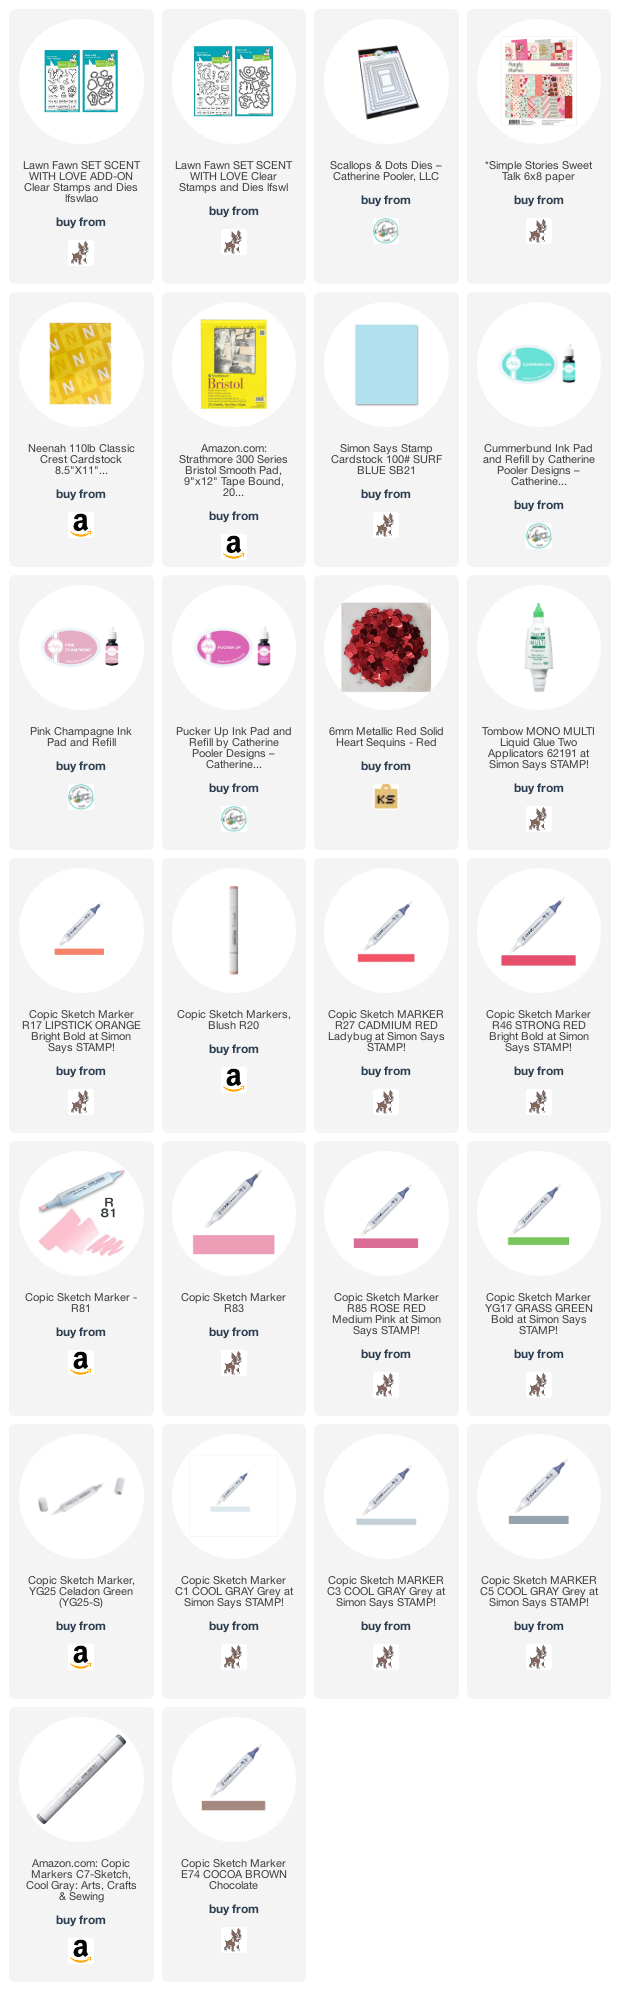 https://linkdeli.com/widget.js?id=f5e8378456858c916708
Thanks for reading this post. I hope you enjoyed and I’ve inspired you to give these cards a try for yourself. Leave comments or questions below or feel free to email.