
The Limited Edition Simon Says Stamp EASTER JOY 2022 Card Kit is full of tons of goodies to make cute Easter cards as well as for other occasions. I will be posting some Mother’s Day cards using some items from the kit in April. Stay tuned for that! While the kit is now sold out, you can buy most of the items in the kit seperately. The list below has all the links.

The Kit includes:
- NEW and EXCLUSIVE Simon Says Stamp Easter Joy 6×8 inch clear stamp set
- NEW and EXCLUSIVE Simon Says Stamp Somebunny Loves You 3×4 inch clear stamp
- NEW and EXCLUSIVE Simon Says Stamp Somebunny Loves You coordinating die set
- NEW and EXCLUSIVE Simon Says Stamp Set of 2 Layering Eggs 4×9 inch stencils
- NEW and EXCLUSIVE Simon Says Stamp Large Easter Basket die set
- 1 sheet of each design of Echo Park My Favorite Easter 6×6 inch paper
- 1 sheet of Doodlebug Mini Icons Easter Express Stickers
- 3 Tim Holtz Velvet Ribbons (mustard, yellow, rust) 1 yard of each
- 1 container of one fluid ounce Ranger Icicle Mini Crackle Paste
- 3 Various Therm O Web Limited Edition Deco Foil Easter Themed Fronts
- 1 sheet of 6×6 inch Therm O Web Gold Foil
- 1 Simon Says Stamp Exclusive Glue Stick
- 1 sheet Simon Says Stamp 8.5 x 11 inch cardstock in Cotton Candy
- 1 sheet Simon Says Stamp 8.5 x 11 inch cardstock in Green Apple
- 1 sheet Neenah 8.5 x 11 inch cardstock in Desert Storm
- 1 sheet of 8.5 x 11 inch Simple Foundations translucent Vellum Paper
- 1 Simon Says Stamp Envelope in White
- 1 Simon Says Stamp Slimline Envelope in Lemon Chiffon
- 1 Simon Says Stamp Envelope in Metallic Lavender
For the first card, I started by cutting a piece the piece of 1 sheet Simon Says Stamp 8.5 x 11 inch cardstock in Green Apple in half (5-1/2 x 8-1/2″) and scored at 4-1/4″ to make a two card bases. I’ll set one aside for now. I foiled the Deco Foil Kraft Toner Card Fronts – Basket of Fun with the 6×6 inch Therm O Web Gold Foil, using my laminator and trimmed it down to 4-1/8 x 5-3/8″.

I diecut the easter basket, eggs and chick from the Echo Park My Favorite Easter 6×6 inch paper using the Simon Says Stamp Large Easter Basket die set. I also cut one egg from Simon Says Stamp Aqua Glitter 6×6 Cardstock (not included in the kit) and one from Altenew – Glitter Gradient Cardstock Set – Forest Canopy (not included in the kit) . I added some black cardstock behind the chick and colored his beak with a Copic marker.
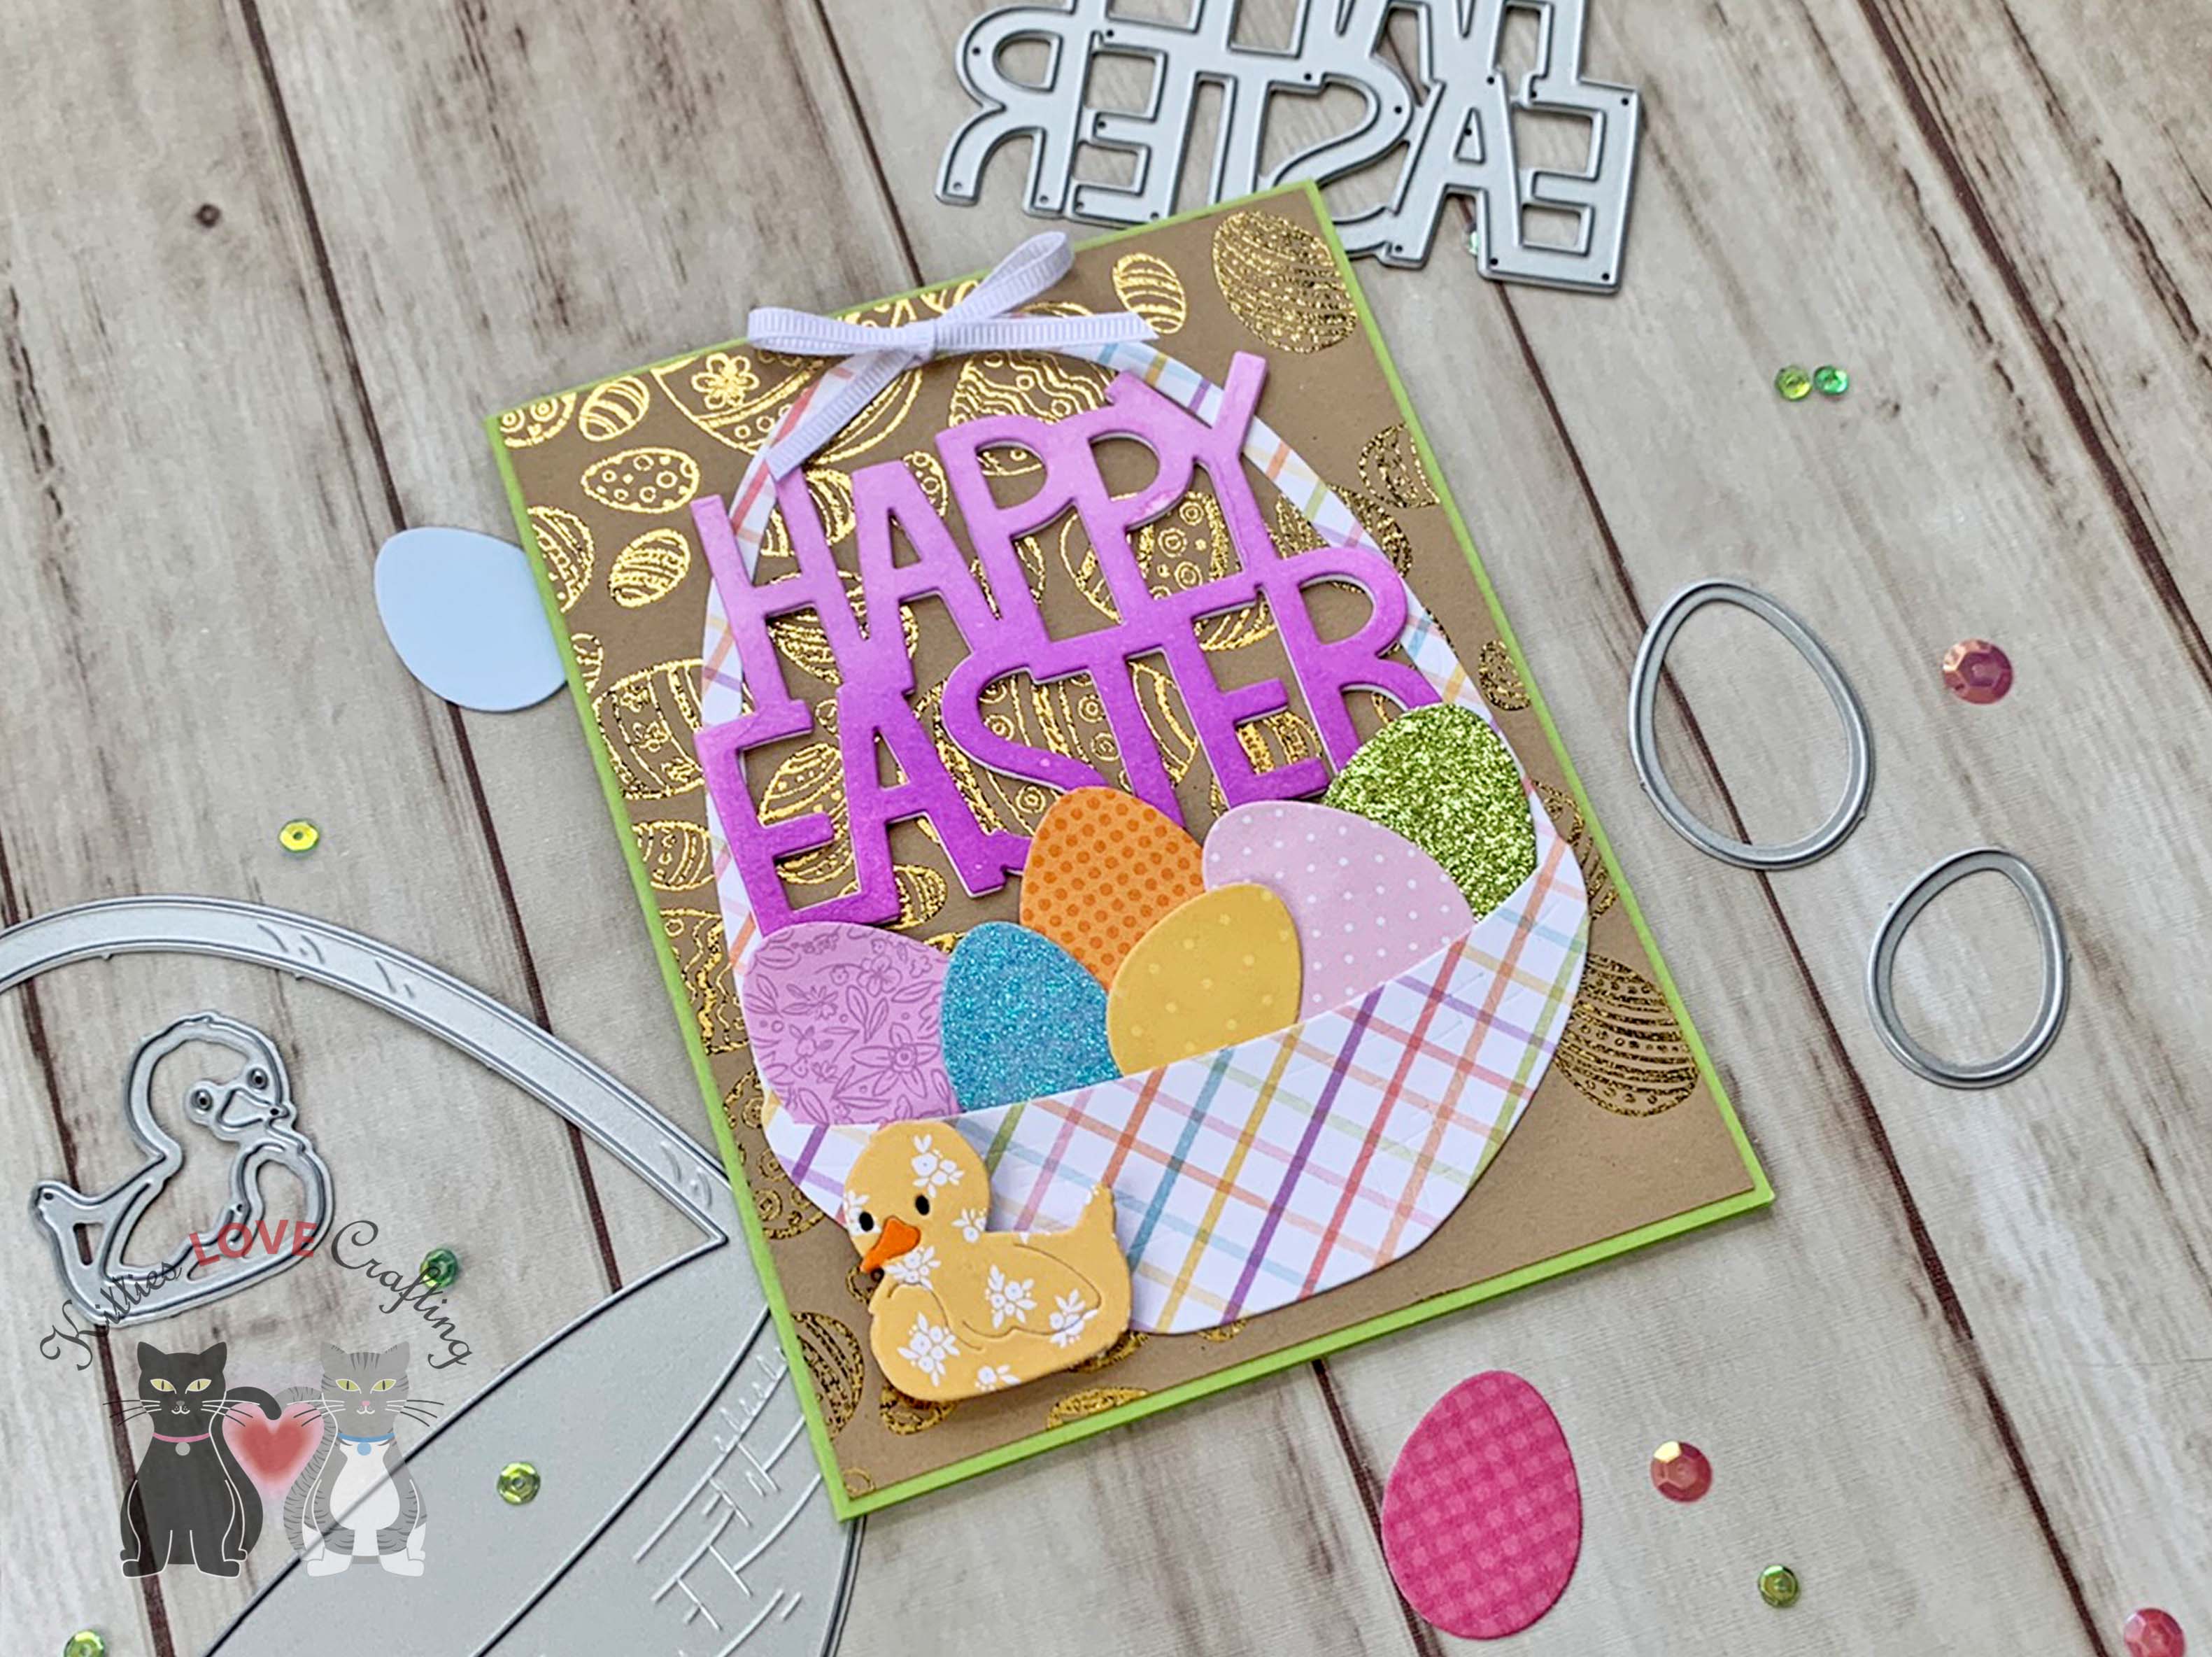
I die cut the sentiment 3x from Neenah 110lb Classic Crest Cardstock using the Lawn Fawn Giant Happy Easter Die Cut (not included in the kit) and created an ombre effect on one of them with Catherine Pooler Designs Sweet Sixteen and Pixie Dust Inks. I finished it off by adding some white grosgrain ribbon to the basket.
On the inside of the card, I cut a piece of Neenah 110lb Classic Crest Cardstock to 4 x 5-1/4″ and stamped a sentiment from the Simon Says Stamp Easter Joy 6×8 inch clear stamp set with Pixie Dust Ink.

Dimensions
- Card Base = 5-1/2 x 8-1/2″ and scored at 4-1/4″ 1 sheet Simon Says Stamp 8.5 x 11 inch cardstock in Green Apple
- Top Panel = 4-1/8 x 5-3/8″ Deco Foil Kraft Toner Card Fronts – Basket of Fun
- Inside Panel = 4 x 5-1/4″ Neenah 110lb Classic Crest Cardstock 8.5 X 11″
For the second card, I started by cutting a piece of Neenah 110lb Classic Crest Cardstock to 7 x 8-1/2″ and scored at 3-1/2″ to make a card base. I foiled the Deco Foil Slimline Toner Card Fronts – Basket of Fun included in the kit with Therm O Web RAINBOW SHATTERED Deco Foil Transfer Sheets using my laminator. I trimmed it down to 3-1/4 x 8-1/4″.

I used the Simon Says Stamp Set of 2 Layering Eggs 4×9 inch stencils to ink all the eggs onto Neenah 110lb Classic Crest Cardstock in a rainbow pattern. I used the base stencil with Tim Holtz Kitsch Flamingo, Spiced Marmalade, Squeezed Lemonade, Mowed Lawn, Salty Ocean and Seedless Preserves Distress Oxide Ink. I added some of the Ranger Icicle Mini Crackle Paste over the eggs and let it dry. Then I used the pattern stencil with Modeling Paste over the eggs to add some texture. I should mention that because I used distress inks to color my eggs the modeling paste will absorb some of that ink and not remain pure white.

I fussycut the eggs but before adding them to the card, I cut a piece of from the sheet of 8.5 x 11 inch Simple Foundations translucent Vellum Paper which I cut to 2-7/8 x 8-1/4″. For the sentiment I cut out strips from the Simon Says Stamp Sentiment Strips REVERSE EASTER WISHES.
On the inside of the card I kept it simple, I added a sentiment from the Simon Says Stamp Sentiment Strips EASTER WISHES with Catherine Pooler Designs Midnight Ink and some leftover eggs.

Dimensions
- Card Base = 7 x 8-1/2″ and scored at 3-1/2″ Neenah 110lb Classic Crest Cardstock 8.5 X 11″
- Top Panel = 3-1/4 x 8-1/4″ Deco Foil Slimline Toner Card Fronts – Basket of Fun; 2-7/8 x 8-1/4″ Simple Foundations translucent Vellum Paper
For the third card, I started by cutting a piece the piece of 1 sheet Simon Says Stamp 8.5 x 11 inch cardstock in Cotton Candy in half (5-1/2 x 8-1/2″) and scored at 4-1/4″ to make a two card bases. I’ll set one aside for now. I also cut a piece of Neenah 110lb Classic Crest Cardstock to 4 x 5-1/4” which I inked with Salty Ocean Distress Oxide Ink.

I stamped the Some Bunny Loves You sentiment from the from the Simon Says Stamp Somebunny Loves You 3×4 inch clear stamp onto some Neenah 110lb Classic Crest Cardstock with Catherine Pooler Designs Midnight Ink and die cut it with the Simon Says Stamp Somebunny Loves You coordinating die set.
I die cut the grass from Simon Says Stamp 8.5 x 11 inch cardstock in Green Apple with the Lawn Fawn Hillside Grassy Border and the eggs from the Echo Park My Favorite Easter 6×6 inch paper using the Simon Says Stamp Large Easter Basket die set.
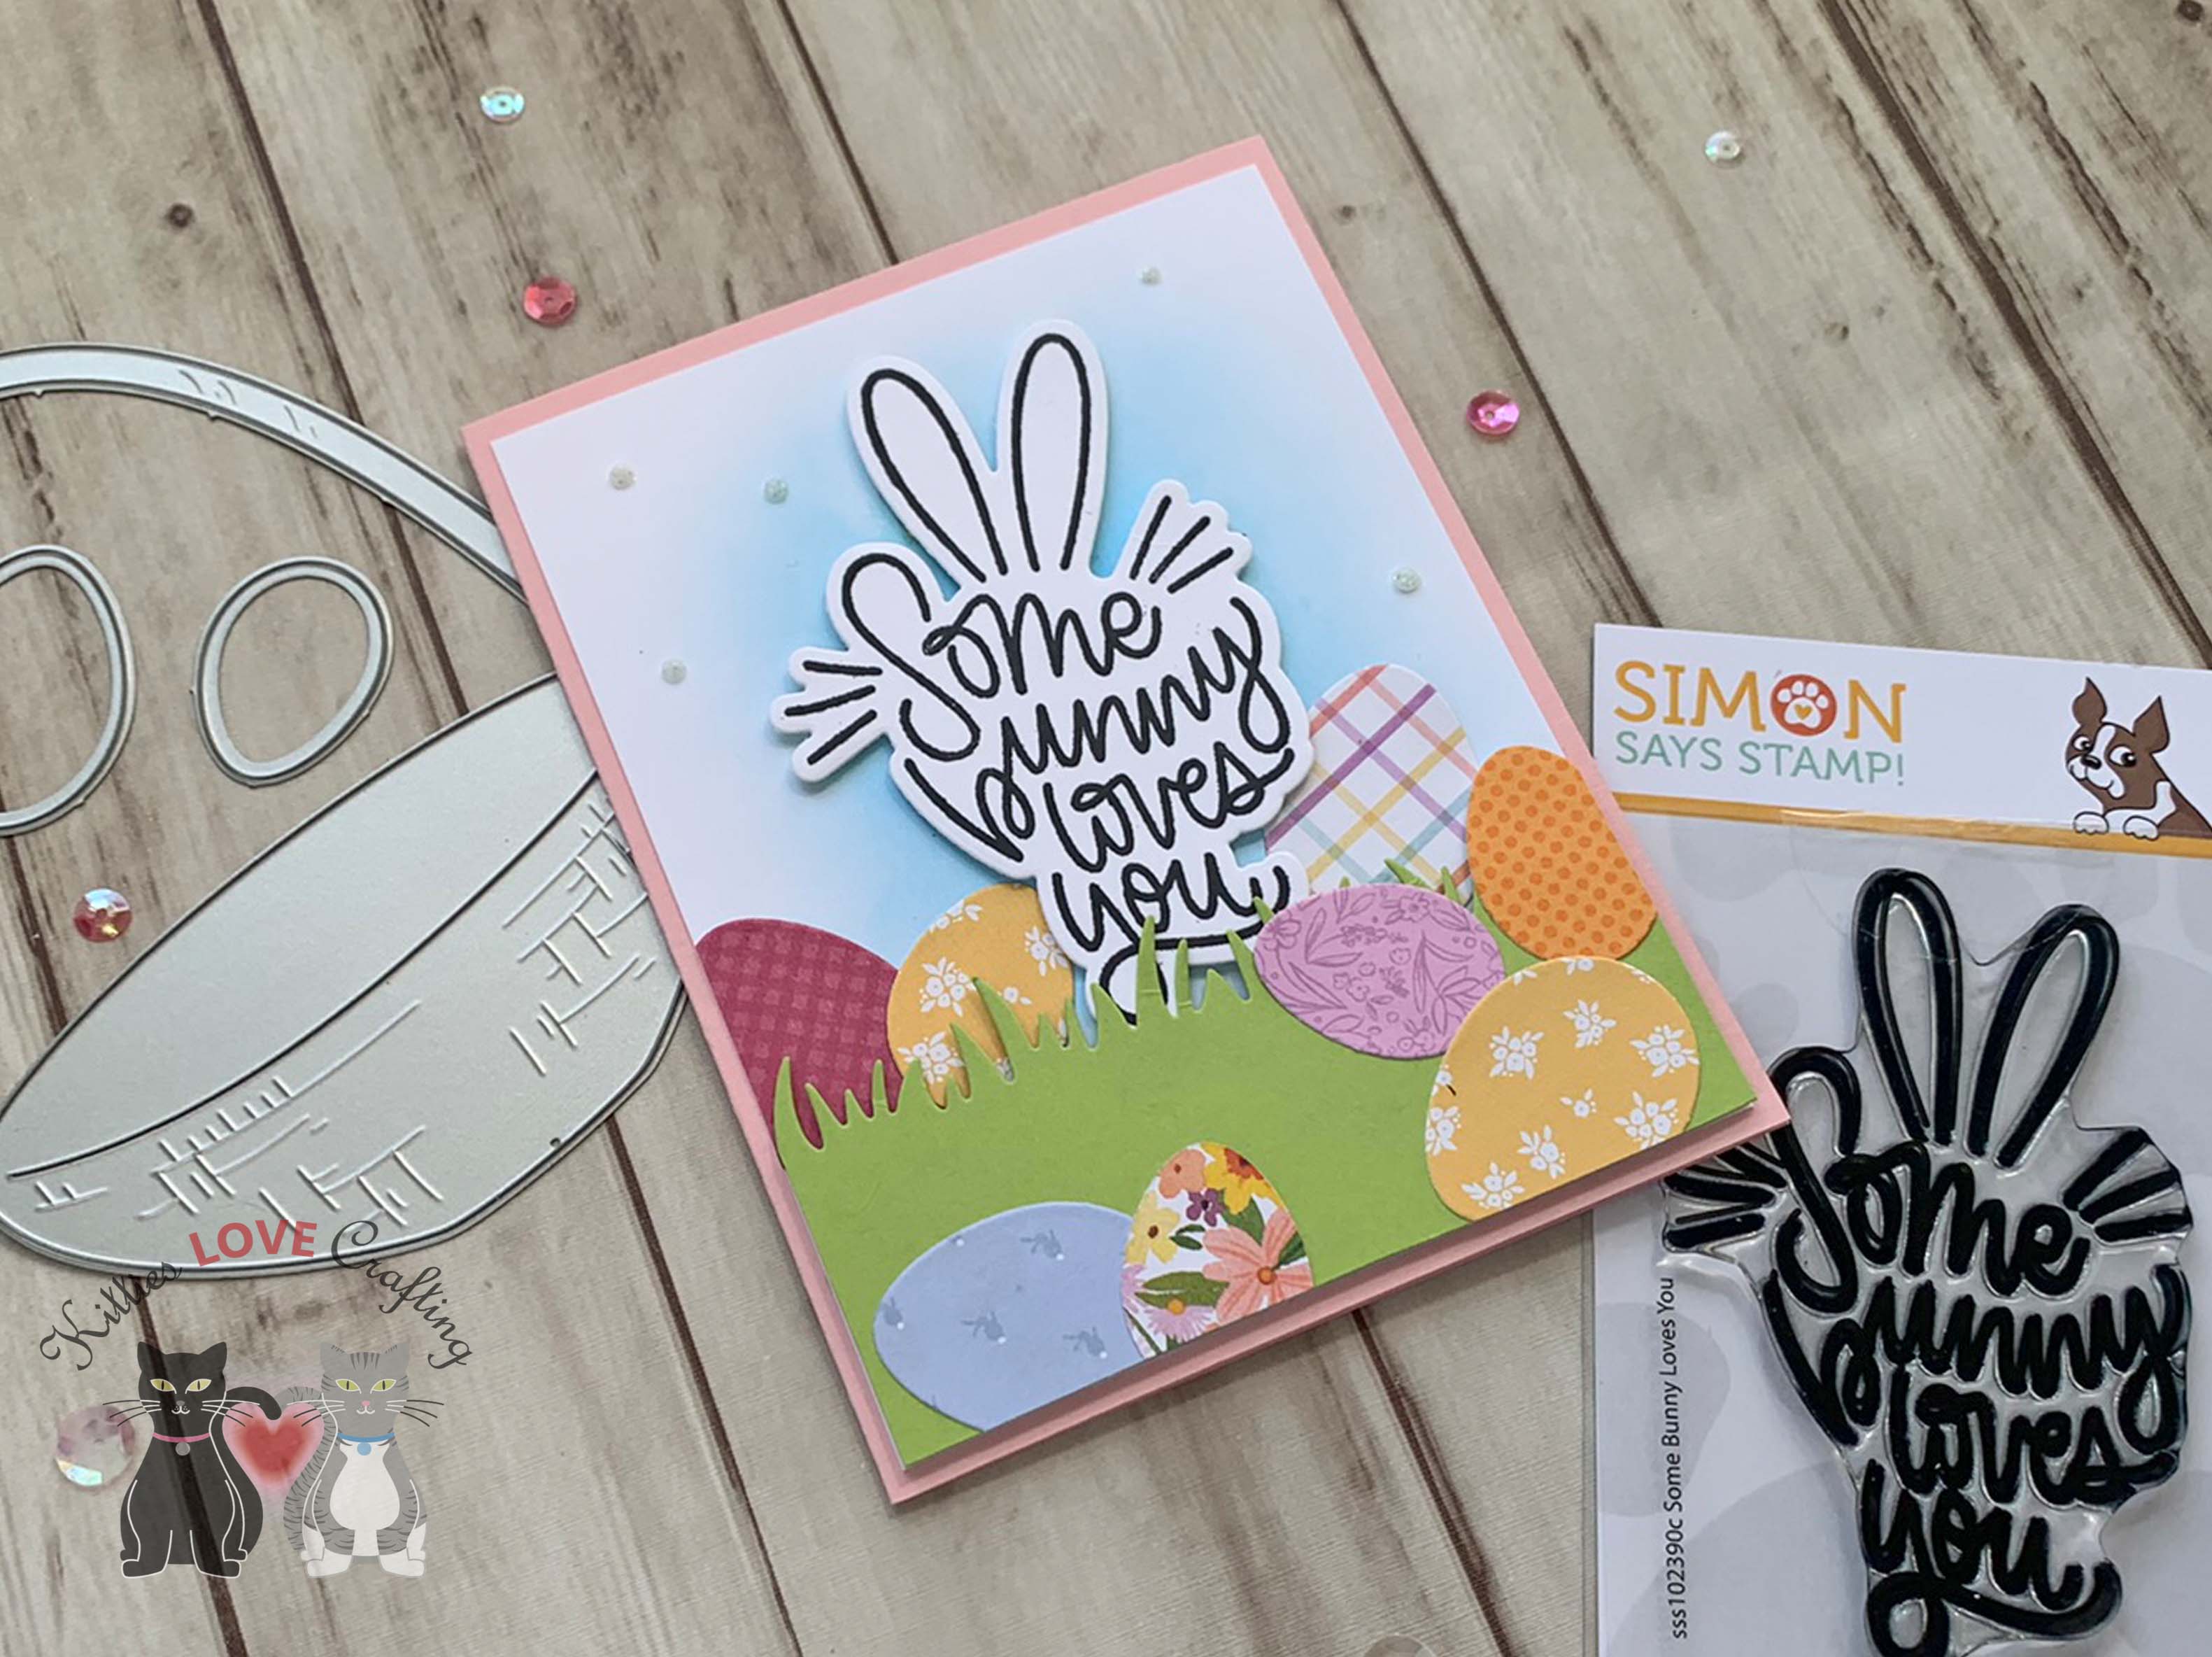
I popped up the sentiment and the grass with 3M Foam Tape and finished it off by adding some Nuvo Fresh Snowfall Glitter Drops.
On the inside of the card I adhered a piece of Neenah Solar White 80lb Cardstock, measuring 4 x 5-1/4″ and just added a sentiment strip from Simon Says Stamp Sentiment Strips Easter Wishes and some extra die cut eggs.

Dimensions
- Card Base = 4-1/4 x 5-1/2″ and scored at 4-1/4″ Simon Says Stamp 8.5 x 11 inch cardstock in Cotton Candy
- Top Panel = 4 x 5-1/4″ Neenah 110lb Classic Crest Cardstock
- Inside Panel = 4 x 5-1/4″ Neenah 110lb Classic Crest Cardstock
For the fourth Neenah 110lb Classic Crest Cardstock to 4-1/4 x 5-1/2″ and scored at 4-1/4″ to create a card base. I die cut a panel from one of the pattern papers in the Echo Park My Favorite Easter 6×6 inch paper using the the Catherine Pooler Scallops and Dots Dies and cut out a window with the egg die from the Simon Says Stamp Easter Joy 6×8 inch clear stamp set.

I added another piece of pattern paper from the Echo Park My Favorite Easter 6×6 inch paper using behind the window. I stamped a sentiment from the Simon Says Stamp Easter Joy 6×8 inch clear stamp set onto some Neenah 110lb Classic Crest Cardstock with Catherine Pooler Designs Midnight Ink and cut it with the coordinating dies (not included in the kit). I added a bunny and some carrots from the Doodlebug Mini Icons Easter Express Stickers. I finished it off by adding ribbon from Tim Holtz Velvet Ribbons.

On the inside of the card I added a sentiment strip from Simon Says Stamp Sentiment Strips Easter Wishes, a 1 inch strip of pattern paper of which I die cut the edge with Catherine Pooler Scallops and Dots Dies and some stickers from the Doodlebug Mini Icons Easter Express Stickers.

Dimensions
- Card Base = 4-1/4 x 5-1/2″ and scored at 4-1/4″ Neenah 110lb Classic Crest Cardstock
- Top Panel = 4 x 5-1/4″ Echo Park My Favorite Easter 6×6 inch paper
- Inside Card = 1 x 4-1/4 Echo Park My Favorite Easter 6×6 inch paper
For the fifth card, I decided to do two versions of this just to see the different results I would achieve using acetate versus vellum with Copic Markers.

I used the other half of the Simon Says Stamp 8.5 x 11 inch cardstock in Green Apple and Cotton Candy which I had cut to 4-1/4 x 5-1/2″ and scored at 4-1/4″ to create the card bases. Then I cut a piece of Neenah 8.5 x 11 inch cardstock in Desert Storm to 4-1/4 x 5-1/2″ and another to 4 x 5-1/4″.
I stamped the flowers from the Simon Says Stamp Easter Joy 6×8 inch clear stamp set all over the backgrounds, using Versamark Ink on one and Frayed Burlap Distress Ink on the other panel. Then die cut a window from the center of both using the egg included in the Simon Says Stamp Easter Joy Wafer Dies.

I stamped the egg flower image from the Simon Says Stamp Easter Joy 6×8 inch clear stamp set onto a piece Acetate and a piece of the 8.5 x 11 inch Simple Foundations translucent Vellum Paper larger than my window with Tsukineko Stazon Midi Jet Black Ink. I colored both with Copic Markers.

For the acetate piece, I used YG25 + G09 for the greenery; BV08 + V17 and RV19 + RV55 for the tulips; BG02 + BG05, YR04 + YR09 and Y17 for the flowers; BG02 + BG05 and RV19, BV08 + V17 and Y17 for the eggs.
For the vellum piece, I used YG25 + YG67 for the greenery; R32+ R37 for the tulips; BG02 + BG15, Y13 + Y18, BG01 + BG02 for the flowers; Y13 + Y18, R32+ R37, YR14 + YR16, BG01 + BG02 for the eggs.

I stamped two different sentiments from the Simon Says Stamp Easter Joy 6×8 inch clear stamp set onto Stampin’ Up! Basic Black 8-1/2″ X 11″ Cardstock with Versamark Ink and used WOW OPAQUE BRIGHT WHITE Super Fine Embossing Powder and popped them up with 3M Foam Tape.
I finished off the cards by adding some Nuvo Drops in Bottle Green, Duck Egg Blue and Rosewater to one and Crushed Grape Gloss and Orange Marmalade to the other.

On the insides of the cards I adhered a piece of Neenah Solar White 80lb Cardstock, measuring 4 x 5-1/4″ and stamped a sentiment and a flower from Simon Says Stamp Easter Joy 6×8 inch clear stamp set with Catherine Pooler Designs Midnight Ink.


Dimensions
- Card Base = 4-1/4 x 5-1/2″ and scored at 4-1/4″ Simon Says Stamp 8.5 x 11 inch cardstock in Green Apple and Cotton Candy
- Top Panel = 4-1/4 x 5-1/2″ and another to 4 x 5-1/4″ Neenah 8.5 x 11 inch cardstock in Desert Storm
- Sentiment Strip = 9/16 x 3-1/8″ Stampin’ Up! Basic Black 8-1/2″ X 11″ Cardstock
- Inside Panel = 4 x 5-1/4″ Neenah 110lb Classic Crest Cardstock 8.5 X 11″
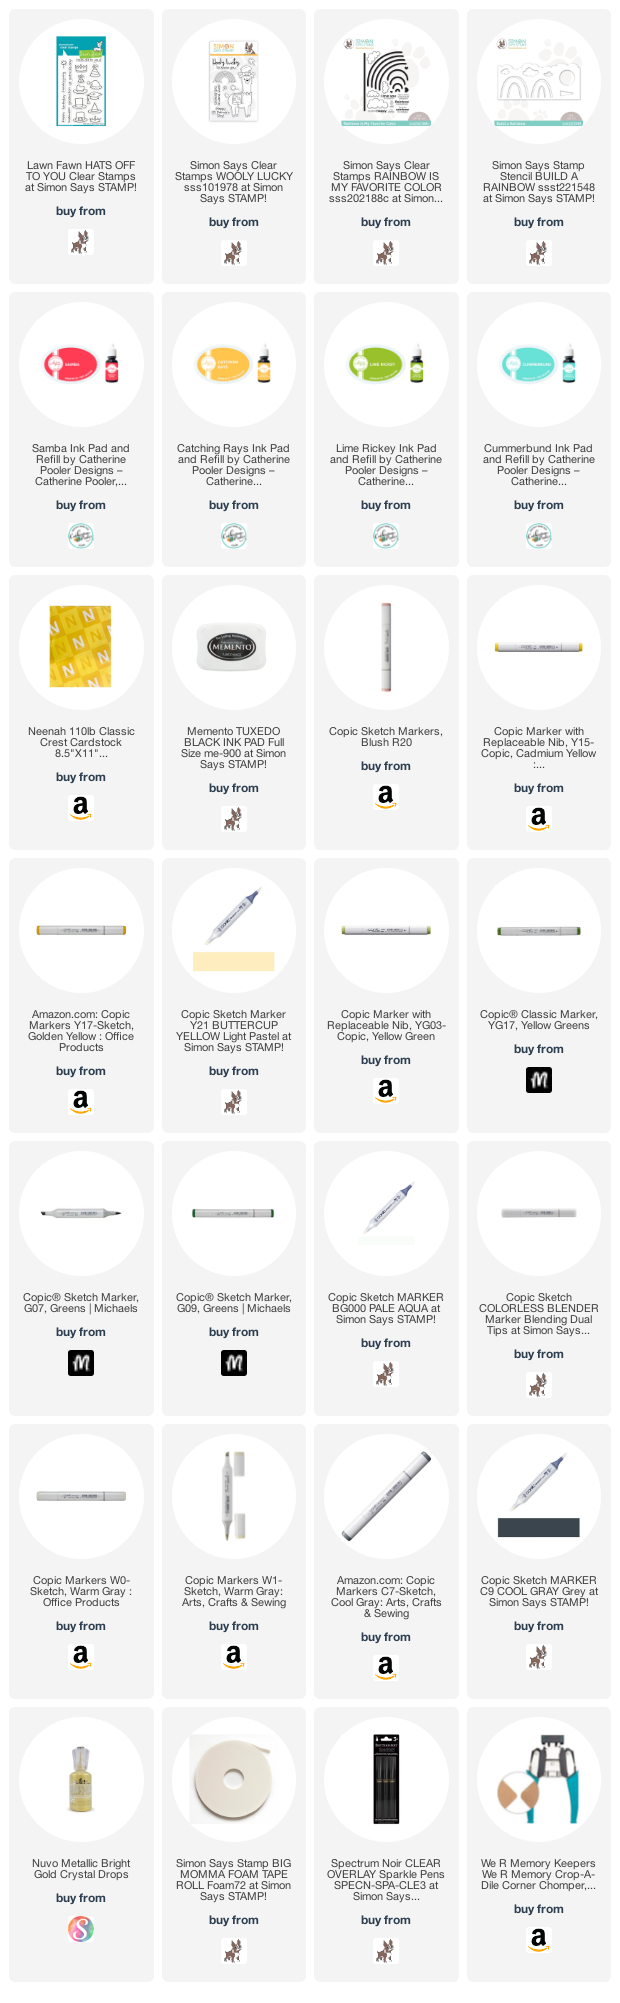
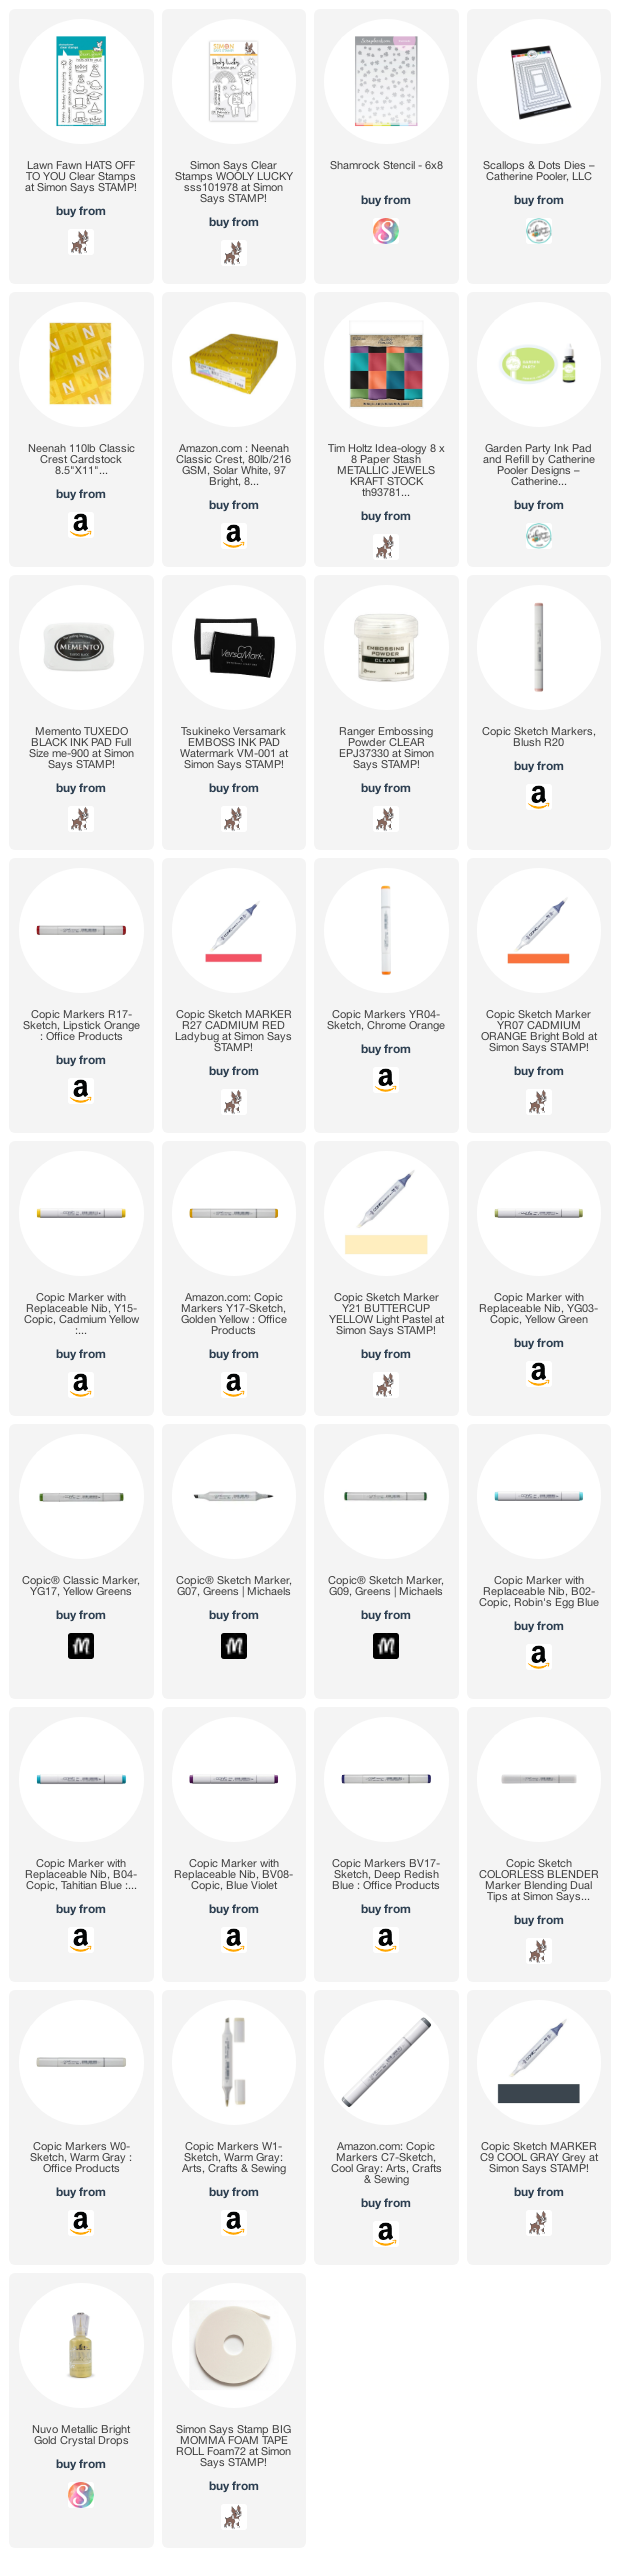
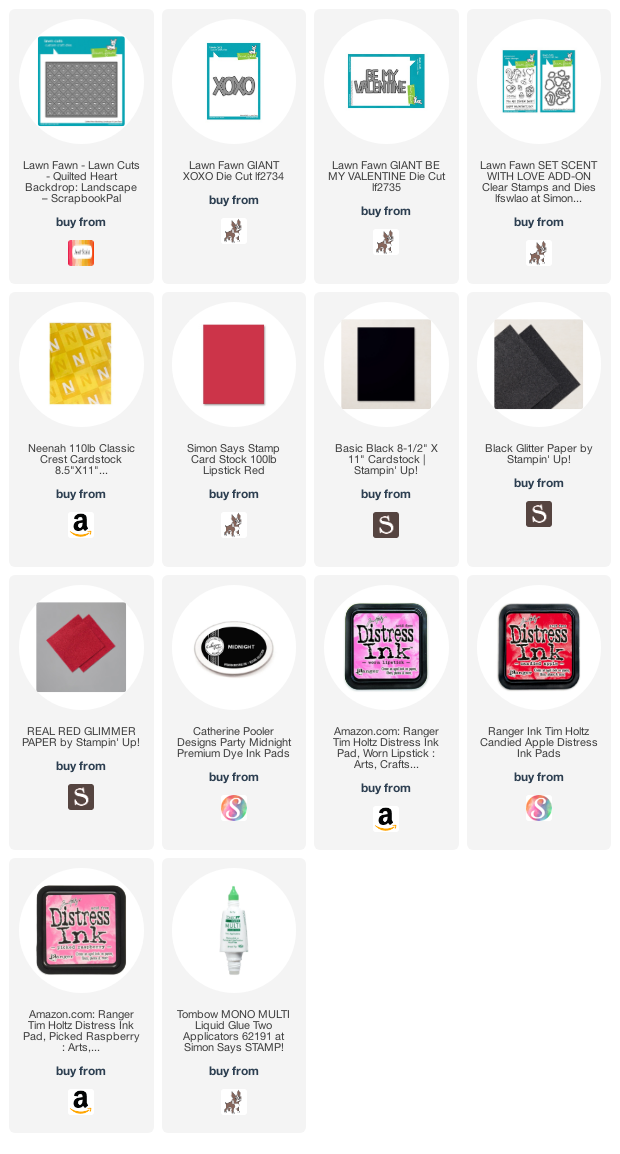
Supplies
 https://linkdeli.com/widget.js?id=f5e8378456858c916708
Thanks for reading this post. I hope you enjoyed and I’ve inspired you to make some cards using this kit yourself! If you want to share you creations with me tag me on instagram @kittieslovecrafting. Leave comments or questions below or feel free to email me.


