Hi friends. This cute little pickup truck is from Honey Bee Stamps Big Pickup Tailgate Stampset. And it is adorable! I love this stampset. I loved it so much I also purchased the Big Pickup Cab Stampset and Dies as well as the Tailgate Alphabet Dies!!! This stamp set alone gives you lots of options to make a variety of cards. I made mine into a truck shaped card which is so much fun!
I started by stamping the truck image from Honey Bee Stamps Big Tailgate Stampset with Memento Tuxedo Black Ink onto Neenah 110lb Classic Crest Cardstock 8.5 X 11″ and die cutting it with the coordinating die set. I also cut a second truck (no stamping) for the back of the card. I stamped ‘Hot Rod’ on the license plate and stamped a second version of the truck bed and a sentiment on it and used the die to cut just the back piece. This dieset allows you to cut three different components of the truck bed which allows for so many more fun options.
I colored the truck using Copic Markers. I used R17 + R27 + R59 (for the truck bed); R17 + R23 (for the back of the bed truck with sentiment); Y02 + Y13 (for the headlights); BG000 + 0 blender for the windows; C3 + C5 + C7 (for the metal components); and R81 + R83 (for the license plate). I adhered the sentiment piece using 3M Foam Tape. To finish it off, I added some highlights using a Uni-Ball Signo Broad Point White Gel Pen.
Thanks for reading this post. I hope you enjoyed and I’ve inspired you to give this card a try for yourself. Leave comments or questions below or feel free to email me.
Hi friends. Need a quick and easy card for Valentine’s Day??? This card uses only dies and paper and came together very quickly. Here’s how it came together.
Thanks for reading this post. I hope you enjoyed and I’ve inspired you to give this card a try for yourself. Leave comments or questions below or feel free to email me.
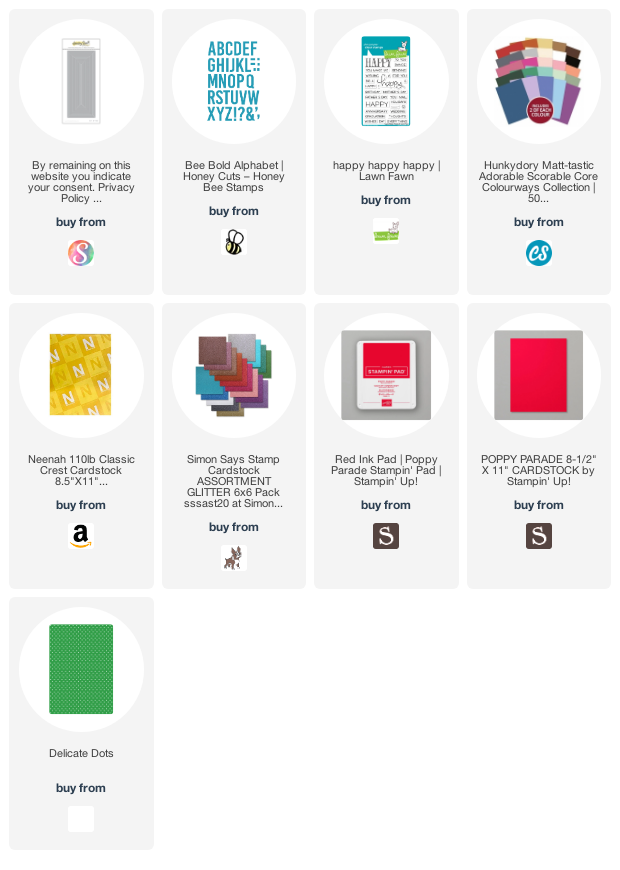
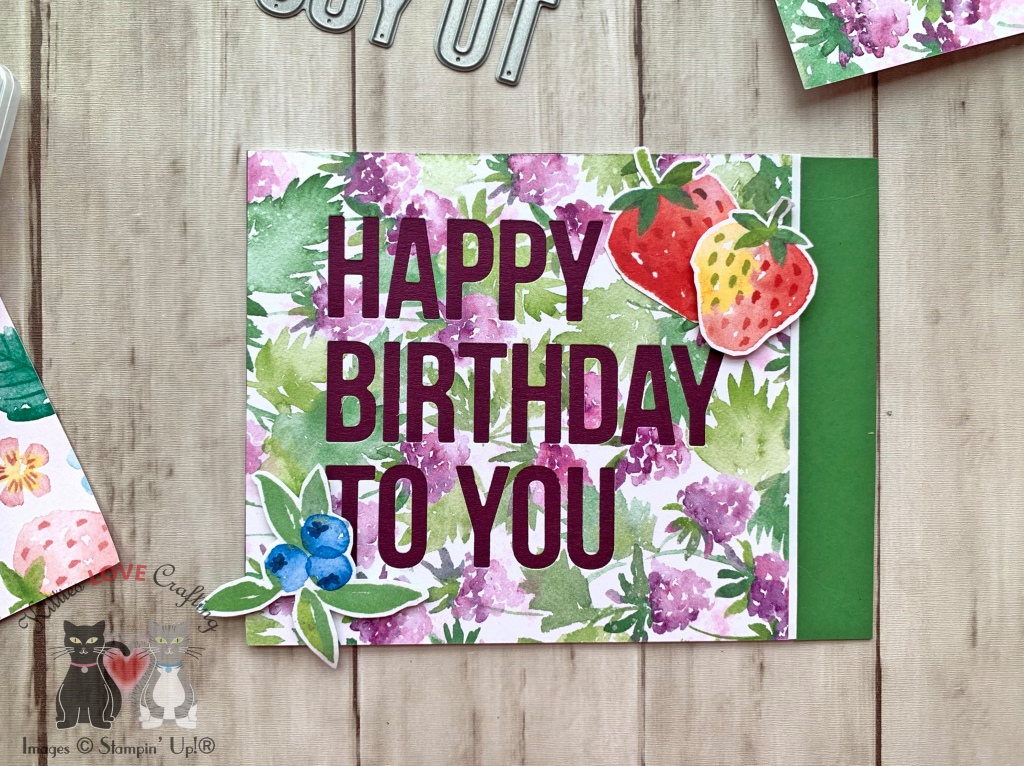
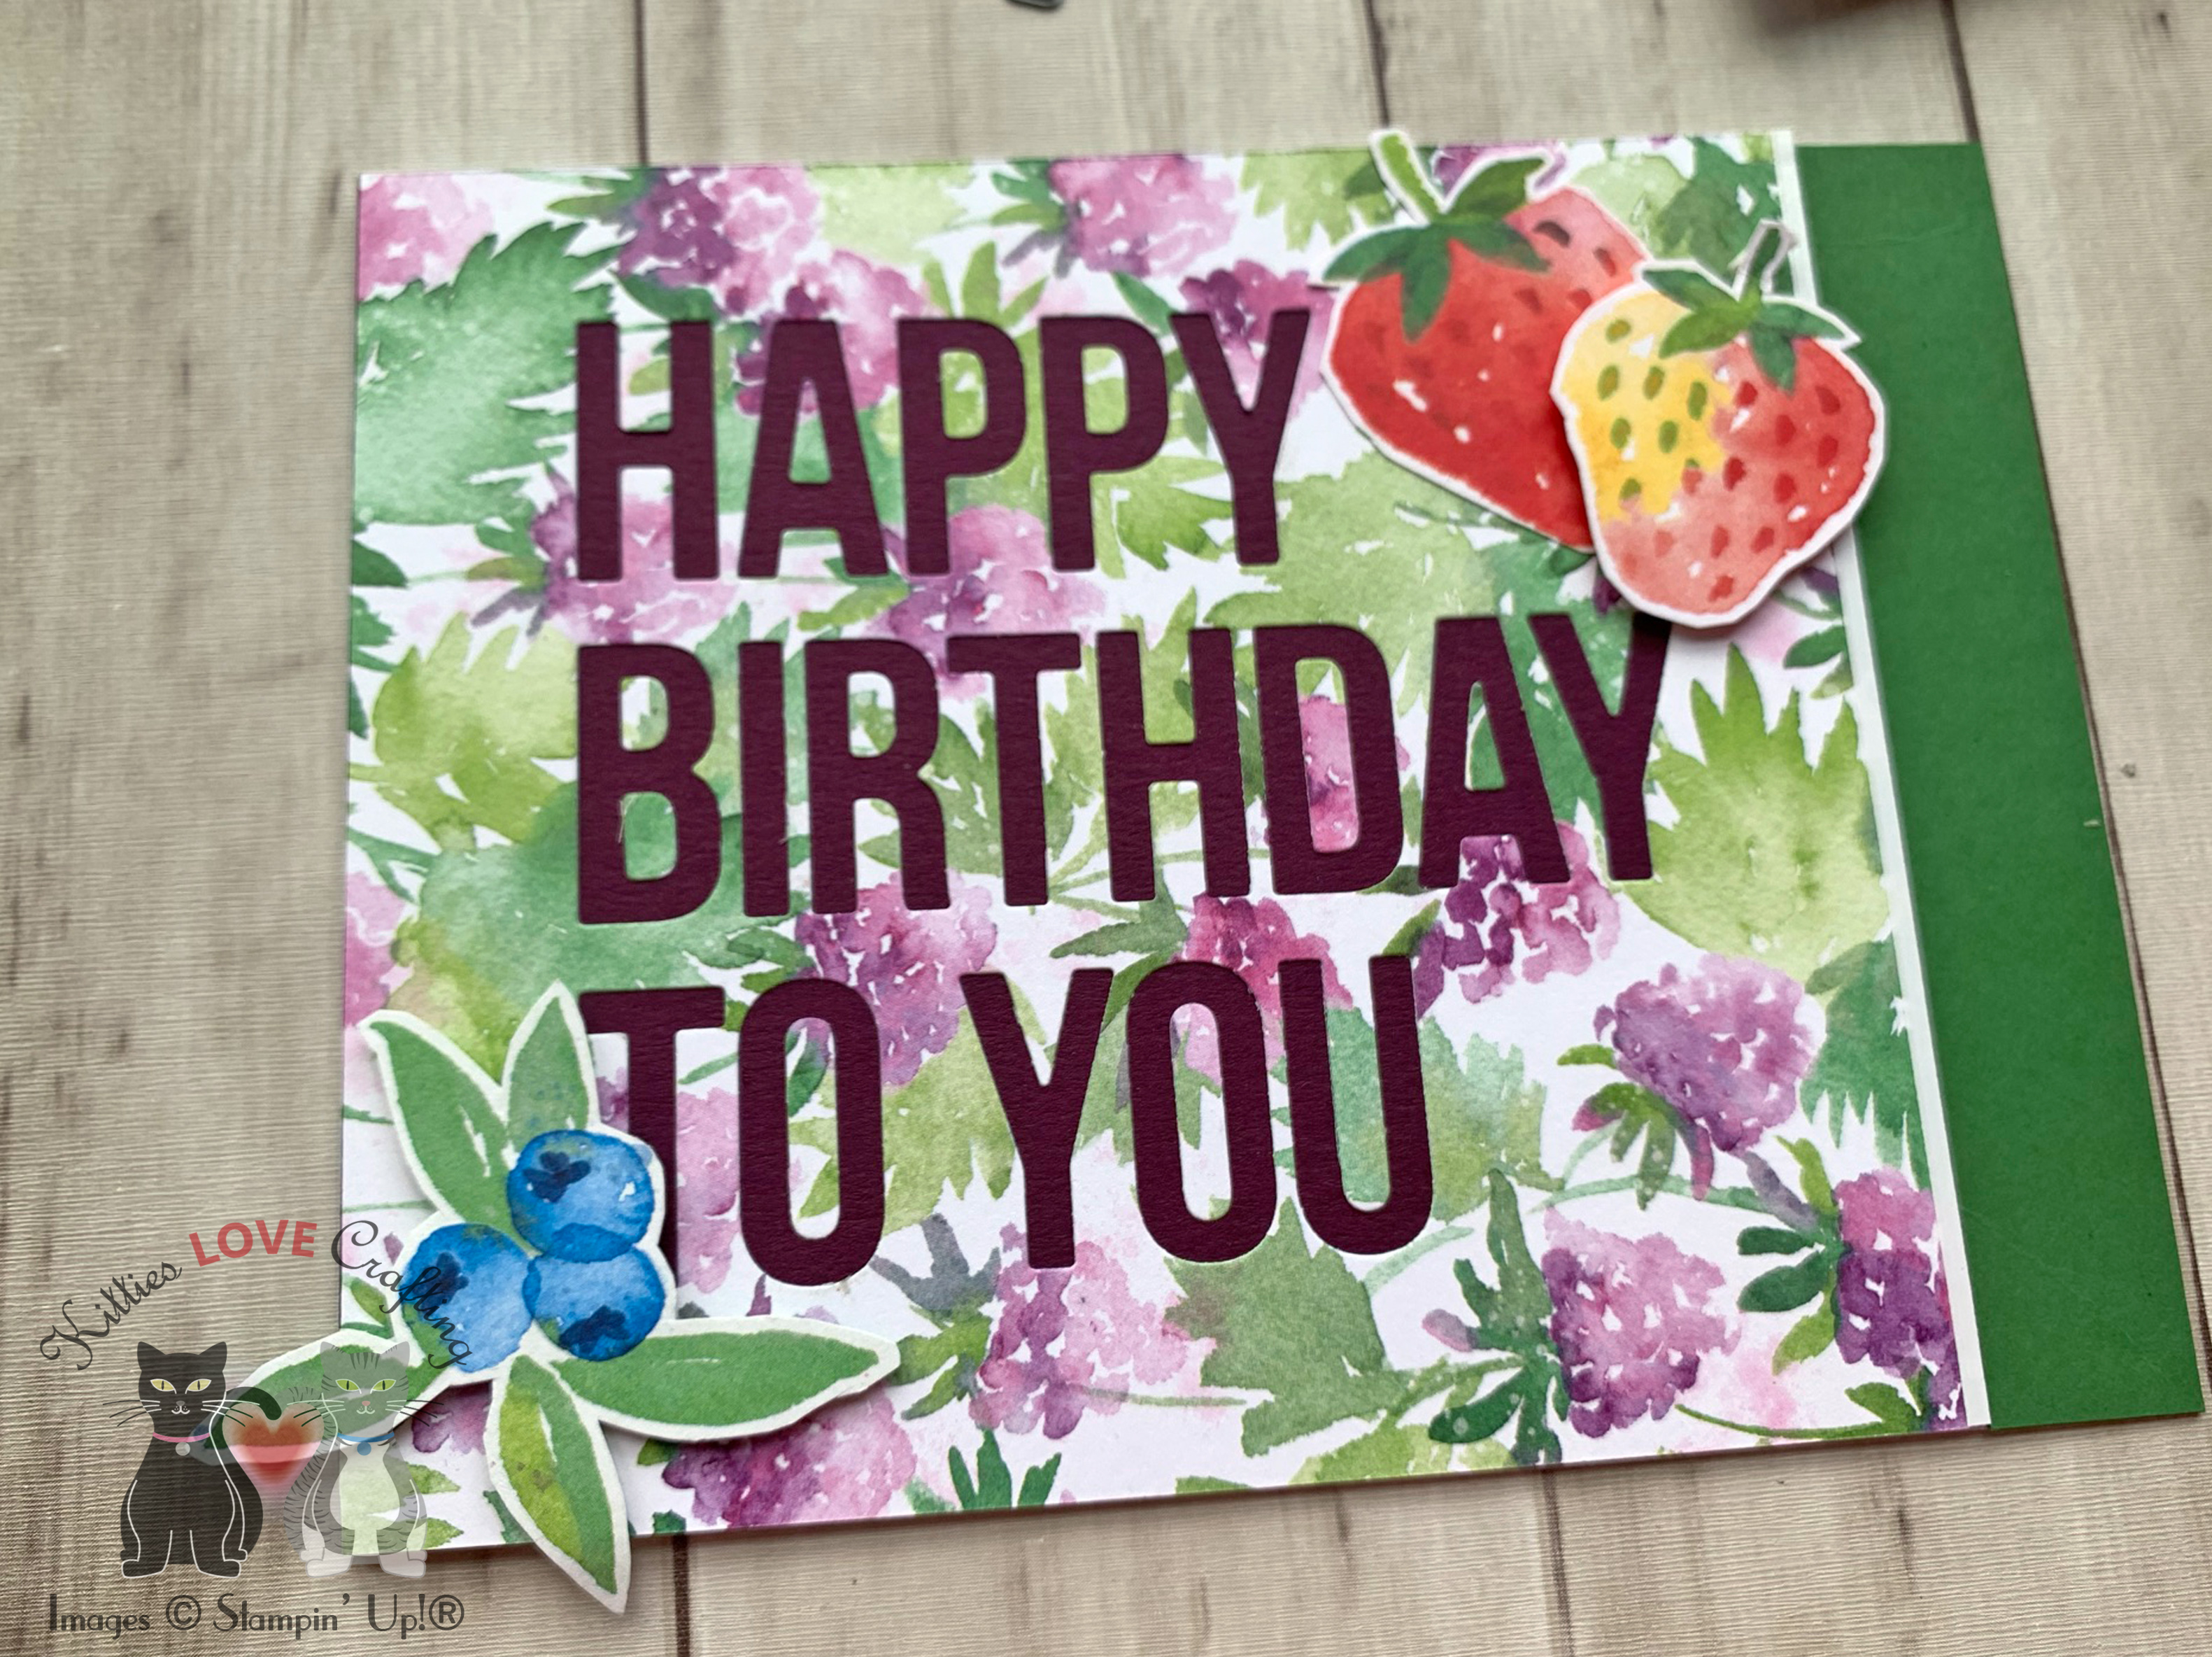
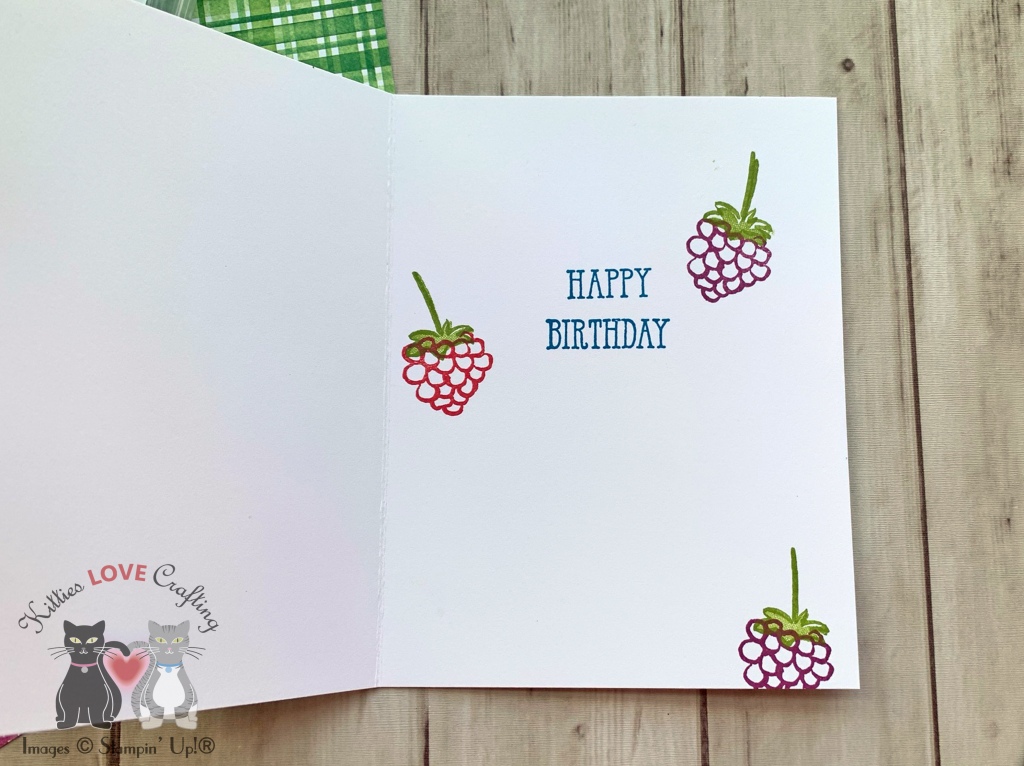
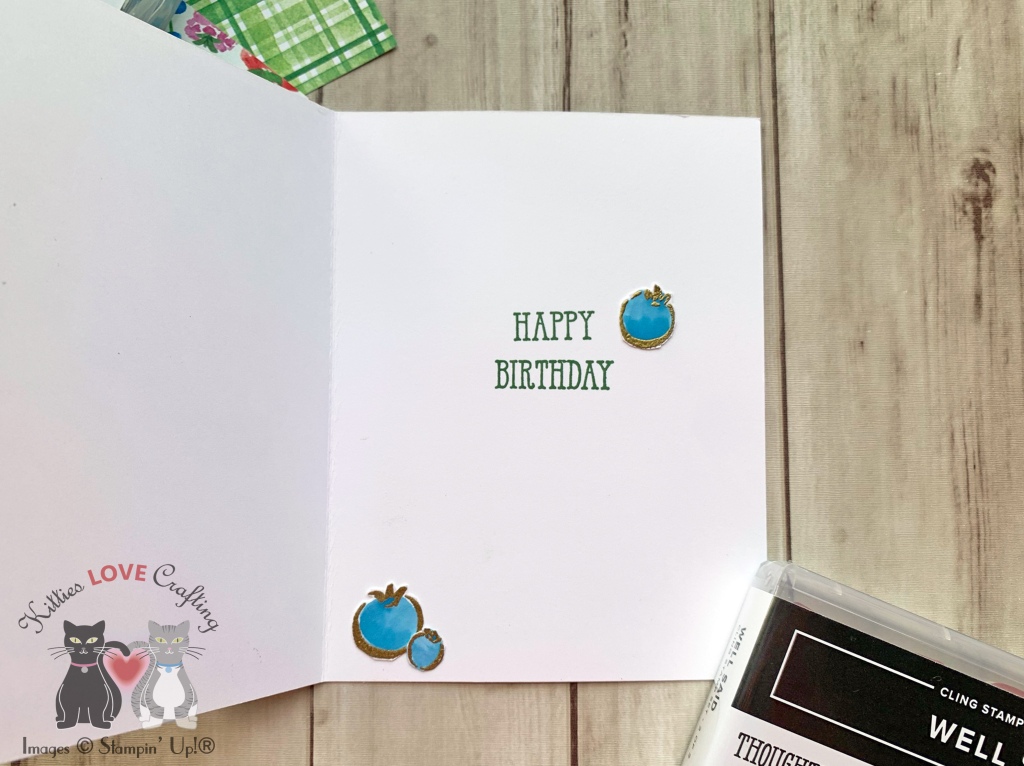
Hi everyone! I made some fruity birthday cards using the positive and negative created using the Happy Birthday To You Die from My Favorite Things (discontinued). This is a great way to make multiple cards with minimal supplies and not waste anything. This paper I uses can be found on page 14 of the new Sale-A-Bration Catalog.
For the first card, I started by cutting a piece of Whisper White 8-1/2″ X 11″ Thick Cardstock to 5-1/2 x 8-1/2″ and scored at 4-1/4″ to make a card base. I adhered the letters for the sentiment to the card with Tombow Mono Multipurpose Glue. Tip: To easily aand perfectly dhere the sentiment, cut a scrap piece of the sentiment and tape it down to the card suing low-tack tape. Then adhere your letters in the negative space. You won’t need to try to space out or align the letters.
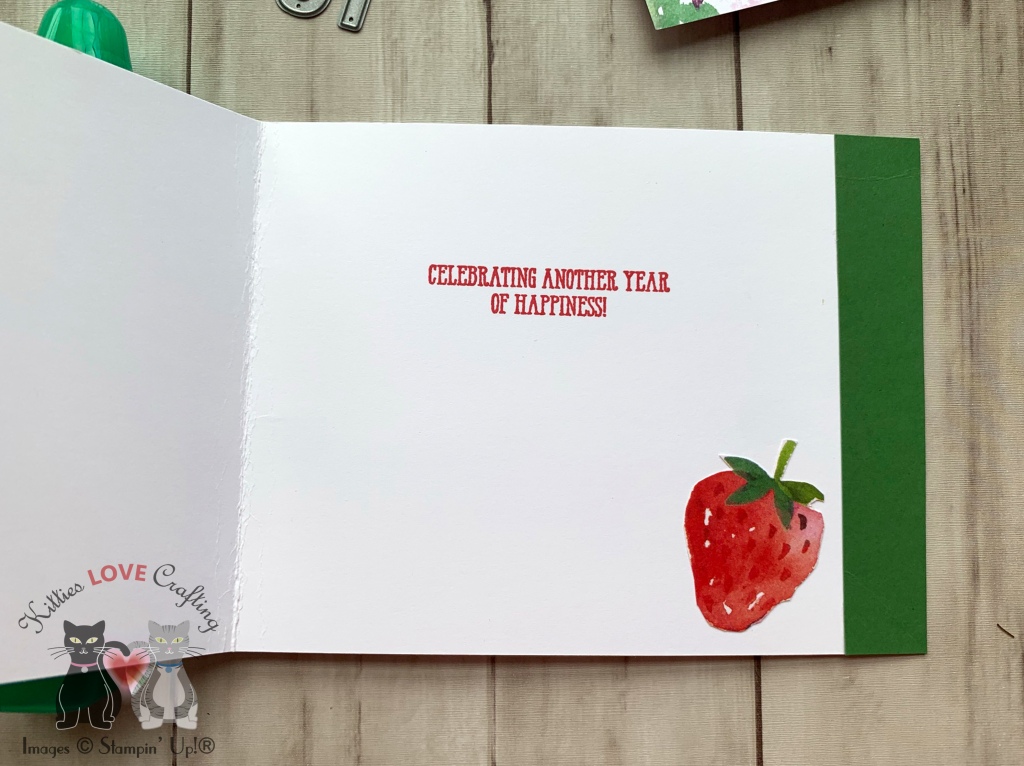
Thanks for reading this post. I hope you enjoyed and I’ve inspired you to try these easy birthday cards using this stampset and paper for yourself! Leave comments or questions below or feel free to email me. If you want to share you creations with me tag me on instagram @kittieslovecrafting.
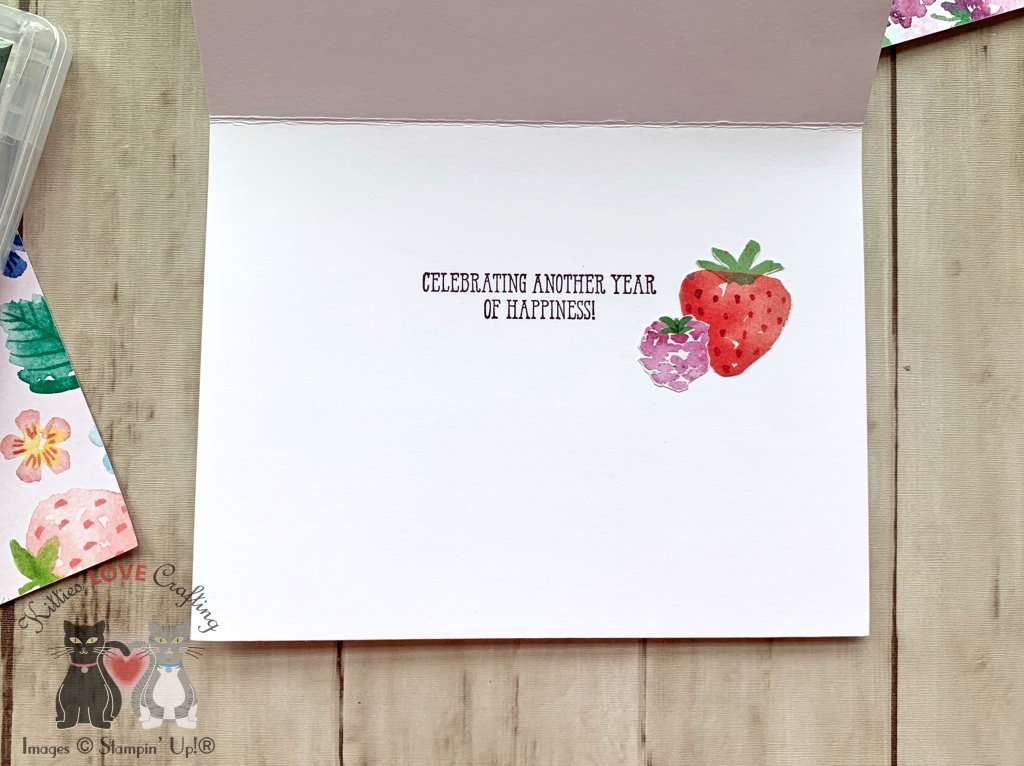
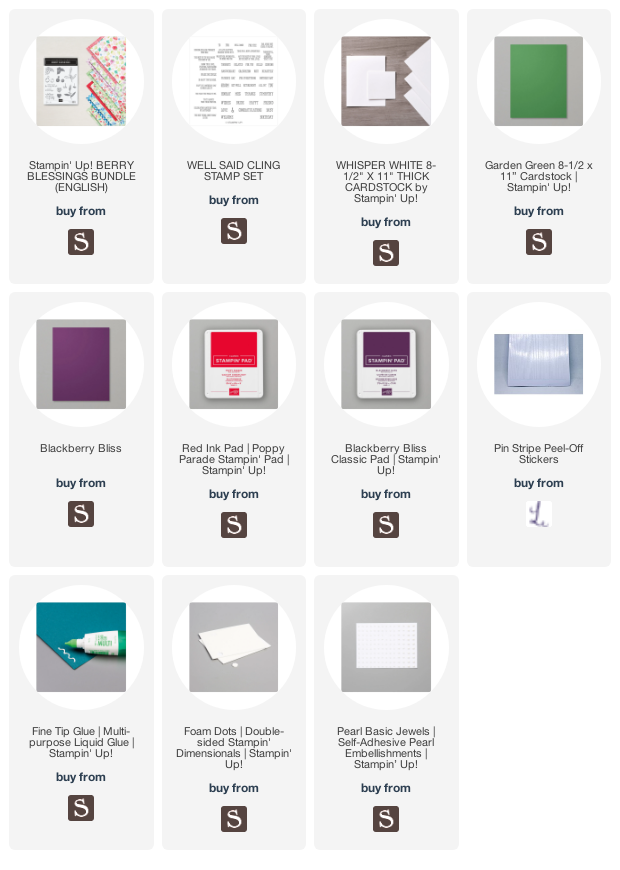
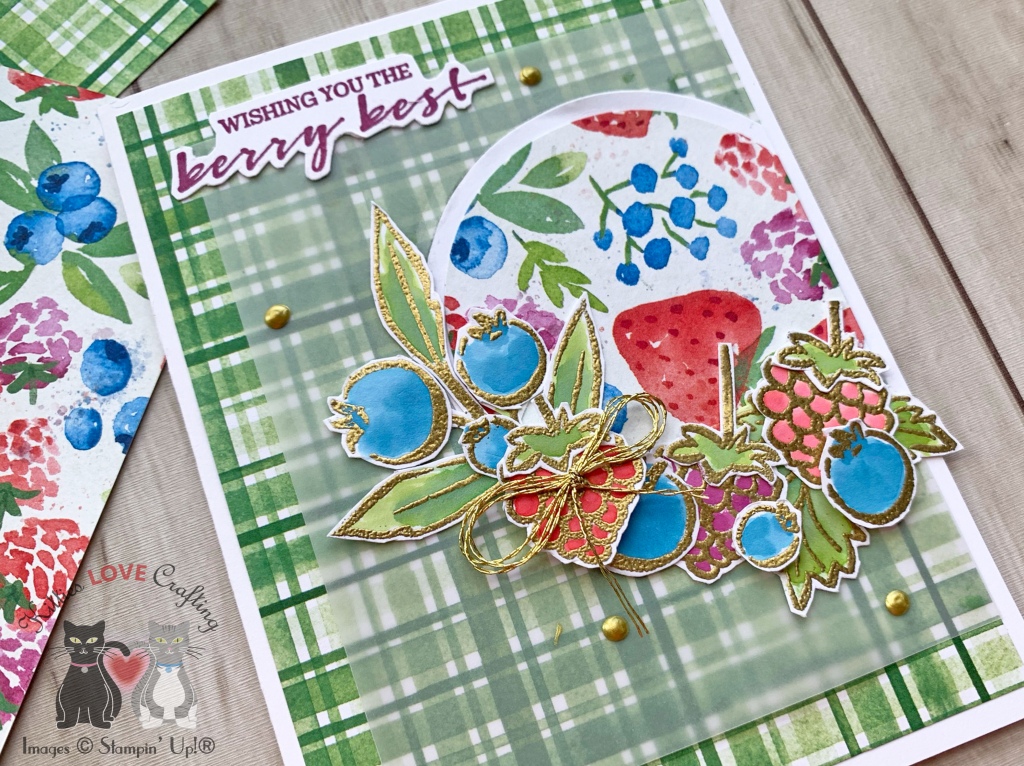
Happy New Year everyone! New year, time for some new posts! I want to start the year by introducing you to this cute watercolor berry stampset (Berry Blessings Stampset) and paper featured on page 14 of the new Sale-A-Bration Catalog. Yes, it is time for Sale-A-Bration people!!! It’s time to get free items with your purchases and who doesn’t like free goodies?!? I get very excited about gift-with-purchase promotions. 🙂
I kept these simple, letting the stamps and paper to do the hard work for me. For the first card, I started by cutting a piece of Whisper White 8-1/2″ X 11″ Thick Cardstock to 5-1/2 x 8-1/2″ and scored at 4-1/4″ to make a card base and a panel to 4 x 5-1/4″.Then diecut a circle with a 2-5/8 circle die from the Stampin’ Up! Circle Layering Dies.
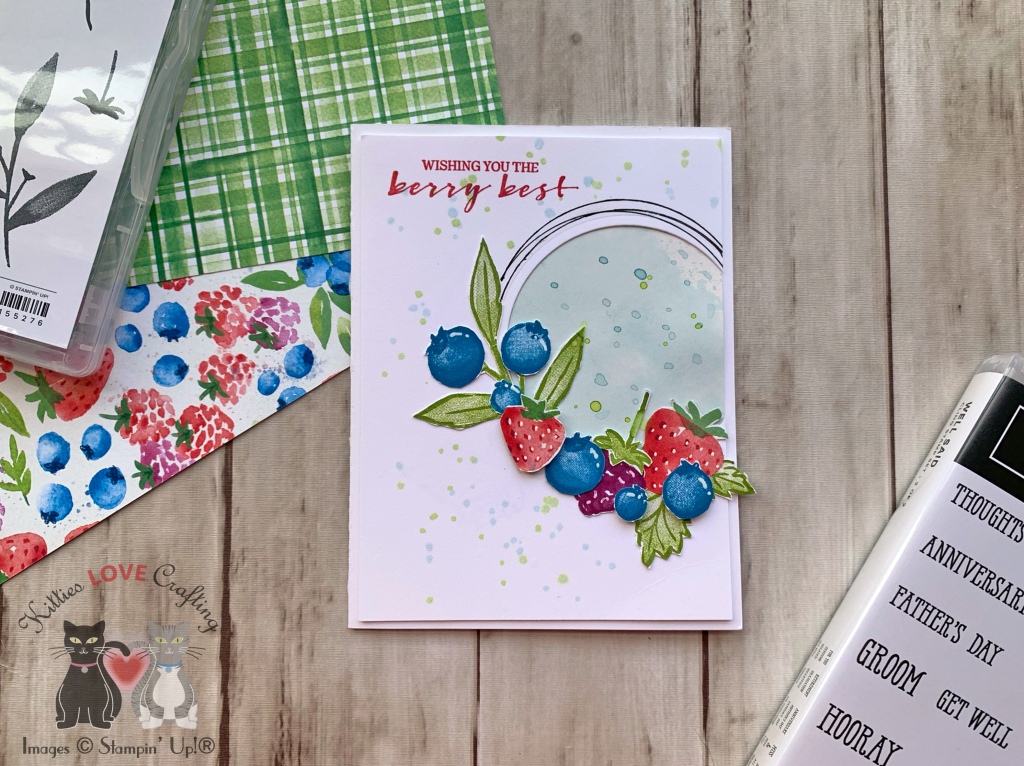
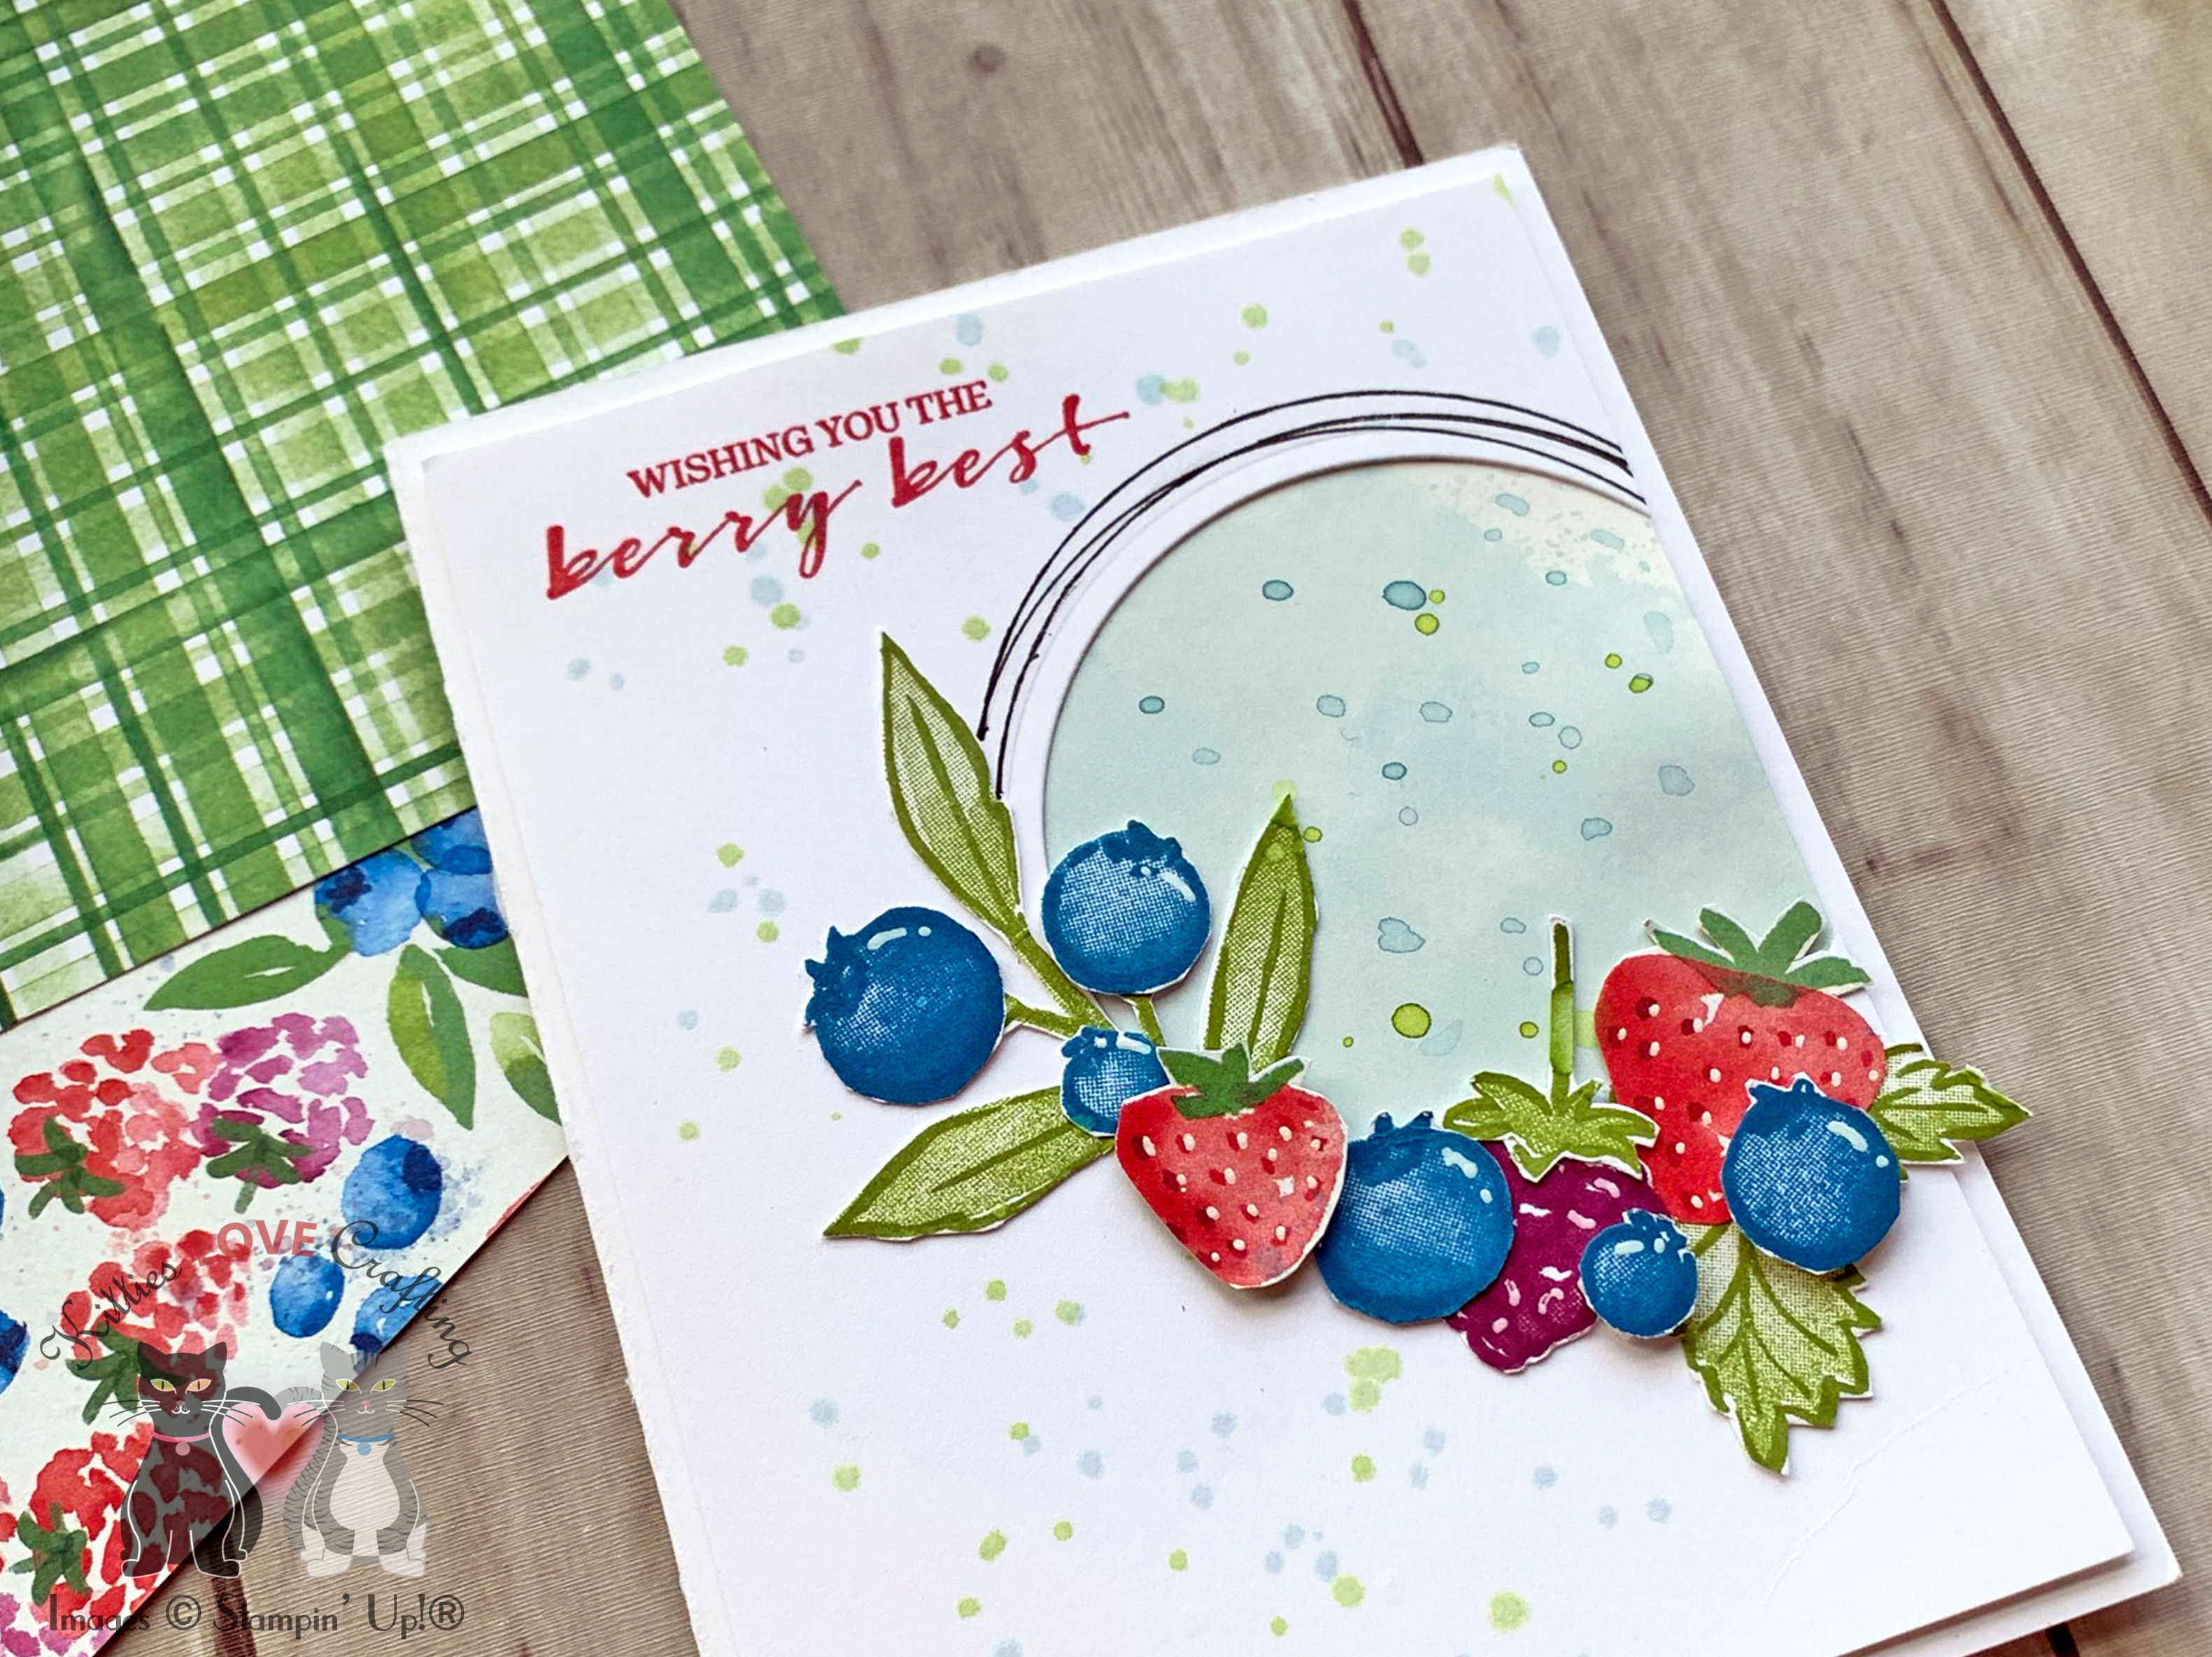
For the second card, I made an stepped up version. I started by cutting a piece of Whisper White 8-1/2″ X 11″ Thick Cardstock to 5-1/2 x 8-1/2″ and scored at 4-1/4″ to make a card base and a panel of Berry Delightful 12 x 12 DSP to 4 x 5-1/4″ and a piece of Vellum to 3-5/8″ x 4-1/2″ and adhered them to the card base.
Thanks for reading this post. I hope you enjoyed and I’ve inspired you to try these easy birthday cards using this stampset and paper for yourself! Leave comments or questions below or feel free to email me. If you want to share you creations with me tag me on instagram @kittieslovecrafting. If you would like a Stampin’ Up! catalog, please email me as well. All current catalogs can be found on the right side of this post and the Stampin’ Up! page. All news and fun stuff happening at Stampin’ Up! are listed there!
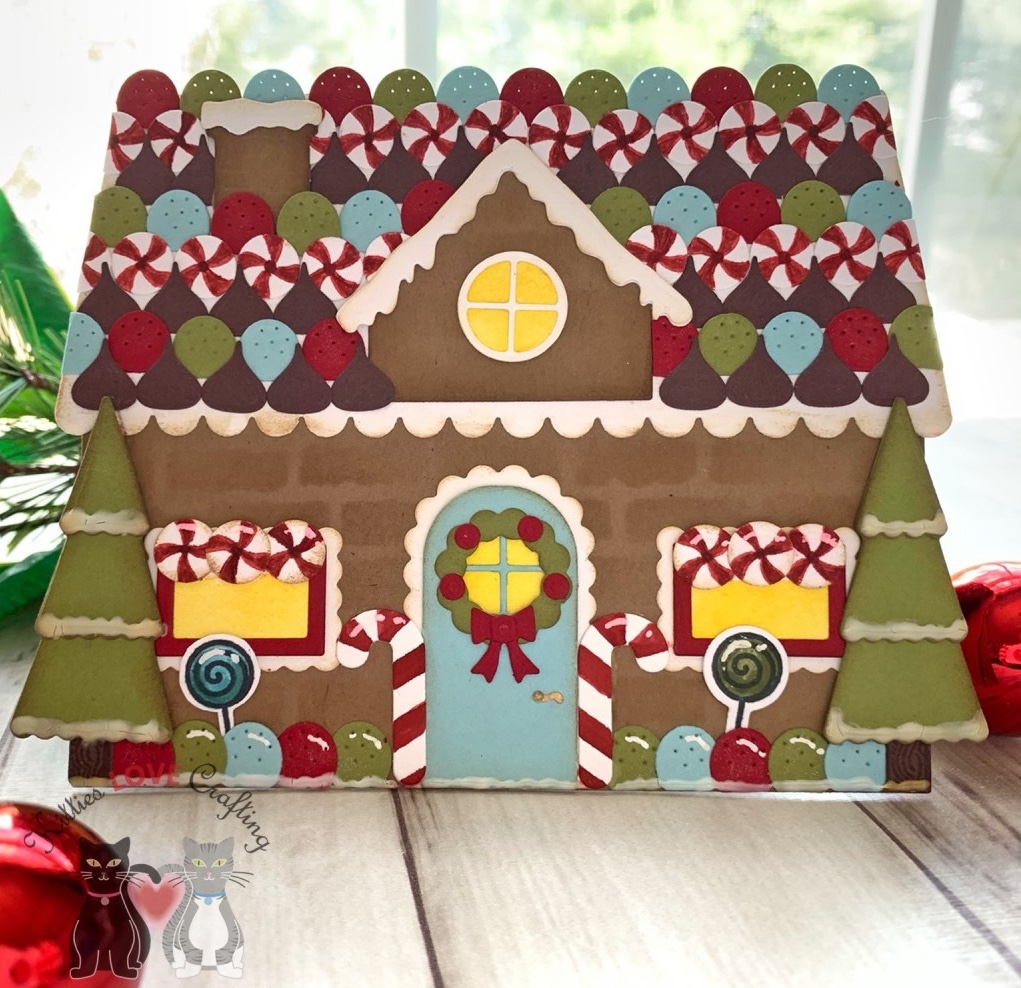
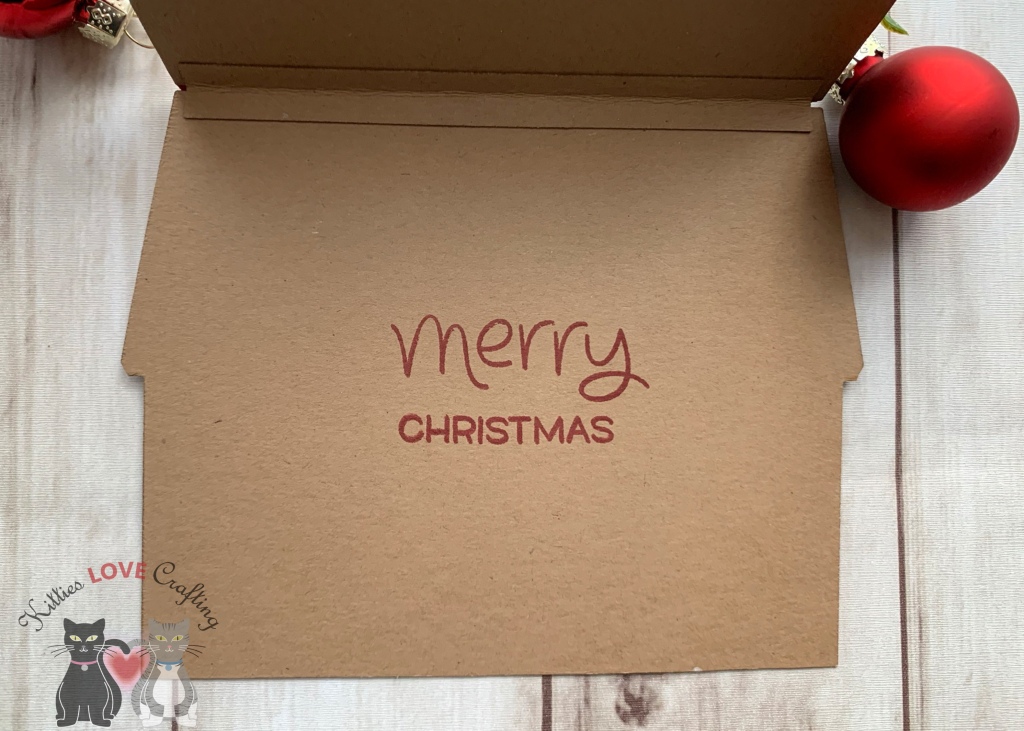
Do you love decorating gingerbread houses but don’t like the mess? Fear not I have the perfect craft for you! This gingerbread house features Honey Bee Stamps Gingerbread House Add-On Stamps and Dieset. Combine it with the House Builder Card Dieset to make tons of cute house cards for all occasions.
Thanks for reading this post. I hope you enjoyed and I’ve inspired you to give these watercolored cards a try for yourself. Leave comments or questions below or feel free to email me.
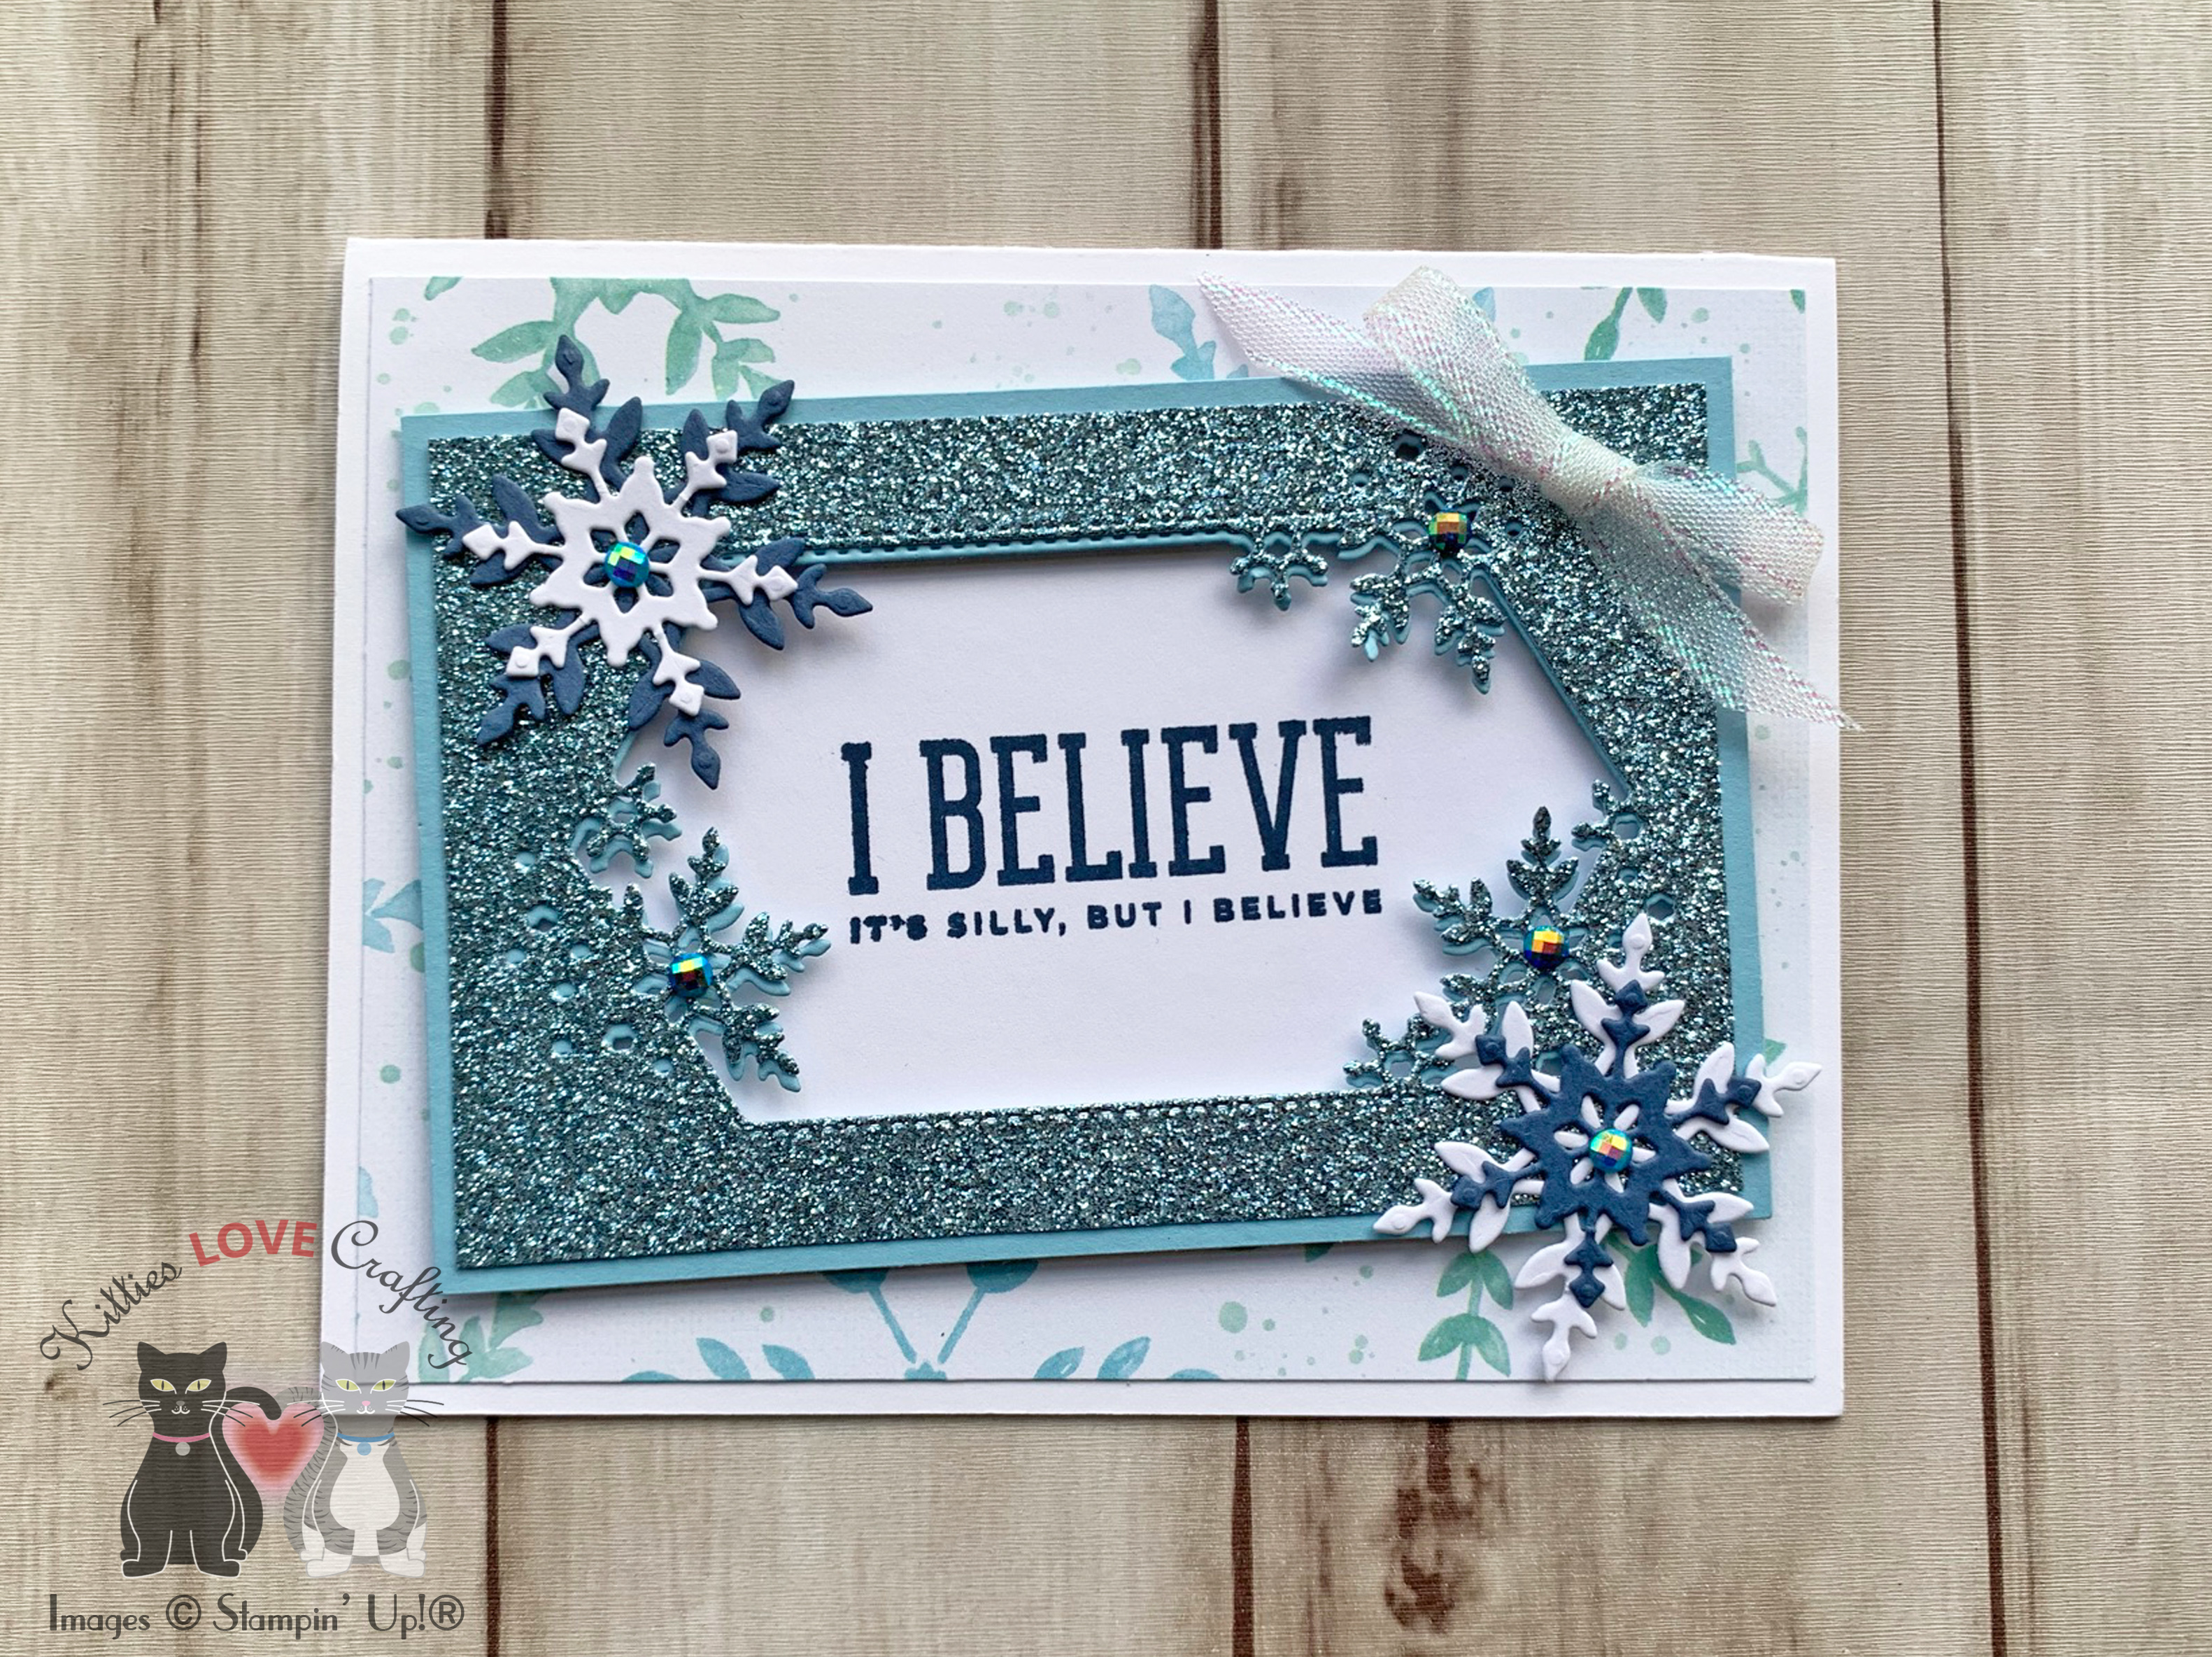
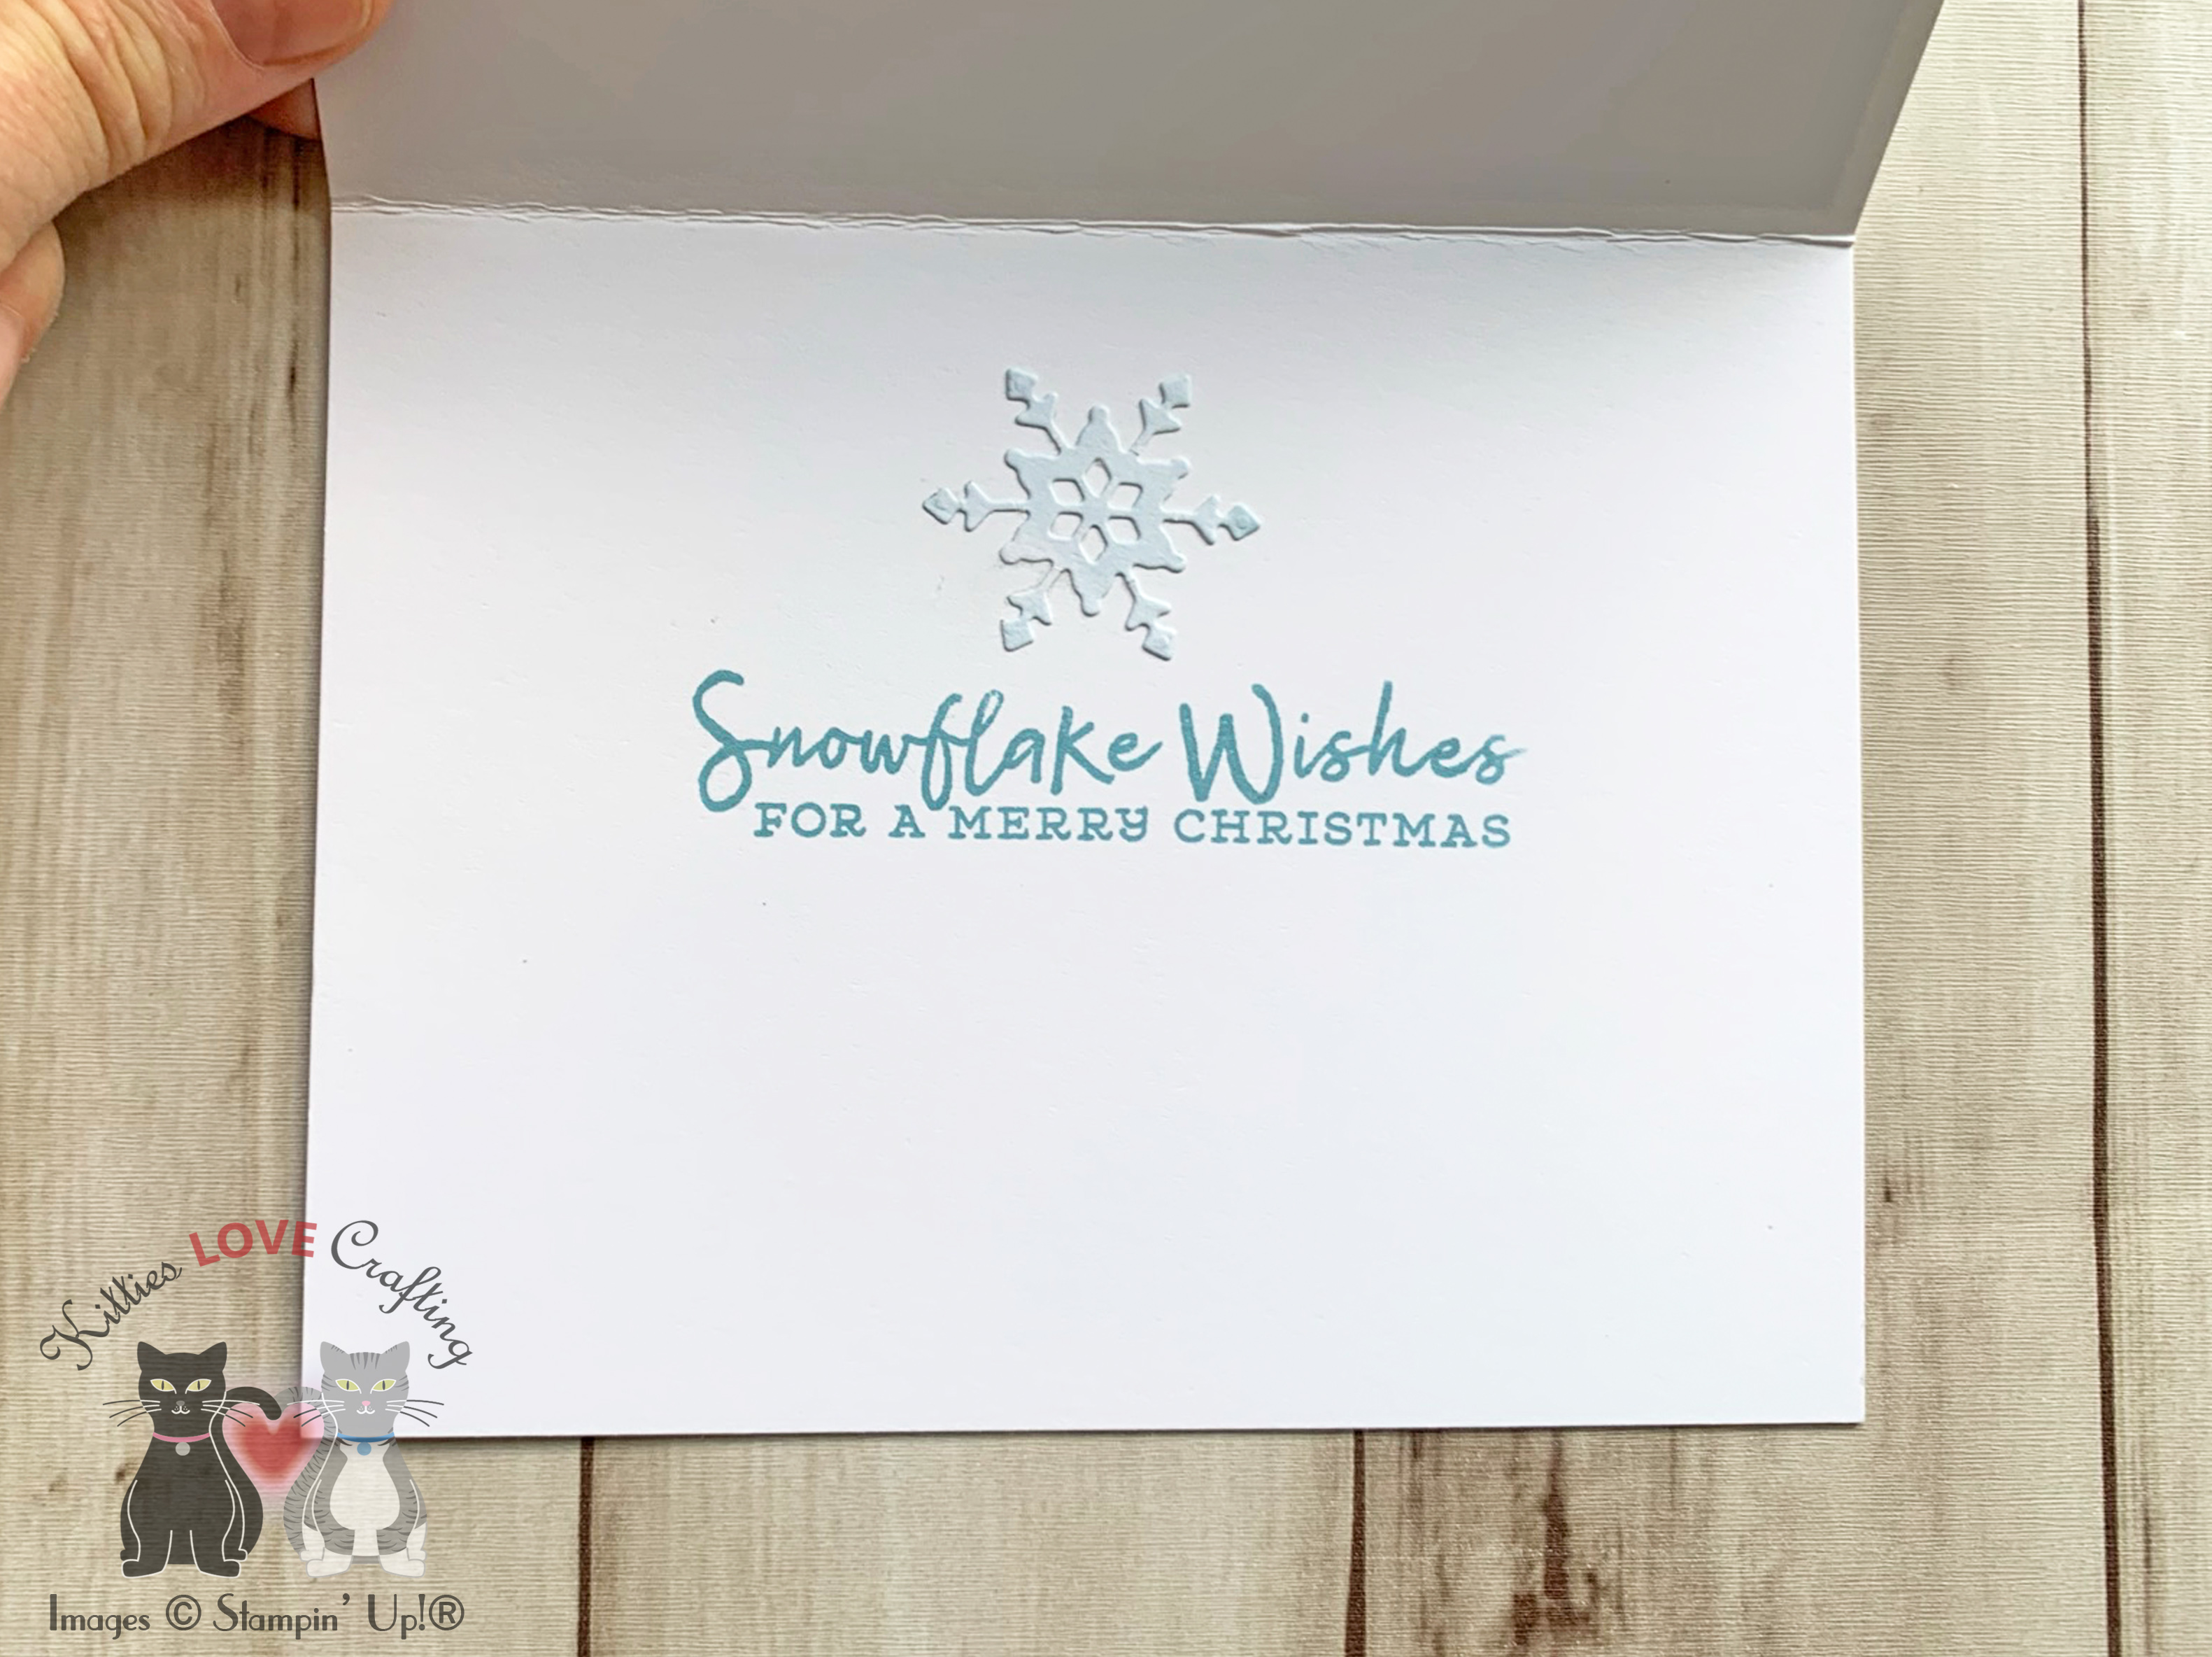
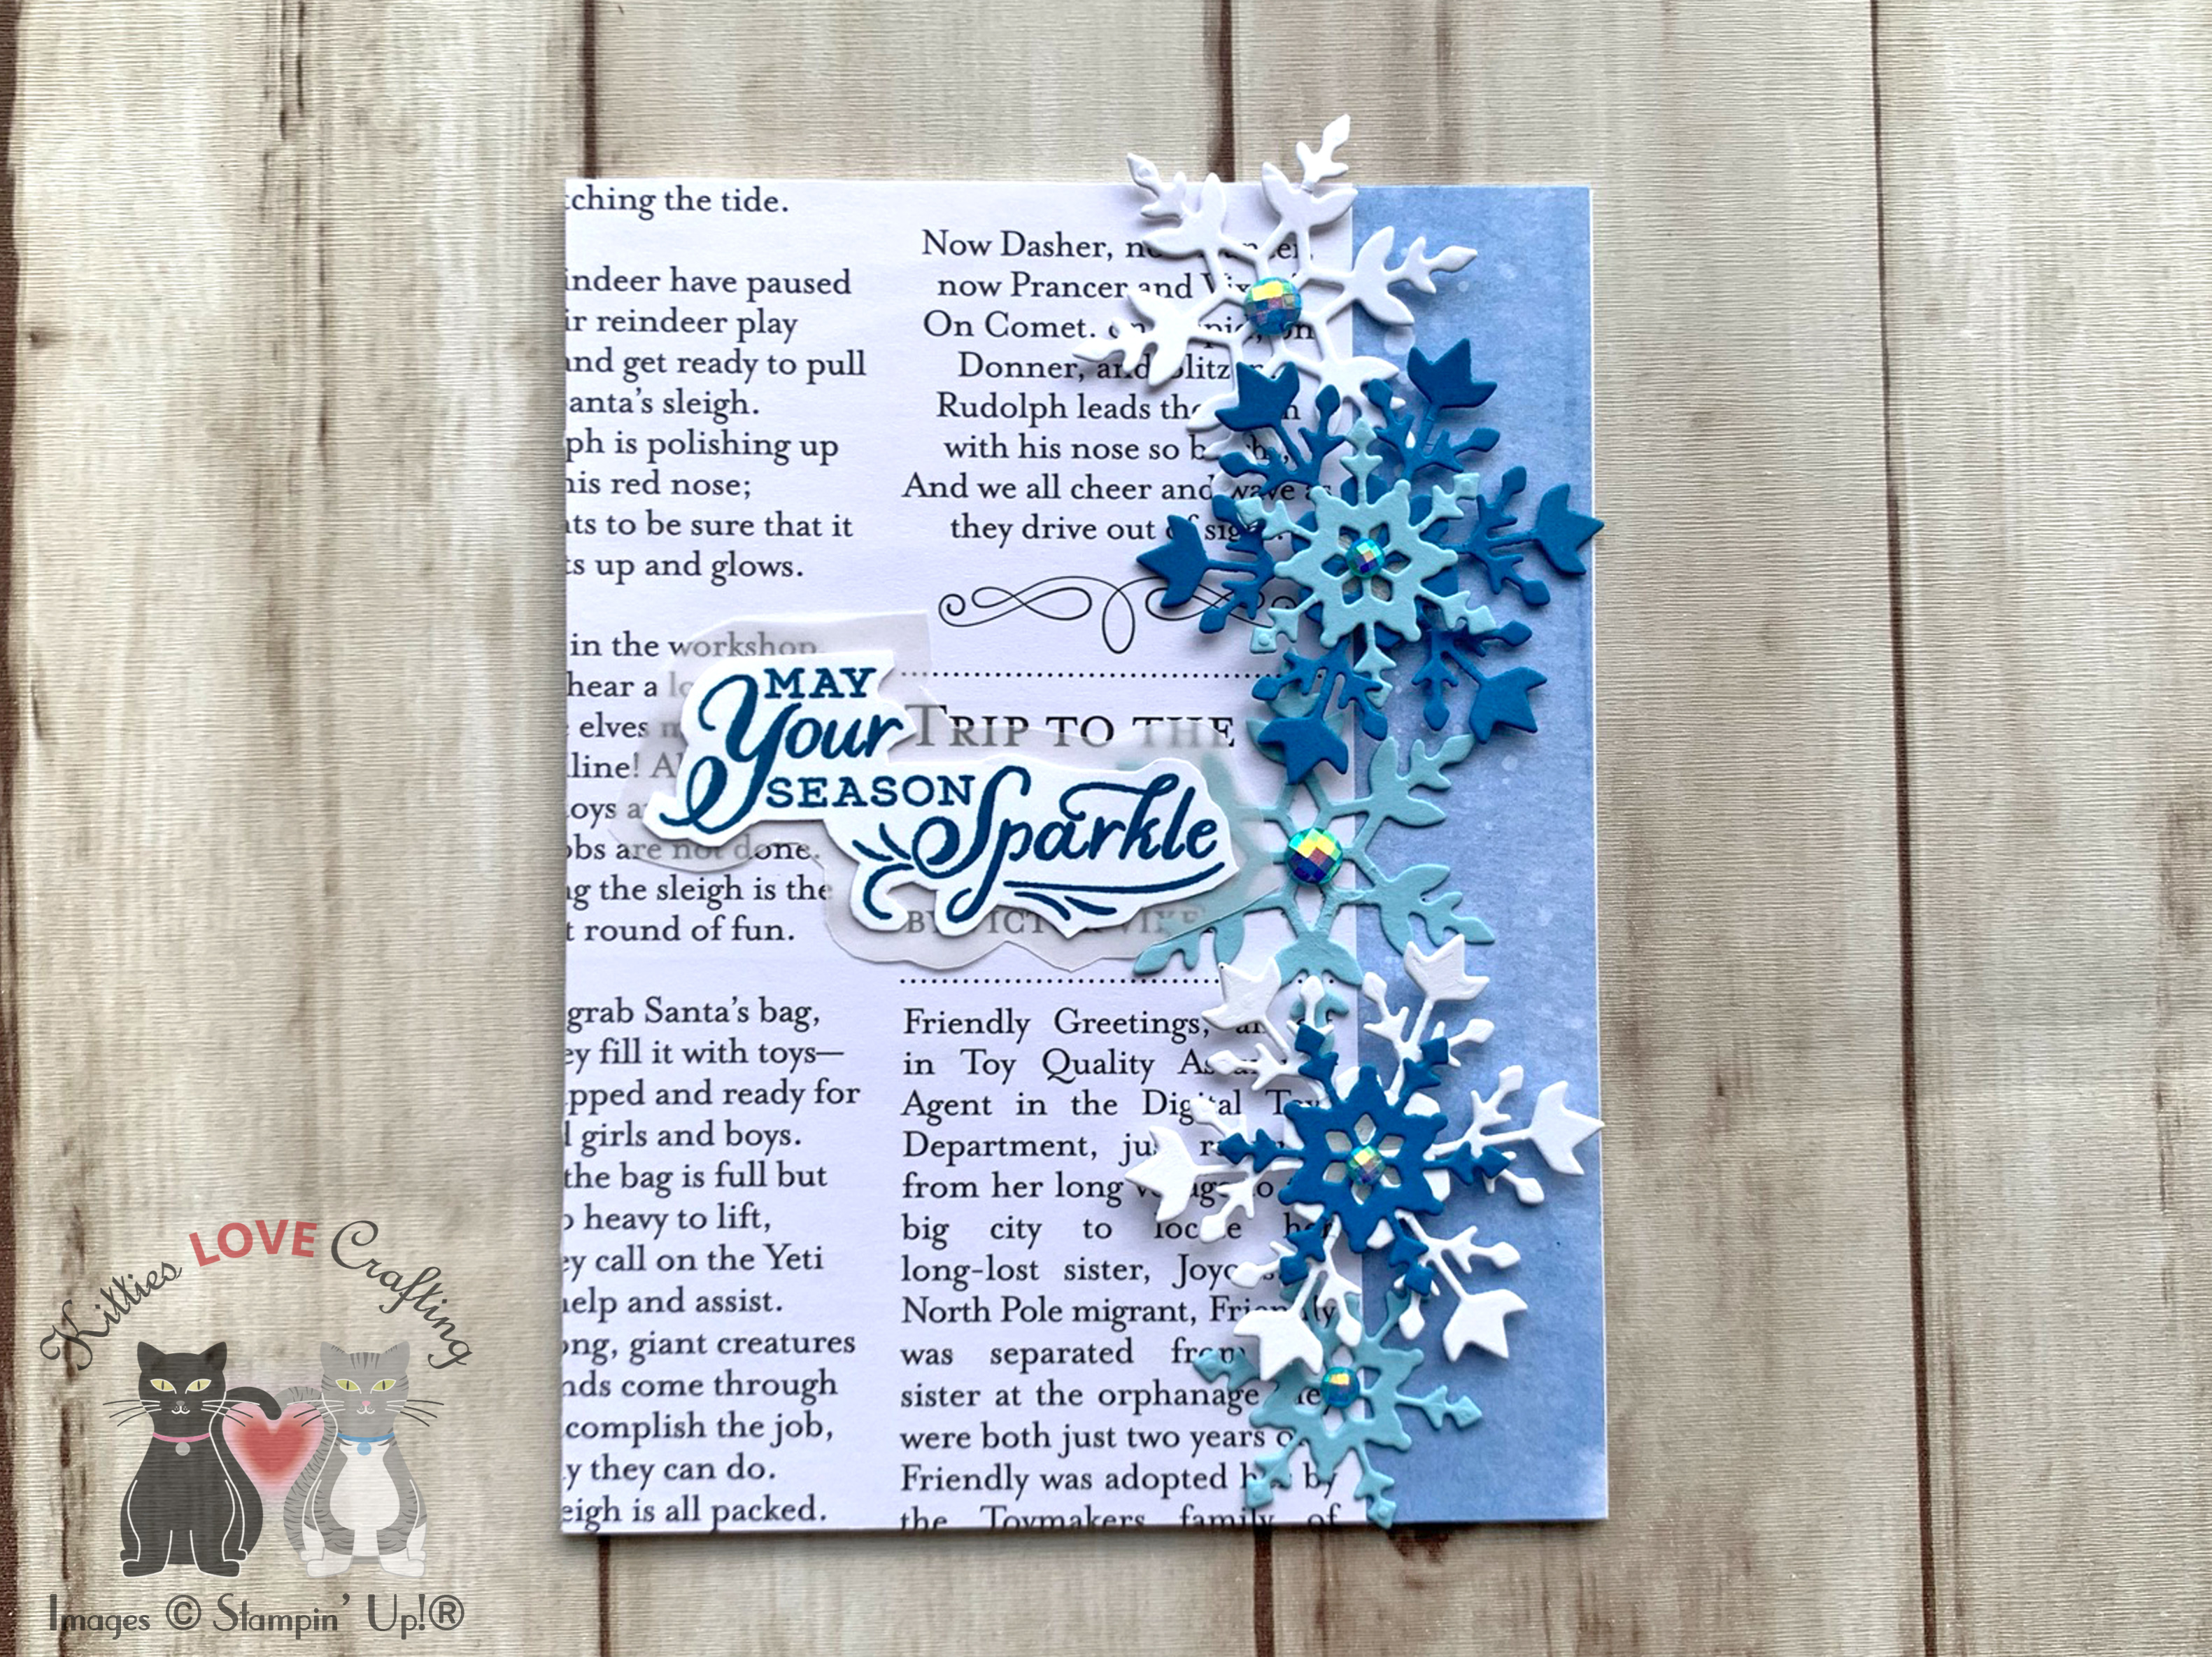
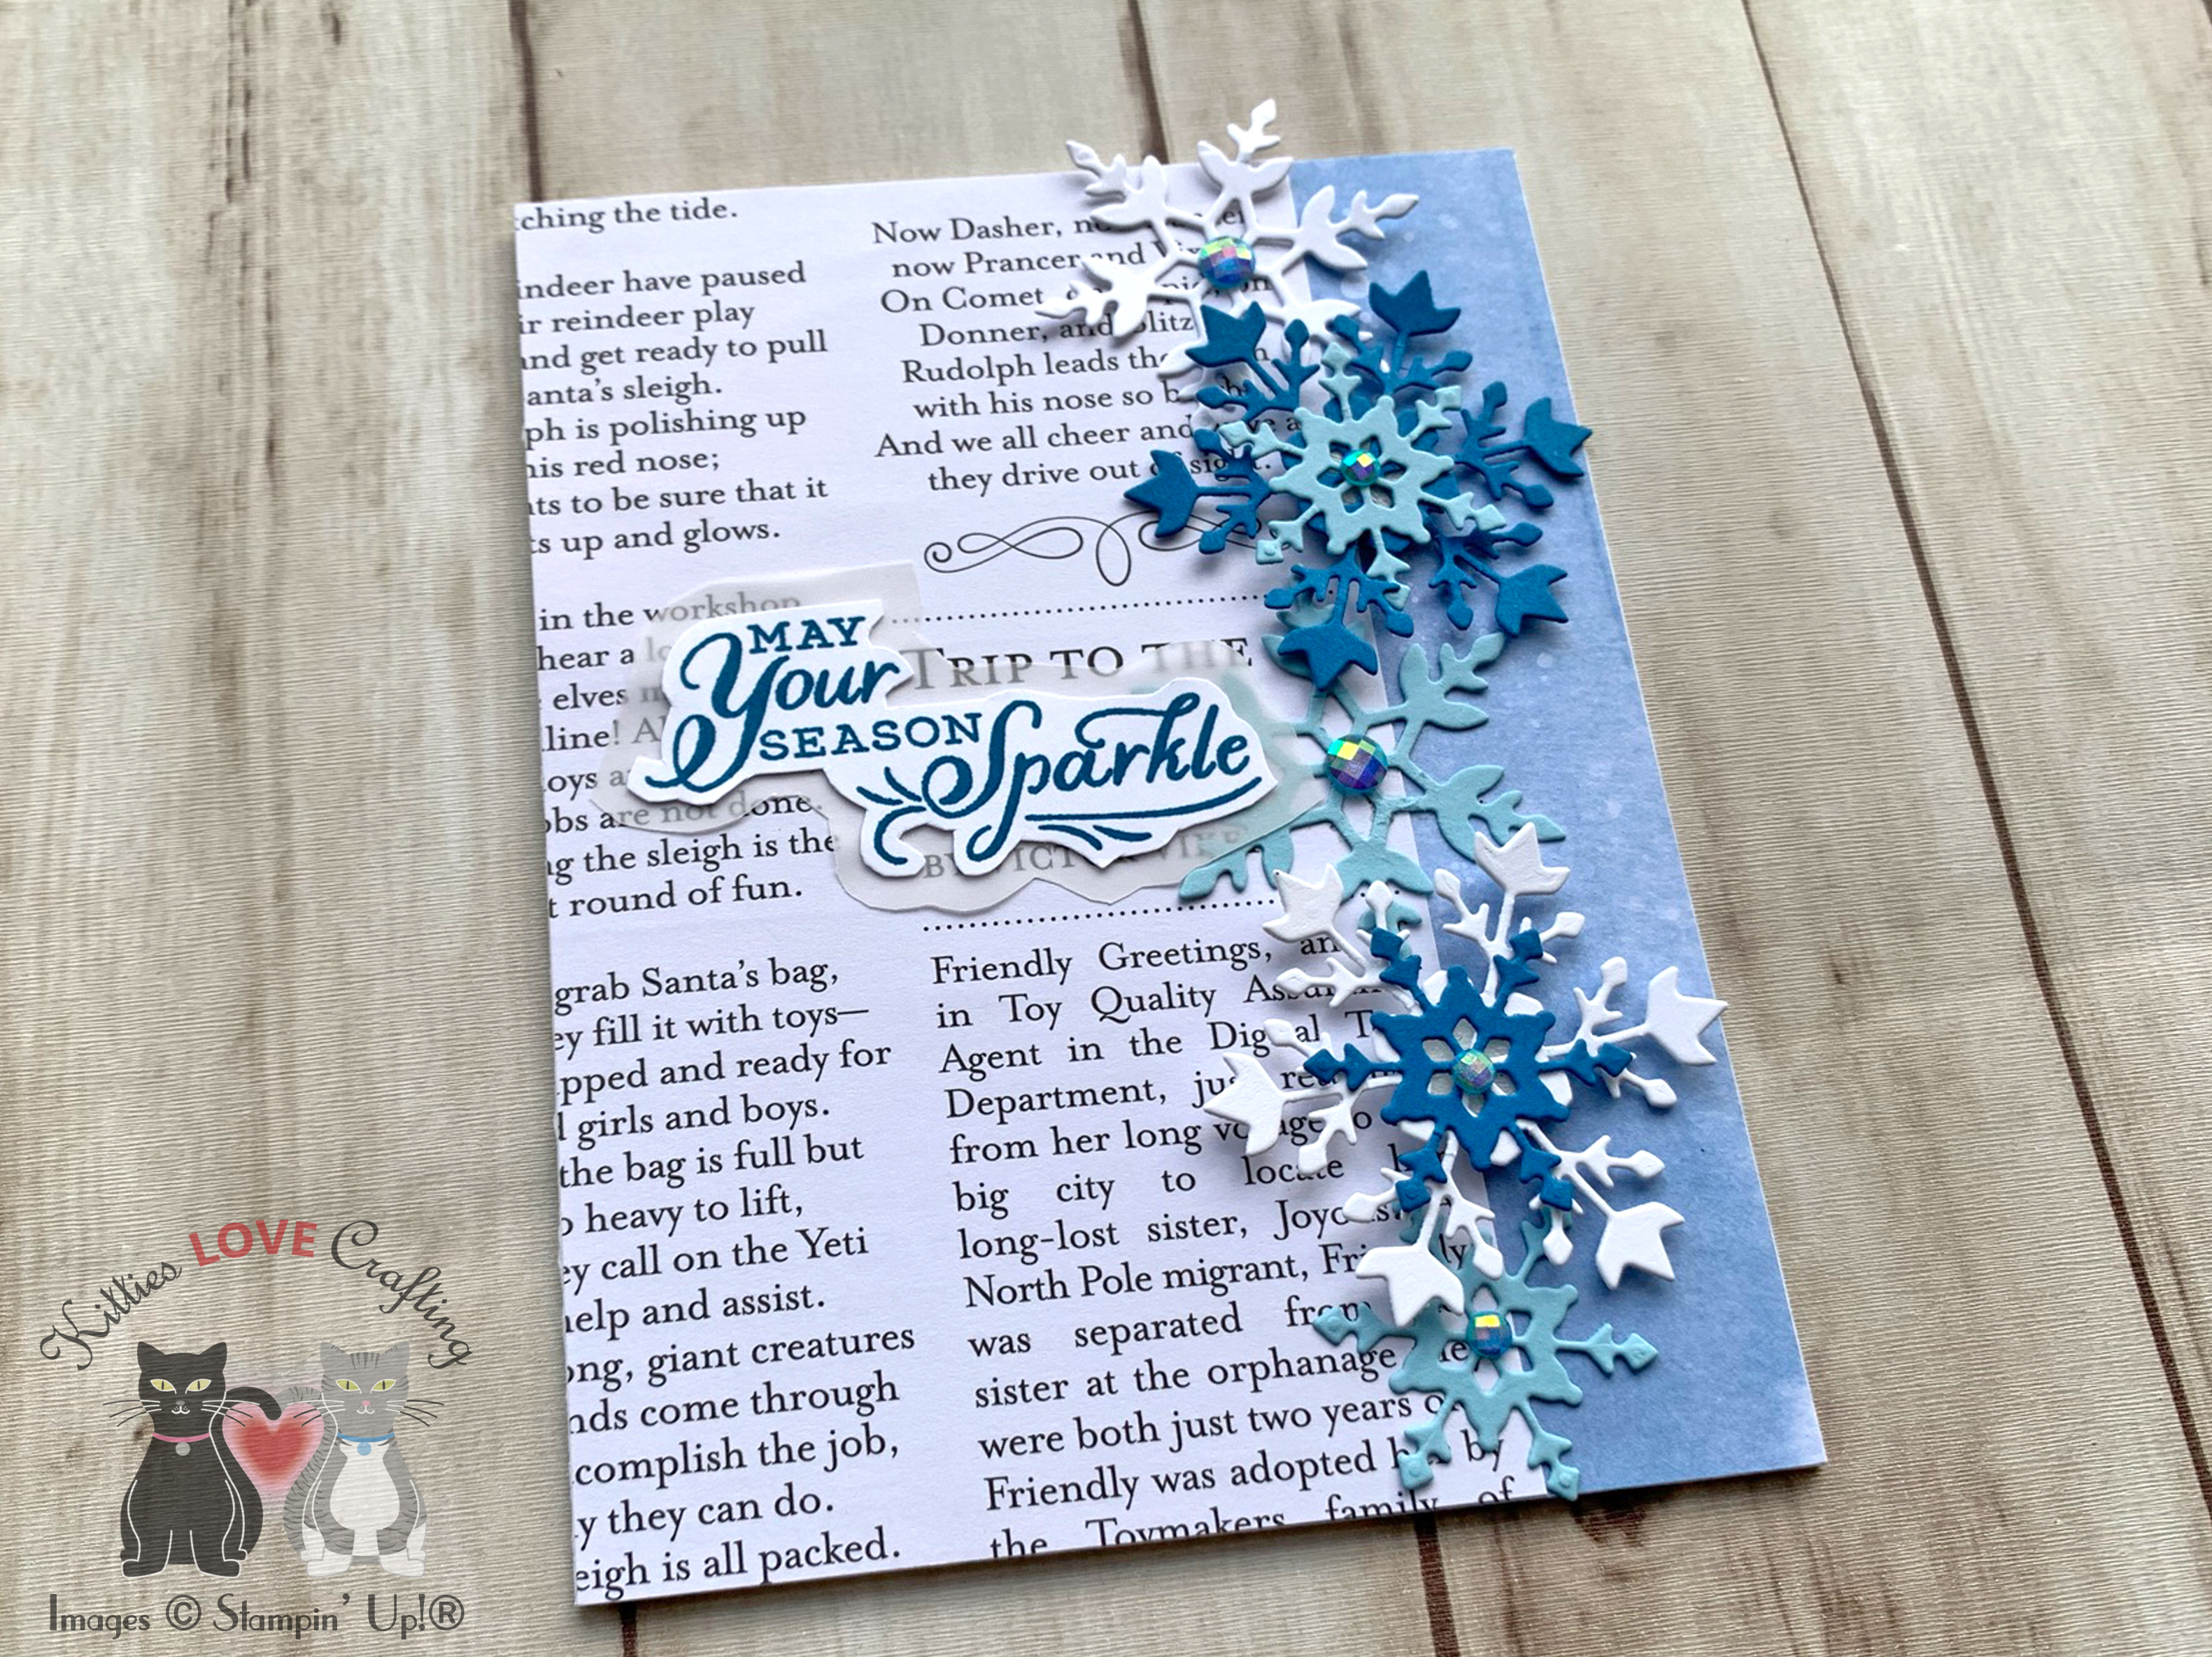
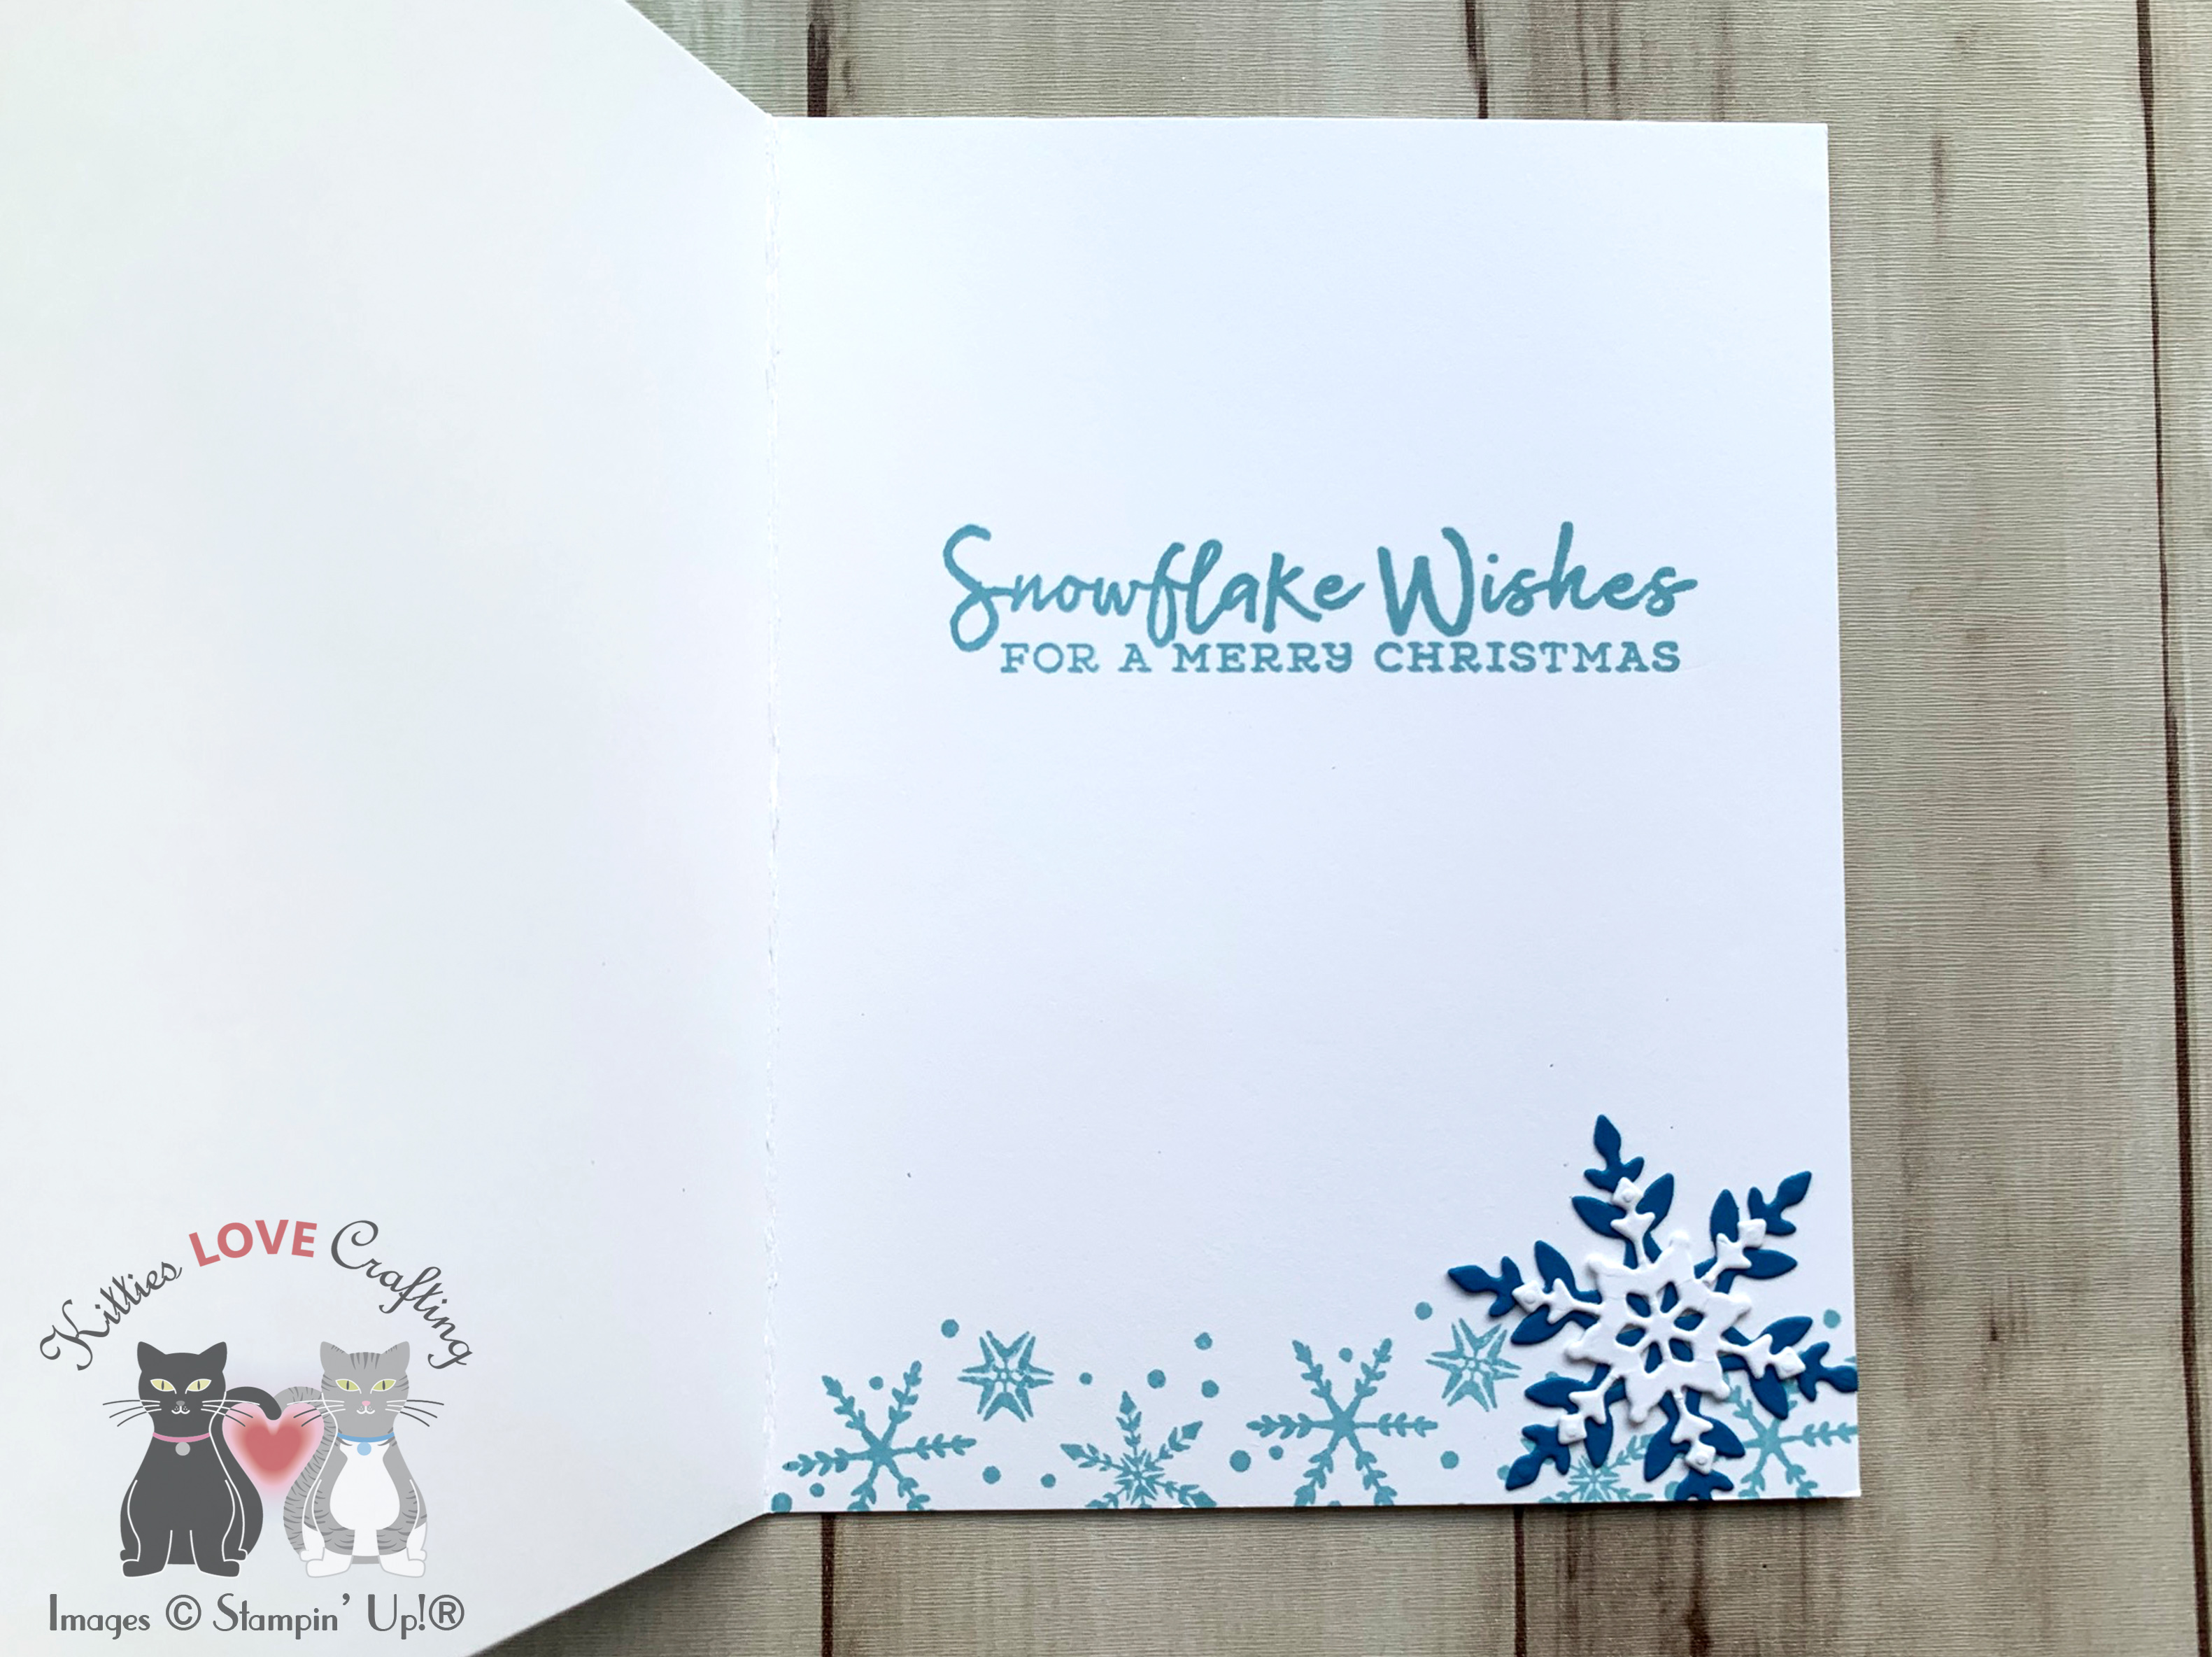
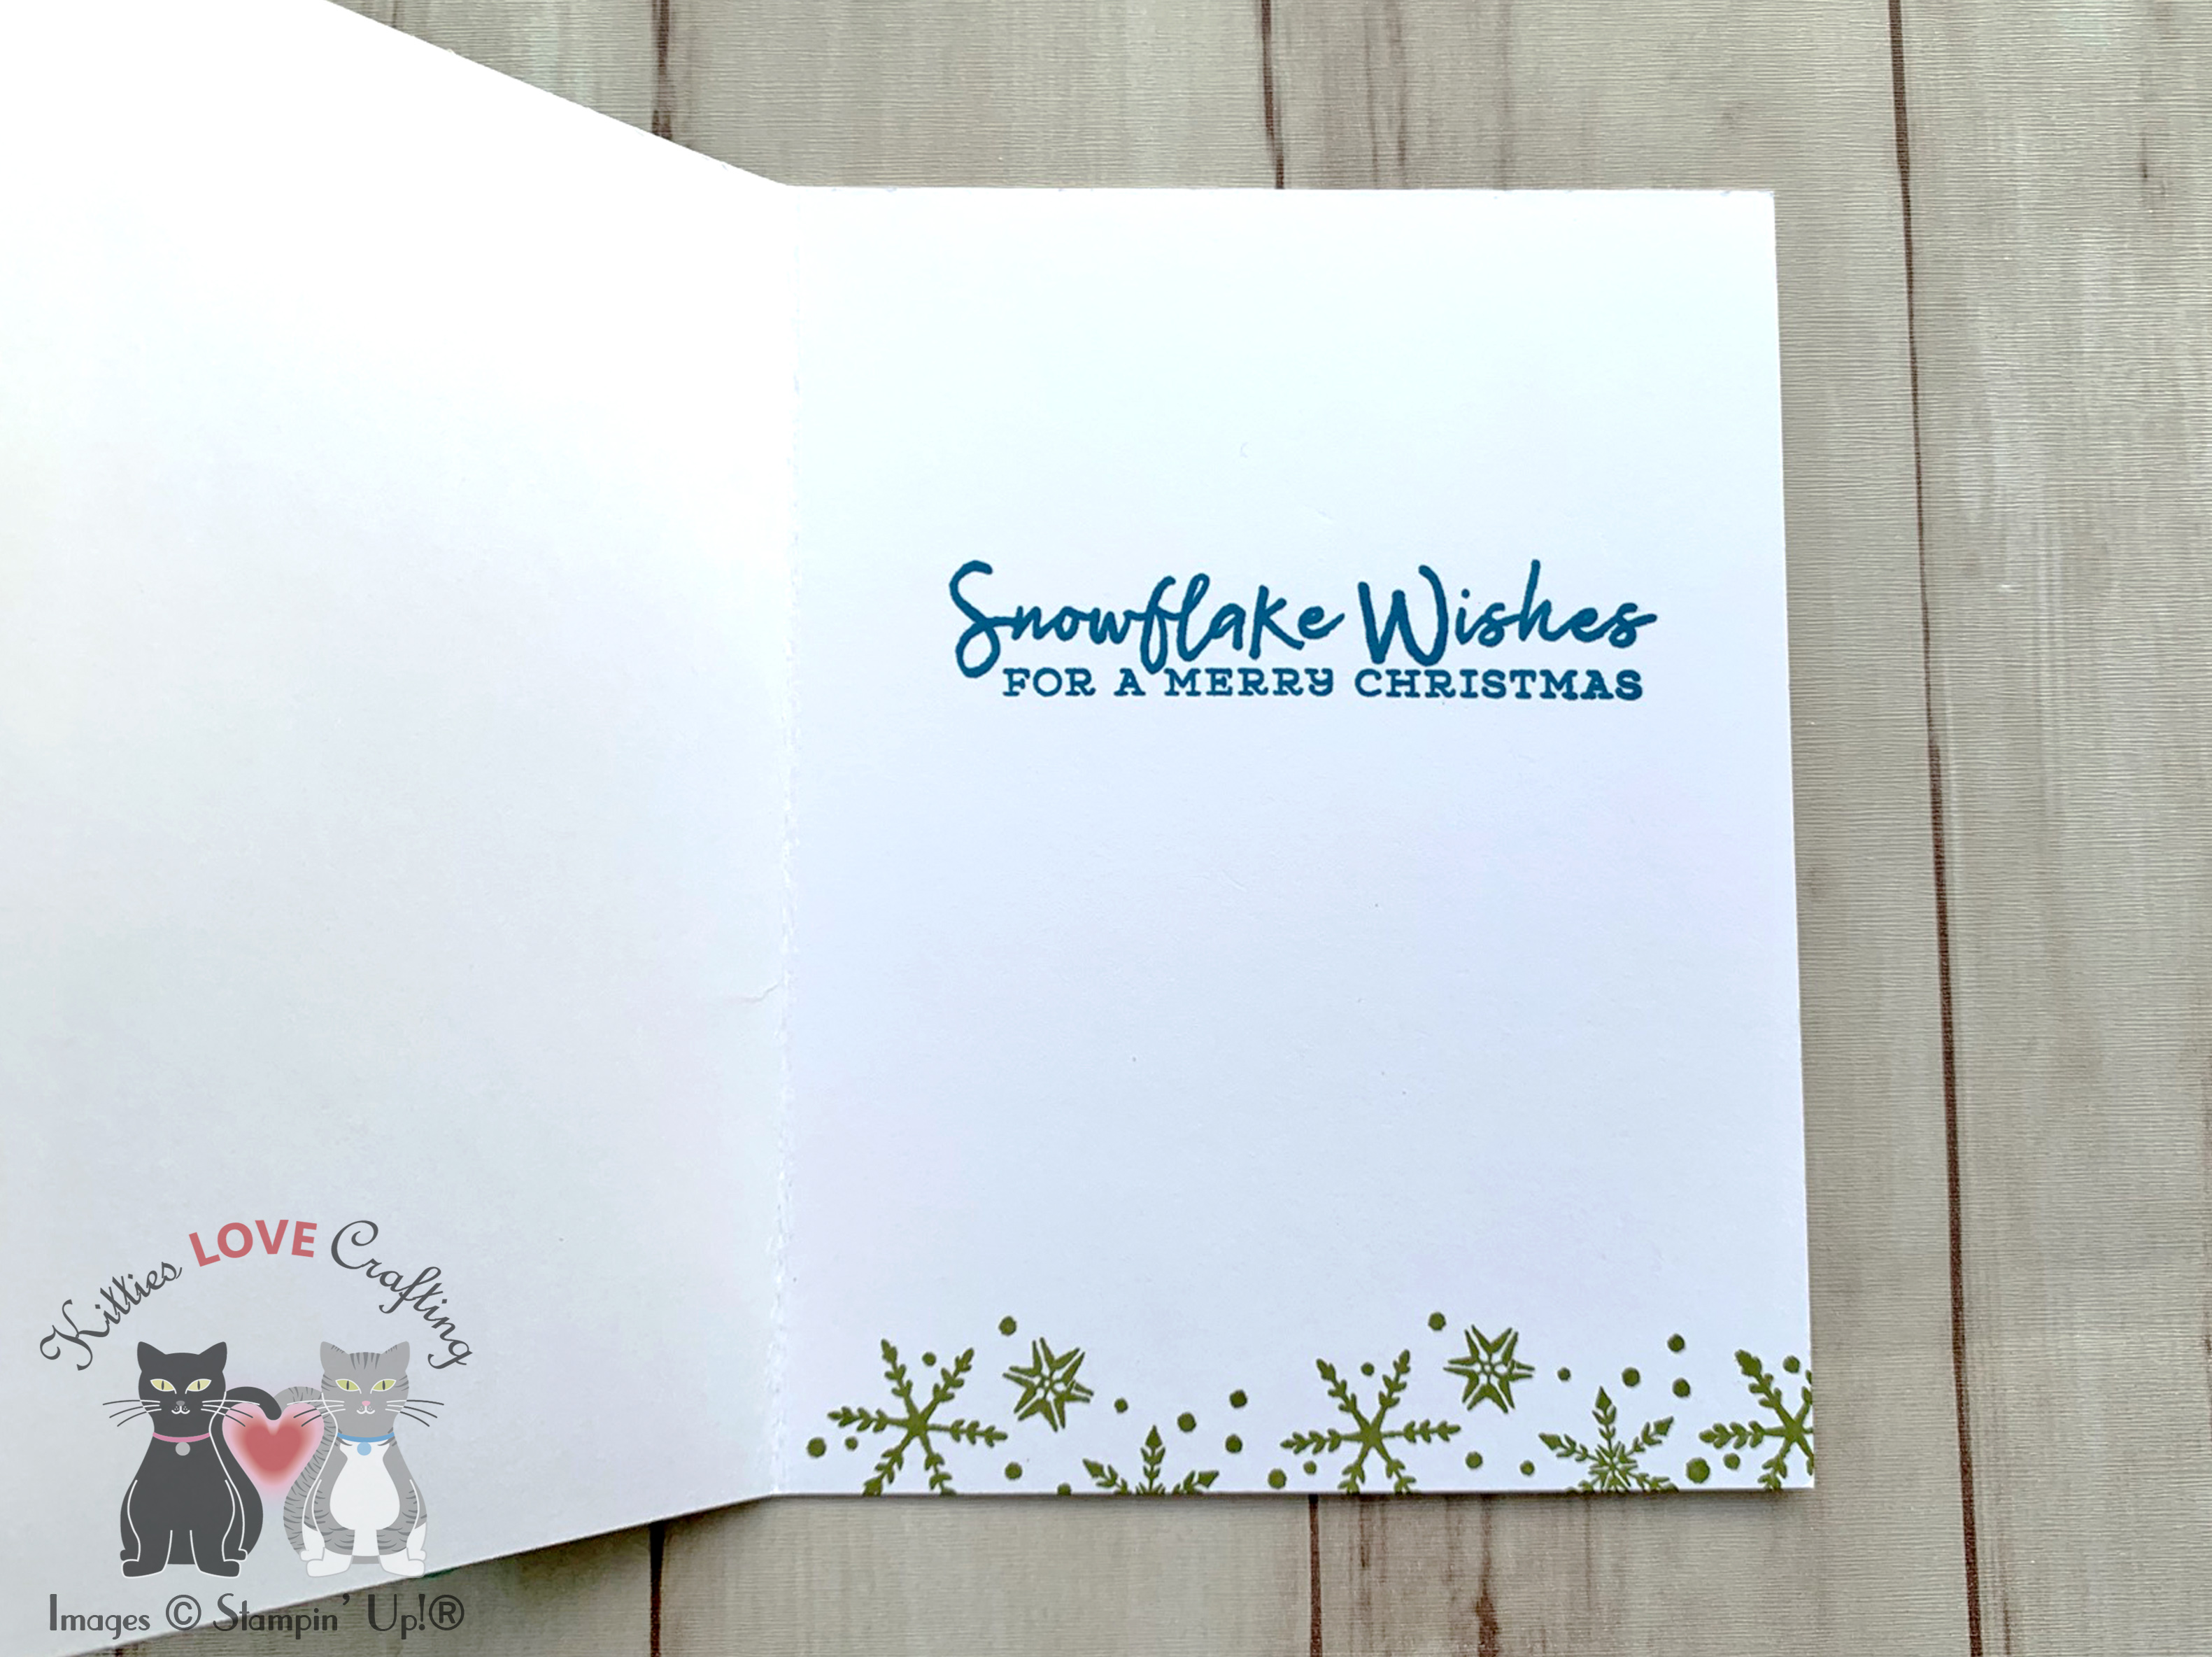
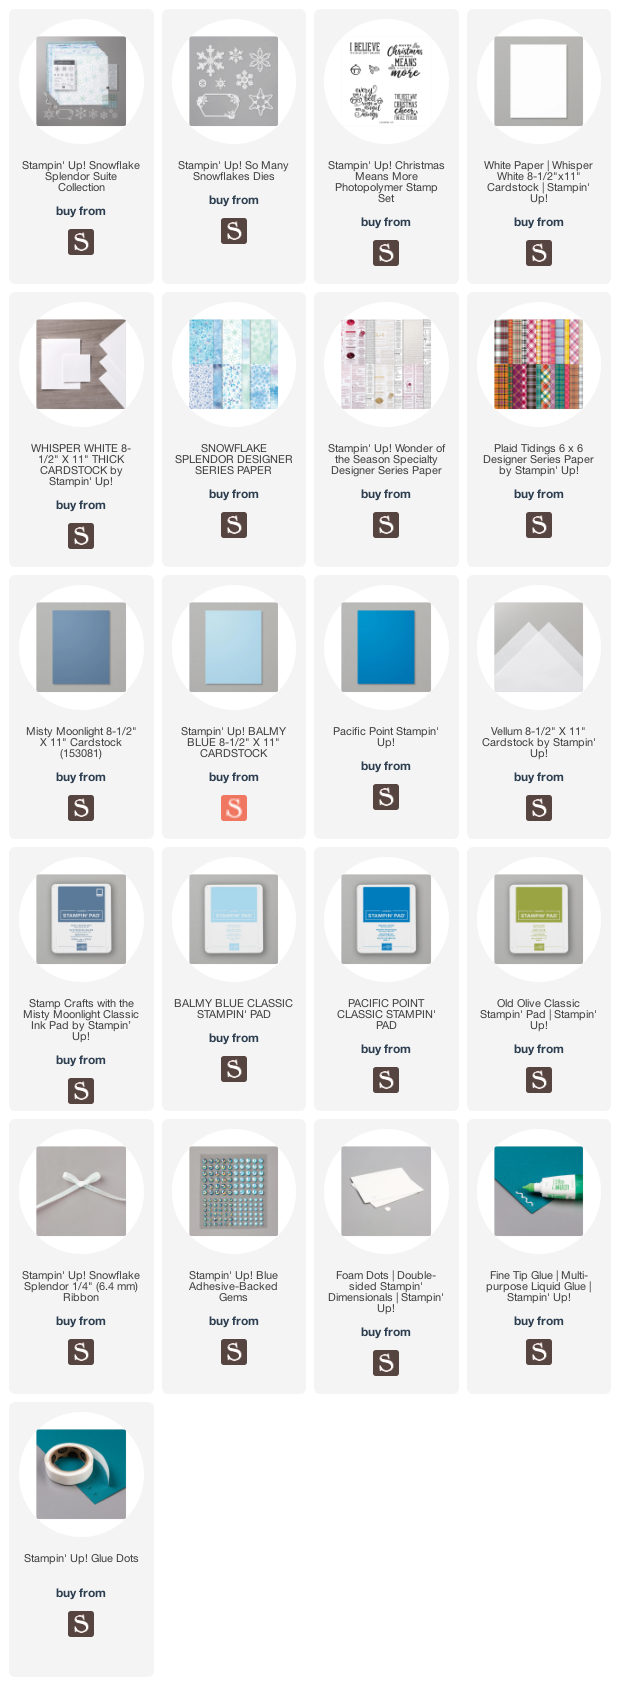
Need some quick last minute cards??? These pretty snowflake cards were all created using the Snowflake Splendor Suite from Stampin’ Up! and came together quickly. This suite can be found on page 37 of the new Aug-Dec Mini Catalog; it features lots of beautiful papers in shades of blues, aquas and purples.
Thanks for reading this post. I hope you enjoyed and I’ve inspired you to try these easy holiday cards using this stampset for yourself! Leave comments or questions below or feel free to email me. If you want to share you creations with me tag me on instagram @kittieslovecrafting. If you would like a Stampin’ Up! catalog, please email me as well. All current catalogs can be found on the right side of this post and the Stampin’ Up! page. All news and fun stuff happening at Stampin’ Up! are listed there!
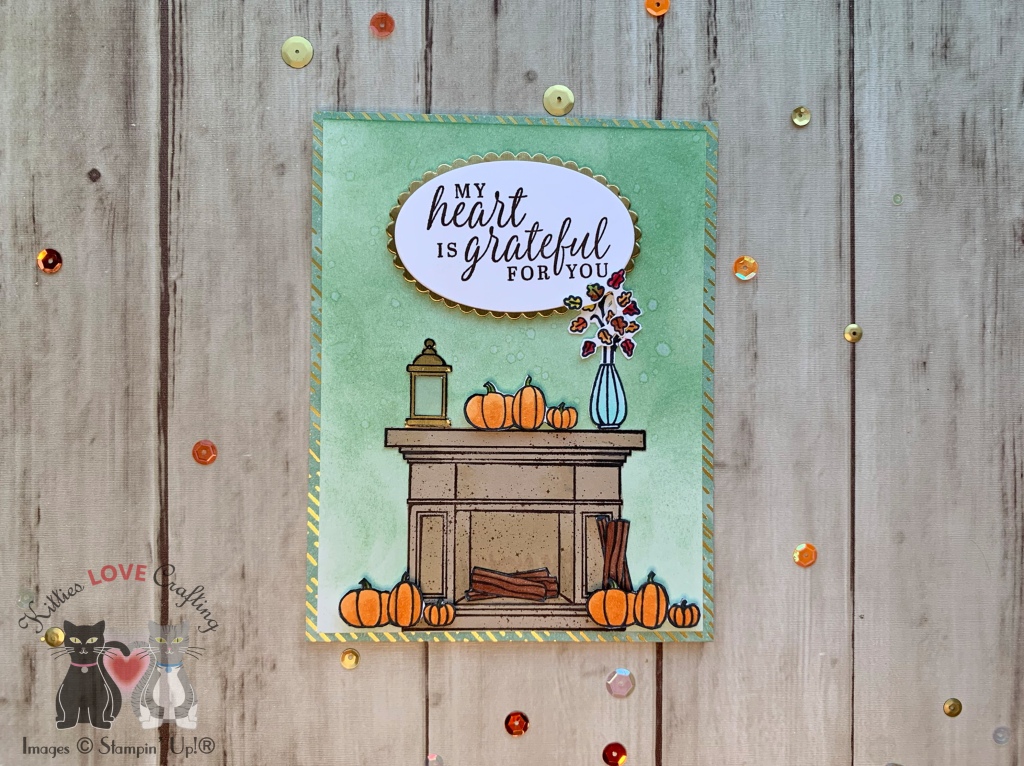
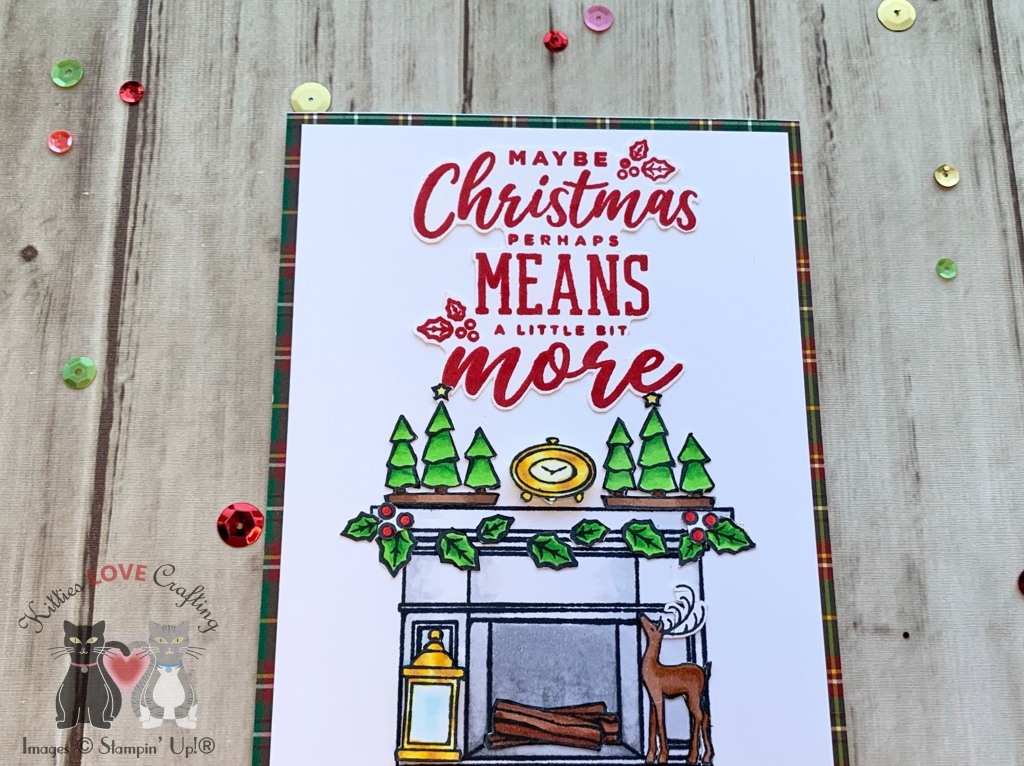
Hi friends. I have one last Fall card and of course another Christmas card. Now I know Fall is over for most of us even though the calendar says it doesn’t end until December 21st but I wanted to show the possibilities with this stamp set. Stampin’ Up!’s Fireside Trimming stampset is good for Fall, Halloween, Christmas and many other occasions. This stampset can be found on page 20 of the new Aug-Dec Mini Catalog. It also coordinates with the Fireside Dies.
I stamped the fireplace from Stampin’ Up!’s Fireside Trimming stampset with Memento Tuxedo Black Ink onto the panel, and all the images onto another piece of Whisper White 8-1/2″ X 11″ Thick Cardstock. I also stamped several holly from the Christmas Means More Stampset. On this card I colored everything with Copic Markers. I used YG05 & G07 for the trees and holly leaves, R17 & R29 for the holly berries, E25 & E27 for the tree bases and reindeer, E29 for the tree trunks, E25, E27 & E29 for the wood logs, Y11, Y18 & Y23 for the lantern and clock) and N1, N2, N5 & ) for the fireplace. I fussycut the images and adhered them to the card panel. I popped up the lantern and clock with Stampin’ Dimensionals. And adhered the panel to the card.
Thanks for reading this post. I hope you enjoyed and I’ve inspired you to try these fall cards using this beautiful suite for yourself! Leave comments or questions below or feel free to email me. If you want to share you creations with me tag me on instagram @kittieslovecrafting. If you would like a Stampin’ Up! catalog, please email me as well. All current catalogs can be found on the right side of this post and the Stampin’ Up! page. All news and fun stuff happening at Stampin’ Up! are listed there!
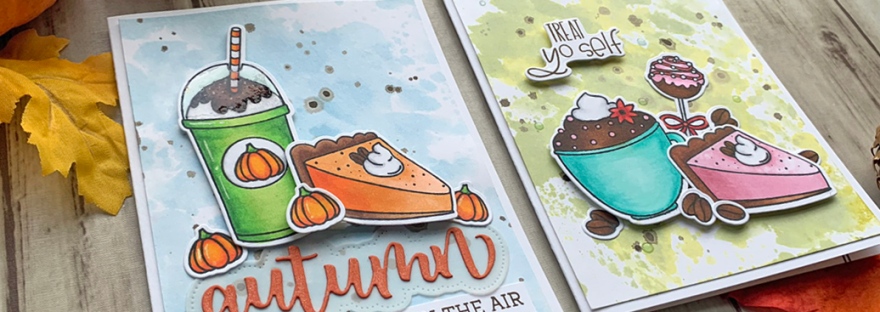
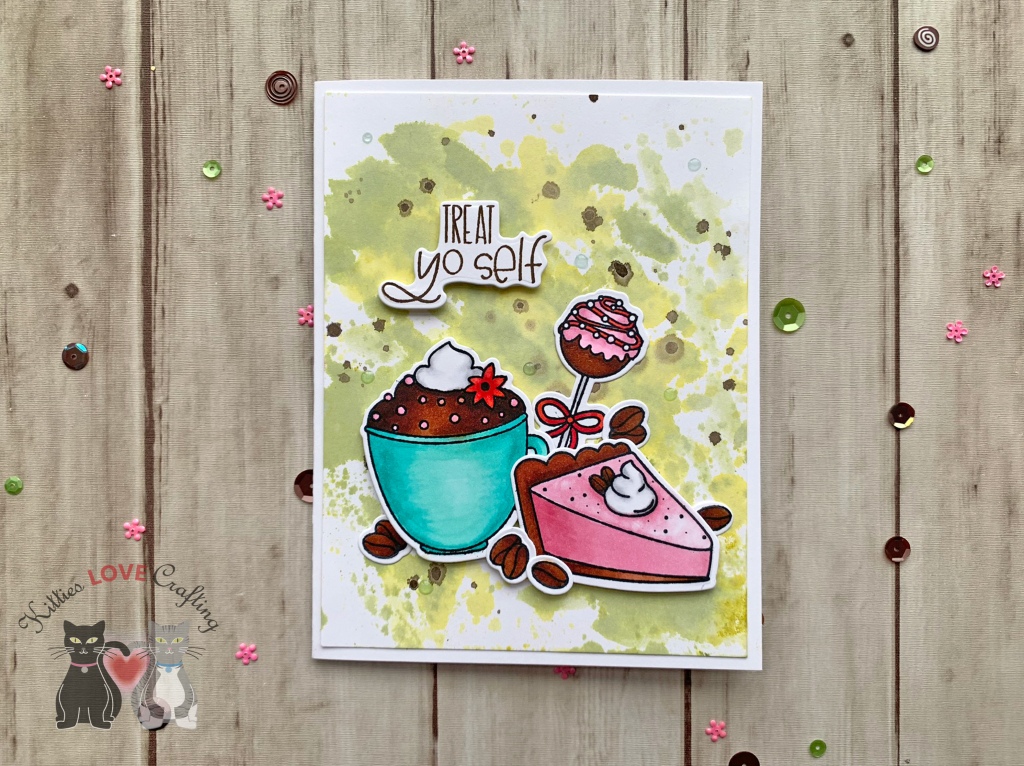
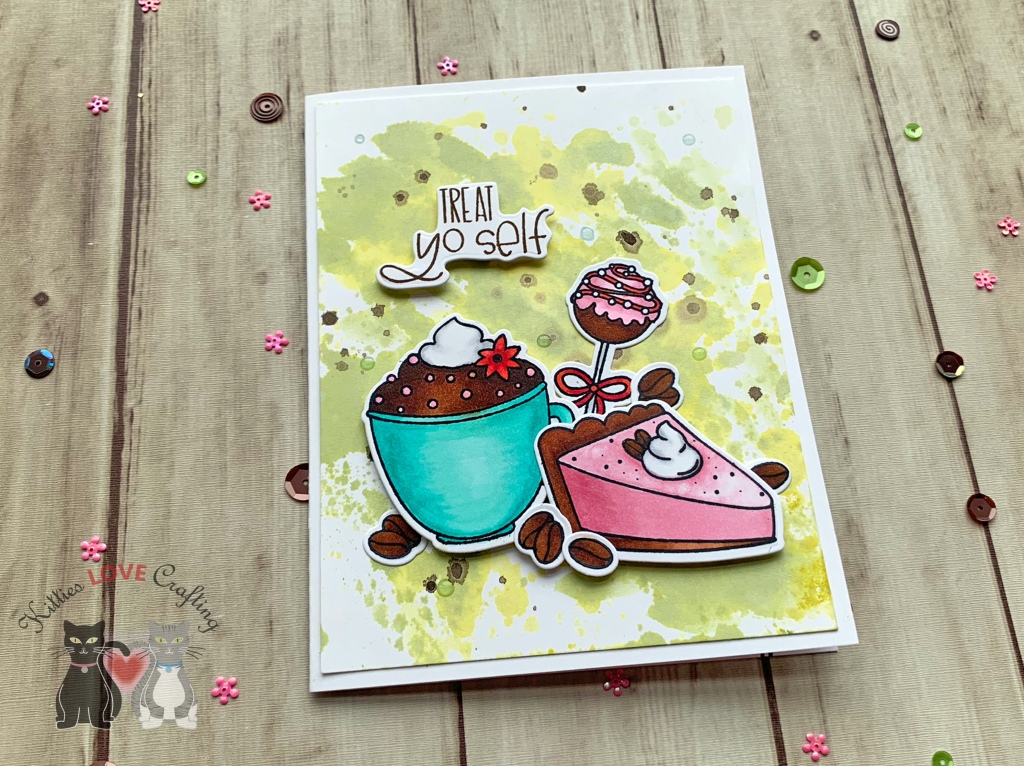
Hello friends. Do you need some last minute Fall or Thanksgiving cards or perhaps a Birthday card?? The Honey Bee Stamps Treat Yo Self 6×6 Stamp Set is great for such cards! I created very simple watercolor backgrounds using one color of distress ink. These cards also use minimal supplies. And while I used my Copics and added shadowing and highlights to the images, you can color them flat and make it simpler. They would still look great!
I stamped the images from the Treat Yo Self 6×6 Stamp Set with Memento Tuxedo Black Ink onto a piece of Neenah 110lb Classic Crest Cardstock 8.5 X 11″, colored them with Copic Markers and die cut them with the coordinating Honey Cuts Treat Yo Self Dies. I used Y18 + YR04 + YR09 and YG03 + YG05 + G07 for the pumpkins; E25 + E29 + E49 (chocolate syrup), BG10 + 0 (lid), YG03 + YG05 + G07 (cup), N2 + 0 and YR04 + YR09 (straw) on the cup; and YR00 + YR14 + Y04 + Y09 (filling), N1 + 0 (whipped cream), E33 + E25 + E29 (crust and coffee beans/nuts) for the pie.
I stamped the images from the Treat Yo Self 6×6 Stamp Set with Memento Tuxedo Black Ink onto a piece of Neenah 110lb Classic Crest Cardstock 8.5 X 11″, colored them with Copic Markers and die cut them with the coordinating Honey Cuts Treat Yo Self Dies. I used BG11 + BG15 (mug), N2 + 0 (whipped cream), E37 + E29 + E49 (chocolate frosting), and RV10 + R83 (flower); E15 + E37 + E29 (crust and beans/nuts), N2 + 0 (whipped cream), R81 + R83 + R85 (filling) for the pie slice; E37 + E29 + E49 for the beans; and R83 + RV10 (frosting), E37 + E29 (cake), R17 + R27 + R29 (ribbon) and N2 + 0 (popsicle stick) for the cake pop.
Thanks for reading this post. I hope you enjoyed and I’ve inspired you to give these watercolored cards a try for yourself. Leave comments or questions below or feel free to email me.
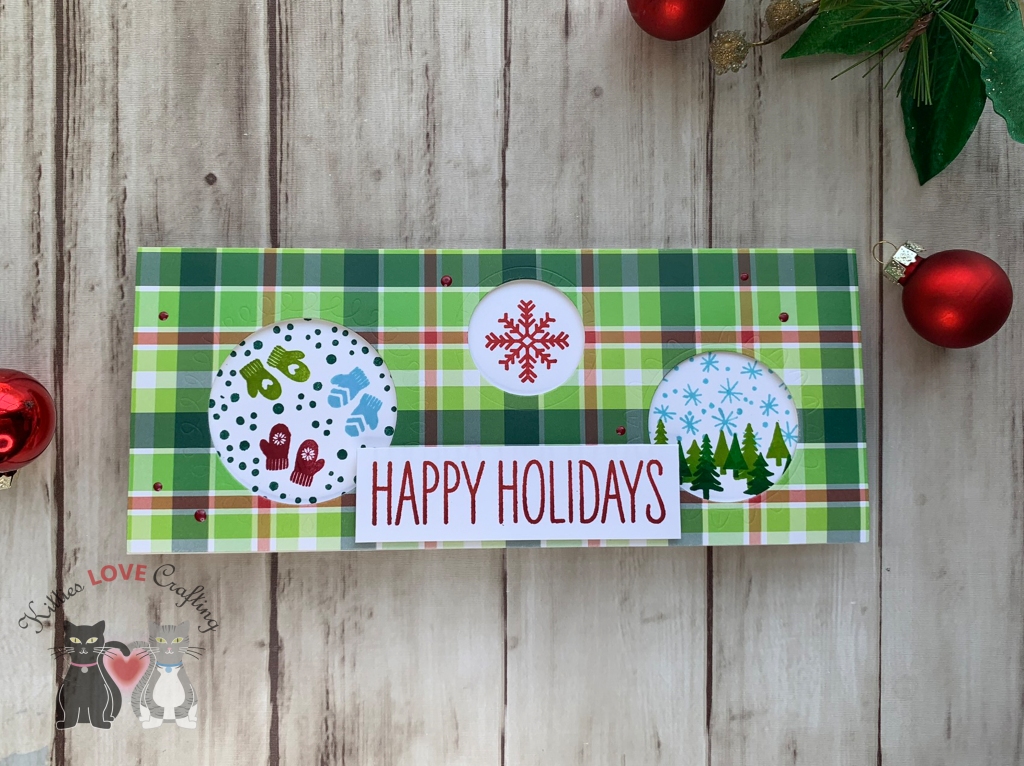
Hello everybody! I don’t know about you but I love slimline cards and I love window cards and if I can use a die to quickly accomplish that create both of those then I am one happy camper! This Doodle Window Slimline Die from Catherine Pooler Designs’ Jolly Holiday release is great for just that. You can add all kinds of stuff in the windows — sentiments, characters, sequins for a shaker, paper etc.
Thanks for reading this post. I hope you enjoyed and I’ve inspired you to give these fun slimline cards a try for yourself. Leave comments or questions below or feel free to email.
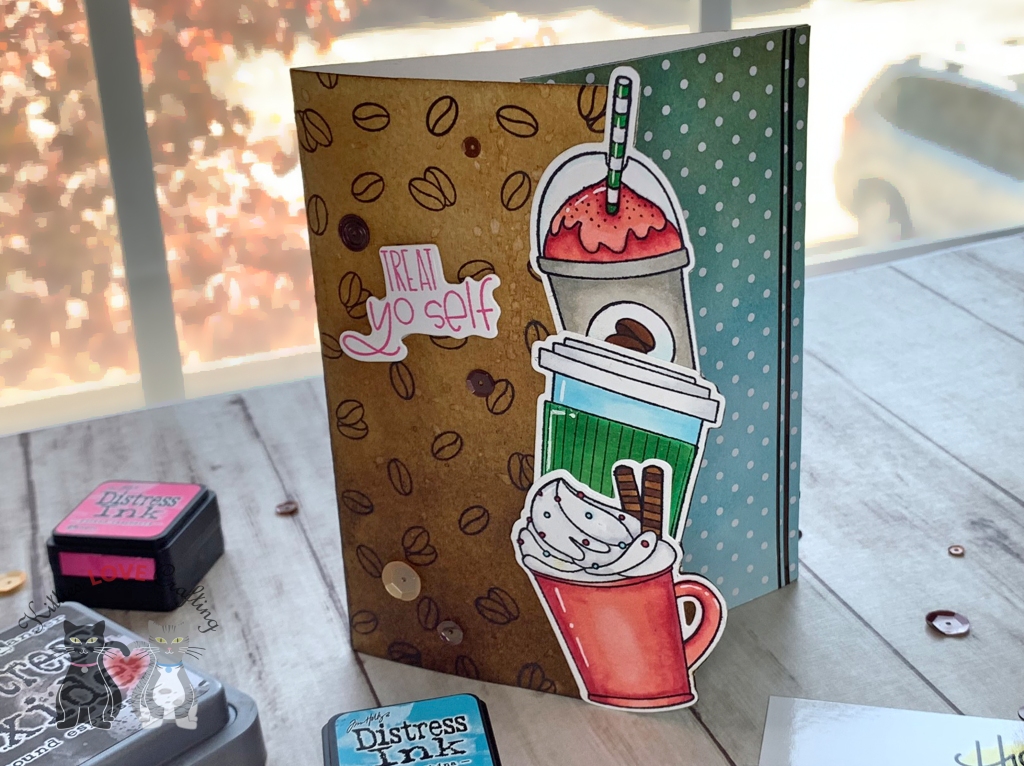
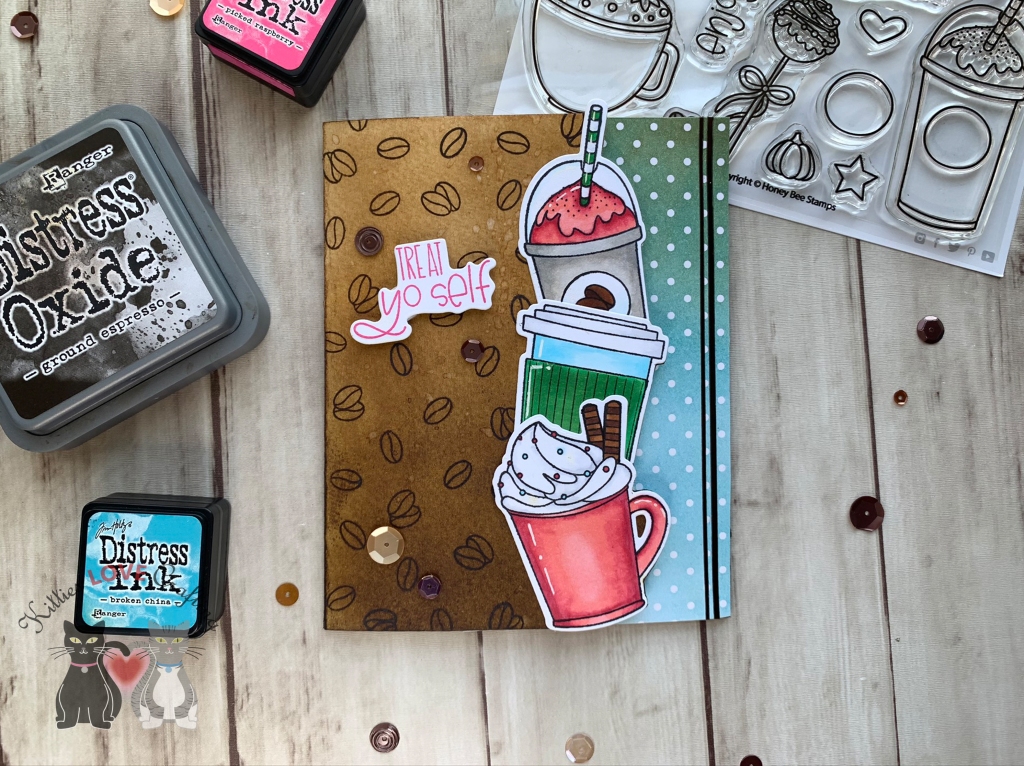
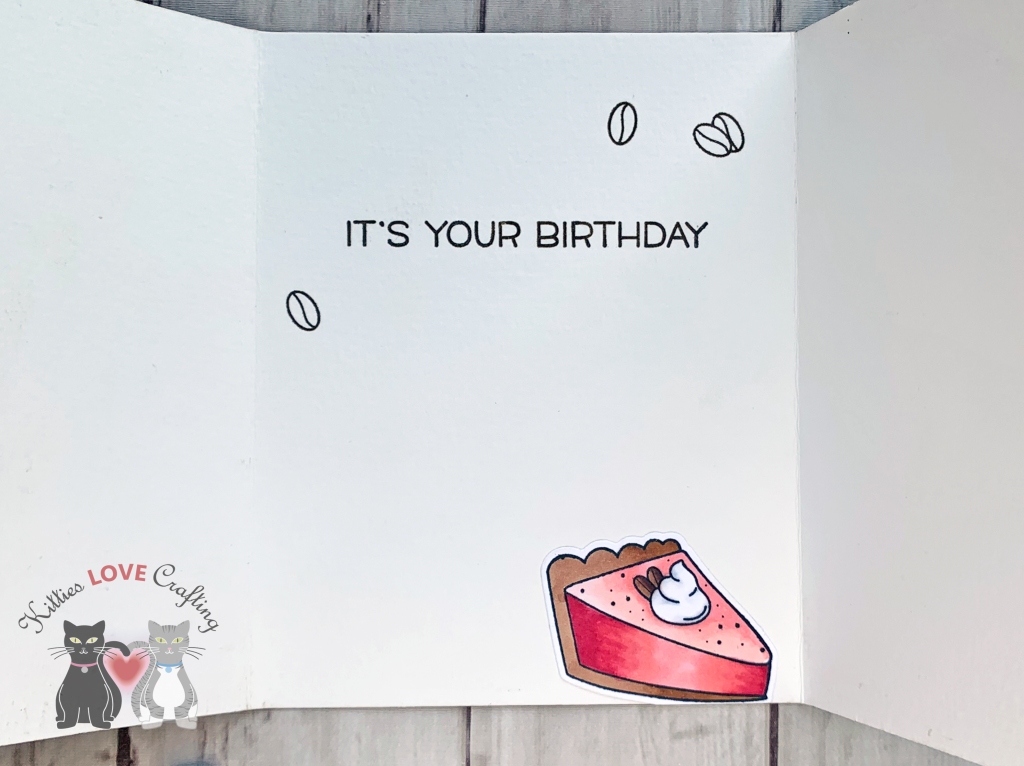
Honey Bee Stamp’s new release includes this many coffee themed items so of course I was all in! I’ve seen many people stack the images from the Treat Yo Self 6×6 Stamp Set to create their cards so I thought how fun would it be to make a gatefold card with stacked coffee treats. What I really love about this stampset is how large the images are. And of course, Honey Bee Stamps also release sentiment stamps and dies to go with this coffee collection. What could be better I ask?!?! I won’t be using those on this card but stay tuned because there will be more cards coming using this collection.
I started by cutting a piece of Montval Acid-Free Cold Press Watercolor Paper to 5-1/2 x 11-1/2″ and scored at 4″ and 8-1/2″ on the long side. I used watercolor paper instead of my traditional Neenah 110lb because distress inks blend beautifully on it. More on that later…
I used Tim Holtz Distress Ink in Vintage Photo and Ground Espresso to ink up the left flap on the card, creating an ombre effect. Then I stamped all the coffee beans from the Treat Yo Self 6×6 Stamp Set with Ground Espresso Distress Oxide Ink. Then I cut a piece of Stampin’ Up!’s Irresistibly Yours DSP (discontinued) to 3 x 5-1/2″ and used Tim Holtz Distress Ink in Broken China and Vintage Photo to create another ombre, revealing the embossed areas on these papers and adhered it to the card. Stampin’ up needs to bring these papers back because they are great for easy backgrounds and you can color them with anything you want.
Thanks for reading this post. I hope you enjoyed and I’ve inspired you to give this card a try for yourself. Leave comments or questions below or feel free to email me.


 https://linkdeli.com/widget.js?id=f5e8378456858c916708