Thanks for reading this post. I hope you enjoyed and I’ve inspired you to give this cute Halloween shaker card a try for yourself. Leave comments or questions below or feel free to email me.
Background stencils are a great option to make quick backgrounds! This cute Pretty Pink Posh CANDY BACKGROUND Stencil is a fun one to use for Halloween. This card came together very quickly with minimal stamping and coloring. I combined this background stencil and a couple of background and sentiment dies to create this quick and simple card.
I stamped the images from the Pretty Pink Posh Halloween Wreath Stampset with Memento Tuxedo Black Ink and colored them with Copic Markers. I used R20, C1 + 0 blender for the ghost; C1 + 0 blender, Y02 + Y13, YR04 + YR07 for the candy corn; C7 + C9 for the bat and spider; V06 + V09, YG17 + YG25 for the witch hat; YR04 + YR07 and YG17 + YG25, YG17 + YG25 and V06 + V09 for the candy; C1 + C7, YR04 + YR07 for the lollipop. I added white highlights with my Uni-Ball UM 153 Signo Broad Point Gel Pen and die cut with the coordinating dies.
Thanks for reading this post. I hope you enjoyed and I’ve inspired you to give this sweet and easy Halloween card a try for yourself. Leave comments or questions below or feel free to email me.
Hi friends. I’m back after some unplanned time off!It’s great to be creating again. I’m cutting it close but let’s start with a cute Halloween card. This stampset from Pretty Pink Posh, Halloween Wreath is so cute! I love all the fun images. They are easy to color with markers, pencils etc or leave them uncolored. You can also make a wreath from the singular images instead of using the wreath image.
Thanks for reading this post. I hope you enjoyed and I’ve inspired you to give this sweet and easy Halloween card a try for yourself. Leave comments or questions below or feel free to email me.
Hi friends. When I saw Jennifer McGuire’s video featuring the Slimline Bird House Pop Up Card Dies and add-on dies from Scrappy Tails, I knew I had to have them. They remind me of the Honey Bee Stamps House Card Dies and Add-ons which as you may have figured out I love so much! These dies are just as versatile and allow you to make tons of different types of cards for all occasions.
I cut out the two windows using the circle from the birdhouse die set. I adhered the scallop bosrders on the window as well as the roof. Then diecut some grass using the Lawn Fawn Grassy Border from Stampin’ Up! Granny Apple Green 8-1/2 x 11″ Cardstock, trimmed it down to size and adhered it to the bottom of the card. I added the white base on top of the grass.
I colored the images with COPIC Markers. I c olored the peppermints and candy canes with R27, R46 and C1, YG17 and YG25 for the trees, E34, E37, R20, C1 and 0 for the gingerbread people, and R81 and R85 for the gumdrops.
Thanks for reading this post. I hope you enjoyed and I’ve inspired you to give these cute cards a try for yourself. Leave comments or questions below or feel free to email me.
Another great add-on dieset from Honey Bee Stamps! The Treat Shop Add-On Dies and Stamps coordinate with the House Builder Card Base Dies and allow you to make lots of sweet cards. You can create a bakery, ice cream shop or candy shop. The possibilities are endless with this set.
I stamped images from the Honey Bee Stamps Treat Shop Add-On Stamp Set onto Neenah 110lb Classic Crest Cardstock 8.5 X 11″ with Memento Tuxedo Black Ink and colored them with Copic Markers. I used Y17, BG01, R09, and E29 for the banners; BG000 and 0 for the glass display case and cake display; C3 and C5 for the cake base, RV06, RV09, and RV21 for the three tier cake, and E25, E29 and E49 for the heart on the cake. RV06 and RV09, E24 and E29, Y13 and Y17, and C1 and C3 for the cupcakes; YG05 and YG17 for the bush and E24, E29 and E49 for the planter. C1 and C3 for the bakery and specials signs and the table; Y13 and Y17, BG000 and BG01, RV06 and RV21 for the balloons; and BG000 and BG01, RV06, RV09 and RV21 for the umbrella.
Thanks for reading this post. I hope you enjoyed and I’ve inspired you to give these cute treat shop card a try for yourself. Leave comments or questions below or feel free to email me.
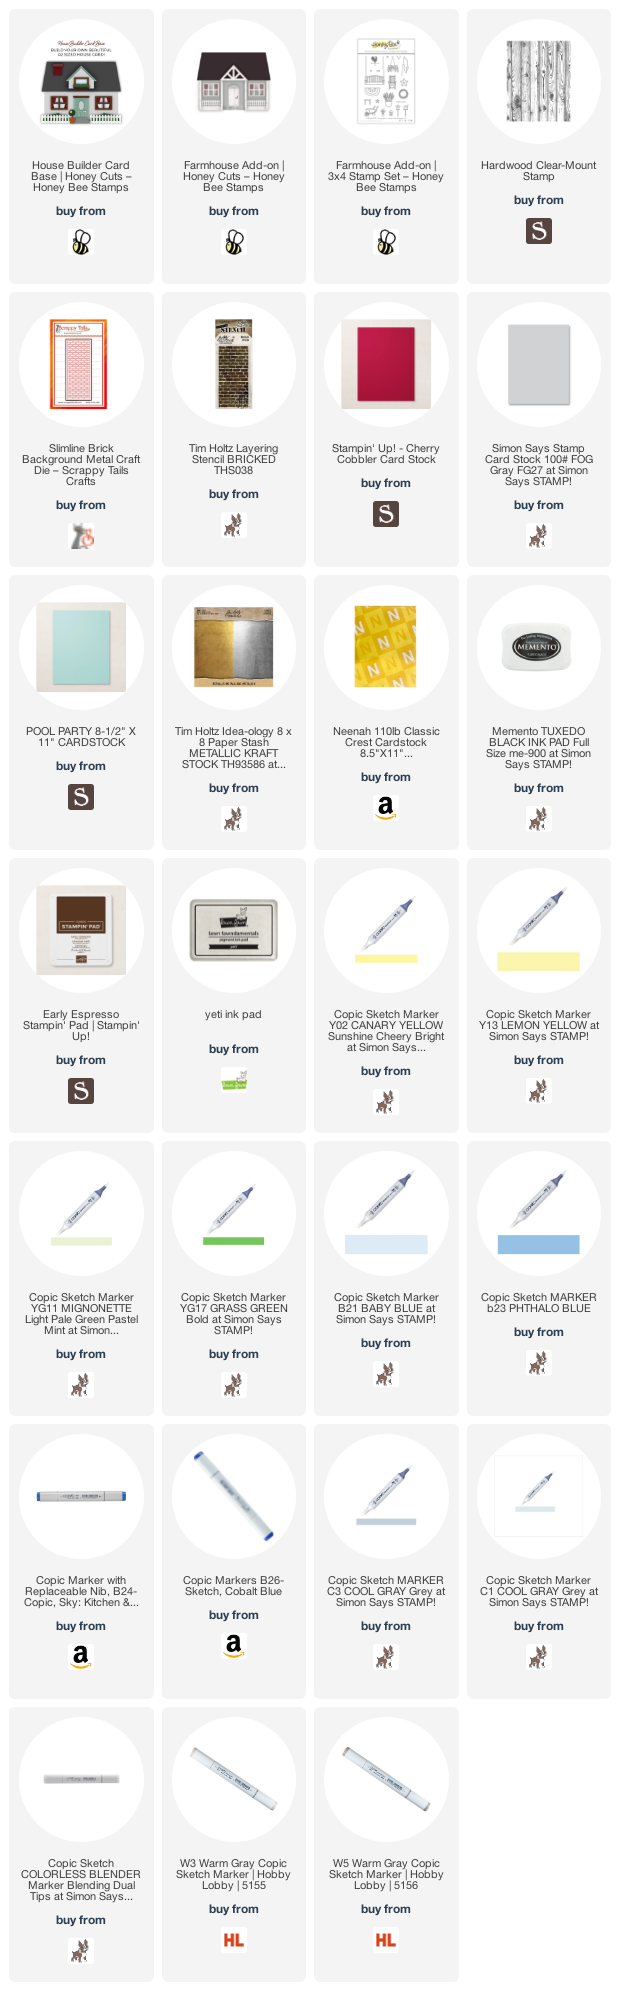
Another great add-on dieset from Honey Bee Stamps! The Farmhouse Add-on Dies and Stampset coordinate with the House Builder Card Base Dies and allow you to make lots of cute cards. The last card I made was very patriotic but for this one I decided to make a more traditional farmhouse which can be used for any occasion.
I diecut the flowers and leaves from the House Builder Card Base with green, pink, yellow and navy blue cardstock from my stash.
I stamped the decorative star, two rooster weathervanes, two lanterns, two hanging pots, the table, chair, one plant and a mailbox onto some Neenah 110lb Classic Crest Cardstock 8.5 X 11″ with Memento Tuxedo Ink and colored them with Copic Markers. I used B23, B24 and B26 for the star and hanging pots, B21 and B23 for the chair, YG11 and YG17 for the plants, Y02 and Y13 for the flower pot, mailbox and lantern light, C1 and C3 for the lanterns and W3 and W5 for the table.
Thanks for reading this post. I hope you enjoyed and I’ve inspired you to give this cute farmhouse card a try for yourself. Leave comments or questions below or feel free to email me.
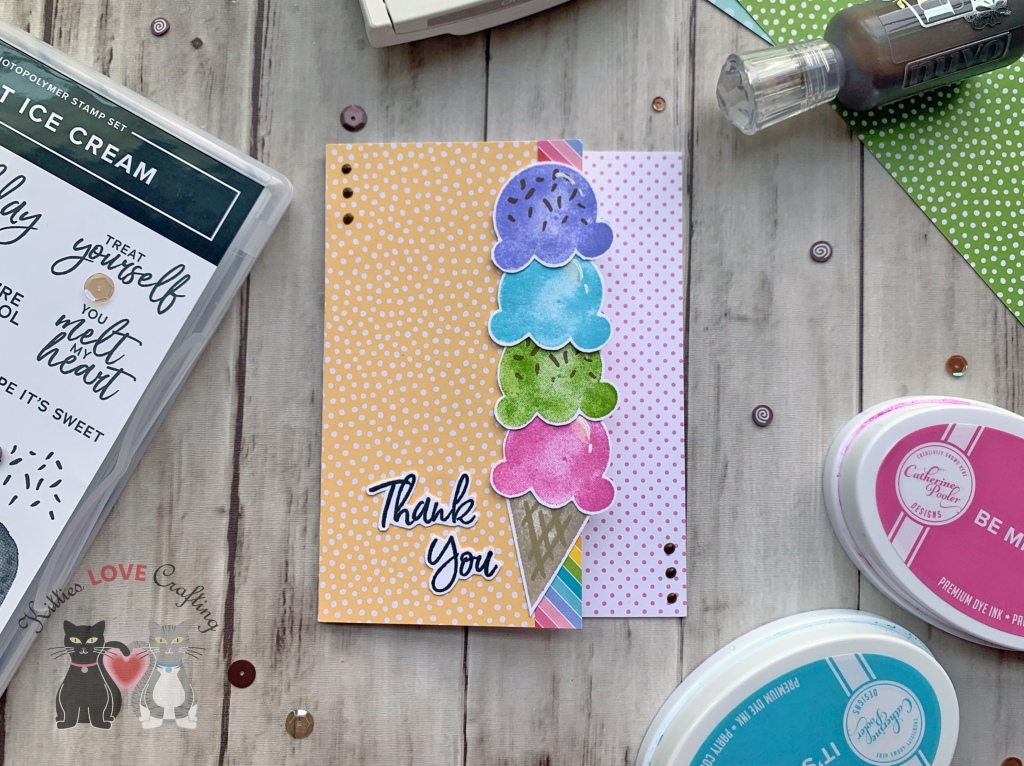
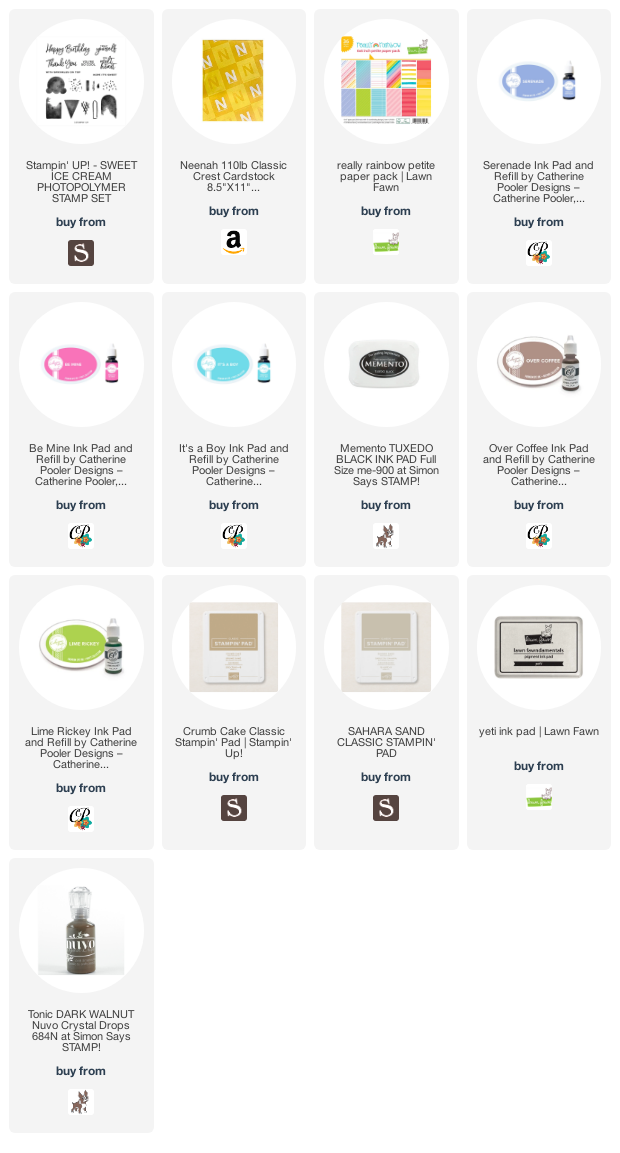
Hi everyone! I was playing with the Stampin’ Up!’s Sweet Ice Cream Stampset and tried to think of a card I can make using minimal supplies and taking advantage of all the paper in my stash! Here’s what I came up with.
I used Neenah 110lb Classic Crest Cardstock 8.5 X 11″ cut to 5-1/2 x 8-1/2″ and scored at 4-1/4″ to make the card base and cut off 1-1/2″ from the front right side of the card base. I also cut a piece of Stampin’ Up! 6 x 6 Subtles (retired) polka dot paper in So Saffron to 3 x 5-1/2″ and a piece of Lawn Fawn Really Rainbow 6 x 6 Petite Paper Pack to 1/2 x 5-1/2″ which I adhered to the front of the card and a piece of pink polka dot paper from the Doodlebug Designs 12 x 12 Milk and Cookies Petite Print Assortment (not sure if it’s available anymore) for the inside, which I cut to 1-3/8 x 5-1/2″.
Thanks for reading this post. I hope you enjoyed and I’ve inspired you to try this cute summer fun fold card using this stampset and paper from your stash! Leave comments or questions below or feel free to email me. If you want to share you creations with me tag me on instagram @kittieslovecrafting.
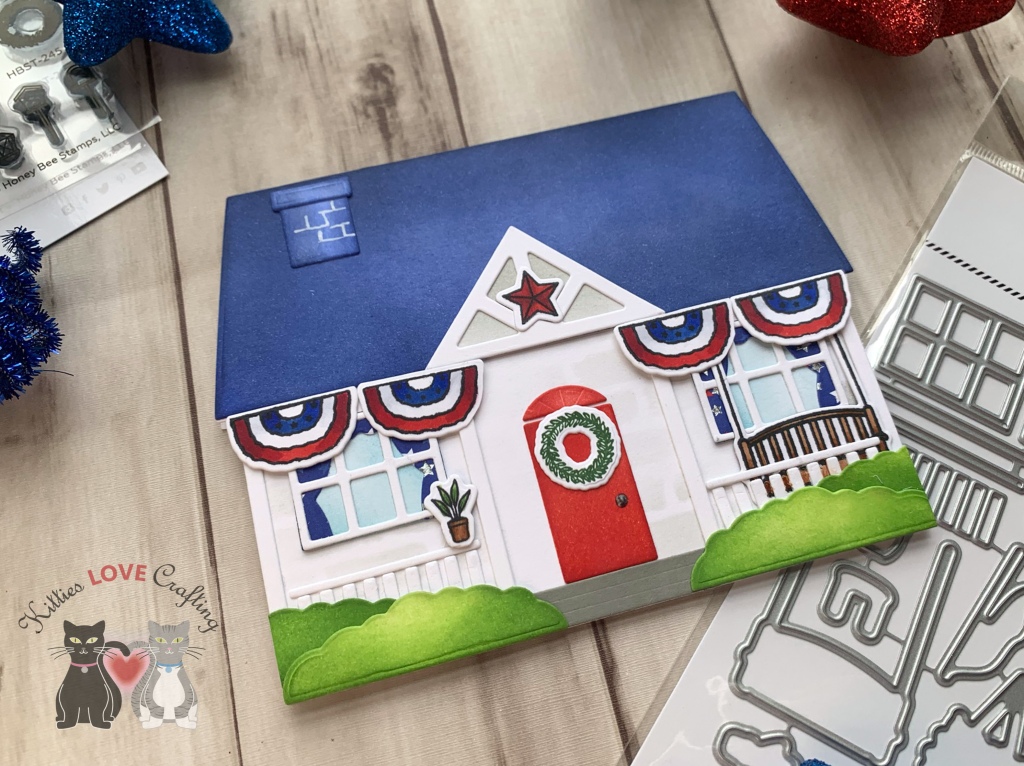
When I purchased this Honey Bee Stamps Farmhouse Add-on Dies and Stampset I knew I had to make a patriotic themed card. And love how it turned out! There really are endless possibilities with the House Builder Card Base Dies and add-on dies and stampsets available.
I stamped the decorative star, bunting, bench and one flower pot onto some Neenah 110lb Classic Crest Cardstock 8.5 X 11″ with Memento Tuxedo Ink and colored them with Copic Markers. I also stamped a wreath with Mowed Lawn Distress Ink. I used E23 and E27 for the bench and flower pot, YG17 and YG67 for the plant, R27, R46 and R59 for the star and R27, R46 & R59, B26 & B29, and C1 & 0 for the bunting. Then die cut the images with the Farmhouse Add-on Dieset. As a finishing touch I added a doorknob with Tonic LIQUID MERCURY Nuvo Crystal Drops. A die for the doorknob is included in the dieset but it’s so tiny I’m always afraid to misplace it.
On the inside of the card, I stamped a sentiment “Happy Fourth of July” using a really old greeting stampset (maybe Lawn Fawn or SSS- it was before I started labelling my stamps) and added bunting underneath.
Thanks for reading this post. I hope you enjoyed and I’ve inspired you to give these cute farmhouse card a try for yourself. Leave comments or questions below or feel free to email me.
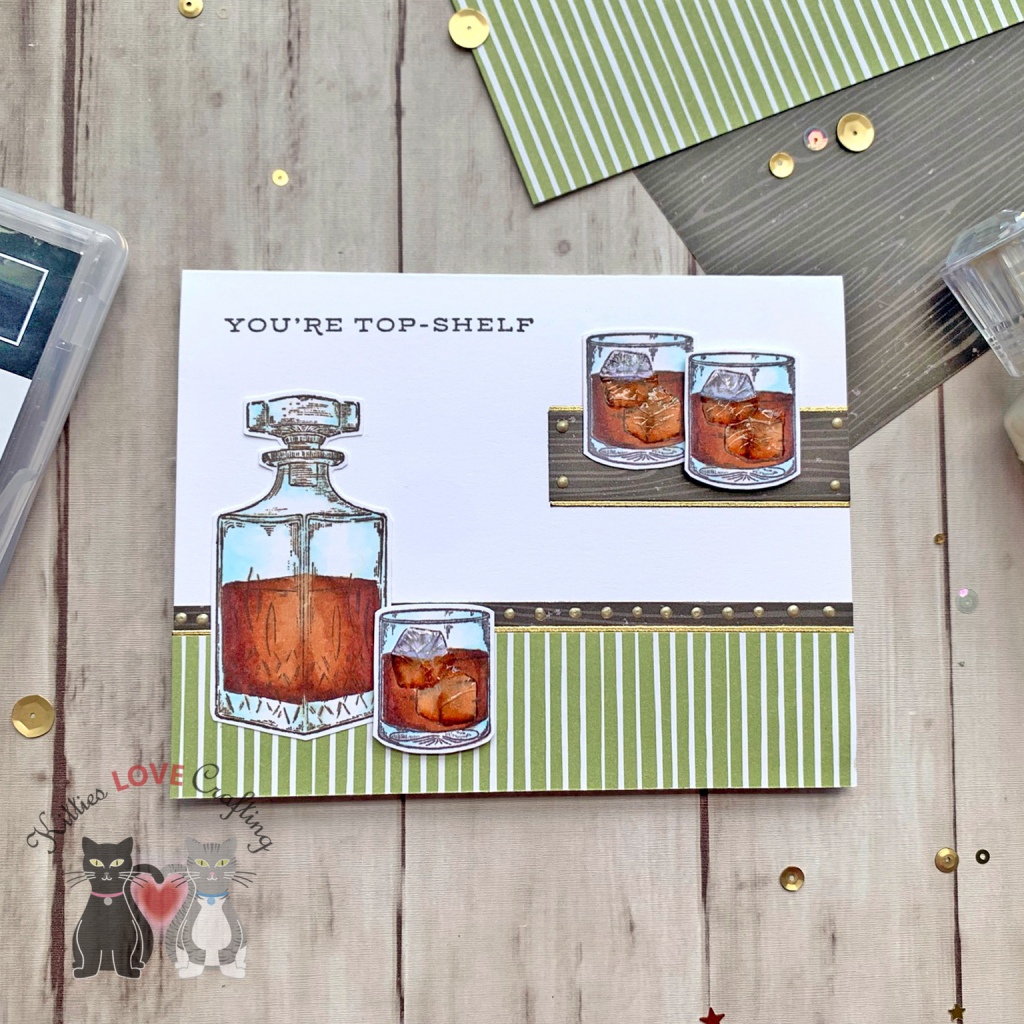
Hi friends! As promised, here I another quick and simple masculine card idea using Stampin’ Up!’s Whiskey Business Stamp Set. These can be easily mass produced and allows you to use up some of your pattern papers.
For this card, I used Neenah 110lb Classic Crest Cardstock 8.5 X 11″ cut to 5-1/2 x 8-1/2″ and scored at 4-1/4″ to make the card base. I cut a piece of striped Pear Pizazz pattern paper from the Stampin’ Up! Coffee Break 12 x 12 Designer Series Paper (retired), measuring 1-1/4 x 5-1/2″ and two pieces of the woodgrain pattern paper from the same paper pack measuring 1-1/2 x 5-1/2″ and 3/4 x 2-1/2″.
Thanks for reading this post. I hope you enjoyed and I’ve inspired you to try this easy masculine card using this stampset and paper for yourself! Leave comments or questions below or feel free to email me. If you want to share you creations with me tag me on instagram @kittieslovecrafting.
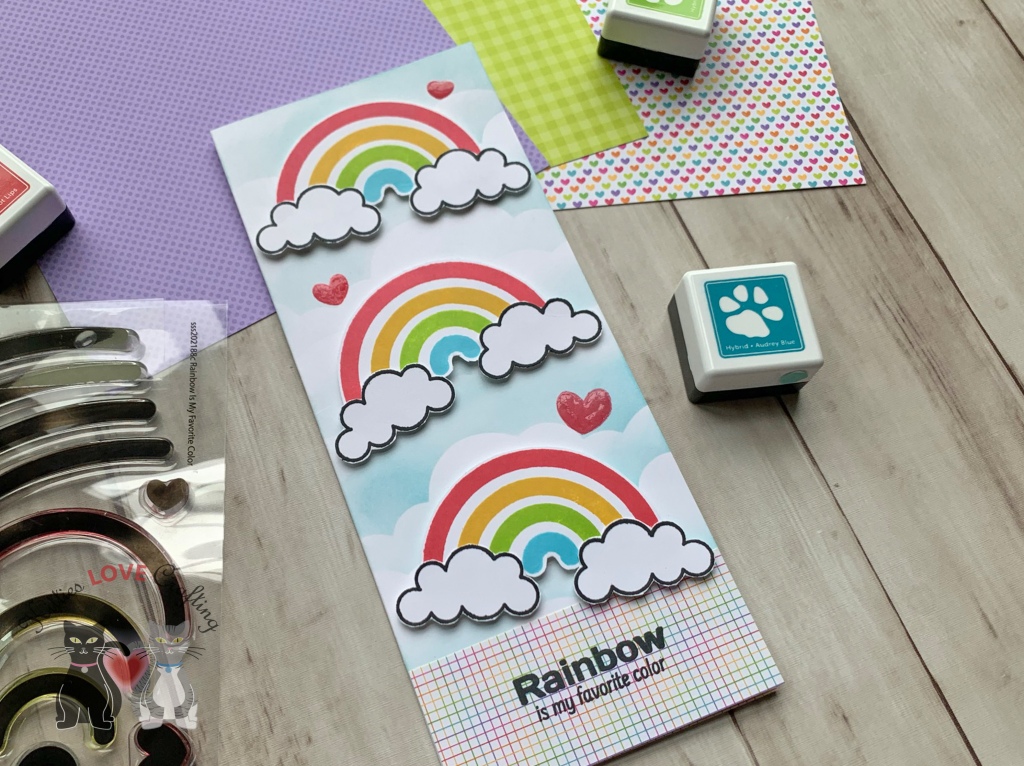
Hi everyone. This card kit just makes me happy. It’s all about rainbows and what’s not to like about that?!? The Simon Says Stamp Rainbow Is My Favorite Color 6×8 inch clear stamp set has a ton of rainbow images and cute sentiments to go along with them. Lots of options with this one. You can also use the straight stripe in non rainbow cards or make no traditional rainbows. I was definitely inspired my several of the design team cards I’ve been seeing posted on instagram @ #sssck.
For the second card, I started by cutting a piece of Neenah 110lb Solar White 8.5 x 11″ Cardstock to 7 x 8-1/2″ and scored at 3-1/2″ to make a card base. Then cut another piece to 3-1/4 x 8-1/4″.
For the third card, I started by cutting a piece of Neenah 110lb Solar White 8.5 x 11″ Cardstock to 7 x 8-1/2″ and scored at 3-1/2″ to make a card base. Then cut another piece to 3-1/4 x 8-1/4″.
I adhered the pattern paper to the card and used 3M Foam Tape to adhere the rainbows and clouds to the card. I stamped the three hearts from the stamp set with Hot Lips Ink and added Glossy Accents over them.
On the inside of the card I cut a piece of the same pattern paper as the front of the card to 1-1/4 x 3-1/2″.
Thanks for reading this post. I hope you enjoyed and I’ve inspired you to make some cards using this kit yourself! If you want to share you creations with me tag me on instagram @kittieslovecrafting. Leave comments or questions below or feel free to email me.


 https://linkdeli.com/widget.js?id=f5e8378456858c916708