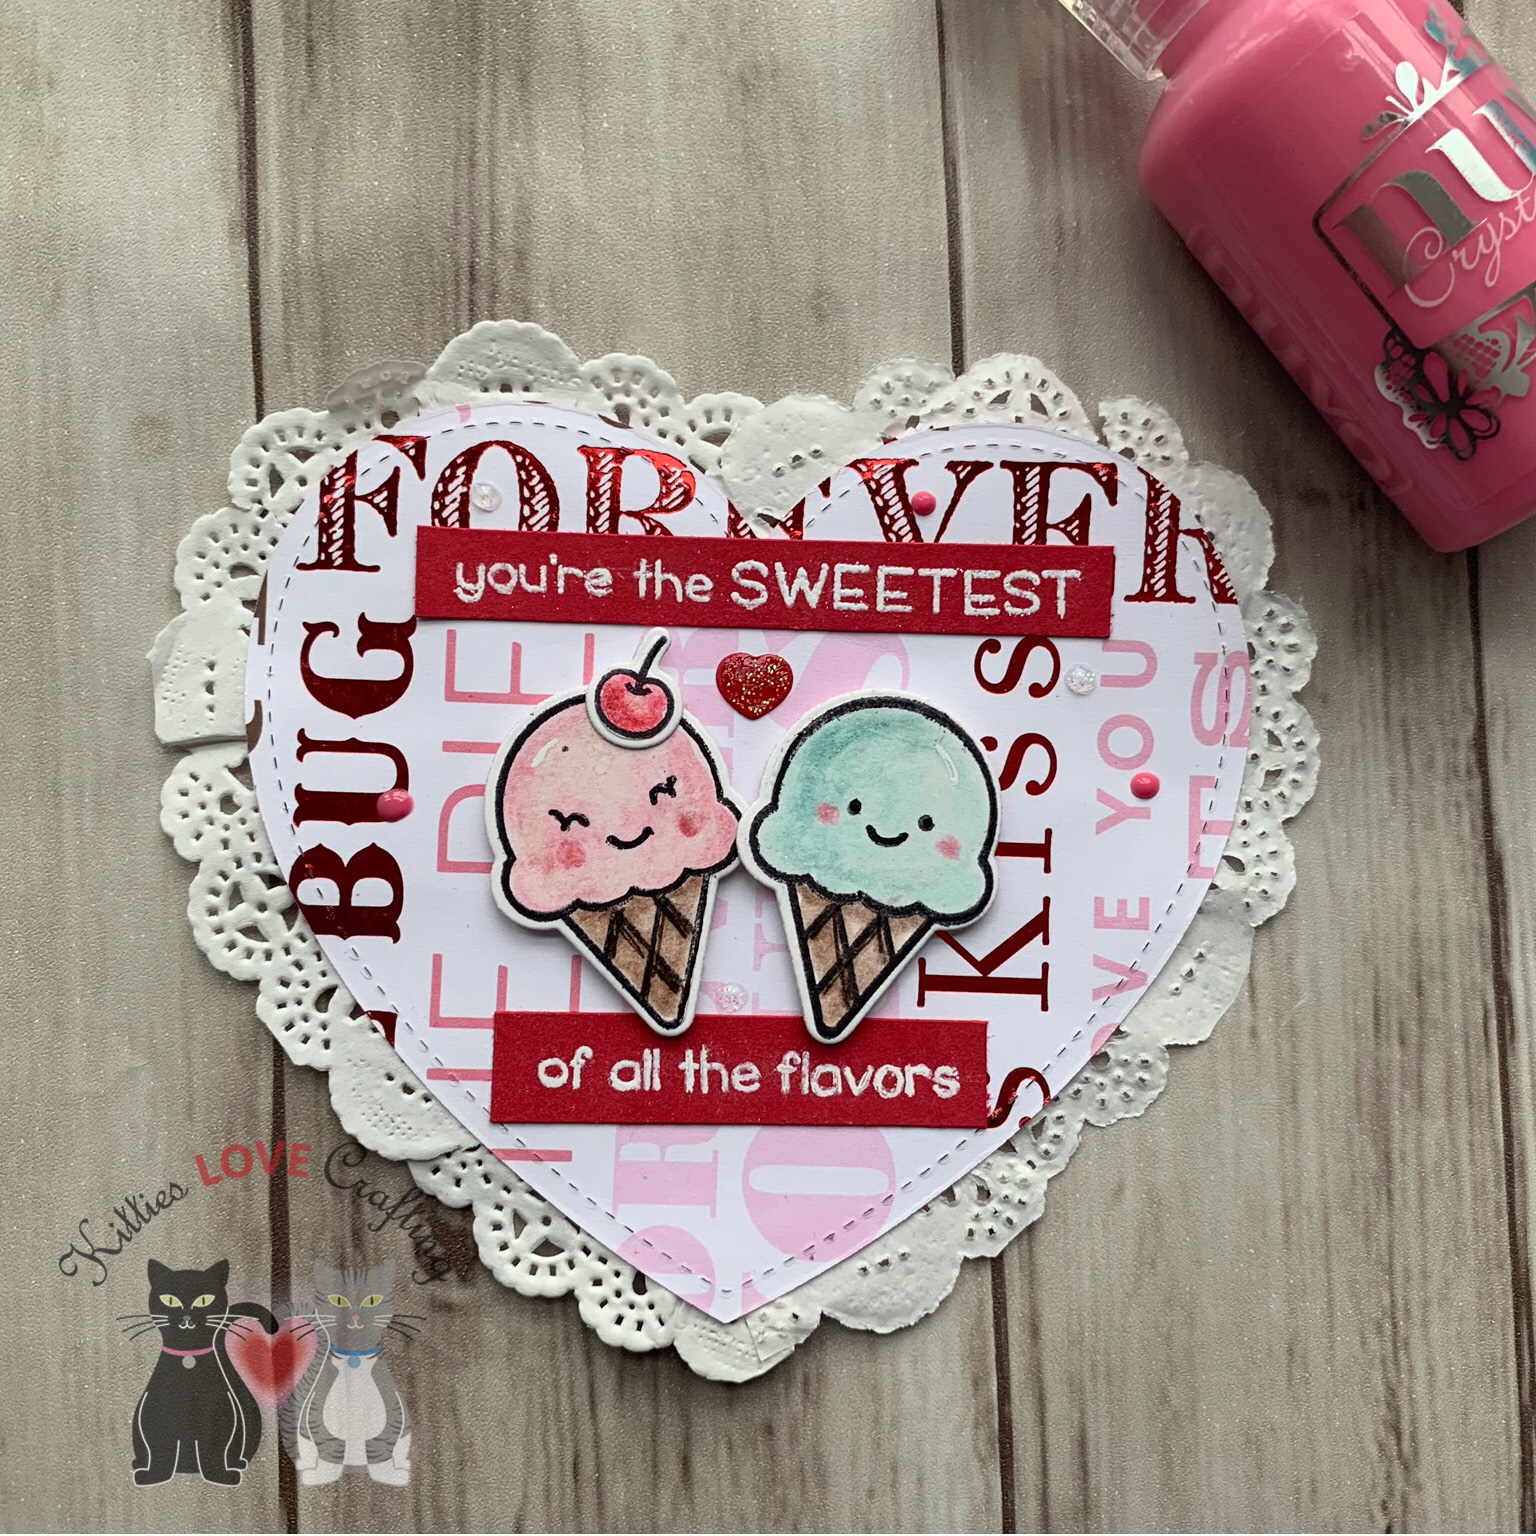
Celebrate Spring
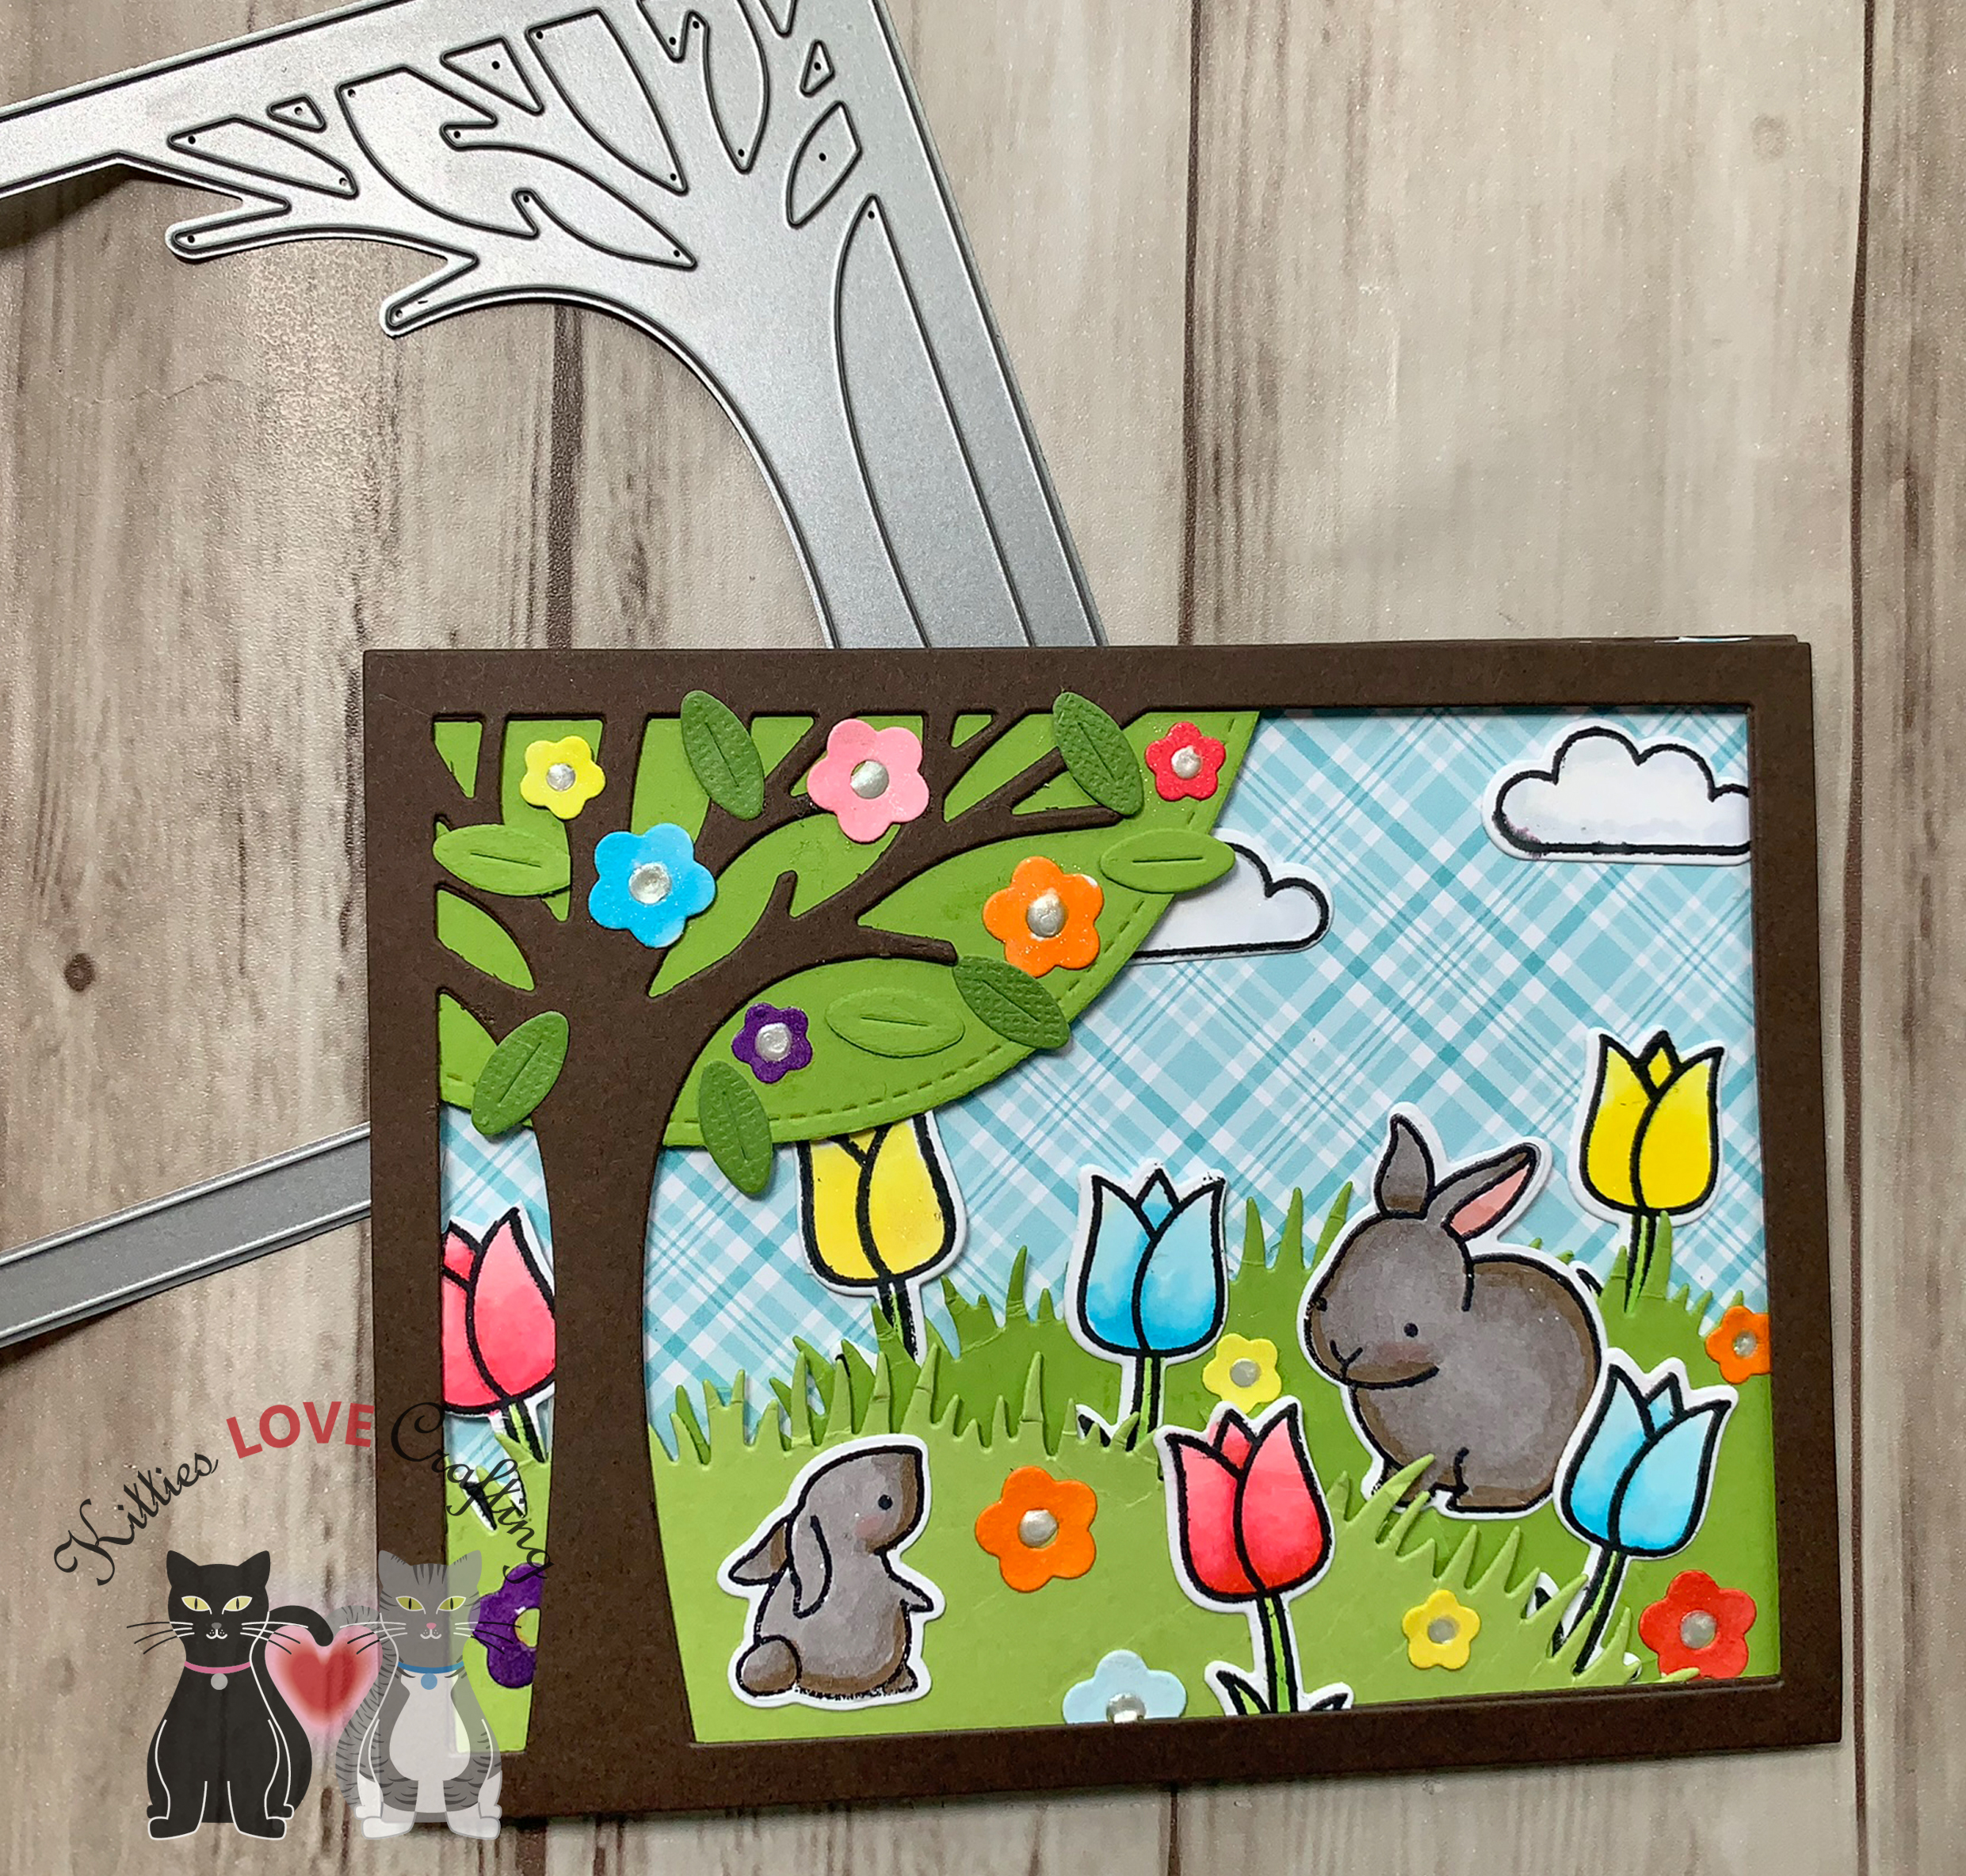
Happy Friday!!! It’s time to celebrate the arrival of Spring with this cute card featuring bunnies hopping through the tulips. Can also be used as an Easter card. This card is available for purchase in my Etsy shop.
Ok it may be winter still but I wanted to show how you all that you can use stamps meant for a specific event or holiday and use it for other type of cards. This allows us to stretch our stamps and dies.

I used an older Lawn Fawn stampset, Hello Baby, which is meant for baby cards and used it for a Spring scene instead. Lawn Fawn stamps are great because you can combine different stampsets and they look like they belong together.
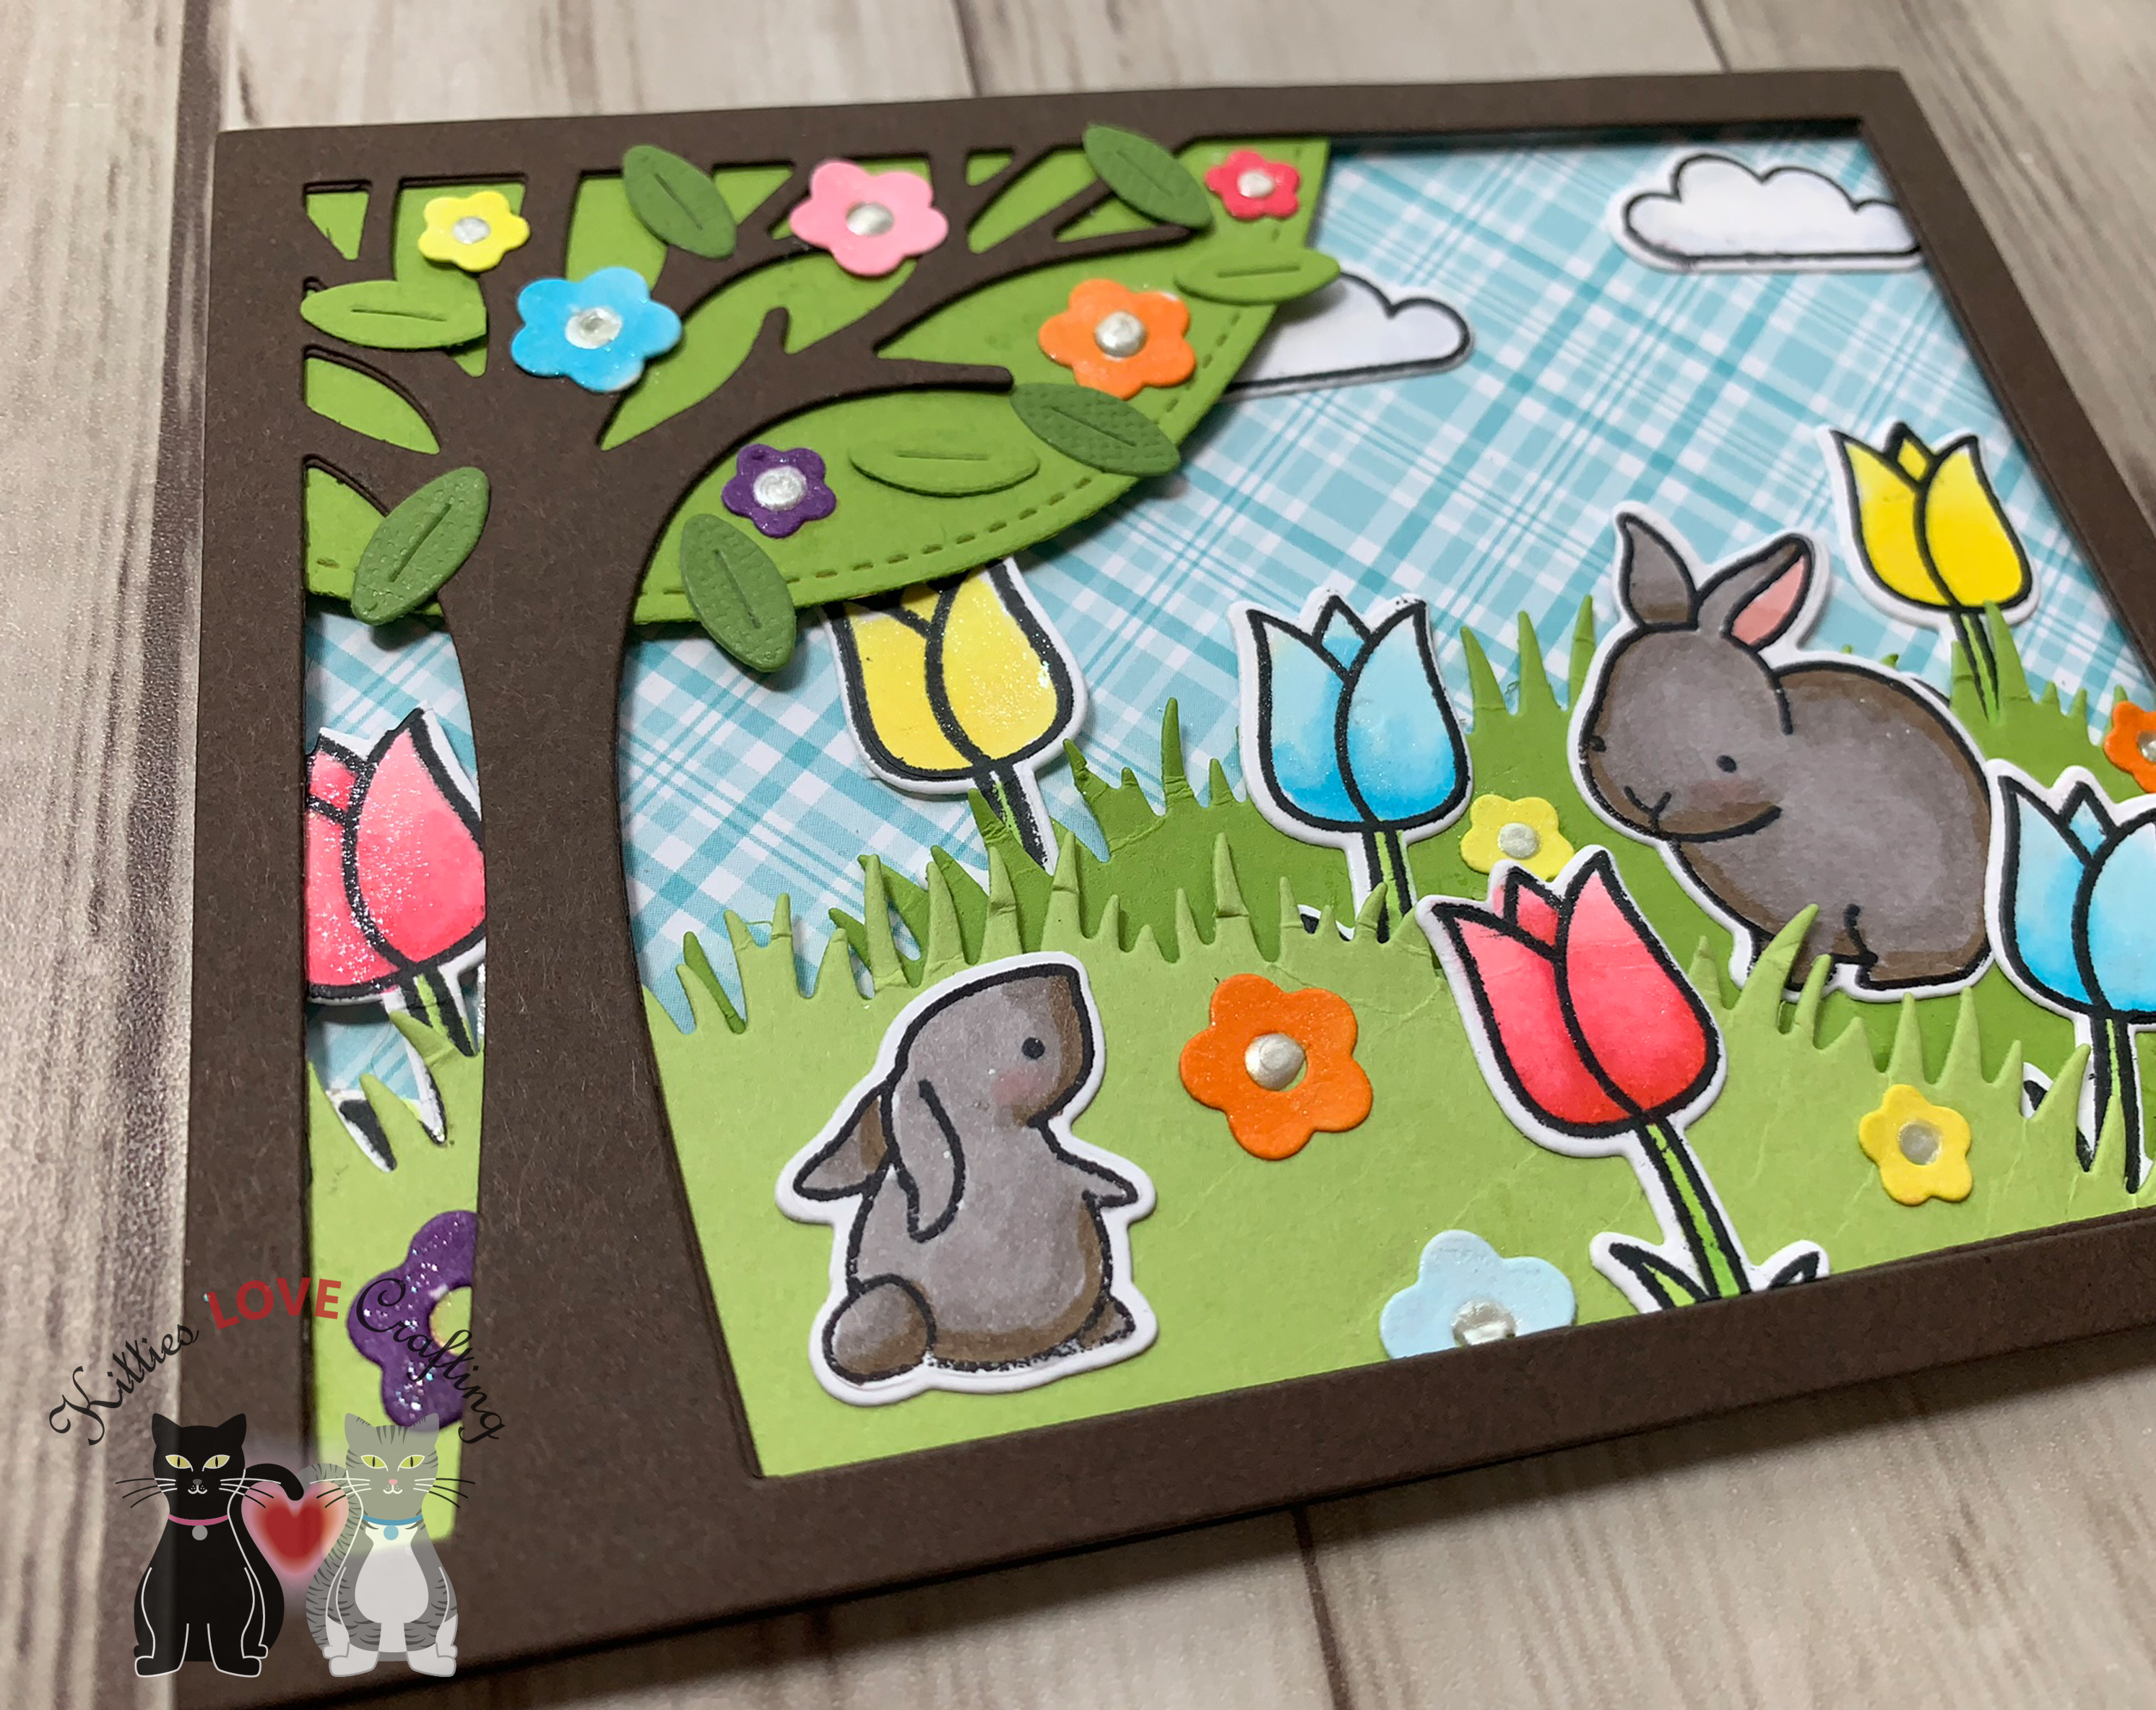
WThis card base is a made from Stampin’ Up! Early Espresso cardstock. The sky was made with Lawn Fawn Perfectly Plaid Rainbow 6 x 6 patterned paper and the tree, grass and flowers were diecut from colored card stocks. I used Lawn Fawn’s Leafy Tree Backdrop for the tree and leaves background, Lawn Fawn’s Grassy Hillside Borders for the grass, and the dies from Hello Baby, for the tiny flowers and clouds. The bunnies and tulips on this card were colored with COPIC markers and cut with coordinating dies. Nuvo drops in Ivory Seashell and Spectrum Noir Clear Overlay Sparkle Brush Pen was added to the tiny flowers for some embellishment.
The inside of the card is decorated with matching pattern paper and diecut tiny flowers. Then stamped with “Happy Spring” using Lawn Fawn How You Bean?

Supplies:
- Paper – Neenah Solar White 110lb Cardstock , Lawn Fawn Perfectly Plaid Rainbow 6 x 6 Paper (no longer available), Colored cardstock scraps
- Inks – Tuxedo Black Memento Ink
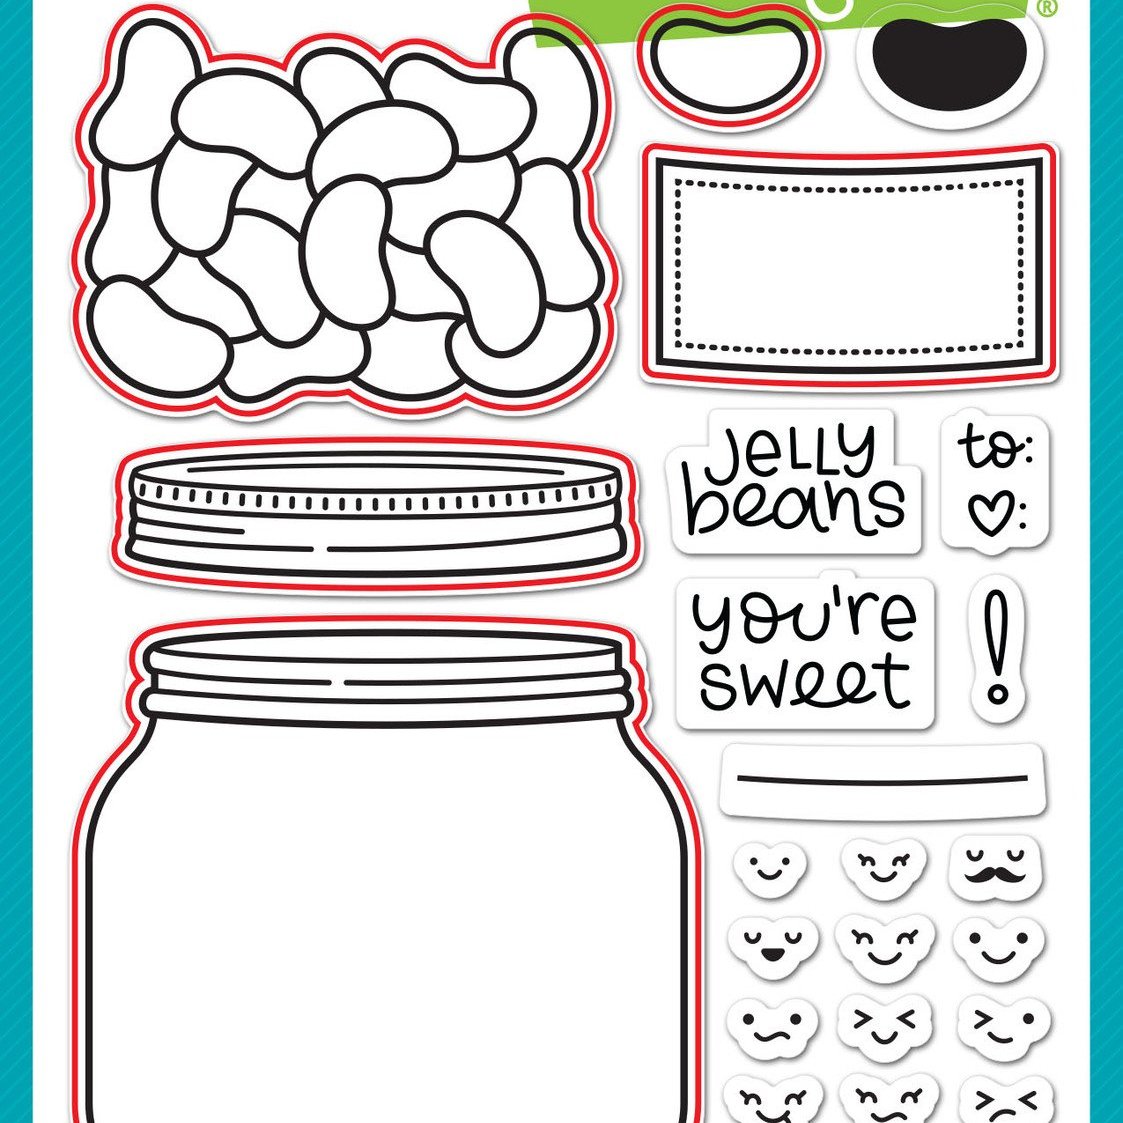
- Stamps – Hello Baby, Lawn Fawn How You Bean?
- Dies – Lawn Fawn’s Leafy Tree Backdrop, Lawn Fawn’s Grassy Hillside Borders
- Embellishments – Nuvo drops in Ivory Seashell, Spectrum Noir Clear Overlay Sparkle Brush Pen
- Coloring Tools – Copic markers
- Adhesives – Tombow Mono Multi Liquid Glue, 3M foam tape, Stampin’ Dimensionals
Hope you’ve enjoyed this process post and I hope I’ve inspired you to create some cards of your own. Thanks for stopping by and once again please leave questions in the comments or feel free to email me if you prefer.


 Step 1
 Step 2A
 Step 2B
 Step 3
 Step 4A
 Step 4B