September is coming to a close very soon and you may be starting to panic if you don’t have enough or any Christmas cards made yet. I’ve been there so I know the feeling. Much as we try to keep to schedule and timelines sometimes life gets in the way.
Well I’m here to help. Beginning my Christmas card series today and hopefully will give you lots of ideas for cards. I rarely mass produce cards for Christmas (unless I run out of time) but some of the cards I will be making can be easily mass produced. I will do my best to give you as many options as possible.
Non Traditional Christmas Card
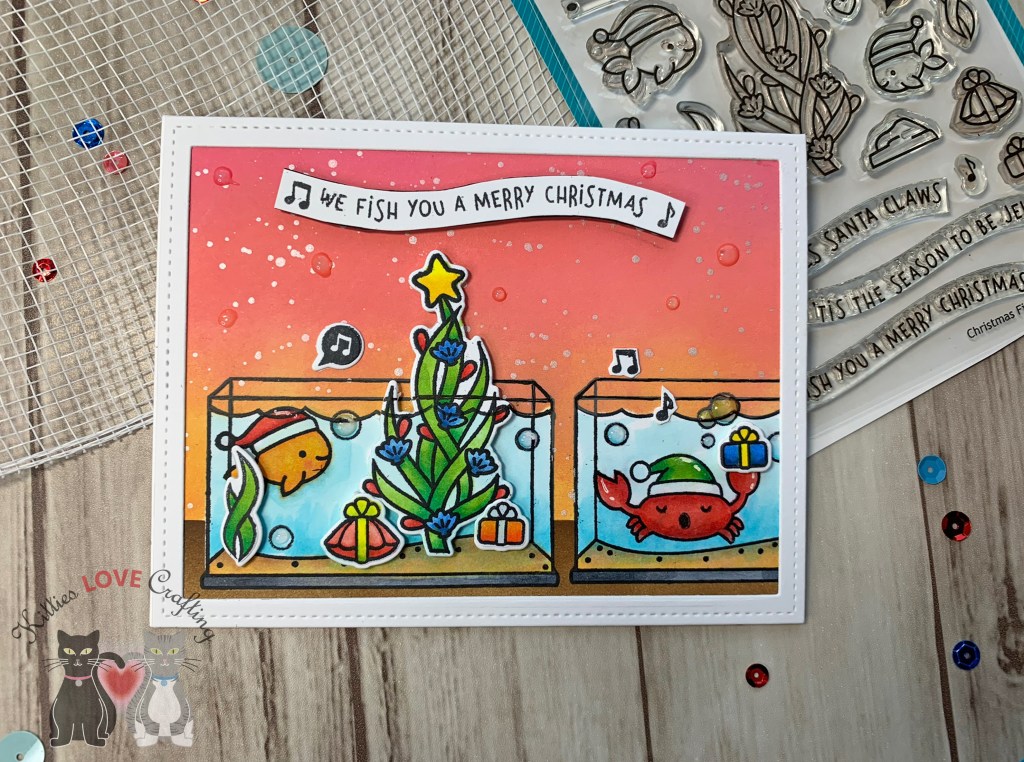
Going to kick this off with this cute card featuring fish from the Lawn Fawn Christmas Fishes Clear Stampset. While this card is a little involved (lots of coloring), the results are worth the effort. For this one I wanted to try not to use 100% traditional Christmas colors since this stampset is not your traditional Christmas one. Fish with santa hats and an underwater Christmas tree?!? What a brilliant idea! And as always Lawn Fawn sea creatures are super cute. Ok, I digress…
Using my MISTI, I stamped all the images onto the 4 x 5-1/4″ white panel. Originally I was going to make this card flat but in the end I decided to pop things up. So I stamped all the images as well as additional presents, a fish and the tree and plants onto Neenah 110lb Classic Crest Cardstock 8.5″X11″ with Memento Tuxedo Black Ink. I also stamped 2 additional images of the fish tank and 1 of the tree onto Super Sticky Post-It Notes to use as a mask. I fussycut the masks out and placed them on my card. Time to get inky…
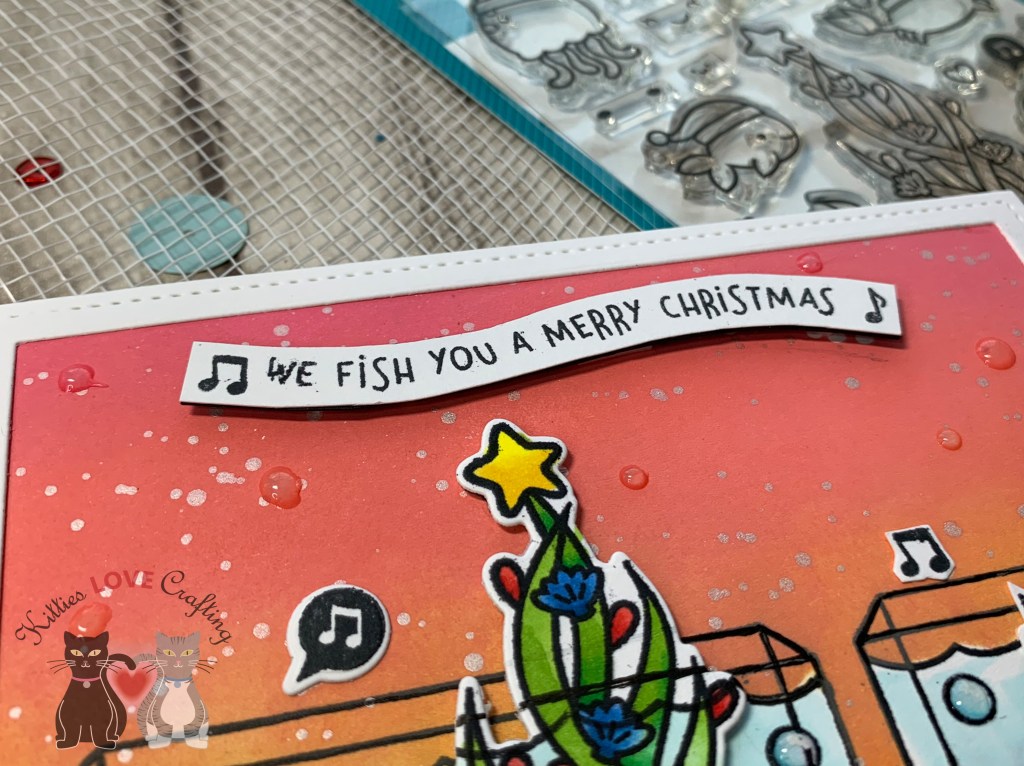
I glued the top panel to the card base and then added the white stitched border with some Simon Says Stamp Foam Tape. I added the sentiment strip to the card with Foam Tape as well. To finish off the front of the card, I added some Nuvo Drops in Morning Dew to the water bubbles.
I kept the inside of the card very simple and just stamped another sentiment with Memento Tuxedo Black Ink and some water bubbles.
Lastly, I stamped the little crab and some water bubbles onto a white envelope with Memento Tuxedo Black Ink .
Thanks for reading this post and I hope I’ve inspired you to start making Christmas cards of your own. Leave comments or questions below or feel free to email me.
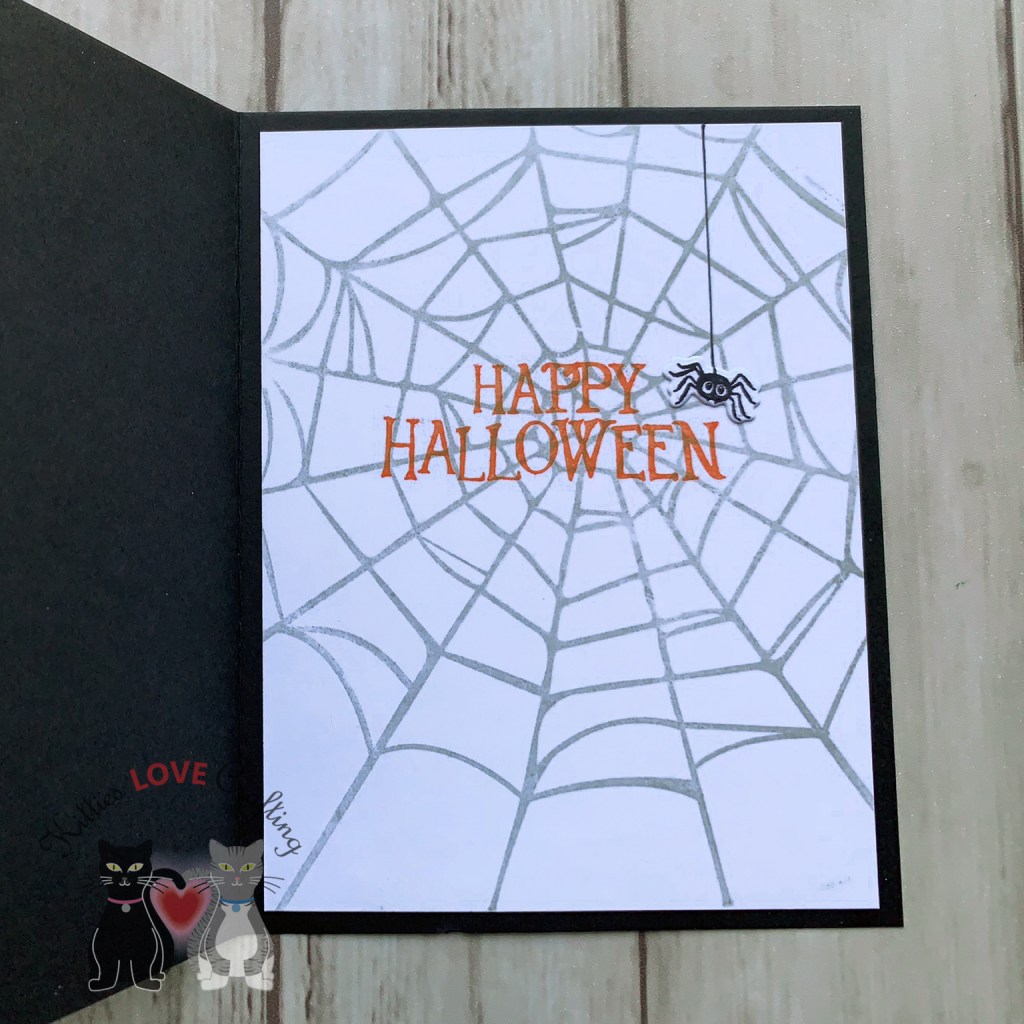
Happy Friday friends! Coming to you today with a fun and easy Halloween card featuring the Spooky Hollow by Catherine Pooler Designs and Everything but the Broom by Catherine Pooler Designs Stamp Sets. I love, love, love these two stampsets! The whole Halloween collection which was released last year is great fun but these two stampsets are my fave! If you don’t like to color images this is the card for you! Let’s get started…
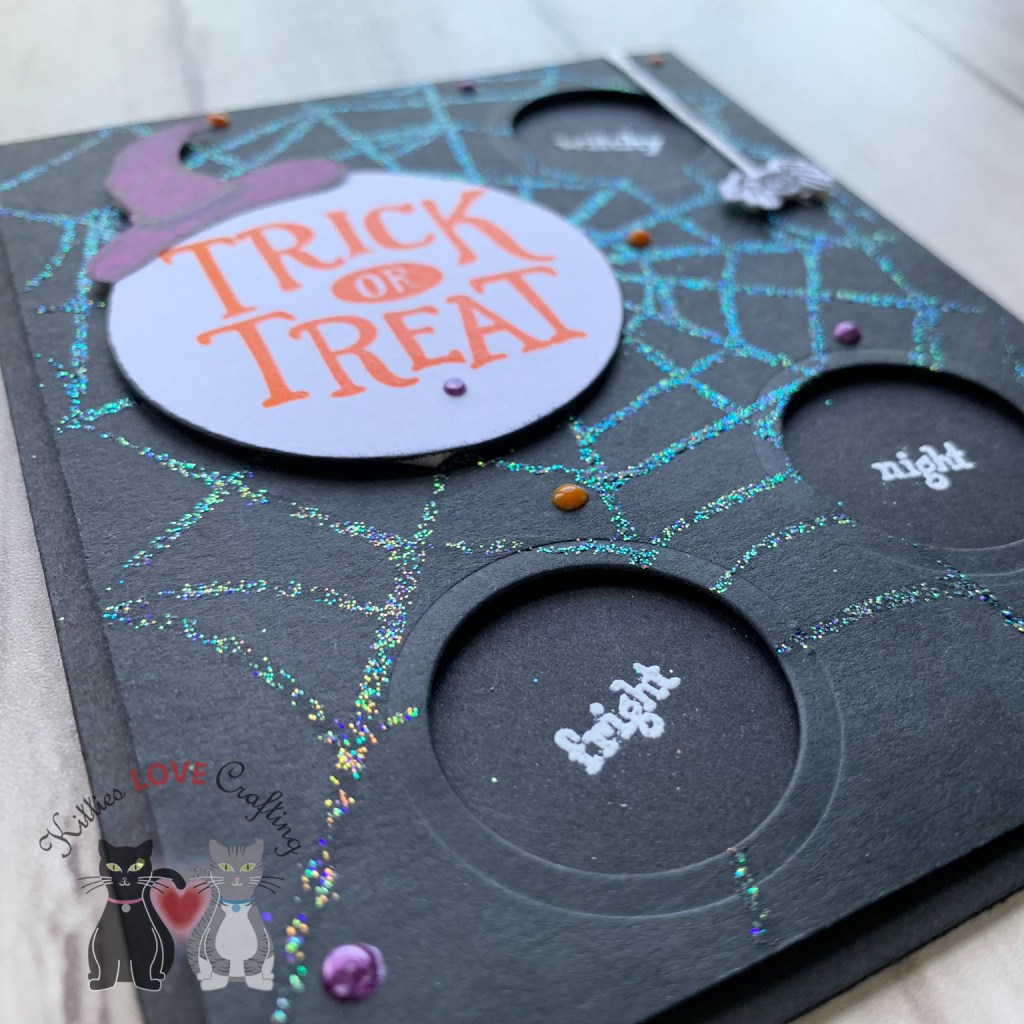
I added some Foam Tape to the back of the panel and adhered the three words behind each window, then adhered it to the card base. For the three words that go inside the windows I just cut them into squares before adhering them.
I adhered the sentiment circle and the hat with some Stampin’ Dimensionals to the card as well as the spider. I added some White Cotton Embroidery Floss (which I’ve had in my stash for ages BTW) for the spider’s string. I finished it off with some Nuvo Crystal Drops in Violet Galaxy and Ripened Pumpkin.
Thanks for reading this post and I hope I’ve inspired you to go make some Halloween cards of your own. Leave comments or questions below or feel free to email me.
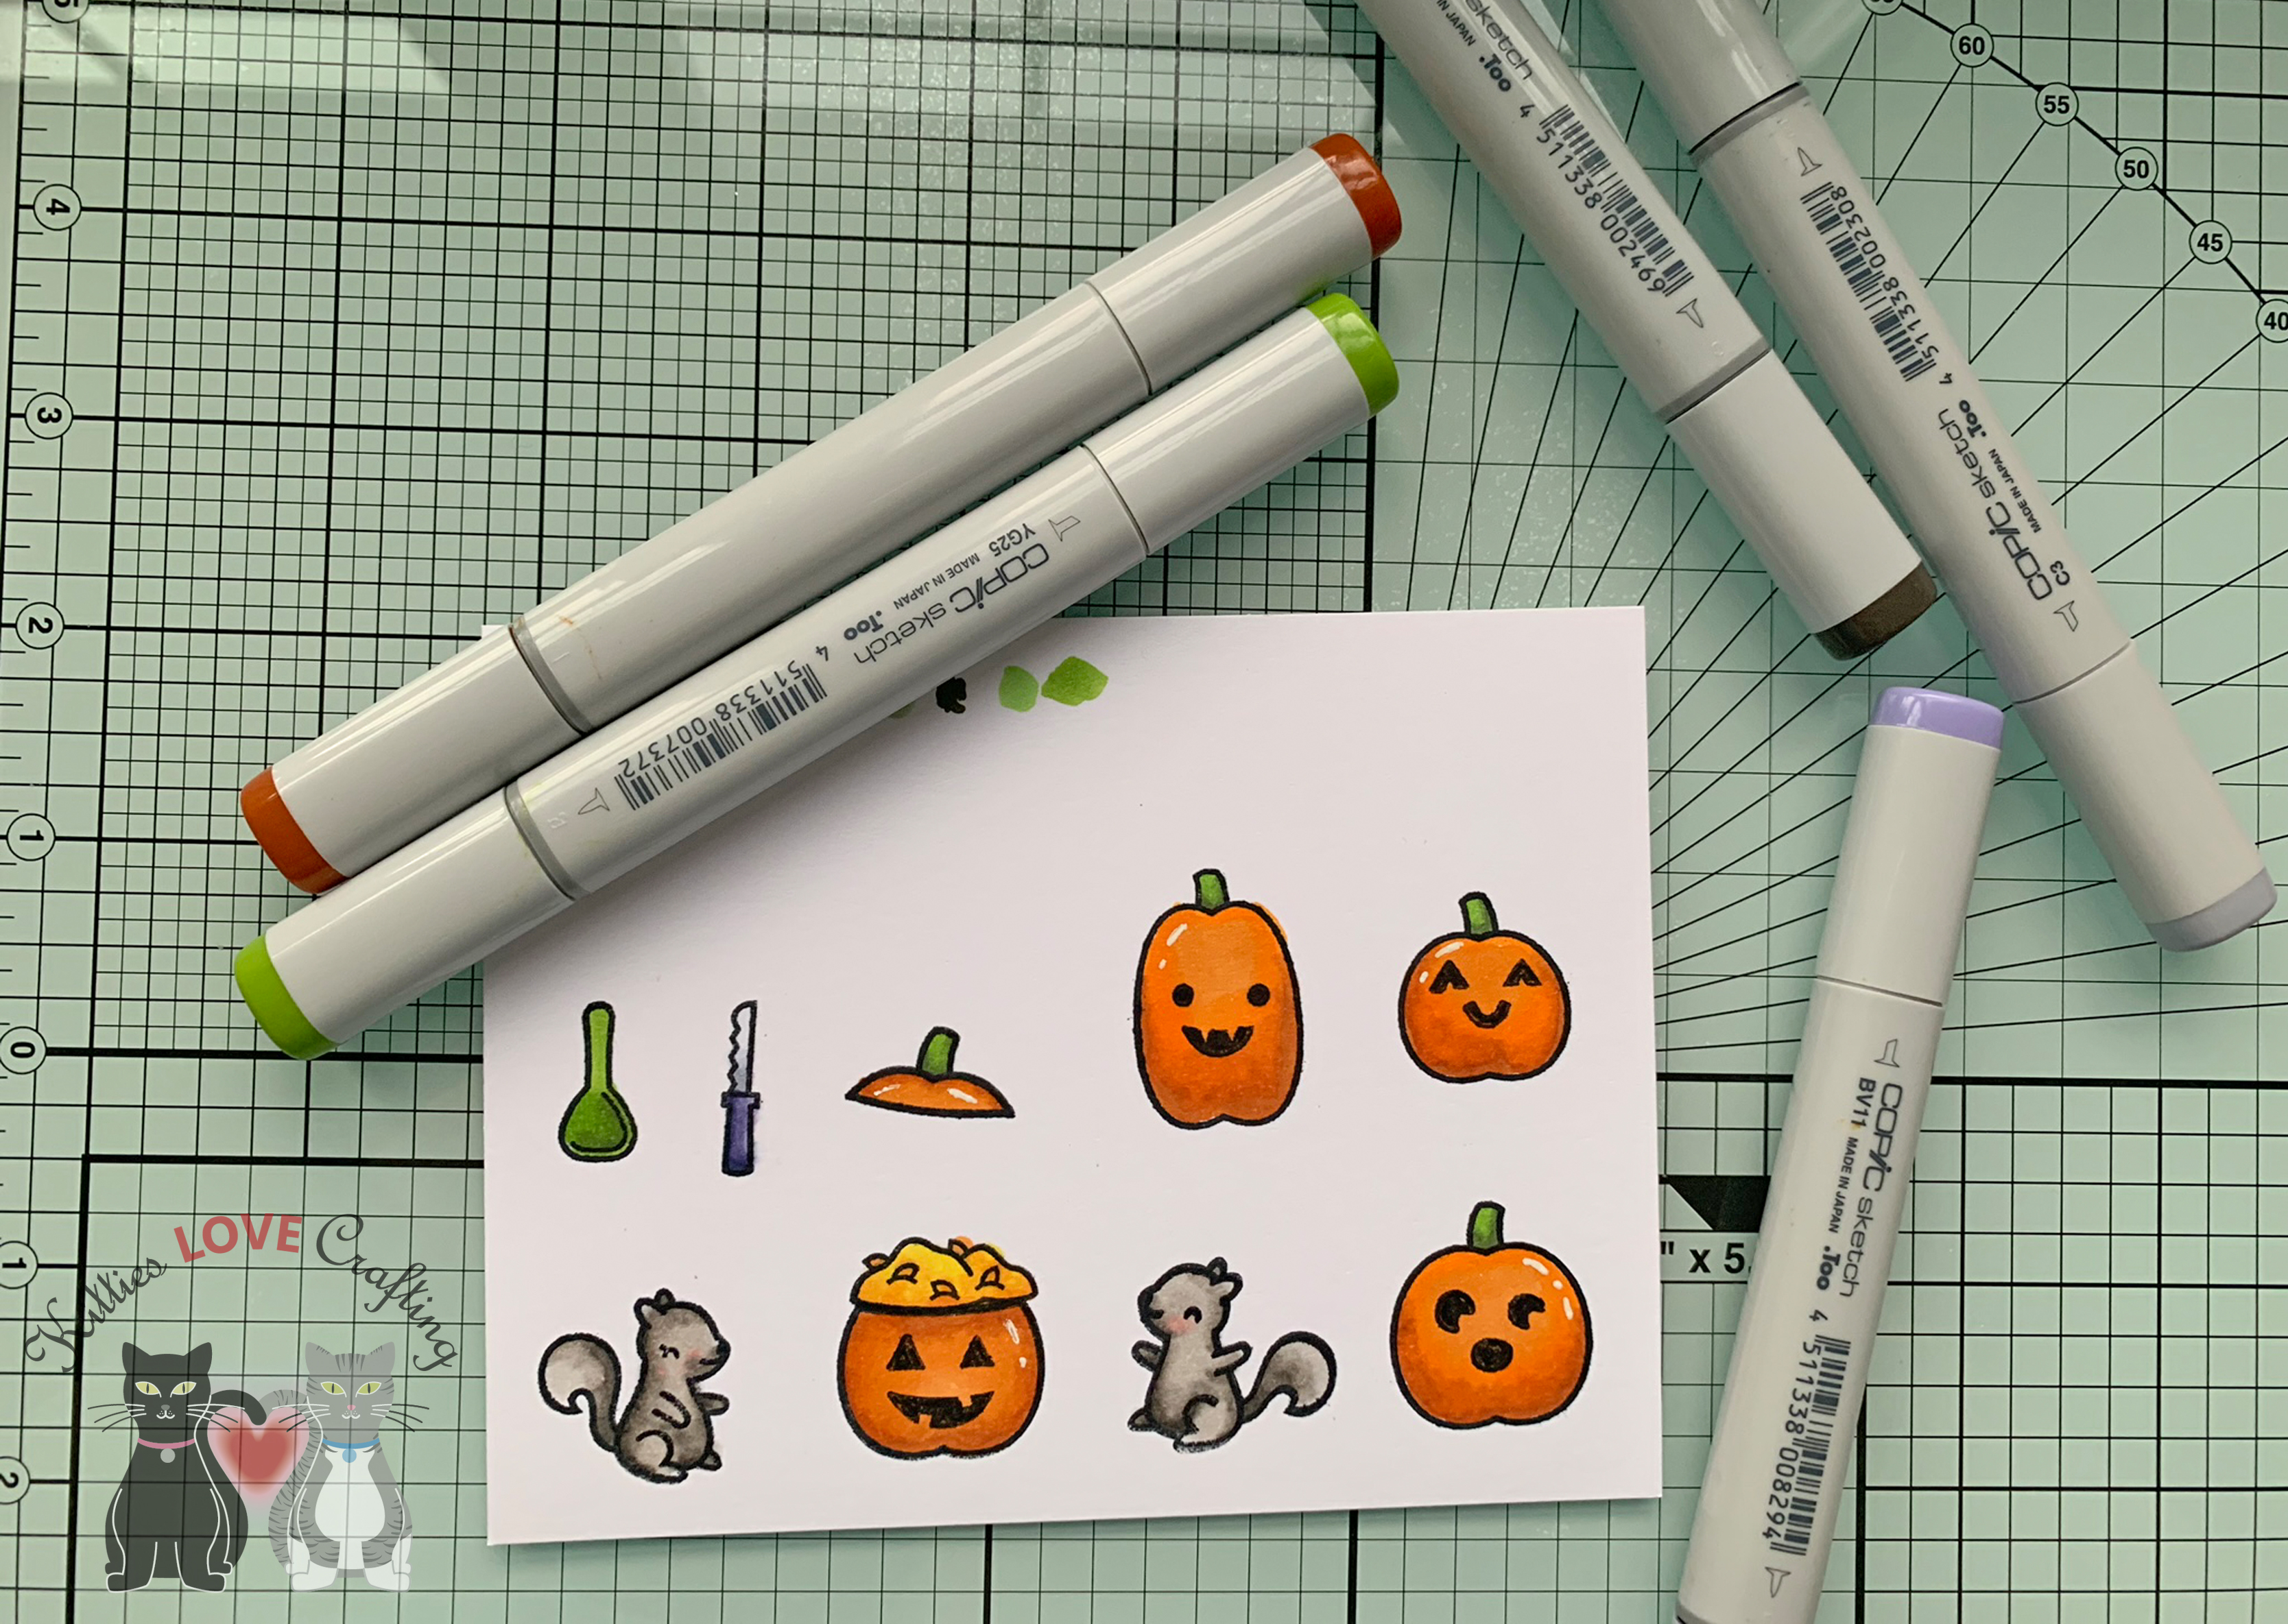
While the inks dried, I stamped the all the pumpkins, the squirrels and the carving tools and added faces to the pumpkins from the Lawn Fawn Pick of the Patch stampset using Memento Tuxedo Black Ink. I will be coloring these with Copics later. I set those aside to dry and added some Peeled Paint Distress Ink to the bottom 2/3 of the grassy hillside.
It was time to color. I like to do this usually while watching some videos on my Ipad. Just relax and color. Sometimes when I don’t feel inspired to create, I will stamp out images from stampsets I may have sitting on my desk waiting to be used and just sit and color them while watching TV.
I used Copic Markers to color everything (all the colors are listed at the end of this post. I diecut those images out with the coordinating dies. I also added some highlights with my Uni-Ball Signo White Gel Pen.
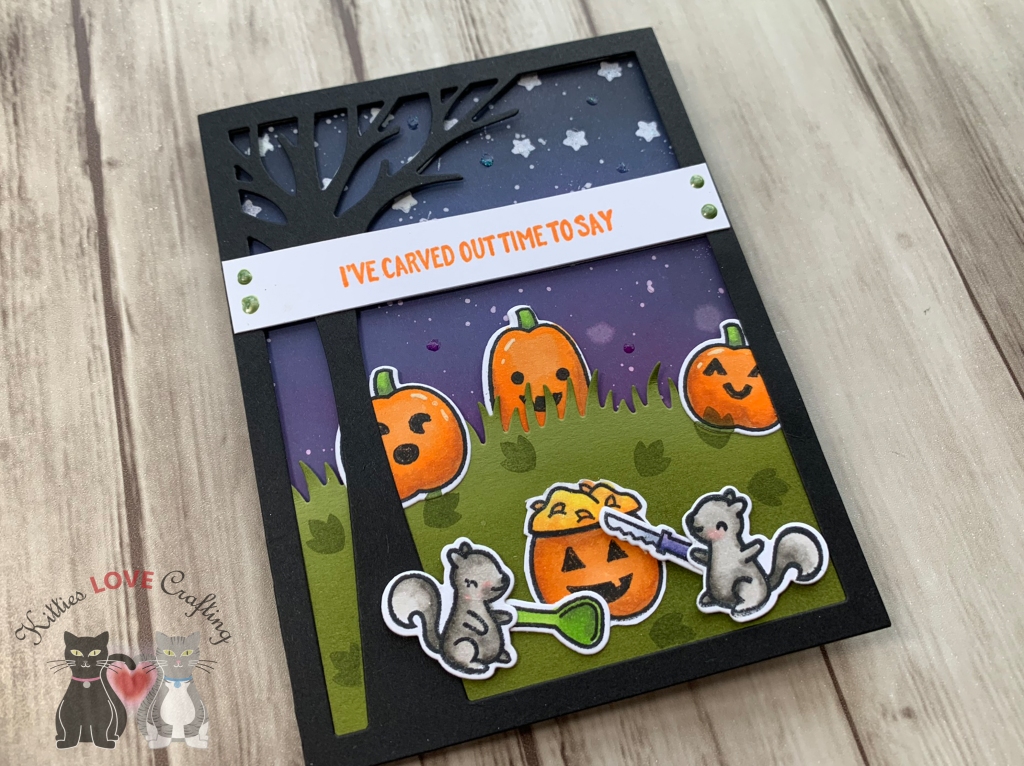
Ok, it’s time to assemble this card. I adhered the grassy hillside to the tree backdrop panel first. Trimmed off any excess cardstock and added some Foam Tape behind all of the grass and tree backdrop. I left the top of the grass without Foam Tape so I can tuck some pumpkins behind it. I aligned the sky panel behind the tree backdrop and stuck those together. I laid out my images where I wanted and adhered them onto the panel, tucking two pumpkins behind the grass, one in front of it but all adhered flat. I then adhered the carved pumpkin towards the bottom and popped up the squirrels and carving tools with some Stampin Up! Dimensionals.
I adhered the sentiment strip to the top 1/3 of the card over the tree. I added this completed panel to a card base created from Simon Says Stamp Black Cardstock and measuring 5-1/2 x 8-1/2″and scored at 4-1/4″. Last but not least, I added some Nuvo Glitter Drops in White Blizzard to the sky to add some sparkle and Nuvo Crystal Drops in Bottle Green on each side of the sentiment strip.
Thanks for reading this very long post and I hope I’ve inspired you to make some Halloween cards of your own. Leave comments or questions below or feel free to email me.
Halloween is just 7 weeks away but who’s counting?!? Umm. Me! I love Halloween even if I don’t get to dressed up anymore. It’s still sooo much fun!!!!
So I’m kicking off my Halloween series with an easy card. Black cardstock, stamps, embossing powder and some colored pencils is all you really need. So grab your favorite Halloween stamps and let’s begin!
I started with a panel of Simon Says Stamp Black Cardstock cut to 5 1/2 x 4 1/4″. When your whole image is going to be heat embossed, it’s a good idea to start with a piece of paper/cardstock that is slightly larger than you will need. This gives room for errors. God knows I need it! LOL.
I prepped the surface with an anti-static bag (especially important on dark cardstocks) and stamped the house, the tree, one bat and the moon first, using Versamark clear embossing ink and Wow white embossing powder. Next, I reapplied some more anti-static powder and stamped and heat embossed the second bat and the fence which I had to stamp 3-4 times to get a continuous fence. Then stamped and white heat embossed the sentiment onto a scrap of Simon Says Stamp Black Cardstock. Before I diecut this panel out, I added some white dots with my Uni-Ball Signo Broad Point White Gel Pen to the sky. This can also be done with paint splatters. I just wasn’t in the mood for the mess that day.
Time to color the house… You can certainty leave it uncolored but I wanted it to stand out and I was curious to see how my Prismacolor Pencils looked on the black cardstock.
I used two greens for the roof and door, two purples for the house, two greys for the porch floor, a yellow for the window shutters and a yellow orange for the inside of the window, and finally two reddish browns for the wood boards. Prismacolor Pencils have a rich pigment so they show up on dark cardstock nicely. Then I fussycut the sentiment and adhered it using Stampin’ Dimensionals.
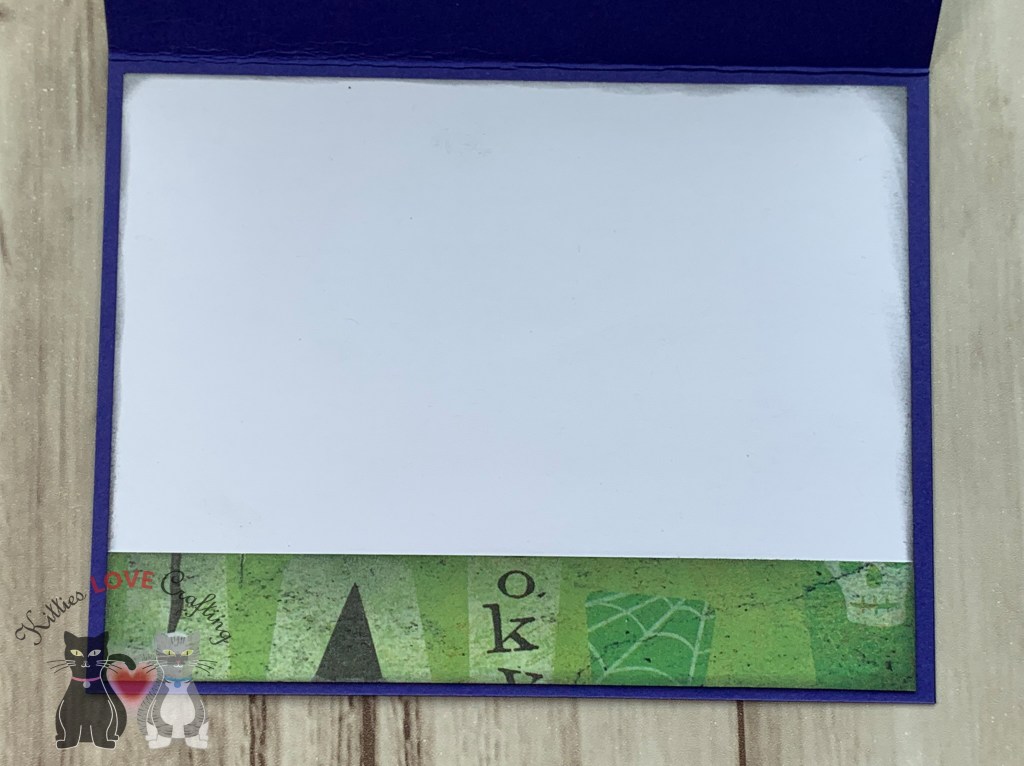
Lastly I finished off the card with some Nuvo Glitter Drops in White Blizzard. But I couldn’t leave the inside empty so cut a panel of Neenah 110lb Classic Crest Cardstock 8.5″X11″ to 8 1/2 x 5 1/2″ and adhered a piece of the same Halloween pattern paper, measuring 3/4 x 5-1/4″ to the bottom edge, which I also distressed with Black Soot Distress Ink.
But I didn’t stop there. I was having too much fun with this card so I used the fence stamps from Spooky Hollow by Catherine Pooler Designs and white heat embossed it along the bottom edge of a black Euroflap Envelope.
Hello friends. I would like to talk to you all about pattern paper and cardstock today. Most of us have a ton of it, some of us use it and some of us hoard it (Guilty as charged. LOL) Sometimes we have pattern papers that have images on them but no coordinating stamps (either you didn’t purchase them or the manufacturer didn’t create a coordinating stampset). These two paper packs from Brutus Monroe were part of their June release. Very fruity and summery but there is no coordinating stamps. I have several fruity stamp sets that will work with this paper but I know that many other people may not.
So I decided to challenge myself to make cards with just the paper and some sentiments from my stash. Since it’s still summer I decided to use fruity paper. Fruit is a delicious summer treat!
Ok, time to work on the background. I chose 4 pattern papers from the pack, cut one to 1/2 x 2-1/4″, one to 2 x 3-1/4″, one to 2 x 3-7/16″ and the last one to 2 x 2″. I adhered them on the white card base as per the below sketch. If you want a gap between your rectangles cut them down to 1/16th smaller on each side. I added a strip of the thicker width Pin Stripe Peel-Off Stickers – Apple Green by Love From Lizi vertically in the center, then the narrowest width strips to the outer edges and in between the panels horizontally.
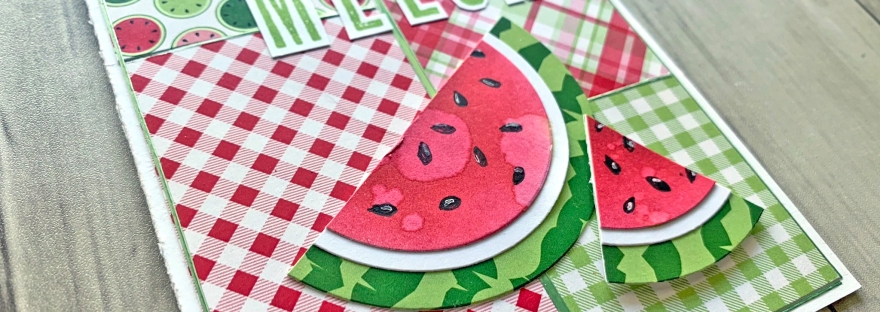
I laid out my sentiments and watermelon pieces onto my card to figure out placement. Once I was happy with it, I adhered all the pieces down, popping up one watermelon slice with Stampin’ Dimensionals by Stampin’ Up! . To finish this card, i added some Tonic Nuvo Drops in BOTTLE GREEN.
I had so much fun playing with these papers from Brutus Monroe that I decided to make another card.
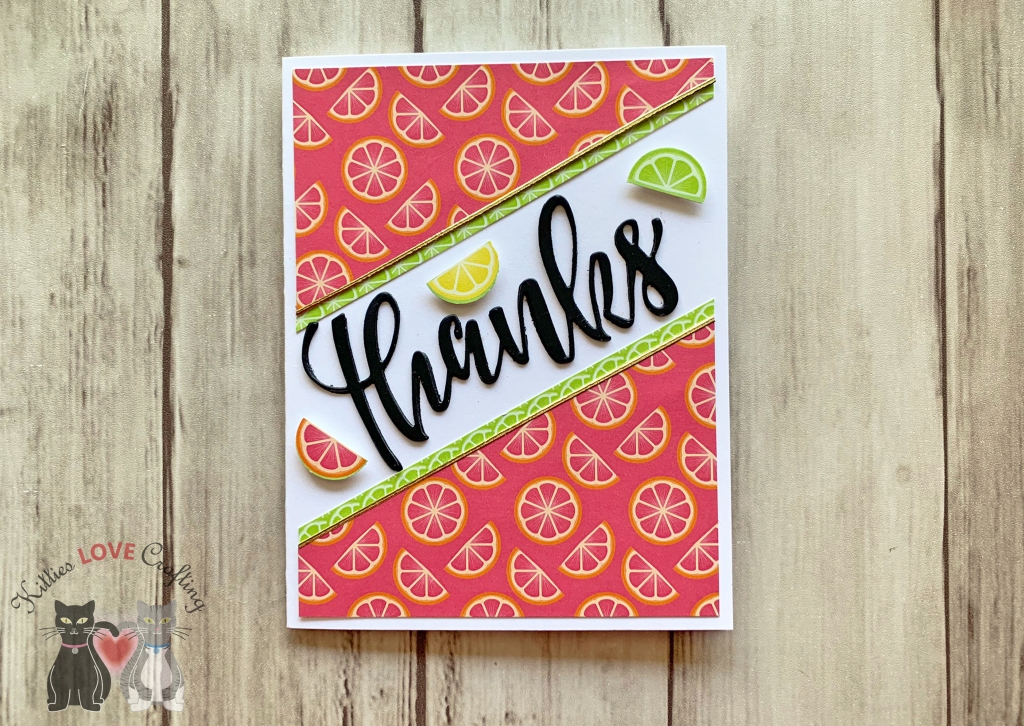
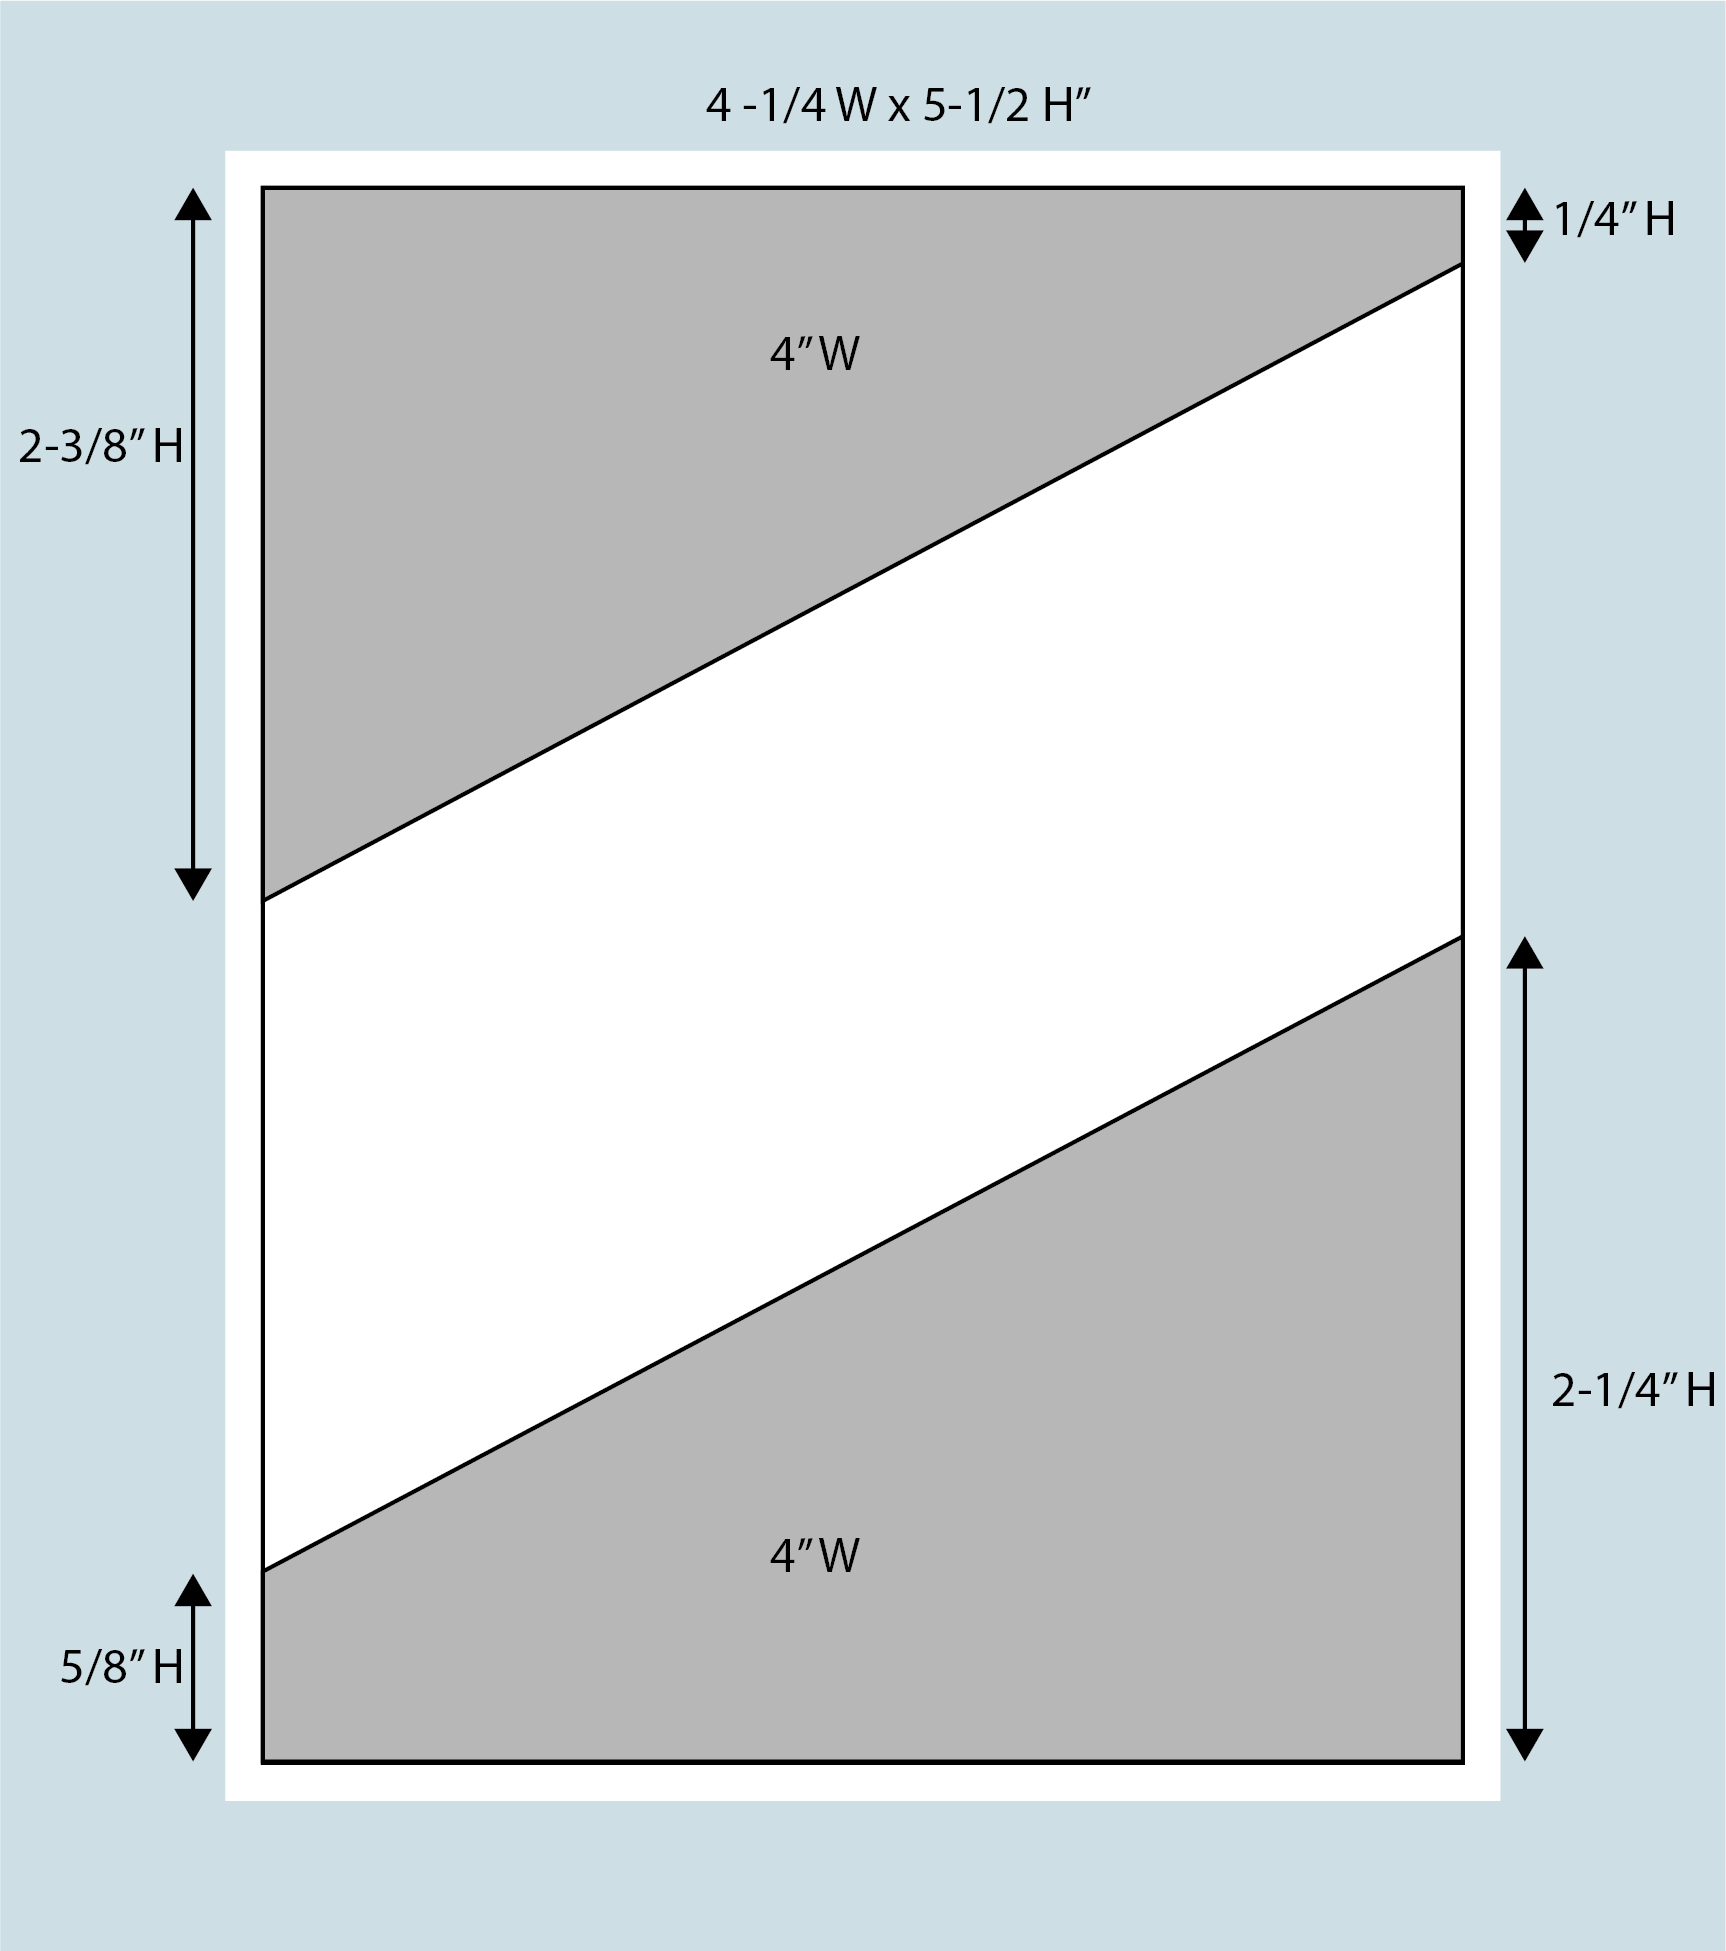
The second card came together quickly. I started with a white card base measuring 5-1/2 x 8-1/2″, scoring it at 4 1/2″. This was made from Neenah 110lb Classic Crest Cardstock 8.5″X11″. Next, I cut some of the pattern paper down to 4 x 5-1/4″ and cut that down diagonally as per the below sketch. I did the same thing to a second pattern paper (green one) and adhered that behind the top layer, offsetting it a bit to create a border. I added a strip of the thinner width Love From Lizi Pin Stripe Peel-Off Stickers in Gold Glitter between the two pattern papers and adhered them to my card base, leaving a 1/8 border around the edge.
Thanks Card Sketch
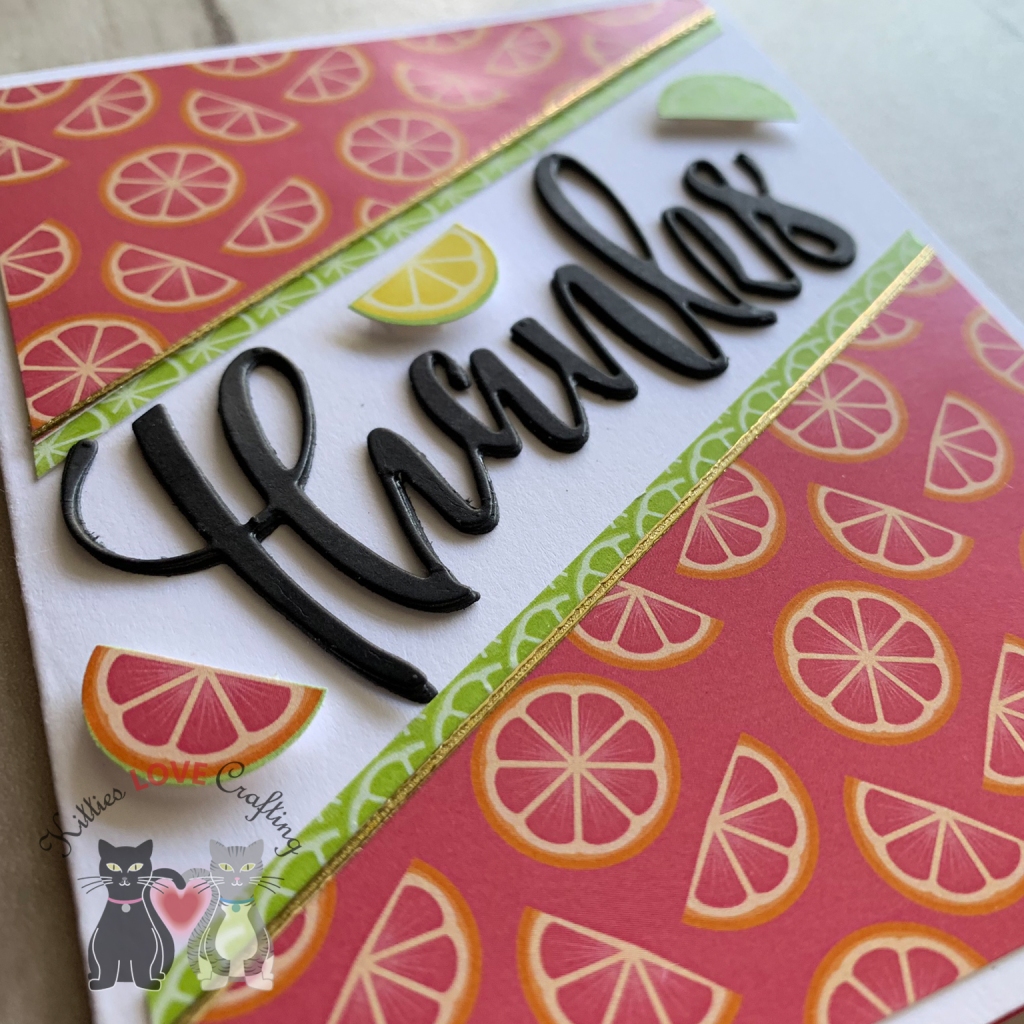
For the sentiment, I kept thing simple. I used the Large Thanks Die from Honey Bee Stamps and diecut the word 3 times from Simon Says Stamp Card Stock 100# BLACK Cardstock. I layered those 3 together and adhered them, creating a nice thick 3D sentiment. I adhered those to the card in the center of the white space. I felt like something was missing though. I took another pattern paper that had small lemons, limes and oranges (maybe grapefruit? not sure) and using a 1/2 punch I cut 3 of them out and adhered them on my page. That completed the front of this card! Like I said, this one was a quick one.
But just because I hate an empty card inside, I adhered some of the same pattern paper I used on the front diagonally to the inside bottom right corner. And now its complete!
Hello friends. Another Monday is upon us and July is almost over. I don’t know when the whole Christmas in July phenomenon started but I look forward to it every year now. The Hallmark Channel shows Christmas movies all month long, which I just love; those cheesy Christmas movies are the best! There are crafty sales and giveaways and crafters share cute Holiday cards and crafts. What could be better? It’s also a great time to get a jump start on your holiday cards. Before we know it will be December and time to send out cards!
I taped the red cardstock to my work surface using some Post-it Tape and then taped in place the stencil where I wanted it. Since this stencil is narrower than the cardstock panel, if you want to cover the whole background you will have to do these steps twice. I did not have to do this however since I will be covering the left side. I used a palette knife to spread the deco foil transfer gel over the stencil, making sure to spread it evenly and thinly. You don’t want a thick uneven layer or the foil will not stick correctly. I set that aside to dry (it took a couple of hours) and took cut a piece of Stampin’ Up! Old Olive Cardstock to 1 1/8 x 5 1/4″ and ran it through my diecut machine using the Darice Diagonal Stripe Embossing Folder.
Time to add the snowflake. I adhered that 3D white snowflake roughly in the center of the card, added some Tonic PALE GOLD Nuvo Crystal Drops to the center of the snowflake, the top and bottom of the card panel. And the card is finished! Oh wait! we need a sentiment!
Thanks for stopping by and I hope I’ve inspired you to start making your Christmas/Holiday cards. Leave comments or questions below or feel free to email me.
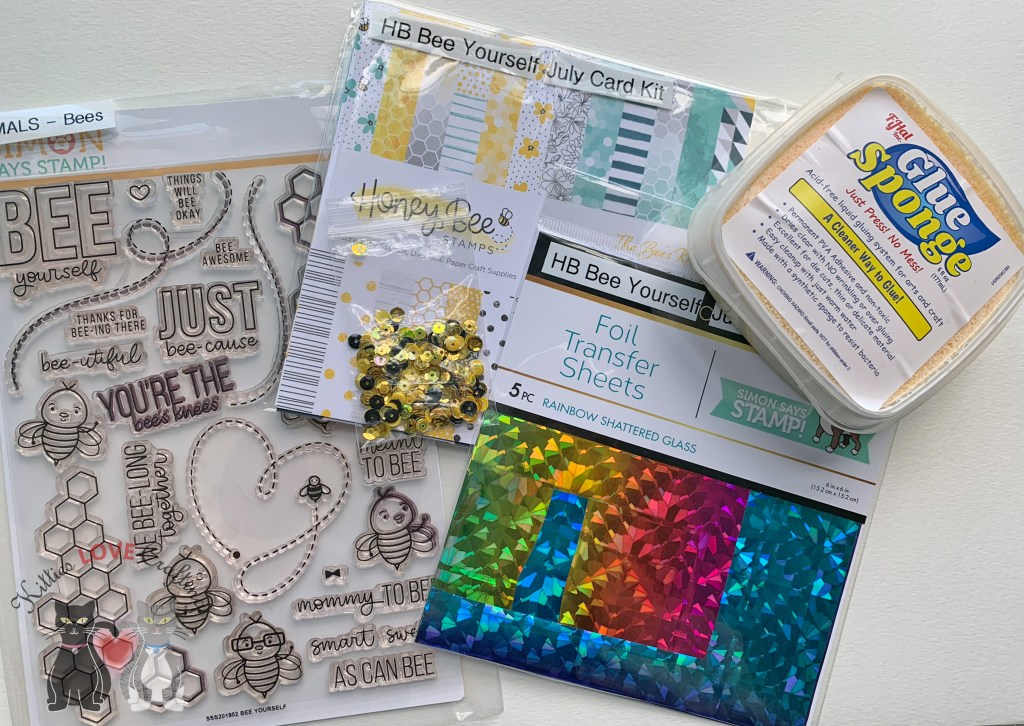
Hello friends. I finally got to play with this adorable bee-themed card kit from Simon Says Stamps. It’s the July Card Kit called Bee Yourself. Lots of fun products to play with and I just adore the stampset. Unfortunately the kit is no longer available but I will link all the available individual products. I almost strictly used only the card kit contents. I did bring in a few of my own products and I will link those below as well.
Card Kit Supplies
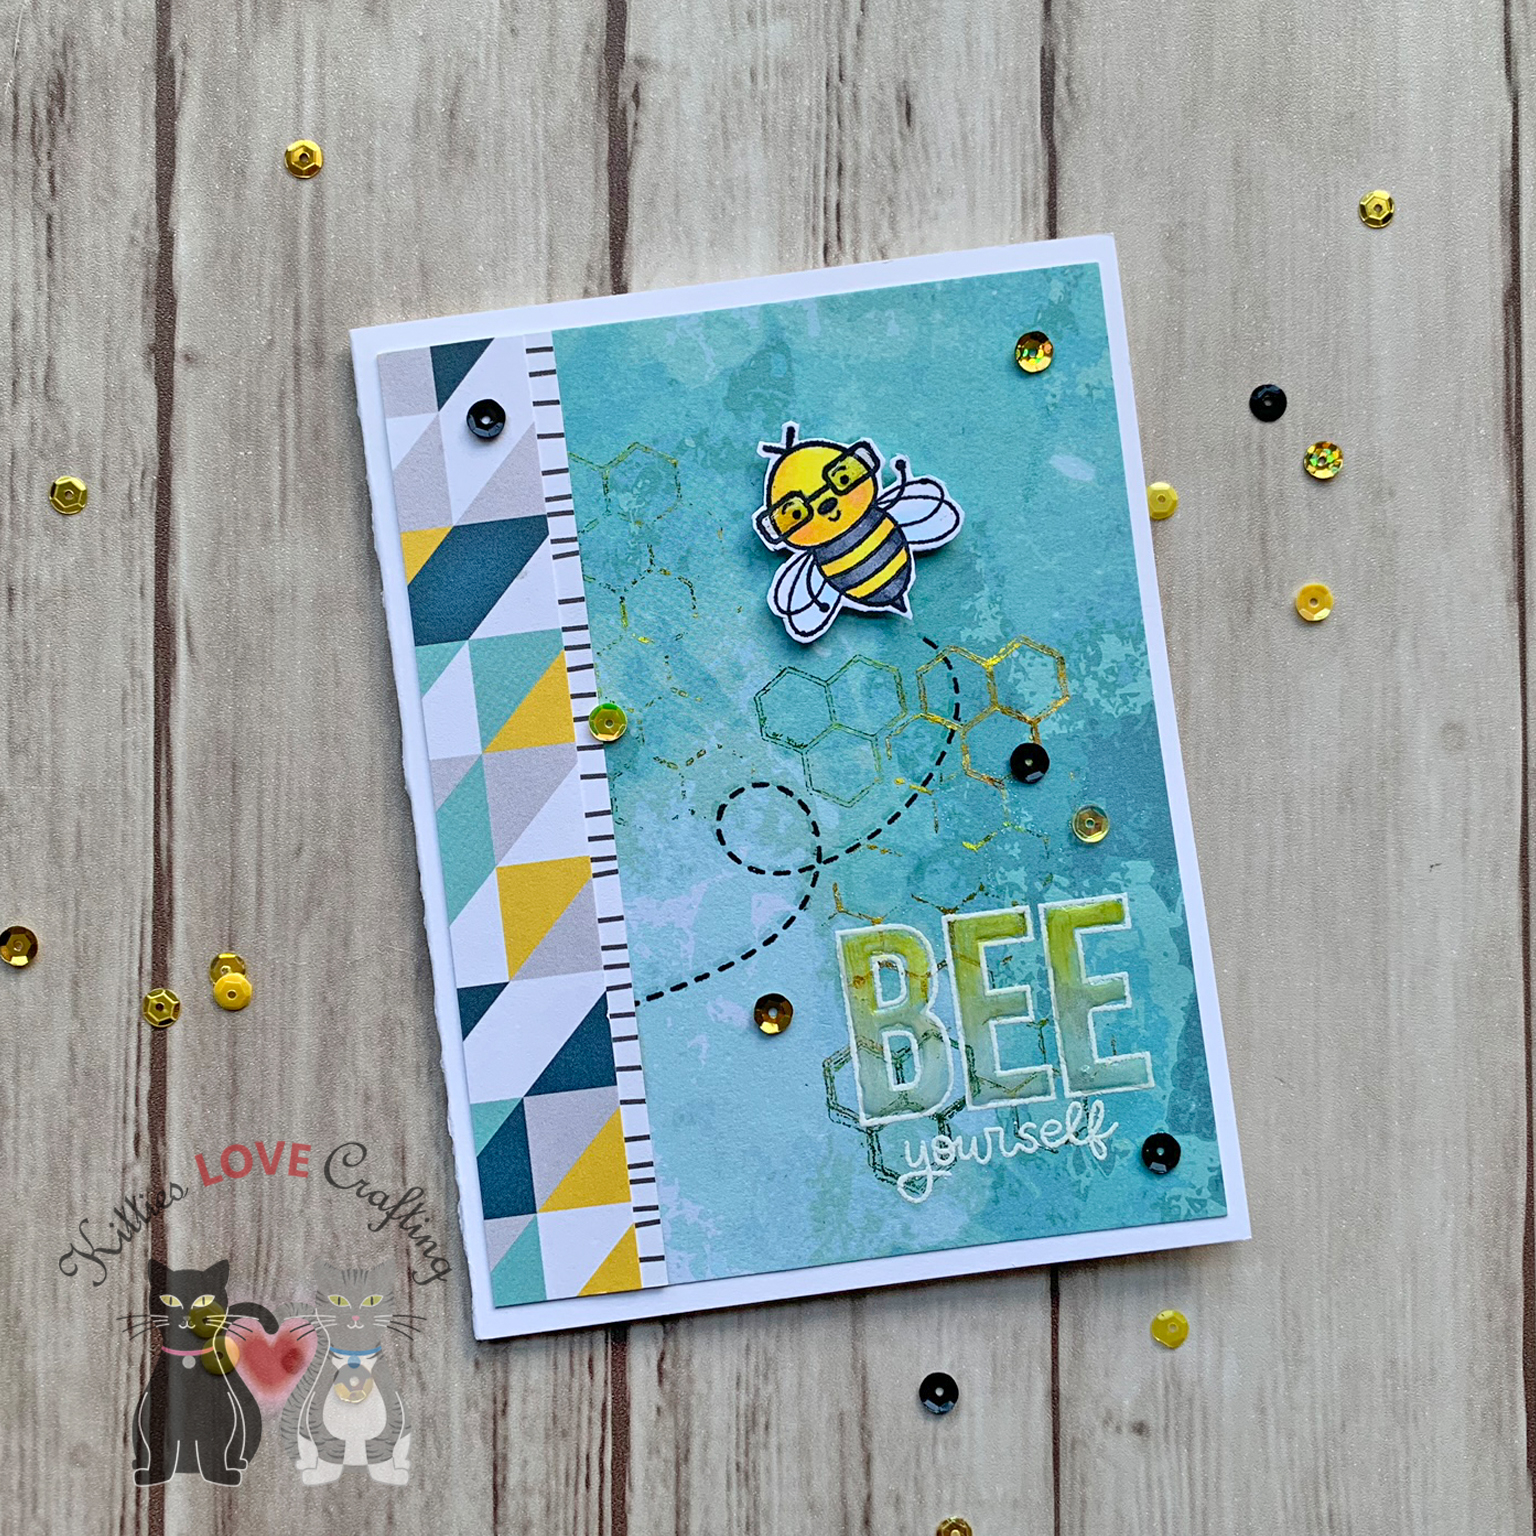
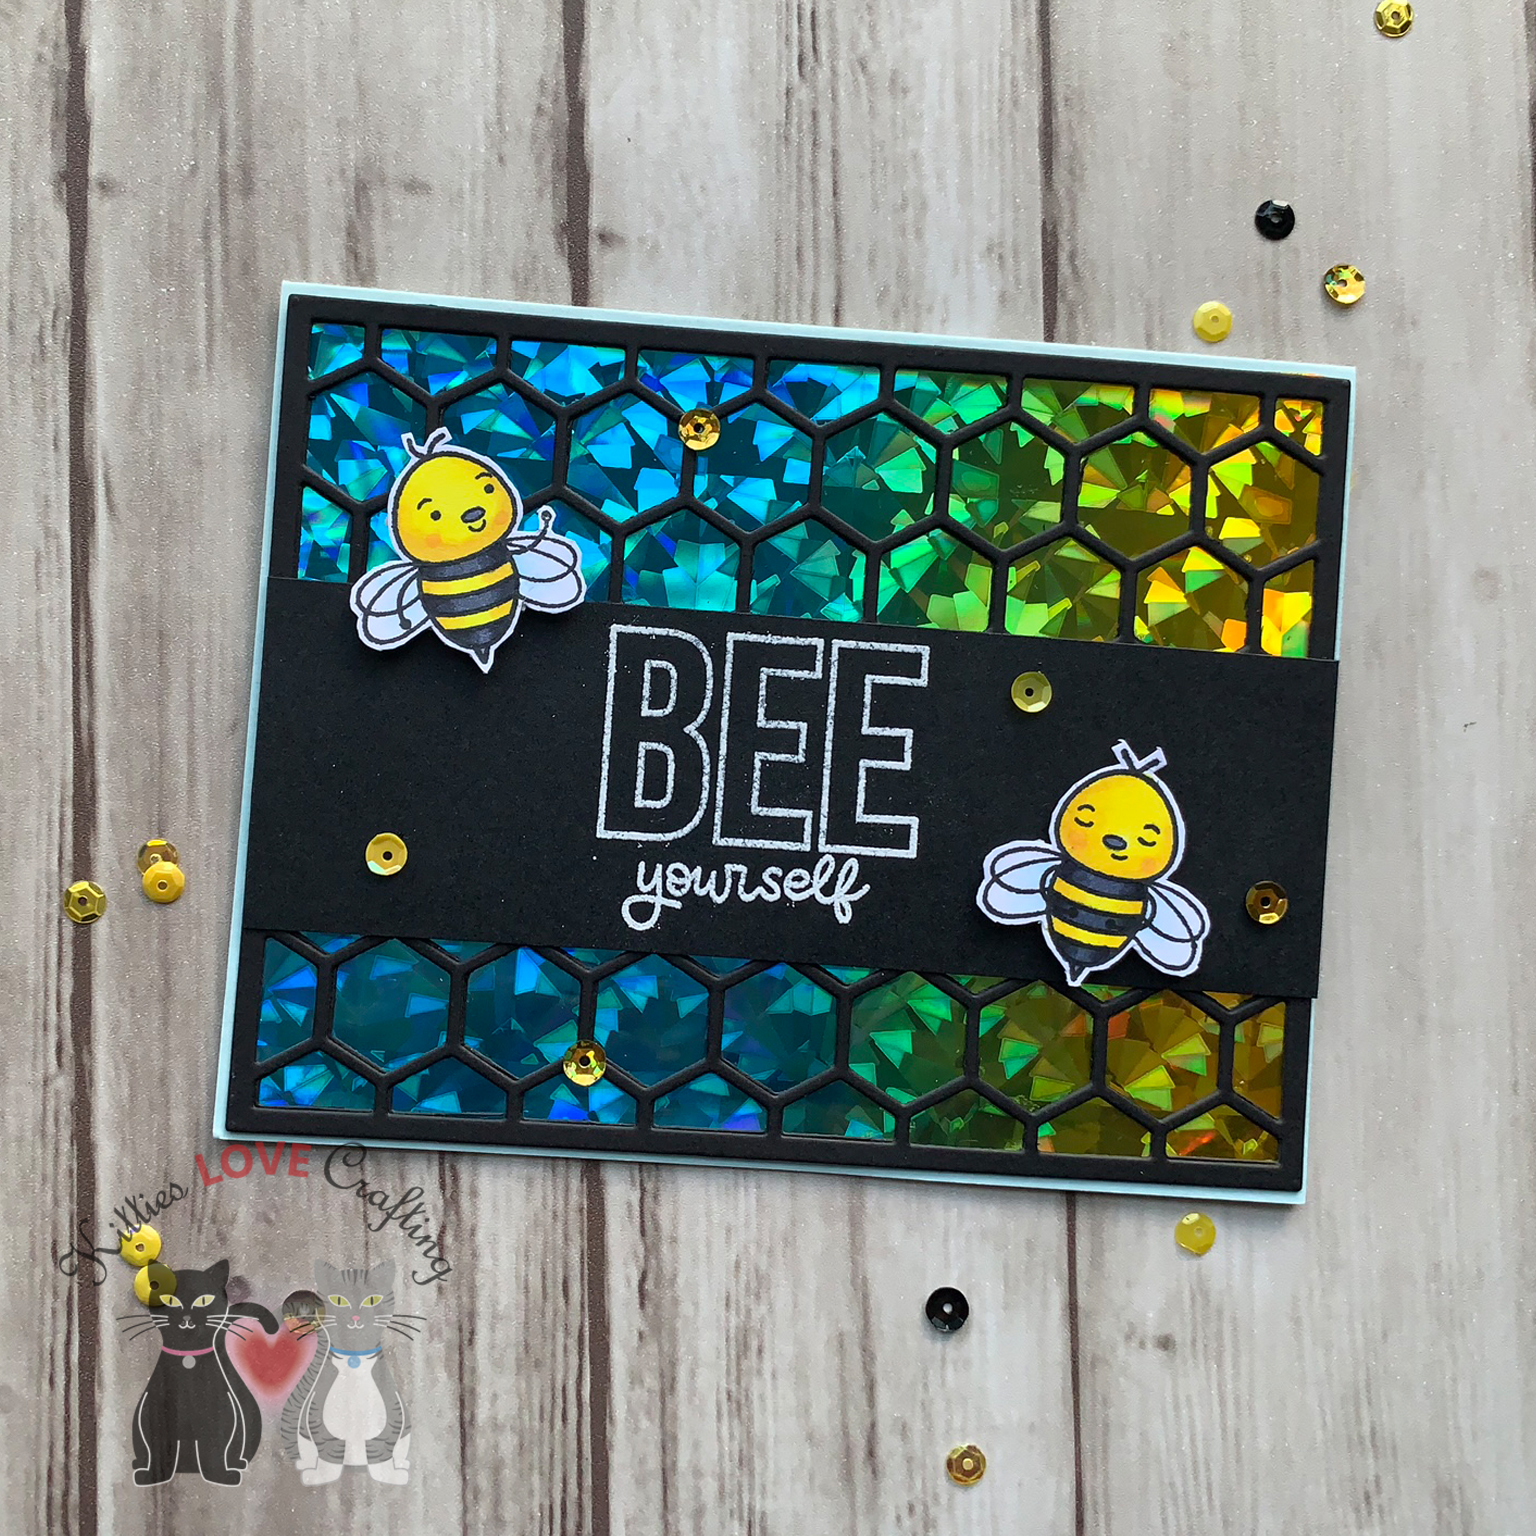
When I first saw the reveal video for this kit, I fell for the paper pad from Honeybee Stamps immediately. I knew I had to use the aqua watercolor pattern first. I kept it simple. I wanted to see if I could foil using a stamp and the glue pad and a stamp (didn’t have transfer gel. I do NOW though 🙂 ).
I diecut a few hexagons from Simon Says Stamp Black cardstock using the Simon Says Stamp Small Hexagon Cluster wafer thin die and a few from some black glitter paper. I added the black hexagon cluster to the card and then inlayed 3 glitter hexagons back into the clusters. I added a black mat behind the sentiment. Then I adhered the flower onto the right side of the card and the sentiment toward the bottom. I adhered the little bees and added some sequins to finish off the card.
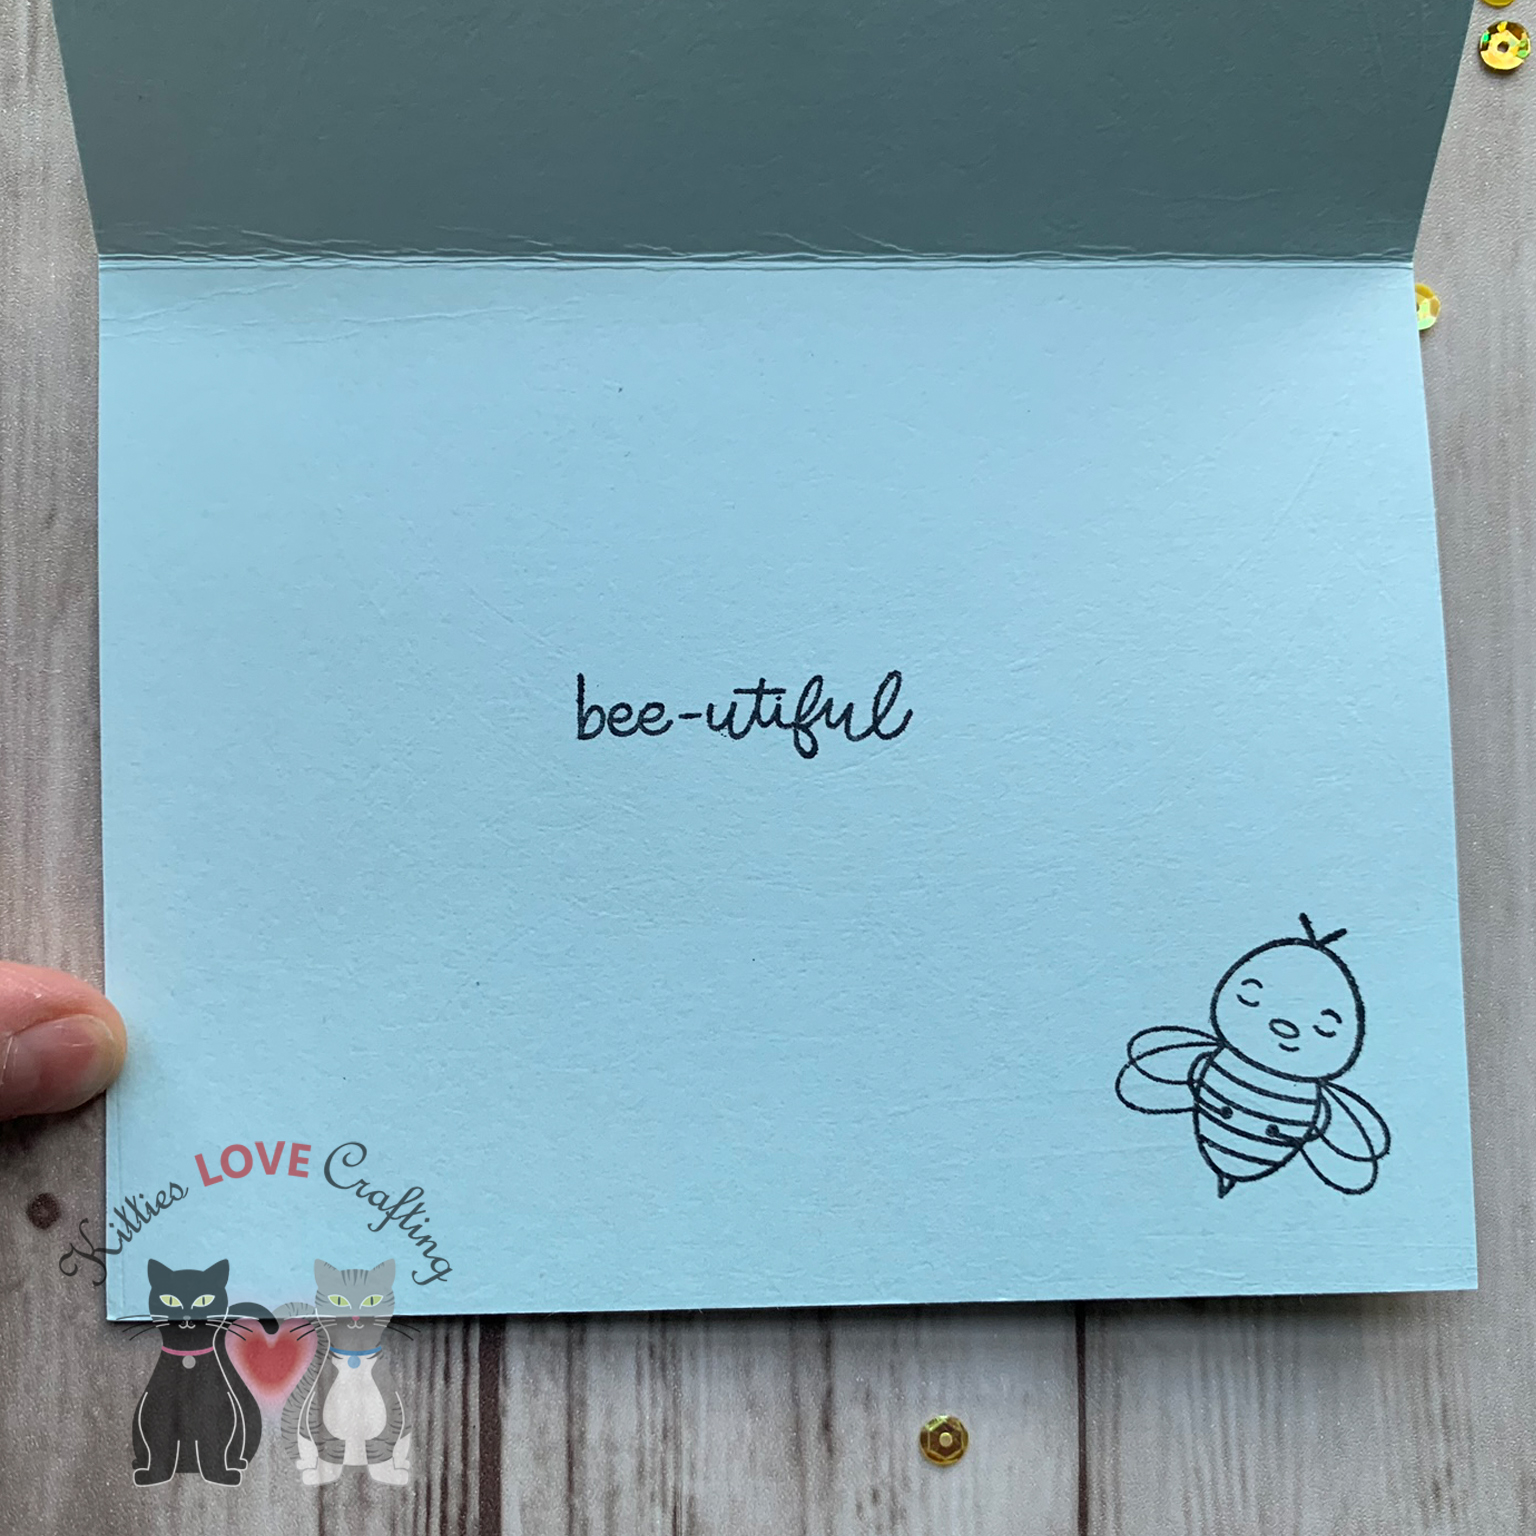
I stamped the “bee-utiful” sentiment and a little bee with Ranger Black Archival Jet Black on the inside of the card. And now this card is done!
3 cards done, 2 to go…
Another paper that I really like for this collection was the black and white wonky (technical term :)) striped one. Another thing I wanted to use was the foilable cards. And the rainbow one of course calls for rainbow foil (duh). I only foiled the rainbow itself and the little bees so that they would stand out. I fussycut around the images and words, leaving a white border around them. I chose the yellow polka dotted pattern paper from the paper pad as my background. I cut a piece to 3 1/4 x 5 1/2”. I adhered a strip of the black and white wonky stripe paper onto and A2 sized card base (Simon Says Stamp Sunshine cardstock), leaving a 1/4 inch on each side, and adhered the yellow polka dot one in the center over that piece. I added some thin Love From Lizi Pin Stripe Black Glitter Peel Offs to separate the patterns a bit. I love the peel offs from Love From Lizi! They add interest to your card with little effort and she sells soooo many colors (glitter, metallic, transparent). Super fun.
I adhered the images down onto the card and added some sequins from the included pack. To finish off the inside I cut a piece of Simon Says Stamp White 120# cardstock to 4 x 5 1/4” and adhered inside the card. I added a 1 x 5 1/4” strip of the yellow polka dotted paper and a 1/2 x 5 1/4” strip of the black and white wonky striped paper to the right side of that panel. And stamped the “JUST bee-cause” sentiment in Ranger Black Archival Jet Black. And this completes card #4.
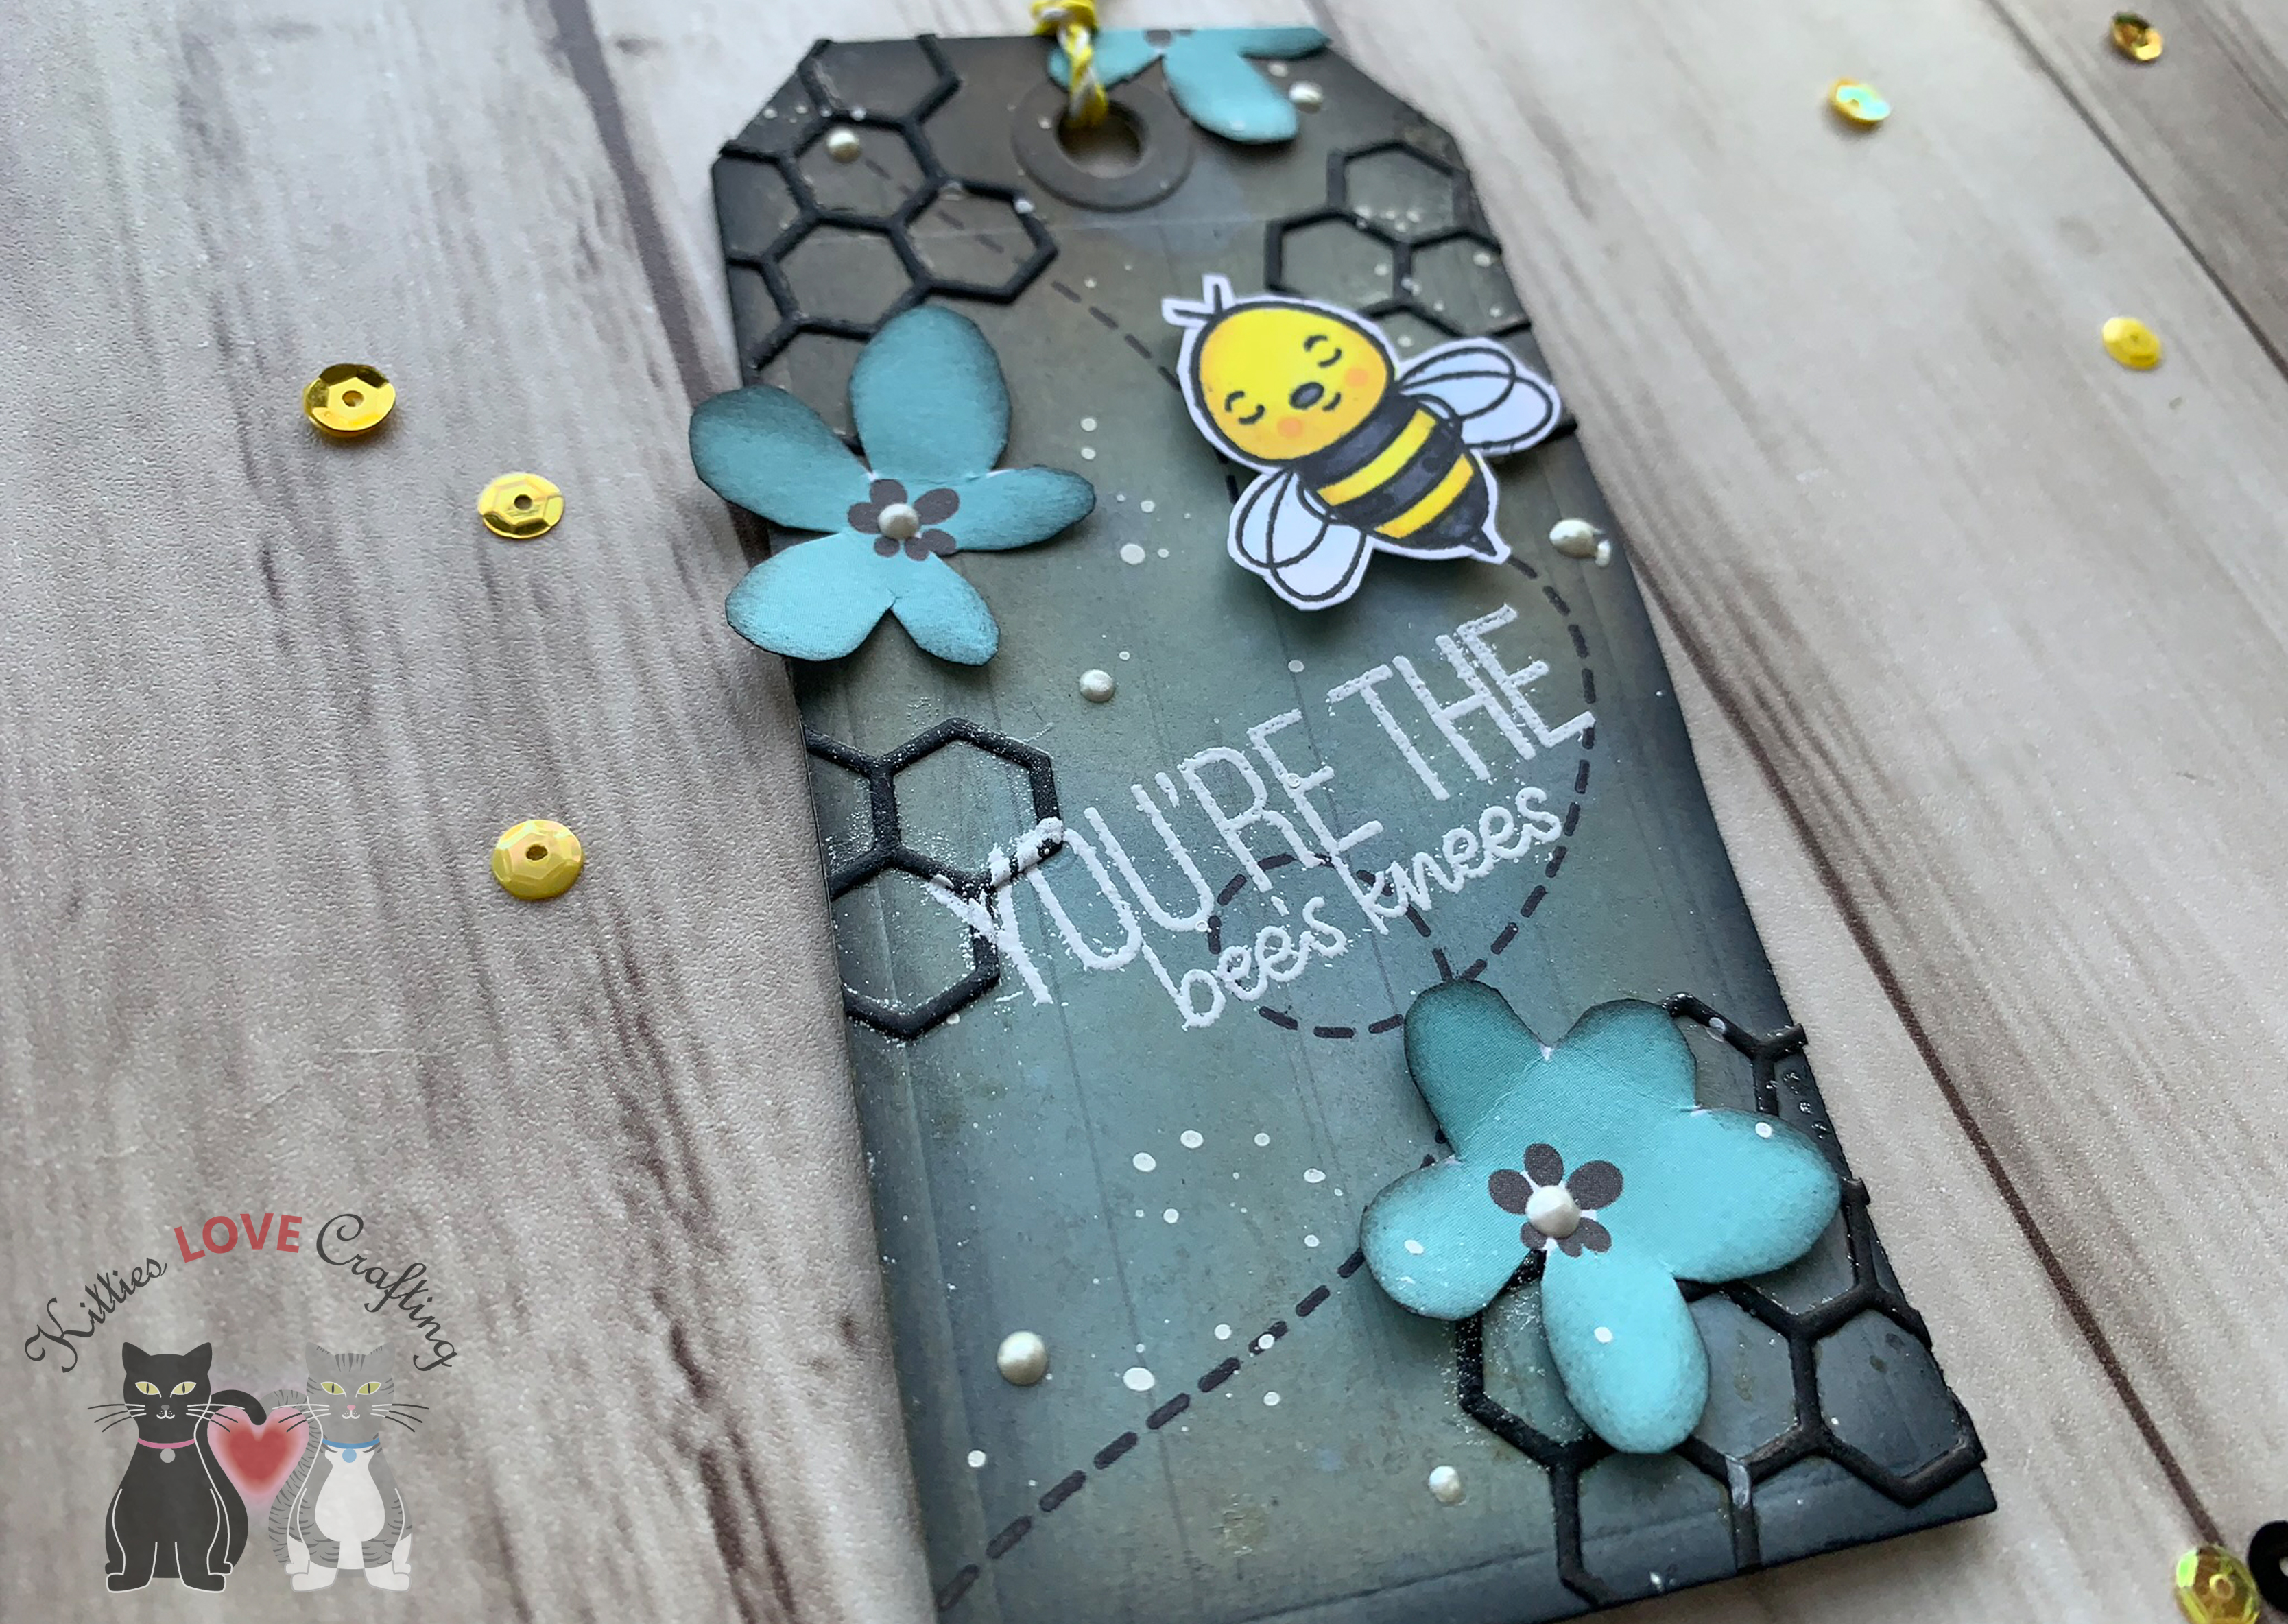
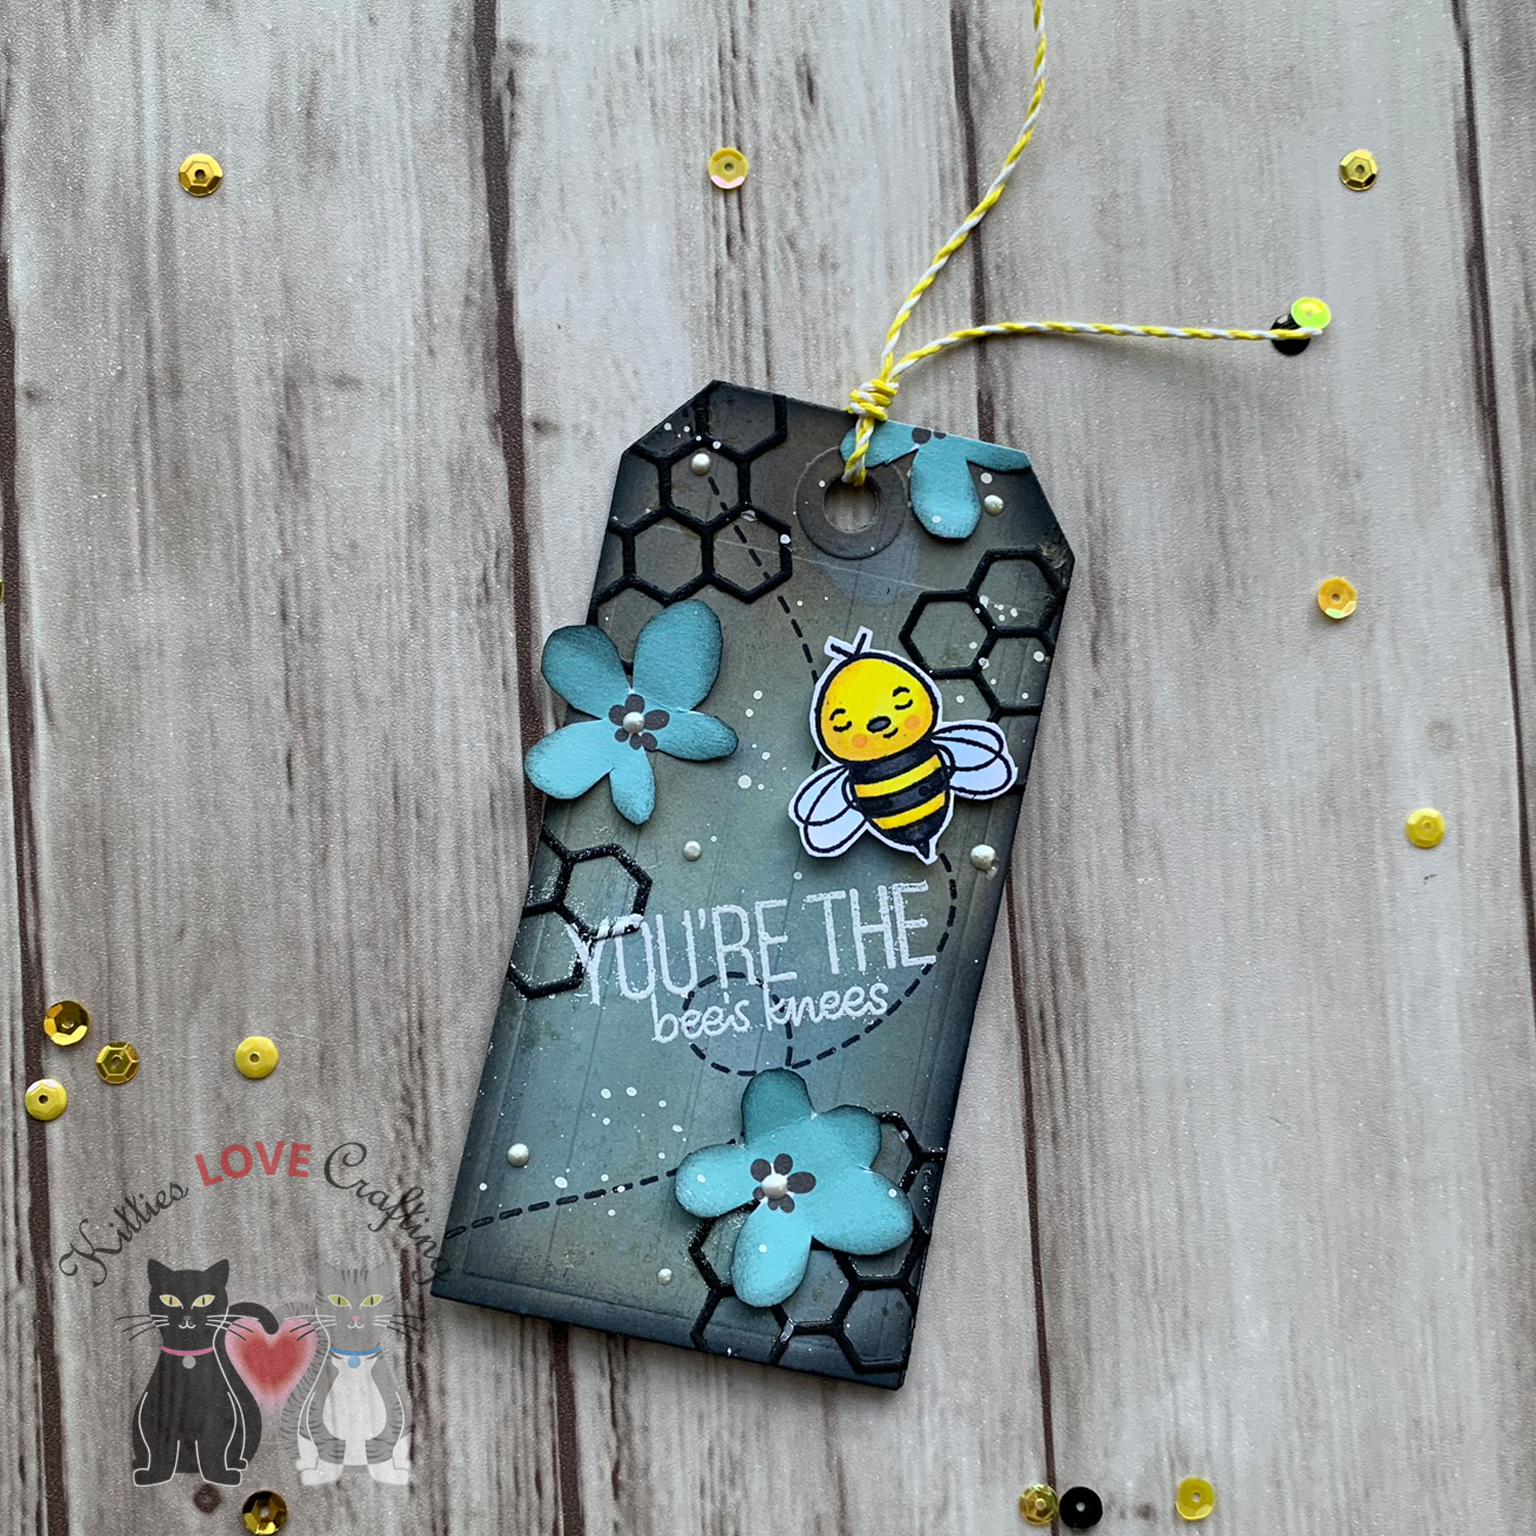
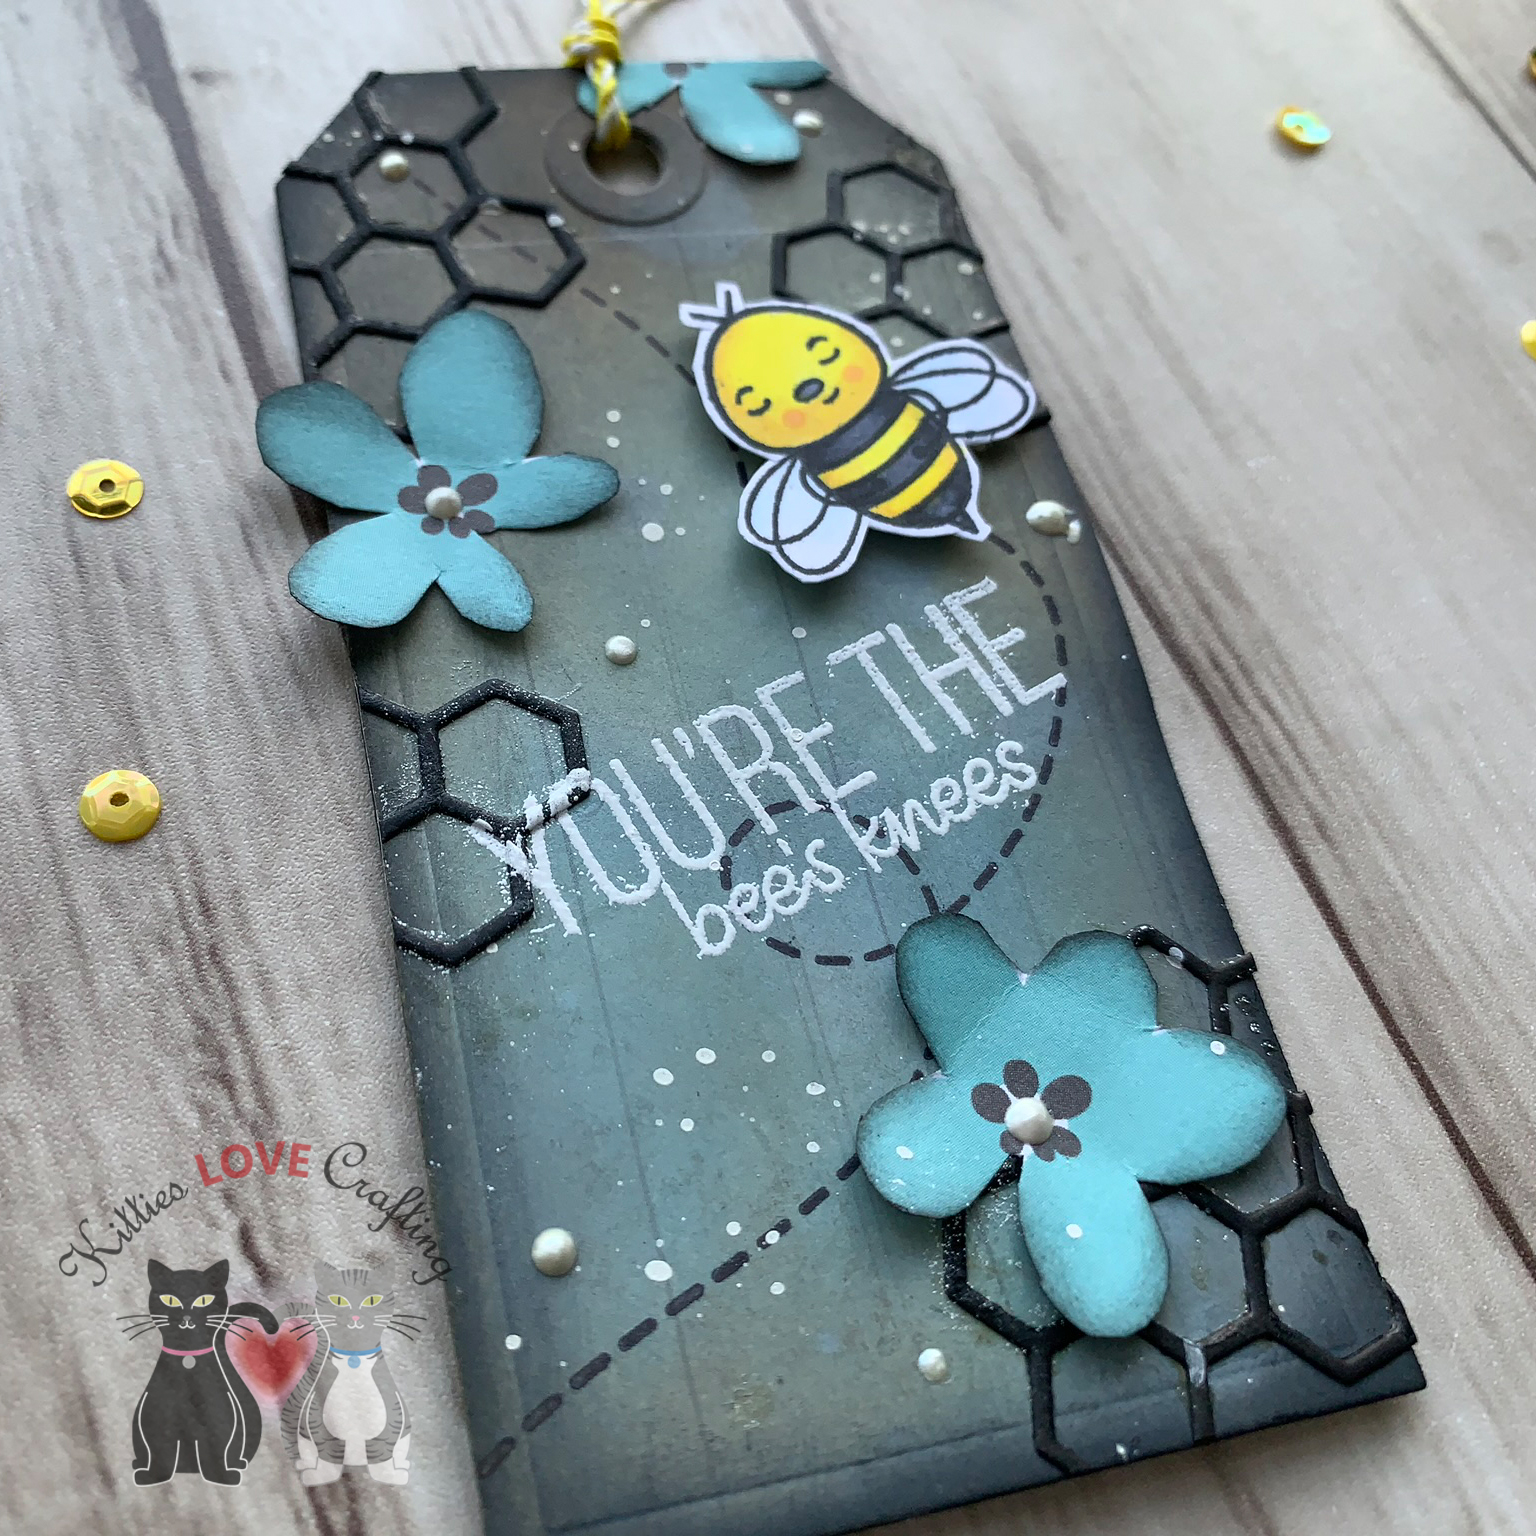
While I was making these cards, I had a thought…how cute would the bees look on a tag??? So I got out my trusty tag die from Tim Holtz (Sizzix Framelit Dies – Tag Collection by Tim Holtz) and diecut 2 tags using the second to largest die from Simon Says Stamp Black cardstock. I chose two pattern papers for my backgrounds, the light wood grain and the black and aqua hexagons, diecut 2 of each of those and glued them onto the front and back of the tag. Then I got to distressing.
I don’t want to leave this tag just as is though. I thought it might look cute as a card instead. So I cut a piece of the yellow hexagon paper to 1-1/4 x 5 1/2” and a piece of the yellow polka dot paper to -1 x 5 1/2” and adhere it to the.back of the hexagon paper and adhered both to an A2 sized card base (Simon Says Stamp Black cardstock).
I adhered the tag to the card base on a slight angle, placing it over the edges. I trimmed off the excess and proceeded to diecut some more hexagon clusters with black cardstock and adhered them to the card. I added one on the black paper so it looks like it’s embossed. I added three little bees and some sequins to complete this card.
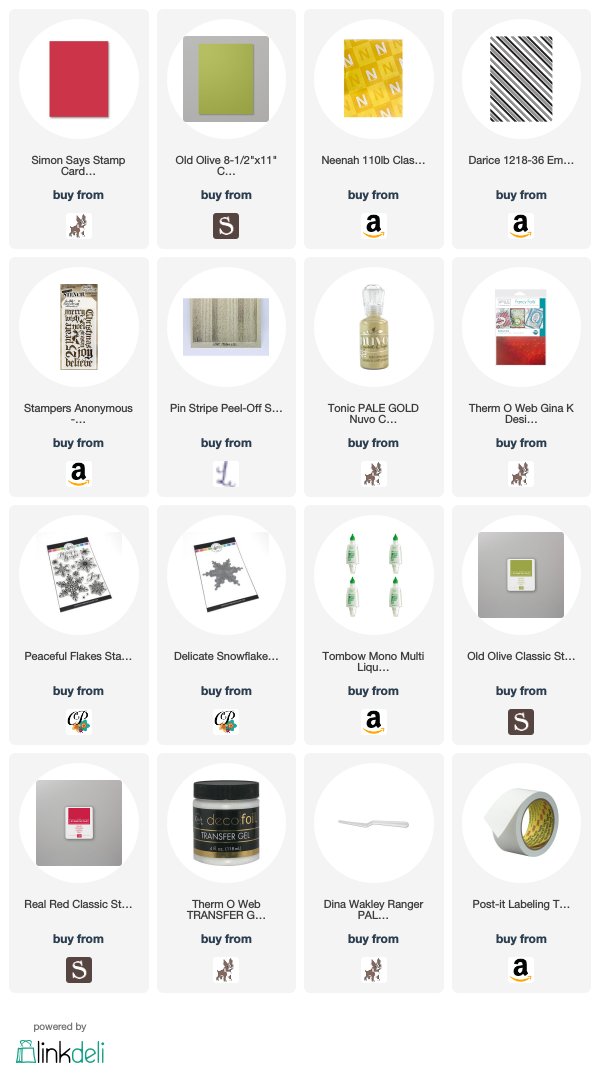
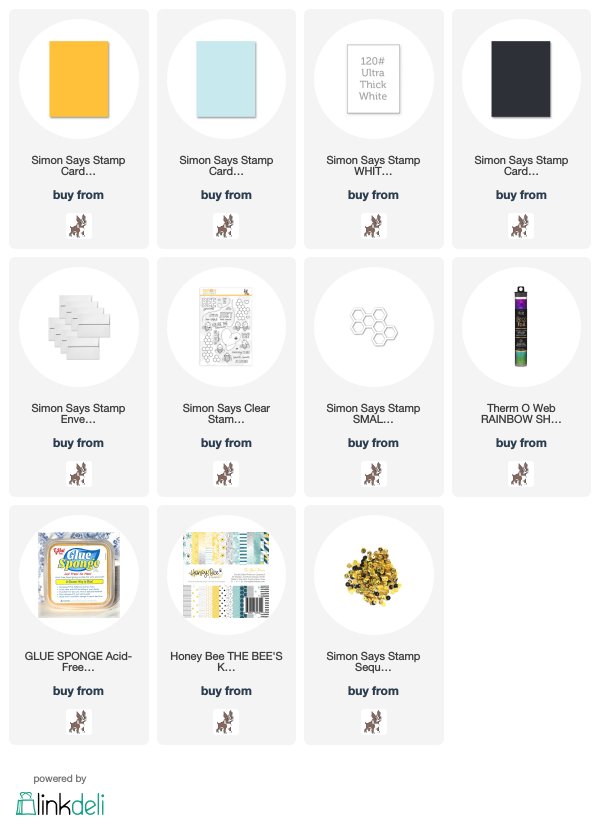
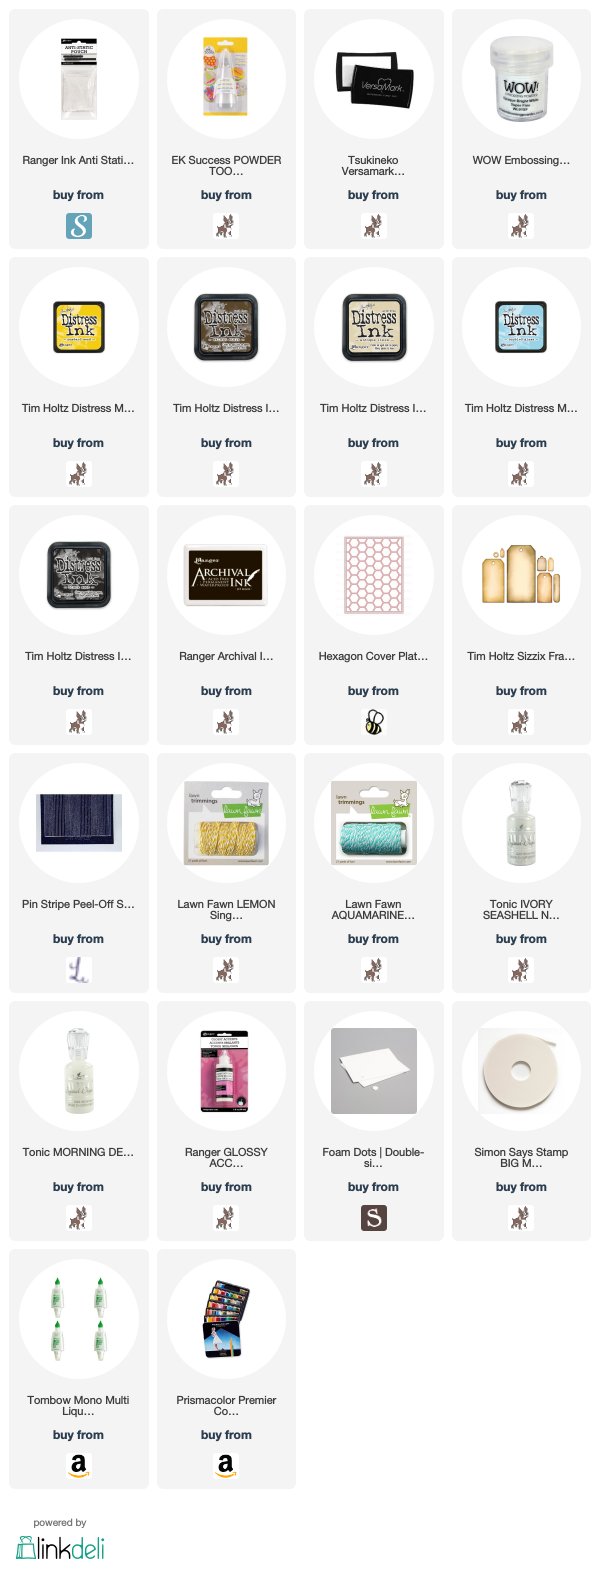
Supplies
Card Kit Includes:
Other Supplies Used:
Hope you’ve enjoyed this post. Thanks for reading to the end; I know it was a long one. I hope I’ve inspired you to make some adorable bee cards of your own. Whether you have the kit or not you can make these cards. Leave comments or questions below or feel free toemailme.
Hello friends. I finally got to play with this adorable bee-themed card kit from Simon Says Stamps. It’s the July Card Kit called Bee Yourself. Lots of fun products to play with and I just adore the stampset. Unfortunately the kit is no longer available but I will link all the available individual products. I almost strictly used only the card kit contents. I did bring in a few of my own products and I will link those below as well.
Card Kit Supplies
When I first saw the reveal video for this kit, I fell for the paper pad from Honeybee Stamps immediately. I knew I had to use the aqua watercolor pattern first. I kept it simple. I wanted to see if I could foil using a stamp and the glue pad and a stamp (didn’t have transfer gel. I do NOW though 🙂 ).
I diecut a few hexagons from Simon Says Stamp Black cardstock using the Simon Says Stamp Small Hexagon Cluster wafer thin die and a few from some black glitter paper. I added the black hexagon cluster to the card and then inlayed 3 glitter hexagons back into the clusters. I added a black mat behind the sentiment. Then I adhered the flower onto the right side of the card and the sentiment toward the bottom. I adhered the little bees and added some sequins to finish off the card.
Another paper that I really like for this collection was the black and white wonky (technical term :)) striped one. Another thing I wanted to use was the foilable cards. And the rainbow one of course calls for rainbow foil (duh). I only foiled the rainbow itself and the little bees so that they would stand out. I fussycut around the images and words, leaving a white border around them. I chose the yellow polka dotted pattern paper from the paper pad as my background. I cut a piece to 3 1/4 x 5 1/2”. I adhered a strip of the black and white wonky stripe paper onto and A2 sized card base (Simon Says Stamp Sunshine cardstock), leaving a 1/4 inch on each side, and adhered the yellow polka dot one in the center over that piece. I added some thin Love From Lizi Pin Stripe Black Glitter Peel Offs to separate the patterns a bit. I love the peel offs from Love From Lizi! They add interest to your card with little effort and she sells soooo many colors (glitter, metallic, transparent). Super fun.
Anyways back to my card…
I adhered the images down onto the card and added some sequins from the included pack. To finish off the inside I cut a piece of Simon Says Stamp White 120# cardstock to 4 x 5 1/4” and adhered inside the card. I added a 1 x 5 1/4” strip of the yellow polka dotted paper and a 1/2 x 5 1/4” strip of the black and white wonky striped paper to the right side of that panel. And stamped the “JUST bee-cause” sentiment in Ranger Black Archival Jet Black. And this completes card #4.
While I was making these cards, I had a thought…how cute would the bees look on a tag??? So I got out my trusty tag die from Tim Holtz (Sizzix Framelit Dies – Tag Collection by Tim Holtz) and diecut 2 tags using the second to largest die from Simon Says Stamp Black cardstock. I chose two pattern papers for my backgrounds, the light wood grain and the black and aqua hexagons, diecut 2 of each of those and glued them onto the front and back of the tag. Then I got to distressing.
I don’t want to leave this tag just as is though. I thought it might look cute as a card instead. So I cut a piece of the yellow hexagon paper to 1-1/4 x 5 1/2” and a piece of the yellow polka dot paper to -1 x 5 1/2” and adhere it to the.back of the hexagon paper and adhered both to an A2 sized card base (Simon Says Stamp Black cardstock).
I adhered the tag to the card base on a slight angle, placing it over the edges.i trimmed off the excess and proceeded to diecut some more hexagon clusters with black cardstock and adhered them to the card. I added one on the black. paper so it looks like it’s embossed. I added three little bees and some sequins to complete this card.
Supplies
Card Kit Includes:
Other Supplies Used:
Hope you’ve enjoyed this post. Thanks for reading to the end; I know it was a long one. I hope I’ve inspired you to make some adorable bee cards of your own. Whether you have the kit or not you can make these cards. Leave comments or questions below or feel free toemailme.
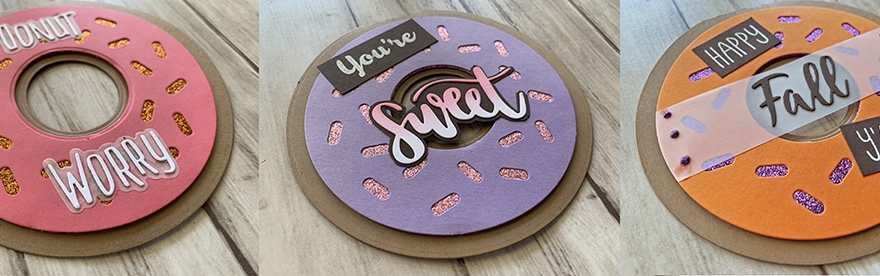
Happy Monday everyone! Coming to you today with some fun and delicious cards. I love coffee and donuts but since I am trying to be good (yeah, right!) and not eat too much sugar, I will make them into cards instead.
This die from Honey Bee Stamps really makes them super quick and easy to make. There are also so many ways to embellish this cute donut card. It can be for birthdays, holidays, seasons, or just because.
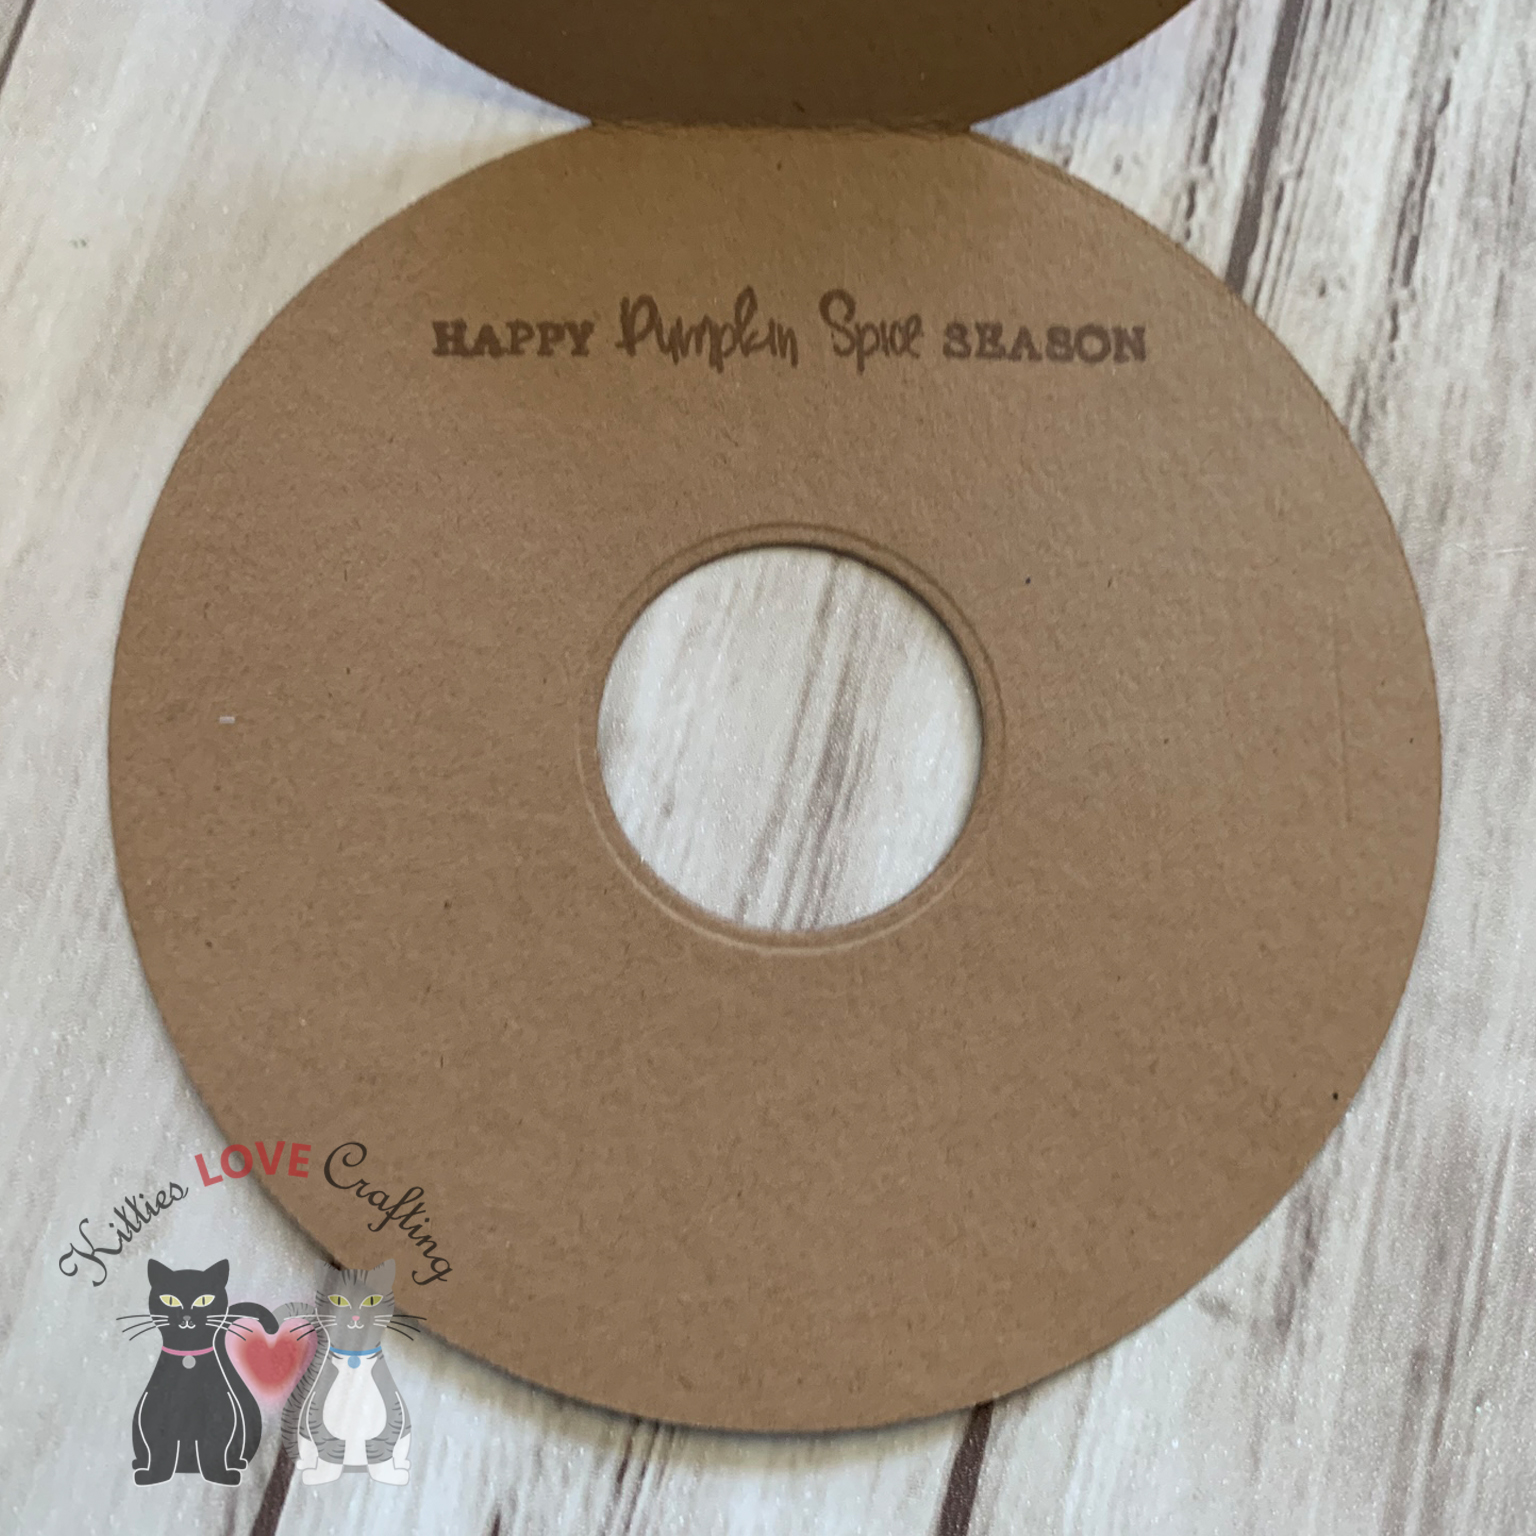
For the last card I had to make it a Fall card, not only because I love Fall but also because I love pumpkin spiced everything and donuts are no exception. Can’t wait for Fall people!
To make the word appear to float over the donut hole, I used a strip of Stampin’ Up! Vellum and adheredit over the hole. I used the circle die in the Donut Card dieset to trim the sides. I then adhered the rest of the sentiment pieces above and below. I used Nuvo Crystal Drops in Violet Galaxy to add some embellishment.
Before I go I just want to say that if you want to make these cards and you don’t have all the supplies I used and don’t want to purchase them, just look through your stash of stamps, dies, and papers and make them your own. It’s fun to play with different looks. The possibilities are really endless. Have FUN with it!!!
Thanks for stopping by and I hope I’ve inspired you to give the Honey Bee Donut Card Die a try and make some donut cards of your own. Leave comments or questions below or feel free toemailme.
Hello friends. This card features stamps from Catherine Pooler Designs. These stamps are from the Celebrate Friends Stamp of Approval Collection but are also sold separately. I wanted to make a cheerful, fun but gender neutral card. This can be for a birthday or other celebration. This card is available for sale in my Etsy shop if you prefer not to make it yourself.
Ok let’s make this card. First I cut a piece of Neenah Solar White 110lb Cardstock to 8 1/2 x 5 1/2” for the card base and scored it at 4 1/4”, another piece to 4 x 5 1/4” for the back panel and a third to 1 1/8 x 5 1/2” for the vertical strip. Time to do some stamping.
I diecut the sentiment with the Simon Says Stamp STITCHED SQUARES Wafer Dies. Then I fussycut the streamers out. Time to start putting this card together. I adhered the back panel to the card base and then I went to adhere the streamers to that and realized it was not going to hold up against the background. So I cut out a piece of Stampin’ Up! Vellum to 4 x 5 1/4” and adhered it on top of the card panel. Now I can adhere the streamer strip over that. I added the sentiment piece with some 3M foam tape to the card.
Thanks for stopping by and I hope I’ve inspired you to make some birthday cards of your own. Leave comments or questions below or feel free to email me.


 https://linkdeli.com/widget.js?1559654439292


