I have been an avid crafter for two decades and started card making about fifteen years ago and just fell in love. It started as something to reduce stress but now it’s something I can’t live without. It’s so much fun to play with ink and paper and end up with something pretty cool that you can share with someone else. I love the fact that something that brings me so much joy can bring happiness to others too. i am a wife and mother to two sweet fur babies, Cola and Bailey, that love to hang around while I craft. They bring me just as much joy as crafting. I couldn’t imagine my life without either!
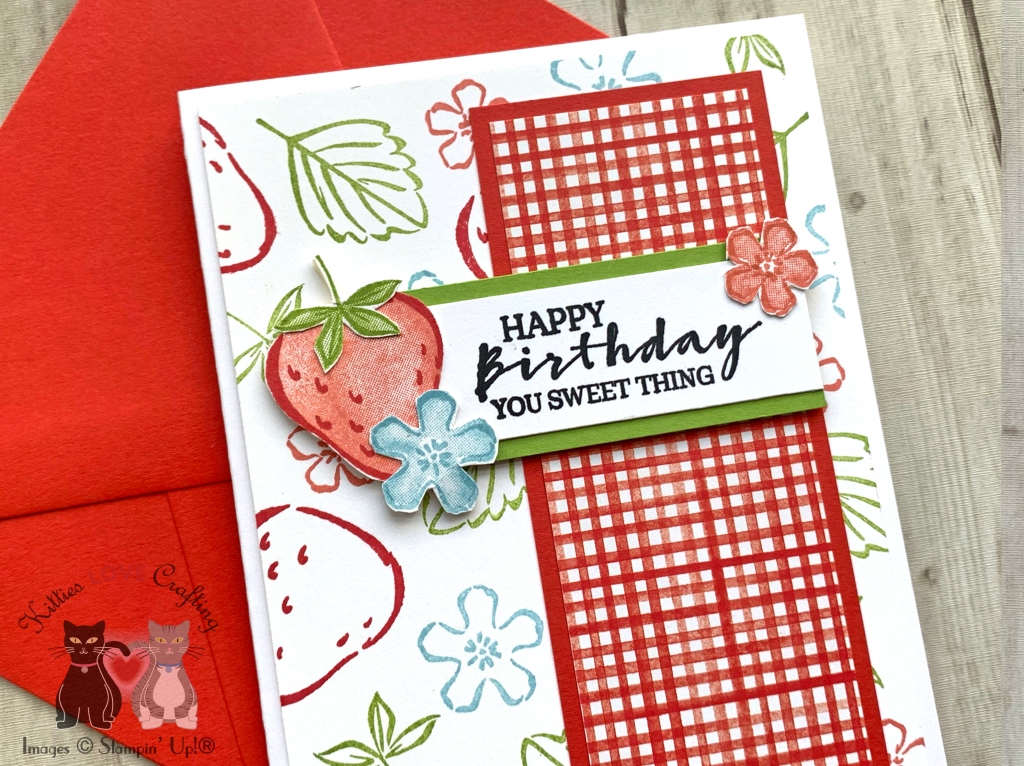
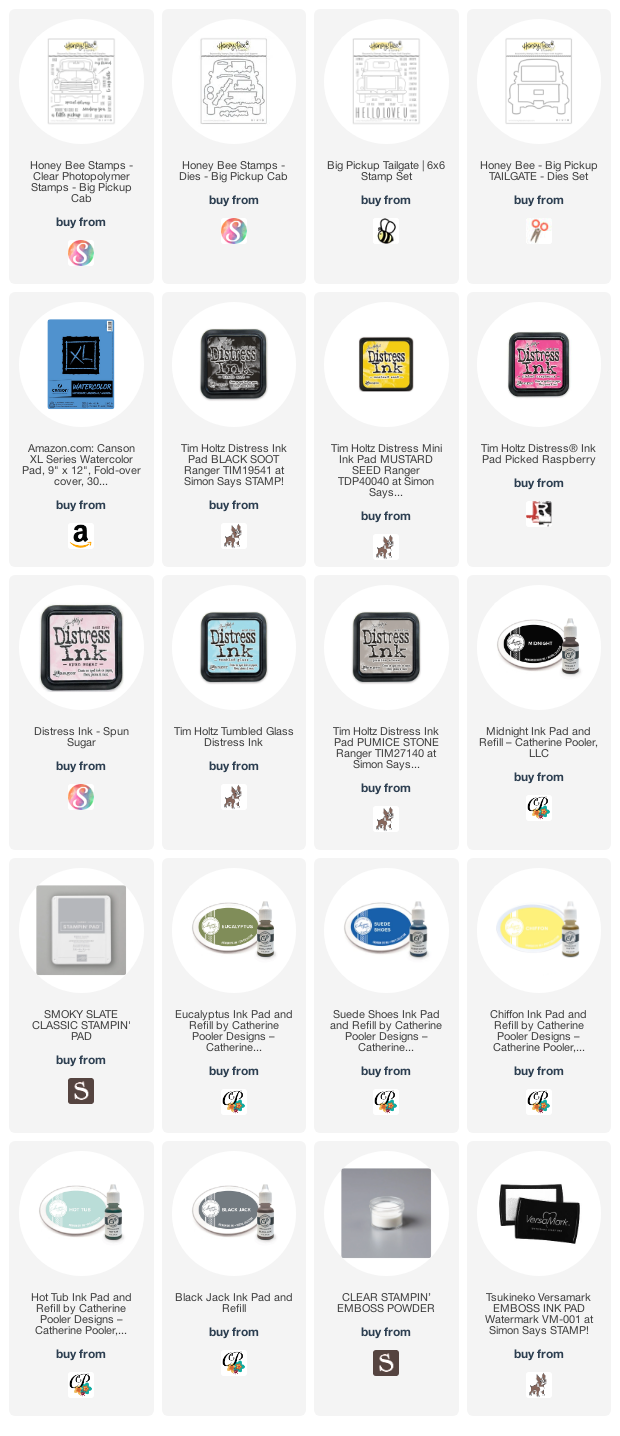
Hi friends. I’m back with some more cute cards using the Honey Bee Stamps Big Pickup Cab Stampset. Do you have stampsets that you think won’t work for both feminine and masculine cards?!? Try changing the color. It worked great for these birthday cards.
Once dry, I stamped the sentiment on the hood with Catherine Pooler Designs Midnight Ink and diecut the truck with the coordinating dies. I also cut another truck from the Canson XL Series Watercolor Pad for the back of the car as well as a strip measuring 1″ wide x 3/4″ long and scored it at 1/2″. I adhered the strip to the back and front panels of the card to create the card base.
And that completes these cards. They are pretty easy to make. The watercoloring is a little time consuming but I find it cathartic. If it’s not your thing, use your favorite coloring tools instead.
Thanks for reading this post. I hope you enjoyed and I’ve inspired you to give these watercolor cards a try for yourself. Leave comments or questions below or feel free to email me.
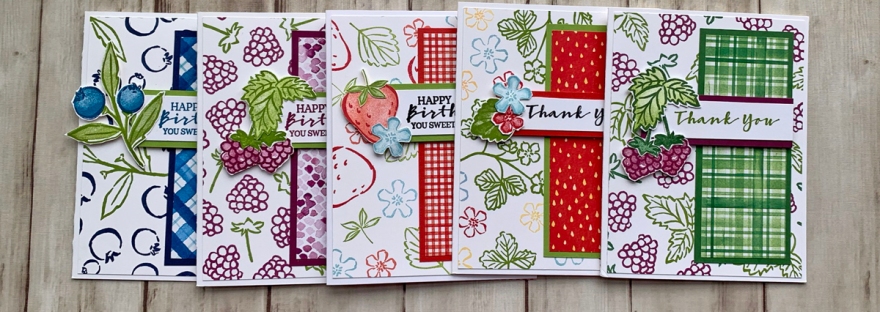
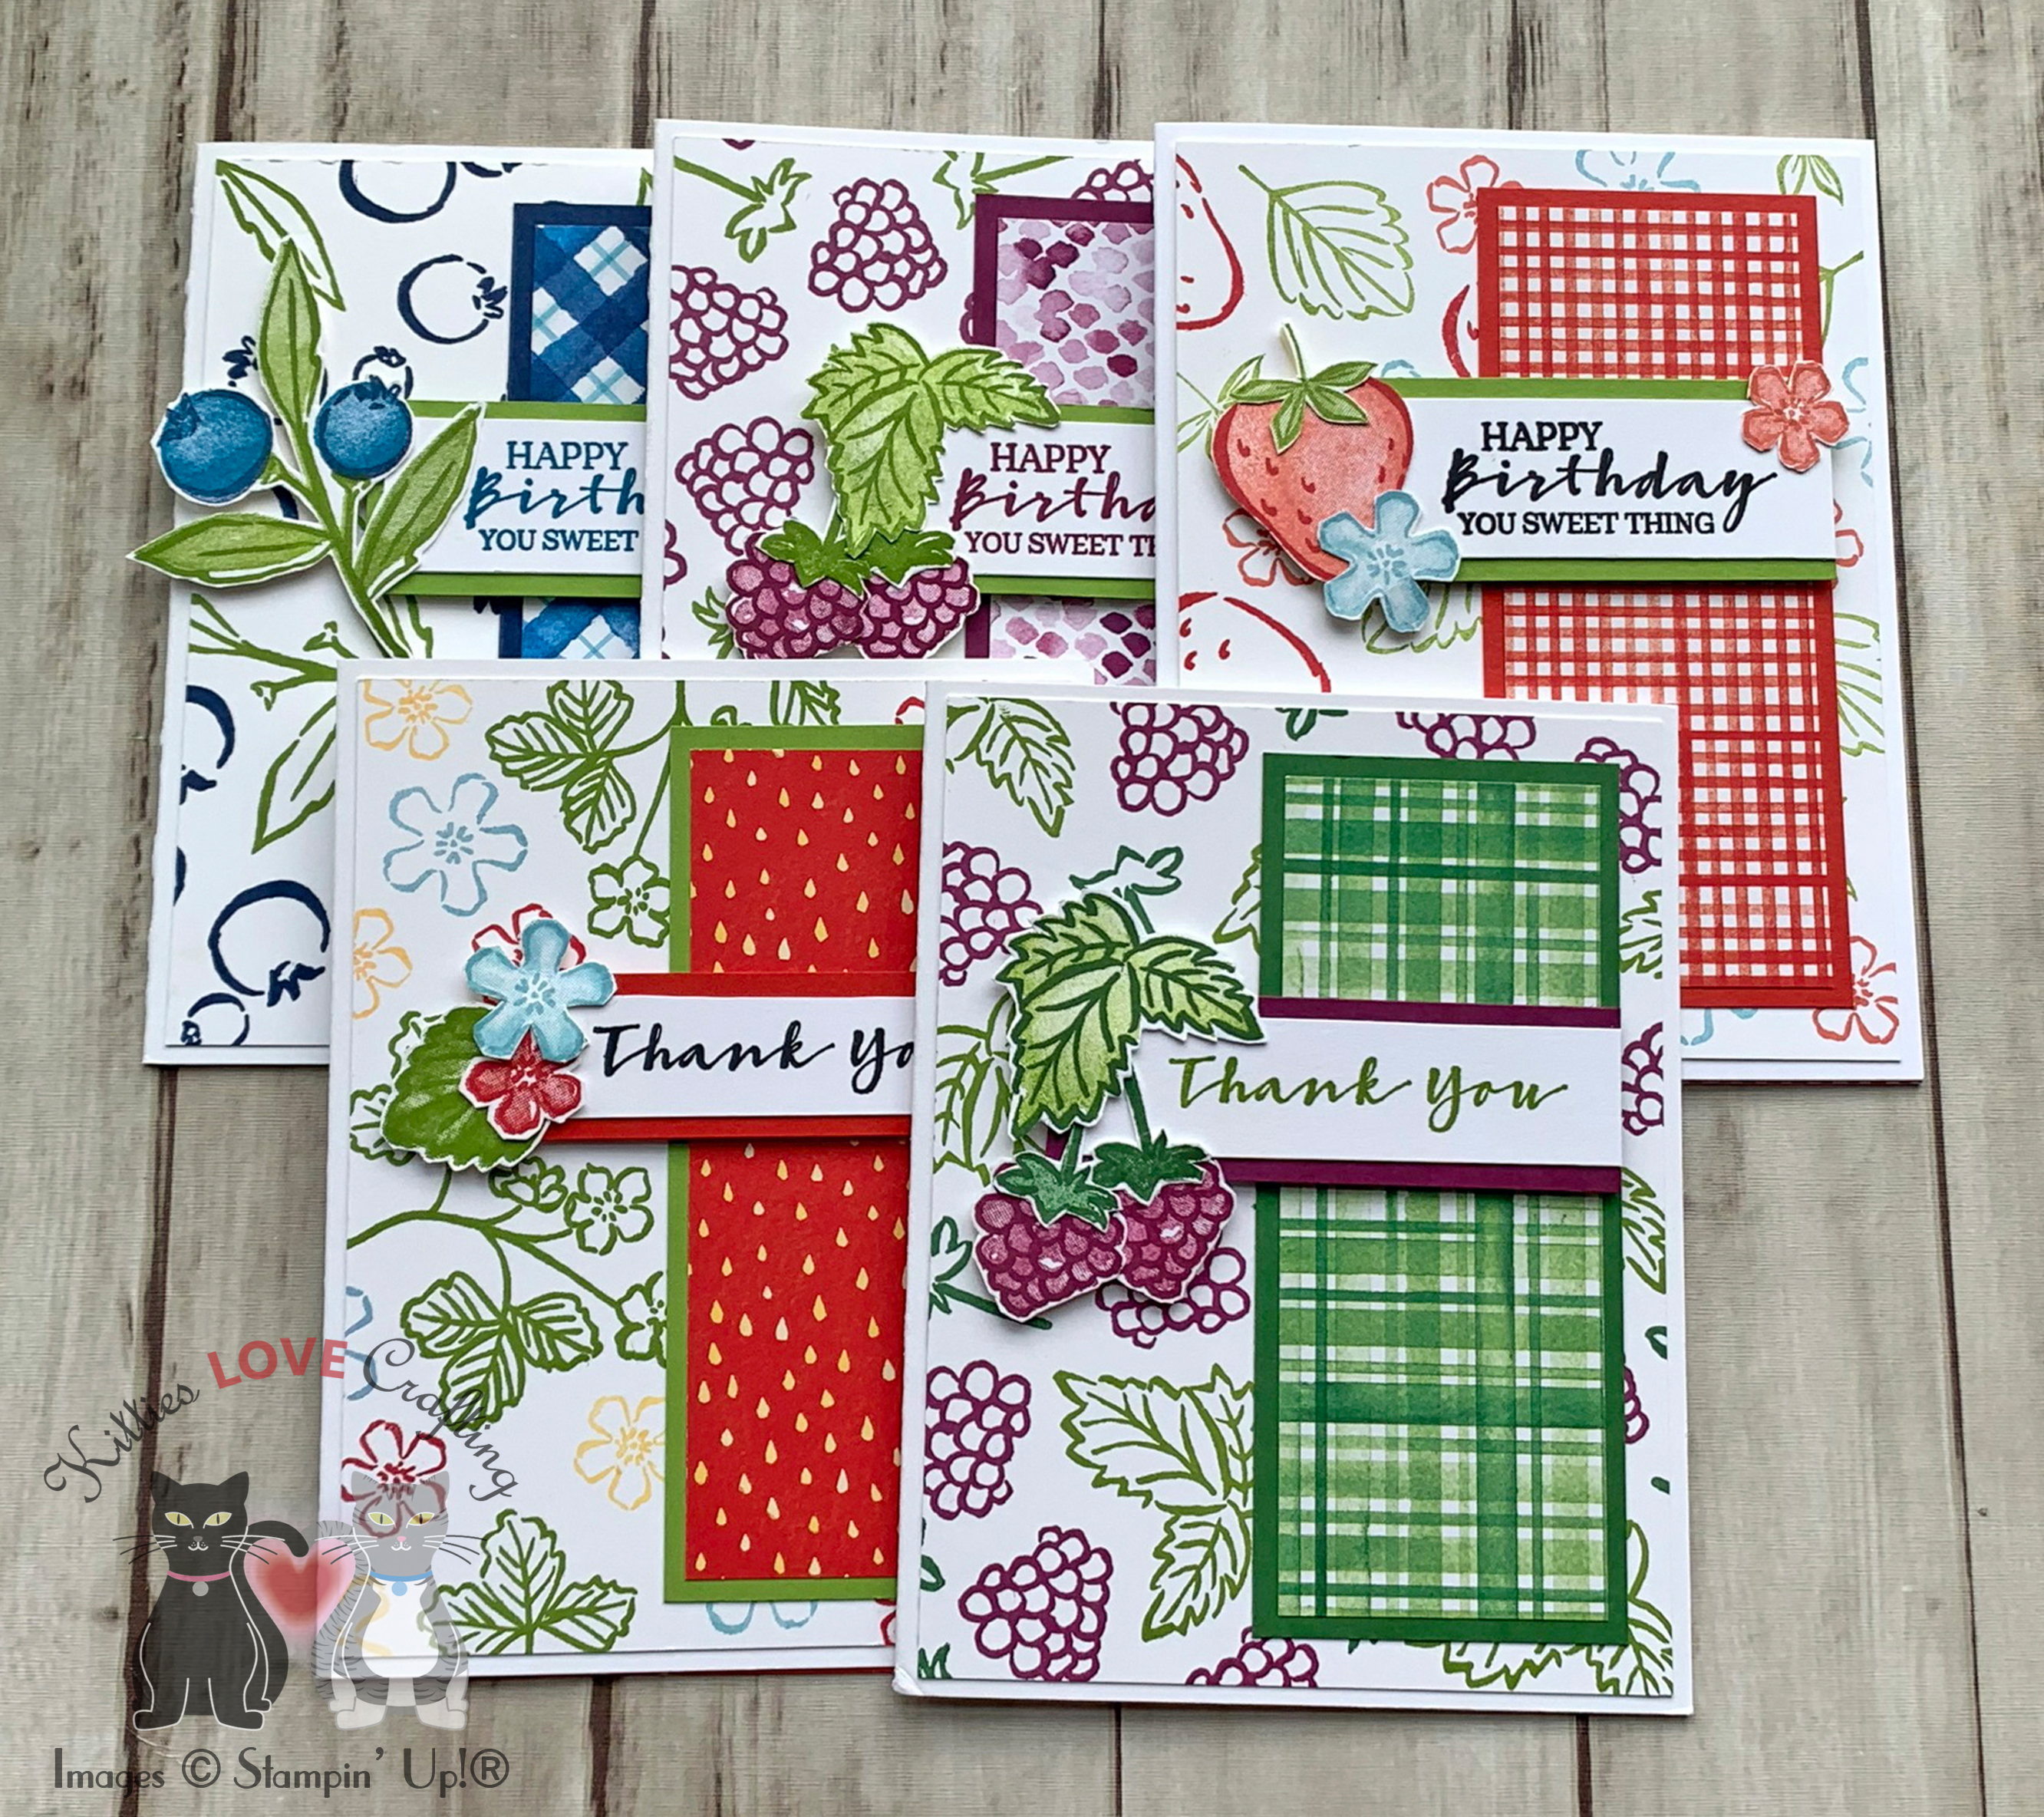
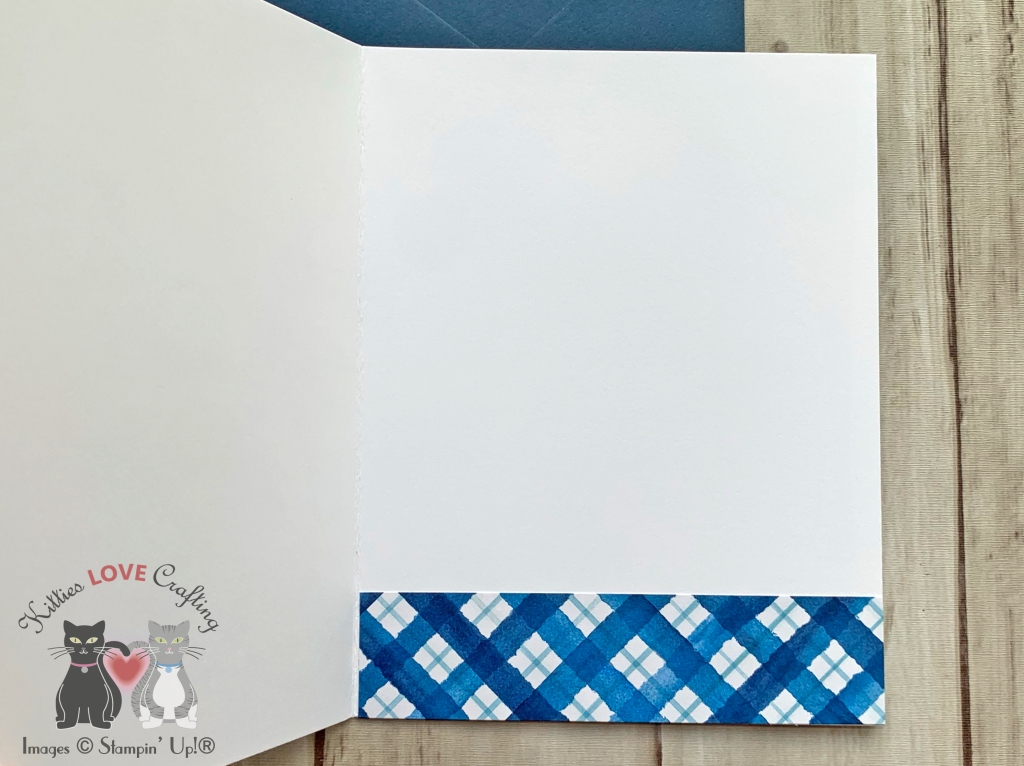
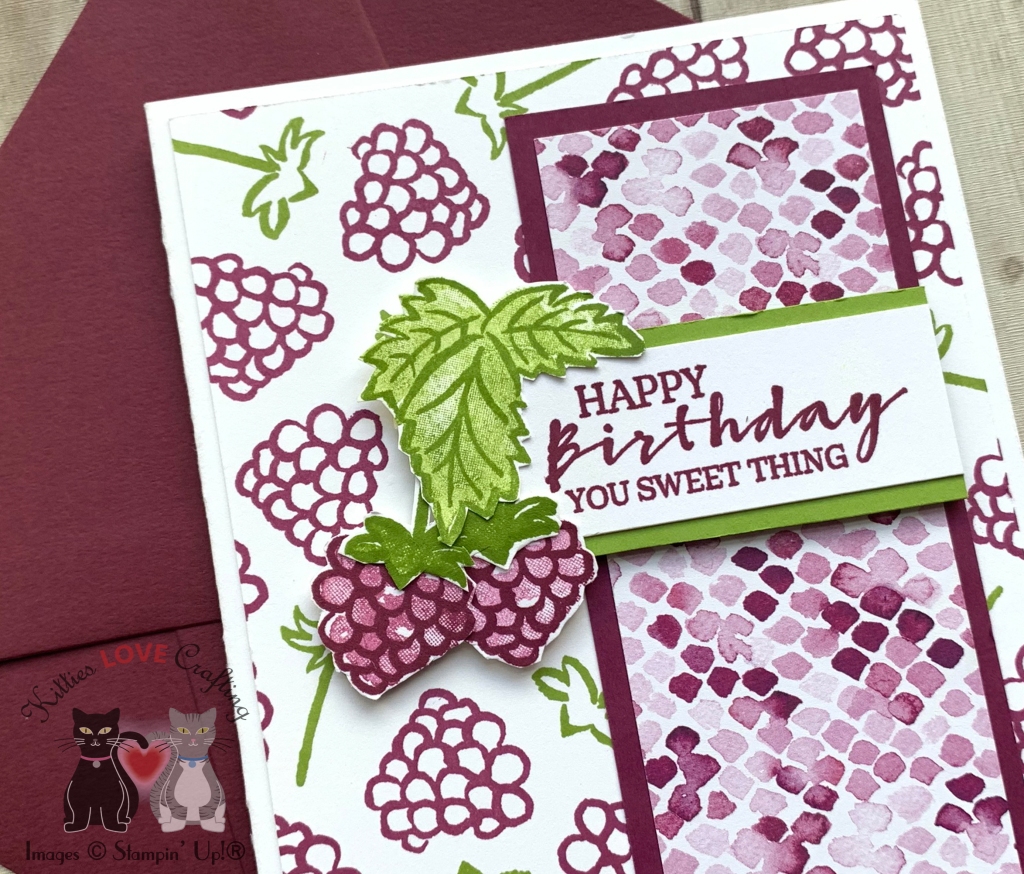
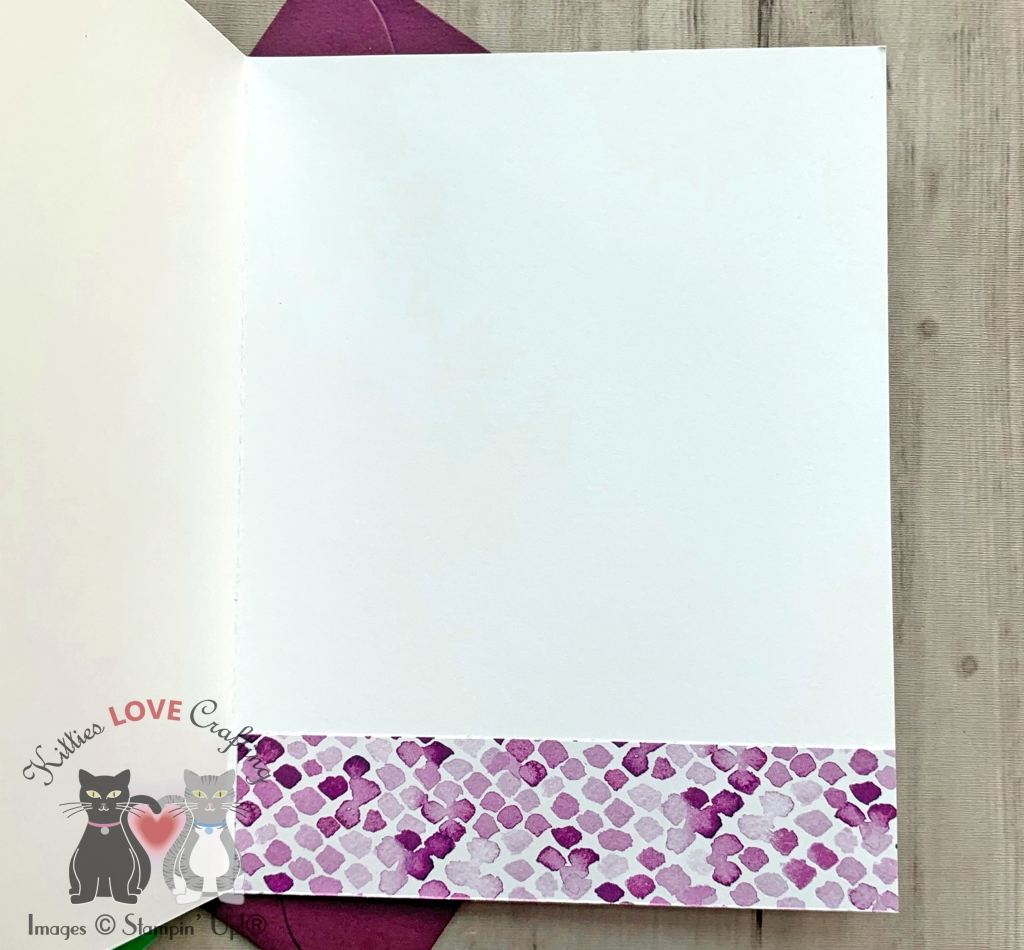
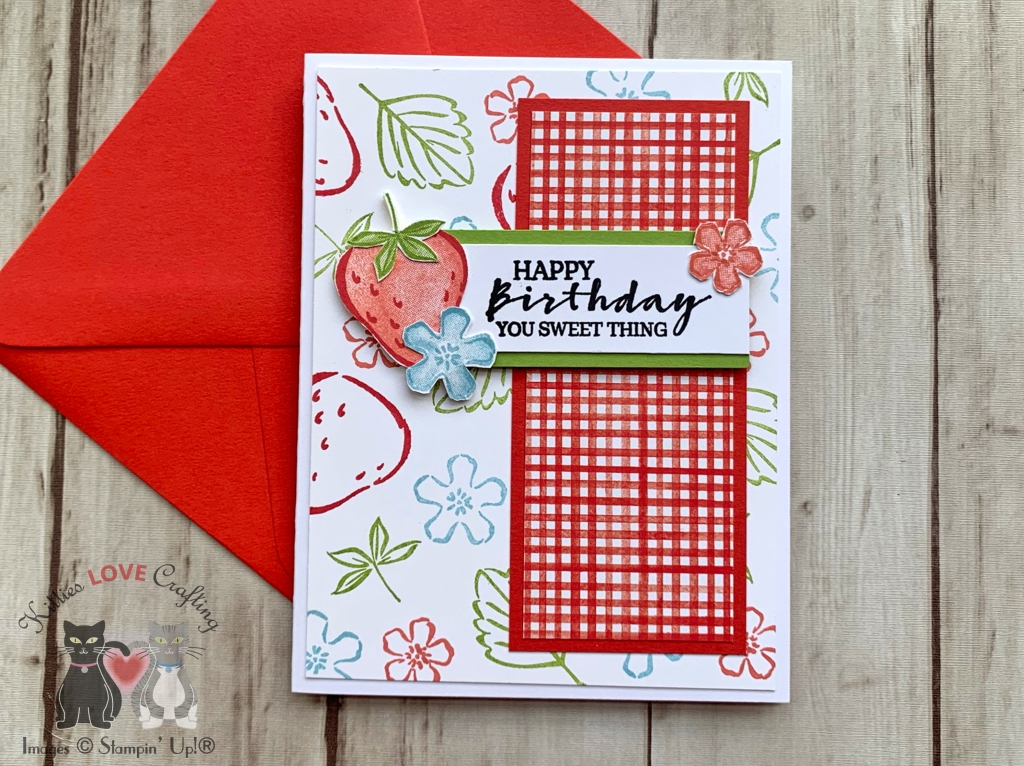
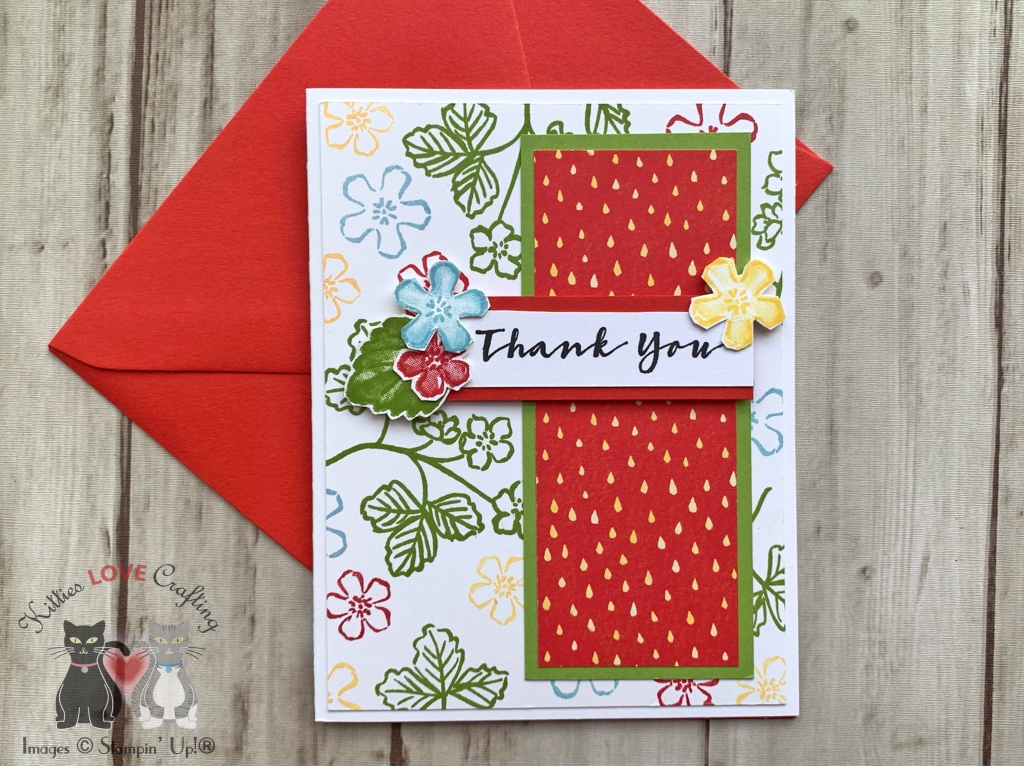
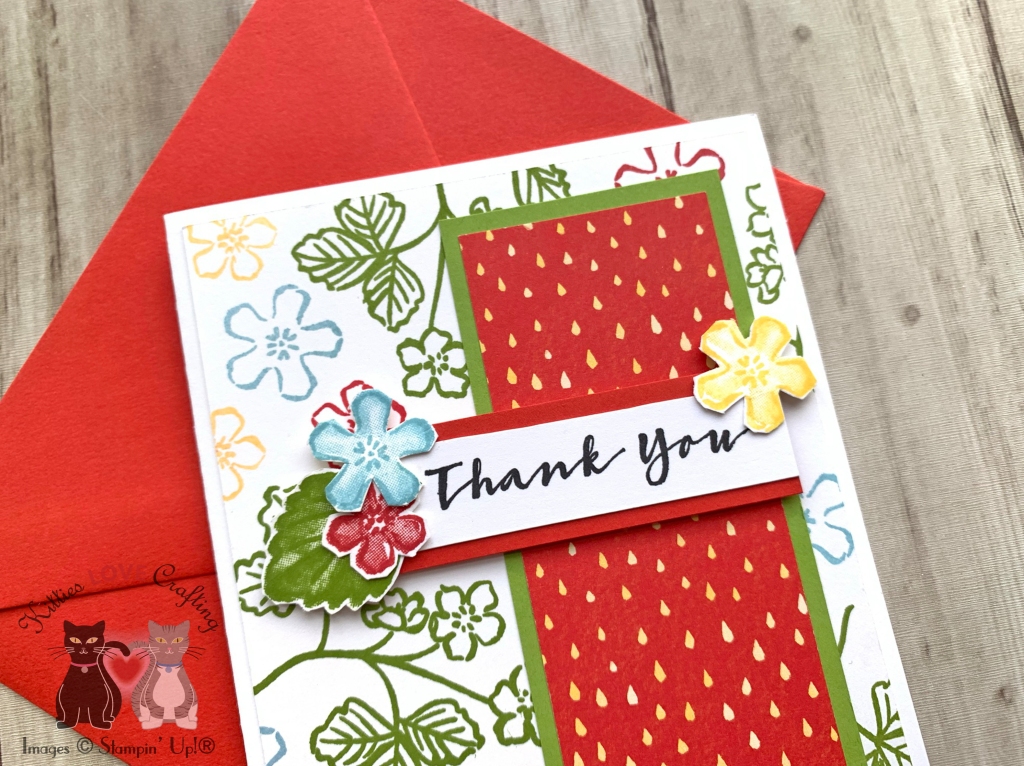
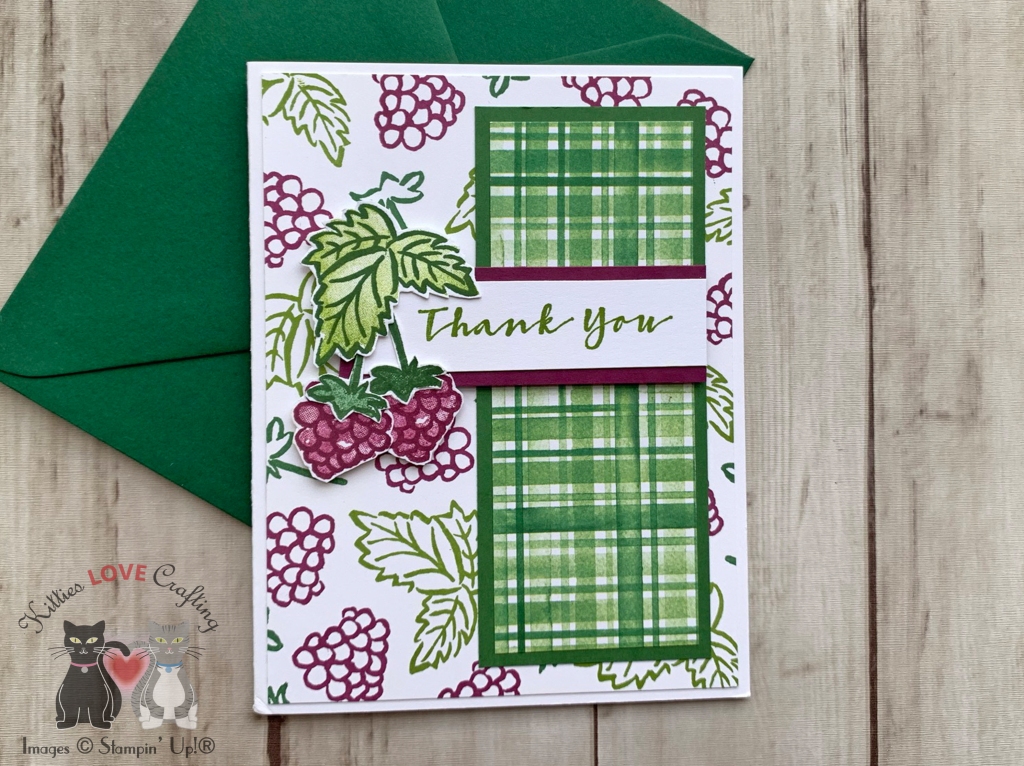
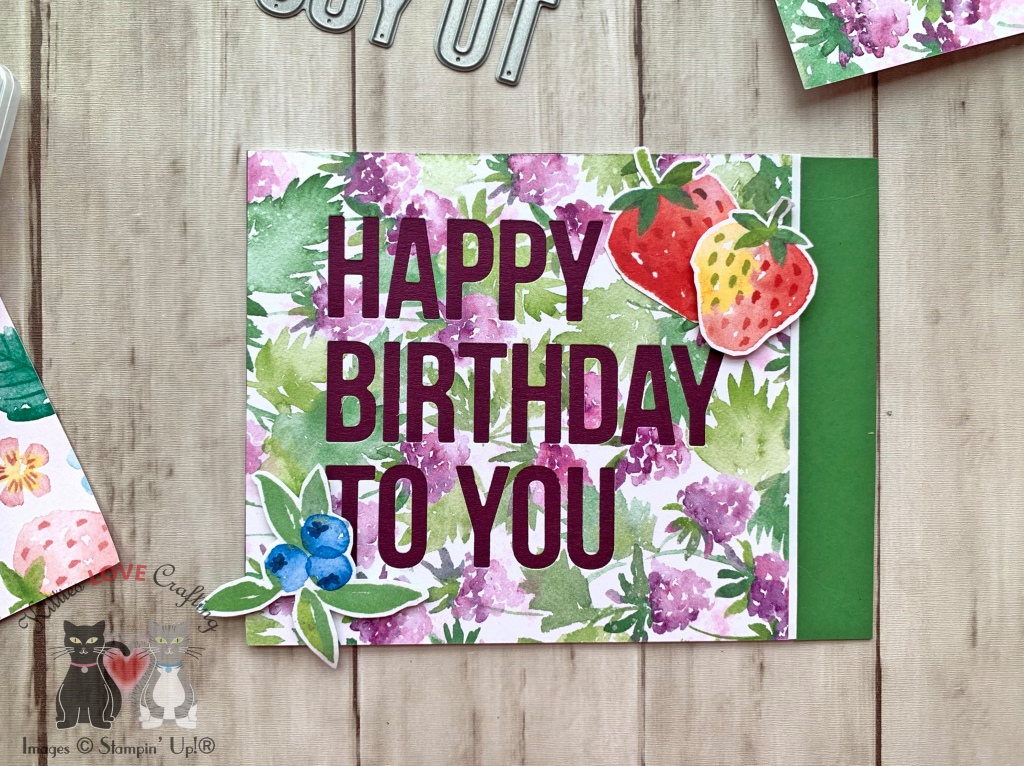
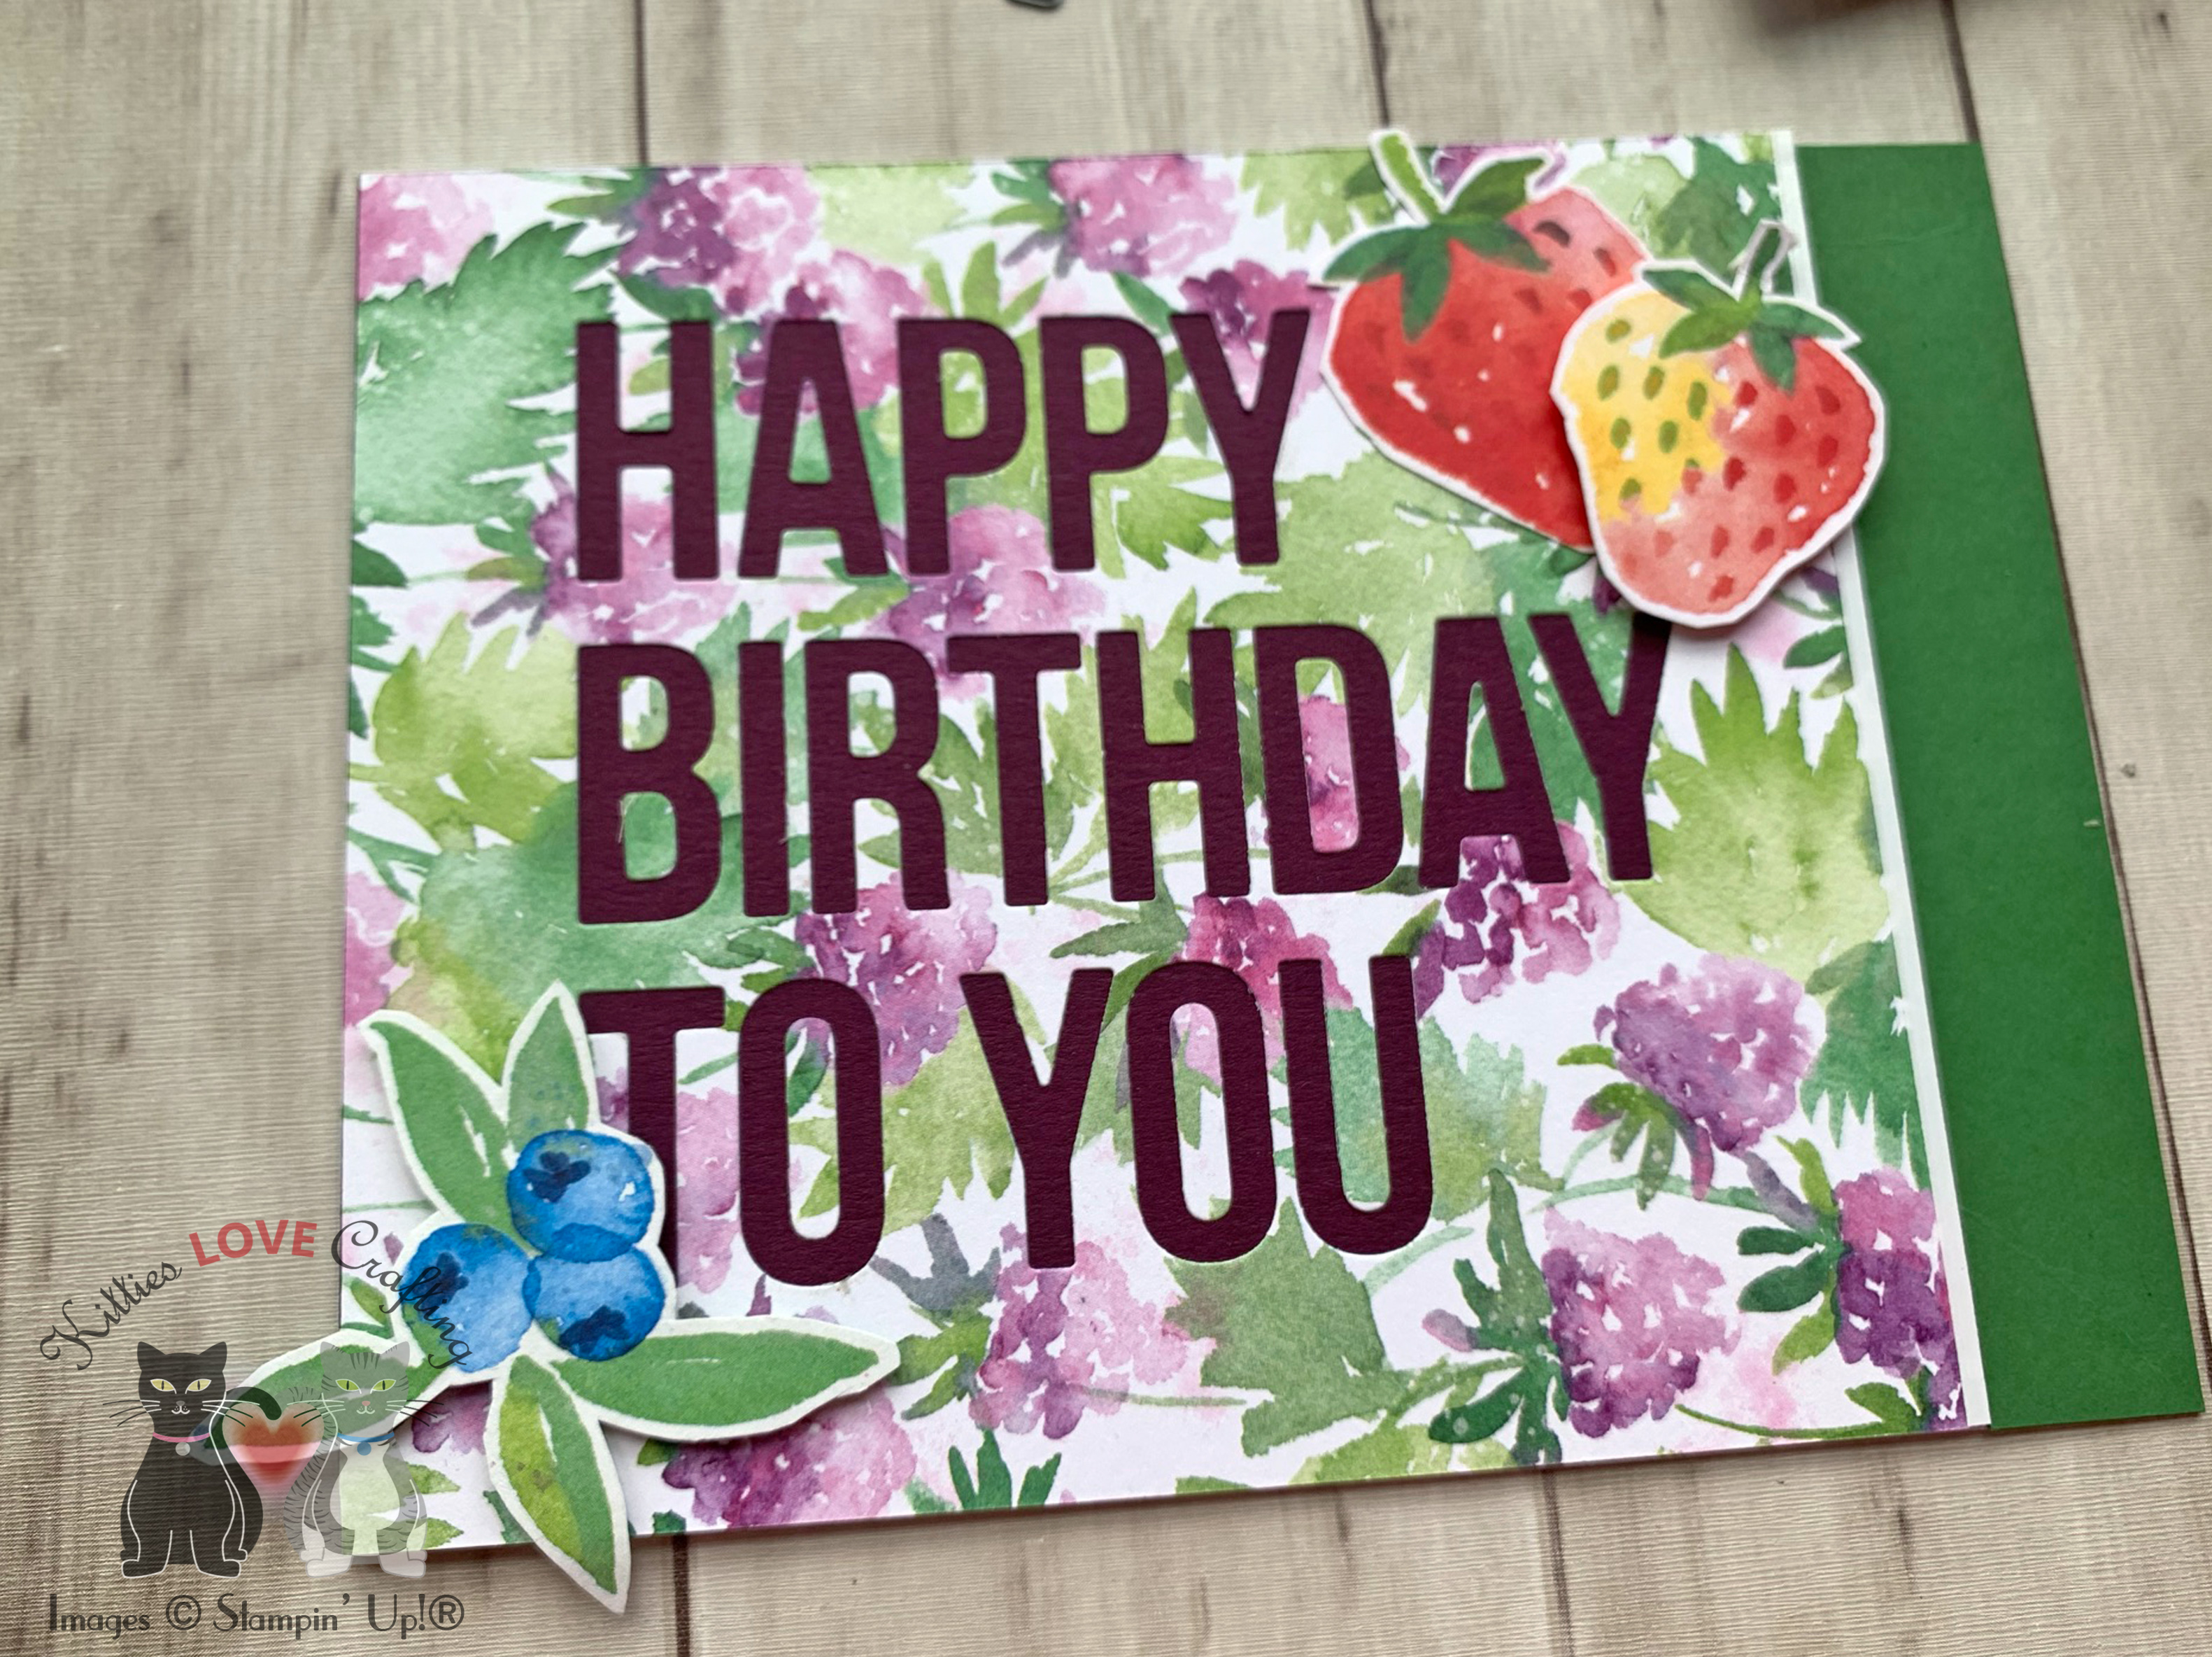
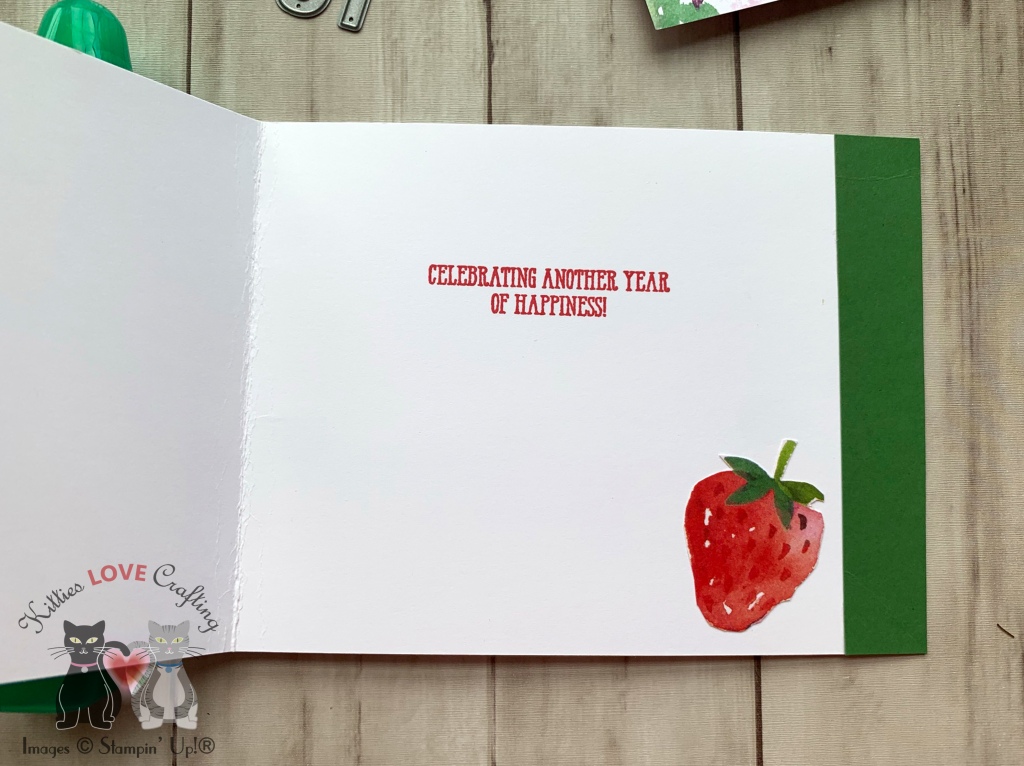
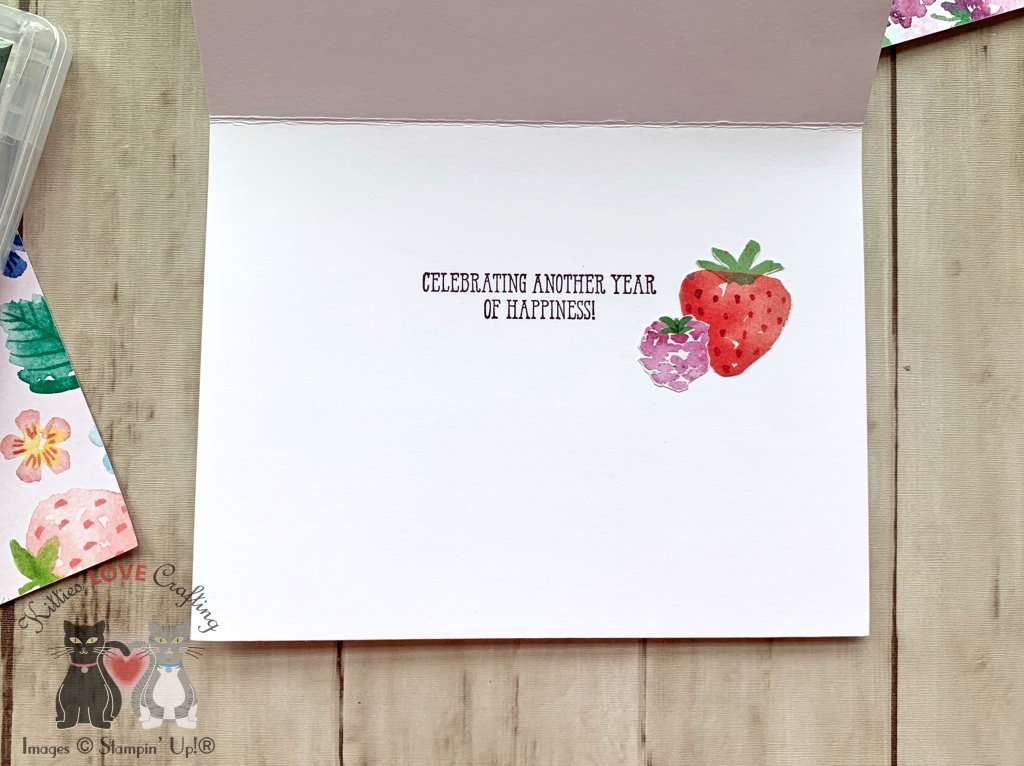
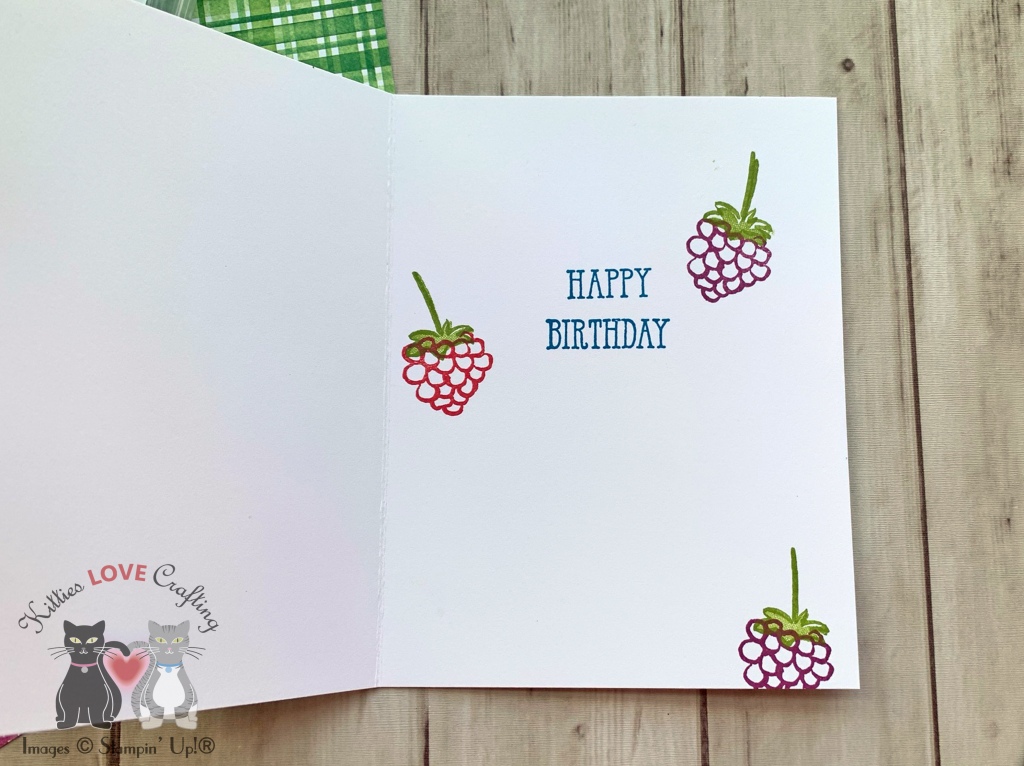
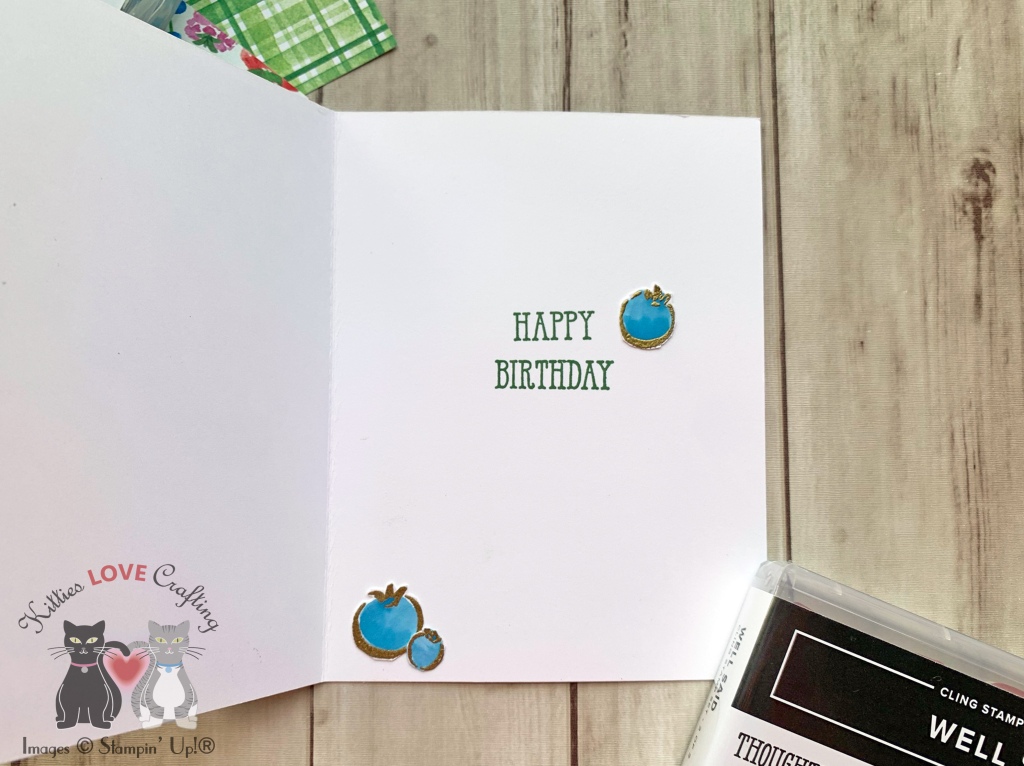
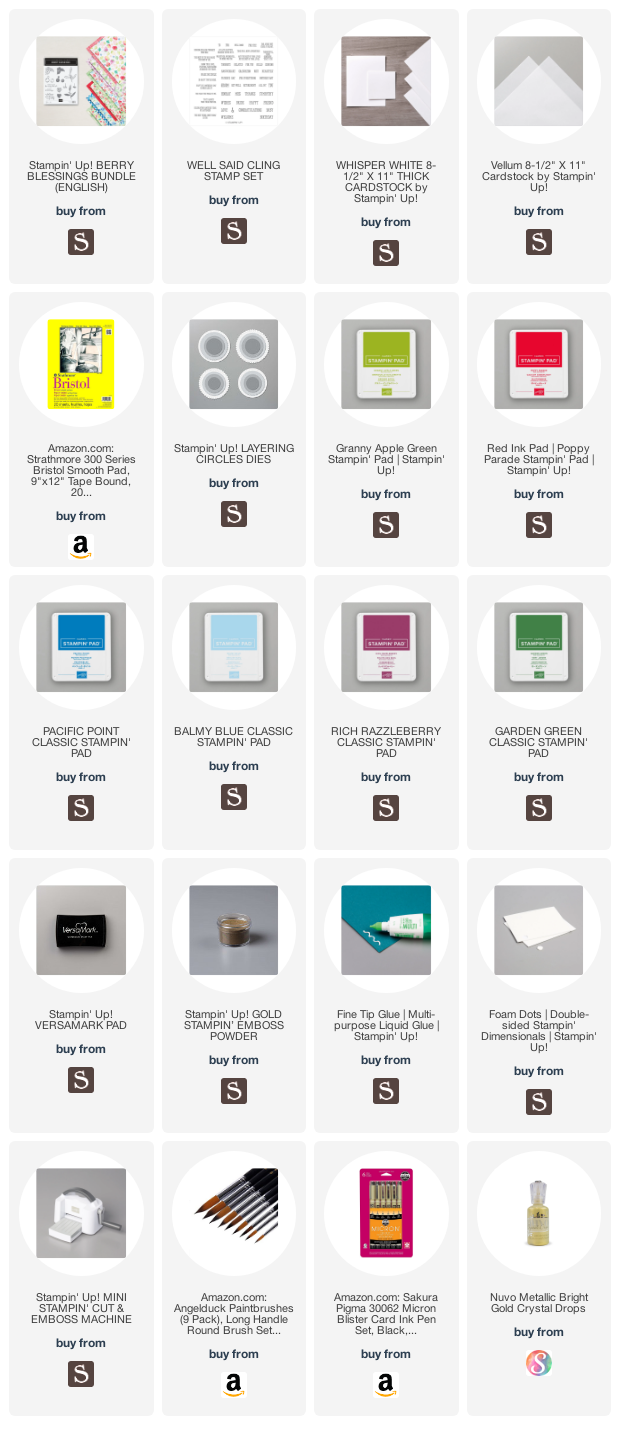
For the all the cards, I started by cutting a piece of Whisper White 8-1/2″ X 11″ Thick Cardstock to 5-1/2 x 8-1/2″ and scored at 4-1/4″ to make a card base and a panel to 4 x 5-1/4″.I stamped the outline images from the Berry Blessings Stampset and Sweet Strawberry Stampset to create the background and adhered it to the card base. Then cut a piece of Berry Delightful 12 x 12 DSP to 1-7/8 x 4-1/2″ and a piece of a Stampin’ Up! colored cardstock to x 1-3/4 x 4-3/4″ and adhered them together. I stamped and fussycut all focal point images using both the outlines and solid stamps. I then stamped all the sentiments onto a piece of Whisper White 8-1/2″ X 11″ Thick Cardstock, Cut them down and added colored cardstock behind them. I adhered the sentiment and images with 3M Foam Tape and Stampin’ Dimensionals.
Thanks for reading this post. I hope you enjoyed and I’ve inspired you to try these easy birthday cards using this stampset and paper for yourself! Leave comments or questions below or feel free to email me. If you want to share you creations with me tag me on instagram @kittieslovecrafting.
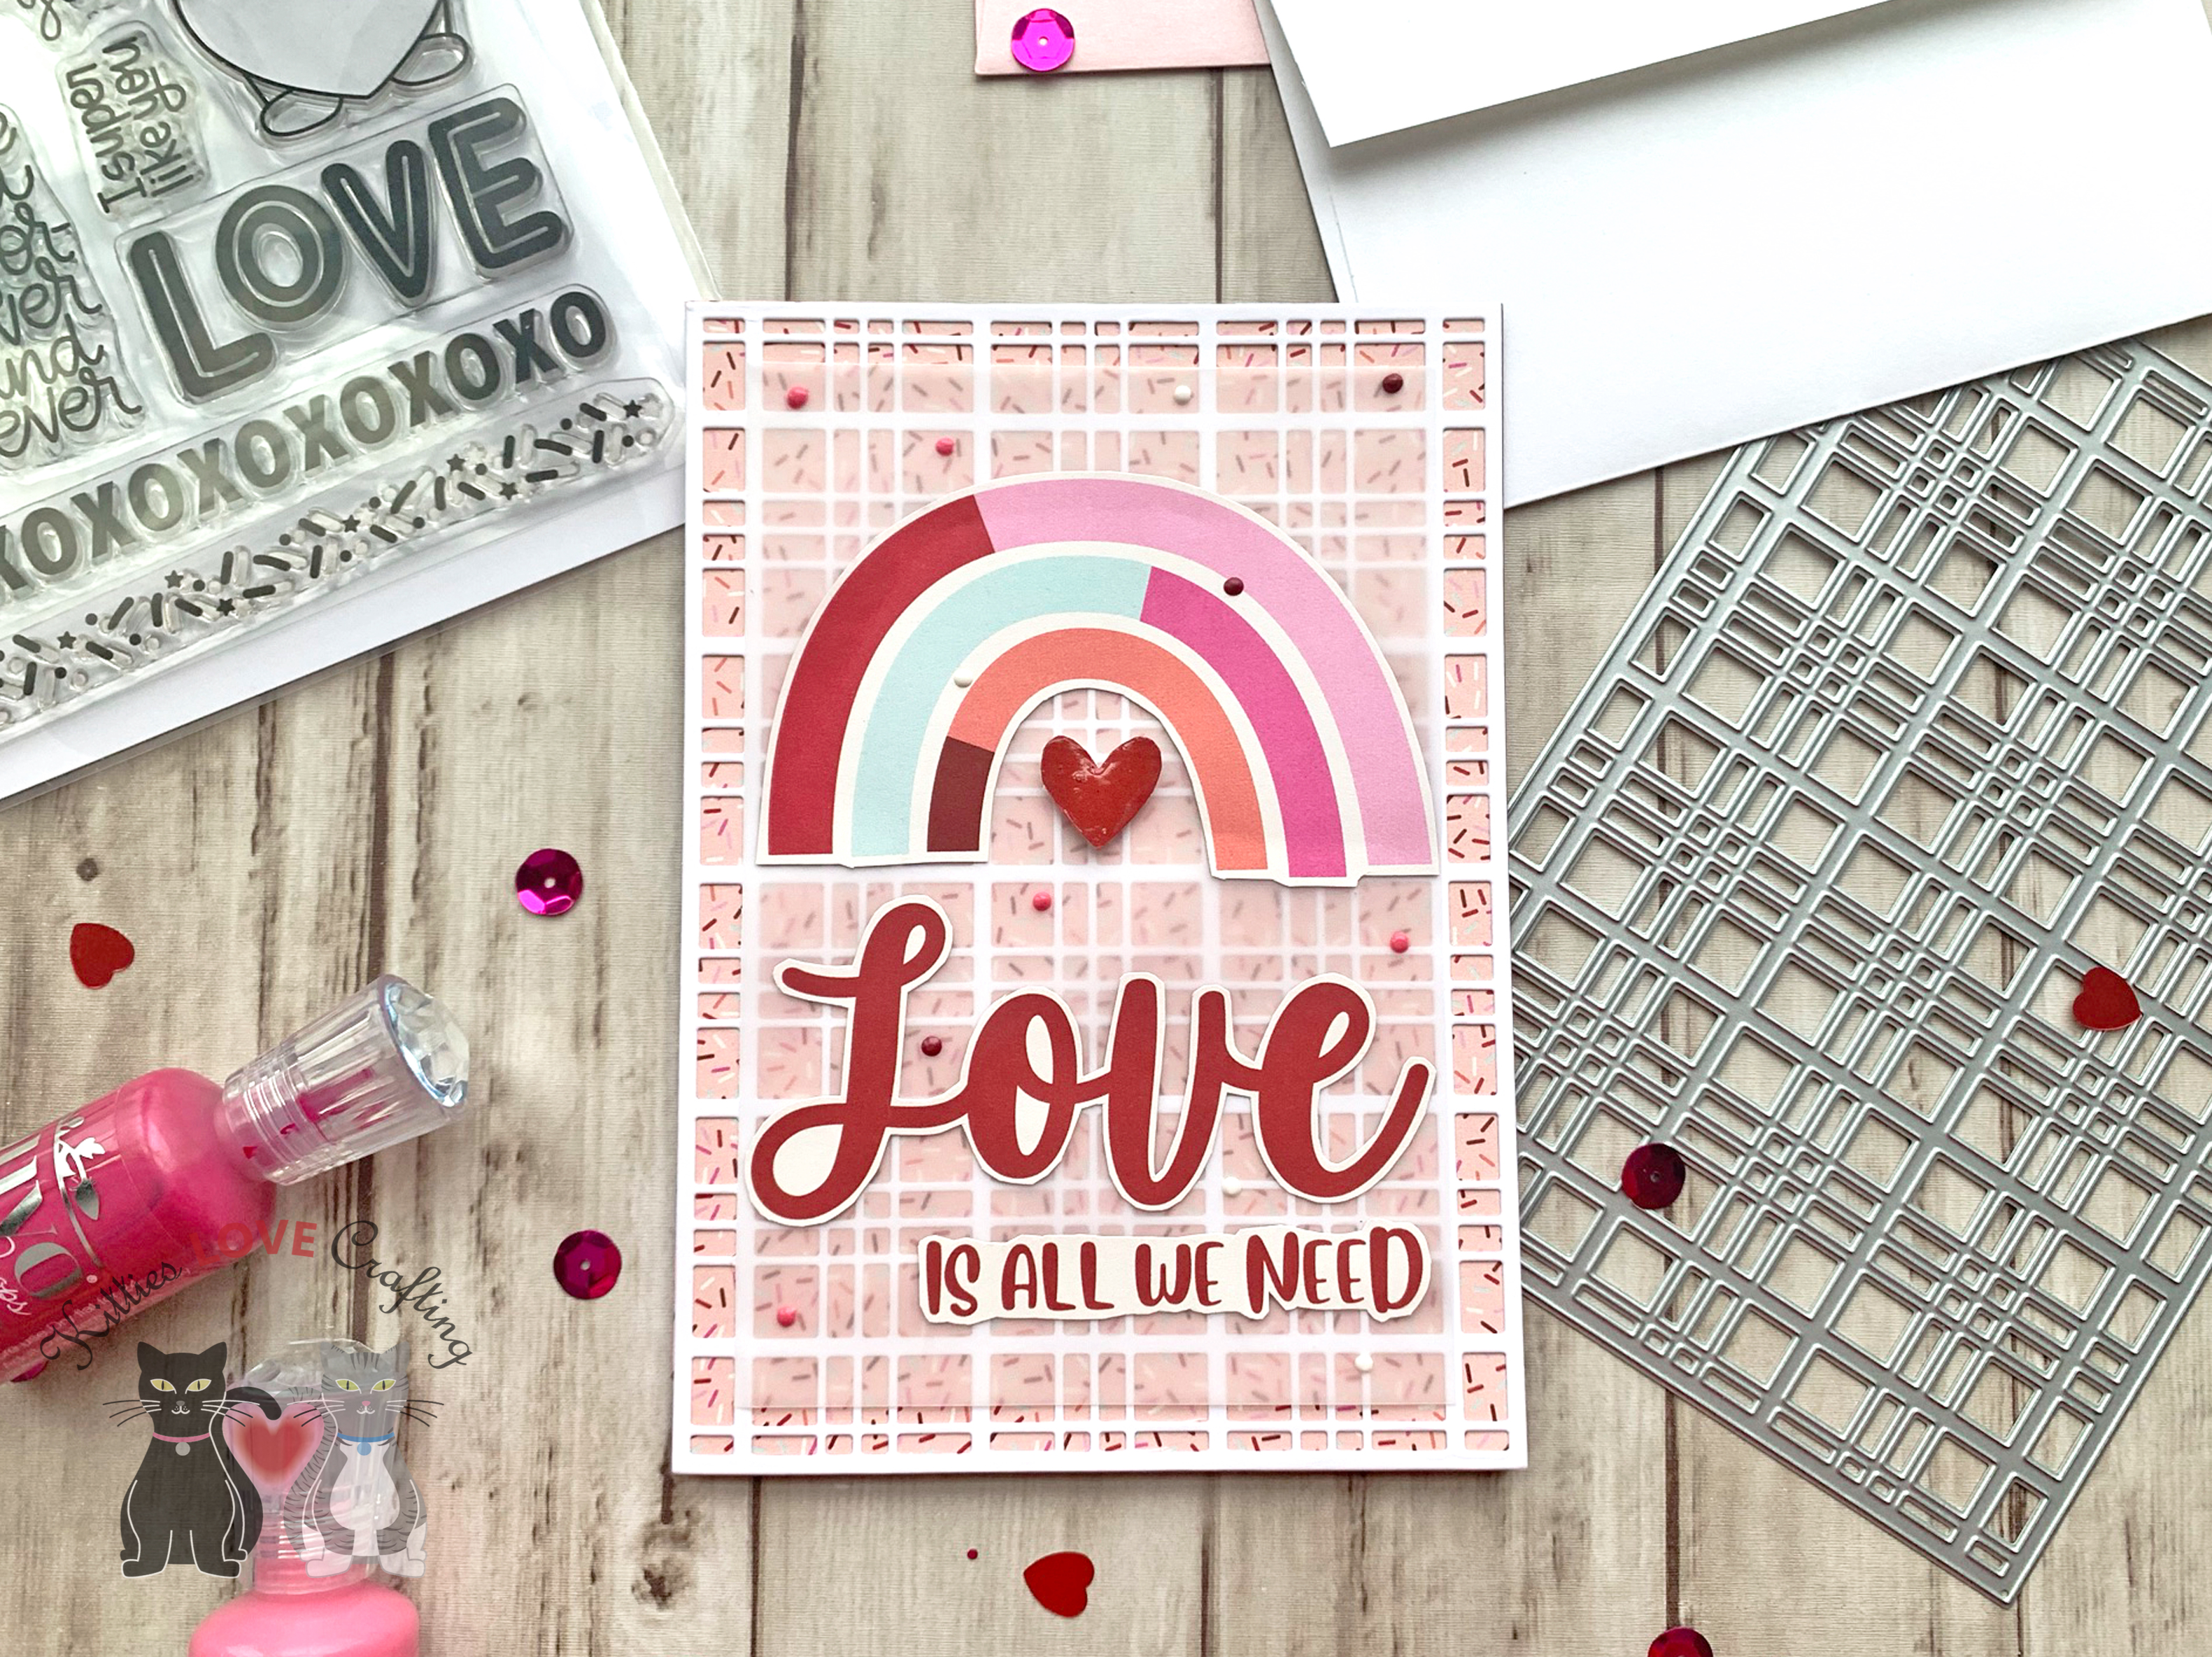
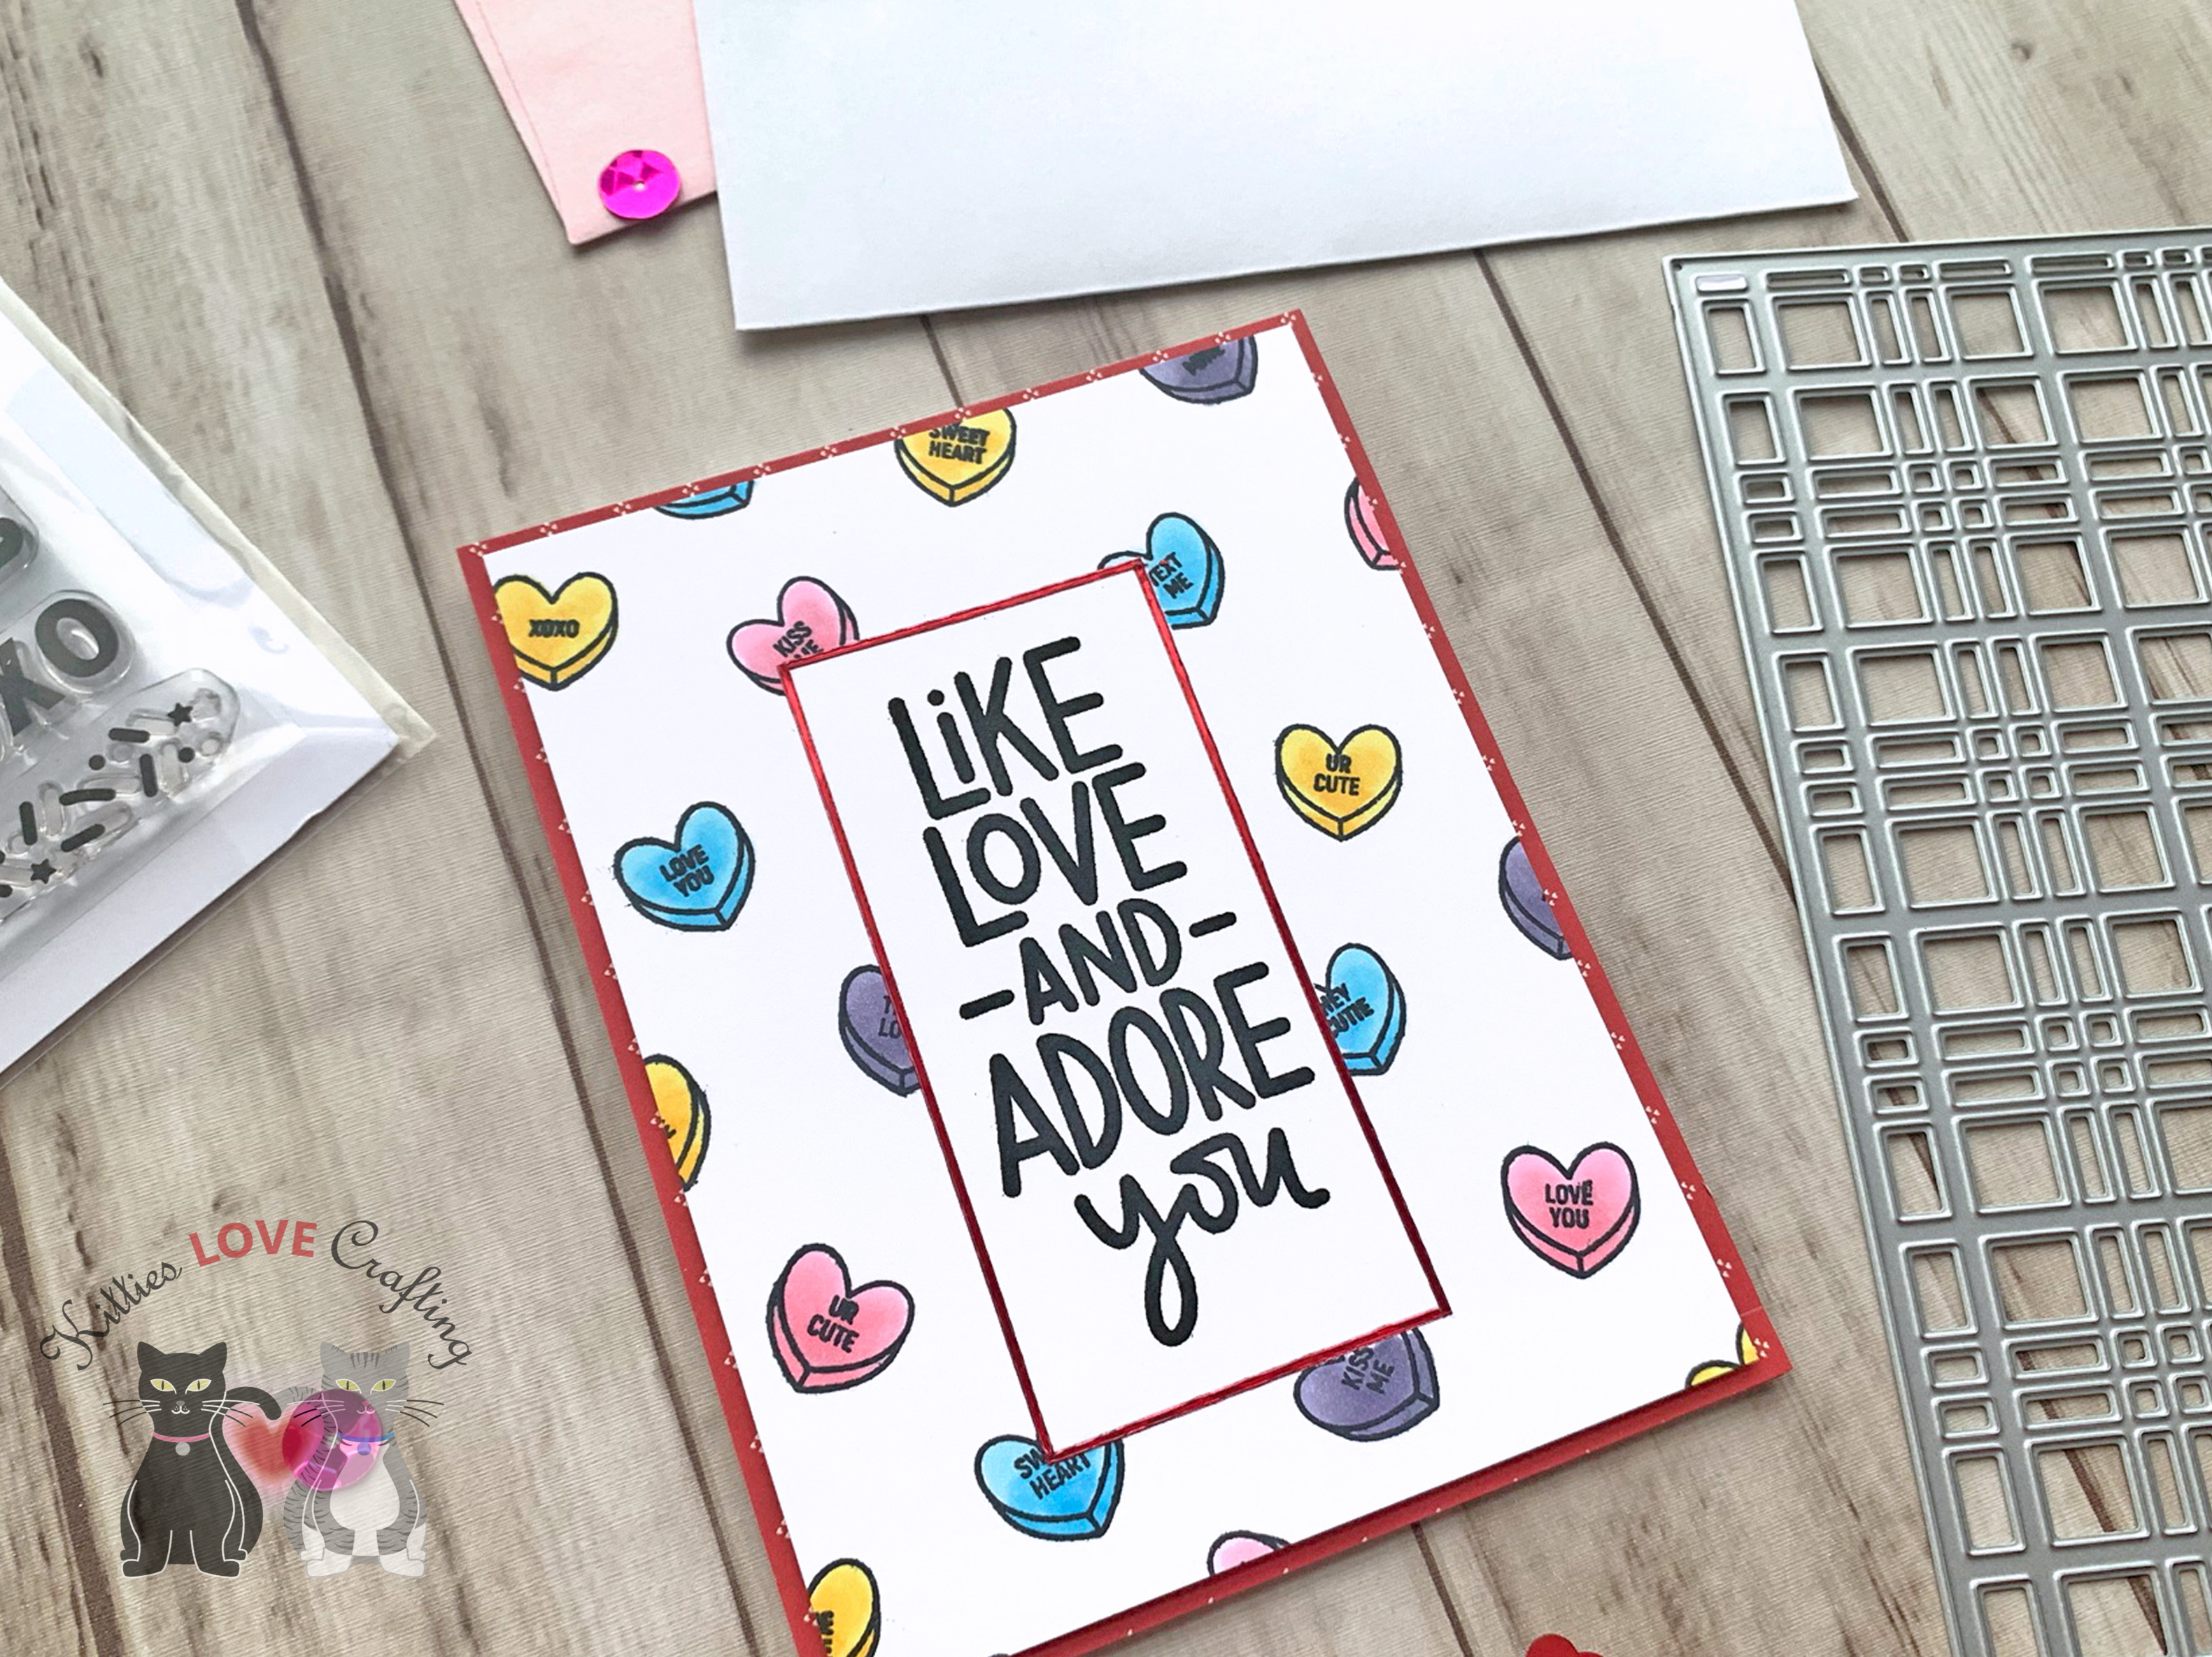
Hi friends. Valentine’s Day is just around the corner. Here are a few more cards to share some love. Both of these cards use minimal supplies and feature the Simon Says Stamp February 2021 Card Kit Love You Beary Much.
In the paper pack there was one page which had this rainbow and sentiment on it, so I fussycut out all the images separately and adhered them to the card. It also had a pink heard under the rainbow but I wanted more contrast so I fussycut a red heart from another pattern paper in the pad and adhered it with some 3M Foam Tape.
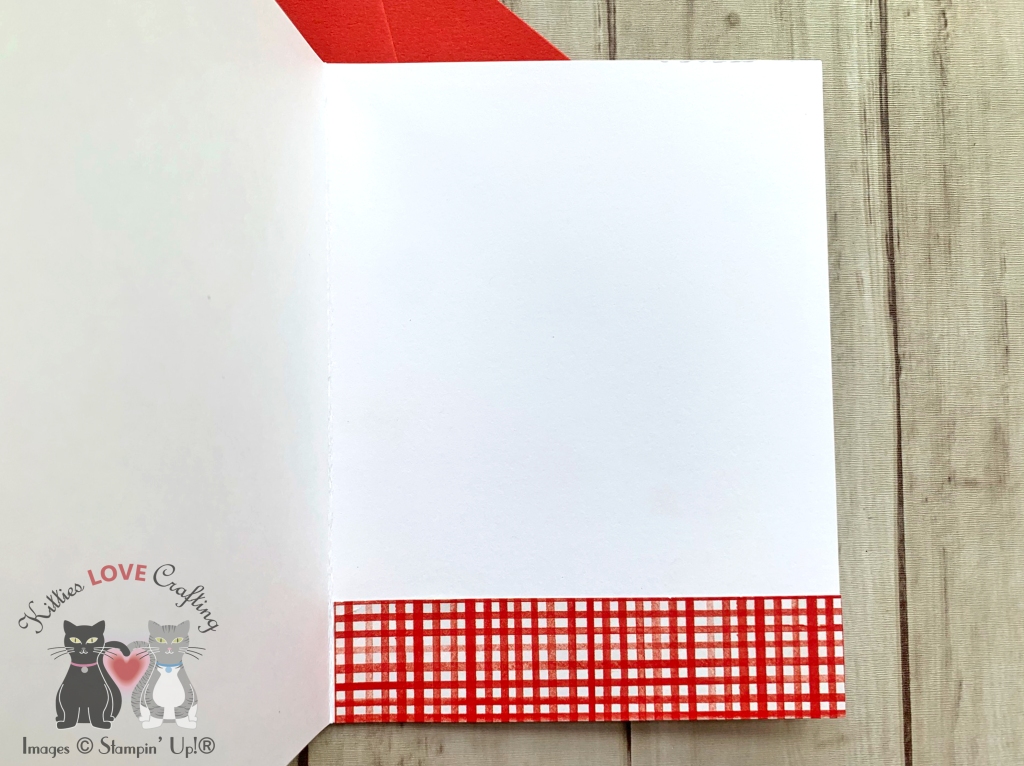
On the inside of the card I kept it simple and left it blank, just adding a piece of Neenah 110lb Classic Crest Cardstock 8.5 X 11″ cut to 4-3/4 x 6-3/4″ and strip of the same pattern paper.
I colored all the hearts with Copic Markers. I used RV10, RV11 & RV21; B00 & B02; V22, V25 &V28; and Y11 & Y15 and adhered the panel to the card with 3M Foam Tape for added dimension.
Thanks for reading this post. I hope you enjoyed and I’ve inspired you to make some cards using this kit yourself! If you want to share you creations with me tag me on instagram @kittieslovecrafting. Leave comments or questions below or feel free to email me.
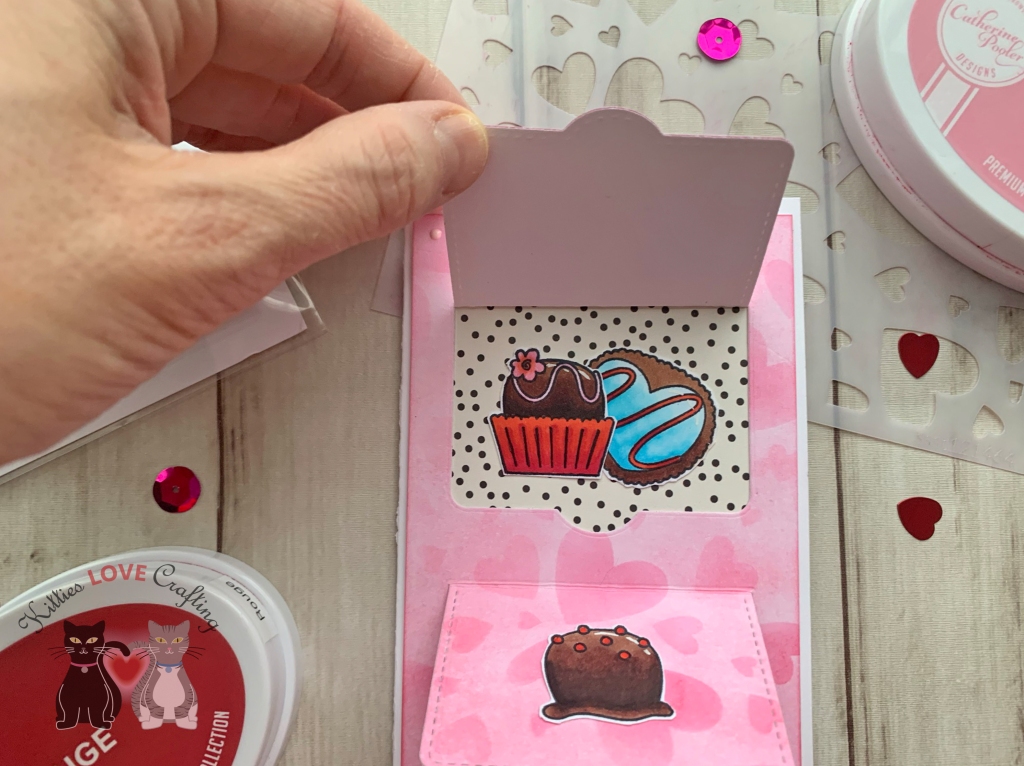
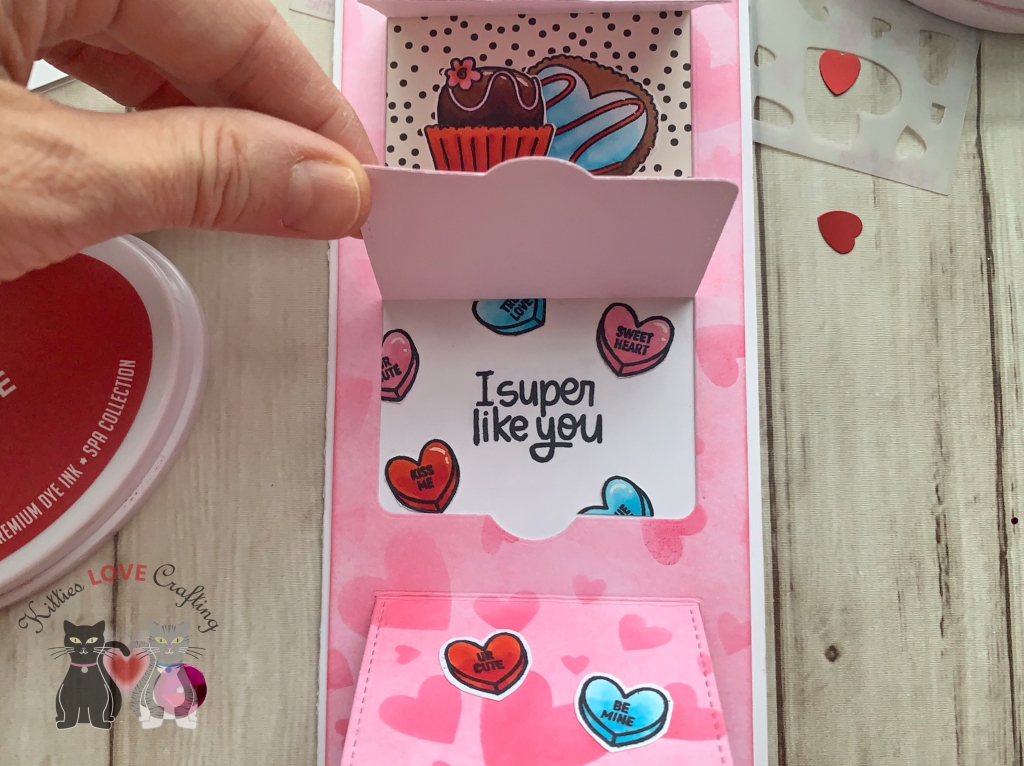
Hi friends. Here’s a fun interactive peekaboo window with hidden messages for Valentine’s, Galentine’s or any day you want to share love. I pulled out an oldy but goody interactive die from Lawn Fawn and combined it with the Simon Says Stamp February 2021 Card Kit Love You Beary Much. I love the Tumbling Hearts 6 x 6 stencil included in this kit! It is so easy to make a pretty background with it. I will show you how I was able to use it on a slimline card.
I colored all the images with Copic Markers. I used E23, E25, E29 & E49 (for chocolate truffles); R81, R83 & R85 (for the truffle wrappers, sprinkles and decor, hearts); R05, R17 & R29 (for hearts); BG000, BG01 & BG02 (for sprinkles and decor, hearts). I fussycut all the images and adhered some to the inside of the card and some on the outside.
Thanks for reading this post. I hope you enjoyed and I’ve inspired you to make this slimline card using this kit yourself! If you want to share you creations with me tag me on instagram @kittieslovecrafting. Leave comments or questions below or feel free to email me.
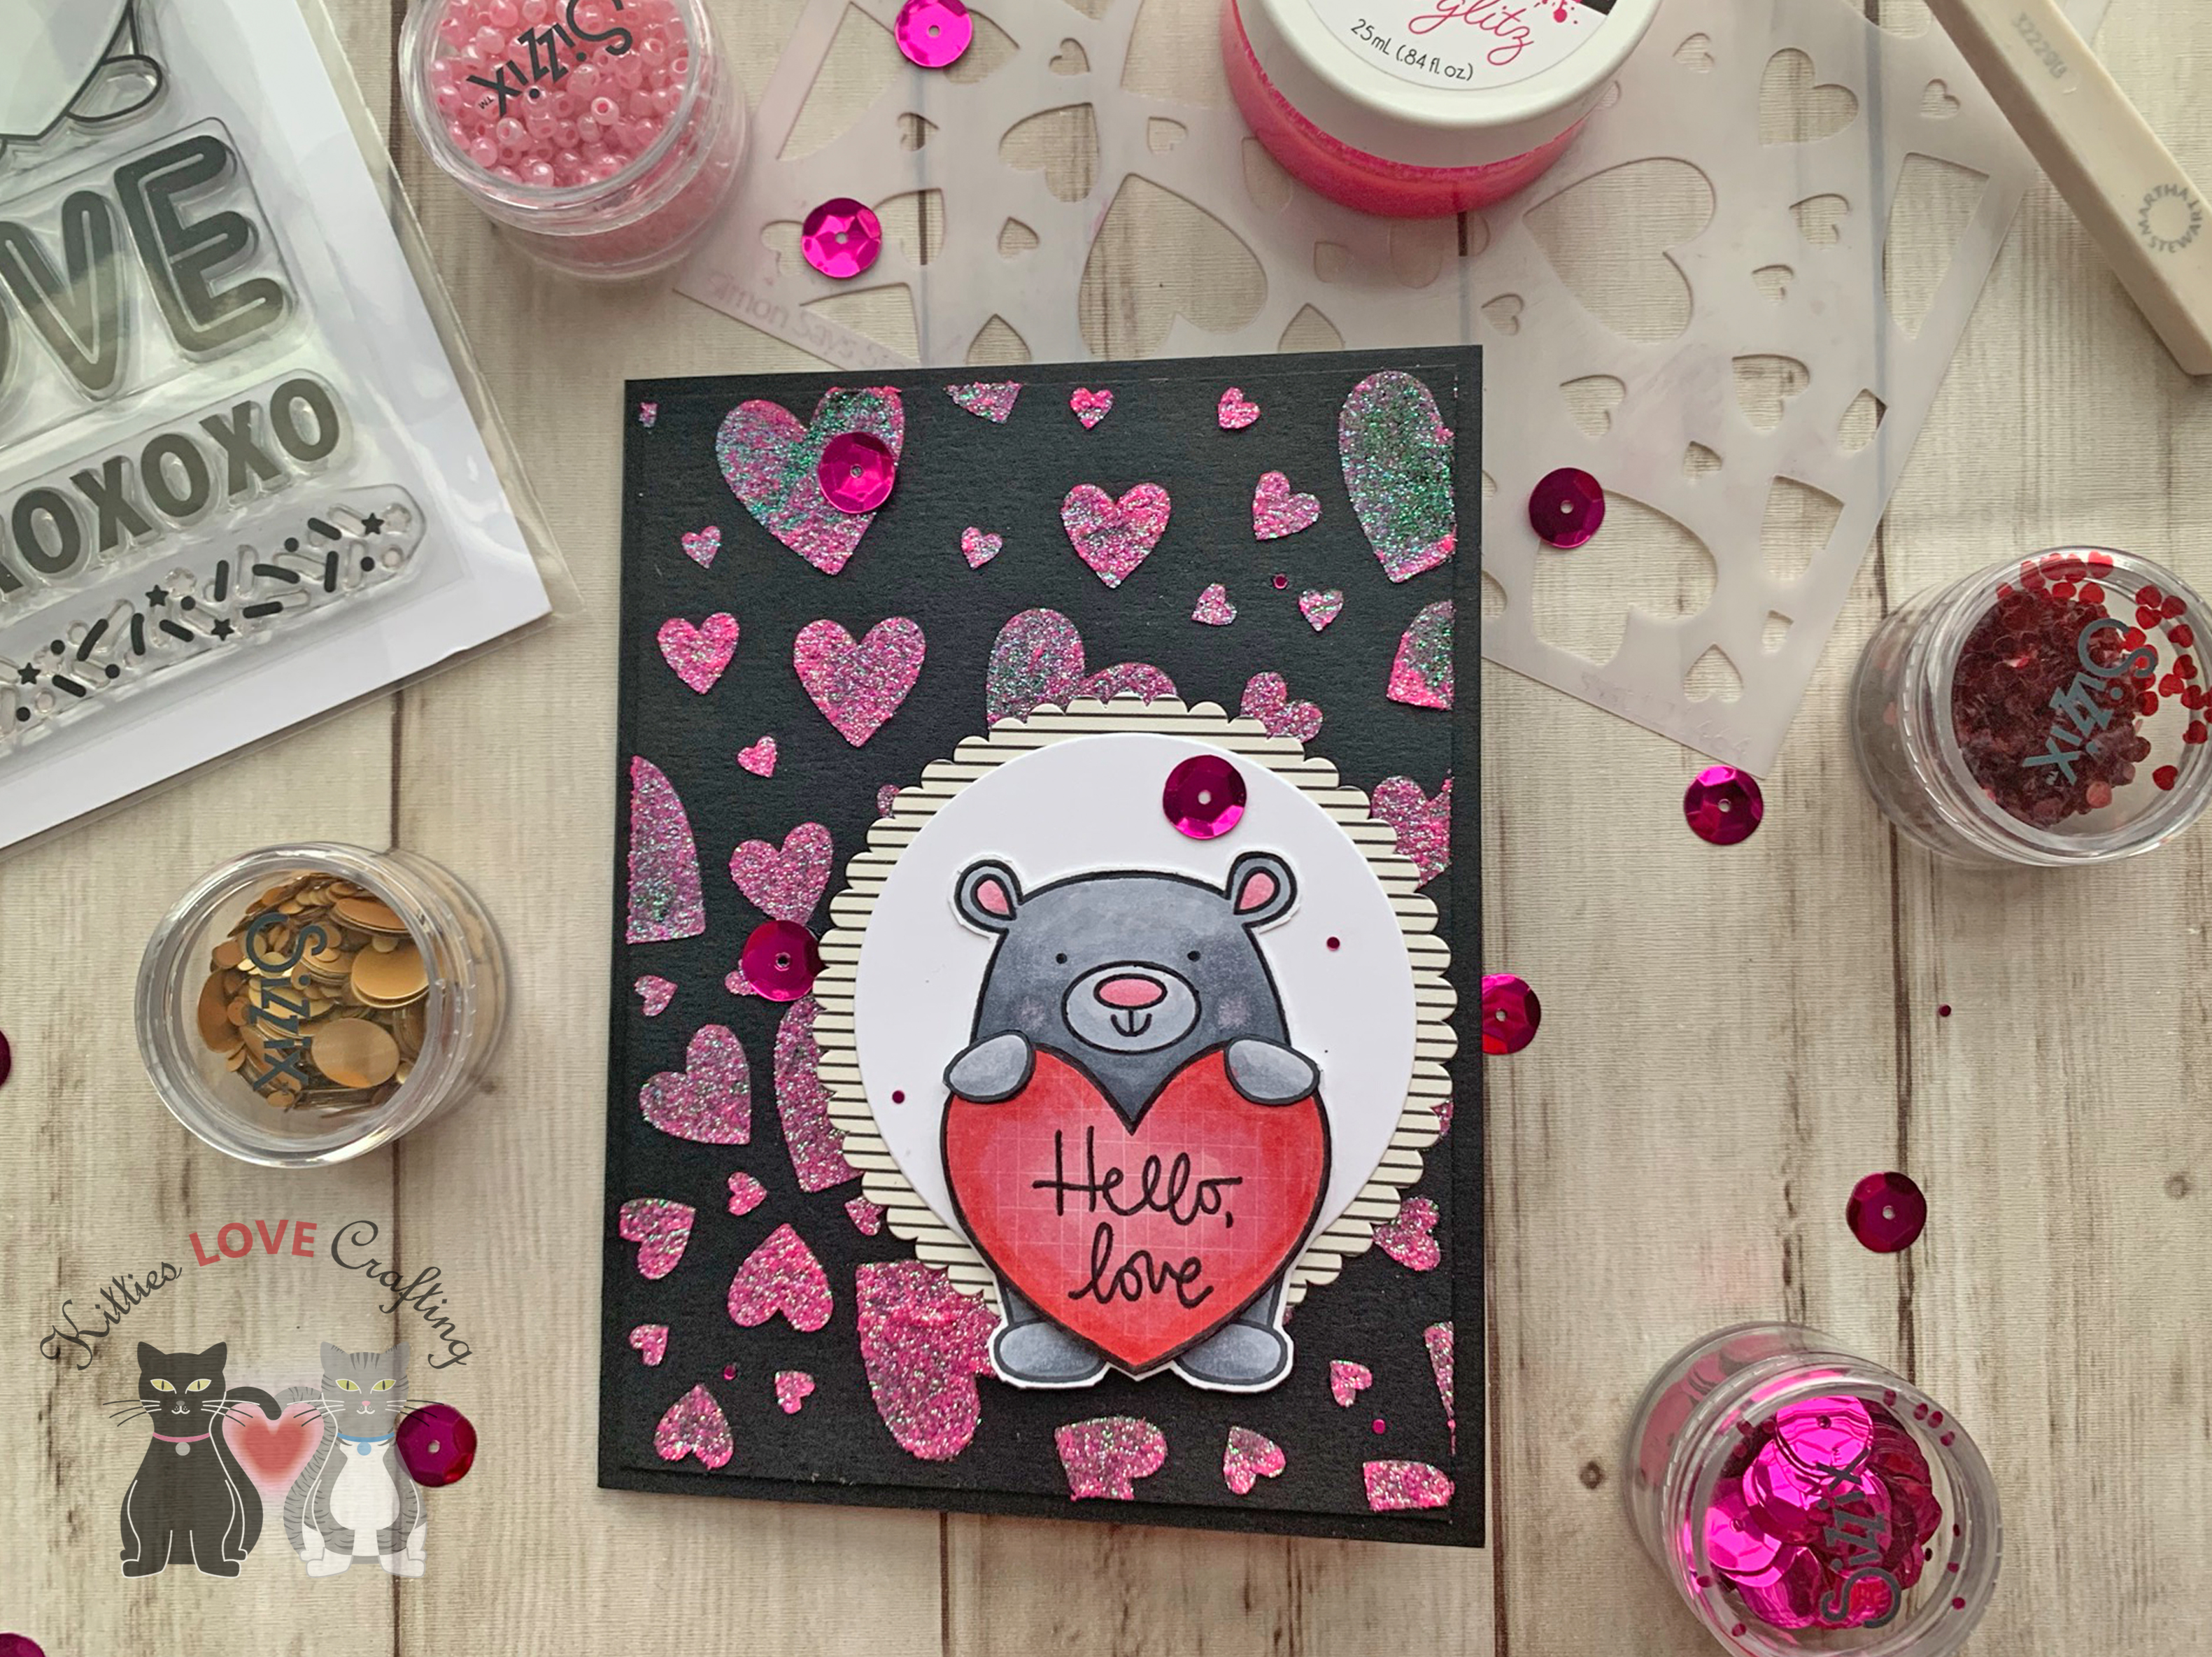
Hi friends. Need a fairly quick card for Valentine’s or Galentine’s Day? This cute sparkly pink bear card came together quickly using the Simon Says Stamp February 2021 Card Kit Love You Beary Much.
For this card, I started by using the Simon Says Stamp A2 Black Notecards included in the kit for the card base and cut another one down to 4 x 5-1/4″. Next I used the Simon Says Stamp Exclusive Tumbling Hearts 6 x 6 stencil and applied Thermoweb Rina K Poppin Pink Mini Glitz to the card panel. When I saw this sparkly pink glitter paste I immediately wanted to see what it would look like on the black cardstock. It looks pretty cool. Next time I will add a little bit more so its all completely evenly covered.
I colored the image with Copic Markers. I also colored the pattern paper heart to give it some dimension and make it pop a bit more. I used R81, R83 and R85 (ears and nose); R20 (cheeks); C1, C3, C5, & C7 (bear); adn R27 and R83 (pattern heart). I fussycut the images out and adhered them together using 3M Foam Tape behind the heart and paws.
Thanks for reading this post. I hope you enjoyed and I’ve inspired you to make this fun sparkly card using this kit yourself! If you want to share you creations with me tag me on instagram @kittieslovecrafting. Leave comments or questions below or feel free to email me.
I colored the images with Copic Markers and die cut it with the coordinating dies. I used N1, N2, N5, N7 and 0 (for the cab); N1, N2, and N5 (for the truck bed); N2, N5, and N7 (for the bumper and underside); Y11, and Y18 (for the headlights) and BG000 and 0 (for the windows); R81 and R83 (license plate); C7, C9 and 100 (for the wheels). I adhered the truck to the card, adding 3M Foam Tape to the extra pieces of the truck bed.
Thanks for reading this post. I hope you enjoyed and I’ve inspired you to give this card a try for yourself. Leave comments or questions below or feel free to email me.
Hi friends. This cute little pickup truck is from Honey Bee Stamps Big Pickup Tailgate Stampset. And it is adorable! I love this stampset. I loved it so much I also purchased the Big Pickup Cab Stampset and Dies as well as the Tailgate Alphabet Dies!!! This stamp set alone gives you lots of options to make a variety of cards. I made mine into a truck shaped card which is so much fun!
I started by stamping the truck image from Honey Bee Stamps Big Tailgate Stampset with Memento Tuxedo Black Ink onto Neenah 110lb Classic Crest Cardstock 8.5 X 11″ and die cutting it with the coordinating die set. I also cut a second truck (no stamping) for the back of the card. I stamped ‘Hot Rod’ on the license plate and stamped a second version of the truck bed and a sentiment on it and used the die to cut just the back piece. This dieset allows you to cut three different components of the truck bed which allows for so many more fun options.
I colored the truck using Copic Markers. I used R17 + R27 + R59 (for the truck bed); R17 + R23 (for the back of the bed truck with sentiment); Y02 + Y13 (for the headlights); BG000 + 0 blender for the windows; C3 + C5 + C7 (for the metal components); and R81 + R83 (for the license plate). I adhered the sentiment piece using 3M Foam Tape. To finish it off, I added some highlights using a Uni-Ball Signo Broad Point White Gel Pen.
Thanks for reading this post. I hope you enjoyed and I’ve inspired you to give this card a try for yourself. Leave comments or questions below or feel free to email me.
Hi friends. Need a quick and easy card for Valentine’s Day??? This card uses only dies and paper and came together very quickly. Here’s how it came together.
Thanks for reading this post. I hope you enjoyed and I’ve inspired you to give this card a try for yourself. Leave comments or questions below or feel free to email me.
Hi everyone! I made some fruity birthday cards using the positive and negative created using the Happy Birthday To You Die from My Favorite Things (discontinued). This is a great way to make multiple cards with minimal supplies and not waste anything. This paper I uses can be found on page 14 of the new Sale-A-Bration Catalog.
For the first card, I started by cutting a piece of Whisper White 8-1/2″ X 11″ Thick Cardstock to 5-1/2 x 8-1/2″ and scored at 4-1/4″ to make a card base. I adhered the letters for the sentiment to the card with Tombow Mono Multipurpose Glue. Tip: To easily aand perfectly dhere the sentiment, cut a scrap piece of the sentiment and tape it down to the card suing low-tack tape. Then adhere your letters in the negative space. You won’t need to try to space out or align the letters.
Thanks for reading this post. I hope you enjoyed and I’ve inspired you to try these easy birthday cards using this stampset and paper for yourself! Leave comments or questions below or feel free to email me. If you want to share you creations with me tag me on instagram @kittieslovecrafting.
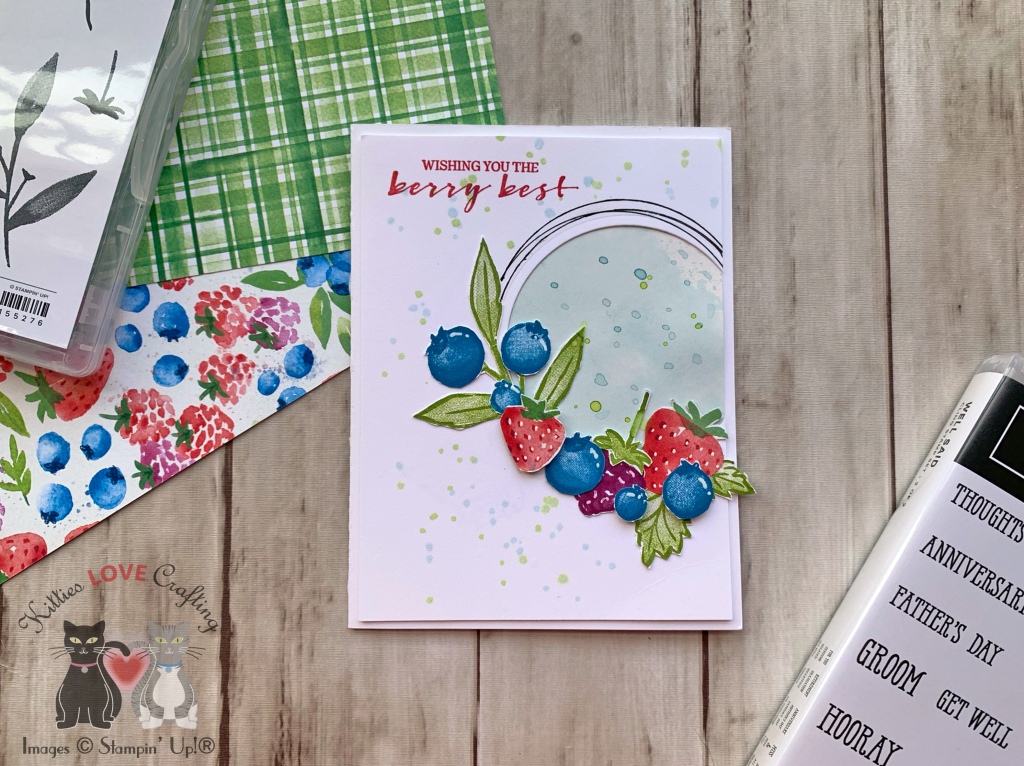
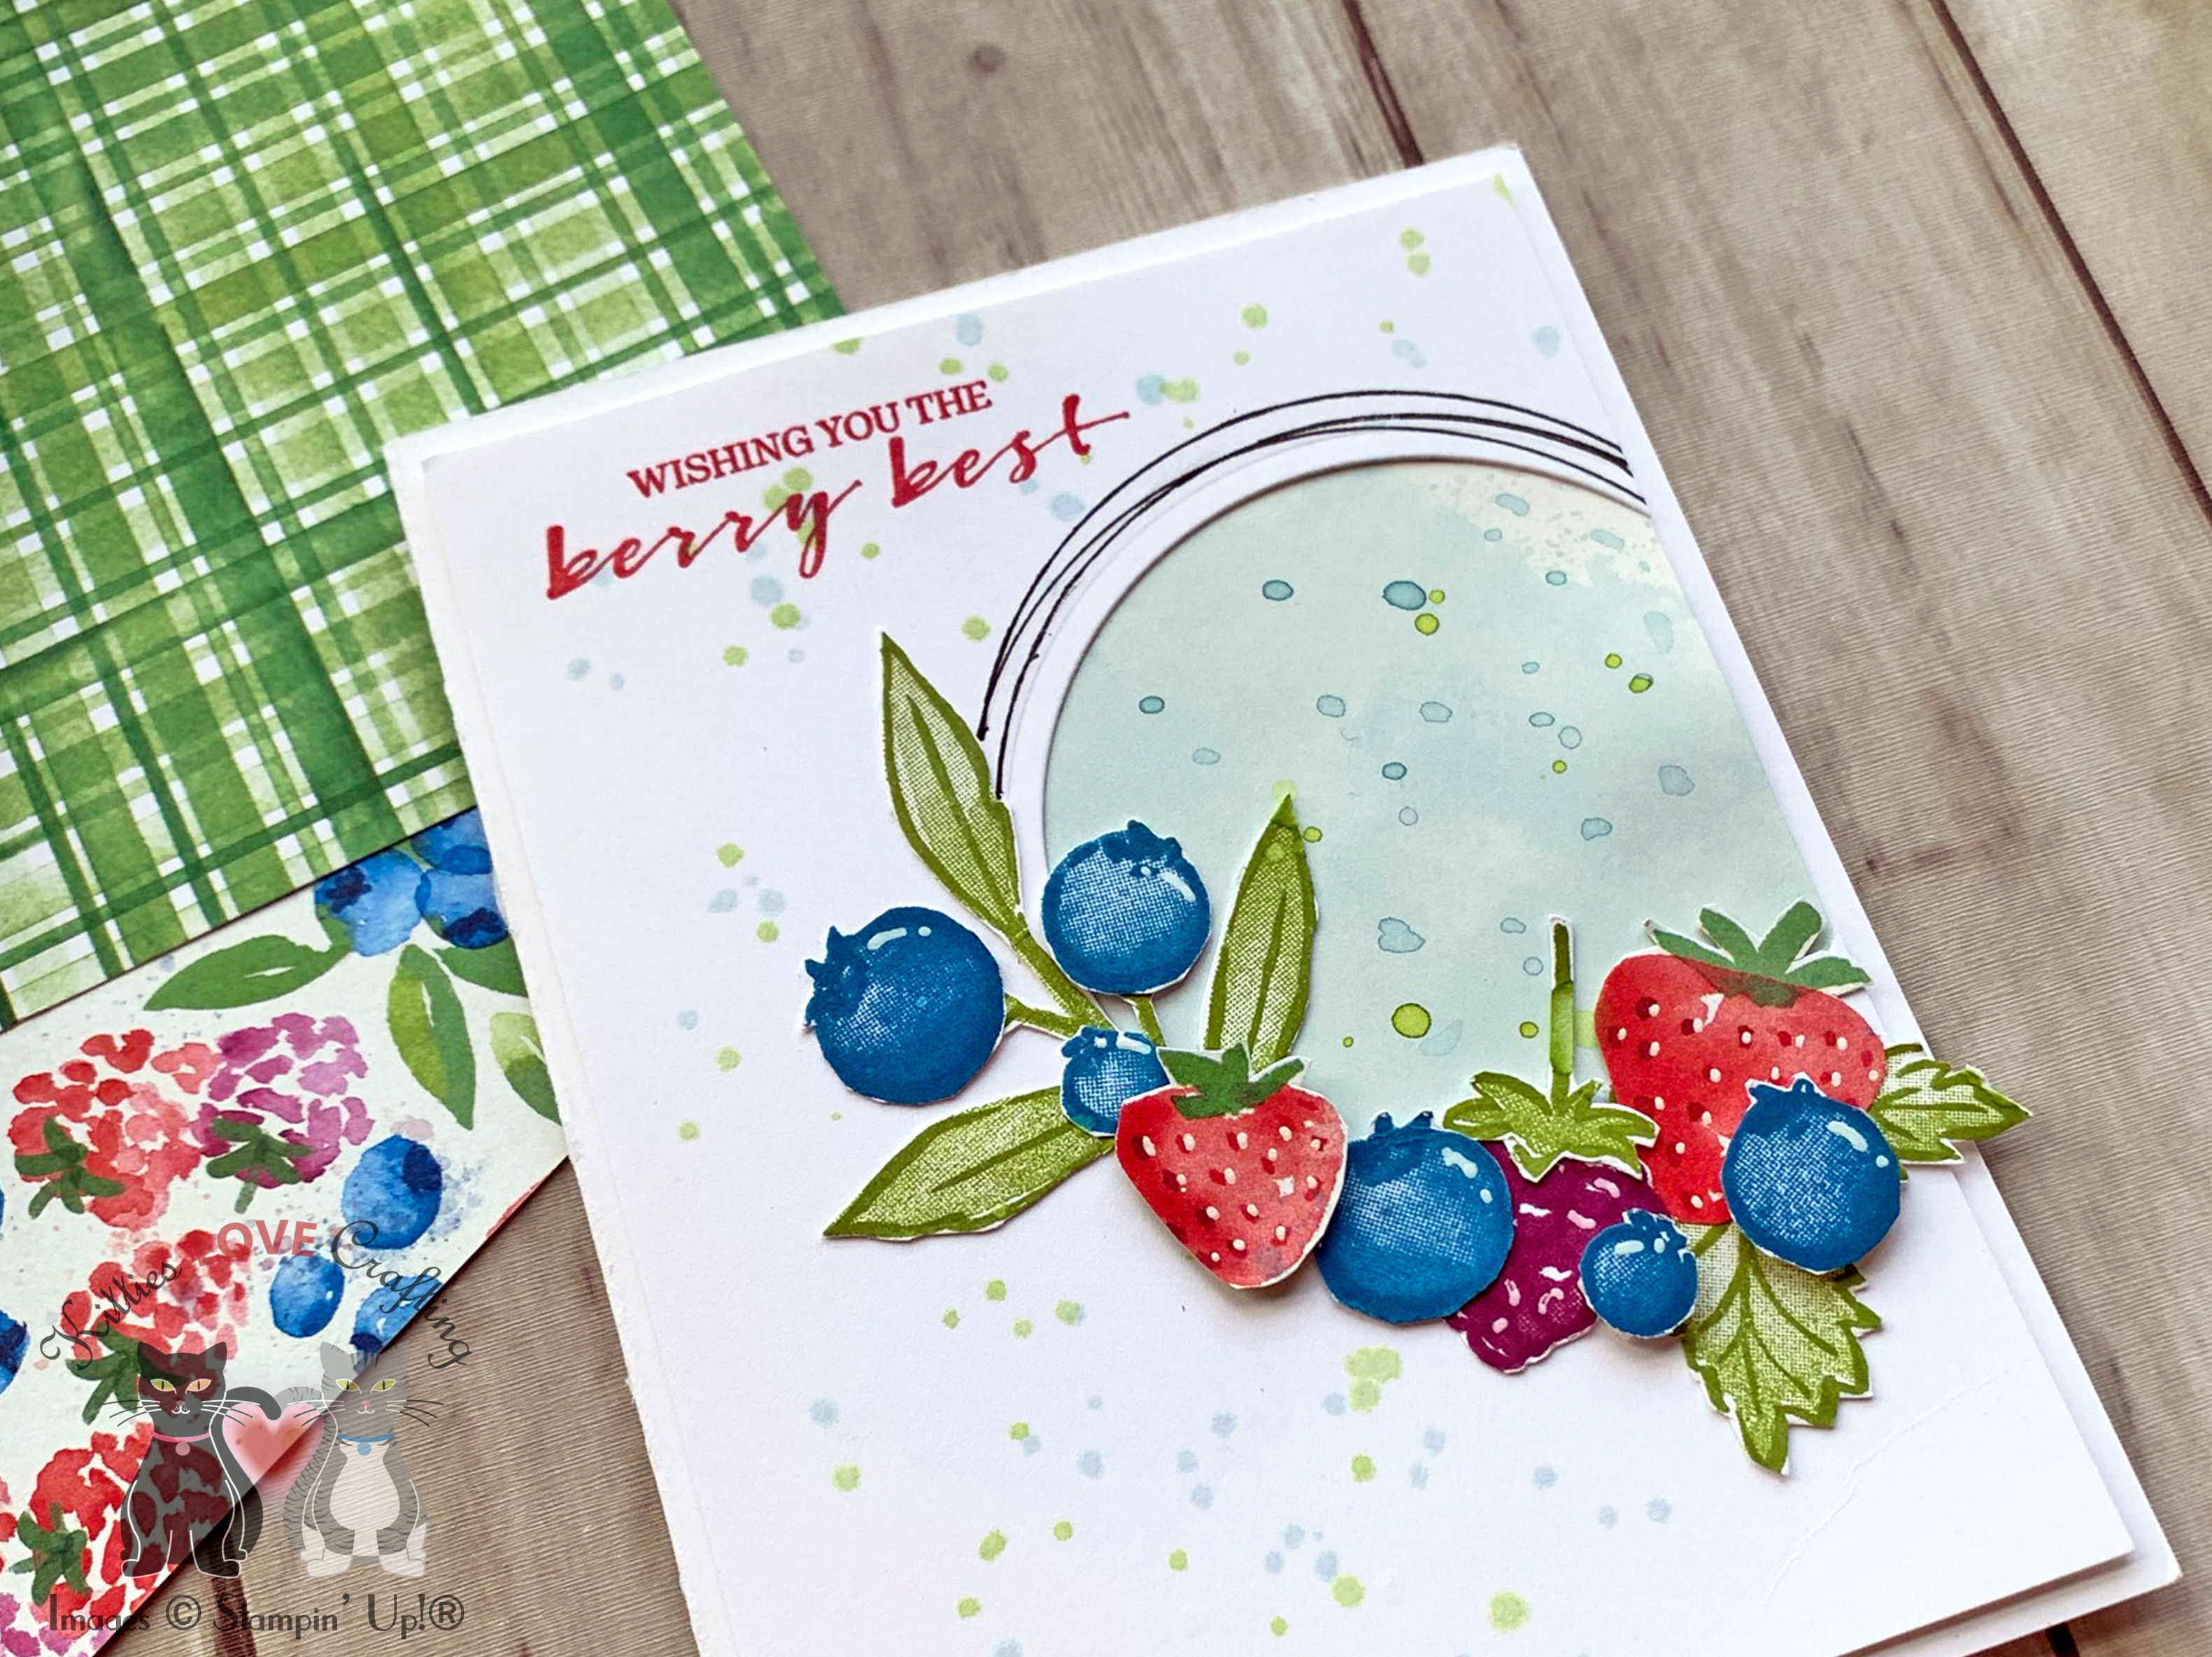
Happy New Year everyone! New year, time for some new posts! I want to start the year by introducing you to this cute watercolor berry stampset (Berry Blessings Stampset) and paper featured on page 14 of the new Sale-A-Bration Catalog. Yes, it is time for Sale-A-Bration people!!! It’s time to get free items with your purchases and who doesn’t like free goodies?!? I get very excited about gift-with-purchase promotions. 🙂
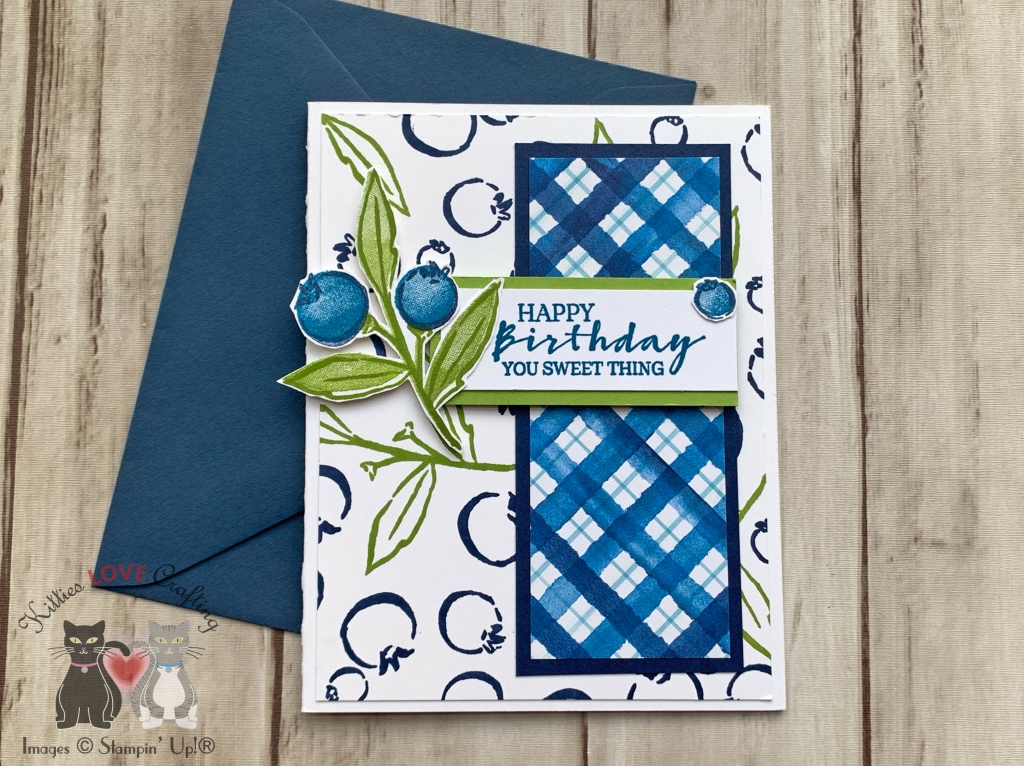
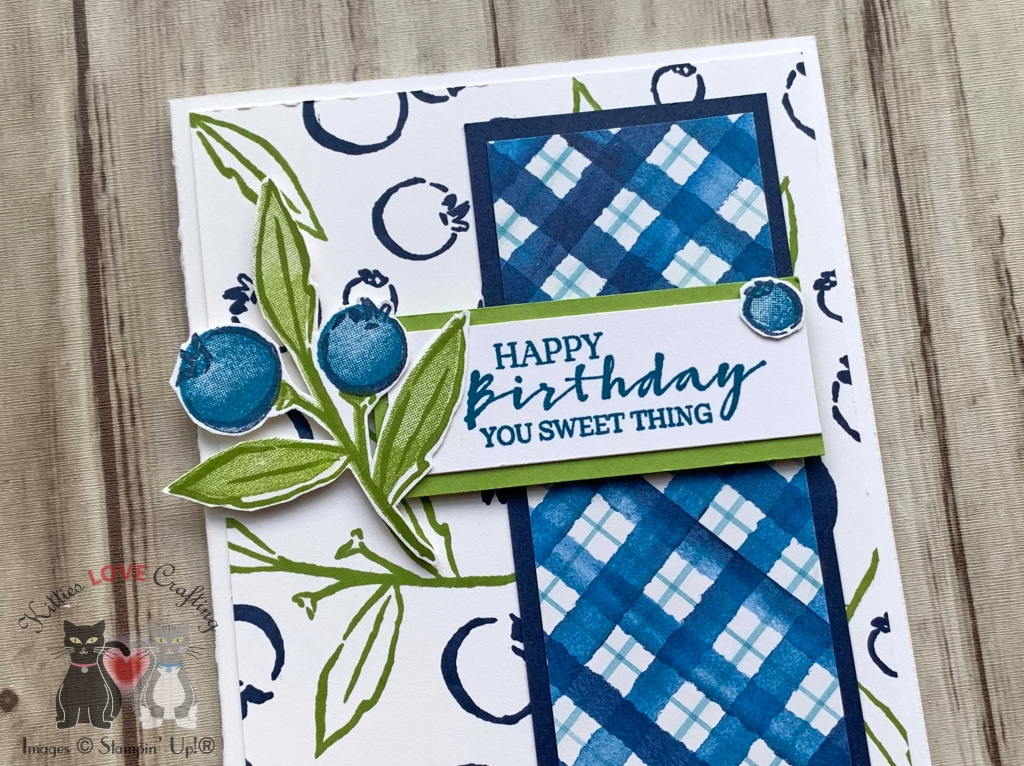
I kept these simple, letting the stamps and paper to do the hard work for me. For the first card, I started by cutting a piece of Whisper White 8-1/2″ X 11″ Thick Cardstock to 5-1/2 x 8-1/2″ and scored at 4-1/4″ to make a card base and a panel to 4 x 5-1/4″.Then diecut a circle with a 2-5/8 circle die from the Stampin’ Up! Circle Layering Dies.
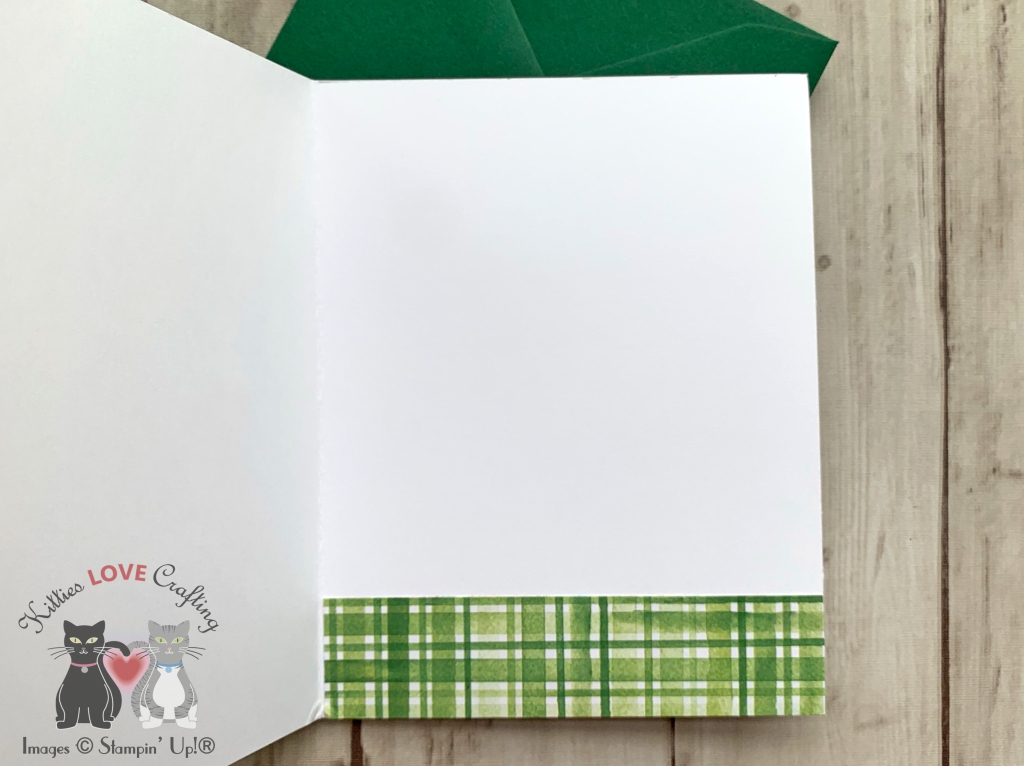
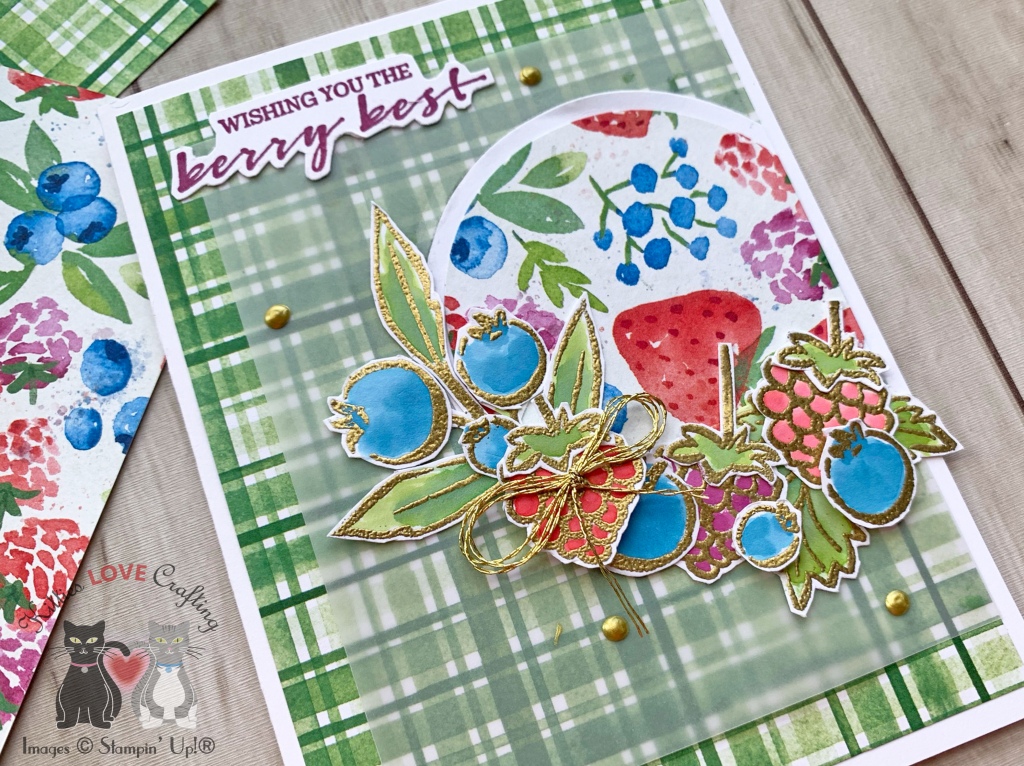
For the second card, I made an stepped up version. I started by cutting a piece of Whisper White 8-1/2″ X 11″ Thick Cardstock to 5-1/2 x 8-1/2″ and scored at 4-1/4″ to make a card base and a panel of Berry Delightful 12 x 12 DSP to 4 x 5-1/4″ and a piece of Vellum to 3-5/8″ x 4-1/2″ and adhered them to the card base.
Thanks for reading this post. I hope you enjoyed and I’ve inspired you to try these easy birthday cards using this stampset and paper for yourself! Leave comments or questions below or feel free to email me. If you want to share you creations with me tag me on instagram @kittieslovecrafting. If you would like a Stampin’ Up! catalog, please email me as well. All current catalogs can be found on the right side of this post and the Stampin’ Up! page. All news and fun stuff happening at Stampin’ Up! are listed there!


 https://linkdeli.com/widget.js?id=f5e8378456858c916708