Stampin' Up! News

The Stampin’ Up! Januaryโ€“June 2021 Mini Catalog is Now Available! And Sale-A-Bration Starts Today!

The new Januaryโ€“June 2021 Mini Catalog is now available! It is packed with awesome goodies for all occasions. Check out the PDF below and start shopping! Also the Mini Stampinโ€™ Cut & Emboss Machine is now available for purchase. I bought one and I love it! It’s adorable, works well and saves tons of space.

DOWNLOAD (EN-US | EN-CA | FR-CA)

Sale-a-Bration Starts January 5th!

Sale-a-Bration runs from January 5, 2021โ€”February 28, 2021. During this period you can earn free stampsets and bundles with your purchases. Check out the catalog below for details and products you can choose.

DOWNLOAD (US | CA-EN | CA-FR)

Leave comments or questions below or feel free to email me. If you would like a Stampin’ Up! catalog, please email me as well. All current catalogs can be found on the right side of this post and the Stampin’ Up! page. All news and fun stuff happening at Stampin’ Up! are listed there!

Christmas, Stampin' Up!

Using Pattern Paper As a Focal Point

Hereโ€™s a quick way to create a focal point on your card โ€” pattern paper and a geometric die. Itโ€™s quick and you can use minimal supplies.

For the first card, I started by cutting a piece of Whisper White 8-1/2″ X 11″ Thick Cardstock to 5-1/2 x 8-1/2″ and scored at 4-1/4″ to make a card base. Then diecut a piece of Snowflake Splendor Designer Series Paper with a 2-7/8 circle die from the Stampinโ€™ Up! Circle Layering Dies. This will be the background for my image.

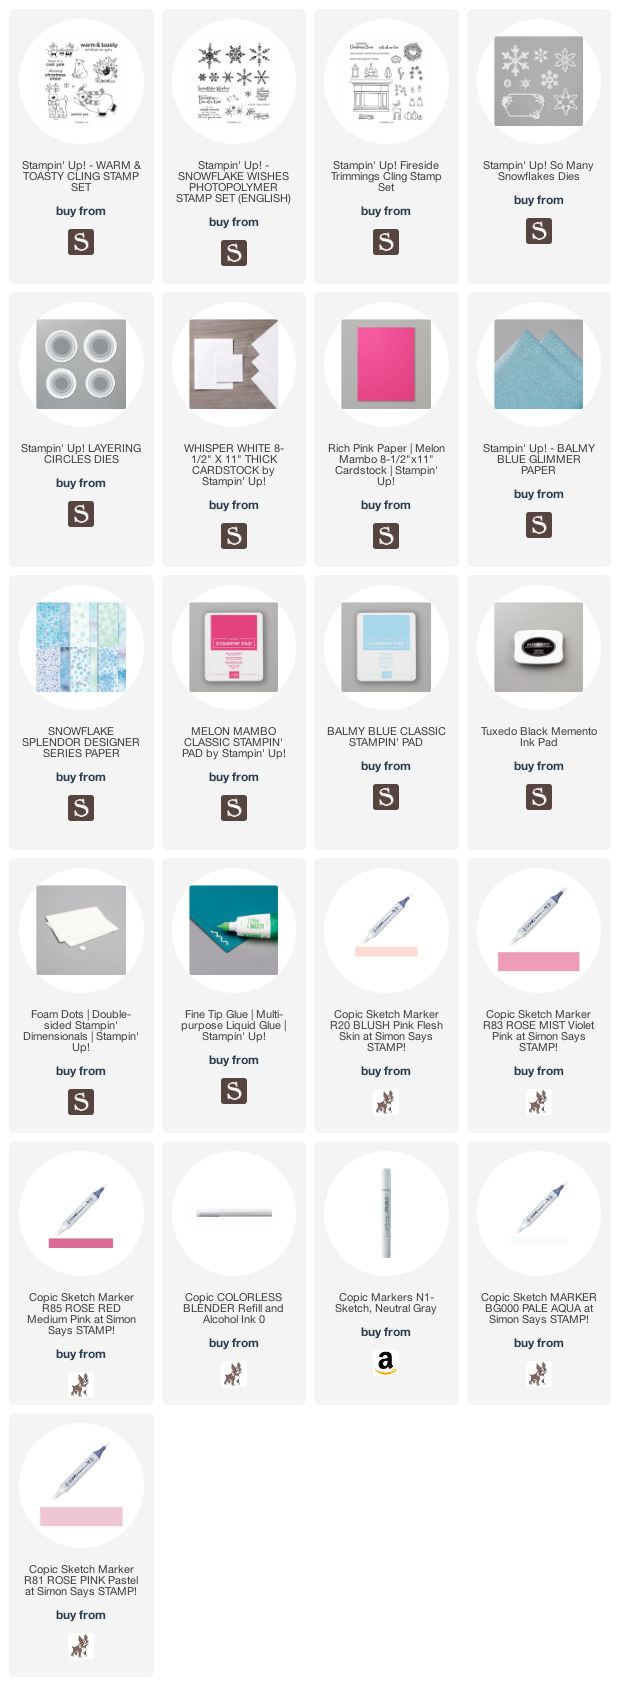
I stamped the ice skating bear from the Warm & Toasty Stampset onto a piece of Whisper White 8-1/2″ X 11″ Thick Cardstock with Memento Tuxedo Black Ink. I colored him using Copics since I donโ€™t have enough colors in my Stampin Blends. I used R20 (cheeks); R81, R83, R85 & R56 (hat and scarf); and N1, BG000 & 0 (bear). I fussycut the image out and set it aside.

Next I stamped the sentiment from the Warm & Toasty Stampset onto a piece of Whisper White 8-1/2″ X 11″ Thick Cardstock with Stampin’ Up! Balmy Blue Ink and trimmed it down to 7/8 x 4-1/4โ€.

I adhered the pattern paper piece, image and sentiment strip to the card. I finished off the card by diecutting some snowflakes from the Stampin’ Up! So Many Snowflakes Die from Whisper White 8-1/2″ X 11″ Thick Cardstock, Balmy Blue Glimmer Paper, and Melon Mambo 8-1/2″ X 11″ Cardstock.

On the inside, I stamped a sentiment from Stampin’ Up! Fireside Trimmings Stamp Set with Stampin’ Up! Melon Mambo Ink. I stamped the small polar bear from the Warm & Toasty Stampset onto a piece of Whisper White 8-1/2″ X 11″ Thick Cardstock with Memento Tuxedo Black Ink. I colored him using Copics. I used R20 (cheeks), N1, BG000 & 0 (bear). I fussycut the image out, adhered it to the bottom to the card and added some diecut snowflakes from Balmy Blue 8-1/2″ X 11″ Cardstock.

Dimensions


Supplies

https://linkdeli.com/widget.js?id=f5e8378456858c916708

Thanks for reading this post. I hope you enjoyed and Iโ€™ve inspired you to try these easy holiday cards using this stampset for yourself! Leave comments or questions below or feel free to email me. If you want to share you creations with me tag me on instagram @kittieslovecrafting. If you would like a Stampin’ Up! catalog, please email me as well. All current catalogs can be found on the right side of this post and the Stampin’ Up! page. All news and fun stuff happening at Stampin’ Up! are listed there!

Christmas, Stampin' Up!

Stampin’ Up!’s Gnome for the Holidays

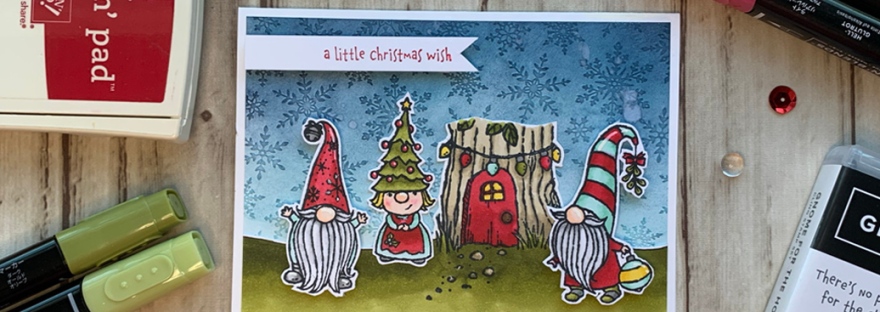
Hello friends. These little gnomes featured in the Stampin’ Up!’s Gnome for the Holidays are super adorable! They were pretty easy to color and fussycut. I was able to stamp and quickly color the images. This stampset can be found on page 23 of the new Aug-Dec Mini Catalog.

Ok so let’s see how this card came together. I started by cutting a piece of Whisper White 8-1/2″ X 11″ Thick Cardstock to 5-1/2 x 8-1/2″ and scored at 4-1/4″ to make a card base and two pieces to 4 x 5-1/4″. One piece I embossed using the Winter Snow Embossing Folder, then created a gradient sky using Balmy Blue Ink and Misty Moonlight Ink and adhered it to the card.

On the second piece, I stamped the gnome tree house with Memento Tuxedo Black Ink and drew the ground with a pencil and went over it with a Sakura Pigma Micron Blister Black Pen, 05. Make sure to use a marker that will not bleed with your paper or what ever coloring medium you will be using. I also stamped the gnomes onto another piece of Whisper White 8-1/2″ X 11″ Thick Cardstock with Memento Tuxedo Black Ink.

I colored the images with Stampin’ Blends. I used Real Red Light & Dark, Old Olive Light & Dark, Crumb Cake Light & Dark, Daffodil Delight Light & Dark, Pool Party Light & Dark and Smoky Slate Light & Dark. I fussycut all the images out, leaving a white border and adhered them to the card, adding Stampin’ Dimensionals to some of the gnomes.

I stamped a sentiment from Stampin’ Up!’s Gnome for the Holidays onto a piece of Whisper White 8-1/2″ X 11″ Thick Cardstock with Real Red Ink and trimmed it down to 1/2 x 2-7/8″ and cut out banner tails on one side. I adhered it using Stampin’ Dimensionals. I finished off the card by ading some highlights to the images using a Uni-Ball Signo Broad Point White Gel Pen.

On the inside, I just stamped a gnome from the Stampin’ Up!’s Gnome for the Holidays with Real Red Ink.

Dimensions


Supplies

https://linkdeli.com/widget.js?id=f5e8378456858c916708

Thanks for reading this post. I hope you enjoyed and Iโ€™ve inspired you to try these easy holiday cards using this stampset for yourself! Leave comments or questions below or feel free to email me. If you want to share you creations with me tag me on instagram @kittieslovecrafting. If you would like a Stampin’ Up! catalog, please email me as well. All current catalogs can be found on the right side of this post and the Stampin’ Up! page. All news and fun stuff happening at Stampin’ Up! are listed there!

Paper Pumpkin, Stampin' Up! News

January 2021 Paper Pumpkin Kit! Sending Hearts

Love is in the air! Send a little love to someone special with the Sending Hearts Paper Pumpkin Kit. From heaps of heart-shaped elements to paper pieces in red and pink, this monthโ€™s kit has everything you need to create eight adorable cardsโ€”with coordinating envelopesโ€”for Valentineโ€™s Day, anniversaries, and every celebration of love in between!

With the add-on to Januaryโ€™s sweet and sentimental kit, thereโ€™s even more love to share! The add-onโ€”called Little Love Boxesโ€”includes 20 tiny, printed boxes and 24 die-cut, heart-shelled snails and sentiment labels. When combined with the remaining components from the Sending Hearts kit, you can create treat packaging, additional cards, and so much more!

The Sending Hearts Paper Pumpkin Kit is perfect for the upcoming Valentineโ€™s Day holiday. But, thatโ€™s not all you can use this heartfelt, heart-themed kit for! This love-filled kit can be used to celebrate a variety of other occasions, like weddings, bridal showers, and anniversaries. Or, you can use the kitโ€™s cards to simply put a smile on a lo ved oneโ€™s face at any time of year!

The Paper Pumpkin kit does not require the add-on to create completed projects. 

Add-on Ordering Information

Purchase the Little Love Boxes add-on to the Sending Hearts Paper Pumpkin Kit on stampinup.com, or by placing an order through a demonstrator. The add-on will be available starting 1 January, while supplies last. You must be a Paper Pumpkin subscriber to order the add-on.

  • Little Love Boxes (156842)
  • $8 USD | $11 CAD

Note: Add-on is not included in Januaryโ€™s Paper Pumpkin subscription. It must be purchased through a separate order.

Subscription Information

  • Subscribe to the January 2021 Paper Pumpkin Kit from December 11 to January 10 at paperpumpkin.com.
  • Note: Supplies may be limited toward the end of each subscription period.

Leave comments or questions below or feel free to email me. If you would like a Stampin’ Up! catalog, please email me as well. All current catalogs can be found on the right side of this post and the Stampin’ Up! page. All news and fun stuff happening at Stampin’ Up! are listed there!

Christmas, Holidays 2020, Stampin' Up!

2 Cards Featuring Stampin’ Up!’s Sweetest Borders Die

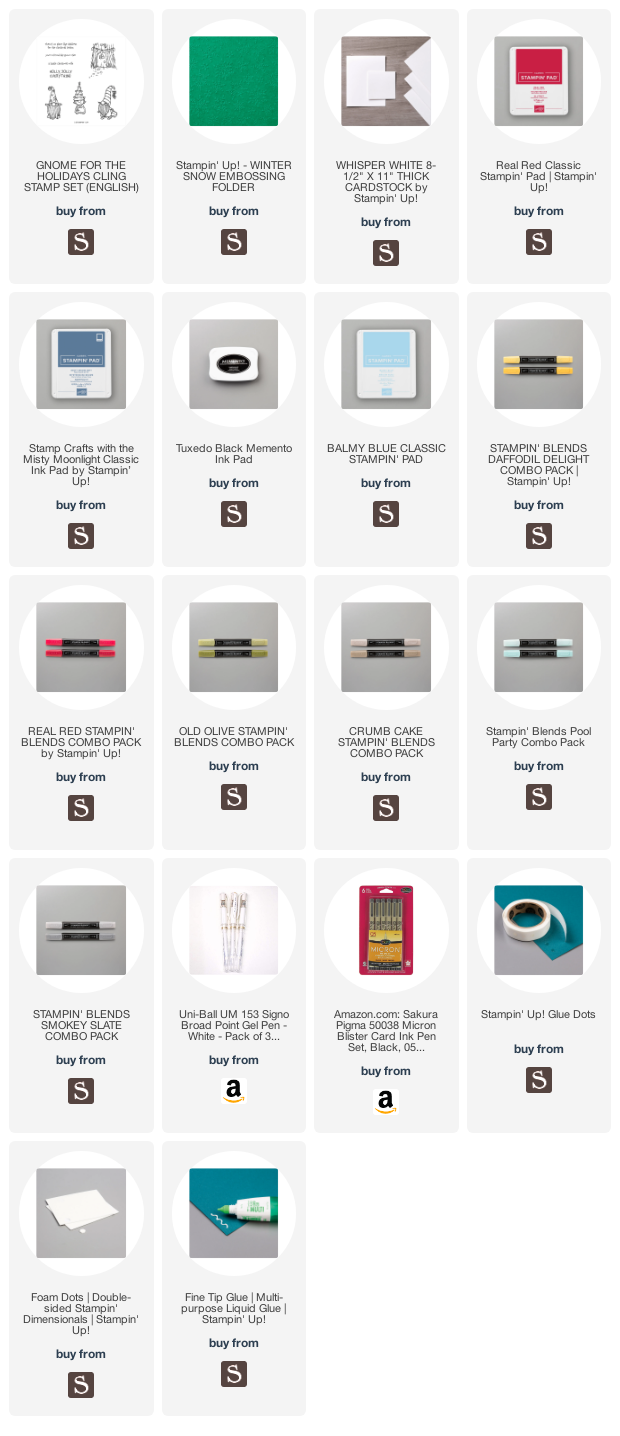
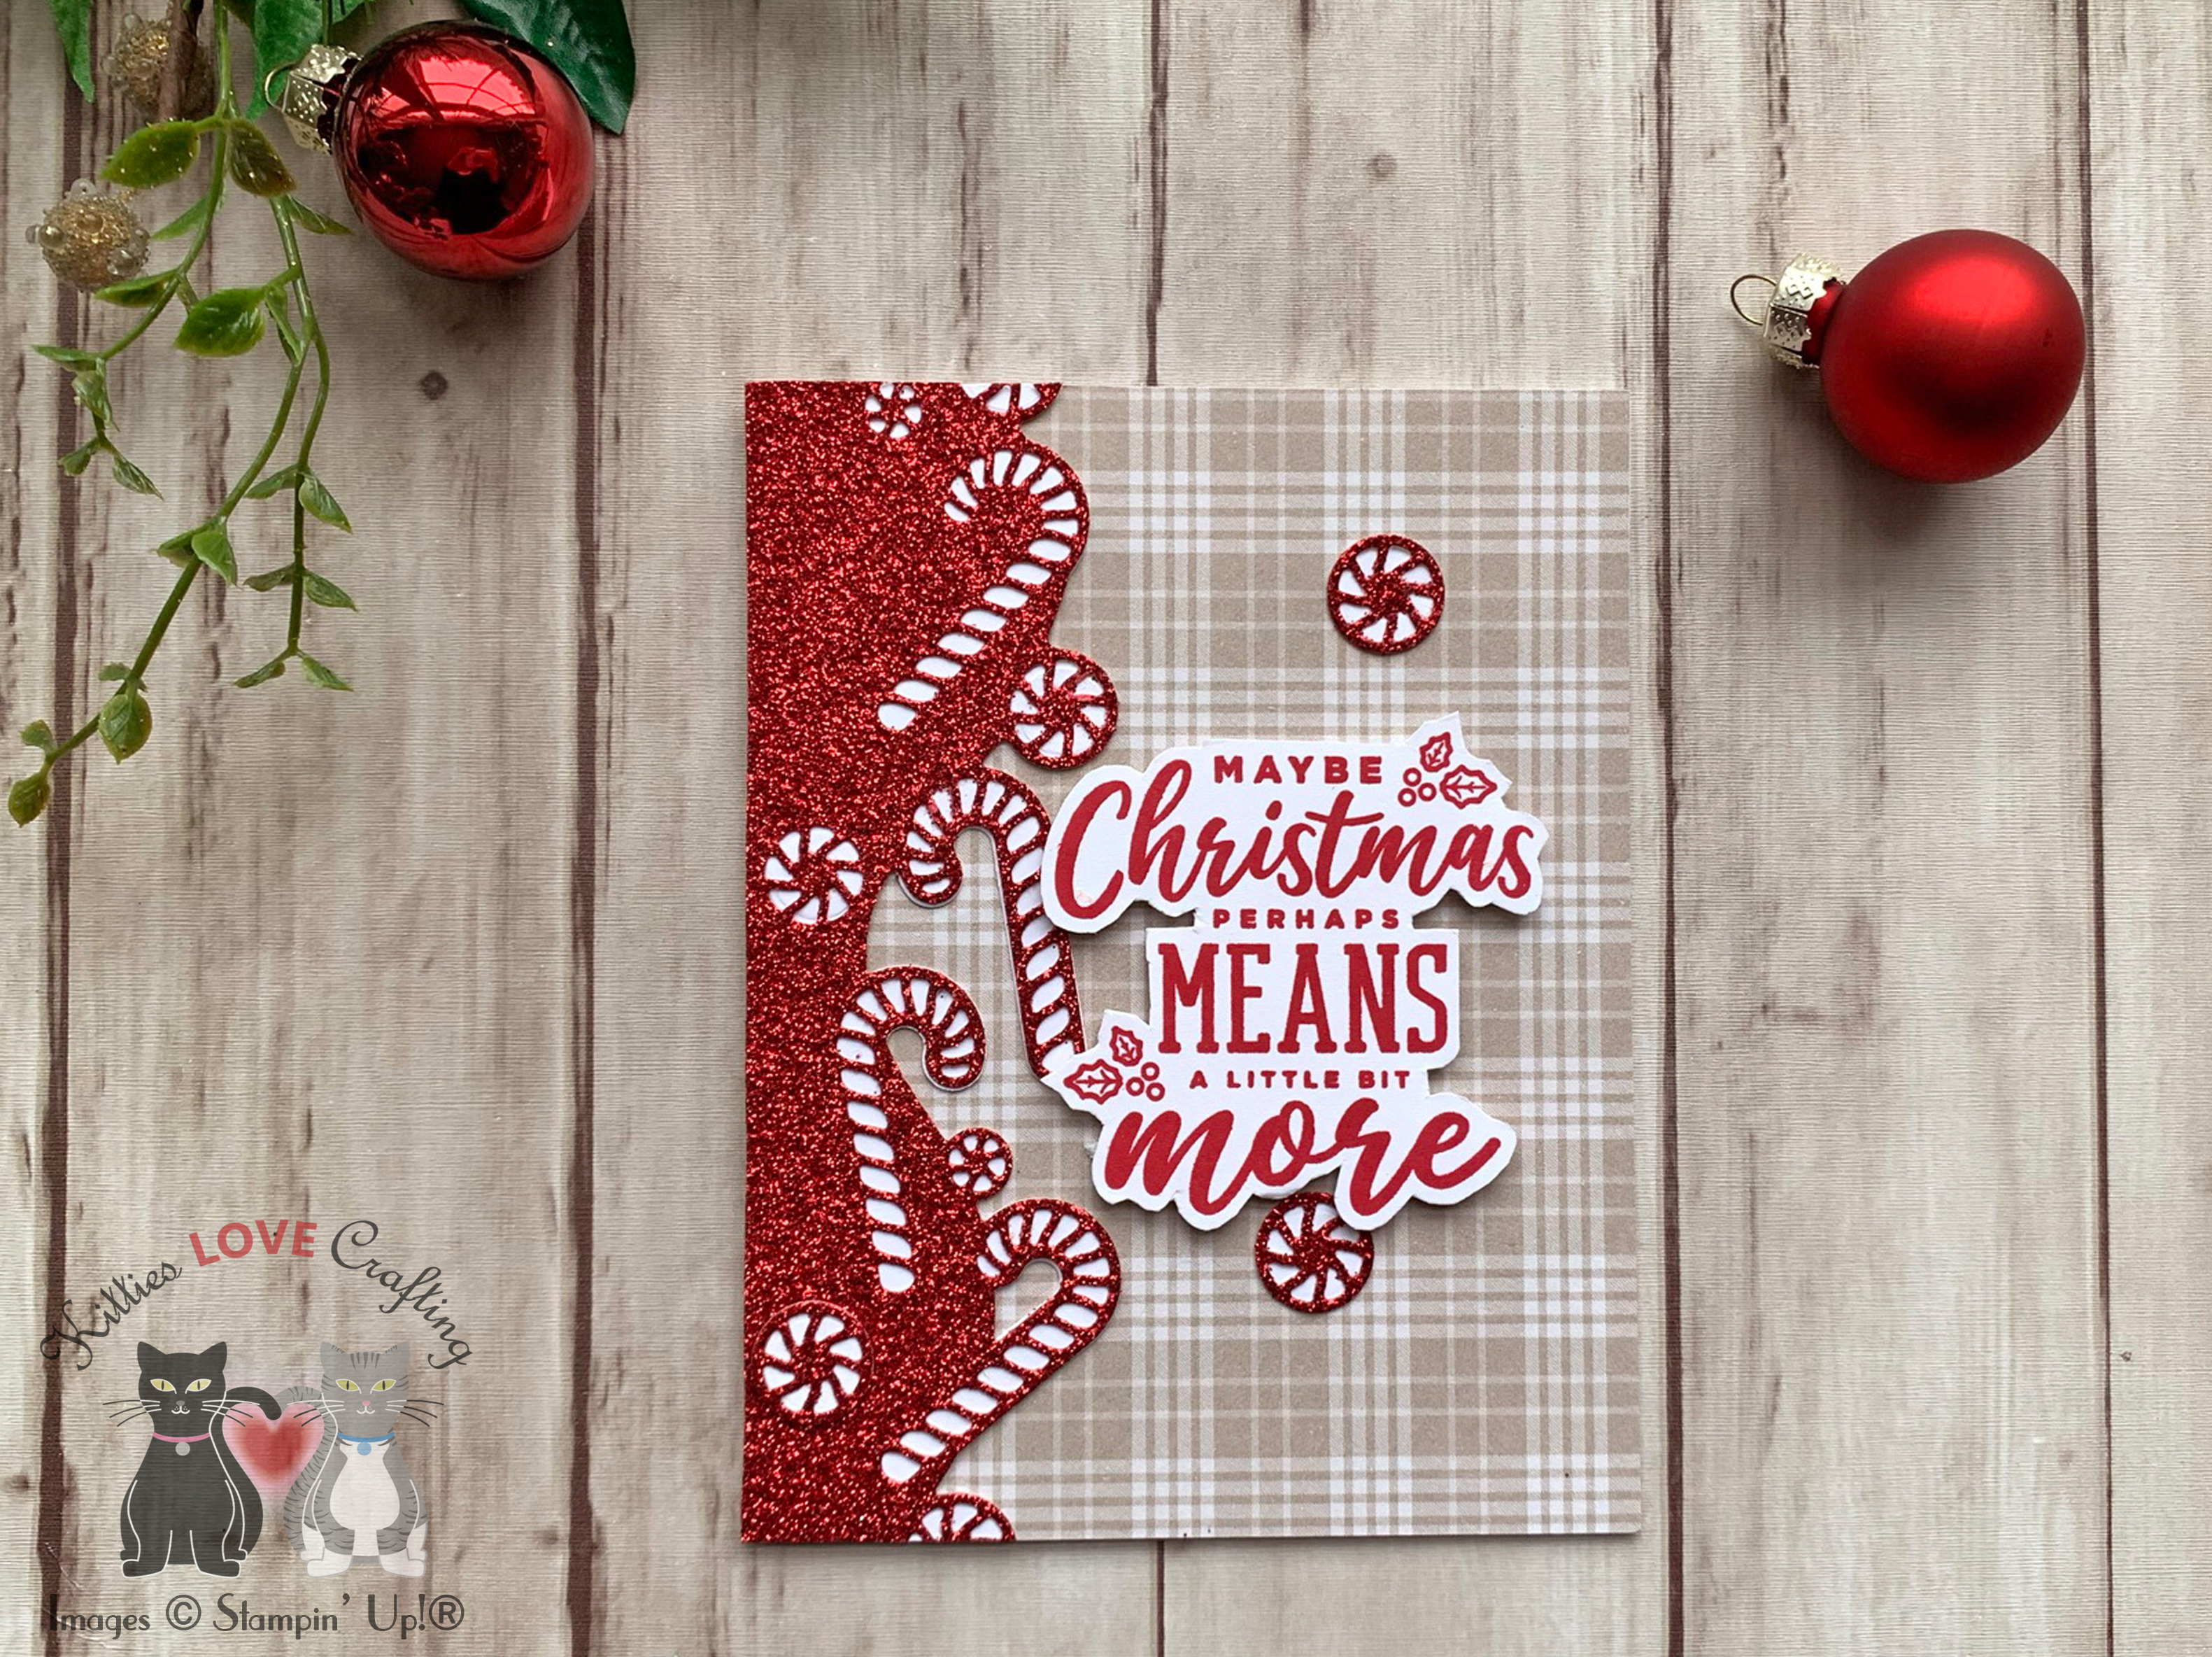
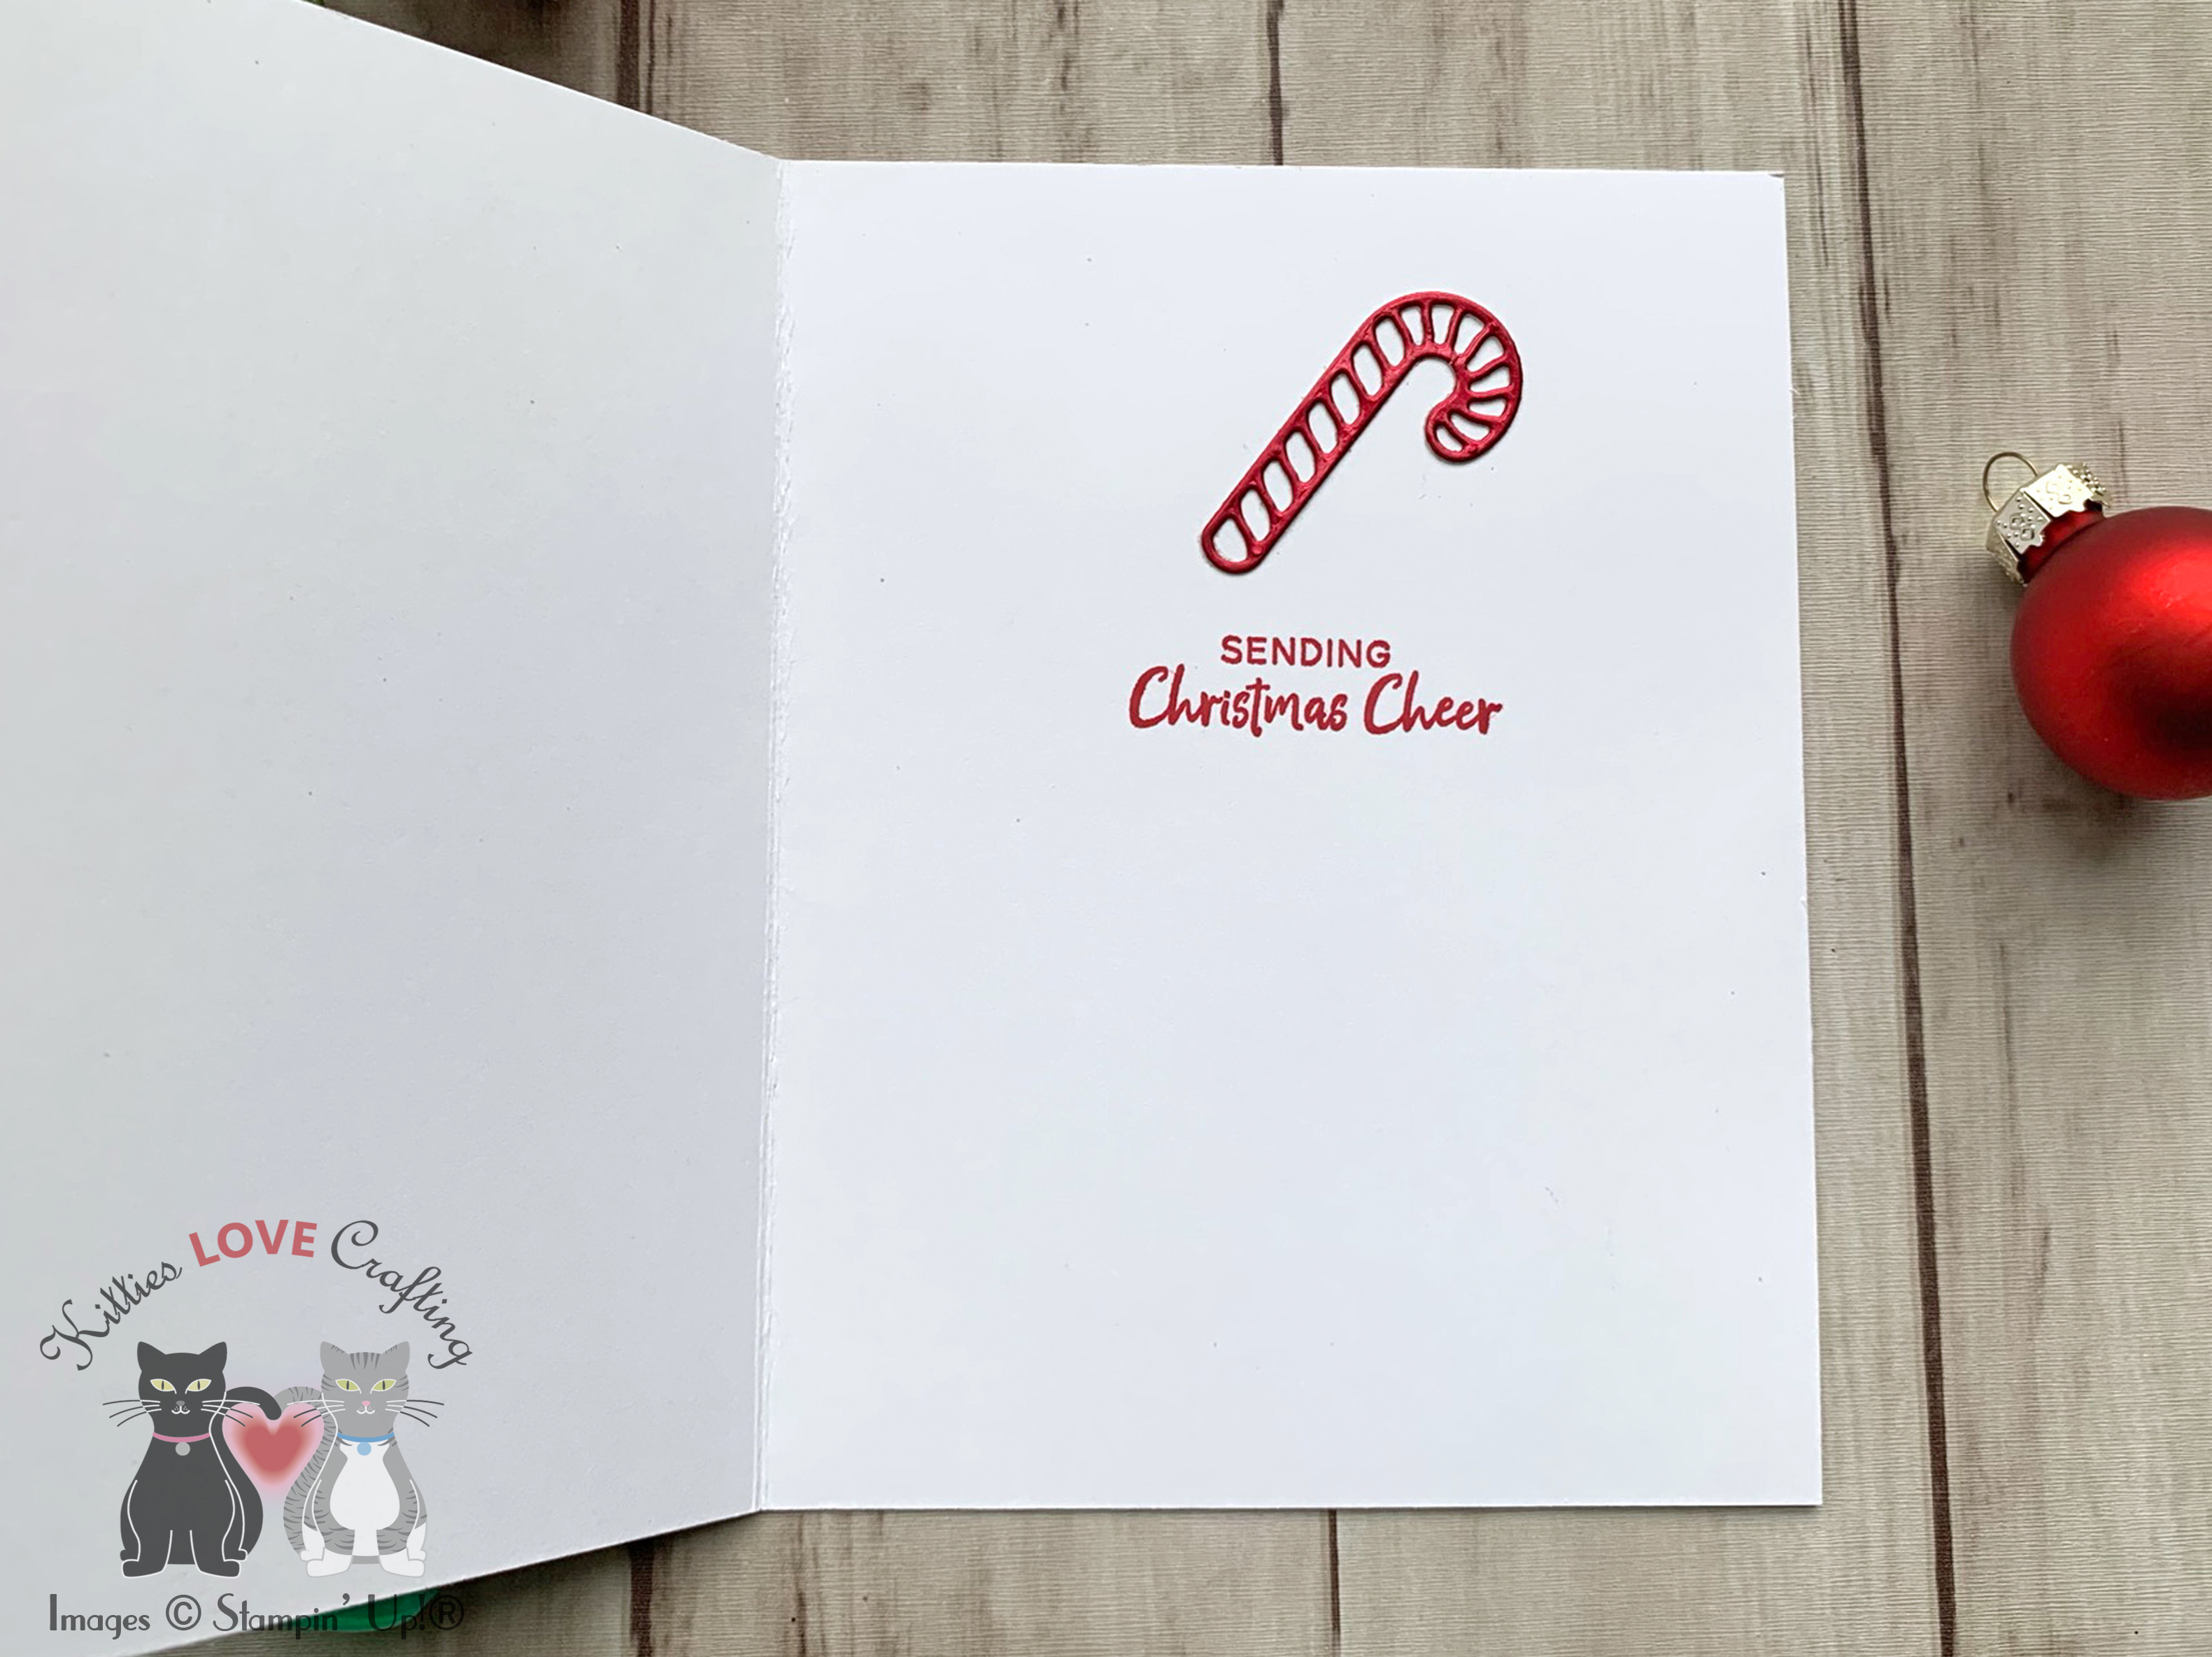
What is better than candy canes during the holiday season?!?? Well maybe, hot chocolate and candy canes (yum!). ๐Ÿ™‚ This cute candy cane border is from Stampin’ Up!’s Sweetest Borders Dieset which also features a holly leaves border and individual candy canes, peppermints and holly leaves. Lots of options with this dieset. It can be found on page 21 of the new Aug-Dec Mini Catalog. It also coordinates with the Sweetest Time Stampset.

I kept these cards simple but changed the papers and ink colors. For the first card, I started by cutting a piece of Whisper White 8-1/2″ X 11″ Thick Cardstock to 5-1/2 x 8-1/2″ and scored at 4-1/4″ to make a card base. Then cut a piece of Plaid Tidings 6″ X 6″ Designer Series Paper to 4-1/4 x 5-1/2″ for the top panel and adhered it to the card base.

I diecut the candy cane border as well as some extra peppermints and candy canes with the Sweetest Borders Dies from Red Glitter Paper. I also diecut some candy canes and peppermints in white using the solid dies which cuts the backing. For the tiny peppermints I just added a piece of white cardstock behind it. I adhered the border to the card and trimmed off the excess.

I stamped a sentiment from the Christmas Means More stampset onto a piece of Whisper White 8-1/2″ X 11″ Thick Cardstock with Real Red Ink. I fussycut the sentiment and adhered it with Stampin’ Dimensionals.

On the inside, I stamped a sentiment from the Fireside Trimmings with Stampin’ Up! Crumb Cake Ink and added a red glitter candy cane. And thatโ€™s it for this card. Very easy!

Dimensions


For the second card, I started by cutting a piece of Whisper White 8-1/2″ X 11″ Thick Cardstock to 5-1/2 x 8-1/2″ and scored at 4-1/4″ to make a card base. Then cut a piece of Wonder of the Season 12 x 12โ€ Specialty Designer Series Paper to 4-1/4 x 5-1/2″ for the top panel and adhered it to the card base.

I diecut the candy cane border as well as some extra peppermints and candy canes with the Sweetest Borders Dies from Red Foil. I also diecut some candy canes and peppermints in white using the solid dies which cuts the backing. For the tiny peppermints I just added a piece of white cardstock behind it. I adhered the border to the card and trimmed off the excess.

I stamped a sentiment from the Christmas Means More stampset onto a piece of Whisper White 8-1/2″ X 11″ Thick Cardstock with Olive Olive Ink. I fussycut the sentiment and adhered it with Stampin’ Dimensionals.

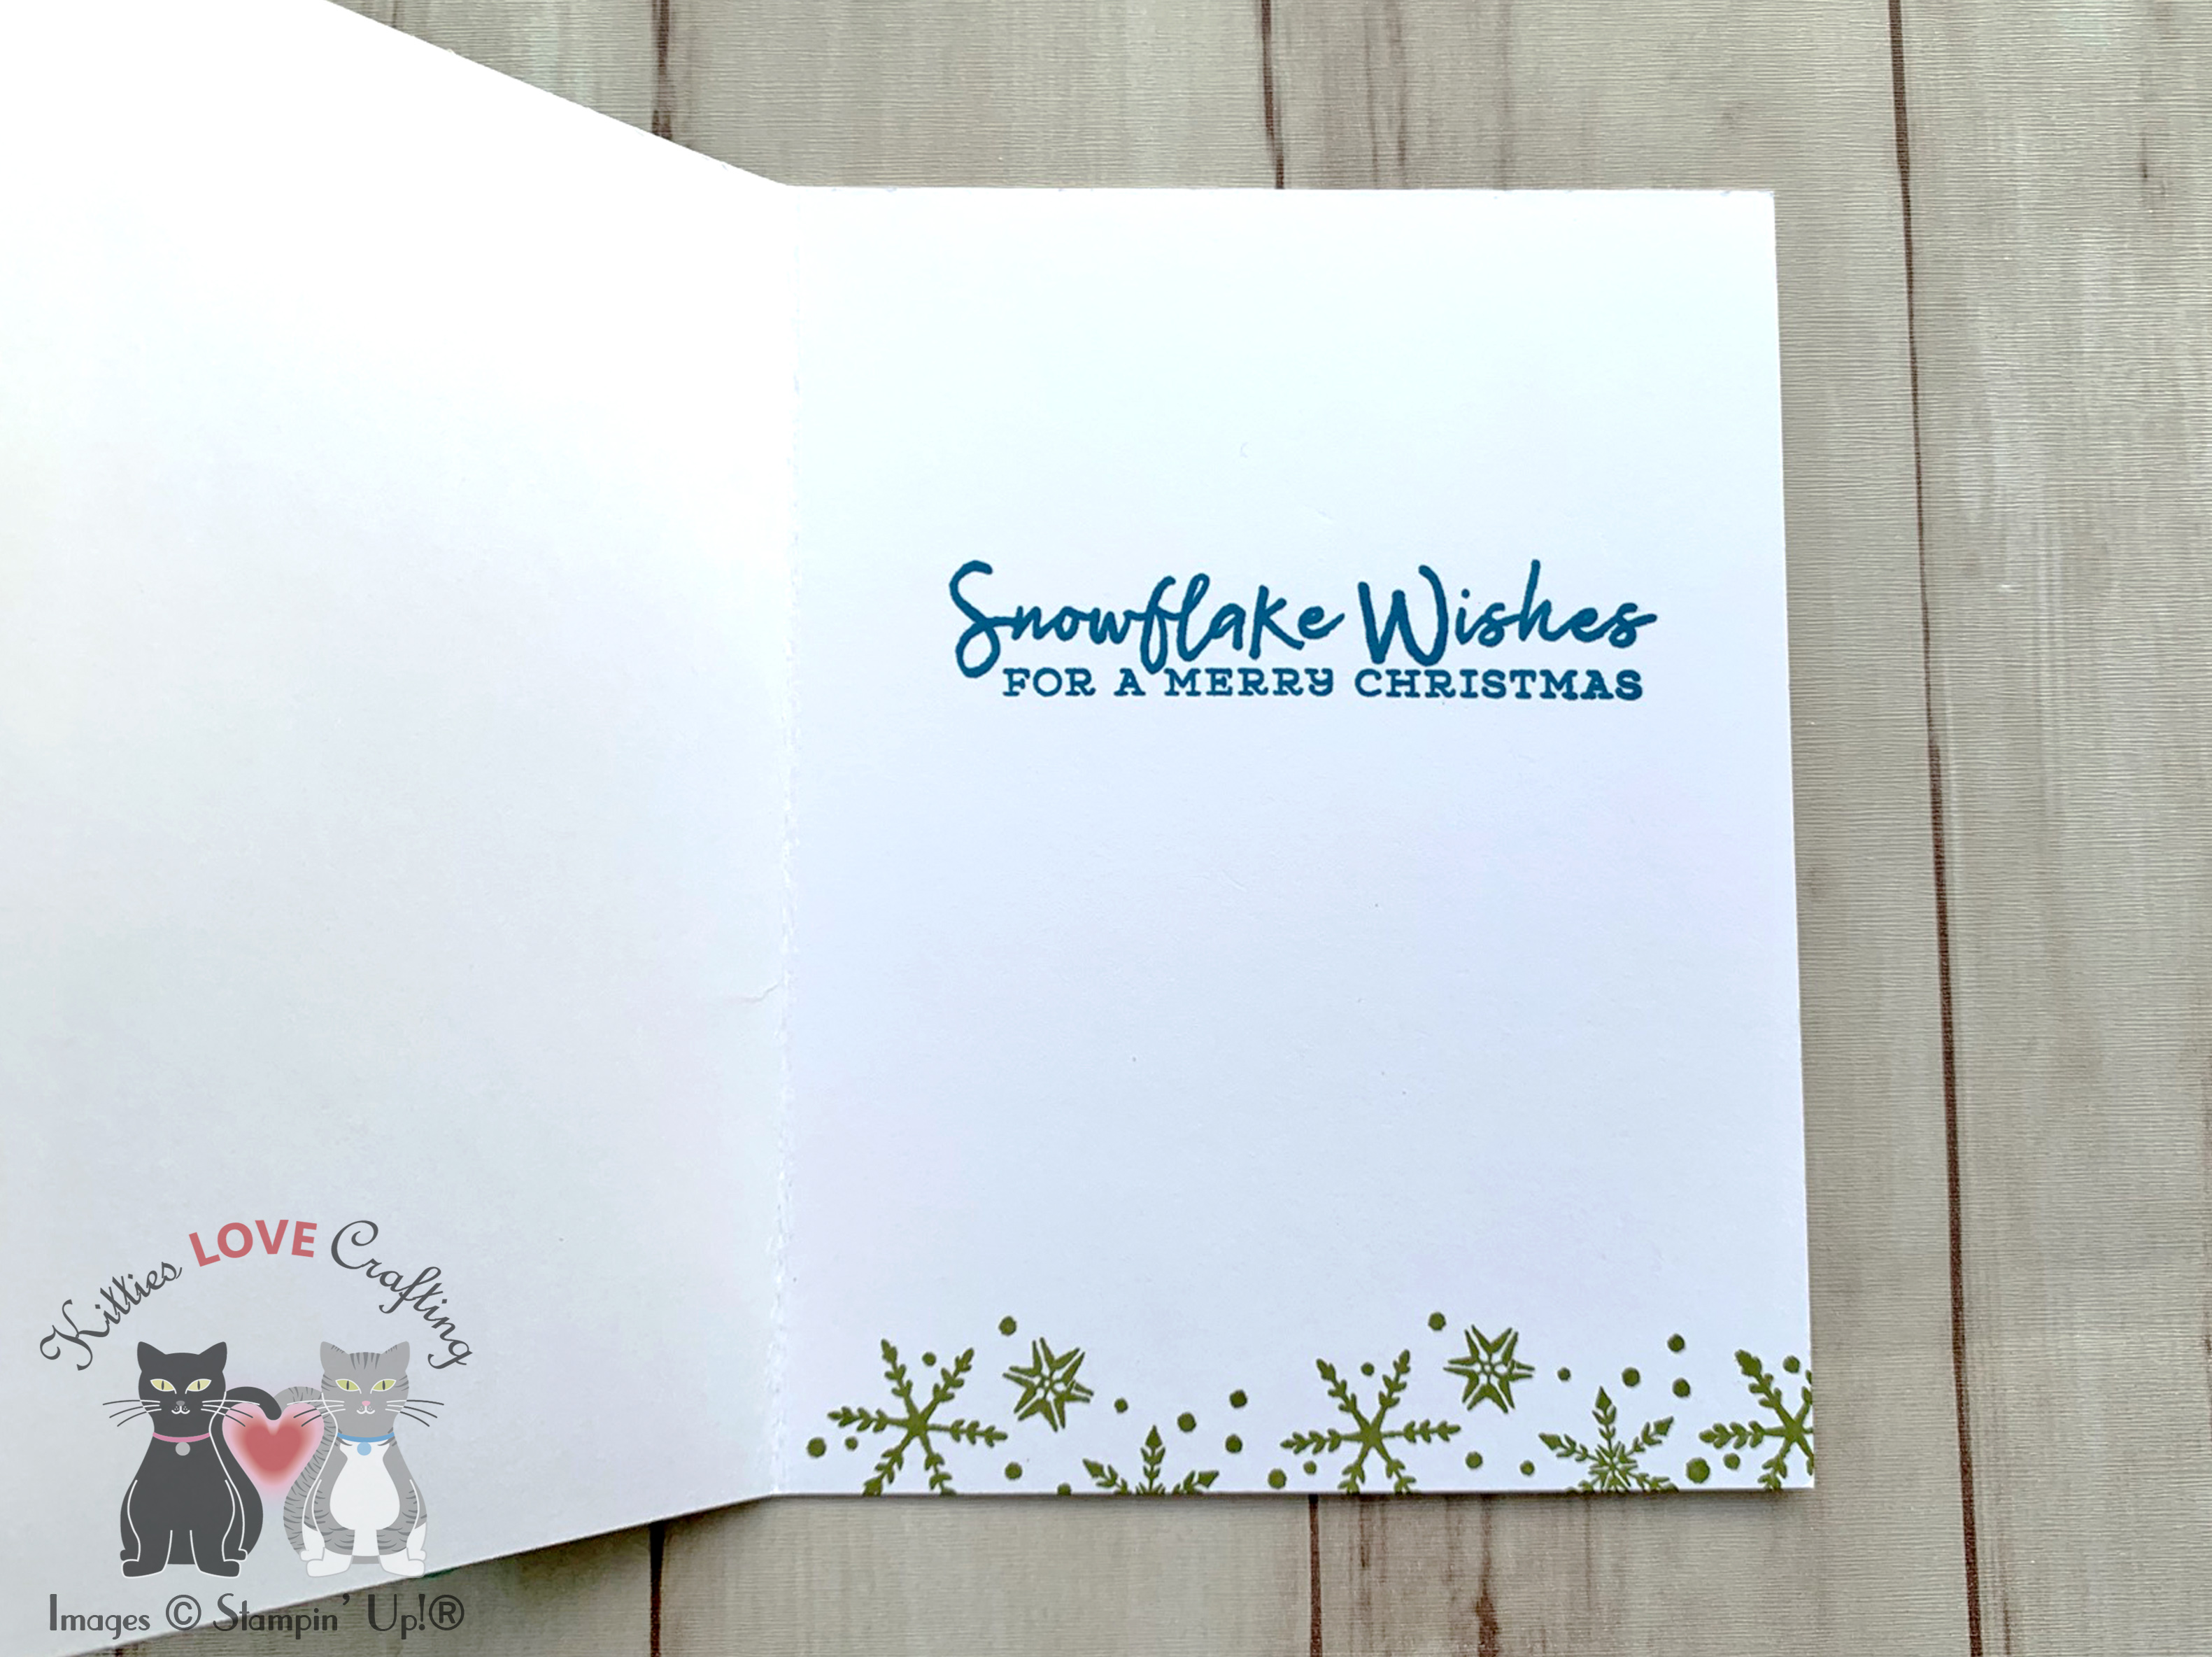
On the inside, I stamped a sentiment from the Fireside Trimmings with Real Red Ink and added a red foil candy cane. And thatโ€™s it for both these cards. So easy!

Dimensions


Supplies

https://linkdeli.com/widget.js?id=f5e8378456858c916708

Thanks for reading this post. I hope you enjoyed and Iโ€™ve inspired you to try these easy holiday cards using this cute dieset for yourself! Leave comments or questions below or feel free to email me. If you want to share you creations with me tag me on instagram @kittieslovecrafting. If you would like a Stampin’ Up! catalog, please email me as well. All current catalogs can be found on the right side of this post and the Stampin’ Up! page. All news and fun stuff happening at Stampin’ Up! are listed there!

Christmas, Fall

Gingerbread House Card featuring Honey Bee Stamps

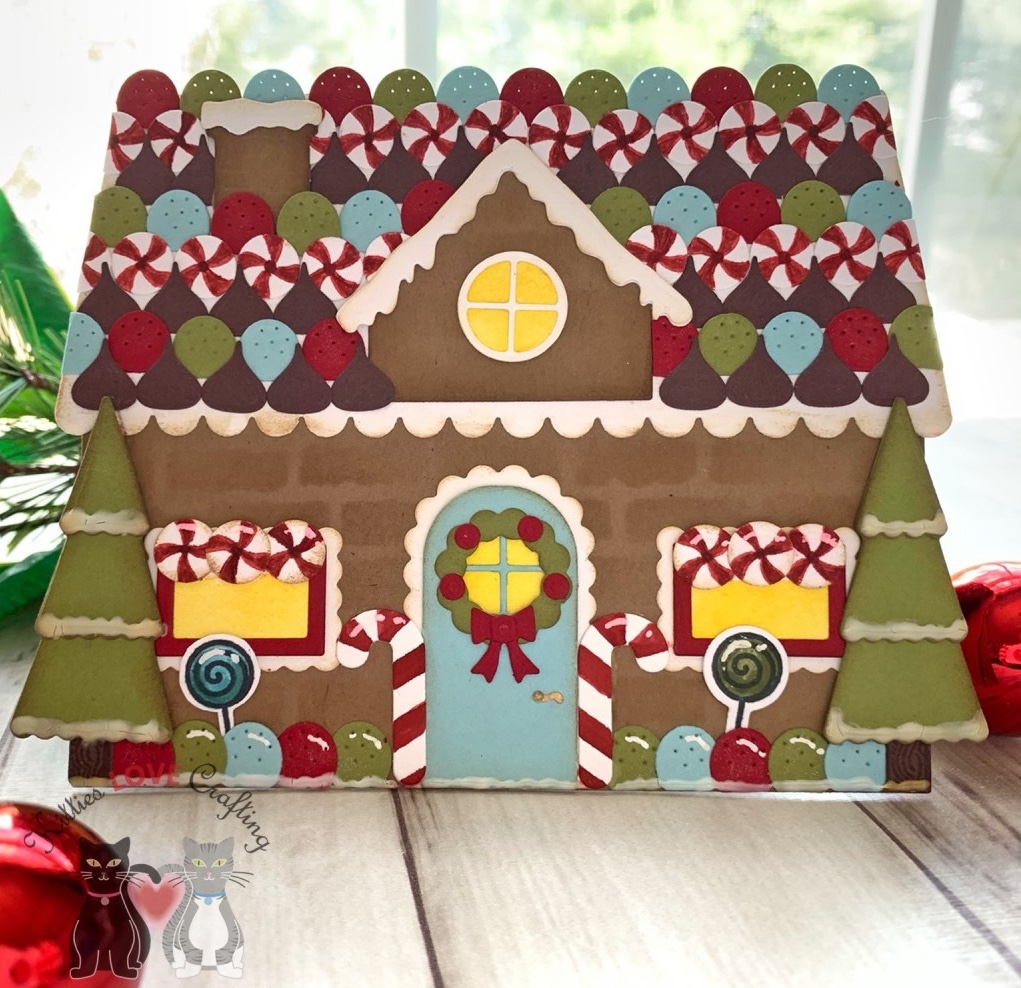
Do you love decorating gingerbread houses but don’t like the mess? Fear not I have the perfect craft for you! This gingerbread house features Honey Bee Stamps Gingerbread House Add-On Stamps and Dieset. Combine it with the House Builder Card Dieset to make tons of cute house cards for all occasions.

For this card, I started by diecutting the house card base 2x with the House Builder Card Dies, chimney (from Honey Cuts Gingerbread House Add-on), and one gable from Lawn Fawn Paper Bag 8-1/2 x 11″ Cardstock, the roof, 2 scalloped windows, the scallop door frame, the round gable window and snow for roof and chimney from Neenah 110lb Classic Crest Cardstock 8.5 X 11″, the door from Simon Says Stamp Surf Blue 8-1/2 x 11″ Cardstock. I inked around the edges of all those pieces with Gathered Twigs Distress Ink. I wanted to make the gingerbread and frosting look more like real so using the ink especially around the “cookie” pieces helps give it dimension.

I adhered the two houses with the pre-scored strip that comes in the House Builder Card Base Dies to create the card base. Be sure to use double-sided tape or something very strong so they don’t come apart. Then stenciled a brick pattern on the front of the card using Gathered Twigs Distress Ink and Tim Holtz Bricked Layering Stencil. I diecut small rectangle window frame from the House Builder Card Dieset with Simon Says Stamp Schoolhouse Red 110lb 8-1/2 x 11″ Cardstock and the window and door inside pieces from Neenah 110lb Classic Crest Cardstock 8.5 X 11″ using the circle and rectangle dies from Honey Cuts Gingerbread House Add-on and the House Builder Card Base Dies and inked with Tim Holtz Mustard Seed Distress Ink Pads.

I adhered the roof, windows, gable the scallop door frame, the round gable window and snow and door to the card.

I used Stampin’ Up! Old Olive 8-1/2″ X 11″ Cardstock for trees, wreath and some gumdrops, Simon Says Stamp Schoolhouse Red 110lb 8-1/2 x 11″ Cardstock for some gumdrops, the wreath bow, and berries on wreath, Simon Says Stamp Surf Blue 8-1/2 x 11″ Cardstock for gumdrops, Neenah Classic Crest, 80lb Solar White for all the peppermints and two candy canes (which I colored with Tim Holtz Festive Berries Distress Marker), Stampin’ Up Chocolate Chip 8-1/2″ X 11″ Cardstock (discontinued) for the chocolate kisses and the tree trunks (which I stamped with the tree trunk stamp from Gingerbread House Add-On Stamps and Gathered Twigs Distress Ink), and a gold metallic paper for the door knob, diecut with the House Builder Card Base Dies. I also stamped two lollipops from the Gingerbread House Add-On Stamps and Memento Tuxedo Black Ink onto Neenah Classic Crest, 80lb Solar White and colored them with Tumbled Glass and Peeled Paint Distress Markers.

Once adhered to the card, I added sparkle to the snow on the roof, chimney and gumdrops with a Spectrum Noir CLEAR OVERLAY Sparkle Pen, some “snow” with Nuvo Crystal Drops in Gloss White and white higlights with Uni-Ball Signo Broad Point White Gel Pen.

On the inside of the card, I stamped a sentiment from the Lawn Fawn Happy Happy Happy Add-On Stamps.

Dimensions


Supplies

https://linkdeli.com/widget.js?id=f5e8378456858c916708

Thanks for reading this post. I hope you enjoyed and Iโ€™ve inspired you to give these watercolored cards a try for yourself. Leave comments or questions below or feel free to email me.

Christmas, Christmas, Stampin' Up!

3 Cards featuring the Stampin’ Up! Snowflake Splendor Suite

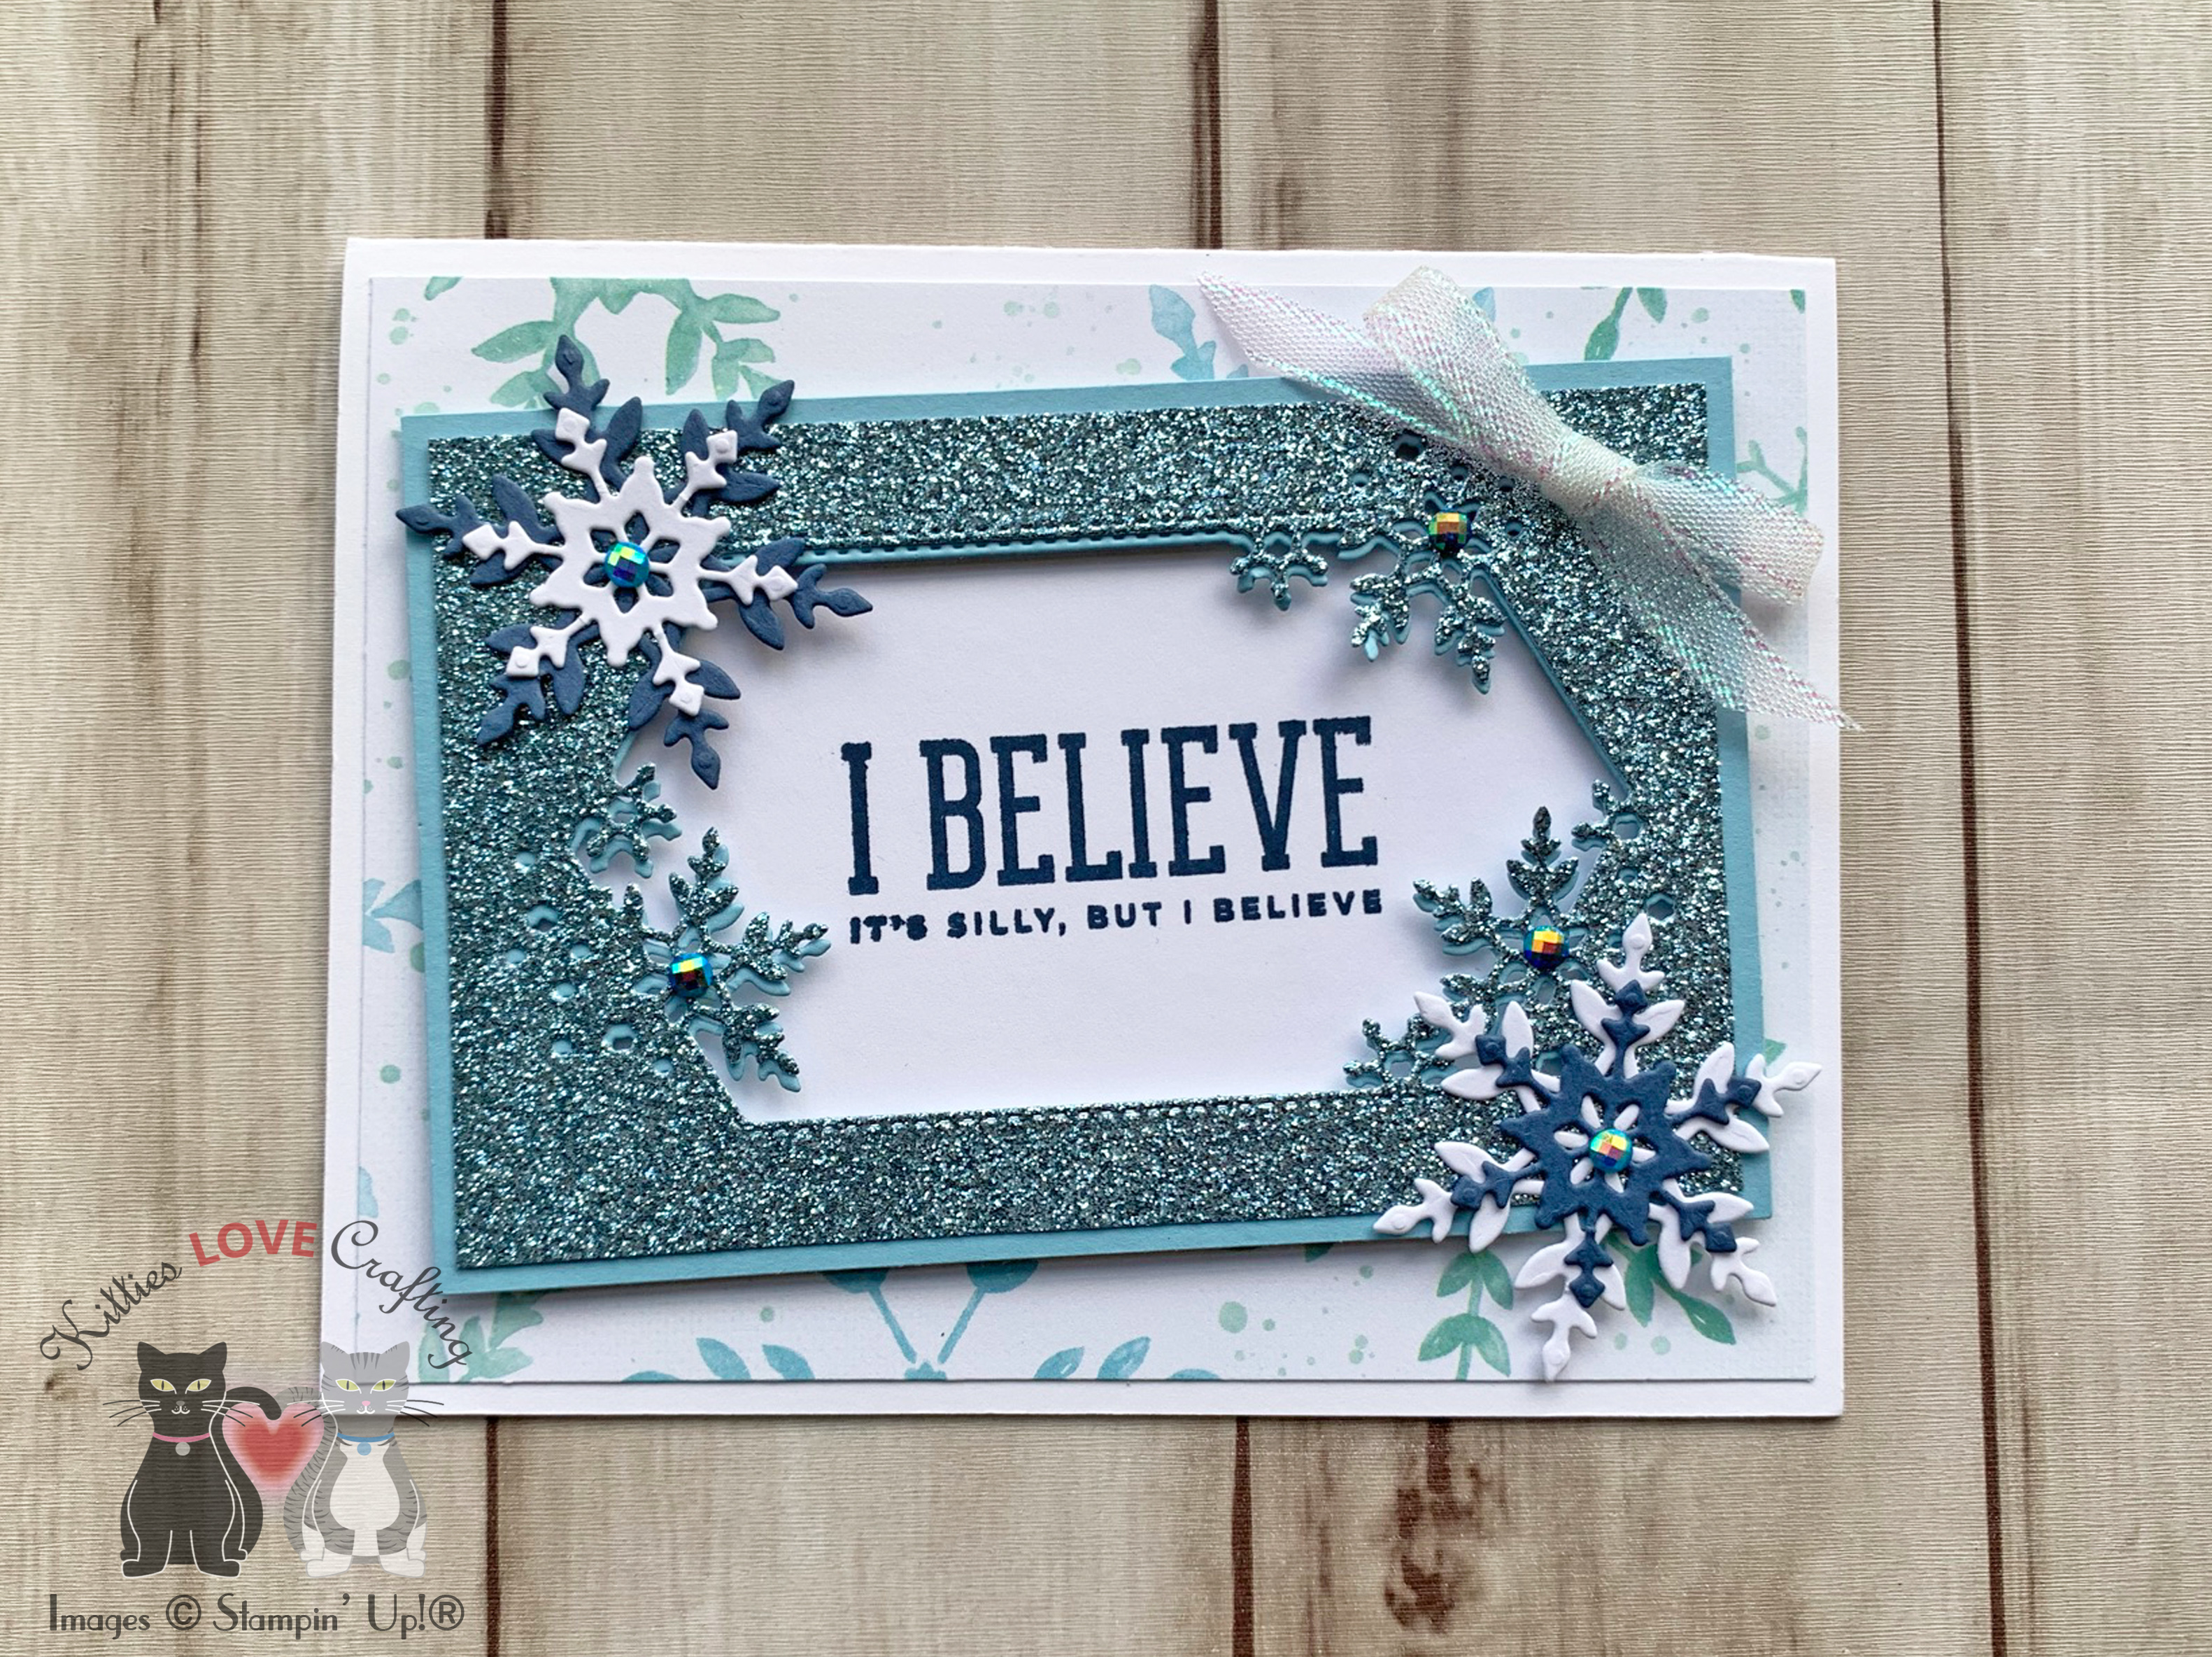
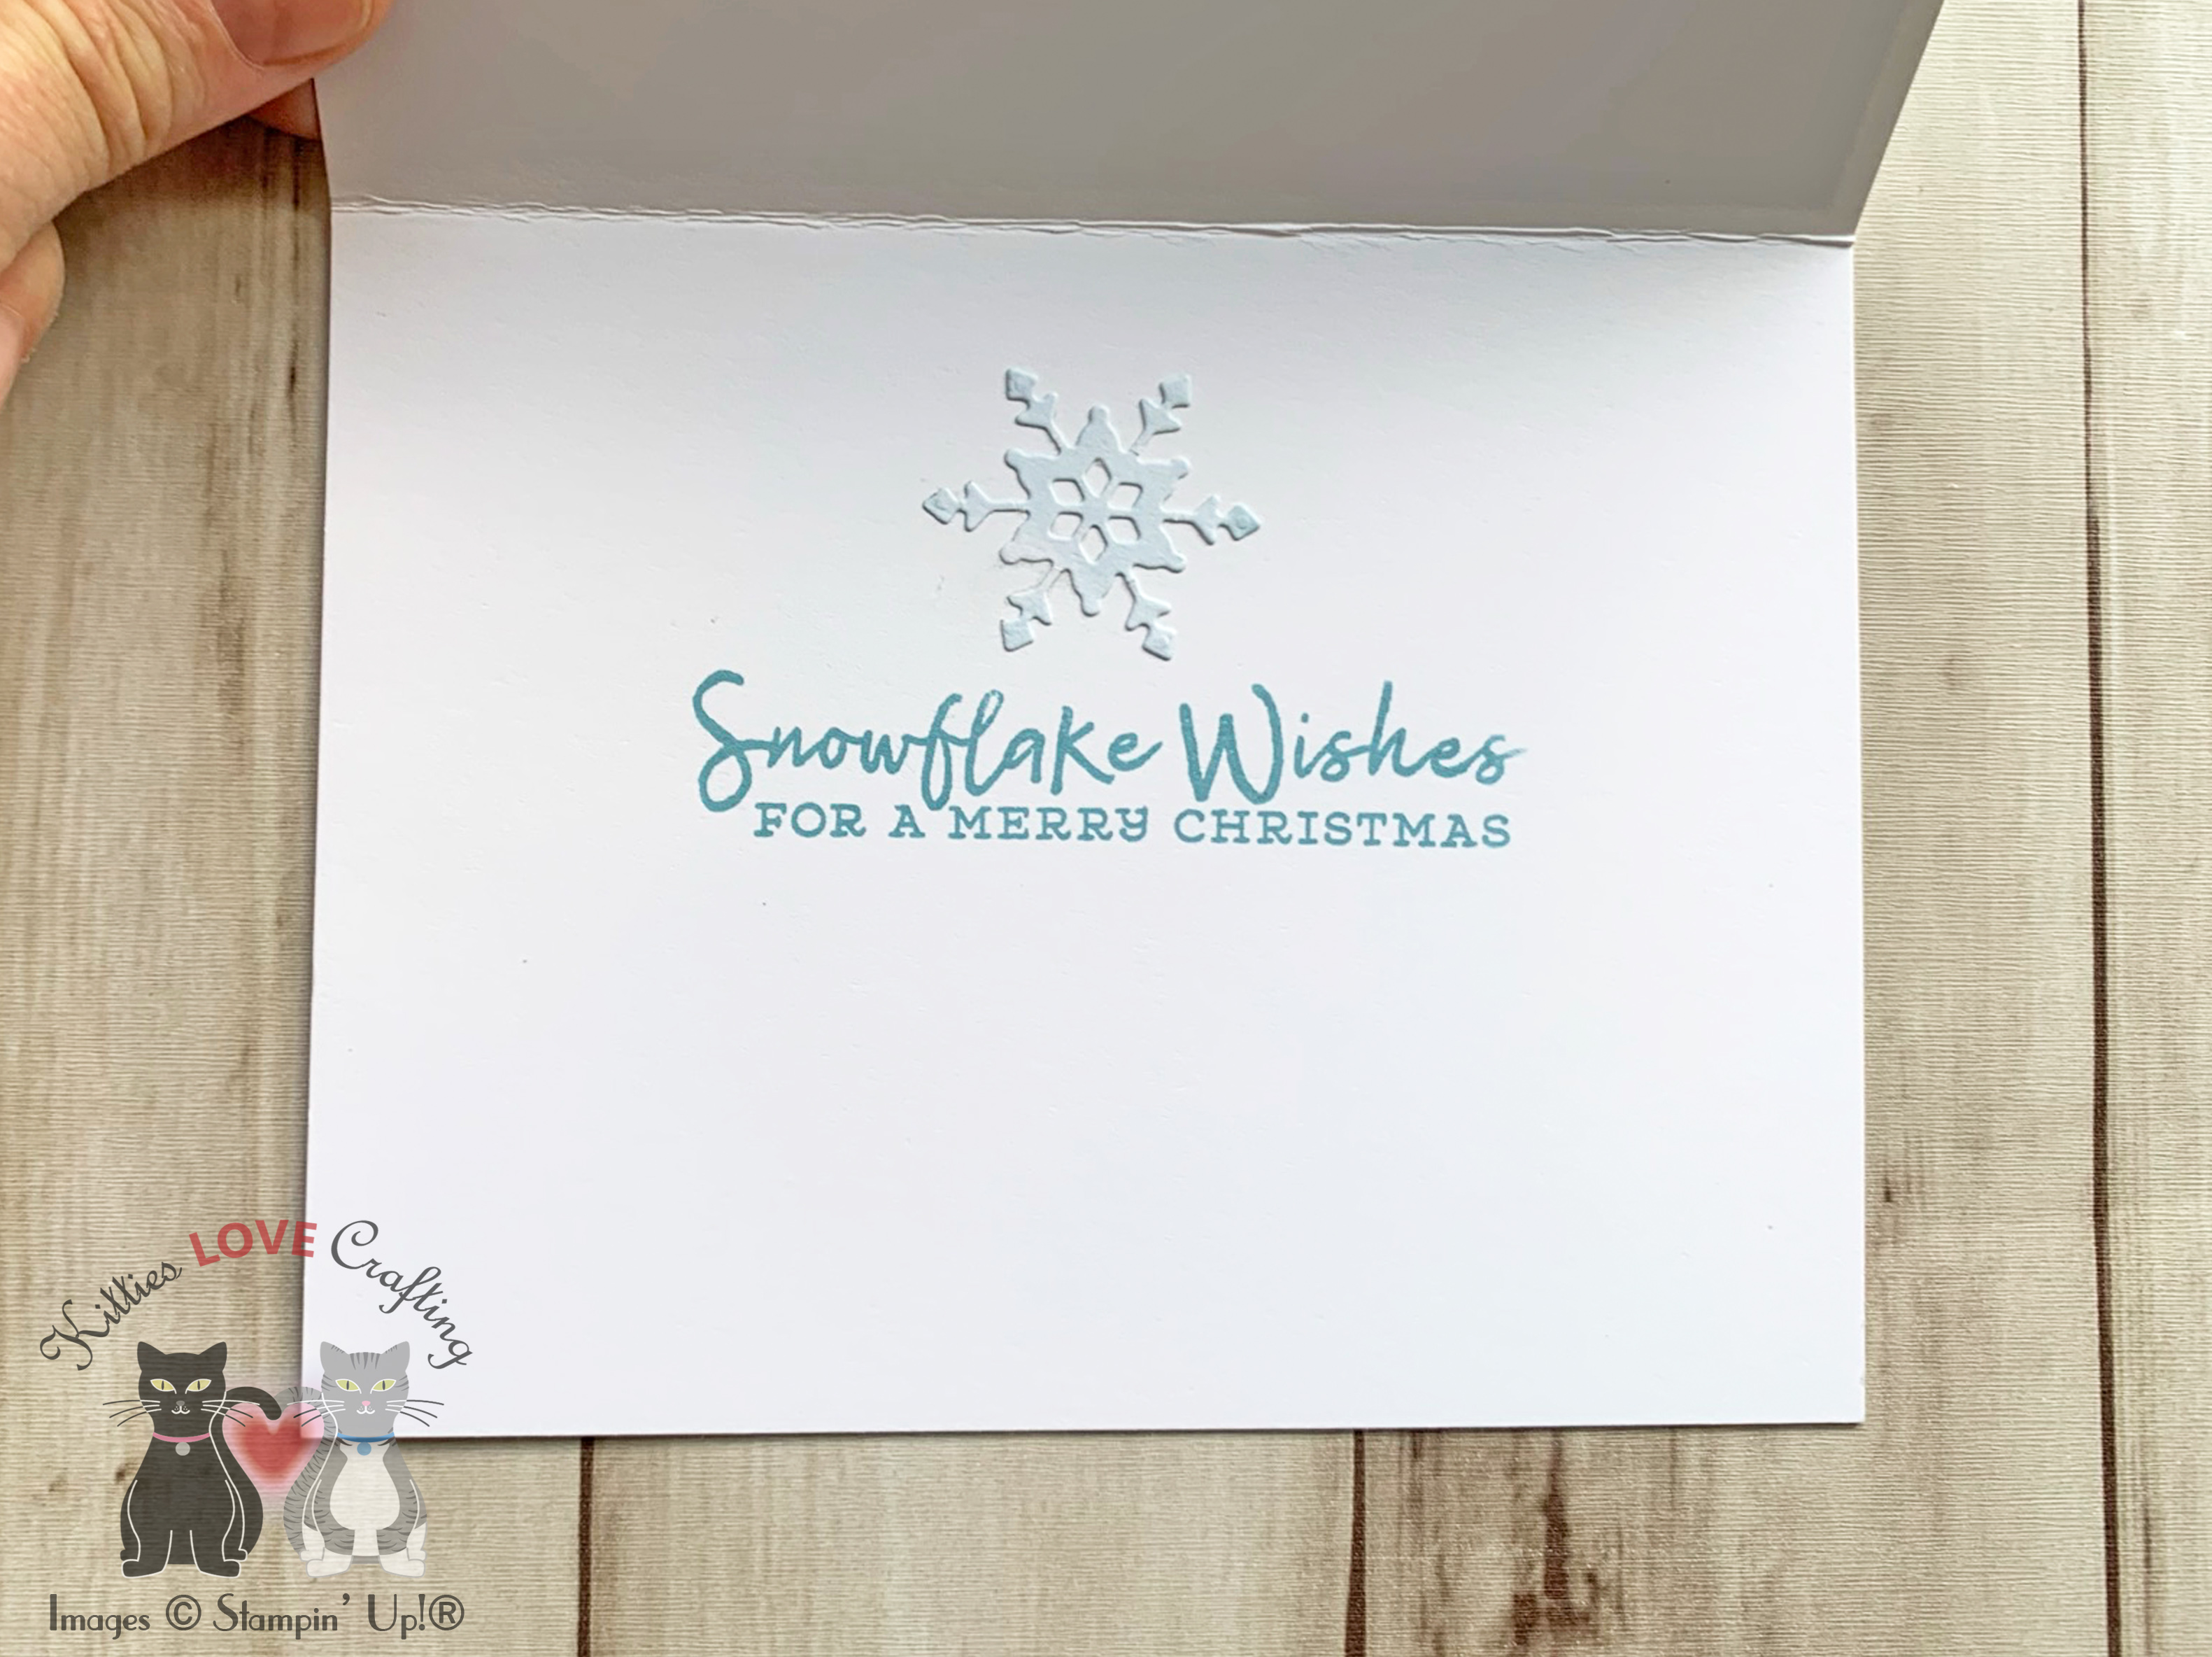
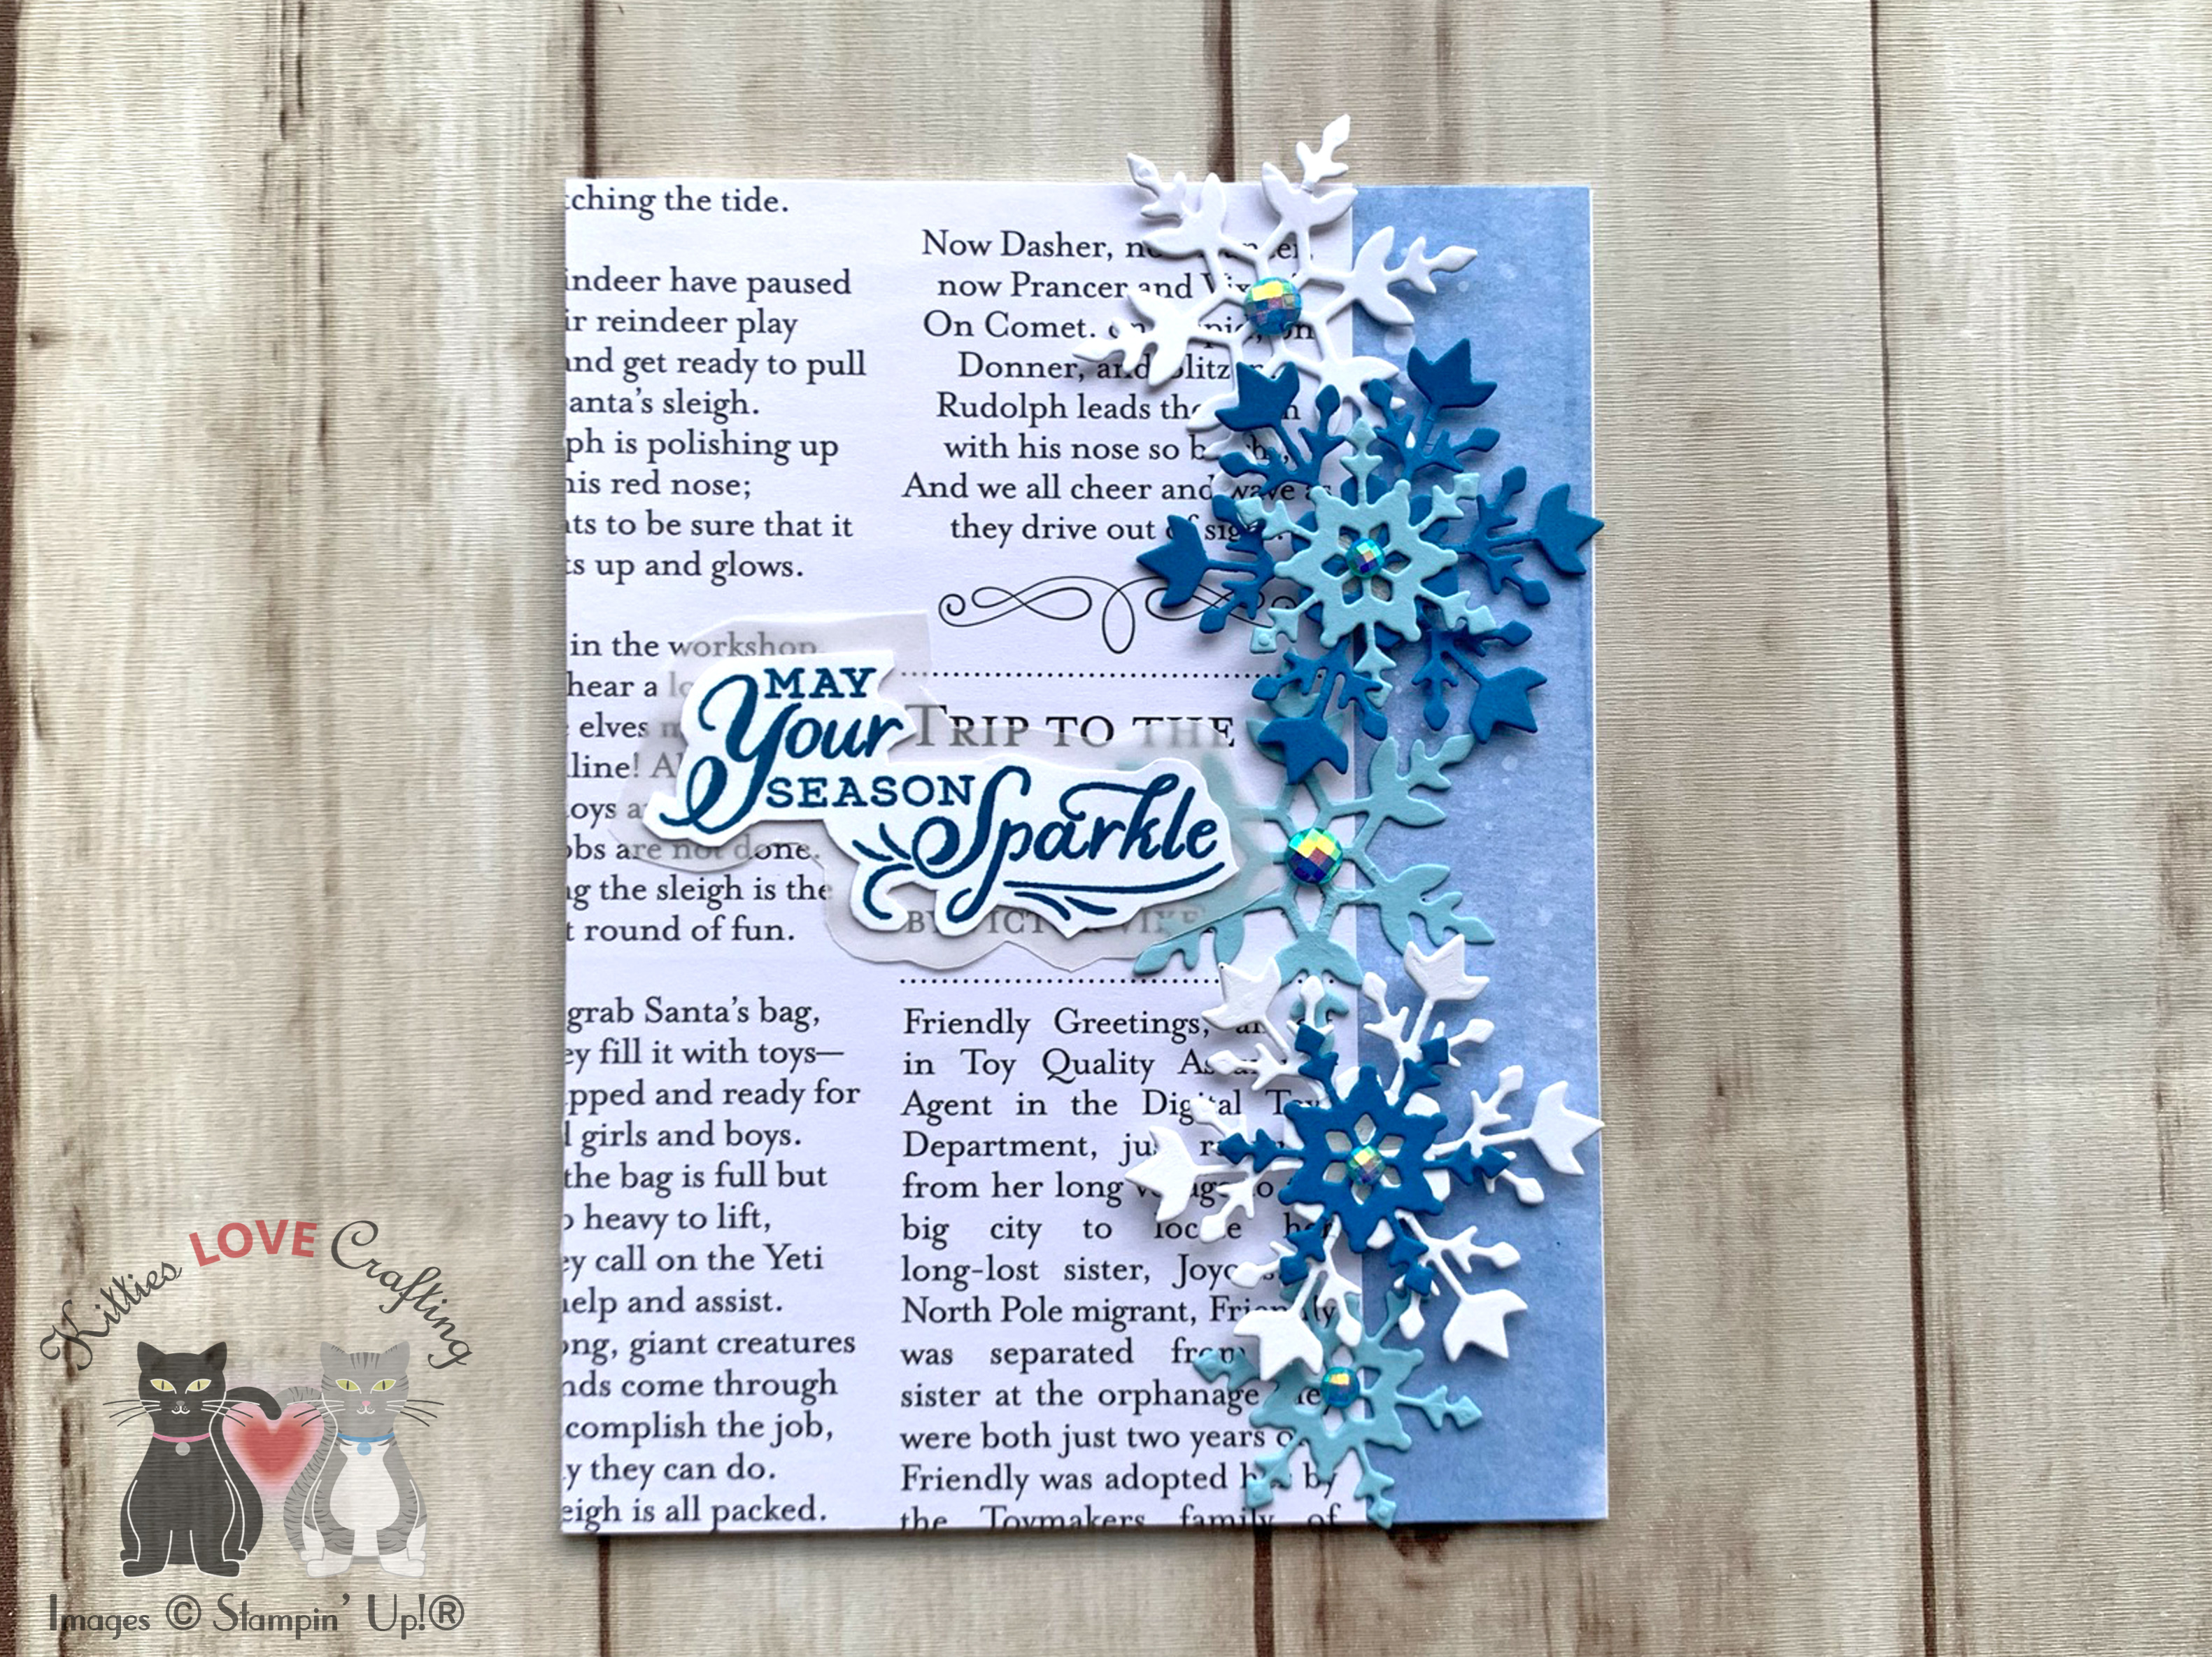
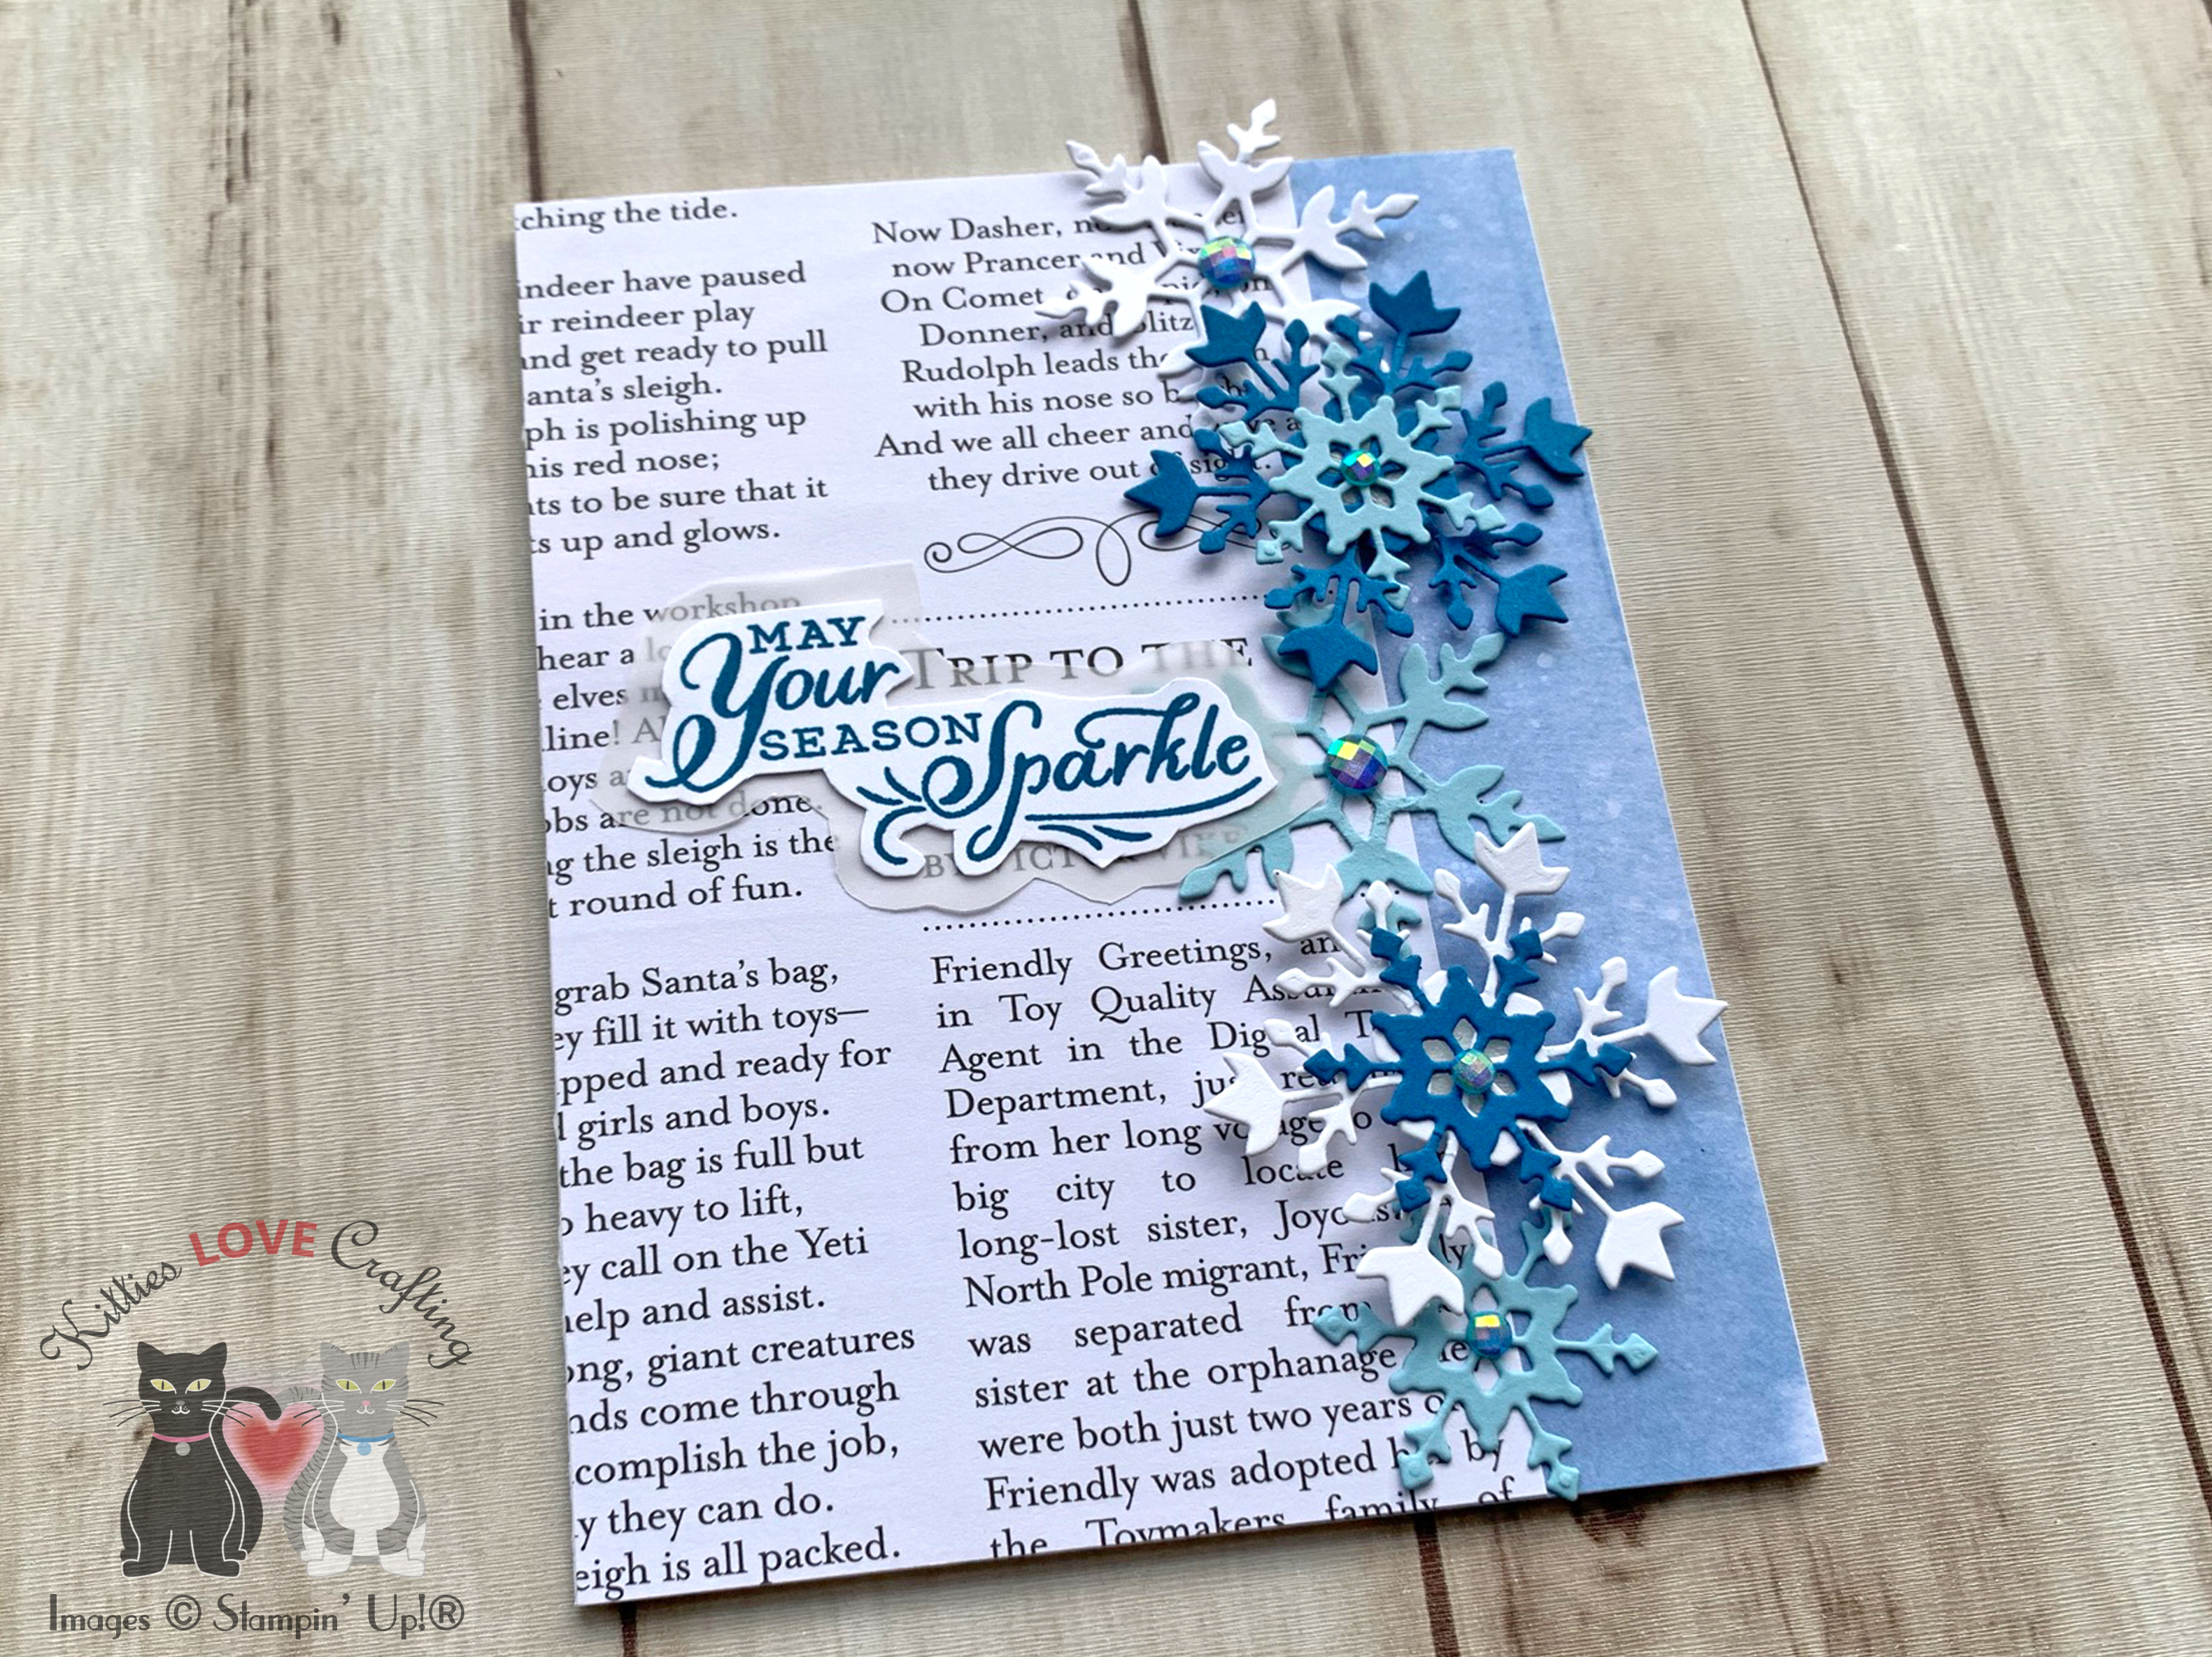
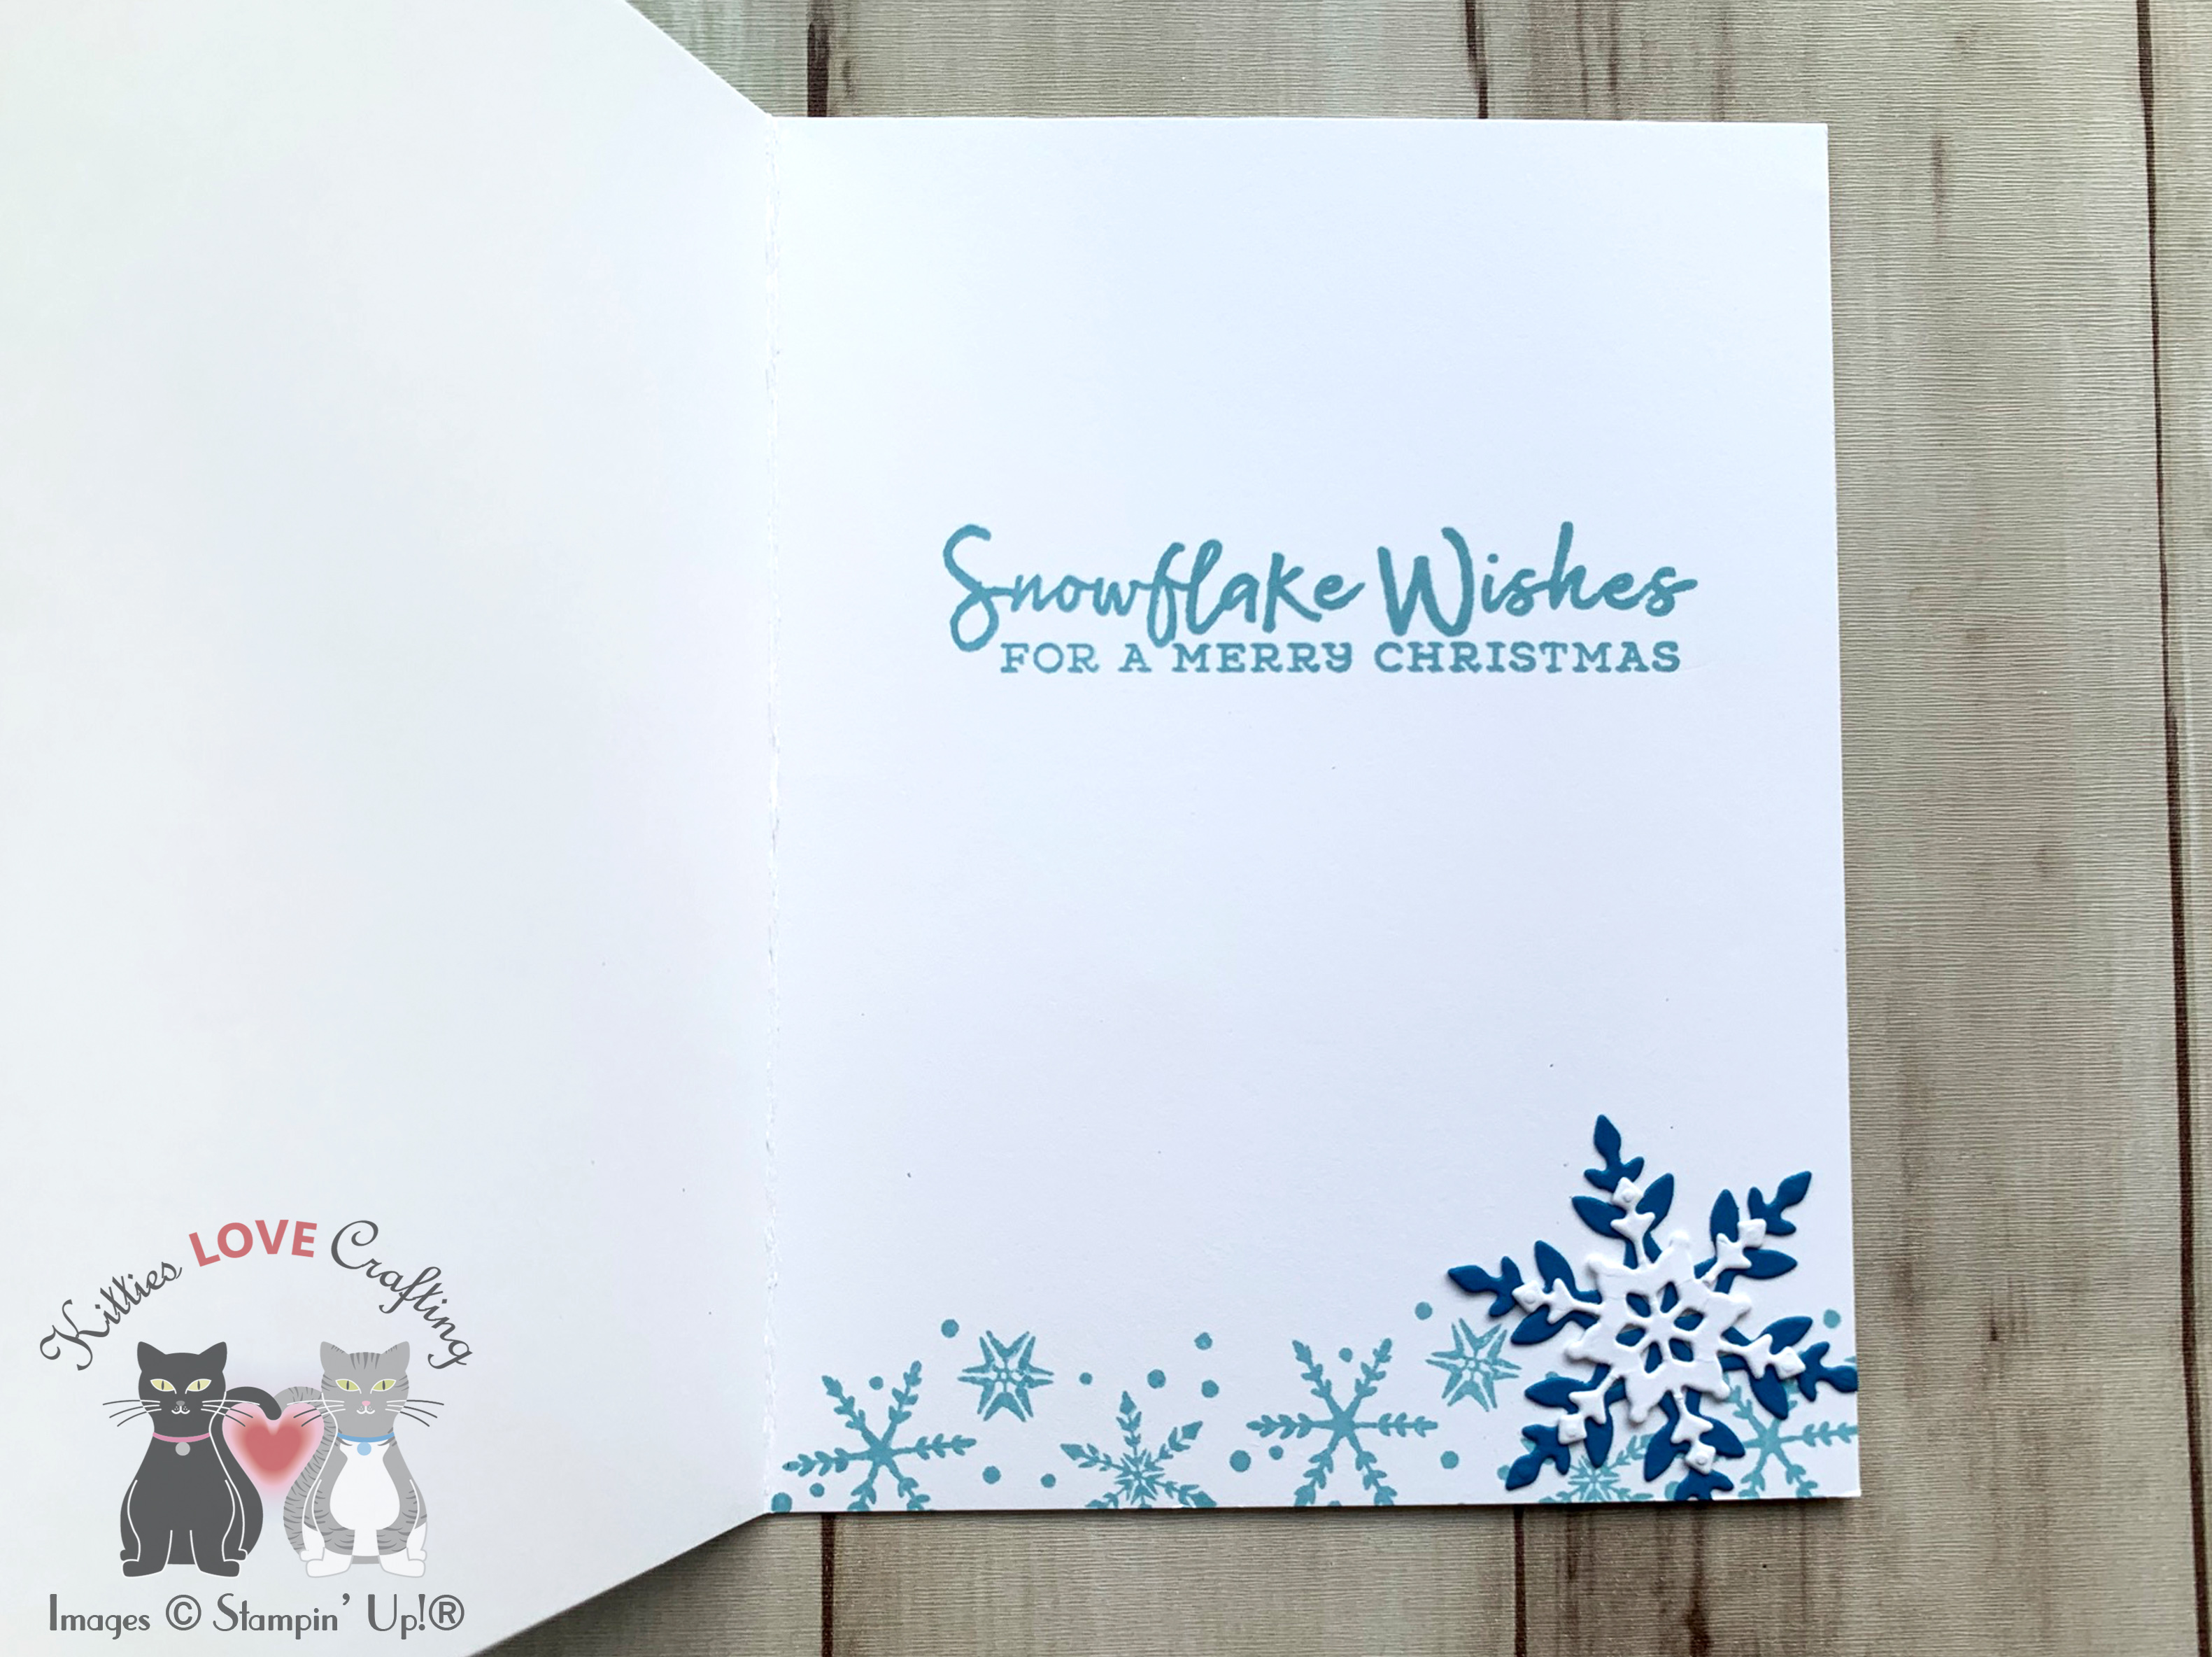
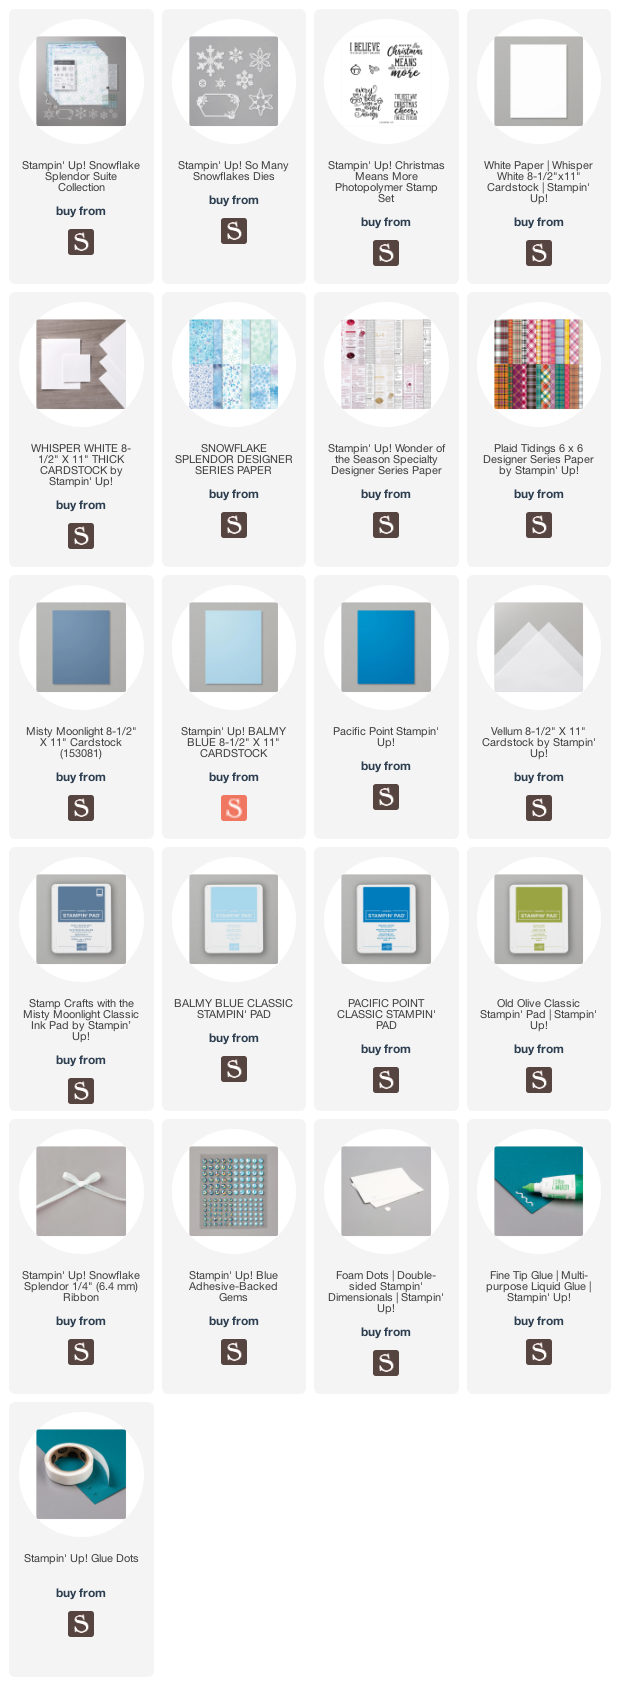
Need some quick last minute cards??? These pretty snowflake cards were all created using the Snowflake Splendor Suite from Stampin’ Up! and came together quickly. This suite can be found on page 37 of the new Aug-Dec Mini Catalog; it features lots of beautiful papers in shades of blues, aquas and purples.

For the first card, I started by cutting a piece of Whisper White 8-1/2″ X 11″ Thick Cardstock to 5-1/2 x 8-1/2″ and scored at 4-1/4″ to make a card base. Then cut a piece of Snowflake Splendor Designer Series Paper to 4 x 5-1/4″ for the top panel which I adhered to the card base. Next I diecut a window using the Stampin’ Up! So Many Snowflakes Dies from Balmy Blue Glimmer Paper, measuring 2-7/8 x 4-9/16 and another piece from Balmy Blue 8-1/2″ X 11″ Cardstock.

I adhered the two panels together and stamped a sentiment from Christmas Means More onto Whisper White 8-1/2″ X 11″ Cardstock with Misty Moonlight Ink. I trimmed it down, added Stampin’ Dimensionals behind the window panel, adhered the sentiment piece behind the window and the piece to the card on an angle. I diecut snowflakes from Whisper White 8-1/2″ X 11″ Thick Cardstock and Misty Moonlight 8-1/2″ X 11″ Cardstock using the dies in the Stampin’ Up! So Many Snowflakes Die. I finished it off by adding some Blue Adhesive-Backed Gems and some Snowflake Splendor 1/4″ Ribbon from the suite.

On the inside, I stamped a sentiment from the Snowflake Wishes Stampset with Stampin’ Up! Balmy Blue Ink and added a diecut snowflake.

Dimensions


For the second card, I started by cutting a piece of Whisper White 8-1/2″ X 11″ Thick Cardstock to 5-1/2 x 8-1/2″ and scored at 4-1/4″ to make a card base. Then cut a piece of Wonder of the Season 12 x 12โ€ Specialty Designer Series Paper to 3-1/4 x 5-1/2″ for the top panel and Snowflake Splendor Designer Series Paper to 4-1/4 x 5-1/2″and adhered them to the card base.

I stamped a sentiment from the Snowflake Wishes Stampset onto a piece of Whisper White 8-1/2″ X 11″ Thick Cardstock with Stampin’ Up! Pacific Point Ink, fussycut it out, adhered it to a piece of Vellum Cardstock, and fussycut around that before adhering it to the card. I finished it off by adding some Blue Adhesive-Backed Gems from the suite.

I diecut snowflakes from Whisper White 8-1/2″ X 11″ Thick Cardstock, Balmy Blue 8-1/2″ X 11″ Cardstock and Pacific Point 8-1/2″ X 11″ Cardstock using the dies in the Stampin’ Up! So Many Snowflakes Die set. I layered a couple of them and added Stampin’ Dimensionals to those.

On the inside, I stamped a sentiment from the Snowflake Wishes Stampset and the snowflake border with Stampin’ Up! Balmy Blue Ink and added a diecut snowflake.

Dimensions


For the third card, I started by cutting a piece of Whisper White 8-1/2″ X 11″ Thick Cardstock to 5-1/2 x 8-1/2″ and scored at 4-1/4″ to make a card base. Then cut a piece of Plaid Tidings 6″ X 6″ Designer Series Paper to 3 x 5-1/2″ for the top panel and adhered it to the card base.

I stamped and diecut several snowflakes from the Wishes Stampset with Stampin’ Up! Balmy Blue Ink, Pacific Point Ink, and Old Olive Ink. I layered them and used some Stampin’ Dimensionals to adhere them to the card. I stamped I stamped a sentiment from the Snowflake Wishes Stampset onto a piece of Whisper White 8-1/2″ X 11″ Thick Cardstock with Balmy Blue Ink, fussycut it out, and adhered it to the card with Stampin’ Dimensionals. I finished it off by adding some Blue Adhesive-Backed Gems from the suite.

On the inside, I stamped a sentiment from the Snowflake Wishes Stampset with Pacific Point Ink and the snowflake border with Old Olive Ink.

Dimensions


Supplies

https://linkdeli.com/widget.js?id=f5e8378456858c916708

Thanks for reading this post. I hope you enjoyed and Iโ€™ve inspired you to try these easy holiday cards using this stampset for yourself! Leave comments or questions below or feel free to email me. If you want to share you creations with me tag me on instagram @kittieslovecrafting. If you would like a Stampin’ Up! catalog, please email me as well. All current catalogs can be found on the right side of this post and the Stampin’ Up! page. All news and fun stuff happening at Stampin’ Up! are listed there!

Autumn, Christmas, Fall, Stampin' Up!, Thanksgiving

Stampin’ Up!’s Fireside Trimming stampset

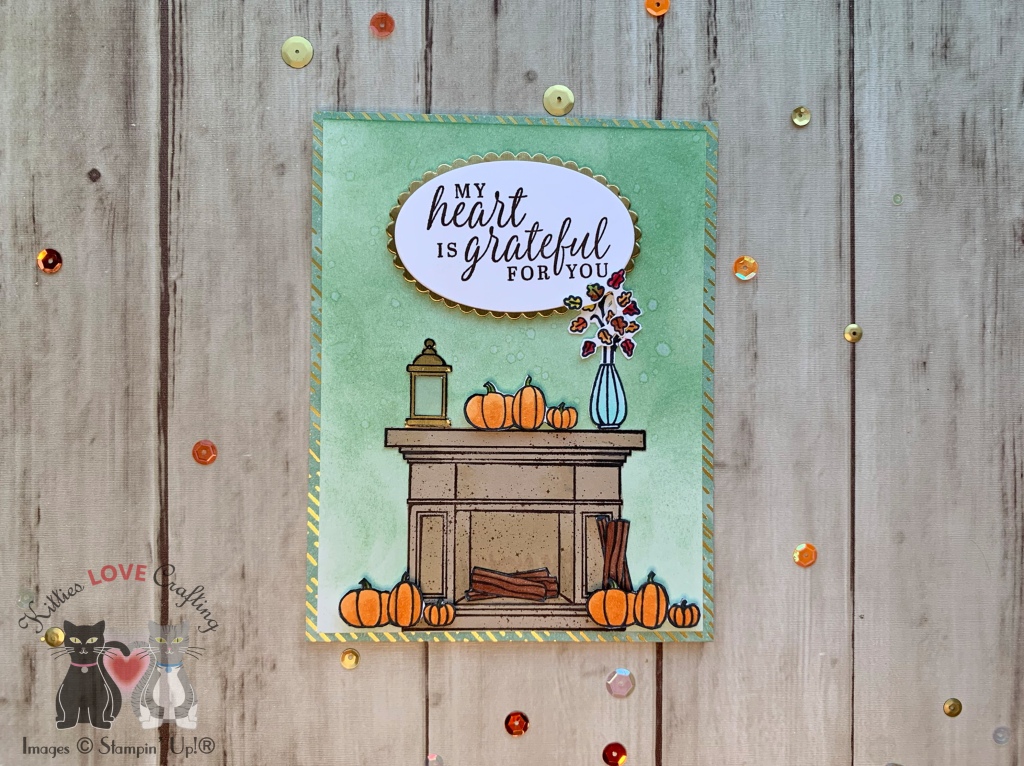
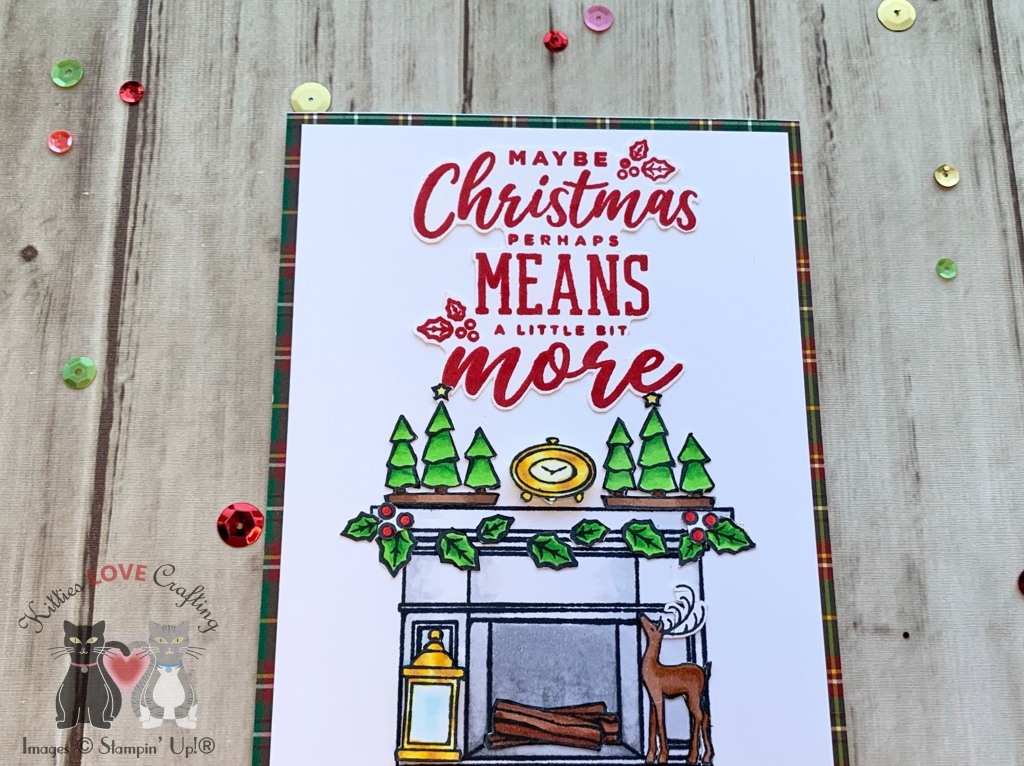
Hi friends. I have one last Fall card and of course another Christmas card. Now I know Fall is over for most of us even though the calendar says it doesnโ€™t end until December 21st but I wanted to show the possibilities with this stamp set. Stampin’ Up!’s Fireside Trimming stampset is good for Fall, Halloween, Christmas and many other occasions. This stampset can be found on page 20 of the new Aug-Dec Mini Catalog. It also coordinates with the Fireside Dies.

For the first card, I started by cutting a piece of Whisper White 8-1/2″ X 11″ Thick Cardstock to 5-1/2 x 8-1/2″ and scored at 4-1/4″ to make a card base. Then cut a piece of Guilded Autumn 12 x 12 Specialty Designer Series Paper to 4-1/4 x 5-1/2″ for the top panel and adhered it to the card base. I also cut a piece of Whisper White 8-1/2″ X 11″ Thick Cardstock to 4 x 5-1/4″ and used Mint Macaron Ink to create a gradient background. I spritzed some water on the panel, dried it and adhered it to the card.

I stamped the fireplace from Stampin’ Up!’s Fireside Trimming stampset with Memento Tuxedo Black Ink onto a piece of pattern paper from Guilded Autumn 12 x 12 Specialty Designer Series Paper. I used Crumb Cake Stampin’ Blends to add depth to the inside areas, fussycut it out (you can use the coordinating dies but I don’t have them yet) and adhered it to the card.

I stamped the images with Memento Tuxedo Black Ink onto a piece of Whisper White 8-1/2″ X 11″ Thick Cardstock and colored them using Stampin Blends and Copic markers. I used Pumpkin Pie Light & Dark and Granny Apple Green Light & Dark for the pumpkins; Cajun Craze Light & Dark, Granny Apple Green Light & Dark, Real Red Light & Dark for the leaves in the vase; Copic BG10 & BG11 for the vase; and E27 & E29 for the wood piles. I fussycut out all the images and adhered to the card. I popped up the pumpkins with Stampin’ Dimensionals. I also stamped the lantern onto a piece of Gold Brushed Metallic Cardstock with Tsukineko Stazon Jet Black Ink, cut out the window and adhered a piece of Vellum behind it.

I stamped the sentiment from Stampin’ Up!’s Beautiful Autumn stampset with Early Espresso Ink onto Whisper White 8-1/2″ X 11″ Thick Cardstock and diecut it to 1-9/16 x 2-1/2″ with the Layering Ovals Dies and a scallop oval from Gold Brushed Metallic Cardstock, measuring 1-3/4 x 2-11/16″. I adhered the ovals and added some Stampin’ Dimensionals to the back before adhering to the card.

I left the inside of the card blank.

Dimensions


For the second card, I started by cutting a piece of Whisper White 8-1/2″ X 11″ Thick Cardstock to 5-1/2 x 8-1/2″ and scored at 4-1/4″ to make a card base. Then cut a piece of Plaid Tidings 6″ X 6″ Designer Series Paper to 4-1/4 x 5-1/2″ for the top panel. I cut another piece of Whisper White 8-1/2″ X 11″ Thick Cardstock to 4 x 5-1/4″.

I stamped the fireplace from Stampin’ Up!’s Fireside Trimming stampset with Memento Tuxedo Black Ink onto the panel, and all the images onto another piece of Whisper White 8-1/2″ X 11″ Thick Cardstock. I also stamped several holly from the Christmas Means More Stampset. On this card I colored everything with Copic Markers. I used YG05 & G07 for the trees and holly leaves, R17 & R29 for the holly berries, E25 & E27 for the tree bases and reindeer, E29 for the tree trunks, E25, E27 & E29 for the wood logs, Y11, Y18 & Y23 for the lantern and clock) and N1, N2, N5 & ) for the fireplace. I fussycut the images and adhered them to the card panel. I popped up the lantern and clock with Stampin’ Dimensionals. And adhered the panel to the card.

I stamped the sentiment from Christmas Means More Stampset onto Whisper White 8-1/2″ X 11″ Thick Cardstock with Real Red Ink, fussycut it out and adhered it to the panel.

On the inside of the card, I stamped a sentiment from the Stampin’ Up!’s Fireside Trimming stampset Memento Tuxedo Black Ink and the wreath with with Old Olive Ink.

Dimensions


Supplies

https://linkdeli.com/widget.js?id=f5e8378456858c916708

Thanks for reading this post. I hope you enjoyed and Iโ€™ve inspired you to try these fall cards using this beautiful suite for yourself! Leave comments or questions below or feel free to email me. If you want to share you creations with me tag me on instagram @kittieslovecrafting. If you would like a Stampin’ Up! catalog, please email me as well. All current catalogs can be found on the right side of this post and the Stampin’ Up! page. All news and fun stuff happening at Stampin’ Up! are listed there!

Autumn, Birthdays, Fall, Fall, Thanksgiving

2 cards Using One Stampset and Easy Watercolor Backgrounds

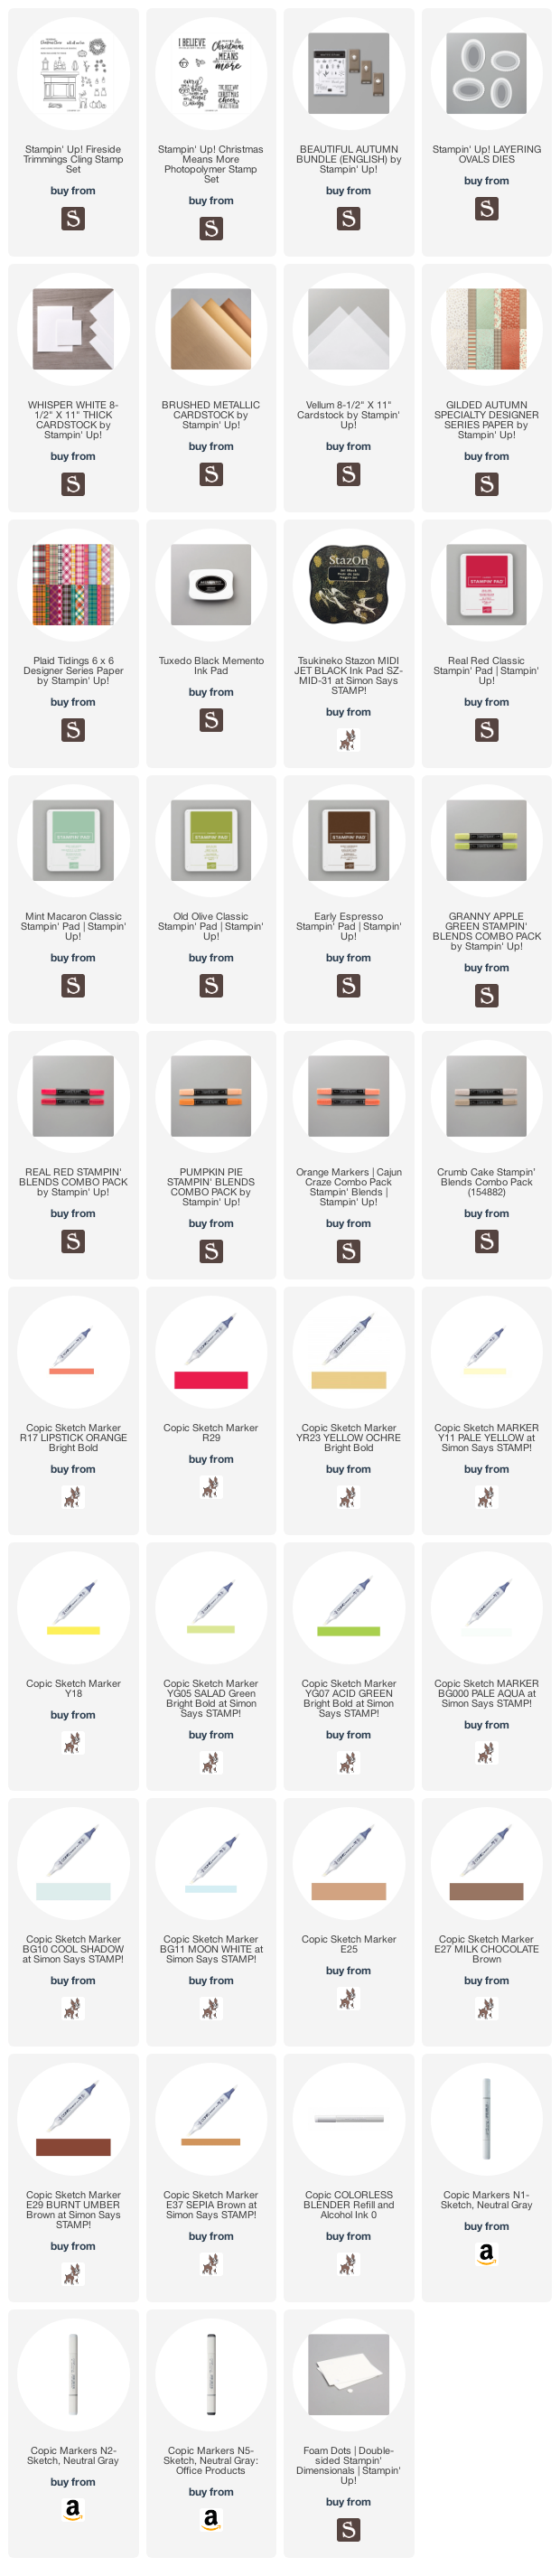
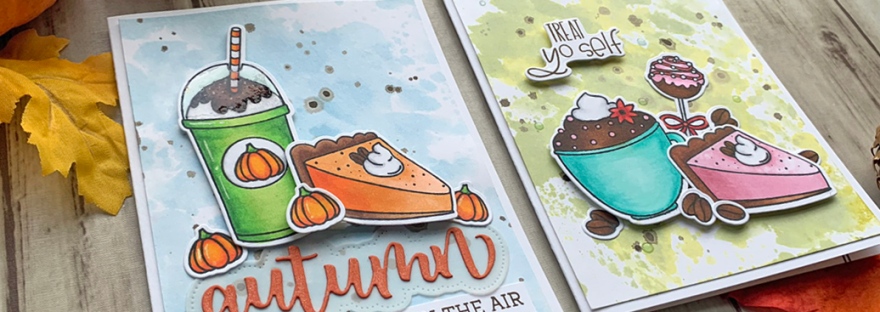
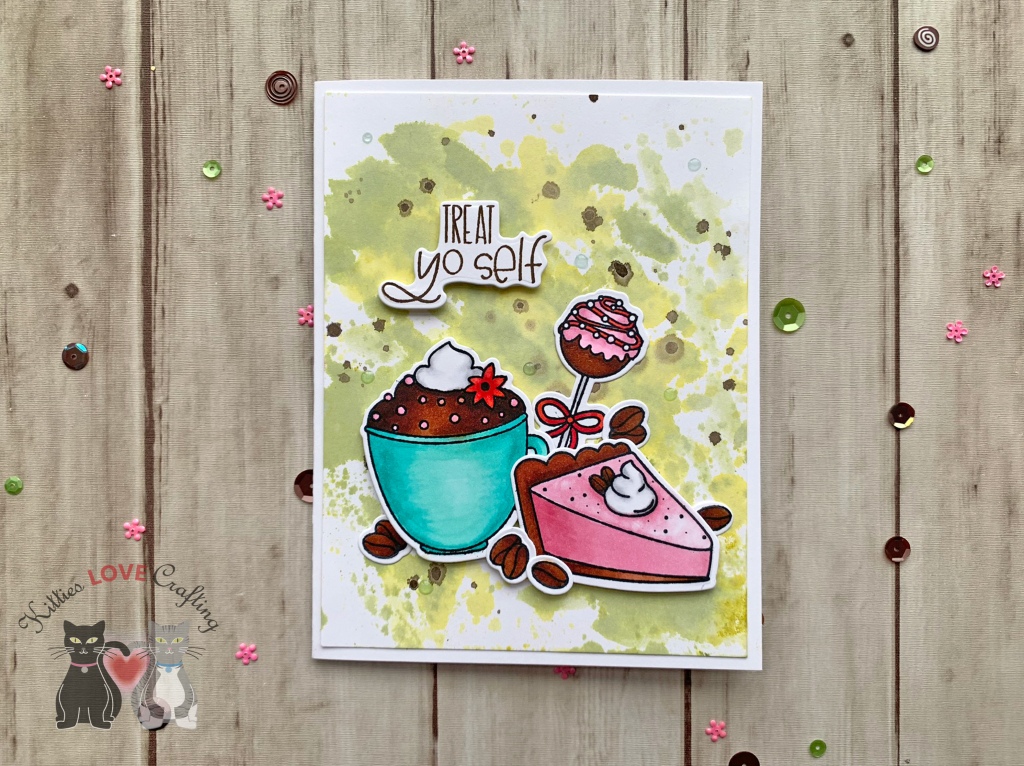
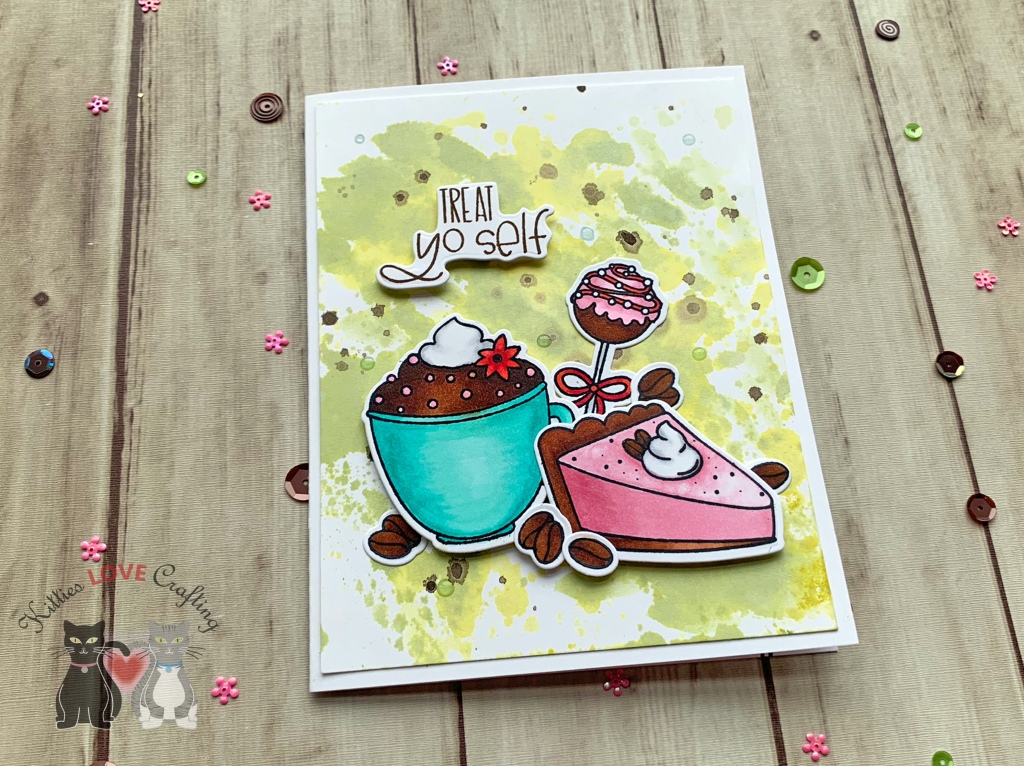
Hello friends. Do you need some last minute Fall or Thanksgiving cards or perhaps a Birthday card?? The Honey Bee Stamps Treat Yo Self 6×6 Stamp Set is great for such cards! I created very simple watercolor backgrounds using one color of distress ink. These cards also use minimal supplies. And while I used my Copics and added shadowing and highlights to the images, you can color them flat and make it simpler. They would still look great!

For my first card, I started by cutting a piece of Neenah 110lb Classic Crest Cardstock 8.5 X 11″ to 5-1/2 x 8-1/2″ and scored at 4-1/4 to create the card base. I cut a piece of Strathmore 300 Series Bristol Smooth Paper to 4 x 5-1/4″. I used Ranger Tim Holtz Broken China Distress Ink to watercolor the background and added splatters using Tim Holtz GROUND ESPRESSO Distress Paint and set it aside to dry.

I stamped the images from the Treat Yo Self 6×6 Stamp Set with Memento Tuxedo Black Ink onto a piece of Neenah 110lb Classic Crest Cardstock 8.5 X 11″, colored them with Copic Markers and die cut them with the coordinating Honey Cuts Treat Yo Self Dies. I used Y18 + YR04 + YR09 and YG03 + YG05 + G07 for the pumpkins; E25 + E29 + E49 (chocolate syrup), BG10 + 0 (lid), YG03 + YG05 + G07 (cup), N2 + 0 and YR04 + YR09 (straw) on the cup; and YR00 + YR14 + Y04 + Y09 (filling), N1 + 0 (whipped cream), E33 + E25 + E29 (crust and coffee beans/nuts) for the pie.

I adhered the watercolored panel to the card base using wet glue and the images using wet glue and Stampin’ Dimensionals. I die cut the ‘Autumn’ word and the largest shadow using the Honey Bee Autumn Buzzword Dies. I used Stampin’ Up! Tangerine Tango 8-1/2 x 11″ Cardstock (retired) for the word and Simon Says Stamp Vellum for the shadow. I stamped a sentiment from the Honey Bee Autumn Buzzword Stamp Set onto a piece of Neenah 110lb Classic Crest Cardstock 8.5 X 11″ with Ground Espresso Distress Oxide Ink and cut it down to 3/8 x 1-3/4″. I adhered all the sentiment pieces to the card using wet glue. To finish off the card I added highlights using a Uni-Ball Signo Broad Point White Gel Pen, shimmer to the ‘Autumn’ buzzword with Spectrum Noir Clear Overlay Sparkle Pen, and added Ranger Glossy Accents to the lid.

The inside of the card was left blank.

Dimensions


For my second card, I started by cutting a piece of Neenah 110lb Classic Crest Cardstock 8.5 X 11″ to 5-1/2 x 8-1/2″ and scored at 4-1/4 to create the card base. I cut a piece of Strathmore 300 Series Bristol Smooth Paper to 4 x 5-1/4″. I used Ranger Tim Holtz Peeled Paint Distress Ink and Tim Holtz Crushed Olive Distress Ink to watercolor the background and added splatters using Tim Holtz GROUND ESPRESSO Distress Paint and set it aside to dry.

I stamped the images from the Treat Yo Self 6×6 Stamp Set with Memento Tuxedo Black Ink onto a piece of Neenah 110lb Classic Crest Cardstock 8.5 X 11″, colored them with Copic Markers and die cut them with the coordinating Honey Cuts Treat Yo Self Dies. I used BG11 + BG15 (mug), N2 + 0 (whipped cream), E37 + E29 + E49 (chocolate frosting), and RV10 + R83 (flower); E15 + E37 + E29 (crust and beans/nuts), N2 + 0 (whipped cream), R81 + R83 + R85 (filling) for the pie slice; E37 + E29 + E49 for the beans; and R83 + RV10 (frosting), E37 + E29 (cake), R17 + R27 + R29 (ribbon) and N2 + 0 (popsicle stick) for the cake pop.

I adhered the watercolored panel to the card base using wet glue and the images using wet glue and Stampin’ Dimensionals. I stamped a sentiment from the Treat Yo Self 6×6 Stamp Set onto a piece of Neenah 110lb Classic Crest Cardstock 8.5 X 11″ with Ground Espresso Distress Oxide Ink and die cut it with the coordinating Honey Cuts Treat Yo Self Dies. I adhered the the sentiment to the card using Stampin’ Dimensionals. To finish off the card I added Nuvo Sea Breeze Jewel Drops.

On the inside of the card, I stamped a sentiment from Lawn Fawn Village Shops and the cake pop from Treat Yo Self 6×6 Stamp Set with Ground Espresso Distress Oxide Ink. And that completes this card.

Dimensions


Supplies

https://linkdeli.com/widget.js?id=f5e8378456858c916708

Thanks for reading this post. I hope you enjoyed and Iโ€™ve inspired you to give these watercolored cards a try for yourself. Leave comments or questions below or feel free to email me.

Paper Pumpkin, Stampin' Up! News

December 2020 Paper Pumpkin Kit! Beary Comforting

Decemberโ€™s cute and cuddly Paper Pumpkin kitโ€”called โ€œBeary Comfortingโ€โ€”is designed to uplift your loved ones as this beary tough year finally comes to a close. After a year like 2020, we all could use a big bear hug! With the help of this bear-themed kit, you can create 12 unbearably cute cards featuring warm and fuzzy friends, sweet stamps, and meaningful messages. Near or far, send your friends and family the extra comfort, love, and encouragement they need with this monthโ€™s Paper Pumpkin kit!

Coordinating colors this month are Basic Gray, Calypso Coral, Cinnamon Cider, Daffodil Delight, Rich Razzleberry, Soft Sea Foam, Whisper White

Subscription Information

  • Subscribe to the December 2020 Paper Pumpkin Kit from November 11 to December 10 at paperpumpkin.com.
  • Note: Supplies may be limited toward the end of each subscription period.

Leave comments or questions below or feel free to email me. . If you would like a Stampin’ Up! catalog, please email me as well. All current catalogs can be found on the right side of this post and the Stampin’ Up! page. All news and fun stuff happening at Stampin’ Up! are listed there!