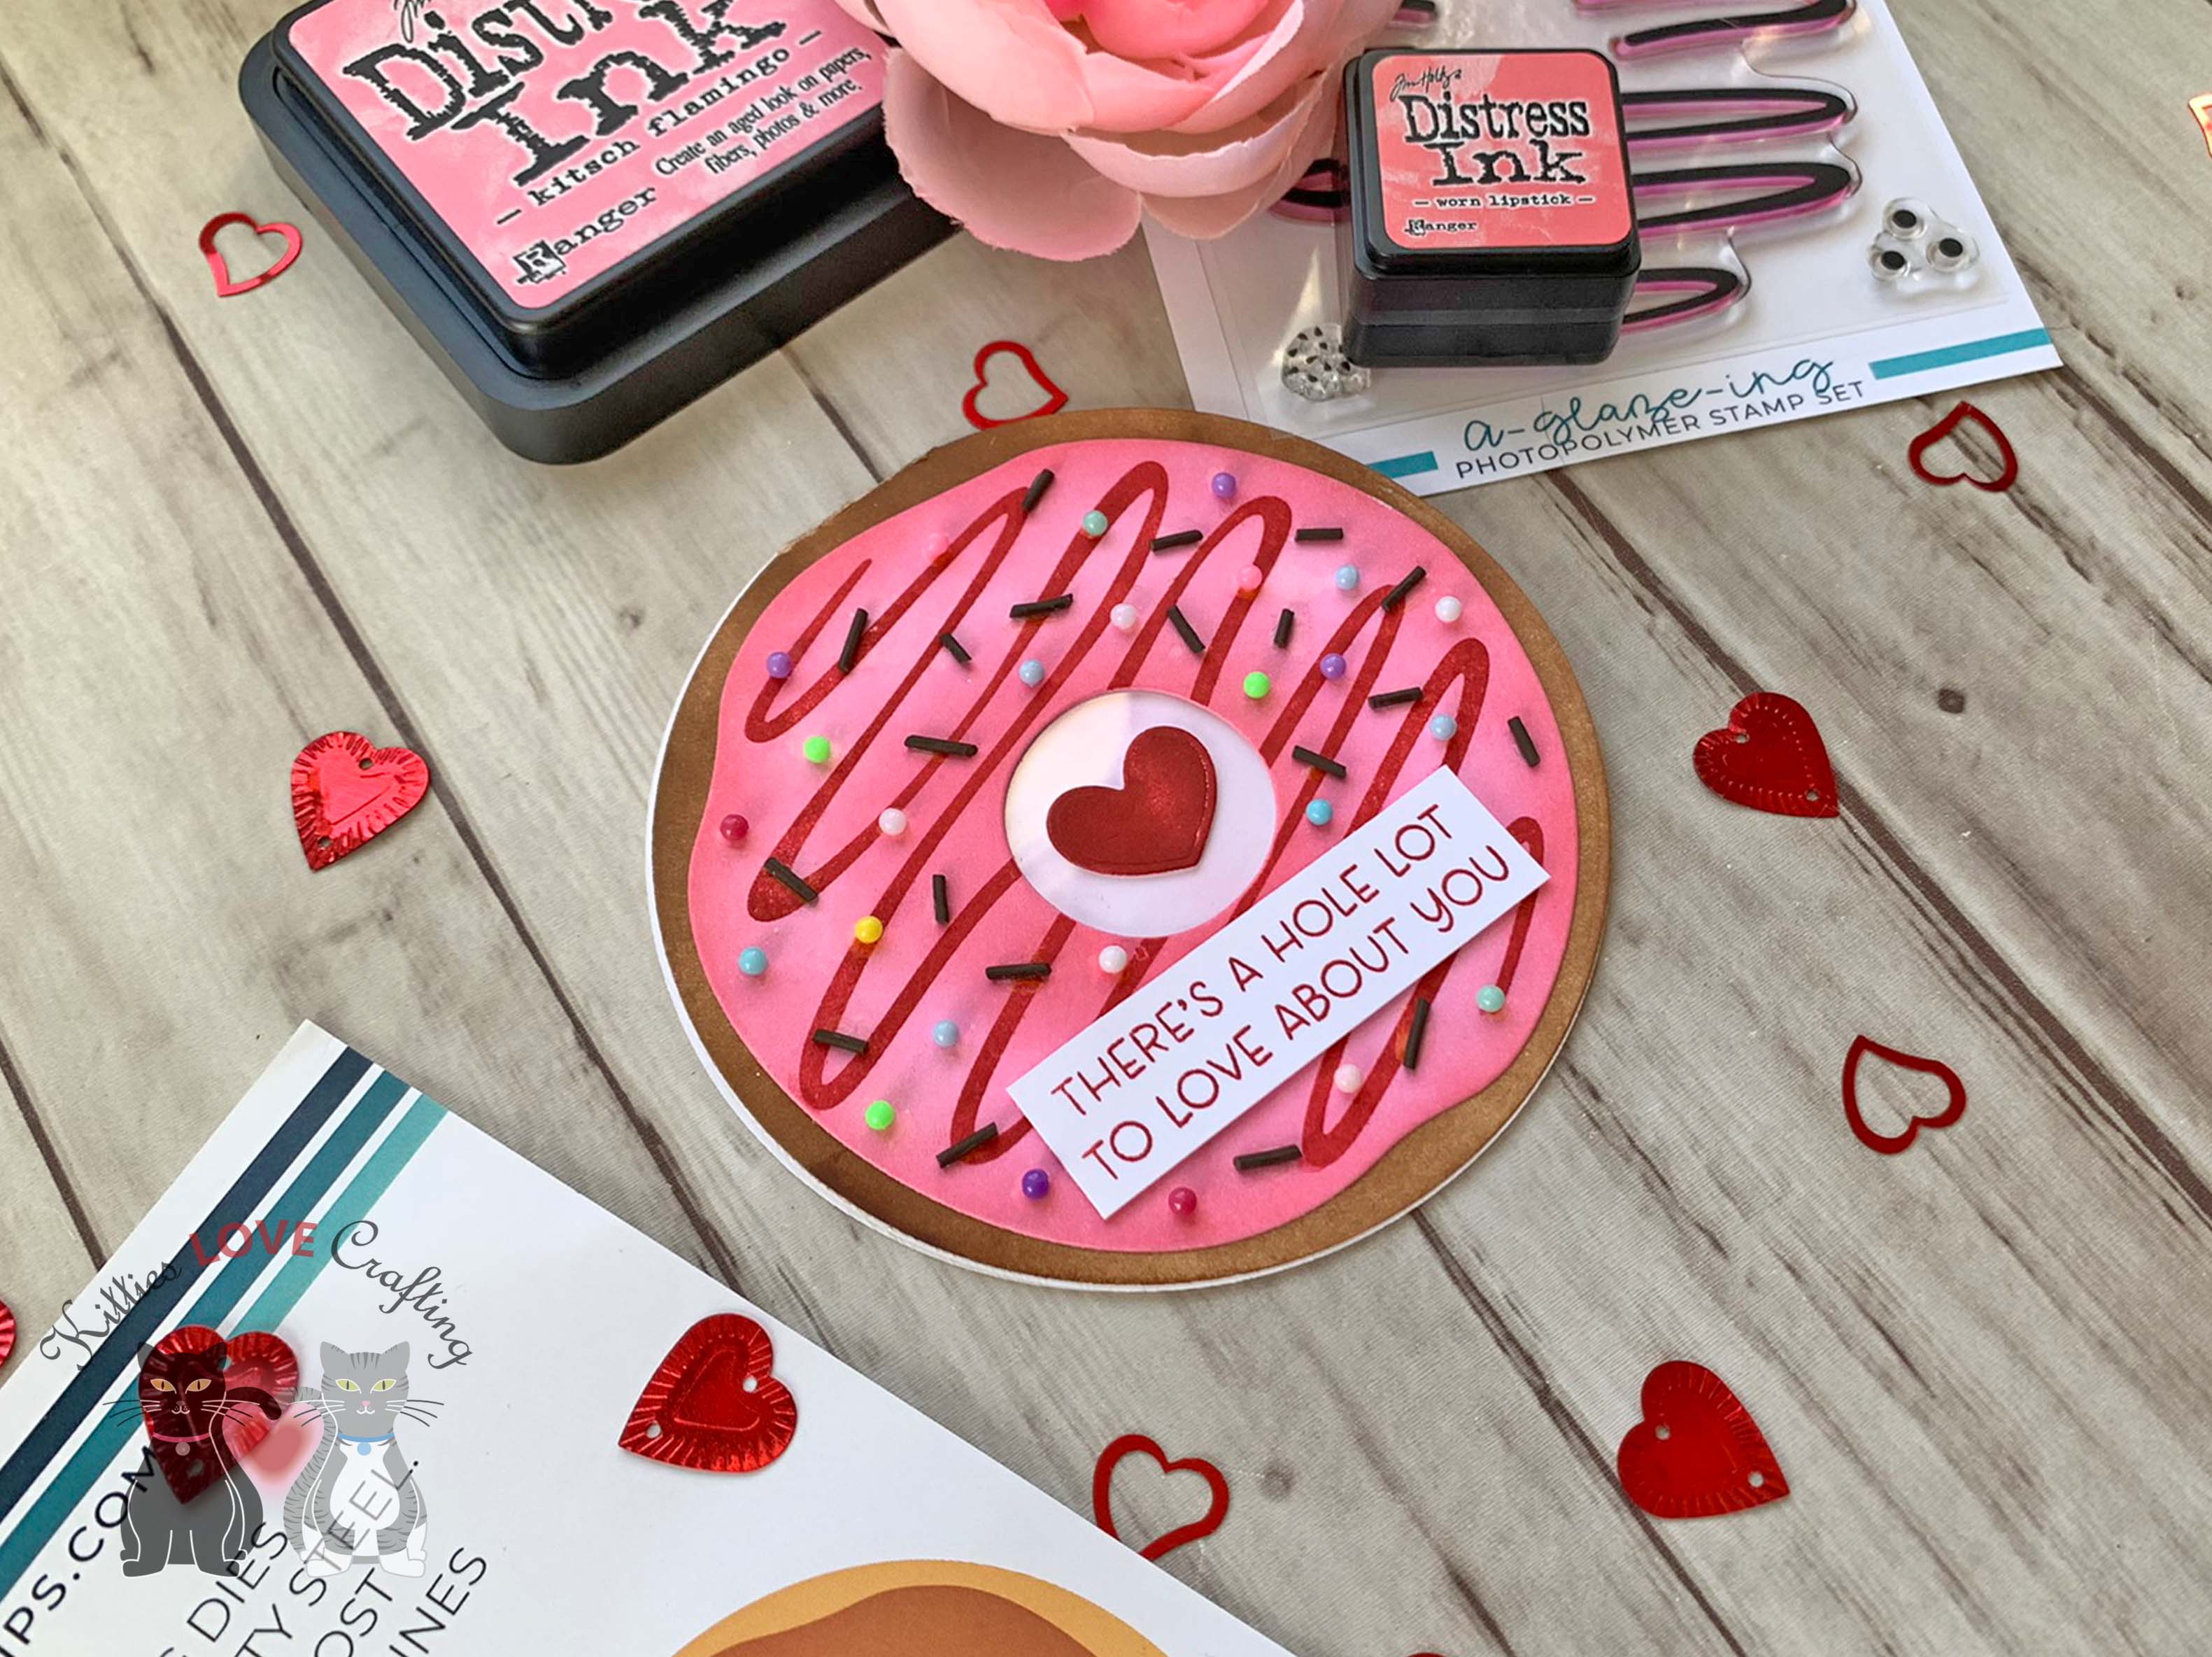
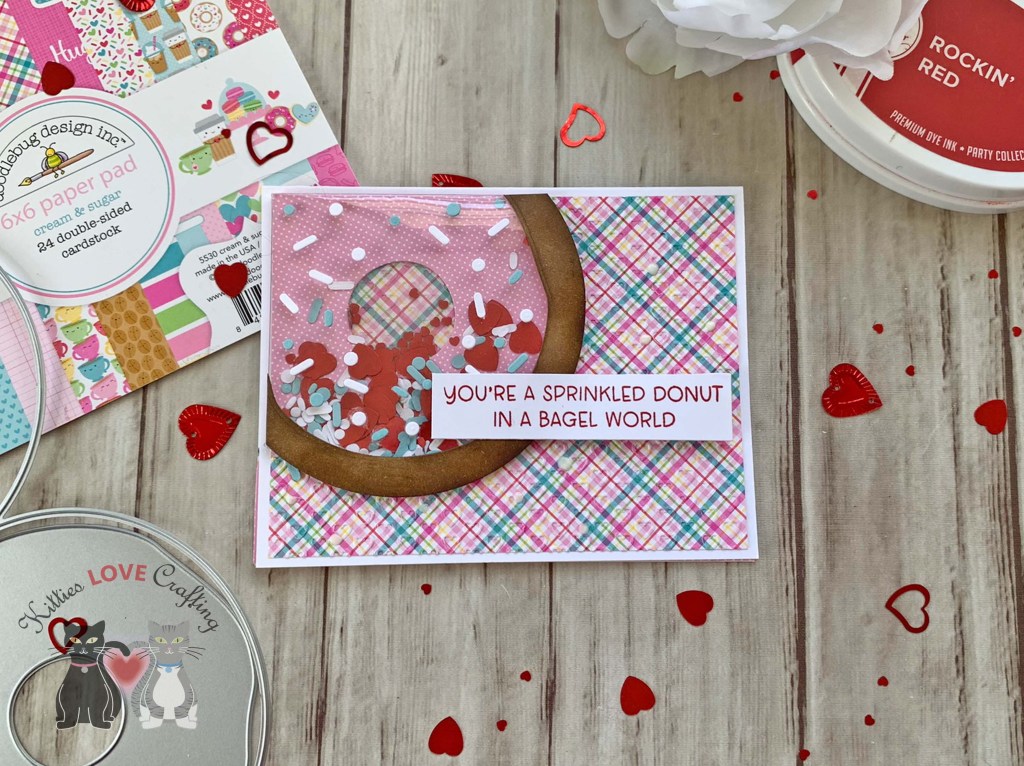
Hello friends. Here is another way to use the new Circle Shaped Card Die Set from Trinity Stamps to make a cute Valentine’s Day card — a flat shaker donut! I love making shaker cards but sometimes they can be bulky. This is a way to keep your card flatter so you can mail it without spending textra on postage. And who doesn’t want to save some money these days?!? Now my shaker pouch puffed a little bit but it’s still flatter than a traditional shaker pouch and I can remedy this next time by using a thinner plastic/acetate.
For this card, I cut a piece of Neenah 100lb Classic Crest Cardstock 8.5 X 11″ to 5-1/2 x 8-1/2″ and scored at 4-1/4″. I also cut a piece of Doodlebug Designs Cream & Sugar 6 x 6 Paper (discontinued?) to 4 x 5-1/4″. Then I ran that through my die cutting machine with an embossing folder from Queen & Company which has tiny open hearts all over it. This was part of a bundle they sold one time. Not sure if they will bring them back.
Next, I made the shaker. I die cut the donut card (or half of it) from Neenah 100lb Classic Crest Cardstock 8.5 X 11″ and cut out the center using the frosting die. I colored it using Tim Holtz Walnut Stain and Ground Espresso Ranger Distress Inks. I also die cut the frosting from the Doodlebug Designs Cream & Sugar 6 x 6 Paper. I made the pouch by folding a piece of acetate in half and closing the edges. I added the frosting diecut inside the pouch to cover all the folded/taped acetate edges. Then I filled the pouch with sprinkles I die cut from Neenah 100lb Classic Crest Cardstock 8.5 X 11″ and Simon Says Stamp Surf Blue 100lb Cardstock using the Circle Shaped Card Die Set as well as some Sizzix SEQUINS & BEADS – Pinks & Reds, Crimson Sequins.

I stamped a sentiment using onto Neenah 100lb Classic Crest Cardstock 8.5 X 11″ Trinity Stamps A-GLAZE-ing 4×8 Stamp Set with Catherine Pooler Designs Rockin’ Red Ink and then cut it down to [x] x [x]”

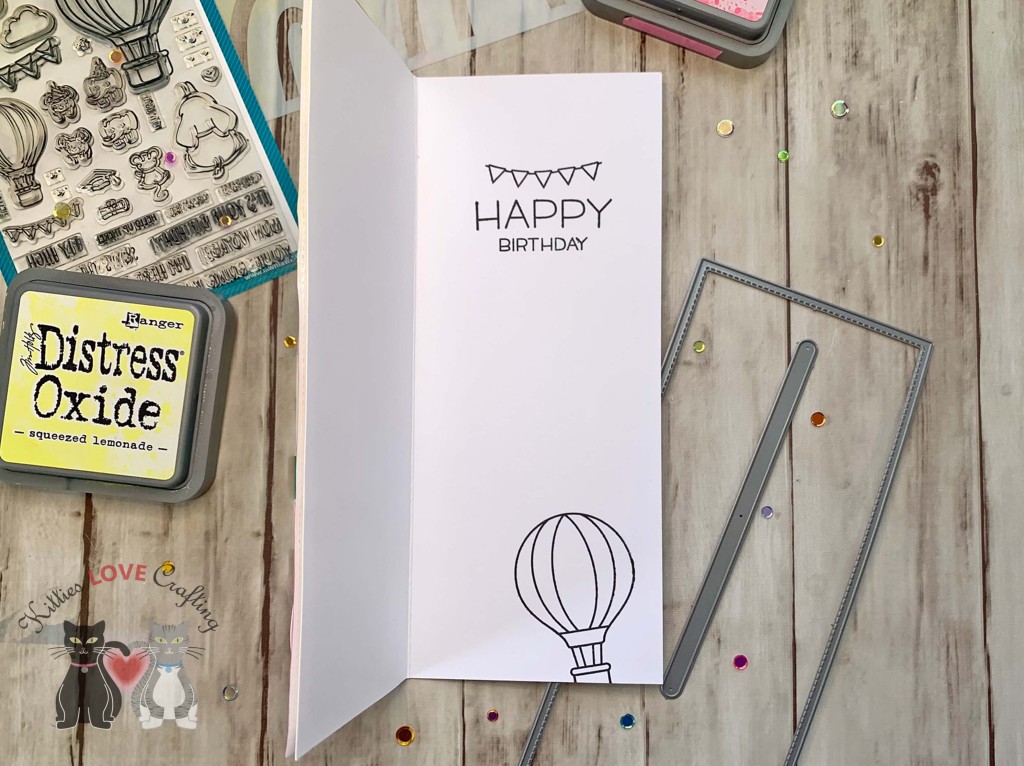
On the inside of the card, I cut a piece of the same pattern papers used on the front to 1 x 5-1/2″ and 1-1/4 x 5-1/2″. Then stamped a sentiment from my stash with Catherine Pooler Designs Rockin’ Red Ink.
Dimensions
- Card Base = 5-1/2 x 8-1/2″ and scored at 4-1/4″ Neenah 100lb Classic Crest Cardstock 8.5 X 11″
- Background Panel = 4 x 5-1/4″ Doodlebug Designs Cream & Sugar 6 x 6 Paper (discontinued?)
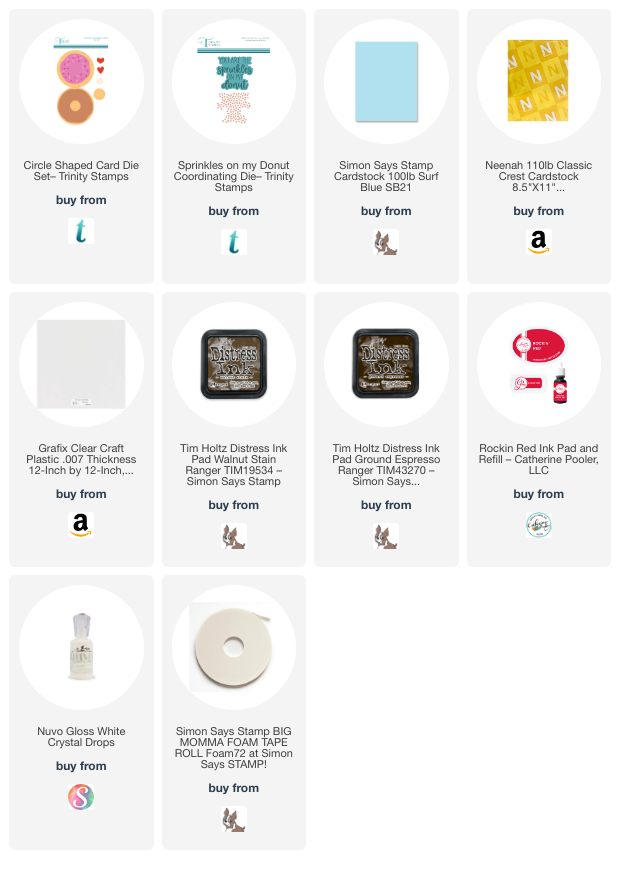
Supplies
 https://linkdeli.com/widget.js?id=f5e8378456858c916708
Thanks for reading this post. I hope I’ve inspired you to give this cute donut Valentine’s Day card a try for yourself. Leave comments or questions below or feel free to email.