Hello friends. I realize this is kinda late but I still wanted to share this cute Mother’s Day card using the Trinity Stamps Tiny Teacup dies. I combined it was some older stamps and dies from Queen & Company as well as Catherine Pooler dies.
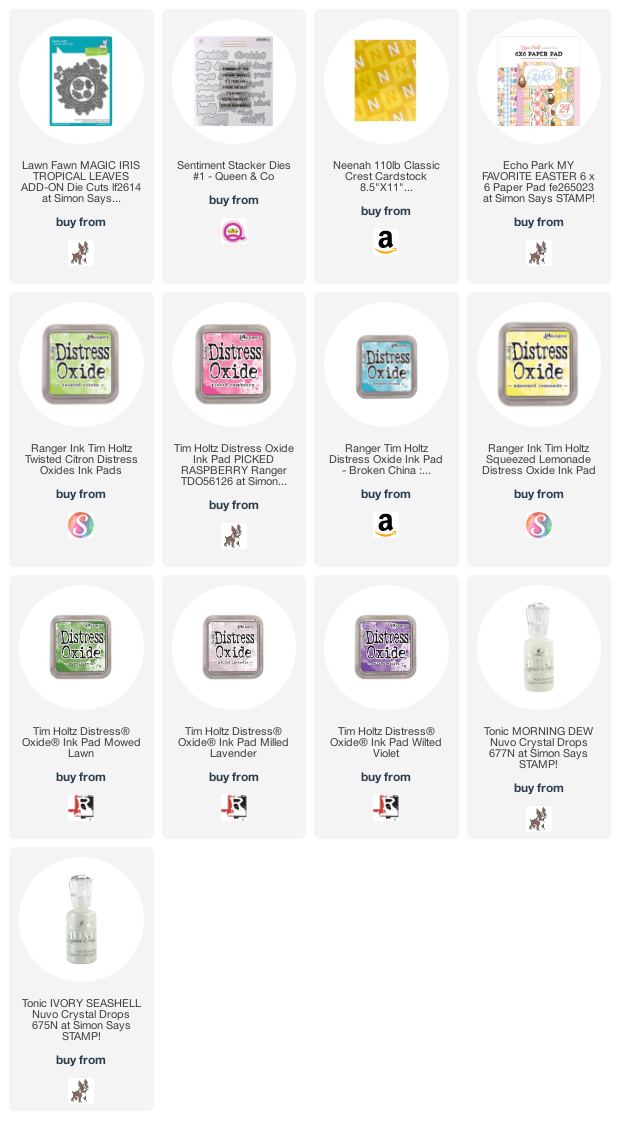
For this card, I cut a piece of Neenah 100lb Classic Crest Cardstock 8.5 X 11″ to 5-1/2 x 8-1/2″ and scored at 4-1/4″ to create the card base and another piece to 4-1/4 x 5-1/2″. I stenciled the background using the Catherine Pooler Designs Cookie Sheet Die (included in the Baking Spirits Bright Card Kit) and Matcha Ink.
Thanks for reading this post. I hope I’ve inspired you to give this cute Mother’s Day card a try and use some of your older supplies. Leave comments or questions below or feel free to email.
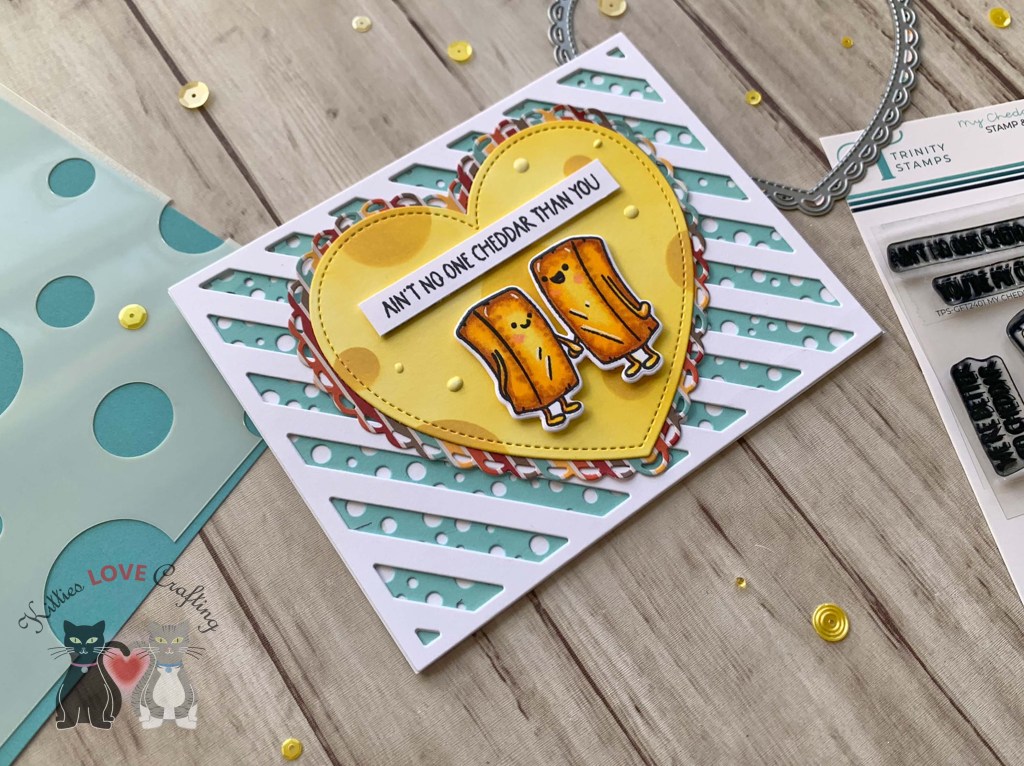
On the inside of the card, I cut a strip of pattern paper from Queen and Company Vintage Truck – Sweater Weather 6 x 6 Paper Pad (discontinued) to 1 x 5-1/2″ and added another cheddar couple.
Thanks for reading this post. I hope I’ve inspired you to give this cute cheddar card a try for yourself. Leave comments or questions below or feel free to email.
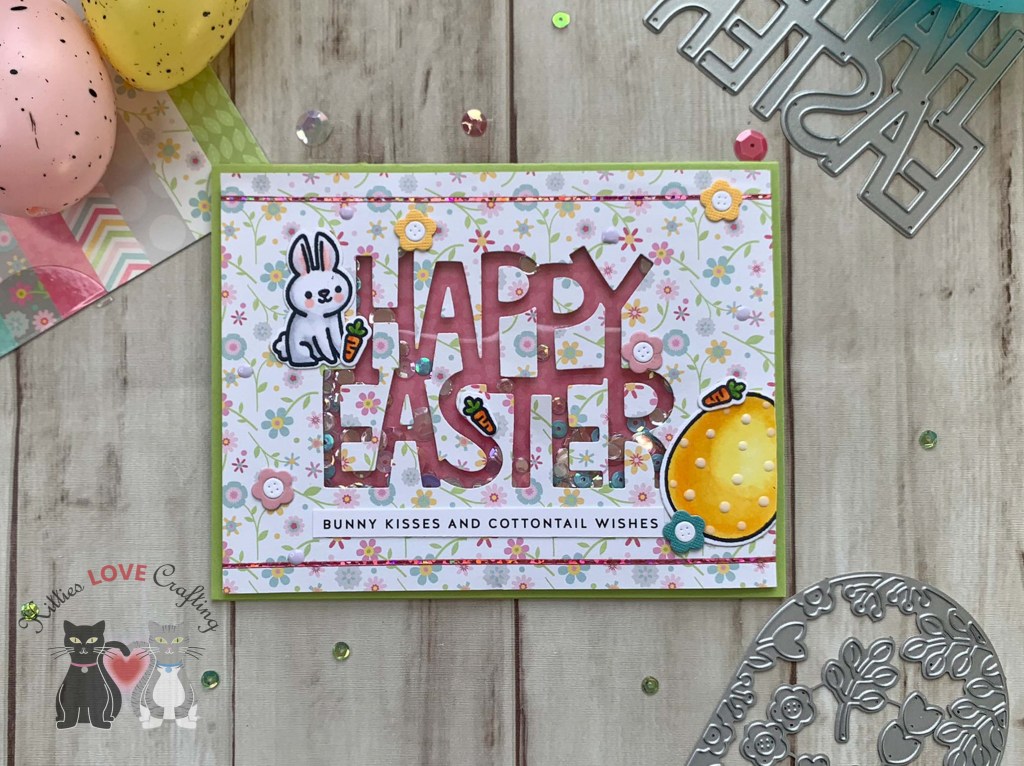
Hello friends. I made this cute Easter card using the Lawn Giant Happy Easter die and decided instead of being wasteful, I made 2 cards instead using the positive and negative of the die produces. These giant sentiment dies make great shakers and make an impact on your cards.
I stamped images from Lawn Fawn Eggstraordinary Easter onto Neenah 100lb Classic Crest Cardstock 8.5 X 11″ with Memento Tuxedo Ink. Then colored with Copic Markers. I used R20, C1 and the blender for the bunnies; YG25 & YG17 for the grasses; R81, R83, & R85, Y13 & Y15, BV13 & BV17 for the eggs; W3 & W7, C1 and Y13 for the brush; Y11, Y13 & Y15, E55, E57 & E27 for the paint bucket; YR14 & YR07, R81 & R83, Y13, and Y11 & Y15, B11 & B17, R83 for the butterflies; Y11, Y13 & Y15, YR07, and R20 for the chicks; and Y17, B00, B01, R81 & R85 for the flowers.
I turned the panel into a shaker by adding a piece of Acetate behind it and adding some 3M Foam Tape and sequins from my stash. I addedsome Love From Lizi Peel-offs in Pink Holographic.
Thanks for reading this post. I hope I’ve inspired you to give this cute Easter card a try for yourself. Leave comments or questions below or feel free to email.
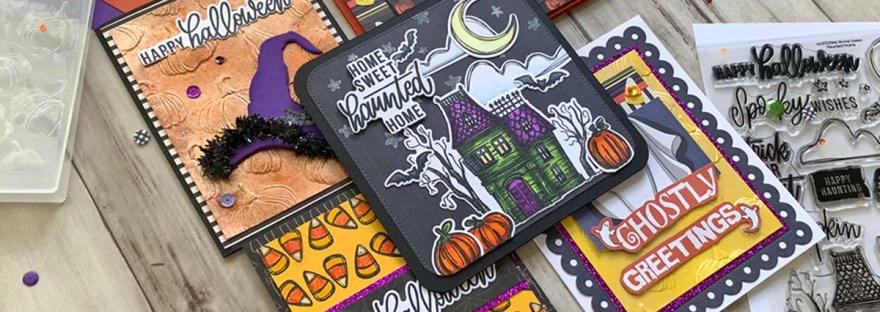
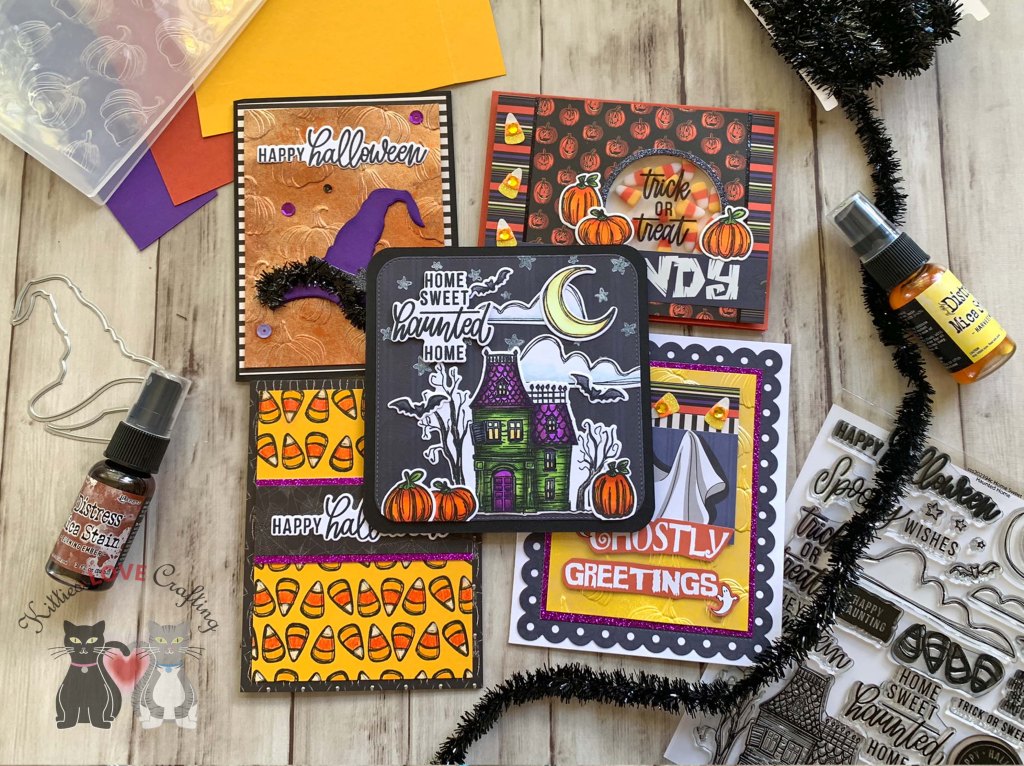
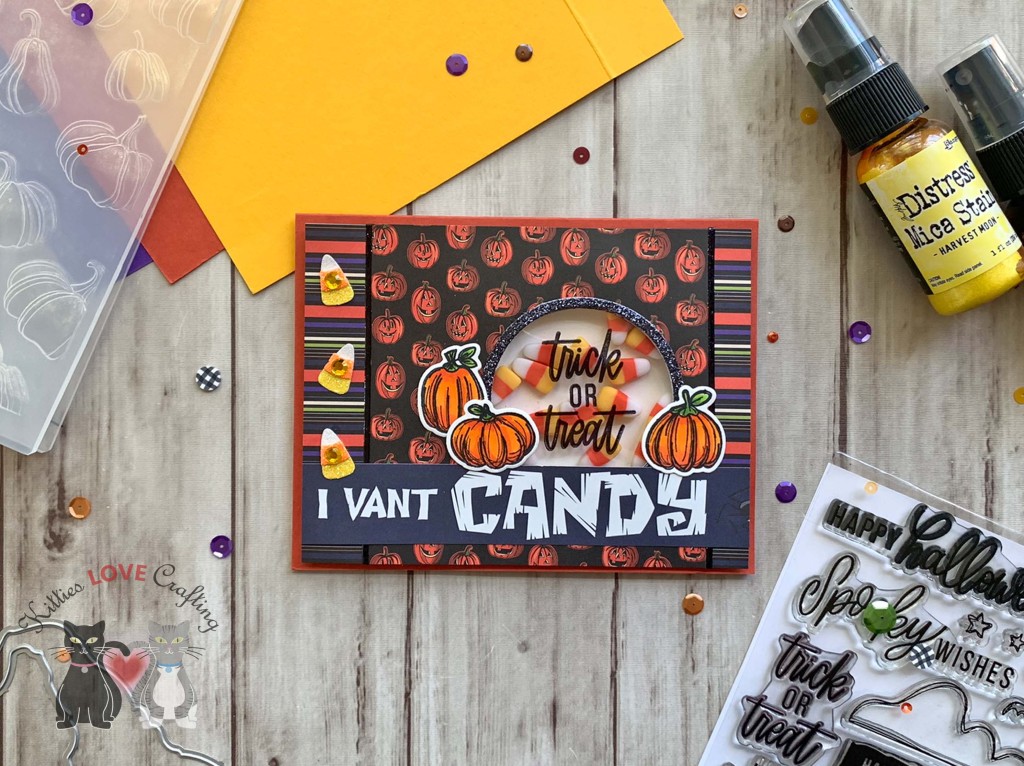
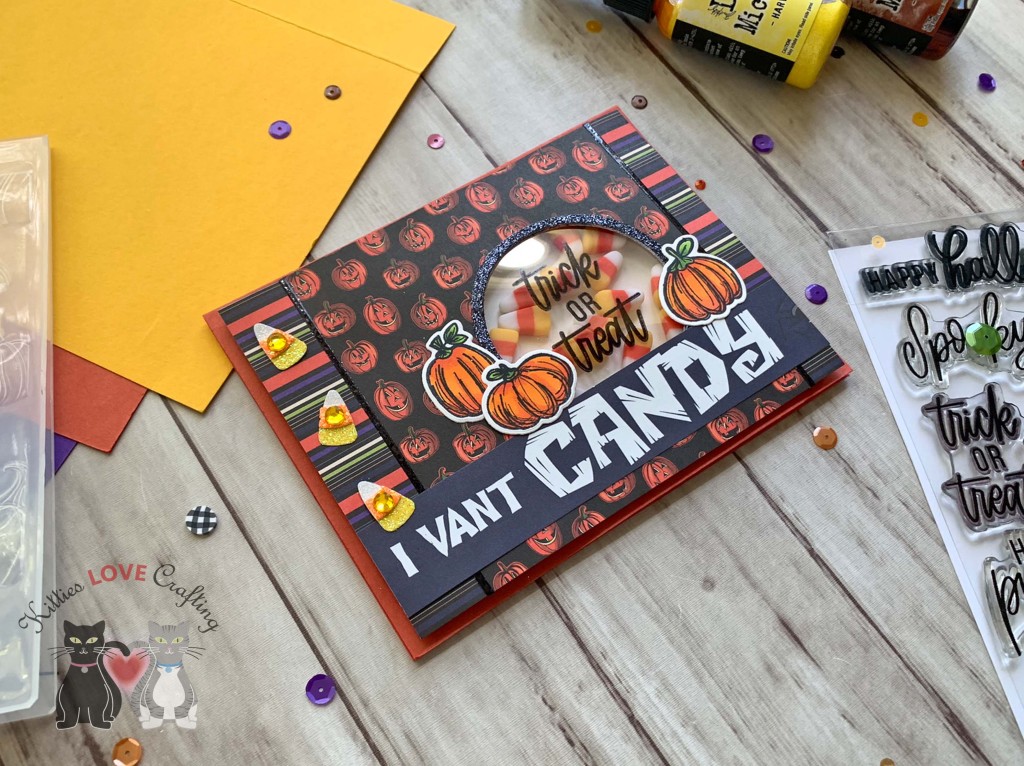
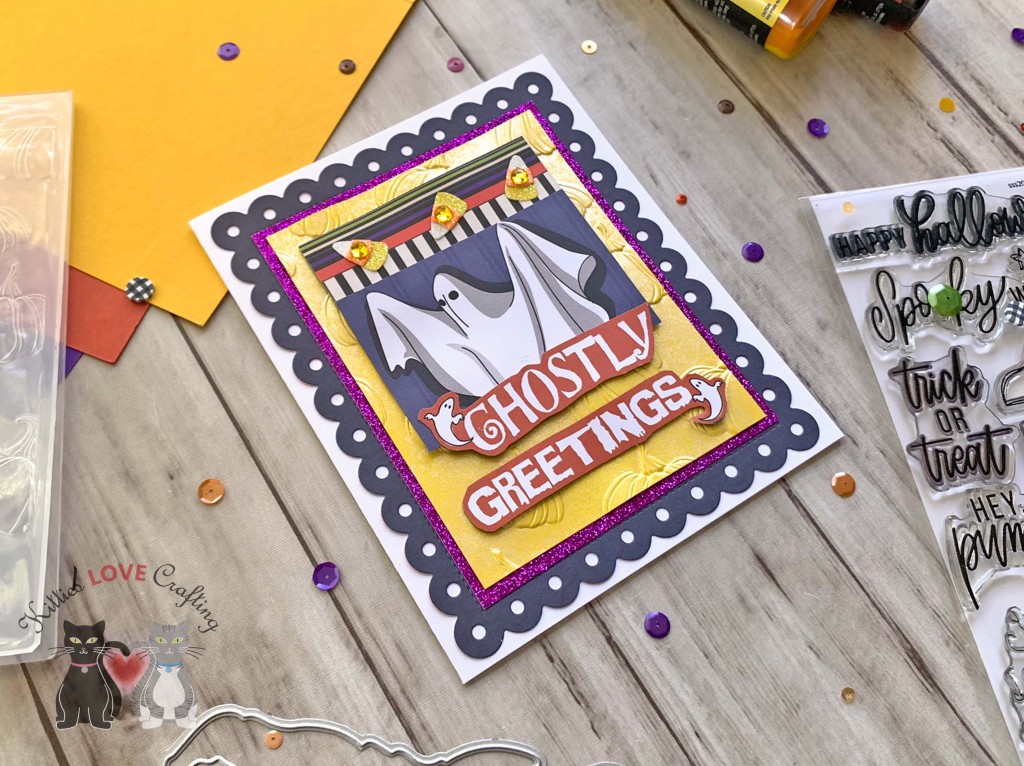
Limited Edition Simon Says Stamp Home Sweet Haunted Home Halloween Card Kit is full of tons of goodies to make cute Halloween cards and gift bags. While the kit is now sold out, you can buy most of the items in the kit seperately. The list below has all the links. Stay tuned for the next post featuring the gift bags!
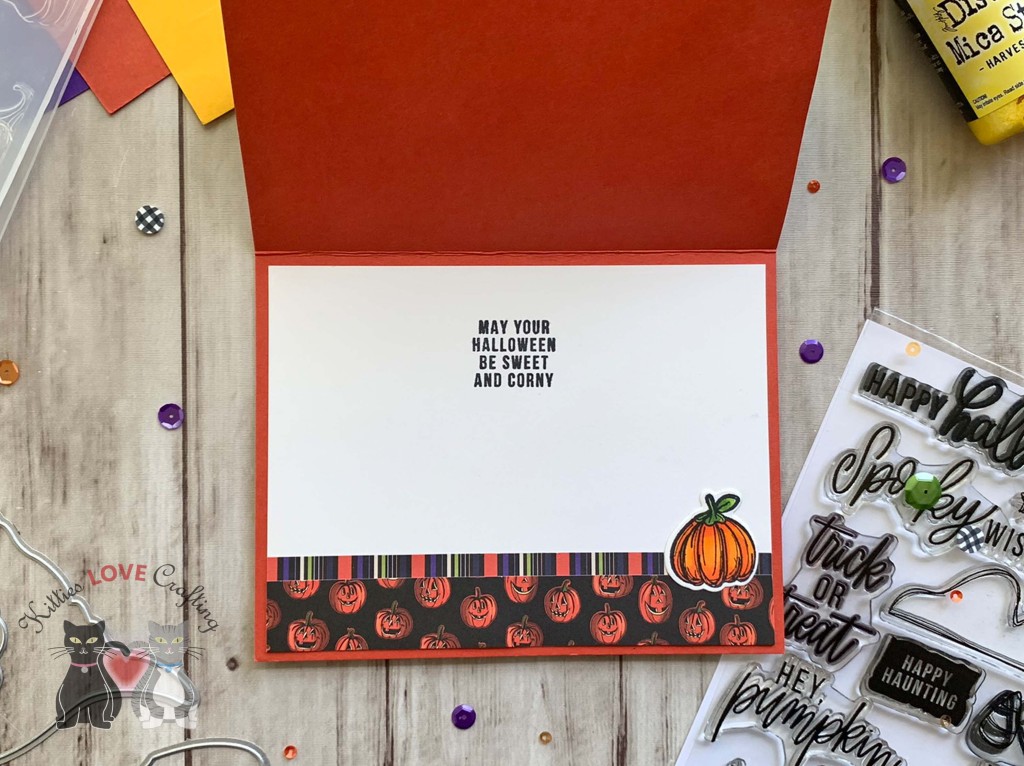
I cut a sentiment and image from the Carta Bella Hocus Pocus 6×6 inch paper pack cut apart pages as well as two strips measuring 1/2 x 3″ and 1 x 3″ to add to the top of the ghost panel.
Thanks for reading this post! I hope you enjoyed and I’ve inspired you to make these Halloween cards yourself! If you want to share you creations with me tag me on instagram @kittieslovecrafting. Leave comments or questions below or feel free to email me.
Hi friends. Here’s another adorable scene card using the Pumpkin House Die from Lawn Fawn. It’s such a fun die set. There are so many occasions for which it can be used, Maybe a winter pumpkin?? Christmas??
I masked off the moon by punching out a 1-1/4″ circle from post it paper. I used Tim Holtz Seedless Preserves, Villainous Potion, and Chipped Sapphire Distress Oxide Inks. Then removed the mask and added Scattered Straw Distress Oxide Ink around the moon which blended with the sky colors and created a cool spooky effect. This was totally unplanned but worked out in my favor. I also sprayed water on the panel to further distress it.
Thanks for reading this post! I hope you enjoyed and I’ve inspired you to make this Halloween scene card yourself! If you want to share you creations with me tag me on instagram @kittieslovecrafting. Leave comments or questions below or feel free to email me.
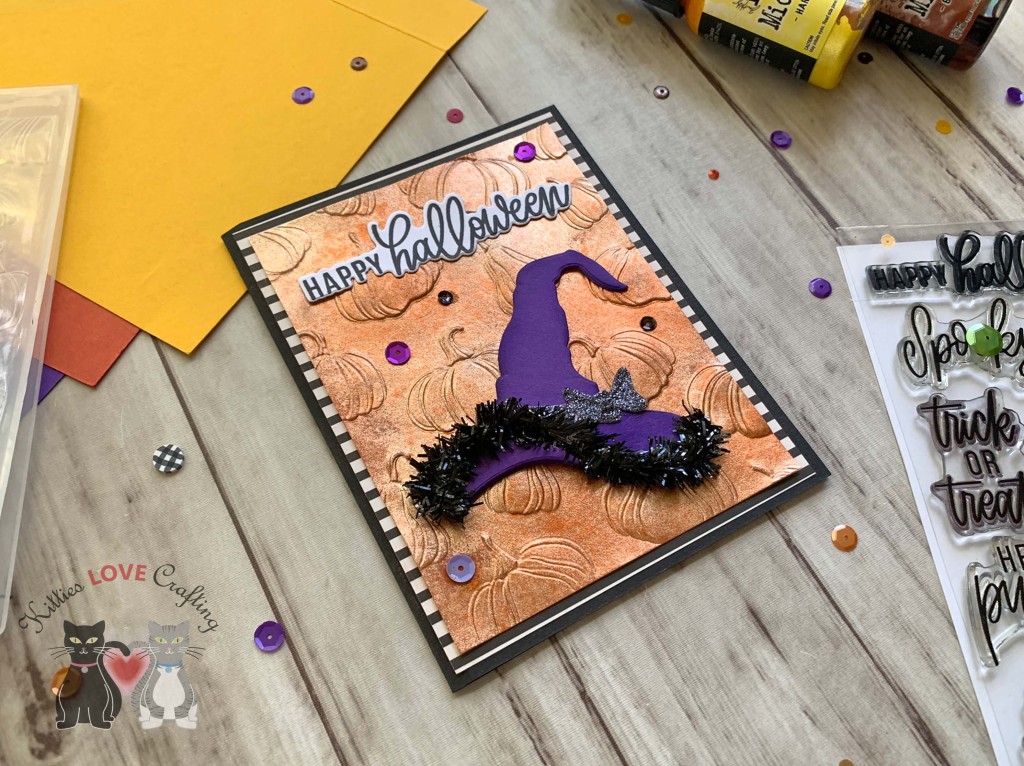
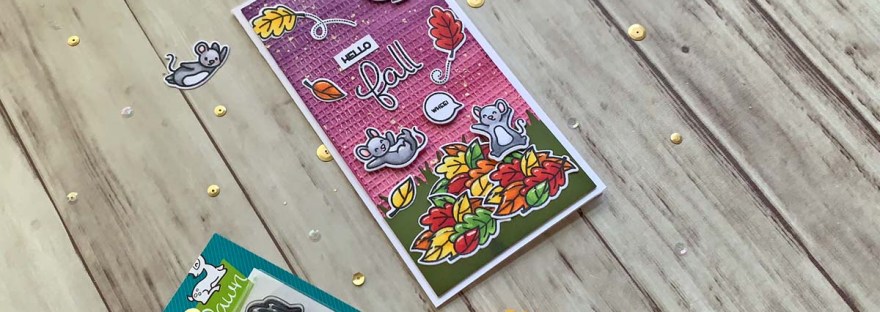
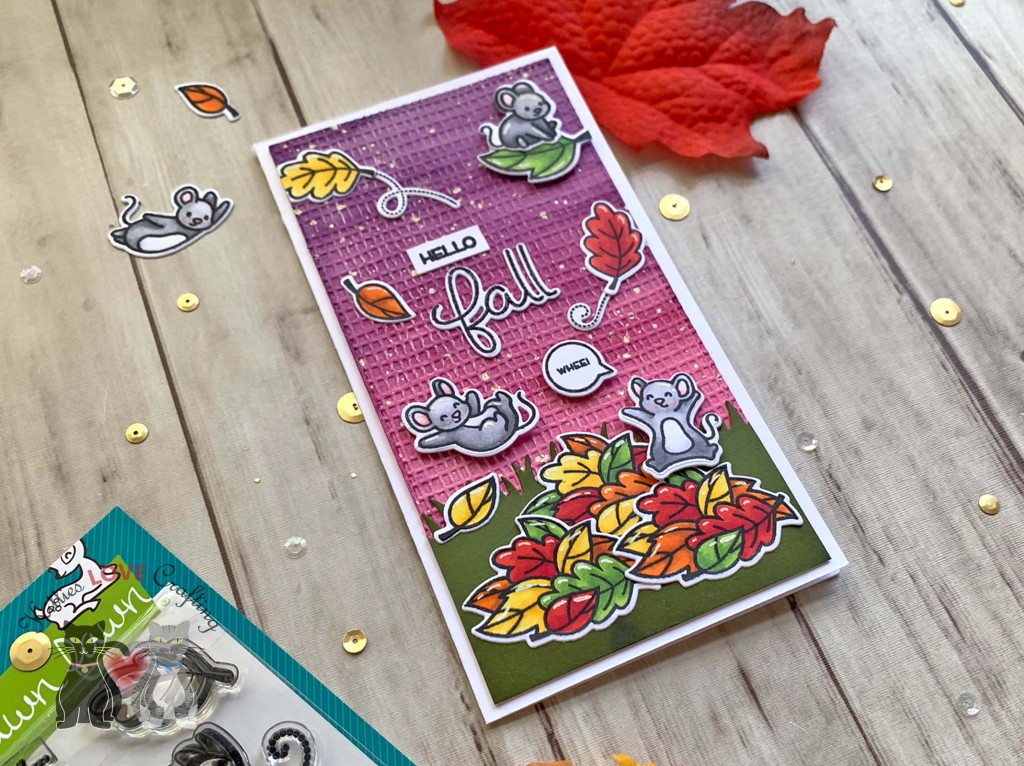
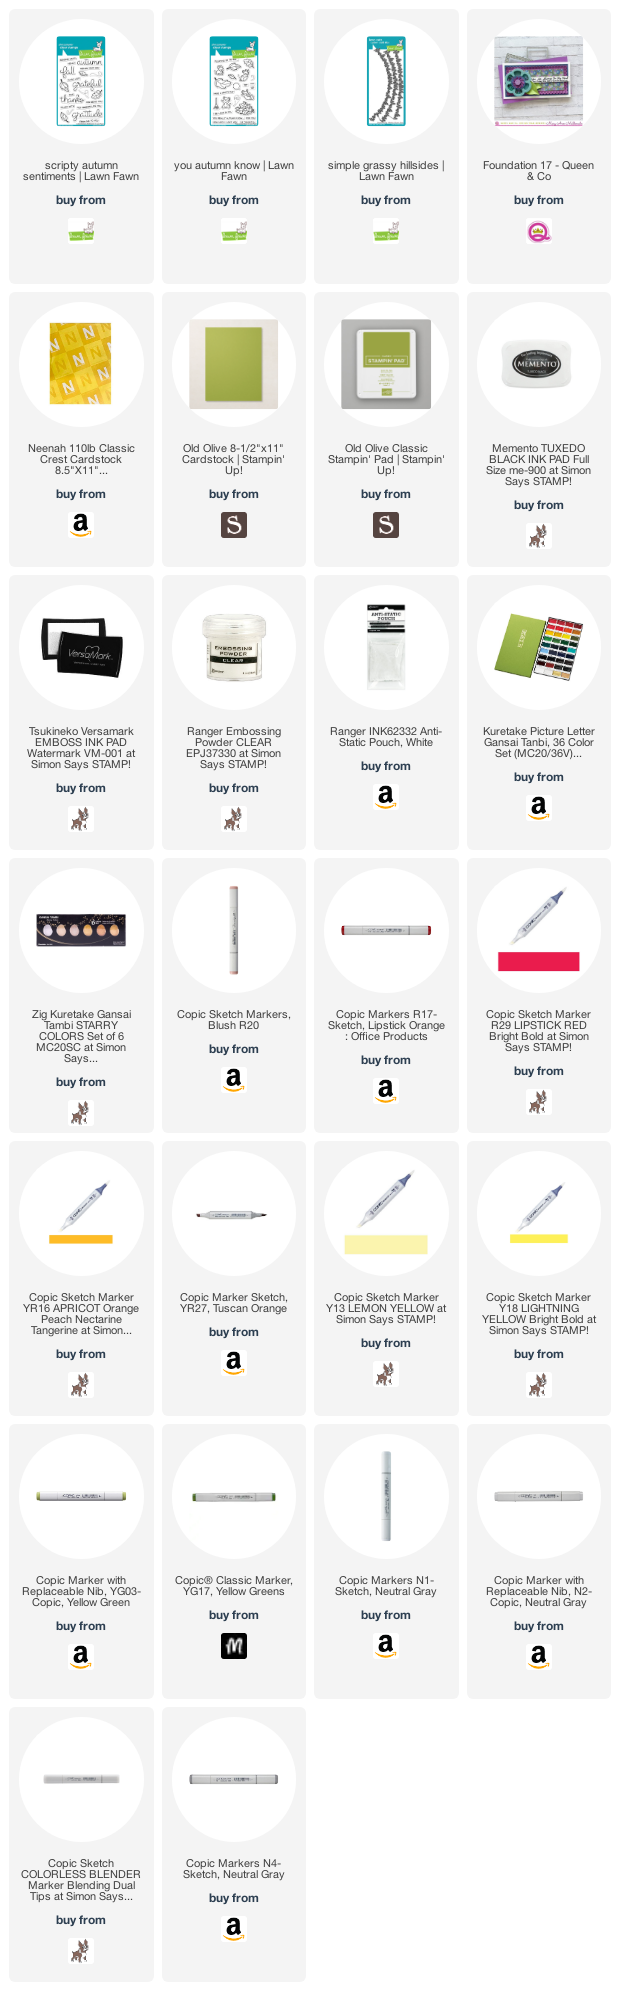
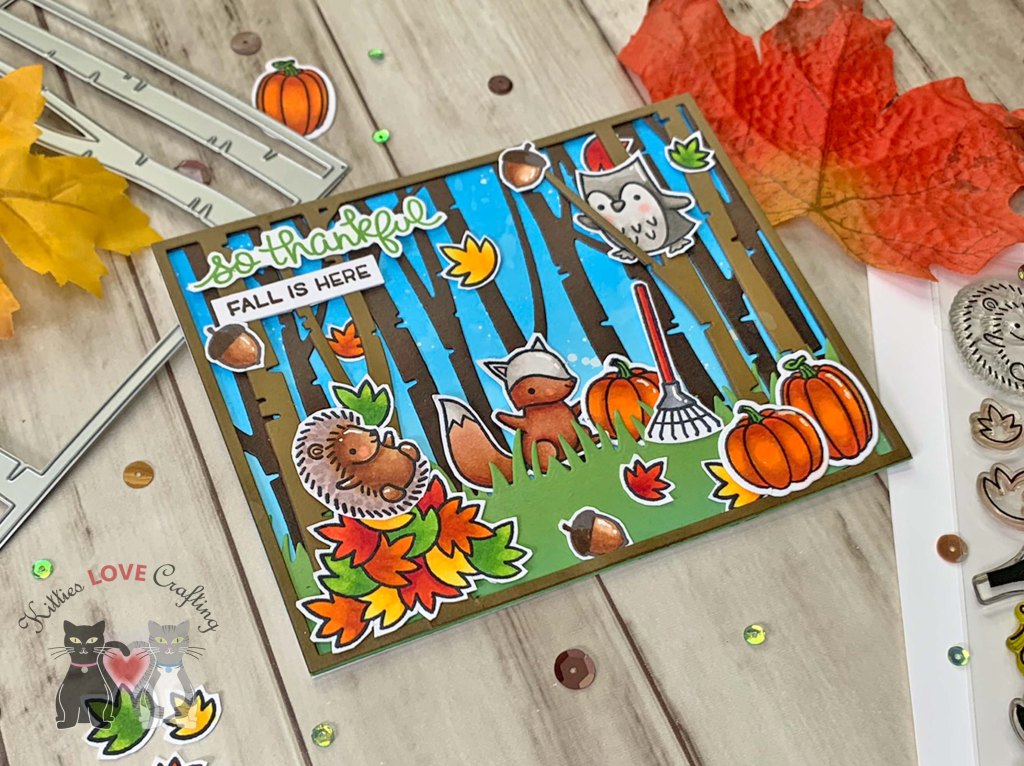
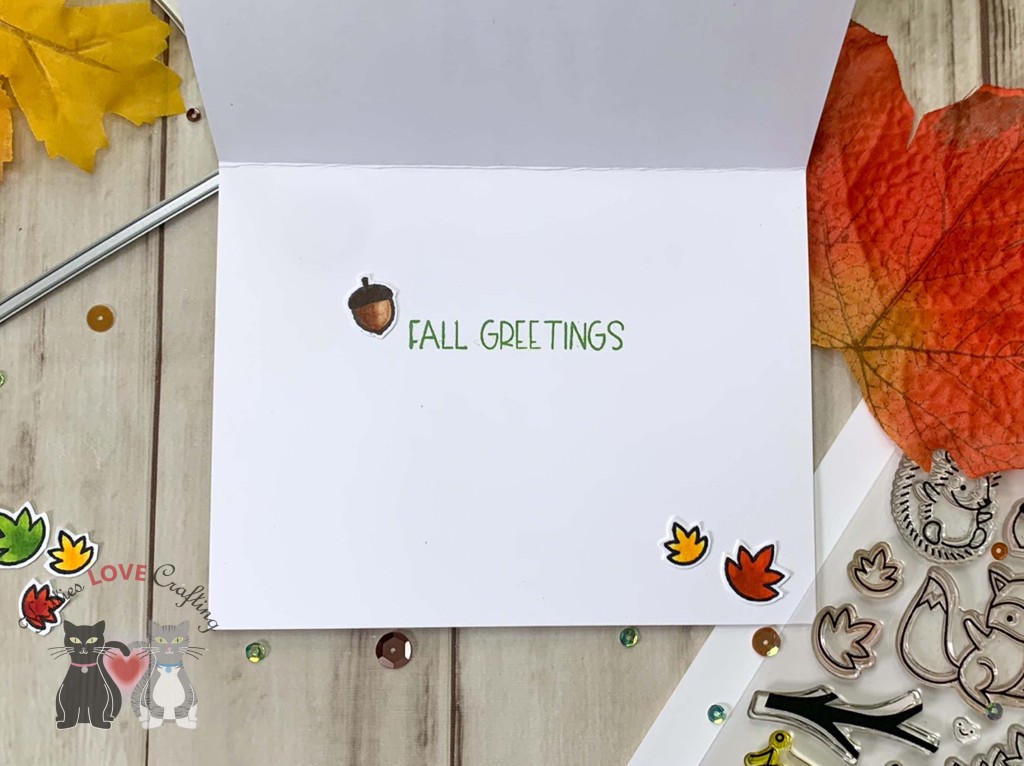
Hi friends. The little mice in the Lawn Fawn You Autumn Know Stampset are so stinking cute that I just had to make this mini slimline card and added some texture to the background by using an older Crafters Companion Embossing Folder.
Thanks for reading this post! I hope you enjoyed and I’ve inspired you to make this cute mini slimline card yourself! If you want to share you creations with me tag me on instagram @kittieslovecrafting. Leave comments or questions below or feel free to email me.
I used YR16, YR27 & YR09, YG25 & YG17 for the pumpkins; R17, R26, & R05, Y17 & Y18, YR09, YR13, YR16 & YR27 for the leaves; E0000, E34 & E37 for the acorns; E70, E74, E34 , E37 & R20 for the porcupine; , W0, W1, W3, W5 & W7, R20 for the owl; E13, E99, E09, E37, R20, W0 & W3 for the squirrel; N2, N4, N5, R05, R17 & R46 for the rake and die cut with the coordinating dies.
Thanks for reading this post! I hope you enjoyed and I’ve inspired you to make this cute critter card yourself! If you want to share you creations with me tag me on instagram @kittieslovecrafting. Leave comments or questions below or feel free to email me.
Hi friends. I’m starting off my Fall card lineup with a cute scene card. This Pumpkin House Die from Lawn Fawn gives me very cinderella vibes, especially when paired with the cute mice from Lawn Fawn You Autumn Know Stampset.
I die cut all the necessary images from the Lawn Fawn Pumpkin House Die from Neenah 110lb Classic Crest Cardstock and colored with Copic Markers. I used YR04, YR27 & YR18 for the pumpkin, YG25, G07 & G09 for the stems and leaves; RV55 & RV66 for the door; W5 & W7 for the door and window frame; Y13, Y18 & Y17 for the window, door and lantern backgrounds; W3, W5 & W7 for the stone steps; W5 & W7 for the lantern; W3 & W5 for the window boxes, R17 & R46,Y02 & Y18, RV63 & RV19 & YG25 for the flowers.
Thanks for reading this post! I hope you enjoyed and I’ve inspired you to make this Autumn scene card yourself! If you want to share you creations with me tag me on instagram @kittieslovecrafting. Leave comments or questions below or feel free to email me.
Hi friends. Mother’s Day is fast approaching and if you need a card and don’t love to stamp and color images, this one is for you! I only used dies and inks to create this card.
Thanks for reading this post! I hope you enjoyed and I’ve inspired you to make this Mother’s Day Card yourself! If you want to share you creations with me tag me on instagram @kittieslovecrafting. Leave comments or questions below or feel free to email me.
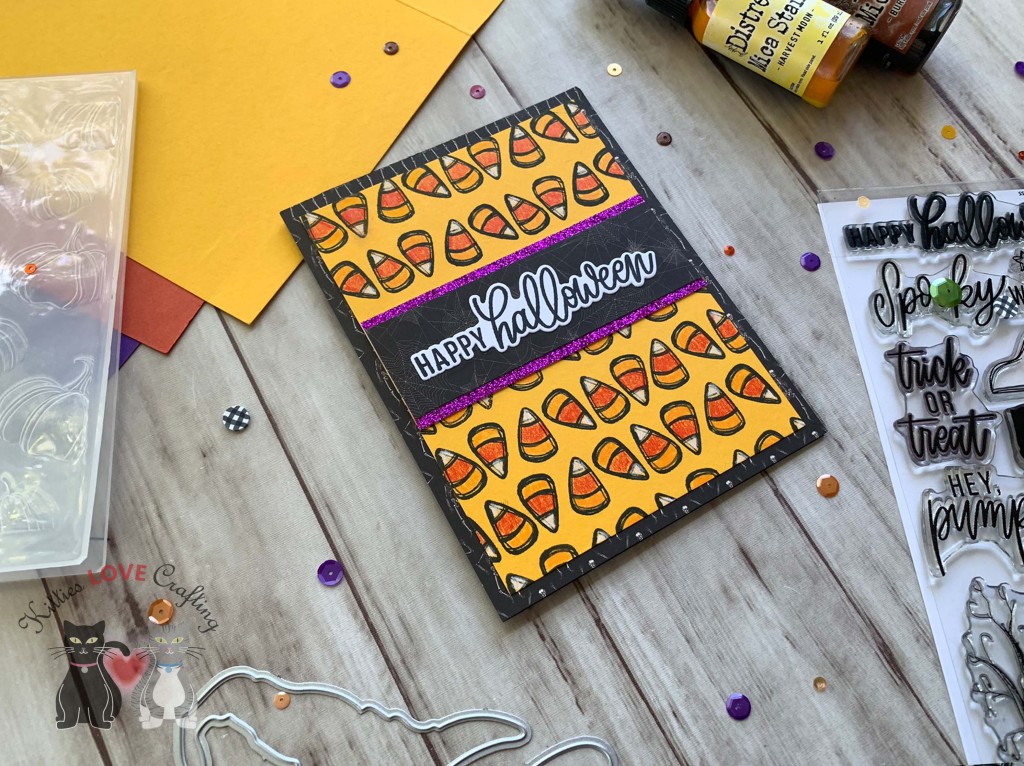
Hi friends. I’m back after some unplanned time off!It’s great to be creating again. I’m cutting it close but let’s start with a cute Halloween card. This stampset from Pretty Pink Posh, Halloween Wreath is so cute! I love all the fun images. They are easy to color with markers, pencils etc or leave them uncolored. You can also make a wreath from the singular images instead of using the wreath image.
Thanks for reading this post. I hope you enjoyed and I’ve inspired you to give this sweet and easy Halloween card a try for yourself. Leave comments or questions below or feel free to email me.


 https://linkdeli.com/widget.js?id=f5e8378456858c916708