Hello friends. I am loving all the new Trinity Stamps yummy donut dies and stamps! It’s so easy to make cards with these dies, I just had to make more… For this one I had to CASE a card from Carrie Rhoades (from the Trinity Stamps Creative Team), featuring the Tiny Teacup and Tiny Donut Die Sets. It is a super cute card!

For this card, I cut a piece of Neenah 100lb Classic Crest Cardstock 8.5 X 11″ to 5-1/2 x 8-1/2″ and scored at 4-1/4″ to create a card base, another piece to 4 x 5-1/4. I colored the panel with Catherine Pooler Designs Hot Tub and Skylight inks. Then I added splatters with Hot Tub, Skylight and S’mores inks. I cut another piece of Neenah 100lb Classic Crest Cardstock 8.5 X 11″ to 1-1/4 x 4″ and embossed it using the Queen and Company Embossing Folder from the Embossing Folder Bundle (discontinued).
I die cut the teacup and donuts using the Tiny Teacup Die Set and Tiny Donut Dipper Die Set from Simple Stories Sweet Talk 12 x 12 Paper (discontinued), Lawn Fawn Kraft 8-1/2 x 11″ Cardstock, Stampin’ Up! Cherry Cobbler 8-1/2″ X 11″ Cardstock, Bazill Strawberry Cheesecake 12 x 12 Cardstock (discontinued), and Stampin’ Up! Early Espresso 8-1/2 x 11″ Cardstock.
I stamped the sentiment from the A-GLAZE-ing 4×8 Stamp Set onto Stampin’ Up! Cherry Cobbler 8-1/2″ X 11″ Cardstock with Lawn Fawn YETI Pigment Ink and WOW Opaque Bright White Super Fine Embossing Powder. I popped it up by using 3M Foam Tape.

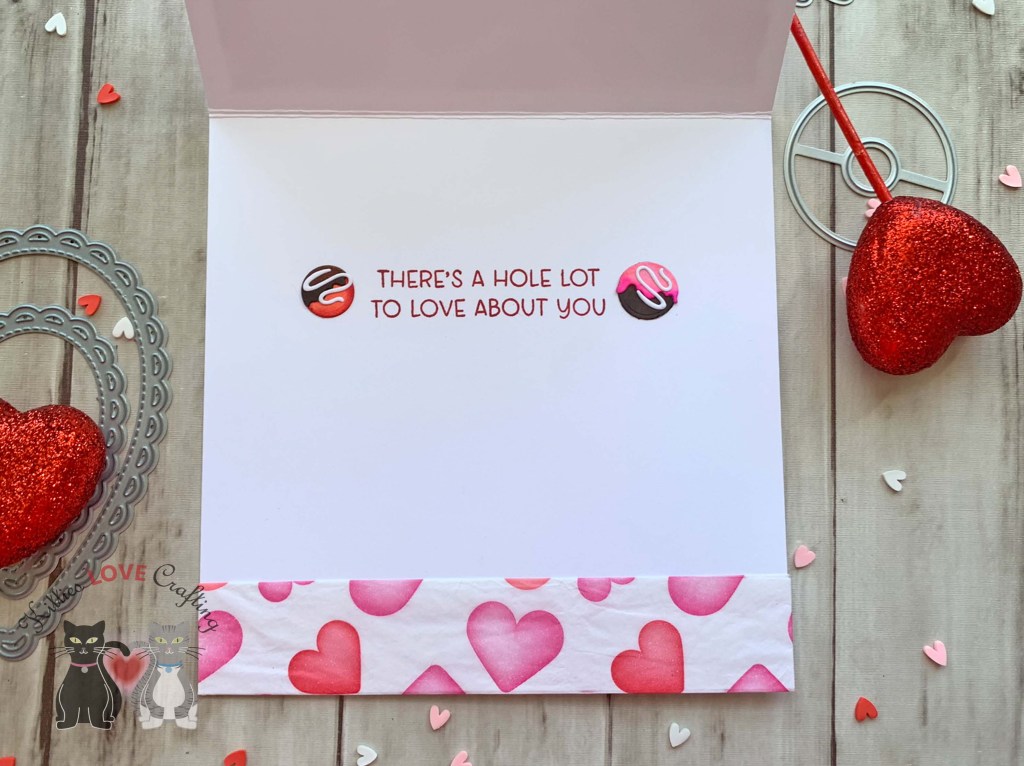
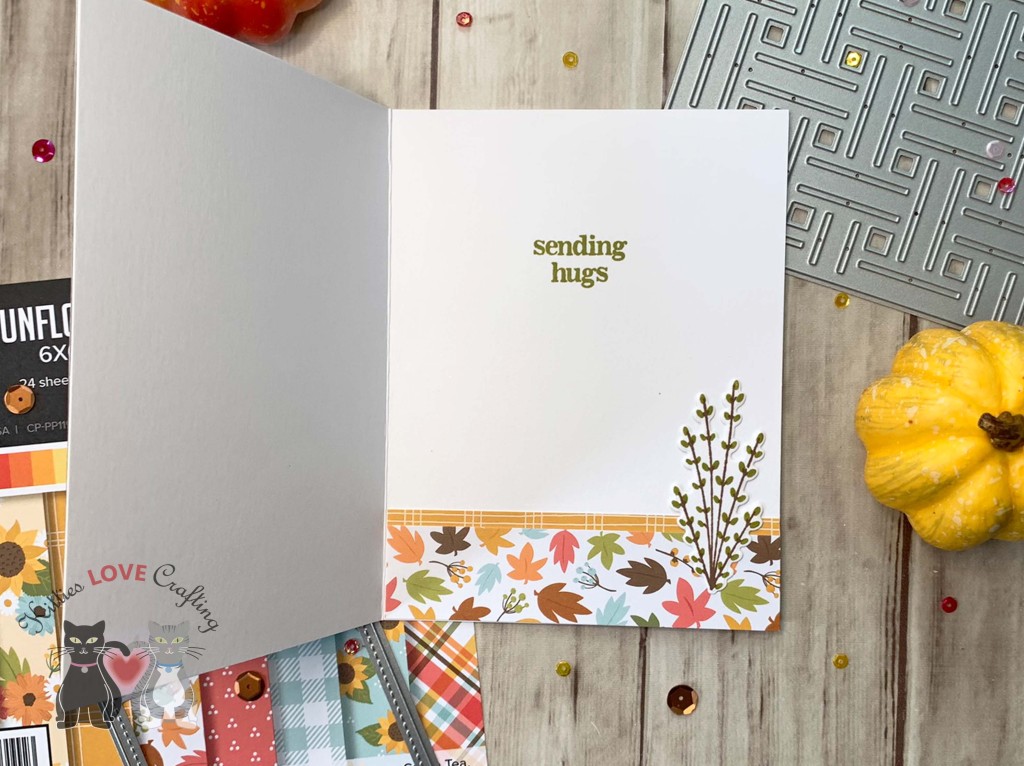
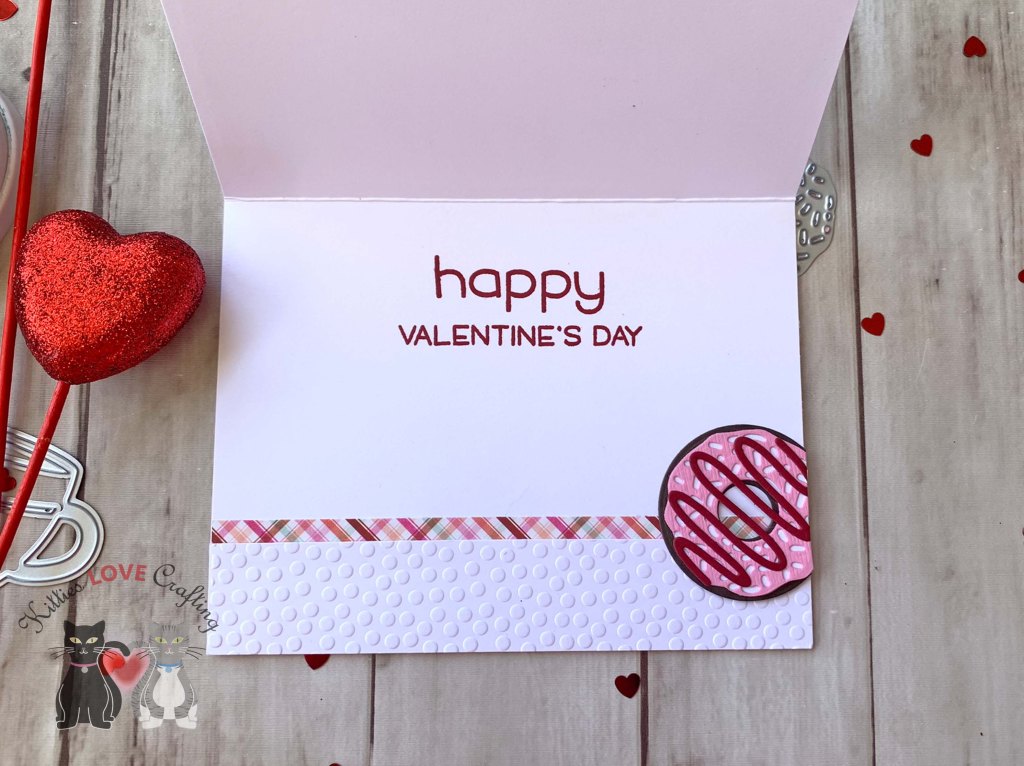
On the inside of the card, I added a strip of embossed Neenah 100lb Classic Crest Cardstock 8.5 X 11″ cut to 1 x 5-1/2″ as well as a piece of pattern paper cut to 1-1/2 x 5-1/2″. I stamped a sentiment from Lawn Fawn’s Happy Happy Happy Add-On with Stampin’ Up! Cherry Cobbler Ink (retired). I also added another donut.
Dimensions
- Card Base = 5-1/2 x 8-1/2″ and scored at 4-1/4″ Neenah 100lb Classic Crest Cardstock 8.5 X 11″
- Top Panel = 4 x 5-1/4; 1-1/4 x 4″; 4-3/4 x 4-3/4″ Neenah 100lb Classic Crest Cardstock 8.5 X 11″
- Inside Strip = 1 x 5-1/2″ Neenah 100lb Classic Crest Cardstock 8.5 X 11″; 1-1/2 x 5-1/2″ Simple Stories Sweet Talk 12 x 12 Paper (discontinued)
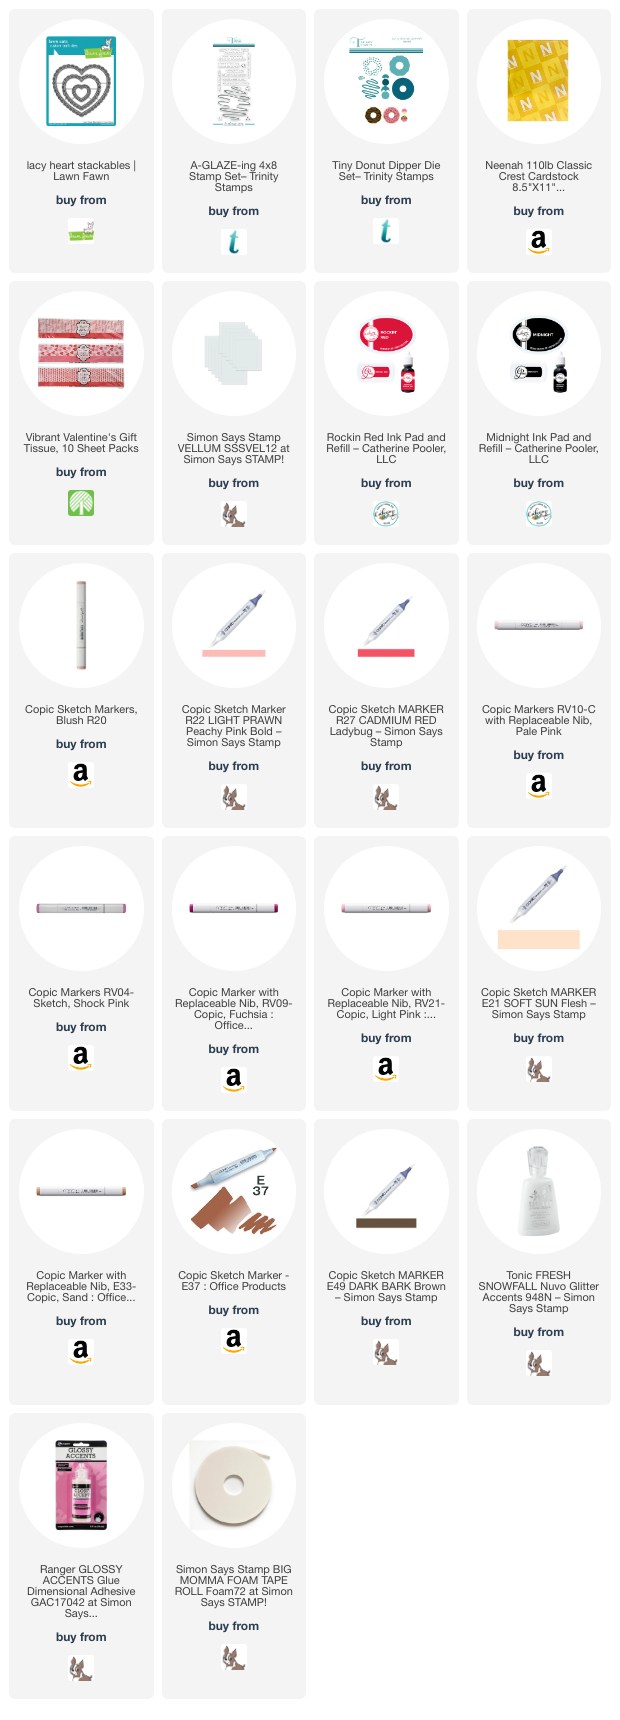
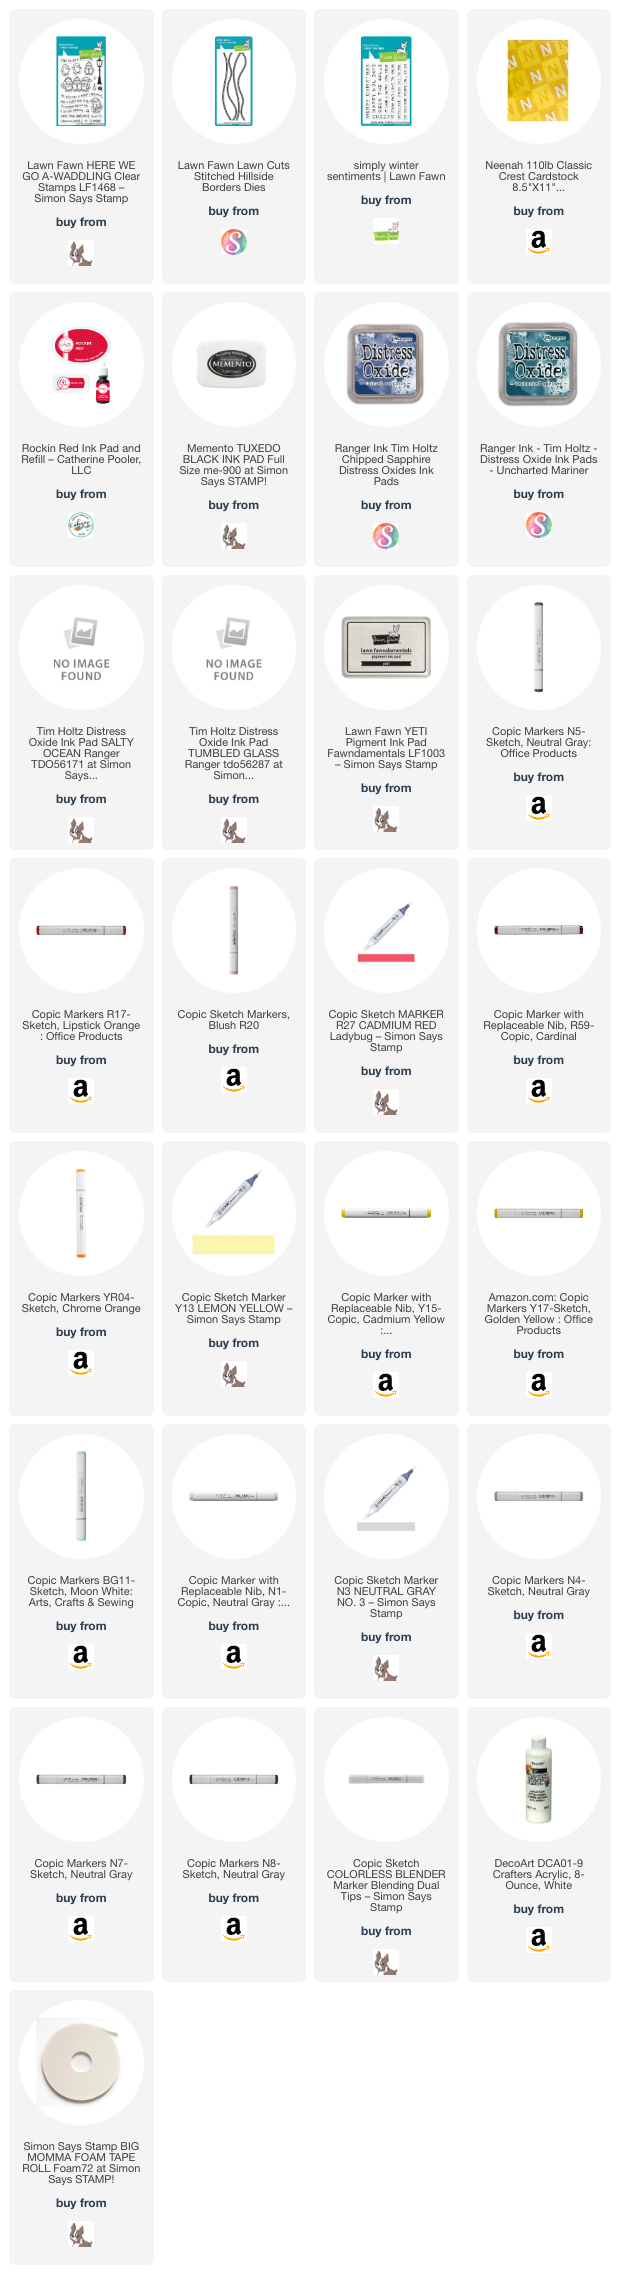
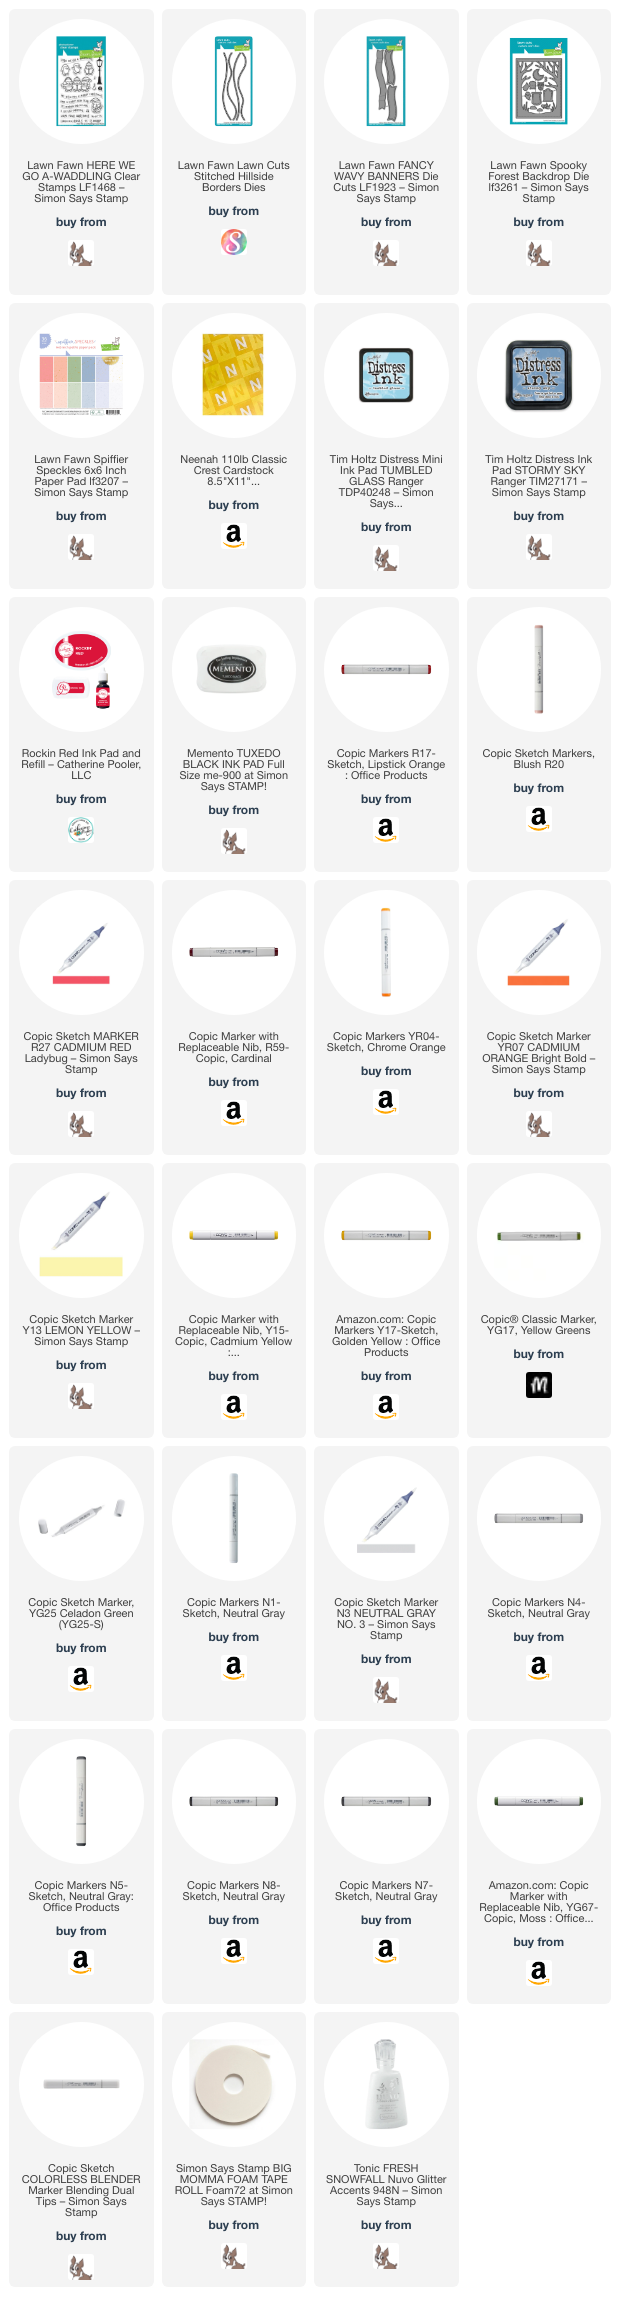
Supplies
 https://linkdeli.com/widget.js?id=f5e8378456858c916708
Thanks for reading this post. I hope I’ve inspired you to give this cute Valentine’s Day card a try for yourself. Leave comments or questions below or feel free to email.