Hello friends. This cute gnome Christmas card features the cute little gnome from the Trinity Stamps Springtime Gnome dieset.
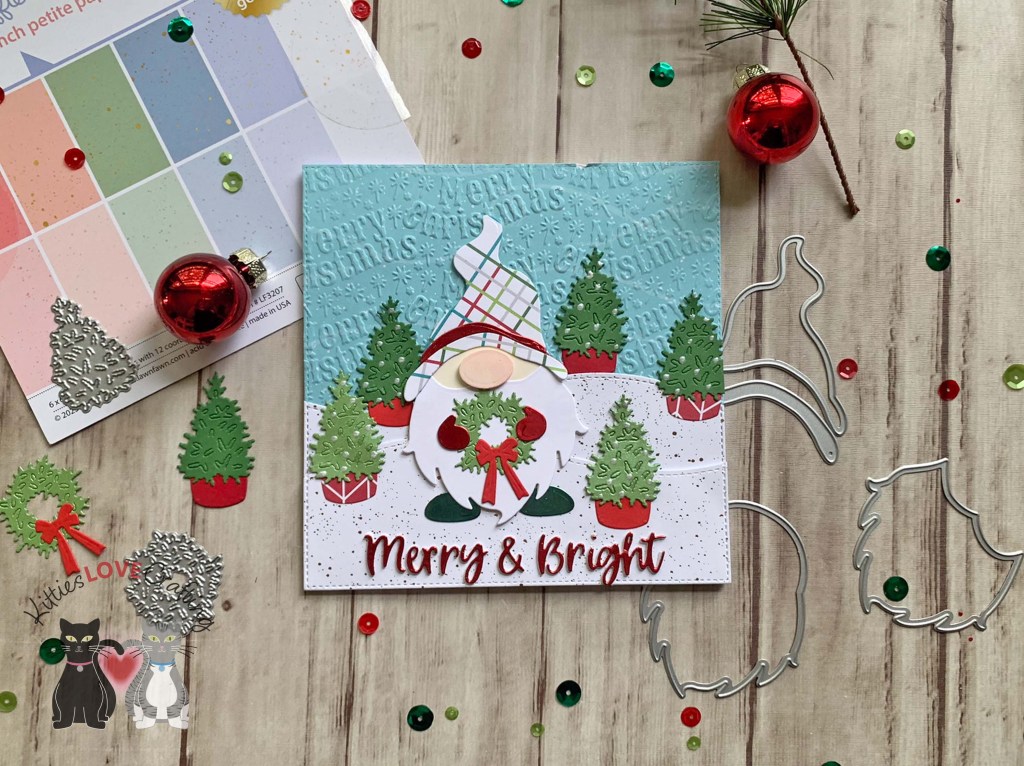
For this card, I cut a piece of Neenah 100lb Classic Crest Cardstock 8.5 X 11″ to 5-1/2 x 11″ and scored at 5-1/2″ to create a square card base, a piece of pattern paper from my stash for the background which I die cut using the Queen & Company Foundation 16. I embossed the panel using the Embossalicious Christmas Merriment Embossing Folder (discontinued) to add some texture.
I die cut the hillsides from Lawn Fawn Spiffier Speckles 6×6 Inch Paper using the Lawn Fawn Stitched Hillside Borders and Queen & Company Foundation 16 and used Foam Tape to pop up the front hillside.
I die cut the gnome using the Trinity Stamps Springtime Gnome. I used Stampin’ Up! Very Vanilla 8-1/2″ X 11″ Cardstock for the face and nose (I also used some Spun Sugar Distress Ink to color them), Neenah 100lb Classic Crest Cardstock 8.5 X 11″ for his beard, Reverse Confetti Very Merry 6 x 6 Paper (discontinued) for his hat, Tim Holtz Metallic Idea-ology 8 x 8 Metallic Jewels Kraft Stock Paper for his hat band, hands and feet.

I die cut the wreath and trees using the Scrappy Tails German and American Christmas House Add-On Metal Craft Die. I used Crafters Companion Shimmering Cardstock 8 x 8 Green Envy (discontinued) and Garden Green 8-1/2″ X 11″ Cardstock for the trees and Stampin’ Up! Poppy Parade 8-1/2″ X 11″ Cardstock, Stampin’ Up! Real Red 8-1/2″ X 11″ Cardstock, and Reverse Confetti Very Merry 6 x 6 Paper (discontinued) for the bases.
I die cut the sentiment 1x from Tim Holtz Metallic Idea-ology 8 x 8 Metallic Jewels Kraft Stock Paper and 2x from Neenah 100lb Classic Crest Cardstock 8.5 X 11″ using the Queen & Company Sentiment Stacker Dies #1 (discontinued). I finished off the card by adding some Tonic IVORY SEASHELL Nuvo Crystal Drops to the trees.
On the inside of the card, I added a strip of pattern paper from Reverse Confetti Very Merry 6 x 6 Paper (discontinued) cut to 1 x 5-1/2″ and a piece of Tim Holtz Metallic Idea-ology 8 x 8 Metallic Jewels Kraft Stock Paper cut to 1-1/4 x 5-1/2″.

Dimensions
- Card Base = 5-1/2 x 11″ and scored at 5-1/2″ Neenah 100lb Classic Crest Cardstock 8.5 X 11″
- Inside Strip = 1 x 5-1/2″ Reverse Confetti Very Merry 6 x 6 Paper (discontinued); 1-1/4 x 5-1/2″ Tim Holtz Metallic Idea-ology 8 x 8 Metallic Jewels Kraft Stock Paper
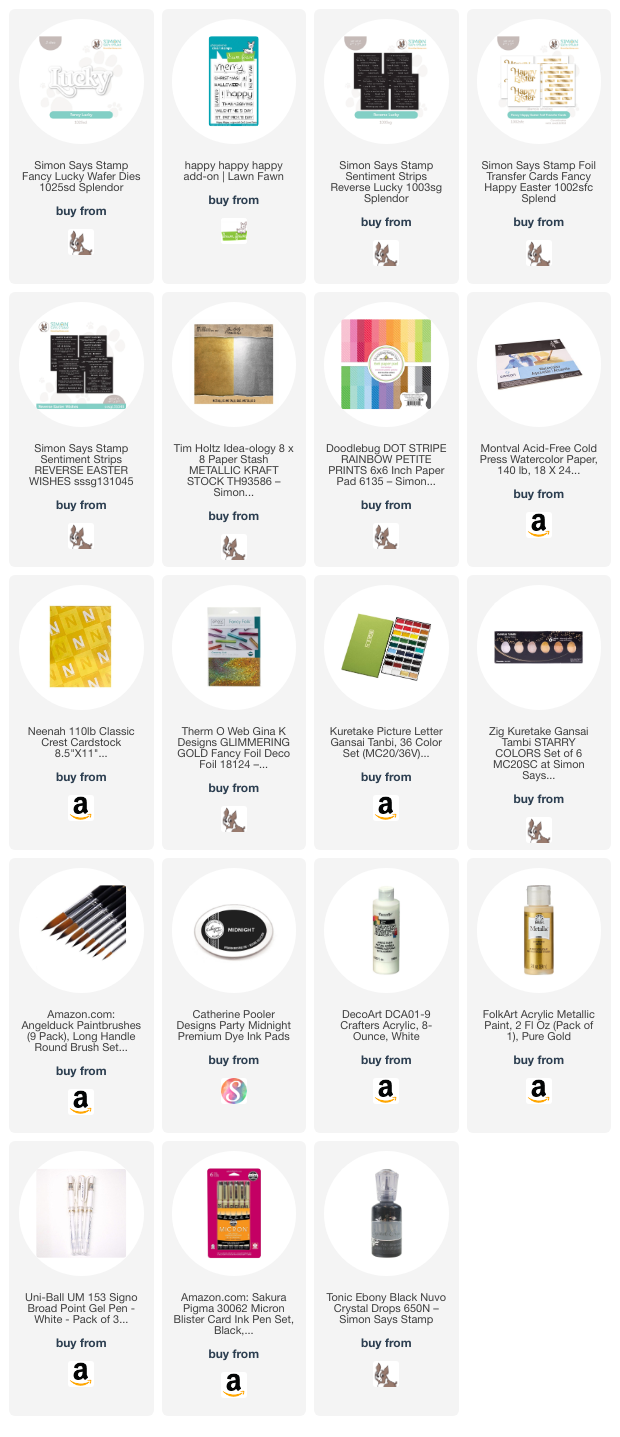
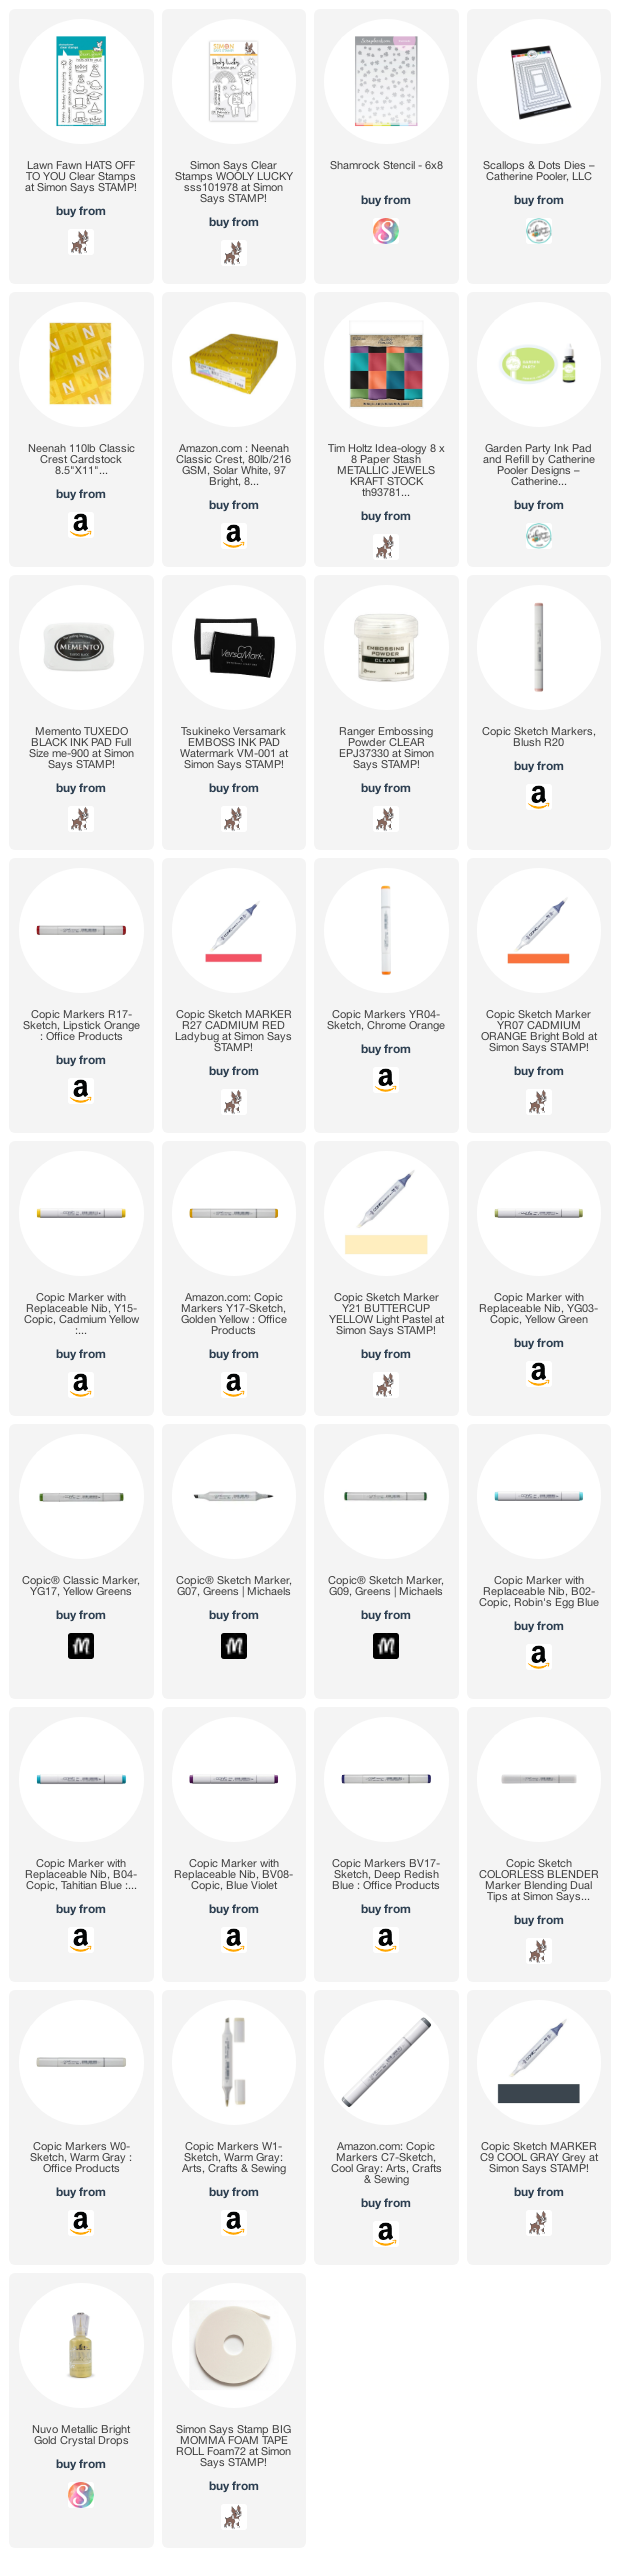
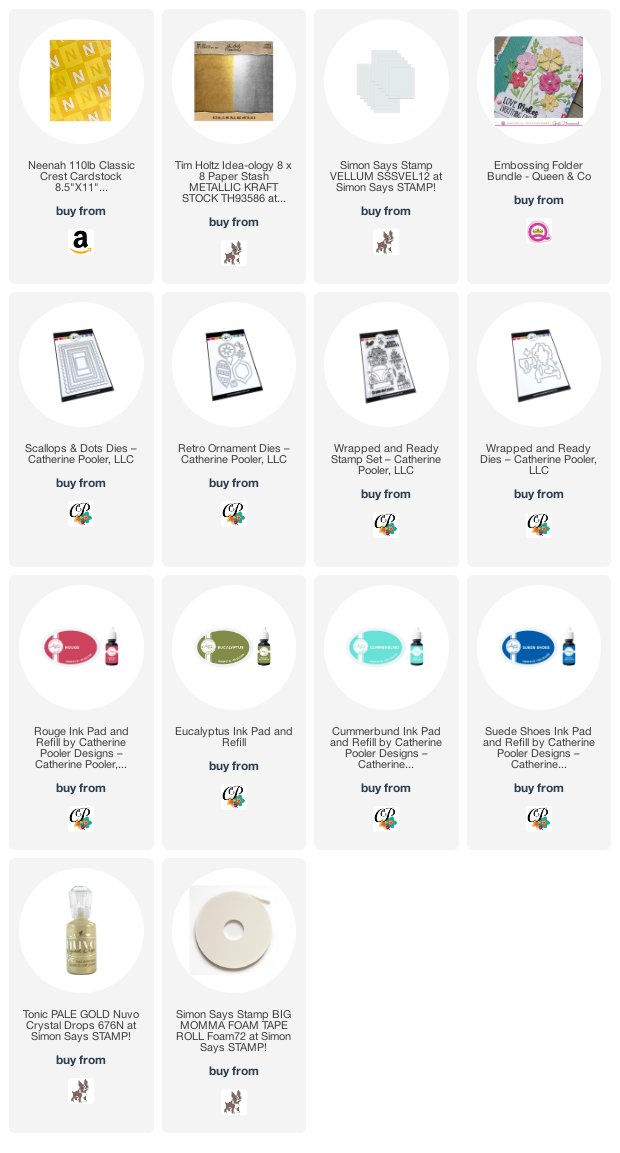
Supplies
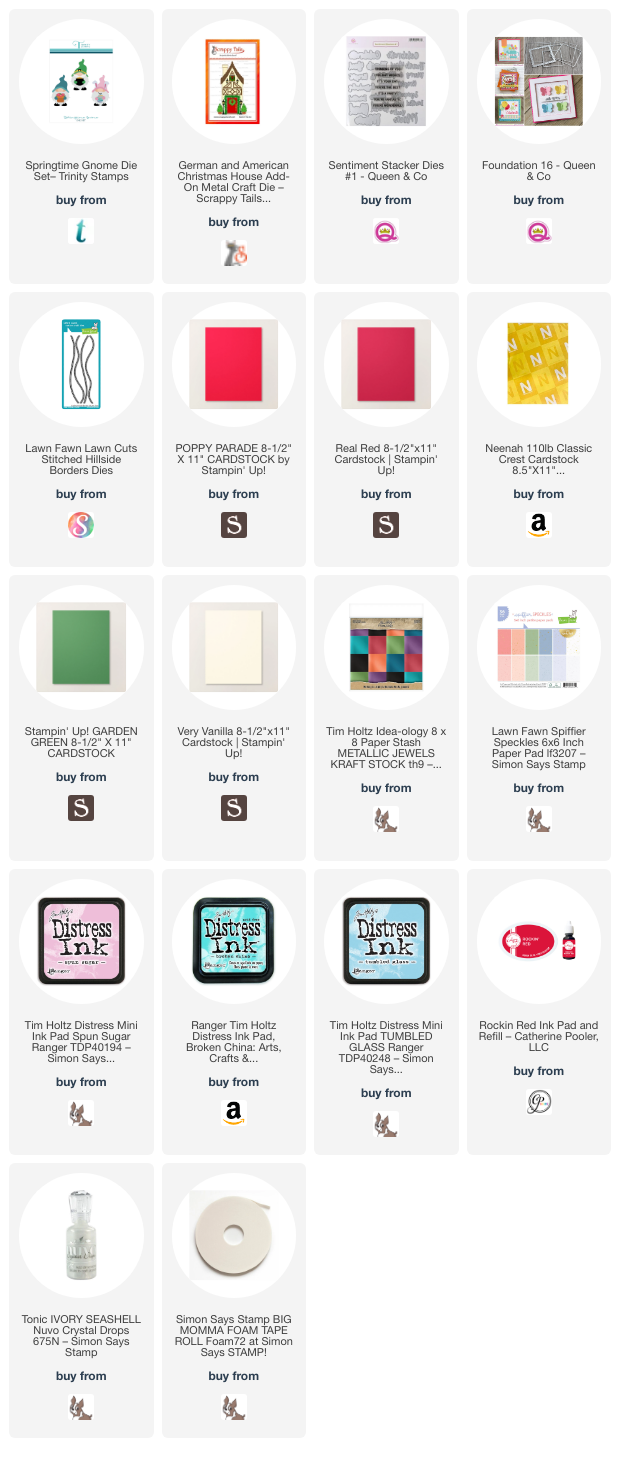 https://linkdeli.com/widget.js?id=f5e8378456858c916708
Thanks for reading this post. I hope I’ve inspired you to give this cute gnome Christmas card a try for yourself. Leave comments or questions below or feel free to email.