Cards, Love & Friendship, Stenciled Background, Valentine's Day

Create a Stenciled Background Using A Die featuring Trinity Stamps

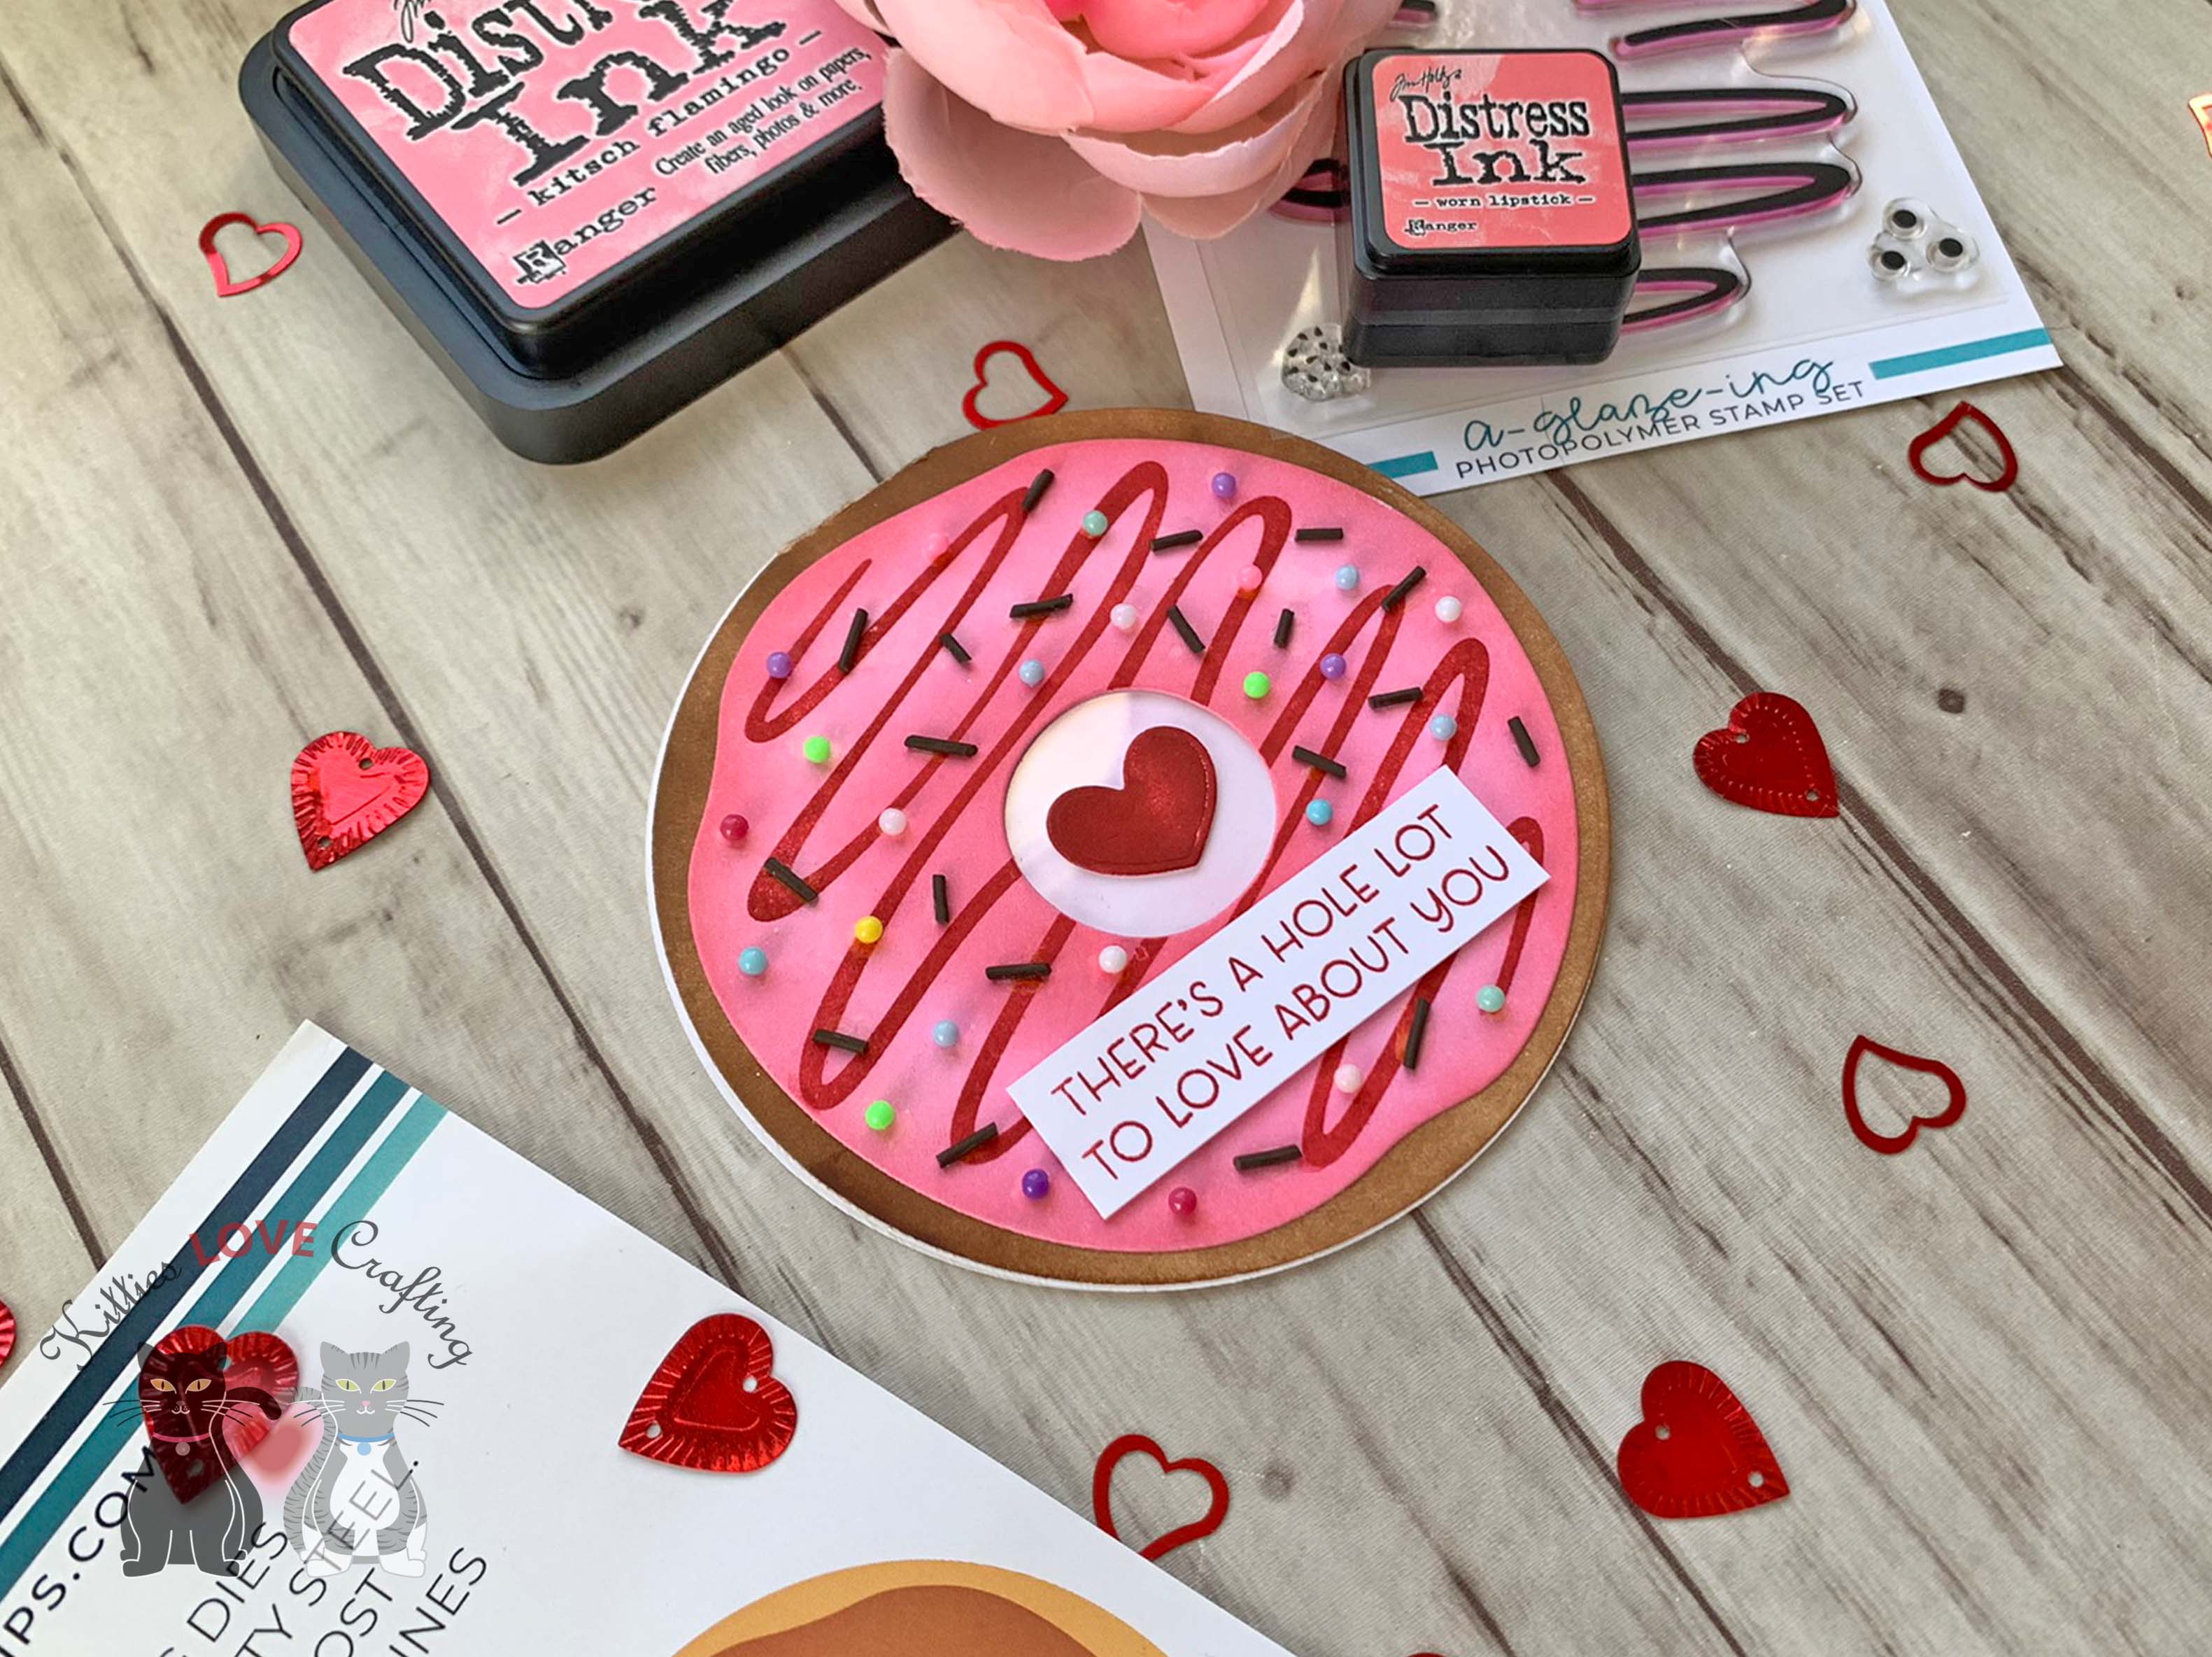
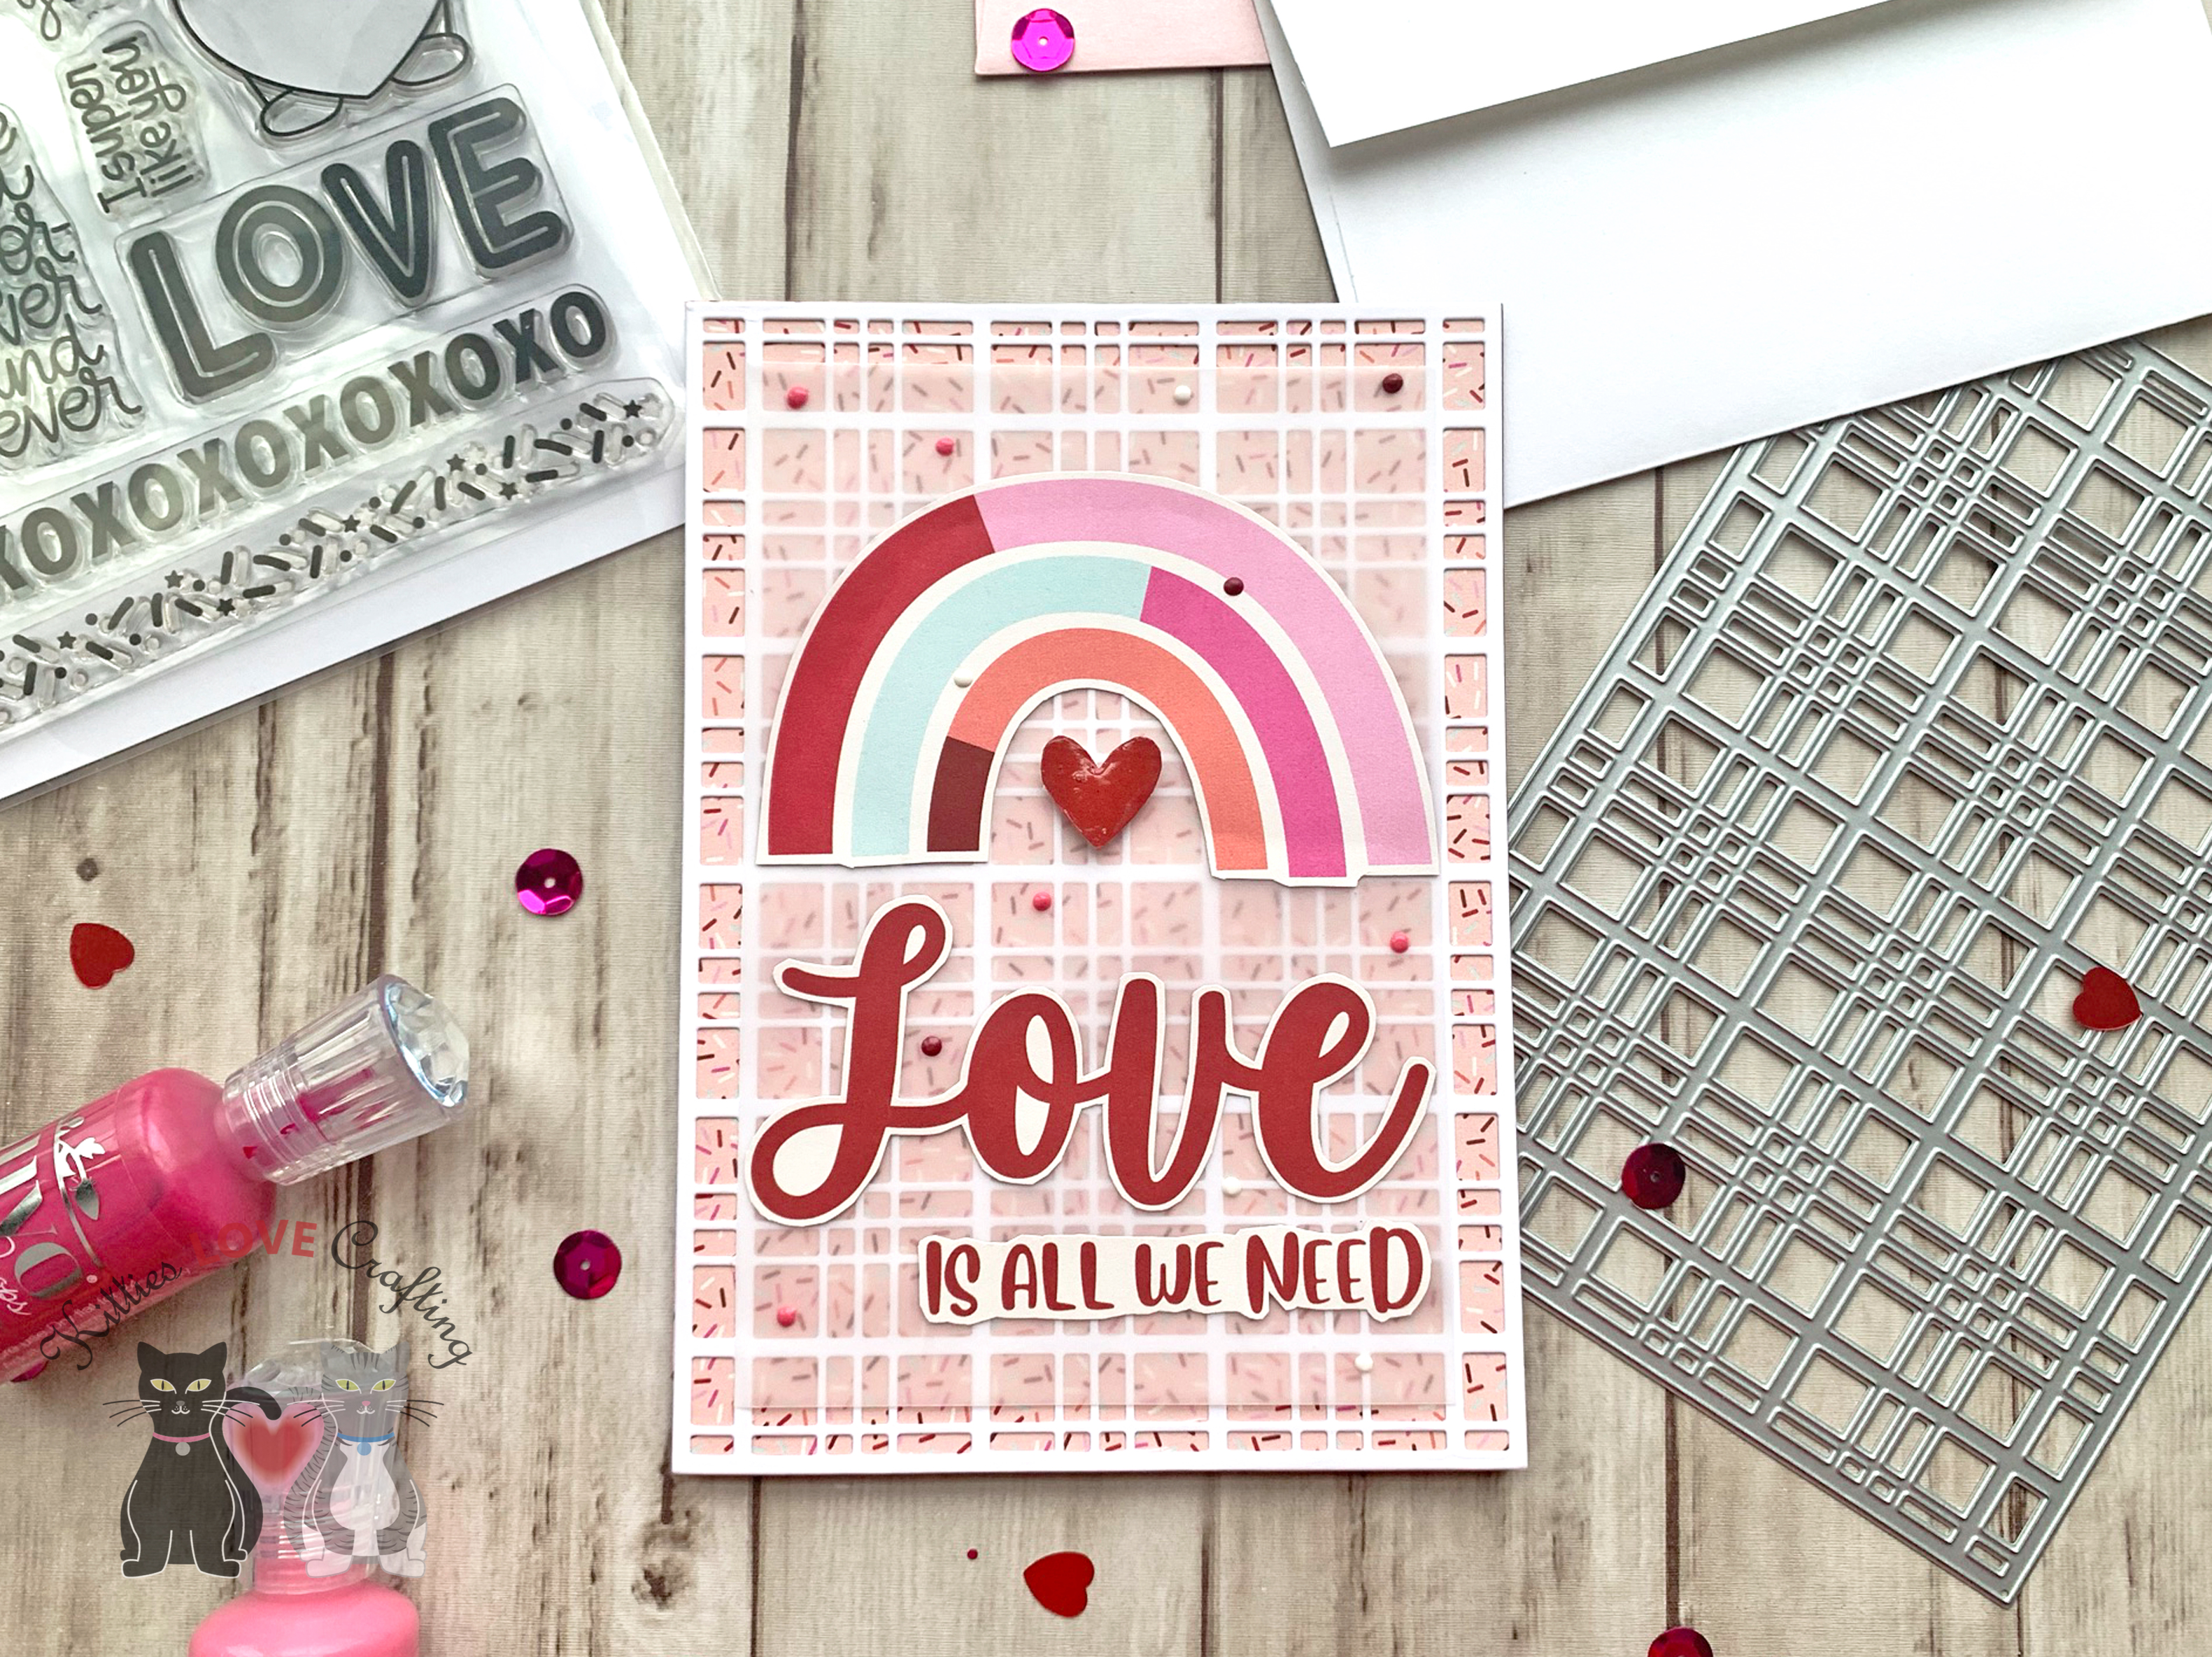
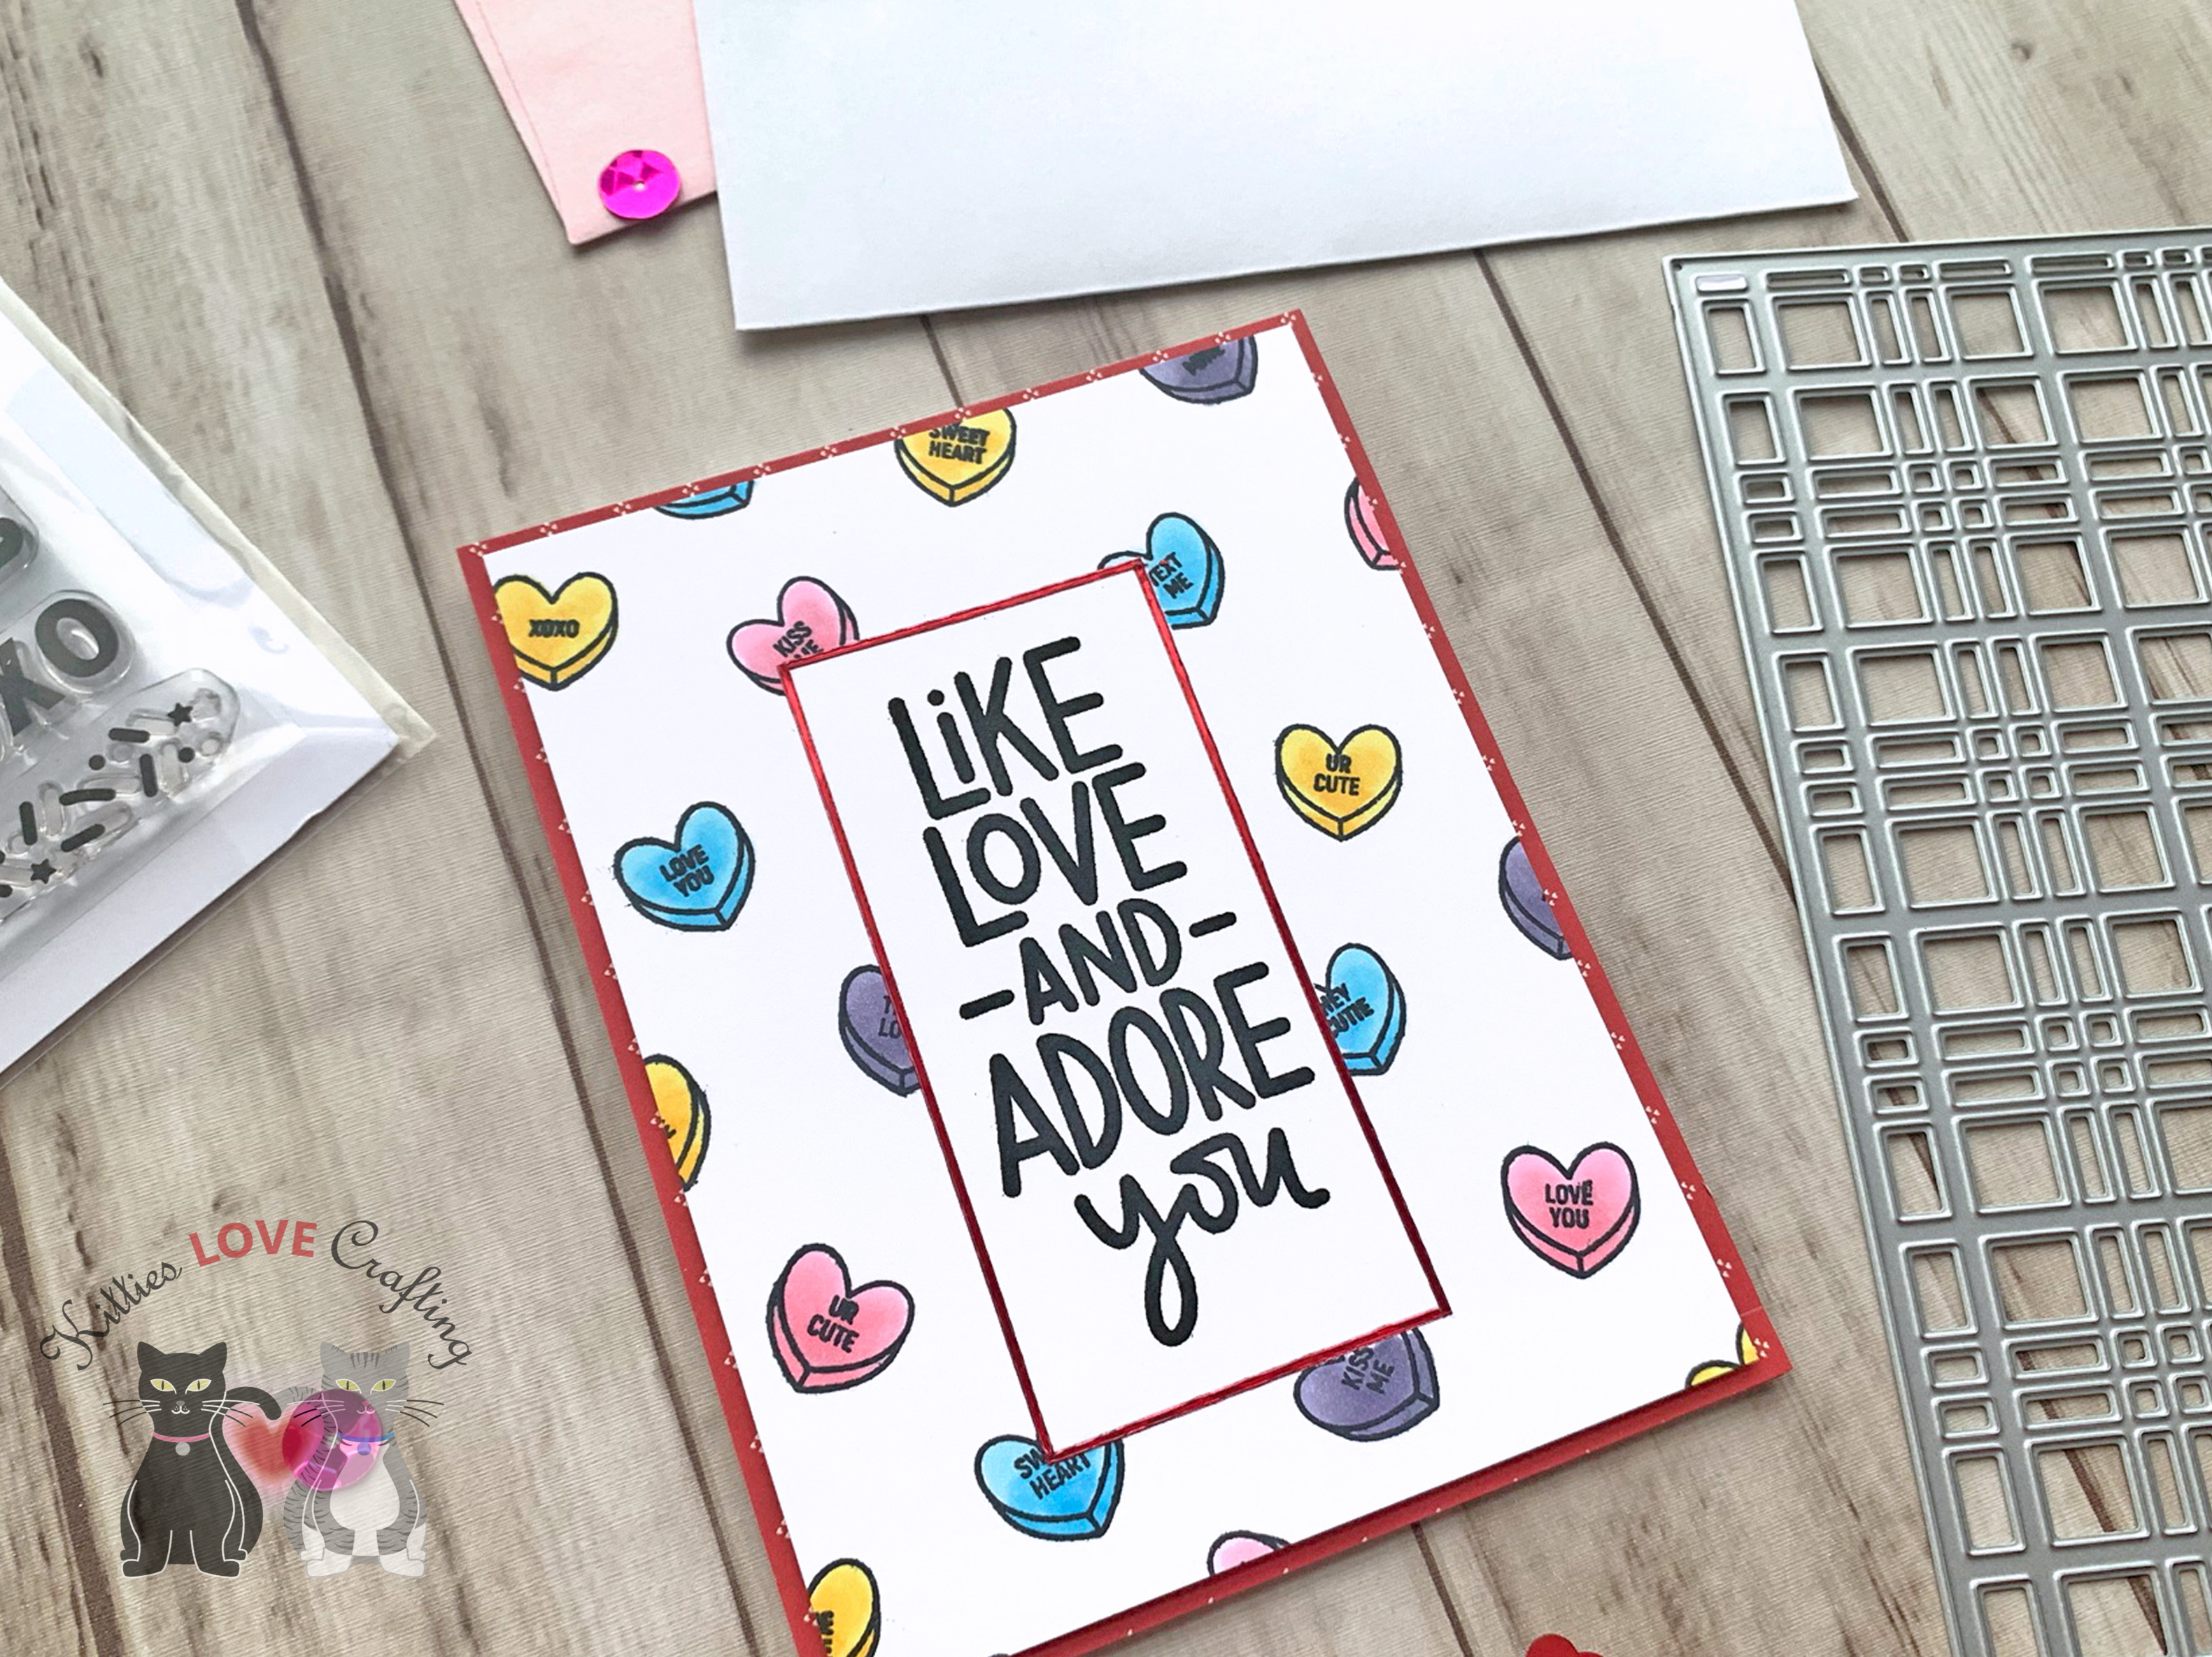
Hello friends. Here is a very easy card for Valentine’s Day featuring Trinity Stamps new Circle Shaped Card Die Set as well as the Sprinkles On My Donut Die for the background. If you missed it, check out my previous post for another quick and easy card using the Circle Shaped Card Die Set.

For this card, I cut a piece of Neenah 100lb Classic Crest Cardstock 8.5 X 11″ to 5 x 10″ and scored at 5″ to create a card base, a piece of Catherine Pooler Designs Rockin’ Red Prints 6 x 6 Pattern Paper
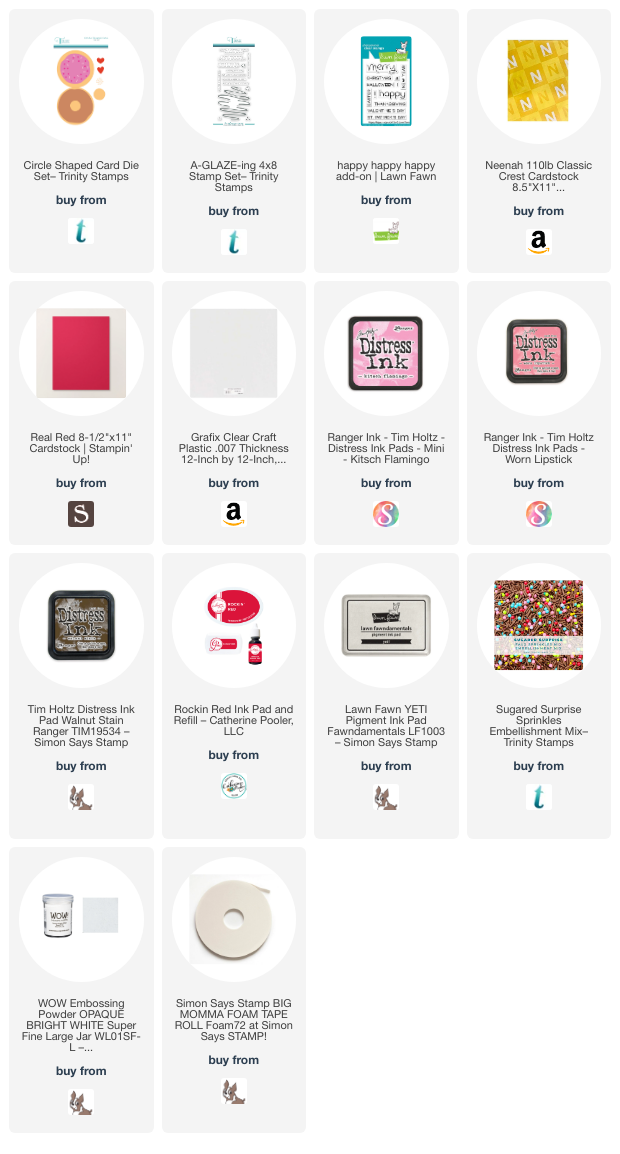
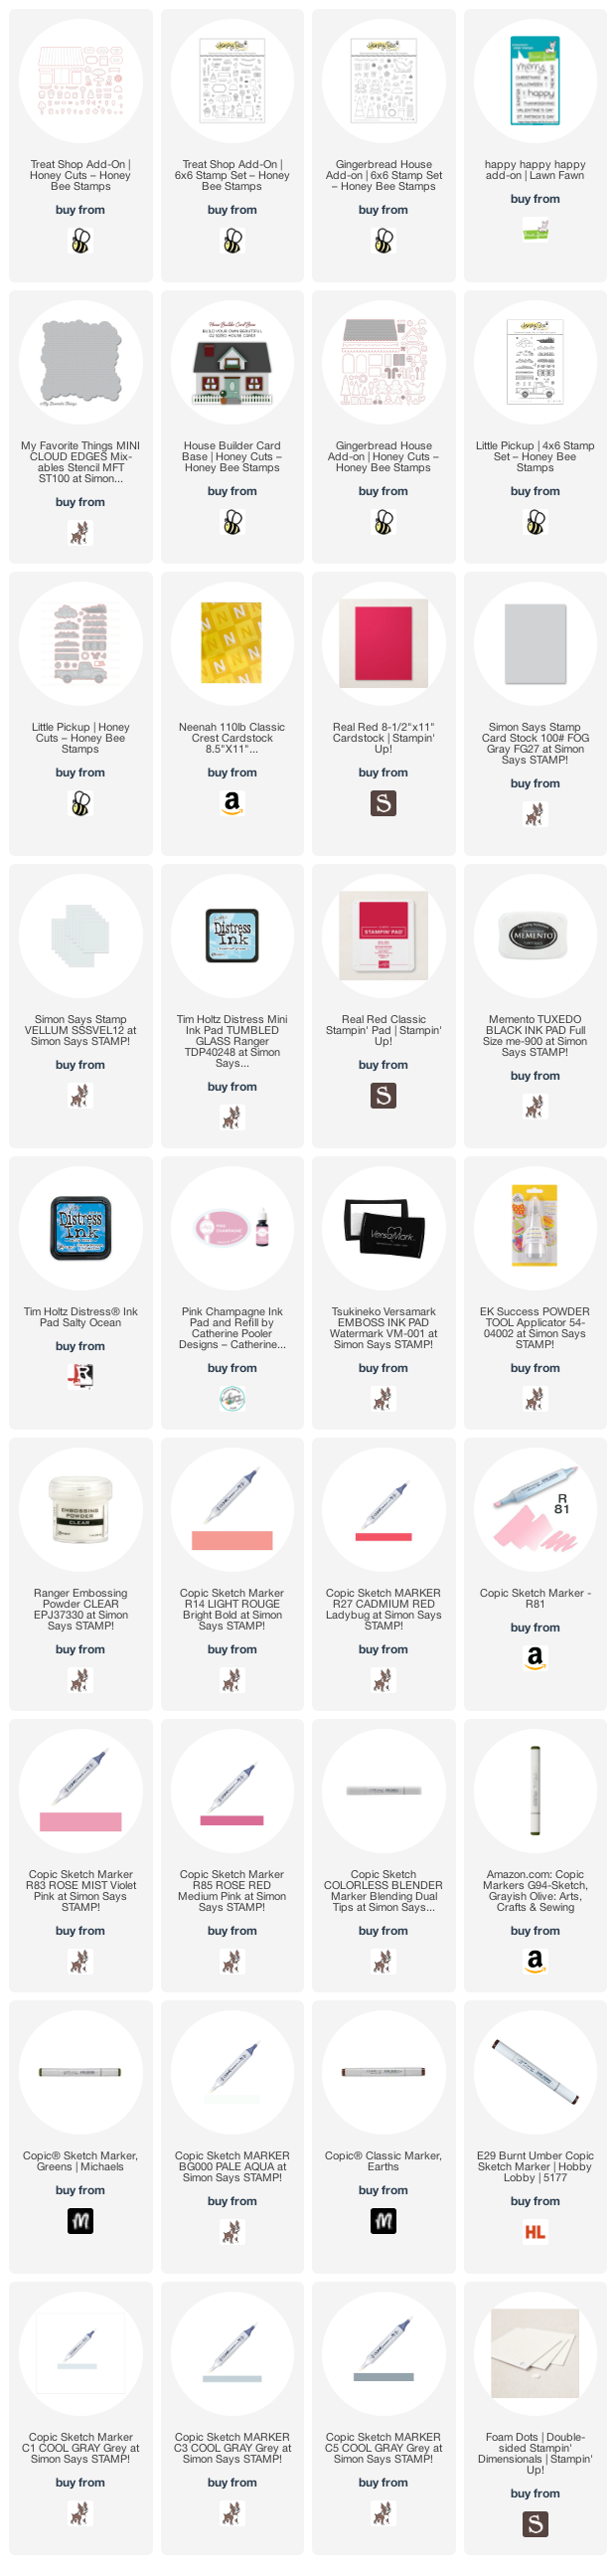
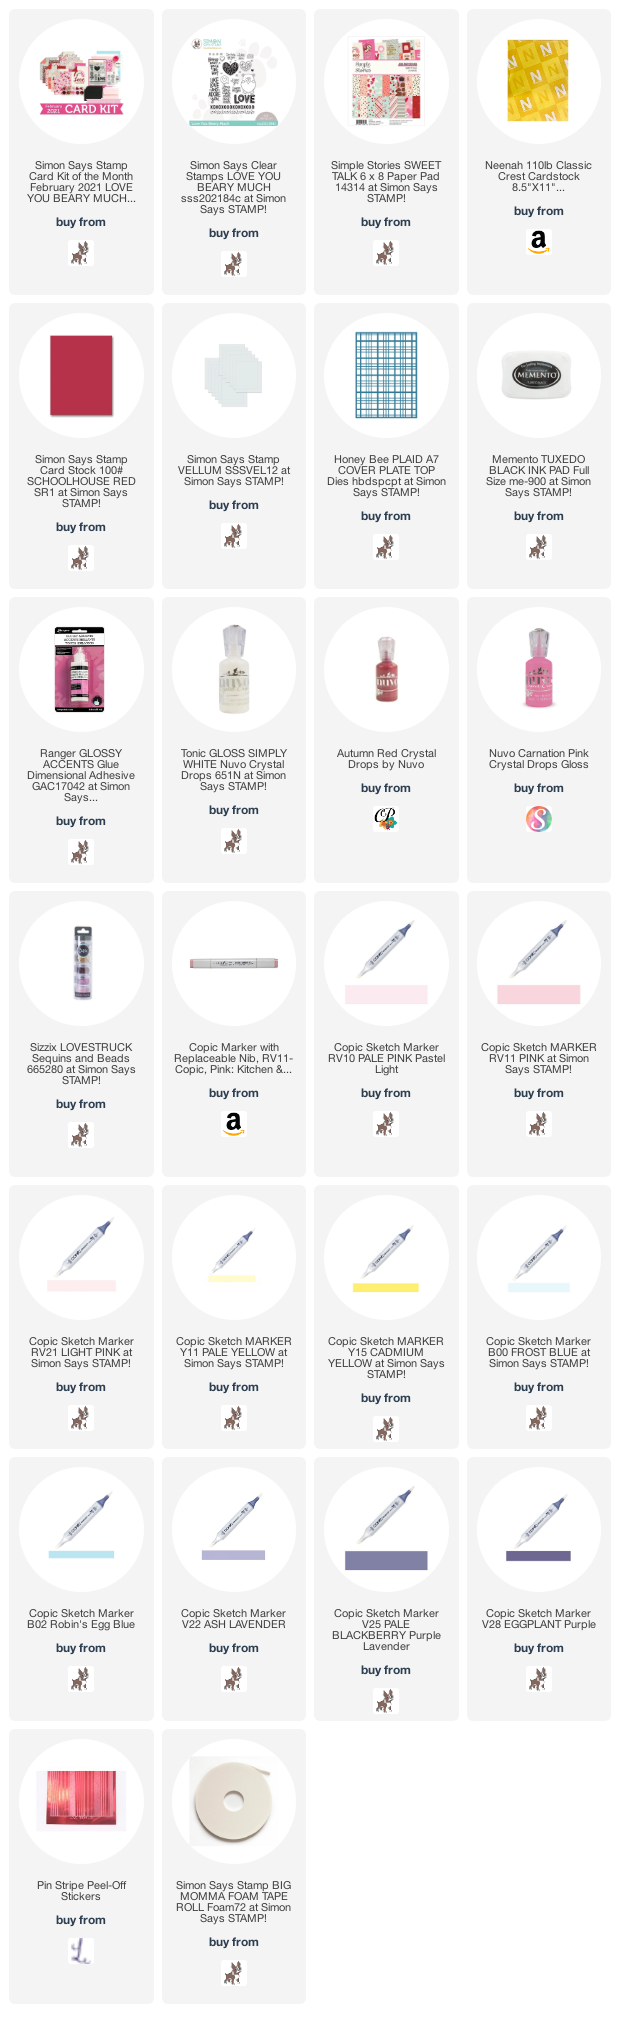
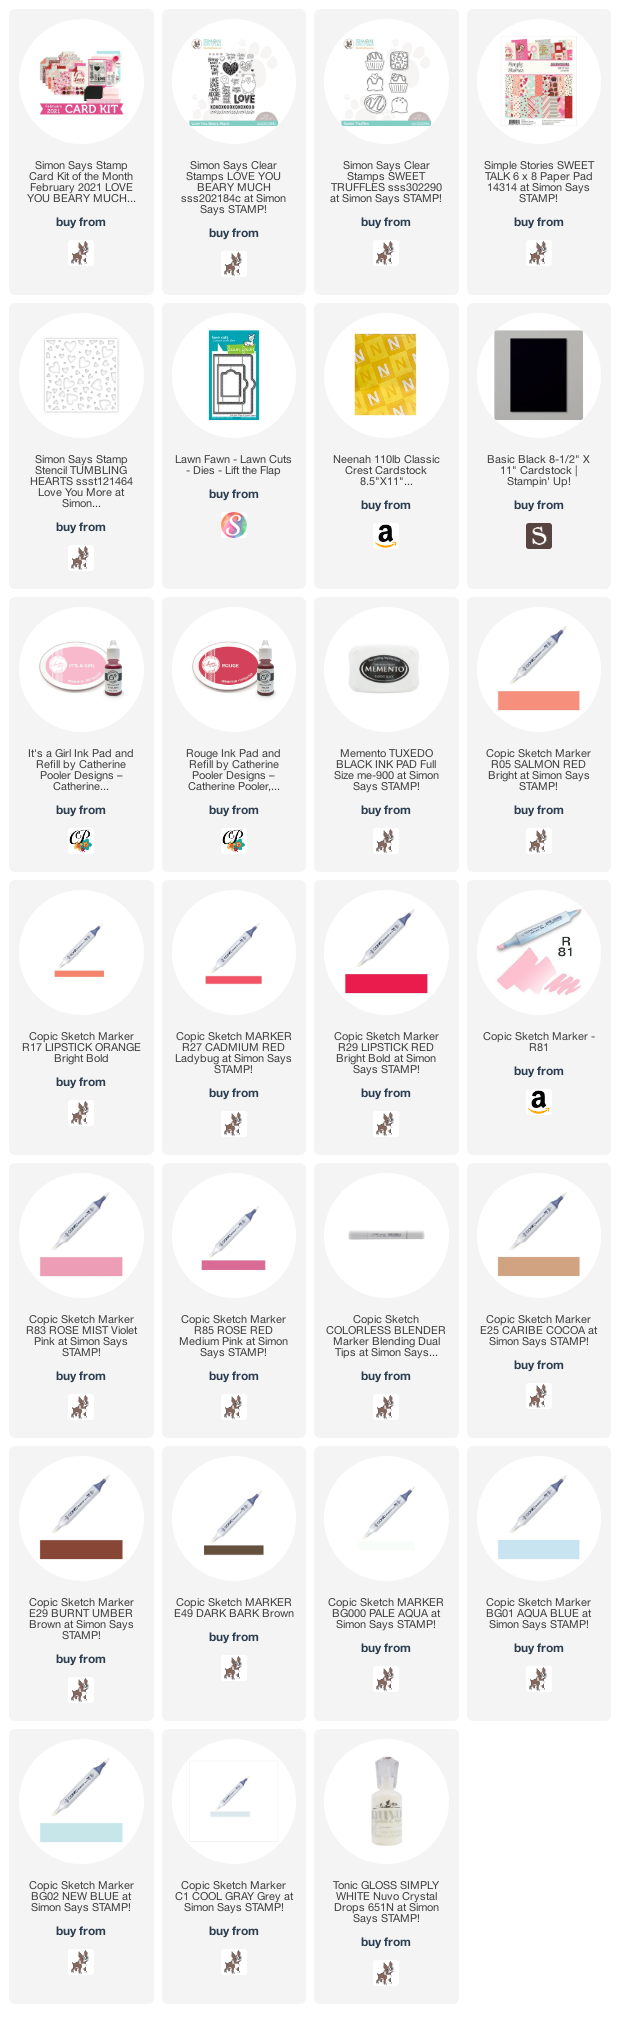
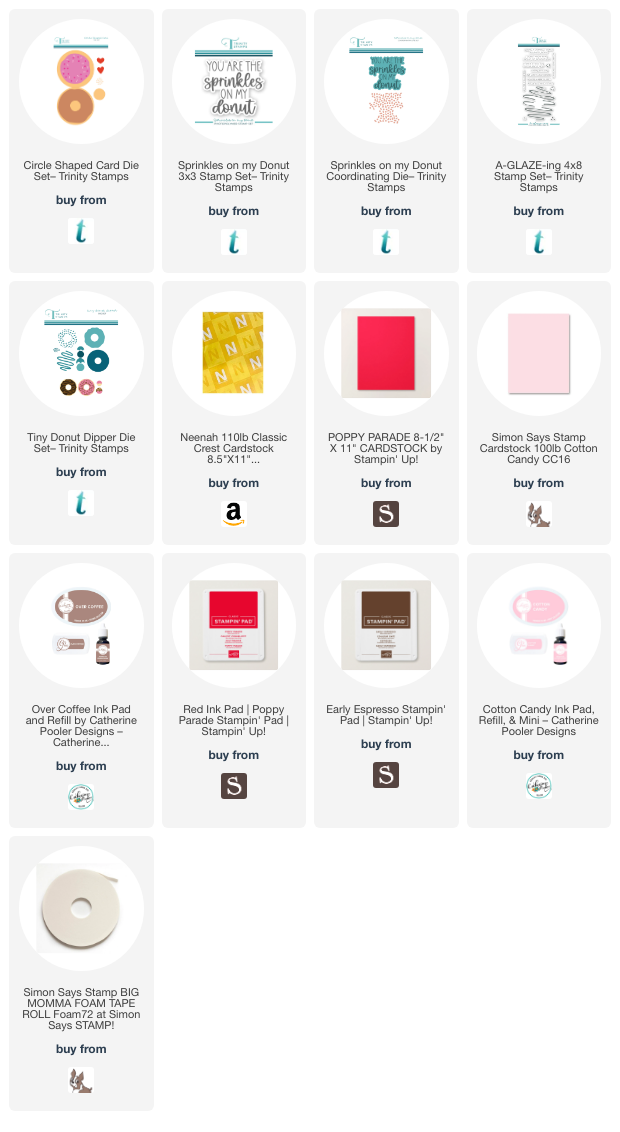
 to 5 x 5″, and another piece of Neenah 100lb Classic Crest Cardstock 8.5 X 11″ to 4-3/4 x 4-3/4″. For the background panel, I used the Sprinkles on my Donut Die set Sprinkles die to create a stencil from acetate. Then used Catherine Pooler Designs Over Coffee Ink to stencil the background sprinkles.

Next I die cut the circle shape from Stampin’ Up! Chocolate Chip 8-1/2 x 11″ Cardstock (retired – any brown cardstock will do here) using theHello friends. Here is a very easy card for Valentine’s Day featuring new Trinity Stamps Circle Shaped Card Die Set. I cut off one side of the card, leaving me with a circle shape. Using the same die set, I cut out the frosting from Simon Says Stamp 8-1/2 x 11″ 100lb Cotton Candy Cardstock. I used Stampin’ Up! Early Espresso Ink to add dimension to the cookie base and Catherine Pooler Designs Cotton Candy Ink for the frosting. Lastly I added sprinkles die cut from Stampin’ Up! Poppy Parade 8-1/2″ X 11″ Cardstock and Neenah 100lb Classic Crest Cardstock 8.5 X 11″.

I stamped the sentiment from the Sprinkles on my Donut 3×3 Stamp Set onto Neenah 100lb Classic Crest Cardstock 8.5 X 11″ with Catherine Pooler Designs Over Coffee Ink and die cut it with the coordinating die. I popped it up using 3M Foam Tape.

On the inside of the card, I added a strip of pattern paper (same as on front of card) measuring 1 x 5″ and stamped a sentiment from the A-GLAZE-ing 4×8 Stamp Set with Catherine Pooler Designs Cotton Candy Ink. I also die cut a mini donut from the Stampin’ Up! Chocolate Chip 8-1/2 x 11″ Cardstock and Simon Says Stamp 8-1/2 x 11″ 100lb Cotton Candy Cardstock using the Tiny Donut Dipper Die Set.

Dimensions


Supplies

https://linkdeli.com/widget.js?id=f5e8378456858c916708

Thanks for reading this post. I hope Iโ€™ve inspired you to give this cute Valentine’s Day card a try for yourself. Leave comments or questions below or feel free to email.

Cards, Distress Ink Techniques, Love & Friendship, Valentine's Day, Window Cards

Donut Valentine’s Day Card featuring Trinity Stamps

Hello friends. For this post I decided to CASE Brenda Noelke’s card from the Trinity Stamps’ design team. I used distress ink to color all the pieces of the donut, however. I was surprised how quickly you can make a card with these dies! Look for more posts featuring Trinity Stamps new dies.

For this card, I die cut a piece of Neenah 100lb Classic Crest Cardstock 8.5 X 11″ using the Trinity Stamps Circle Shaped Card Die Set create a card base and another piece which I cut in half and use one circle to cover the acetate I will add in the center hole later. I also die cut the frosting and the heart from Neenah 100lb Classic Crest Cardstock 8.5 X 11″.

I used Ranger Tim Holtz Walnut Stain Distress Ink for the donut base; Worn Lipstick and Kitsch Flamingo Distress Inks for the frosting; and Catherine Pooler Designs Rockin’ Red Ink for the heart. I stamped the glaze from the Trinity Stamps A-GLAZE-ing 4×8 Stamp Set with Catherine Pooler Designs Rockin’ Red Ink.

I added a piece of acetate to the center of the donut and the added the heart on top and the other white piece of the circle card which I added to the back of the front panel.

I stamped a sentiment from the Trinity Stamps A-GLAZE-ing 4×8 Stamp Set onto Neenah 100lb Classic Crest Cardstock 8.5 X 11″ with Catherine Pooler Designs Rockin’ Red Ink adn trimmed it down. Lastly I added some Sugared Surprise Sprinkles Embellishment Mix.

On the inside of the card, I stamped just added another frosting piece, colored with Worn Lipstick and Kitsch Flamingo Distress Inks.

Dimensions


Supplies

https://linkdeli.com/widget.js?id=f5e8378456858c916708

Thanks for reading this post. I hope Iโ€™ve inspired you to give this cute donut Valentine’s Day card a try for yourself. Leave comments or questions below or feel free to email.

Cards, Distress Ink Techniques, Mini Slimline, Stenciled Background, Valentine's Day

Mini Slimline Valentine’s Day Card featuring Lawn Fawn

Hello friends. It’s time to start the new year off with some Valentine’s Day cards. My first card is a mini slimline featuring the Lawn Fawn Fly High stampset. The little critters are adorable and can be used in a variety of ways.

For this card, I cut a piece of Neenah 100lb Classic Crest Cardstock 8.5 X 11″ to 6 x 6″ and scored at 3″ to create a card base and another piece which I die cut using the Queen & Company Foundations 17 Dies to create a panel measuring 2-3/4 x 5-3/4″ for the background.

I used the MFT Mini Cloud Edges Stencil with Tim Holtz Salty Ocean, Uncharted Mariner, and Chipped Sapphire Distress Oxide Inks to color the background. I splashed some water onto it and dried it off. Then, added some splatters using White and Gold Acrylic paint.

I stamped the images from the Lawn Fawn Fly High stampset and the hearts from the Lawn Fawn Winter Village Stampset onto Neenah 100lb Classic Crest Cardstock 8.5 X 11″ with Memento Tuxedo Black Ink and colored them with Copic Markers. I used R81, R83 & R85, R17, R27 & R59, N2, N4 & N5 for the balloons; R17, R27 & R59 for the hearts; R20, E23 & 27 for the mouse; and R20, C0, C1 & C3 for the elephant.

I stamped a sentiment using Lawn Fawn’s Milo’s ABCs onto Neenah 100lb Classic Crest Cardstock 8.5 X 11″ with Memento Tuxedo Black Ink and then cut them down. I added a piece of pattern paper behind the words from the Catherine Pooler Designs Be Mine Prints 6 x 6 Patterned Paper.

On the inside of the card, I stamped a sentiment from the Lawn Fawn Happy HappyHappy Add-on with Catherine Pooler Designs Rockin’ Red Ink.

Dimensions


Supplies

https://linkdeli.com/widget.js?id=f5e8378456858c916708

Thanks for reading this post. I hope Iโ€™ve inspired you to give this cute mini slimline Valentine’s Day card a try for yourself. Leave comments or questions below or feel free to email.

Love & Friendship, Valentine's Day

Honey Bee Stamps House Builder Valentine’s Day Card

Hi friends. I used the House Builder Card Base Dies from Honey Bee Stamps along with the Treat Shop Add-On Dies and Stamps to make this cute Valentineโ€™s Day Card. I couldn’t pass up the opportunity to make another card with these dies. They are still one of my faves!

For this card, I started by cutting a piece of Neenah 110lb Classic Crest Cardstock 8.5 X 11″ to 10 x 7″and scored it at 5″ and a panel to 5 x 7″ for the background, which I inked with Tim Holtz Tumbled Glass and Salty Ocean Distress Inks. Then diecut the house card base 1x with the House Builder Card Base Dies from Pebbles Forever My Always 6 x 6 Paper.

Then die cut the roof and window awnings from both Neenah 110lb Classic Crest Cardstock 8.5 X 11″ and Stampin’ Up! Real Red 8-1/2″ X 11″ Cardstock from the Honey Bee Stamps Treat Shop Add-On Dies. I cut out every other strip on the awnings and adhered them to the white one to create a cute striped awning. I diecut out the window from the front of the card.

The door was diecut from the same two color cardstocks using the Honey Cuts Gingerbread House Add-On and the stairs from Simon Says Stamp Card Stock 100# Slate Gray Cardstock. I added some dimension to the house base, the door, steps, and awning with ink. I used Catherine Pooler Pink Champagne for the house base, Stampin’ Up! Real Red Ink for the roof and door and Memento Tuxedo Black Ink for the steps. I also diecut the bushes from Stampin’ Up! Old Olive 8-1/2 x 11″ Cardstock with the House Builder Card Base Dies and added Stampin’ Up! Old Olive Ink around the edges.

I added a piece of Vellum behind the window as well as a piece of Neenah 110lb Classic Crest Cardstock 8.5 X 11″ to create a frosted window appearance. I added a strip of Simon Says Stamp Card Stock 100# FOG Gray Cardstock to the bottom of the card before adhering the house. I stamped all the images from the Honey Bee Stamps Treat Shop Add-On 6×6 Stamp Set onto Neenah 110lb Classic Crest Cardstock 8.5 X 11″ with Memento Tuxedo Black Ink. Additionally, I used Clear Embossing Powder on the “Candy Shop” and “We Are Open” signs for some added dimension and interest.

I colored them with Copic Markers. I used BG000 and Copic Blender 0 for all glass elements (cake dome, candy dome and gumball machine); R81 & R83, C1, C3, & C5 for the chairs and table; R14 & R27, R81 & R83 for the umbrella. E25 & E29, R81, R83 & R85, C1 & 0 for the cupcakes; R14 & R27, C00 & 0, BG000, G94 and E25 for the gumball machine; E25 & E29 for the chocolates; R81, R83 & R85 for the present; and G94 & G99, R81 & R83, E25 & E29, R14 & R27 for the candies.

I popped up the “Candy Shop” sign, “We Are Open” sign and the cake dome with Stampin’ Dimensionals. I created the heart banner by stamping the little heart from Honey Bee Stamps Little Pickup 4×6 Stamp Set with Stampin’ Up! Real Red Ink onto a piece of and cut them using the coordinating dies. Then I drew a black line using a Sharpie Ultra Fine Point Marker (you need to use a permanent marker when writing on vellum or it will smudge).

I finished off the card by adding some highlights to some of the images with a White Gel Pen.

On the inside of the card, I stamped a sentiment from Lawn Fawn’s Happy Happy Happy Add-on Stampset with Stampin’ Up! Real Red Ink and added a tiny awning which I cut from Neenah 110lb Classic Crest Cardstock 8.5 X 11″ and Stampin’ Up! Real Red 8-1/2″ X 11″ Cardstock using the Honey Bee Stamps Treat Shop Add-On Dies. I added some left over images I had colored and die cut.


Supplies

https://linkdeli.com/widget.js?id=f5e8378456858c916708

Thanks for reading this post. I hope you enjoyed and Iโ€™ve inspired you to give this cute Valentine’s Day card a try for yourself. Leave comments or questions below or feel free to email me.

Card kits, Love & Friendship, Valentine's Day

Quick and Easy Cards Using Simon Says Stampโ€™s February 2021 Card Kit

Hi friends. Valentine’s Day is just around the corner. Here are a few more cards to share some love. Both of these cards use minimal supplies and feature the Simon Says Stamp February 2021 Card Kit Love You Beary Much.

The Kit includes:

For the first card, I started by cutting a piece of Simon Says Stamp 100# Schoolhouse Red Cardstock to 7 x 10″ and scored at 5″ to make a card base. I diecut the background from Neenah 110lb Classic Crest Cardstock using the Honey Bee Plaid A7 Cover Plate Top Die and cut a piece of pattern paper from Simple Stories Sweet Talk 6 x 8 paper pad  to 5 x 7″ and adhered them to the card base. I also cut a piece of Simon Says Stamp Vellum to 4-1/4 x 6-1/4″ and adhered it to the card.

In the paper pack there was one page which had this rainbow and sentiment on it, so I fussycut out all the images separately and adhered them to the card. It also had a pink heard under the rainbow but I wanted more contrast so I fussycut a red heart from another pattern paper in the pad and adhered it with some 3M Foam Tape.

I finished it off by adding Nuvo Drops in Carnation Pink, Autumn Red and Gloss White and some Ranger Glossy Accents to the heart.

On the inside of the card I kept it simple and left it blank, just adding a piece of Neenah 110lb Classic Crest Cardstock 8.5 X 11″ cut to 4-3/4 x 6-3/4″ and strip of the same pattern paper.

Dimensions


For the second card, I started by cutting a piece of Neenah 110lb Classic Crest Cardstock to 5-1/2 x 8-1/2″and scored at 4-1/4″ to make a card base. Then cut a piece of Simple Stories Sweet Talk 6 x 8 paper pad to 4-1/4 x 5-1/2″, adhered it to the card base and cut another piece of Neenah 110lb Classic Crest Cardstock to 4 x 5-1/4″

I stamped a sentiment from Simon Says Stamp Love You Beary Much Exclusive 6 x 8 stamp set with Memento Tuxedo Black Ink onto the top panel, added some post-it tape over the sentiment to create a mask and stamped the conversation hearts from Simon Says Stamp Love You Beary Much Exclusive 6 x 8 stamp set.

I colored all the hearts with Copic Markers. I used RV10, RV11 & RV21; B00 & B02; V22, V25 &V28; and Y11 & Y15 and adhered the panel to the card with 3M Foam Tape for added dimension.

To finish it off, I added some Red Metallic Love From Lizi Pin Stripe Peel-offs around the sentiment.

On the inside of the card I kept it simple, left it blank added a strip of the same red pattern paper to the bottom edge.

Dimensions


Supplies

https://linkdeli.com/widget.js?id=f5e8378456858c916708

Thanks for reading this post. I hope you enjoyed and Iโ€™ve inspired you to make some cards using this kit yourself! If you want to share you creations with me tag me on instagram @kittieslovecrafting. Leave comments or questions below or feel free to email me.

Card kits, Holidays 2021, interactive, Love & Friendship, Slimline, Valentine's Day

Peekaboo Window Slimline Card Using Simon Says Stampโ€™s February 2021 Card Kit

Hi friends. Here’s a fun interactive peekaboo window with hidden messages for Valentine’s, Galentine’s or any day you want to share love. I pulled out an oldy but goody interactive die from Lawn Fawn and combined it with the Simon Says Stamp February 2021 Card Kit Love You Beary Much. I love the Tumbling Hearts 6 x 6 stencil included in this kit! It is so easy to make a pretty background with it. I will show you how I was able to use it on a slimline card.

The Kit includes:

I started by cutting a piece of Neenah 110lb Classic Crest Cardstock 8.5 X 11″ to 7 x 8-1/2″ and scored a at 3-1/2″ to create the card base and another piece to 3-1/4 x 7-1/4″. I used Catherine Pooler Designs It’s a Girl Ink to create a gradient background then used the Simon Says Stamp Exclusive Tumbling Hearts 6 x 6 stencil and Catherine Pooler Designs Rouge Ink to create gradient of hearts over the pink.

Next, I used the Lawn Fawn Lift the Flap Dies to cut out three windows on the top panel. I backed the top and bottom windows with a piece of paper from the Simple Stories Sweet Talk 6 x 8 paper pad and stamped a sentiment from the Simon Says Stamp Love You Beary Much Exclusive 6 x 8 stamp set with Memento Tuxedo Black Ink onto a piece of Neenah 110lb Classic Crest Cardstock 8.5 X 11″ to place behind the center window. And adhered that panel to the card base.

I stamped all of the images from the Simon Says Stamp Sweet Truffles Exclusive 3 x 4 stamp set with Memento Tuxedo Black Ink onto a piece of Neenah 110lb Classic Crest Cardstock 8.5 X 11″ and some conversation hearts from the Simon Says Stamp Love You Beary Much Exclusive 6 x 8 stamp set.

I colored all the images with Copic Markers. I used E23, E25, E29 & E49 (for chocolate truffles); R81, R83 & R85 (for the truffle wrappers, sprinkles and decor, hearts); R05, R17 & R29 (for hearts); BG000, BG01 & BG02 (for sprinkles and decor, hearts). I fussycut all the images and adhered some to the inside of the card and some on the outside.

To finish it off, I added some White Gloss Nuvo Drops.

On the inside of the card I kept it simple, and just stamped the sentiment from the Simon Says Stamp Love You Beary Much Exclusive 6 x 8 stamp set with Catherine Pooler Designs Rouge Ink onto Neenah 110lb Classic Crest Cardstock 8.5 X 11″, fussycut and adhered it to the card. I also added nother truffle image.

Dimensions


Supplies

https://linkdeli.com/widget.js?id=f5e8378456858c916708

Thanks for reading this post. I hope you enjoyed and Iโ€™ve inspired you to make this slimline card using this kit yourself! If you want to share you creations with me tag me on instagram @kittieslovecrafting. Leave comments or questions below or feel free to email me.

Card kits, Holidays 2021, Love & Friendship, Valentine's Day

Sparkly Pink Bear Card Using Simon Says Stampโ€™s February 2021 Card Kit

Hi friends. Need a fairly quick card for Valentine’s or Galentine’s Day? This cute sparkly pink bear card came together quickly using the Simon Says Stamp February 2021 Card Kit Love You Beary Much.

The Kit includes:

For this card, I started by using the Simon Says Stamp A2 Black Notecards included in the kit for the card base and cut another one down to 4 x 5-1/4″. Next I used the Simon Says Stamp Exclusive Tumbling Hearts 6 x 6 stencil and applied Thermoweb Rina K Poppin Pink Mini Glitz to the card panel. When I saw this sparkly pink glitter paste I immediately wanted to see what it would look like on the black cardstock. It looks pretty cool. Next time I will add a little bit more so its all completely evenly covered.

I set that aside to dry and stamped the little bear from the Simon Says Stamp Love You Beary Much Exclusive 6 x 8 stamp set onto Neenah 110lb Solar White Cardstock  8.5 x 11 with Memento Tuxedo Black Ink. I also stamped his paws a second time (you will see why later), and stamped the heart he is holding onto some pink scrap pattern paper from my stash and a sentiment onto that heart.

I colored the image with Copic Markers. I also colored the pattern paper heart to give it some dimension and make it pop a bit more. I used R81, R83 and R85 (ears and nose); R20 (cheeks); C1, C3, C5, & C7 (bear); adn R27 and R83 (pattern heart). I fussycut the images out and adhered them together using 3M Foam Tape behind the heart and paws.

I diecut a 2-5/8″ circle from Neenah 110lb Solar White Cardstock  8.5 x 11 with SU! Layering Circle Dies and a 3″ circle from the Simple Stories Sweet Talk 6 x 8 paper pad. I adhered those together, the bear to the circles and then to the card.

To finish it off, I added some of the hot pink sequins from Lovestruck Sequins and embellishment mixes.

On the inside of the card I kept it simple, and just stamped the sentiment heart from Simon Says Stamp Love You Beary Much Exclusive 6 x 8 stamp set with Stampin Up! Magenta Madness Ink.

Dimensions


Supplies

https://linkdeli.com/widget.js?id=f5e8378456858c916708

Thanks for reading this post. I hope you enjoyed and Iโ€™ve inspired you to make this fun sparkly card using this kit yourself! If you want to share you creations with me tag me on instagram @kittieslovecrafting. Leave comments or questions below or feel free to email me.

Love & Friendship, Valentine's Day

Big Pickup Tailgate Valentine’s Day Card featuring Honey Bee Stamps Tailgate Alphabet Dies

Hi friends. Here’s another cute Valentine’s Day Card using the Honey Bee Stamps Big Pickup Tailgate Stampset and Honey Bee Stamps Tailgate Alphabet Dies.

I started by cutting a piece of Stampin’ Up! Real Red 8.5 X 11″ Cardstock to 6-1/2 x 10″ and scored at 5″ to create a card base and a piece of pattern paper from my stash to 5 x 6″ which I adhered to the card base. I stamped the truck from the Honey Bee Stamps Big Pickup Tailgate Stampset onto Neenah 110lb Classic Crest Cardstock 8.5 X 11″ with Memento Tuxedo Black Ink as well as two extra truck bed images.

I colored the images with Copic Markers and die cut it with the coordinating dies. I used N1, N2, N5, N7 and 0 (for the cab); N1, N2, and N5 (for the truck bed); N2, N5, and N7 (for the bumper and underside); Y11, and Y18 (for the headlights) and BG000 and 0 (for the windows); R81 and R83 (license plate); C7, C9 and 100 (for the wheels). I adhered the truck to the card, adding 3M Foam Tape to the extra pieces of the truck bed.

I diecut the sentiment from Stampin’ Up! Real Red 8.5 X 11″ Cardstock with the Honey Bee Stamps Tailgate Alphabet Dies and adhered it to the card. To finish off the card, I added 3 red hearts, White Pin Stripe Love From Lizi Peel-offs, White Nuvo Gloss Drops and Glossy Accents to the headlights.

On the inside of the card, I cut a piece of Neenah 110lb Classic Crest Cardstock 8.5 X 11″ to 4-3/4 x 6-3/8″ and adhered it to the card. I stamped a sentiment from Honey Bee Stamps Big Pickup Cab Stampset with Memento Tuxedo Black Ink and added another red heart.

Dimensions


Supplies

https://linkdeli.com/widget.js?id=f5e8378456858c916708

Thanks for reading this post. I hope you enjoyed and Iโ€™ve inspired you to give this card a try for yourself. Leave comments or questions below or feel free to email me.

Holidays 2021, Love & Friendship, Valentine's Day

Truck Shaped Valentine’s Day Card featuring Honey Bee Stamps

Hi friends. This cute little pickup truck is from Honey Bee Stamps Big Pickup Tailgate Stampset. And it is adorable! I love this stampset. I loved it so much I also purchased the Big Pickup Cab Stampset and Dies as well as the Tailgate Alphabet Dies!!! This stamp set alone gives you lots of options to make a variety of cards. I made mine into a truck shaped card which is so much fun!

I started by stamping the truck image from Honey Bee Stamps Big Tailgate Stampset with Memento Tuxedo Black Ink onto Neenah 110lb Classic Crest Cardstock 8.5 X 11″ and die cutting it with the coordinating die set. I also cut a second truck (no stamping) for the back of the card. I stamped ‘Hot Rod’ on the license plate and stamped a second version of the truck bed and a sentiment on it and used the die to cut just the back piece. This dieset allows you to cut three different components of the truck bed which allows for so many more fun options.

I colored the truck using Copic Markers. I used R17 + R27 + R59 (for the truck bed); R17 + R23 (for the back of the bed truck with sentiment); Y02 + Y13 (for the headlights); BG000 + 0 blender for the windows; C3 + C5 + C7 (for the metal components); and R81 + R83 (for the license plate). I adhered the sentiment piece using 3M Foam Tape. To finish it off, I added some highlights using a Uni-Ball Signo Broad Point White Gel Pen.

On the inside of the card, I stamped a sentiment from Lawn Fawn Happy Happy Happy Add-On Stampset with Stampin’ Up! Real Red Ink.


Supplies

https://linkdeli.com/widget.js?id=f5e8378456858c916708

Thanks for reading this post. I hope you enjoyed and Iโ€™ve inspired you to give this card a try for yourself. Leave comments or questions below or feel free to email me.

Love & Friendship, Slimline

Using Only Dies to Make A Slimline Valentine’s Day Card

Hi friends. Need a quick and easy card for Valentine’s Day??? This card uses only dies and paper and came together very quickly. Here’s how it came together.

I started by cutting a piece of Neenah 110lb Classic Crest Cardstock 8.5 X 11″ to 7 x 8-1/2″ and scored a at 3-1/2″. I used the Honey Bee Stamps Slimline Thin Frames Dies and Stampin’ Up!’s Poppy Parade 8-1/2 x 11″ Cardstock and a pink cardstock from Hunkydory Matt-tastic Adorable Scorable Core Colourways Collection to cut out the frames. This die is cool because it cuts all 14 frames at the same time so I just had to run it through two times. I adhered used the five largest frames to the card base, alternating colors. I cut a piece of the Neenah 110lb Classic Crest Cardstock 8.5 X 11″ to 2-1/4 x 7-1/4 and embossed it with the Craftwell Delicate Dots 8.5 X 11″ Embossing Folder, and adhered to the front of the card.

For my sentiment I diecut the word ‘LOVE’ from Simon Says Stamp 6 x 6 Red Glitter Cardstock using the Honey Bee Bee Bold Alphabet Dies as well as from Neenah 110lb Classic Crest Cardstock 8.5 X 11″ two times and adhered those stacked to the card. To finish it off, I added two small hearts which I cut out using a heart punch from Stampin’ Up!’s Poppy Parade 8-1/2 x 11″ Cardstock.

On the inside of the card, I stamped a sentiment from Lawn Fawn Happy Happy Happy Add-On Stampset with Stampin’ Up! Poppy Parade Ink and added another punched heart.

Dimensions


Supplies

https://linkdeli.com/widget.js?id=f5e8378456858c916708

Thanks for reading this post. I hope you enjoyed and Iโ€™ve inspired you to give this card a try for yourself. Leave comments or questions below or feel free to email me.