Hello friends. I realize this is kinda late but I still wanted to share this cute Mother’s Day card using the Trinity Stamps Tiny Teacup dies. I combined it was some older stamps and dies from Queen & Company as well as Catherine Pooler dies.
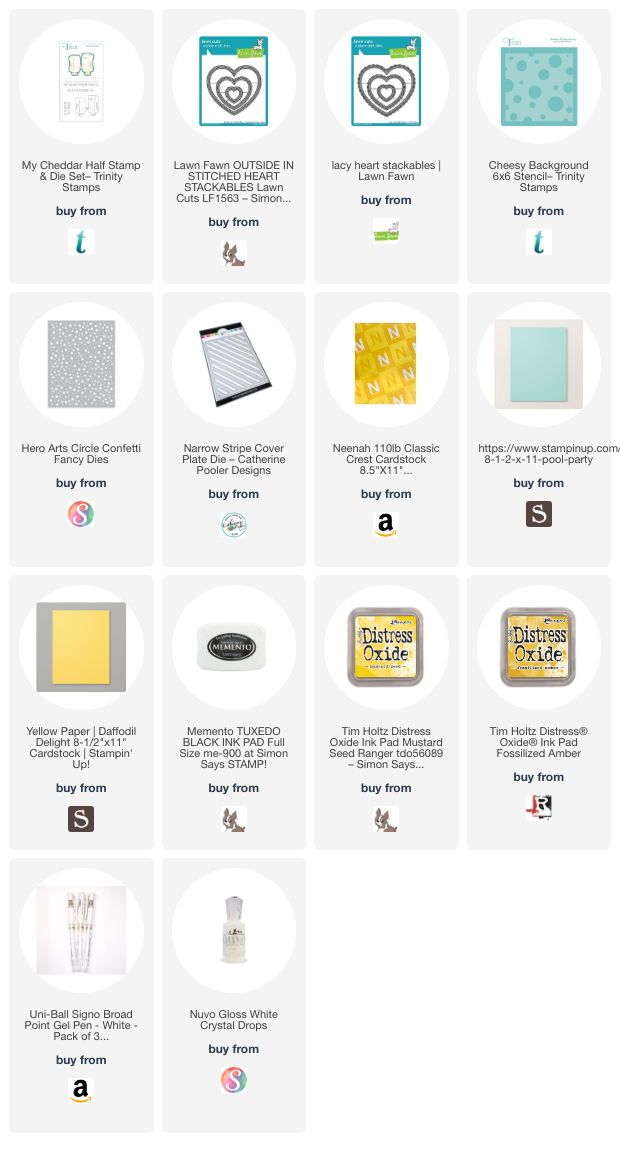
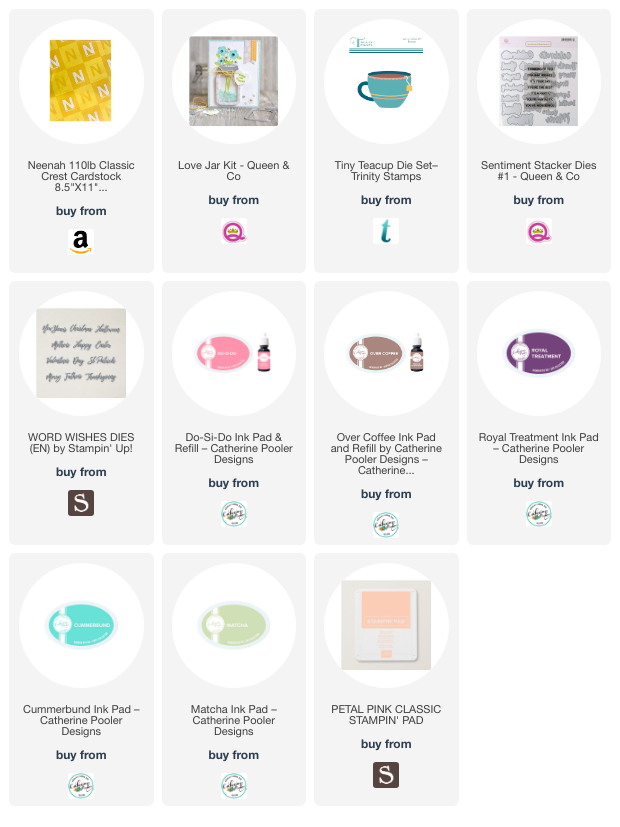
For this card, I cut a piece of Neenah 100lb Classic Crest Cardstock 8.5 X 11″ to 5-1/2 x 8-1/2″ and scored at 4-1/4″ to create the card base and another piece to 4-1/4 x 5-1/2″. I stenciled the background using the Catherine Pooler Designs Cookie Sheet Die (included in the Baking Spirits Bright Card Kit) and Matcha Ink.
Thanks for reading this post. I hope I’ve inspired you to give this cute Mother’s Day card a try and use some of your older supplies. Leave comments or questions below or feel free to email.
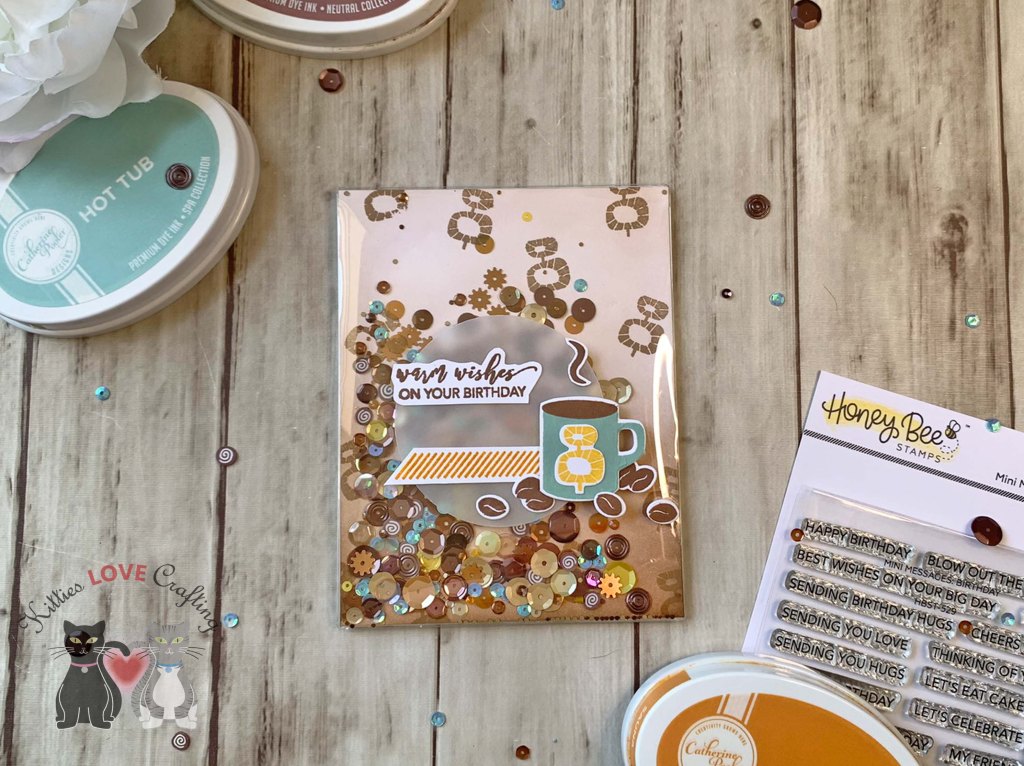
Hello friends. Continuing on my quest to make birthday cards and give new life to some older supplies, I made this flat shaker. I pulled out some older Catherine Pooler Designs stampsets for this one and combined it with some modern elements like the flat shaker to create a fun interactive card!
I adhered the panel to one of the Trinity Stamps A-2 Card Flat Acetate Shaker Pouches. You must adhere three sides first, add your sequins then seal the fourth side. I used Honey Bee Stamps Freshly Brewed Sequin Mix, as well as some aqua and yellow ones from my stash.
I stamped the coffee cup, graphic image, and beans from Catherine Pooler Designs Perfect Blend Stampset (discontinued) onto Neenah 100lb Classic Crest Cardstock 8.5 X 11″ with Catherine Pooler Designs Hot Tub and Over Coffee Inks. I stamped the diagonal stripe piece from Catherine Pooler Designs For Everything Stampset (discontinued) with CP Sauna Ink.
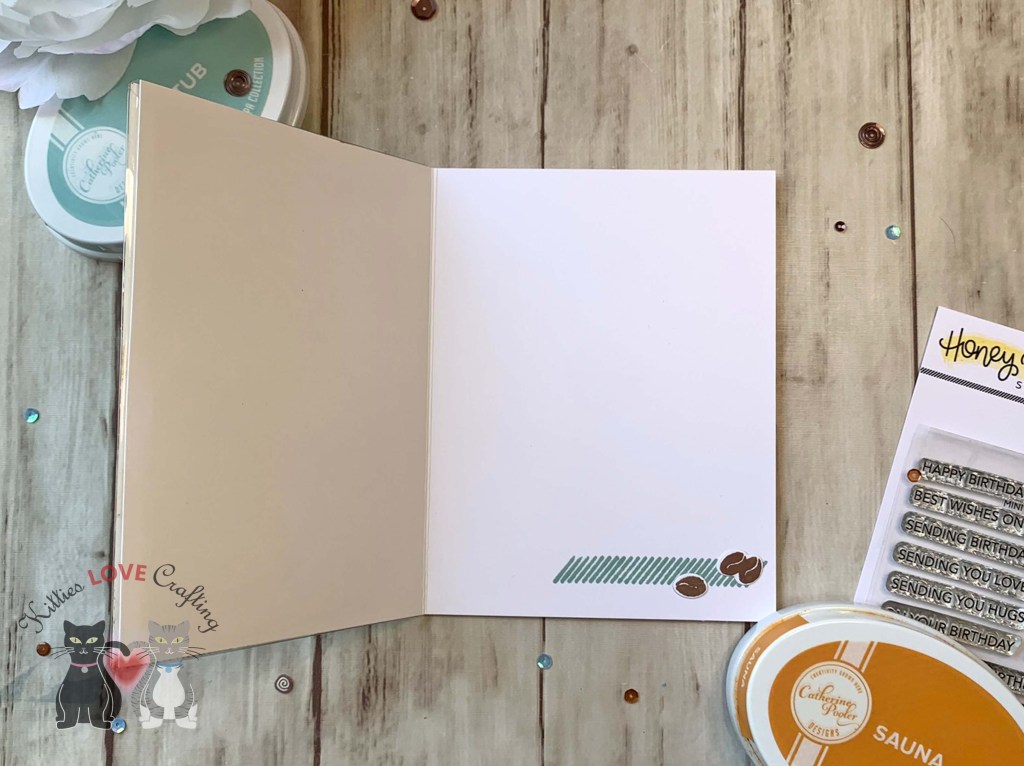
I left the inside of the card blank and added the same diagonal stripe piece from Catherine Pooler Designs For Everything Stampset (discontinued) which I stamped with Catherine Pooler Designs Hot Tub Ink. I also added some beans.
Thanks for reading this post. I hope I’ve inspired you to give this fun flat shaker card a try and to use some of your older supplies. Leave comments or questions below or feel free to email.
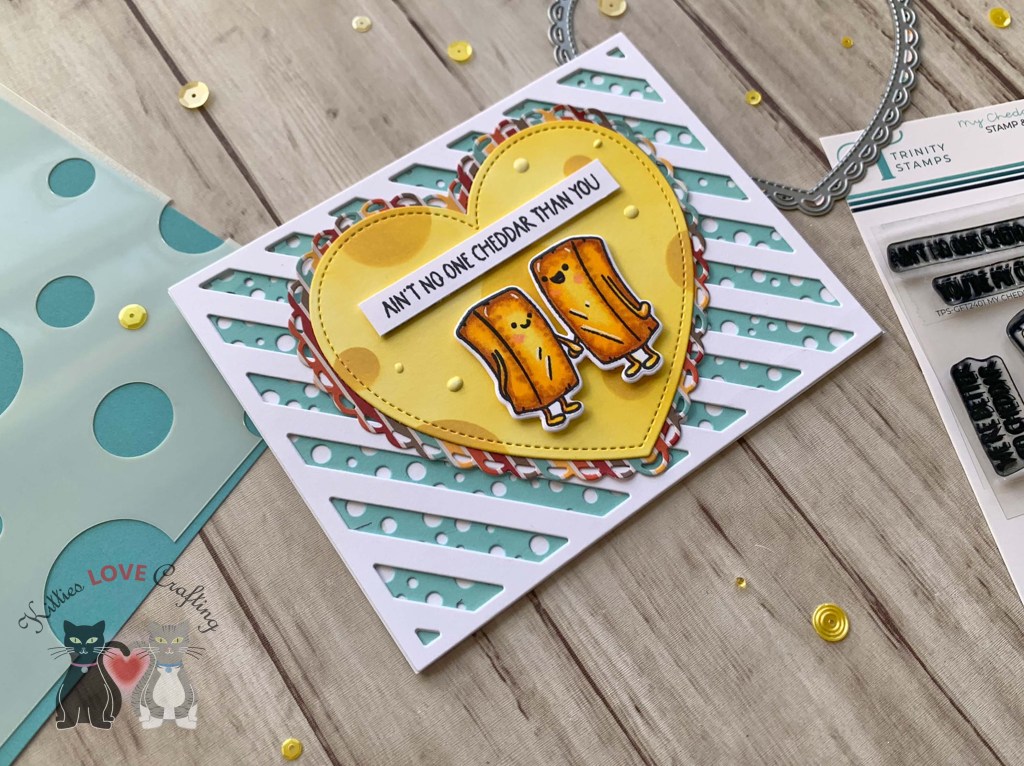
On the inside of the card, I cut a strip of pattern paper from Queen and Company Vintage Truck – Sweater Weather 6 x 6 Paper Pad (discontinued) to 1 x 5-1/2″ and added another cheddar couple.
Thanks for reading this post. I hope I’ve inspired you to give this cute cheddar card a try for yourself. Leave comments or questions below or feel free to email.
Hello friends. Want to make a fun card for St. Patrick’s Day but short on time?!? This flat shaker card was super quick to make! I used the Flat Acetate Shaker Pouches from Trinity Stamps which made it so much easier.
I used a Trinity Stamps A-2 Card Flat Acetate Shaker Pouches with double-sided tape to adhere to the back panel. I adhered 3 sides then filled it with different shaker bits. Then closed the fourth side and adhered it to the card base.
Thanks for reading this post. I hope I’ve inspired you to give this cute flat shaker card a try for yourself. Leave comments or questions below or feel free to email.
Thanks for reading this post. I hope I’ve inspired you to give this easy Thank You card a try for yourself. Leave comments or questions below or feel free to email.
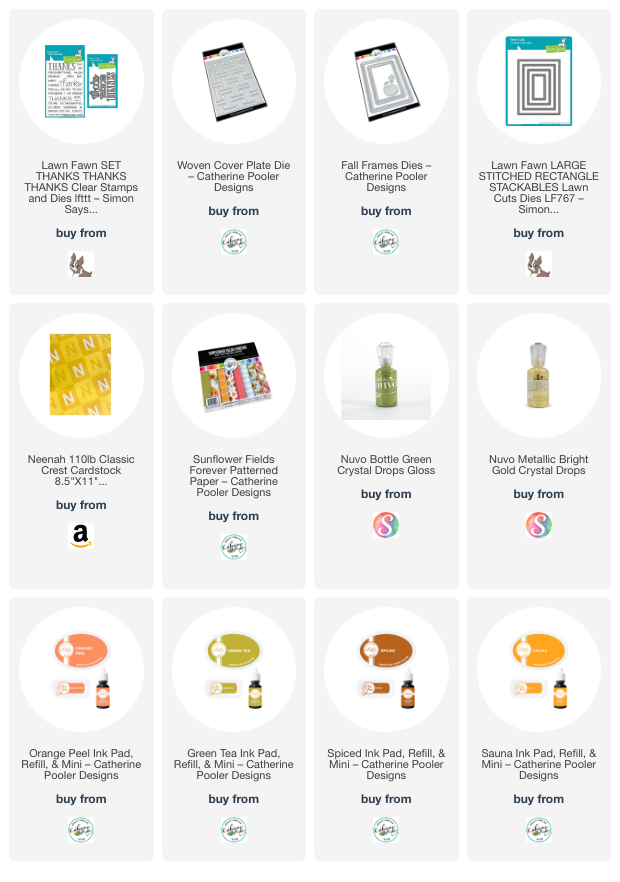
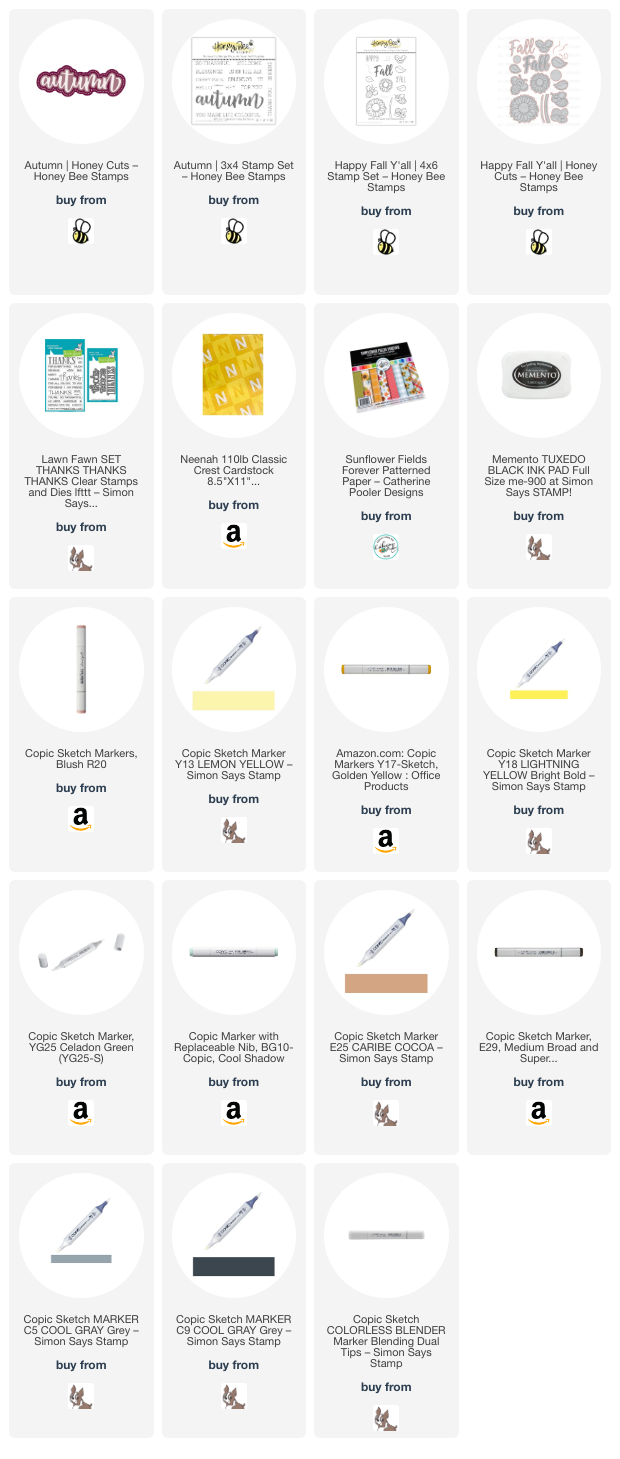
Hello friends. There are still a few more weeks left of Fall and even though I’ve been knee deep in Christmas card making, I wanted to make some more Fall cards. I brought out some Honey Bee Stamps stamps and dies for this one. An easy way to make a dimensional background without having to emboss is to use diecuts.
Thanks for reading this post. I hope I’ve inspired you to give this cute Fall card a try for yourself. Leave comments or questions below or feel free to email.
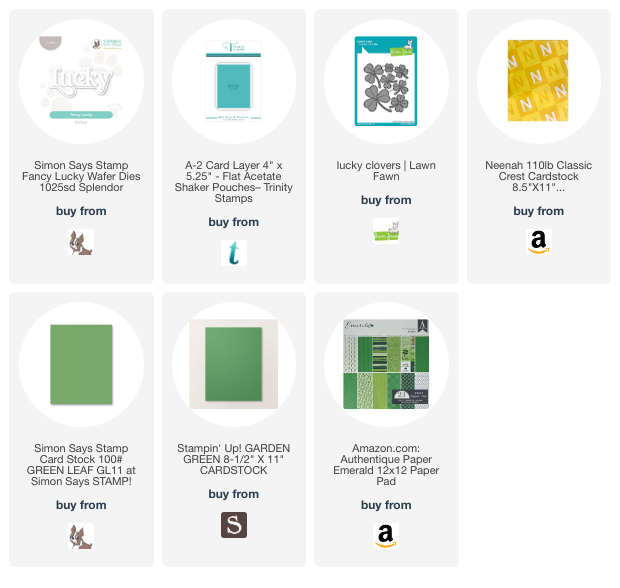
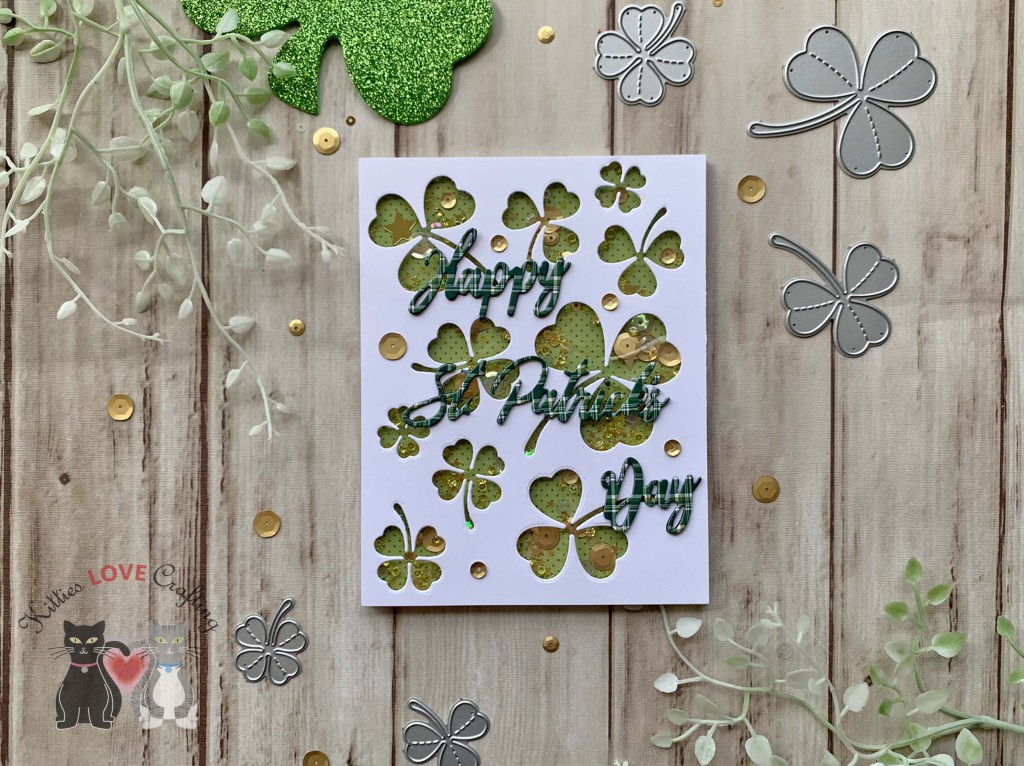
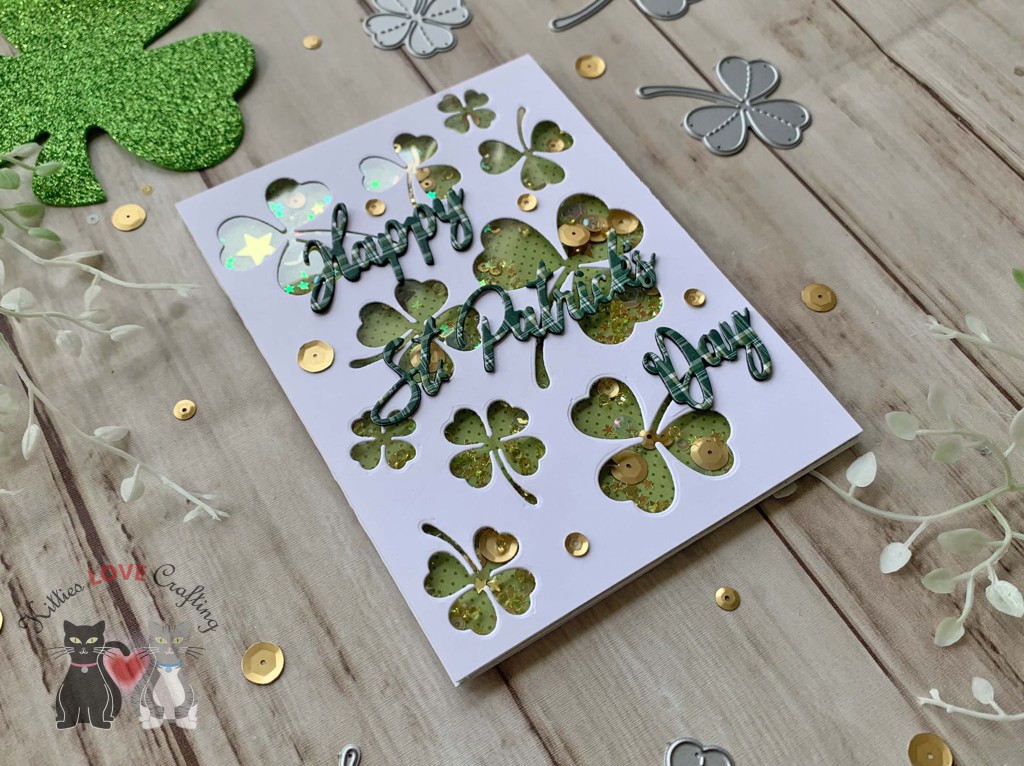
Hello friends. St. Patrick’s Day is just around the corner. Here is a fun way to make a shaker card. I used the Lawn Fawn Lucky Clovers dies to create windows for this fun shaker card background. This card also uses NO stamping. I know some folks out there don’t like stamping. It’s just not there thing so using dies will eliminate stamping.
I die cut the sentiment from Authentique 6 x 6 Emerald Paper (discontinued) and 2x from Simon Says Stamp Cardstock 100# 8-1/2 x 11″ Black Cardstock using Stampin’ Up! Word Wished Dies (retired) and stacked them to give the sentiment dimension.
I finished off the card by adding some gold sequins from my stash.
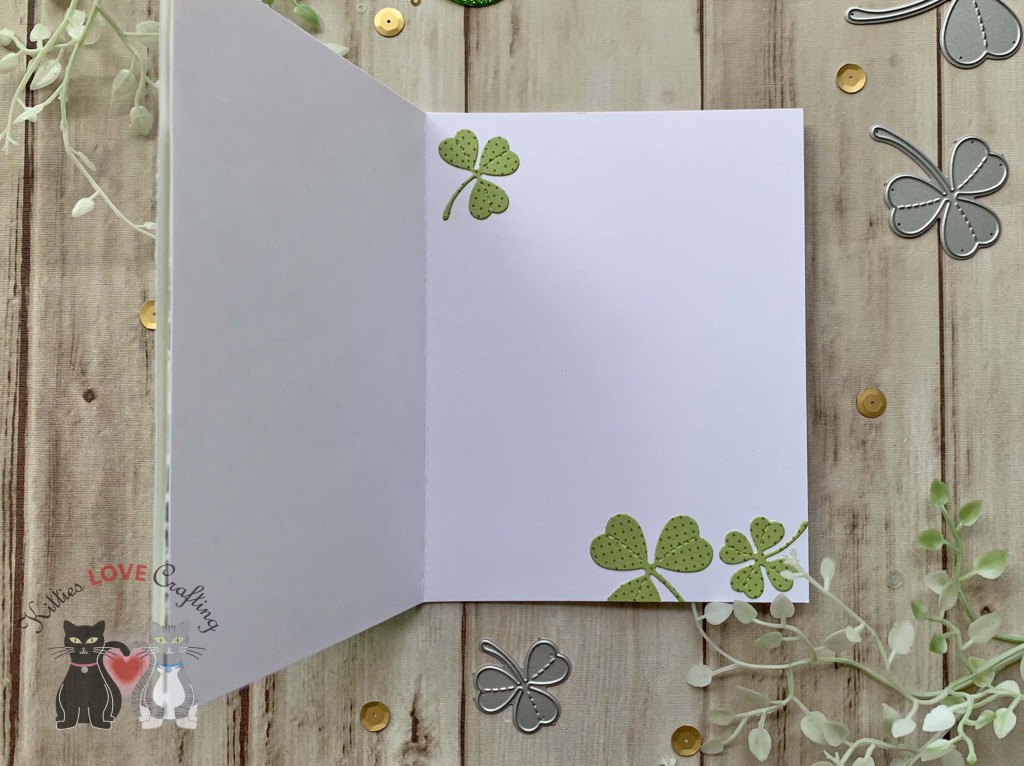
On the inside of the card, I added clovers die cut from Authentique 6 x 6 Emerald Paper (discontinued) using the Lawn Fawn Lucky Clovers dies.
Thanks for reading this post. I hope I’ve inspired you to give this fun and easy St. Patrick’s Day shaker card a try for yourself. Leave comments or questions below or feel free to email.
Hello friends. I decided to challenge myself and make Valentine’s Day cards using Dollar Tree products and a few of my own stamps and dies. My Dollar Tree doesn’t have an abundance of craft supplies like stamps but they have enough that you can create some fun crafts. Three of the cards use only Dollar Tree products.
I found some gift bags in the Valentine’s Day section that I used to replace my pattern paper as well as some doilies, 5/8″ ribbon, and confetti I used to decorate my cards. The doilies (30 count), ribbon (9ft), and confetti (1oz.) packages contain enough product to make several type of crafts so it’s a steal at $1.25! Ok let’s get into the making of the cards.
For the first card, I cut a piece of Stampin’ Up! Poppy Parade 8.5 X 11″ Cardstock to 5-1/2 x 8-1/2″ and scored at 4-1/4″ to create a card base. I took one of the gift bags and fussy cut out the heart on one side and then die cut the background from the other side of the bag using the Lawn Fawn Quilted Heart Landscape Backdrop. I also cut a piece of a metallic gift bag I also purchased at the Dollar Tree to 4-1/4 x 5-1/2″ to back the background.
For the third card, I cut a piece of Stampin’ Up! Poppy Parade 8.5 X 11″ Cardstock to 7 x 10″ and scored at 5-1/2″ to create a card base. I took one of the gift bags and cut a piece to 4-3/4 x 6-3/4″. I added a Heart-Shaped Paper Doily to the front panel as well as the heart sentiment I fussy cut from one of the gift bags
For the fourth card, I cut a piece of Neenah 100lb Classic Crest Cardstock 8.5 X 11″ to 7 x 10″ and scored at 5-1/2″ to create a card base. I took one of the gift bags and cut a piece to 4-3/4 x 6-3/4″. I added a sentiment piece from another gift bag to the front panel as well.
I finished the card off by adding some Nuvo Liquid Mercury Drops (discontinued).
I left the inside of the card blank and added a 1 x 5-1/2″ strip of the same gift bag.
On the inside of the card, I stamped a sentiment from Simon Says Stamp Love Stamp Set (discontinued I believe)with Stampin’ Up! Poppy Parade Ink and added a 1 x 7″ strip of the same gift bag.
Thanks for reading this post. I hope I’ve inspired you to give these quick and easy Valentine’s Day cards a try for yourself. Leave comments or questions below or feel free to email.
Thanks for reading this post. I hope you enjoyed and I’ve inspired you to give this card a try for yourself. Leave comments or questions below or feel free to email.
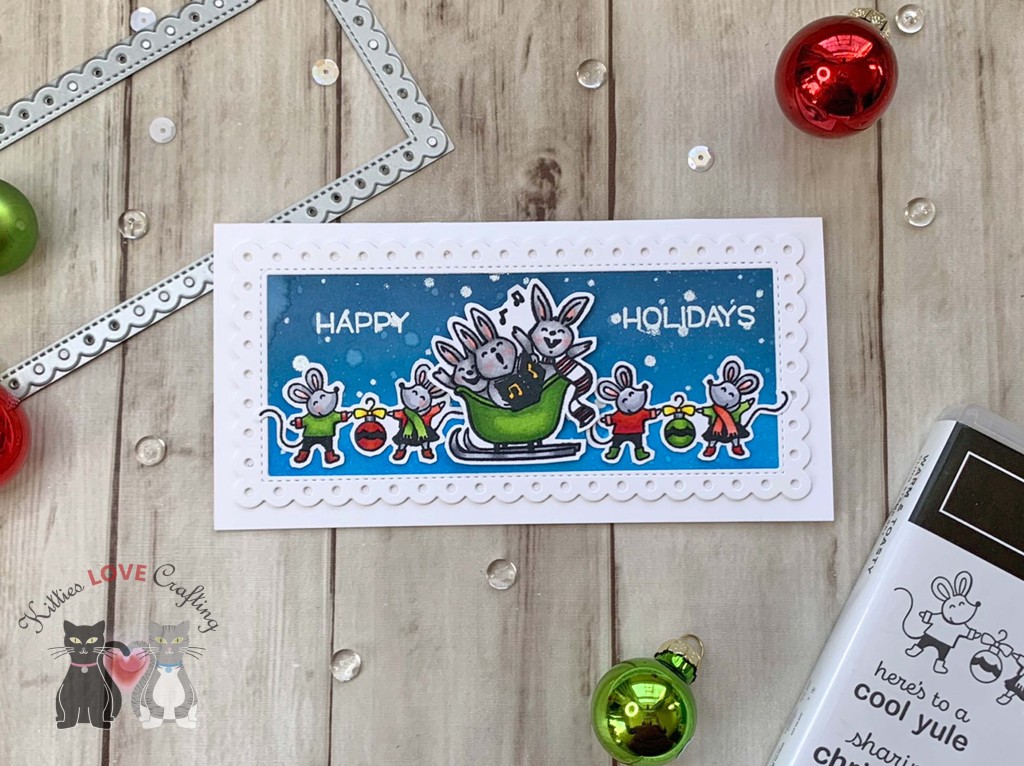
Hello friends. Want to make an impactful background with little effort. Try using an emboss resist technique. You can stamp or stencil the embossing. Either way the results are impressive!
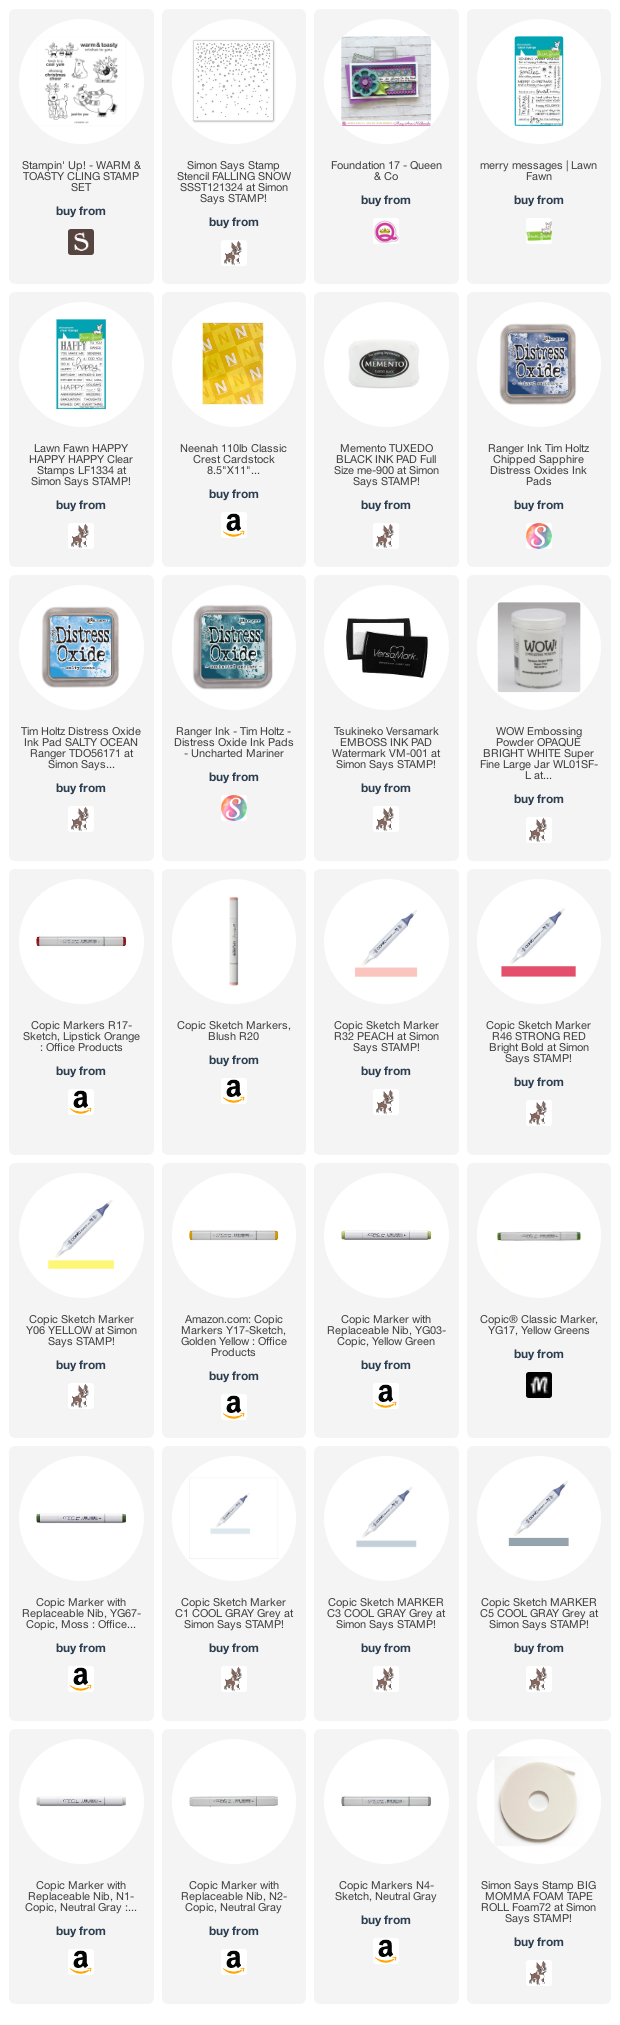
I stamped the images from Stampin’ Up!’s Warm & Toasty Stamp Set (retired) onto Neenah 110lb Classic Crest Cardstock 8.5 X 11″ with Memento Tuxedo Black Ink. I colored them with Copic Markers. I used YG03, YG17 & YG67, C1, C3 & C5 for the sleigh; N1, N2 & N4, R20 & R46 for the bunnies; R46 & R32, C1 & C3, YG03 & YG17, R20 for the mice; and R17 & R46, Y06 & Y17 for the ornaments.
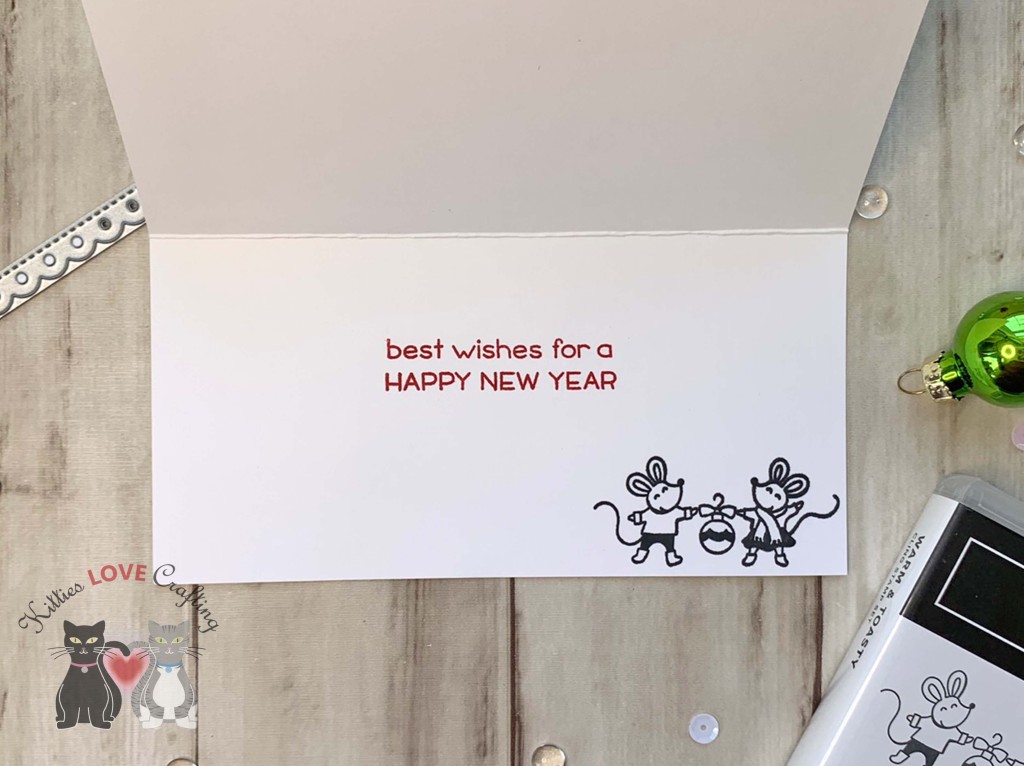
Thanks for reading this post. I hope you enjoyed and I’ve inspired you to give this card a try for yourself. Leave comments or questions below or feel free to email.


 https://linkdeli.com/widget.js?id=f5e8378456858c916708